Homemade Raspberry Liqueur

Homemade Raspberry Liqueur
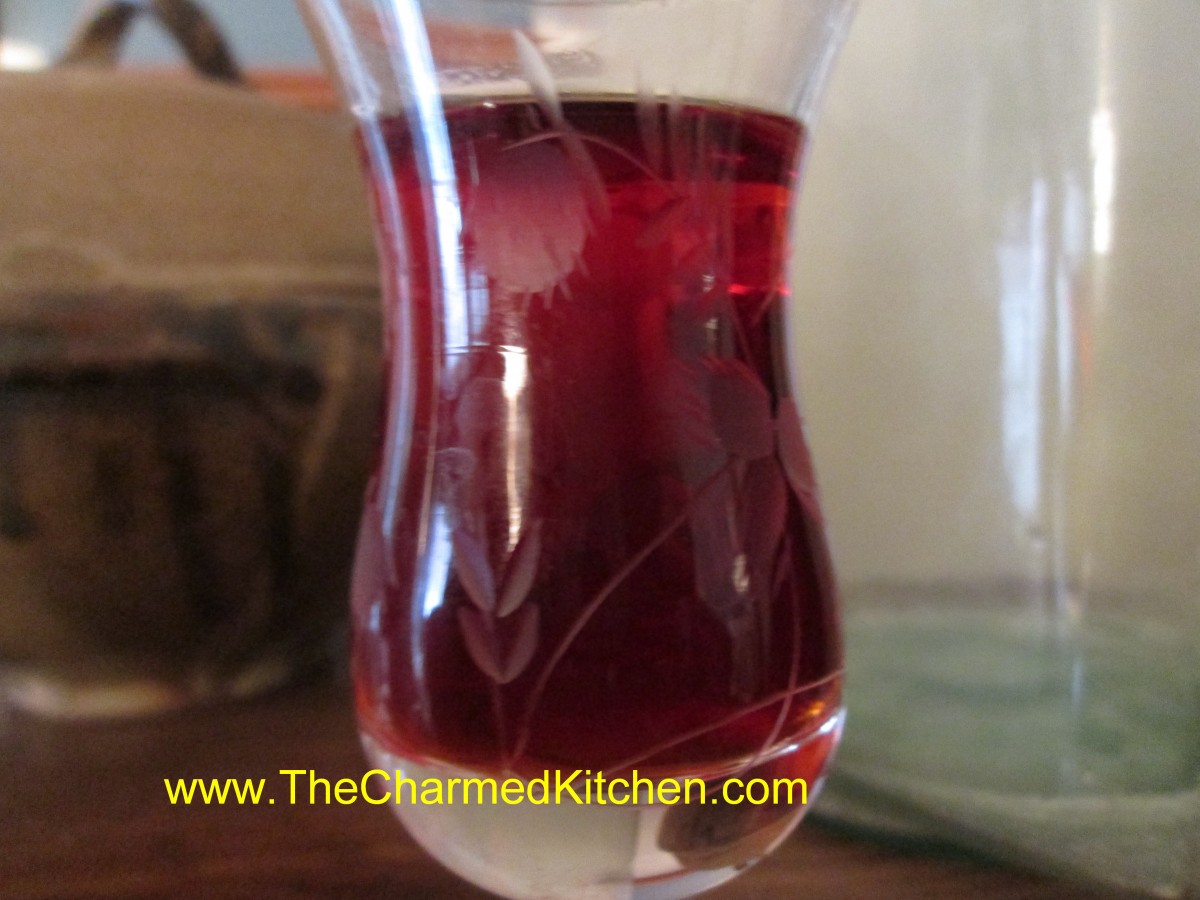
I enjoy making homemade liqueurs. You just start with alcohol- I most often use vodka – then you add ingredients to flavor the alcohol. I have done all sorts over the years and raspberry is one of my all time favorites. Its beautiful color and great flavor make it nice for sipping, or used in mixed drinks. I like to think of it as just another food preservation method!!! Here is the recipe in case you also want to make it. Makes a great gift, too.
Homemade Raspberry Liqueur
1 lb. raspberries
3 c. vodka
1 ¼ c. sugar
Combine fruit and vodka and let stand 2 -4 weeks. Stir in sugar and age 3 months. Strain and filter. Makes 3-4 cups.
Spiced Chocolate Zucchini Cupcakes

Spiced Chocolate Zucchini Cupcakes
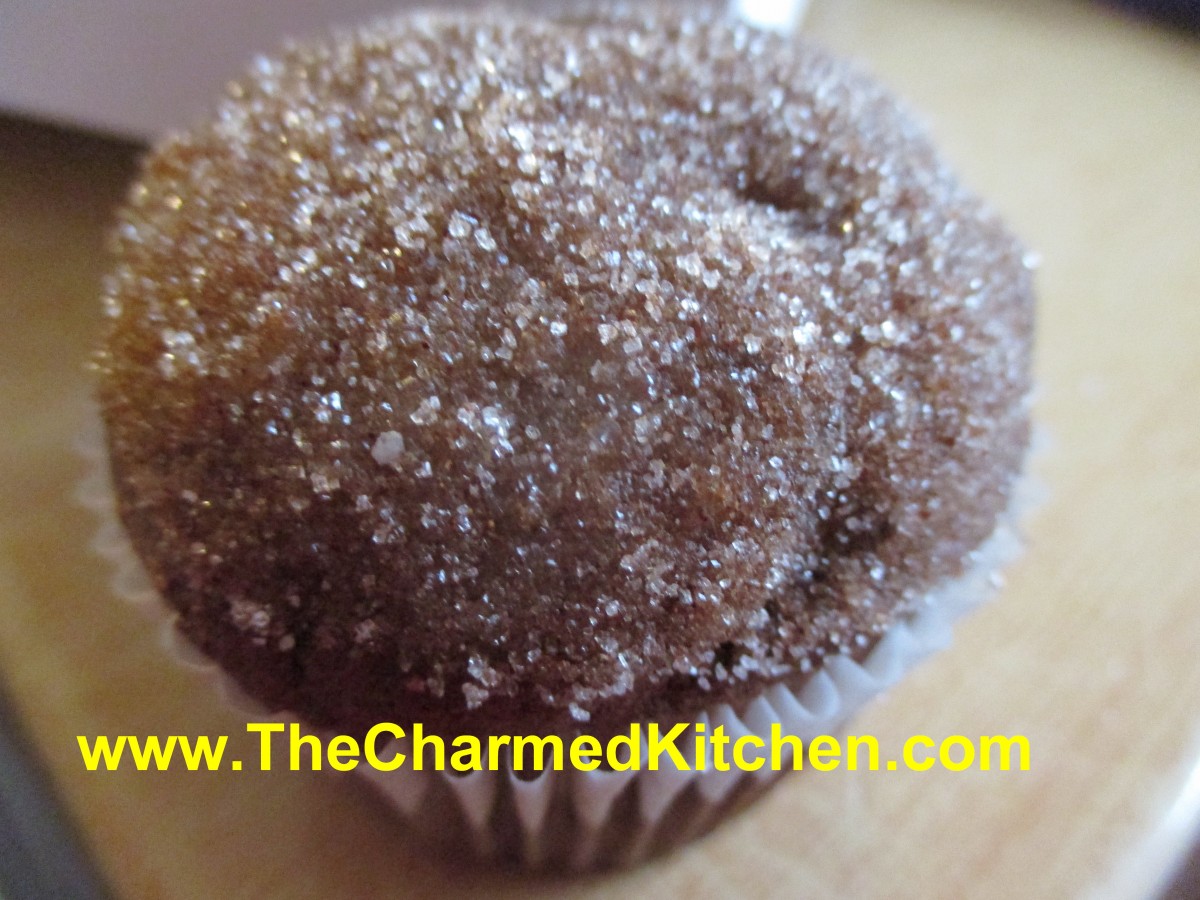
These are wonderfully spicy, moist cupcakes. Instead of frosting them, I decided to top them with melted butter and cinnamon sugar. It’s something I’ve done with muffins, in the past. I just never thought of topping cupcakes that way before. It was a really good idea. The cupcakes were baked for a picnic, and in the heat, frosting would have melted. Besides, not everyone likes frosting. As an added bonus- it is a another recipe using zucchini, and that is never a bad thing.
Spicy Chocolate Zucchini Cupcakes
2 cups all-purpose flour
1 t. baking soda
½ t. salt
1 t. cinnamon
½ t. nutmeg
Pinch of cloves
¼ c. unsweetened cocoa
½ cup butter, softened
½ cup olive oil
1½ c. sugar
2 eggs
½ c. buttermilk
1½ t. vanilla
2½ c. grated zucchini
1 cup chocolate chips
Topping:
½ c. butter, melted
½ c. sugar
2 t. cinnamon
Preheat oven to 325 degrees. Grease and flour 24 muffin cups or use paper liners. Mix together the dry ingredients. Set aside. In a large bowl, cream together the butter, olive oil and sugar until light and fluffy. Beat in the eggs one at a time, then stir in the buttermilk and vanilla. Beat in the flour mixture, just until incorporated. Stir in the grated zucchini and chocolate chips. Pour batter into prepared pans. Bake for 25 to 30 minutes, or until the top of the cupcakes spring back when lightly pressed. Cool in pans over a wire rack for at least 10 minutes or until cool enough to handle. Dip top of cupcakes in melted butter, then dip in the cinnamon sugar. Place on rack to finish cooling off. Makes 24.
Blueberry Crumble

Blueberry Crumble
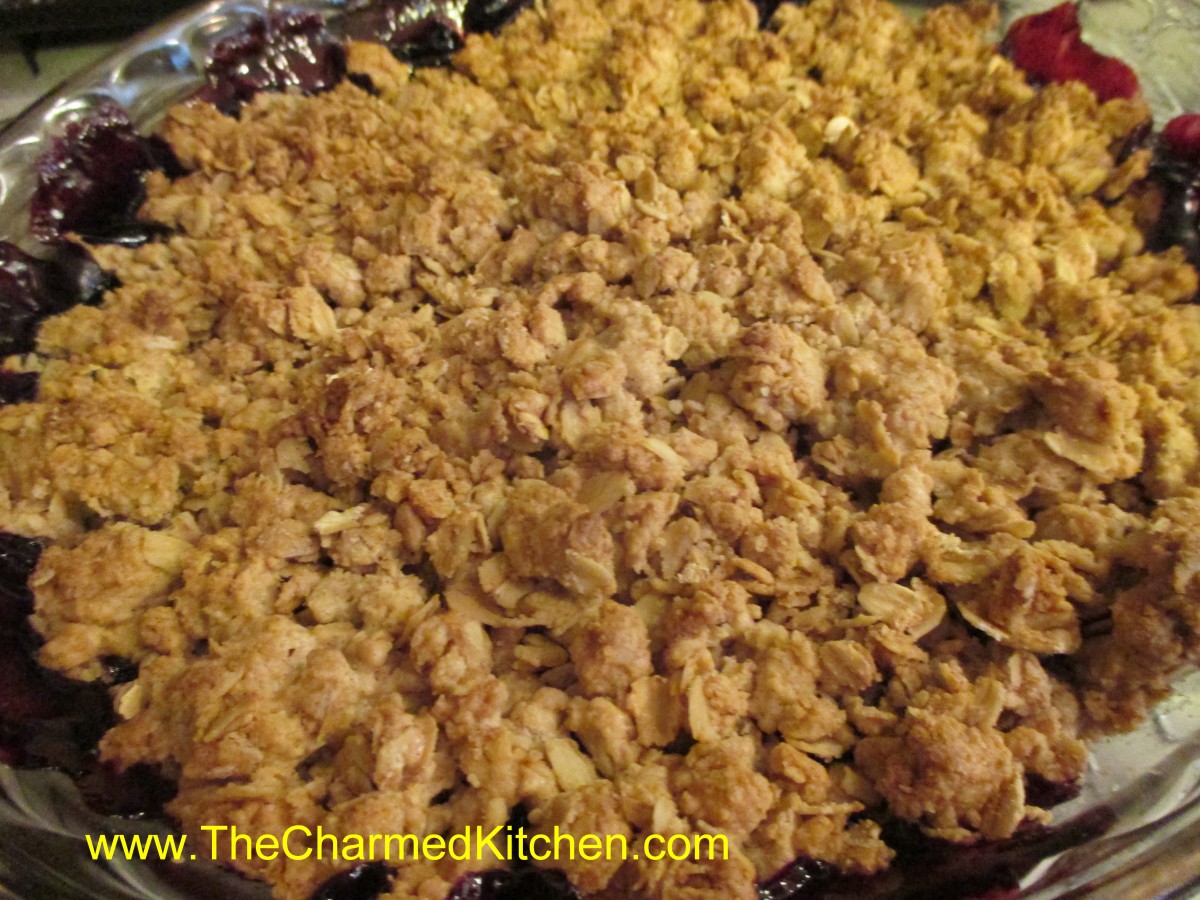
When I need a last minute dessert I will often make a fruit-based crumble or a cobbler. I usually have some sort of fresh fruit around. If not, there are always fruit pie fillings I canned or fruit I have frozen. This time I started with a jar of homemade blueberry pie filling, but you can use store bought. You can also make the filling with fresh berries- recipe follows. I topped it with an oatmeal crumble mixture and popped it in the oven to get all toasted and bubbly. It took longer for the oven to preheat than it did for me to assemble this dish. Great for dessert as is, or topped with ice cream. Not too sweet, it could easily work for a brunch, too. I used blueberry pie filling but you could use whatever fruit pie filling you prefer.
Blueberry Crumble
1 can blueberry pie filling – I make my own so I used homemade*
1 c. rolled oats
2/3 c. flour
½ c. brown sugar
2 t. cinnamon
½ t. salt
¼ c. butter
3 T. half and half – you could also use milk or whipping cream
Place pie filling in a deep dish 9-inch pie pan. In mixing bowl combine the oats, flour, sugar, cinnamon and salt. Cut in the butter. Drizzle the milk over the oat mixture and stir to blend. Place oat mixture over the blueberry pie filling. Bake in a preheated 375-degree oven for 30-35 minutes- or until bubbly and the crumble topping has become golden. Serve warm or cold. Tastes great plain but also good topped with ice cream or whipped cream. Serves 4-6.
* You can also make the filling using fresh or frozen berries. In medium saucepan combine 3-4 cups of berries with ¾ cup of sugar, ¼ cup lemon juice and the zest of a lemon. Bring to a boil and add 2 tablespoons of cornstarch (or Clear Gel if you have it) mixed with 3 or 4 tablespoons of cold water. Bring to a boil, stirring often. Mixture should be nicely thickened. Depending on the berries I sometimes use a little more cornstarch.
Mini Cherry Cheesecakes – Gluten -Free


Mini Cherry Cheesecakes- Gluten-free
I needed a gluten free dessert for a friend of mine and I was trying to come up with something seasonal. Saw some beautiful cherries so I bought some and went from there. She really loves cheesecake so I used the cherries as toppers for these mini cheesecakes. The crust is a shortbread type cookie made with gluten free flour. The filling pretty straight forward with a nice splash of lemon juice and vanilla. I used 2 cups of fresh, pitted cherries-she likes a lot of cherries on cheesecake- but I only used 2 tablespoons of sugar to sweeten them. The recipe made a dozen. If you are using tart cherries, you might want to add a little more sugar. Here is what I did.
Mini Cherry Cheesecakes – Gluten Free
Crust:
1/4 c. softened butter
1/4 c. sugar
1/2 c. gluten free flour – found in some grocery stores- I got mine at Costco
pinch of salt.
Filling: 2 (8 oz.) packages cream cheese, softened
1/2 c. sugar
2 T. lemon juice
2 t. vanilla
2 eggs
Cherry Topping:
2 c. pitted cherries, including any juice
2 T. sugar, or to your taste
1 t. tapioca starch- you could also use cornstarch
Preheat oven to 325 degrees. Line 12 muffin pans with paper or foil liners. In mixing bowl combine ingredients for crust by first mixing the butter and sugar together and then stirring in the flour and salt. Divide the dough into 12 portions and roll into balls. Place one ball in each paper lined pan and press to flatten. Bake for 10 minutes. While crust is baking make the filling. Combine cream cheese, sugar, lemon juice and vanilla and blend until smooth. Stir in the eggs. Spoon the batter into the muffin pans- they will be pretty full. Bake for 20-25 minutes, or until puffy and set. Cheesecakes will flatten a little when cooled. While the cheesecakes are baking you can make the cherry topping. Pour off any liquid from the cherries into a small saucepan. You should have about a quarter of a cup. Add enough water to make a half a cup of liquid. Add sugar and tapioca starch or cornstarch and heat over medium heat. Stir constantly until mixture thickens- it just takes a few minutes. Stir in the cherries and allow mixture to cool down. Once cheesecakes and topping are both cooled down spoon cherries over the cheesecakes and chill until ready to eat. These could be frozen- but you aren’t going to have any left over.
Black Forest Blintzes

Black Forest Blintzes
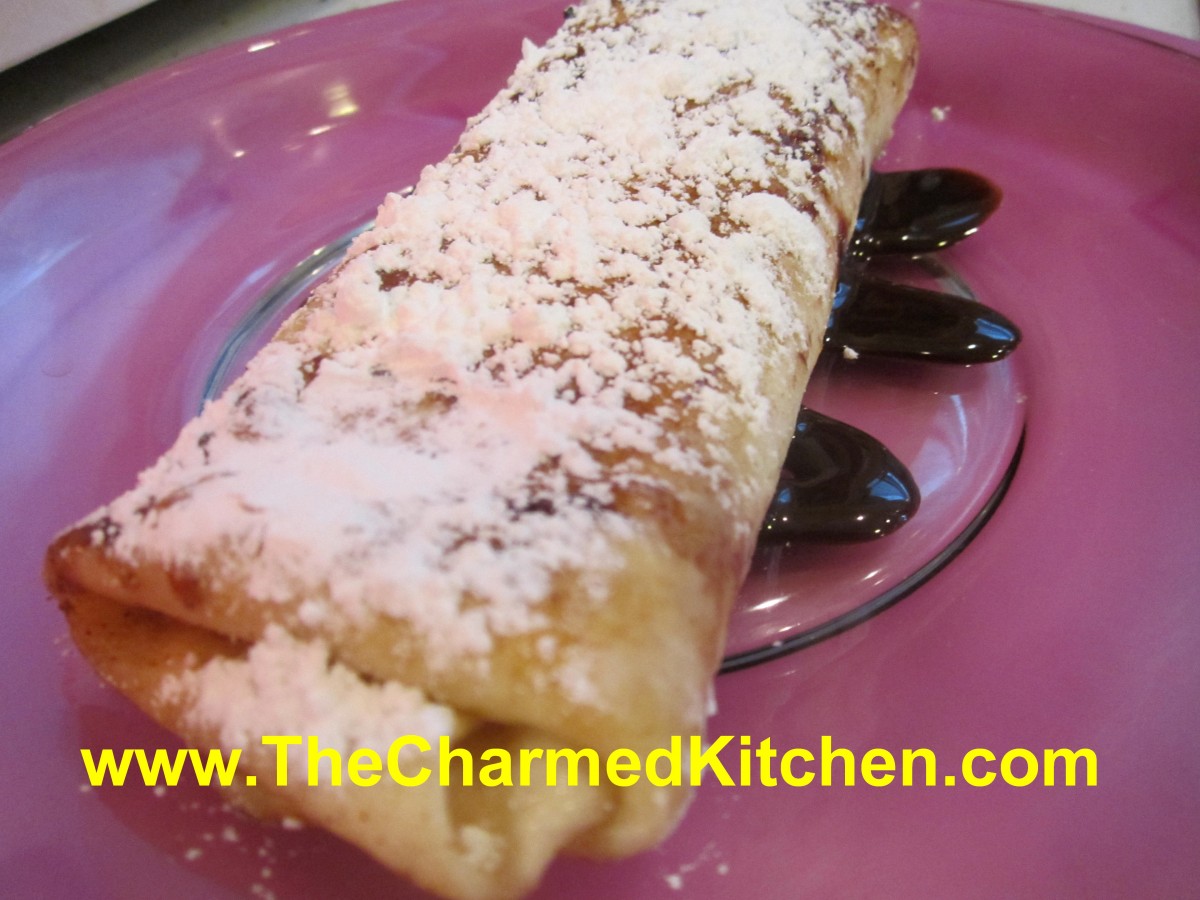
I needed a last minute dessert when a friend stopped by for dinner a few nights ago. I had some cherry pie filling and some bittersweet chocolate. I also had some flour tortillas, so I combined them for what I think is a pretty nice dessert. Easy to make, too. The name was inspired by Black Forest Cake, which contains both chocolate and cherries.
First I softened the tortillas in milk for about 10 minutes. This makes them more pliable- like a thick crepe. I melted some semi-sweet (bittersweet) chocolate with a little half-and-half. Two parts chocolate to one part of the half-and-half. Whipping cream would also work. Milk, too, but maybe use a little less milk, it is thinner. I melted the chocolate and half-and-half in the microwave for half a minute or so, then stirred until they were smooth. I put the melted chocolate in a squeeze bottle and put a nice swirl of it in the center of a tortilla. Then I added a couple of spoonfuls of the cherry pie filling. I folded up the sides a little and then folded it over- like making an egg roll. Next I melted some butter in a pan and cooked them over medium heat until golden on both sides. I put a drizzle of the chocolate on a plate, dusted the blintz with powdered sugar and placed it on top of the chocolate. Simple and kind of pretty, too. Would be nice served with whipped cream or ice cream.
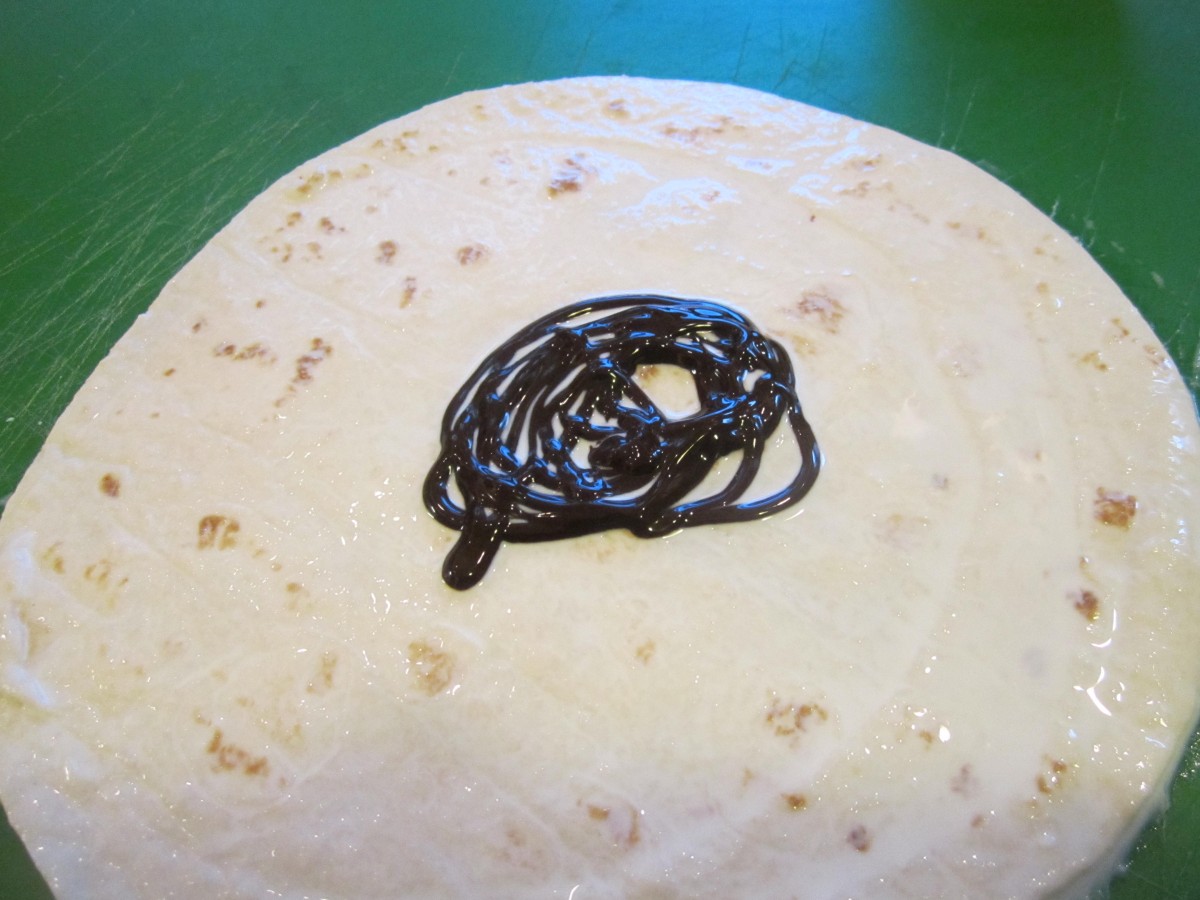
Start with chocolate sauce on the softened tortilla
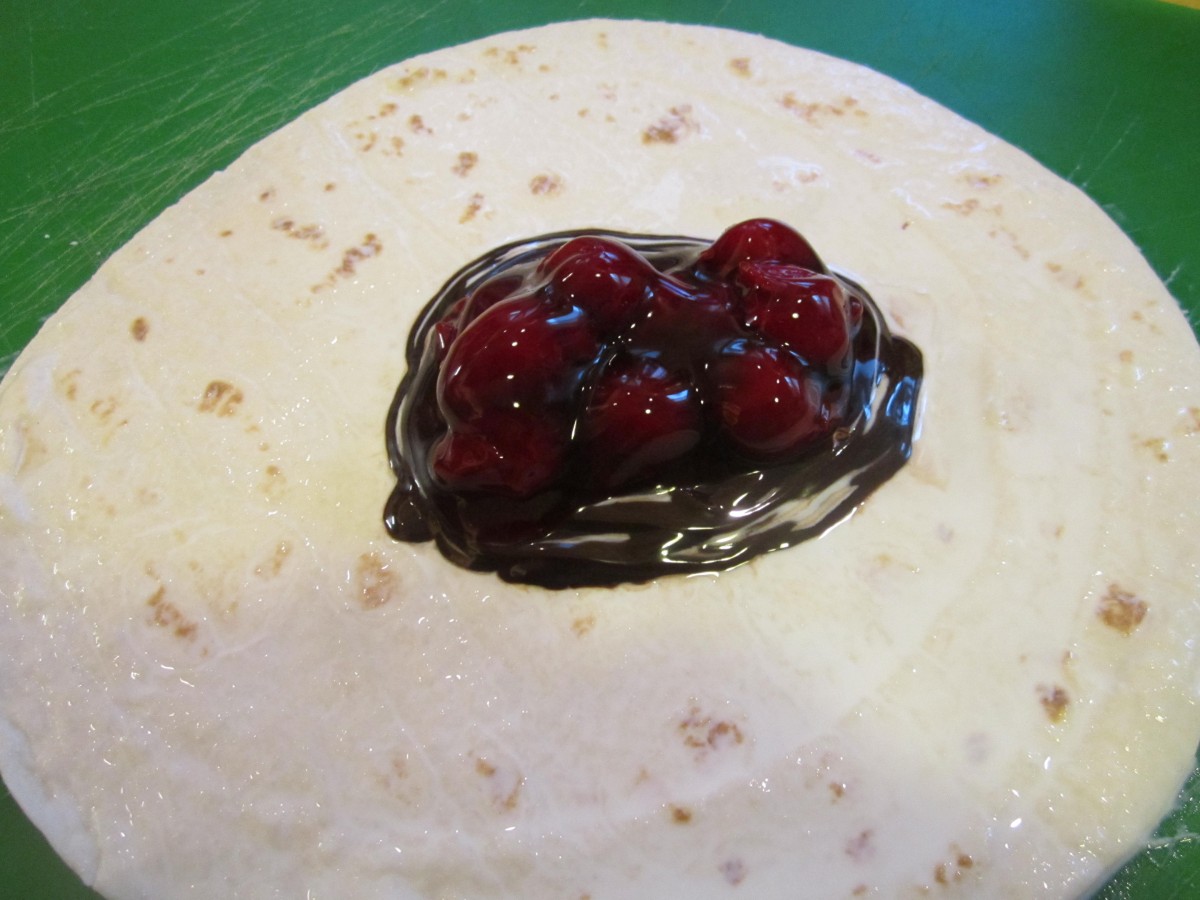
Top with a couple of spoonfuls of cherry pie filling
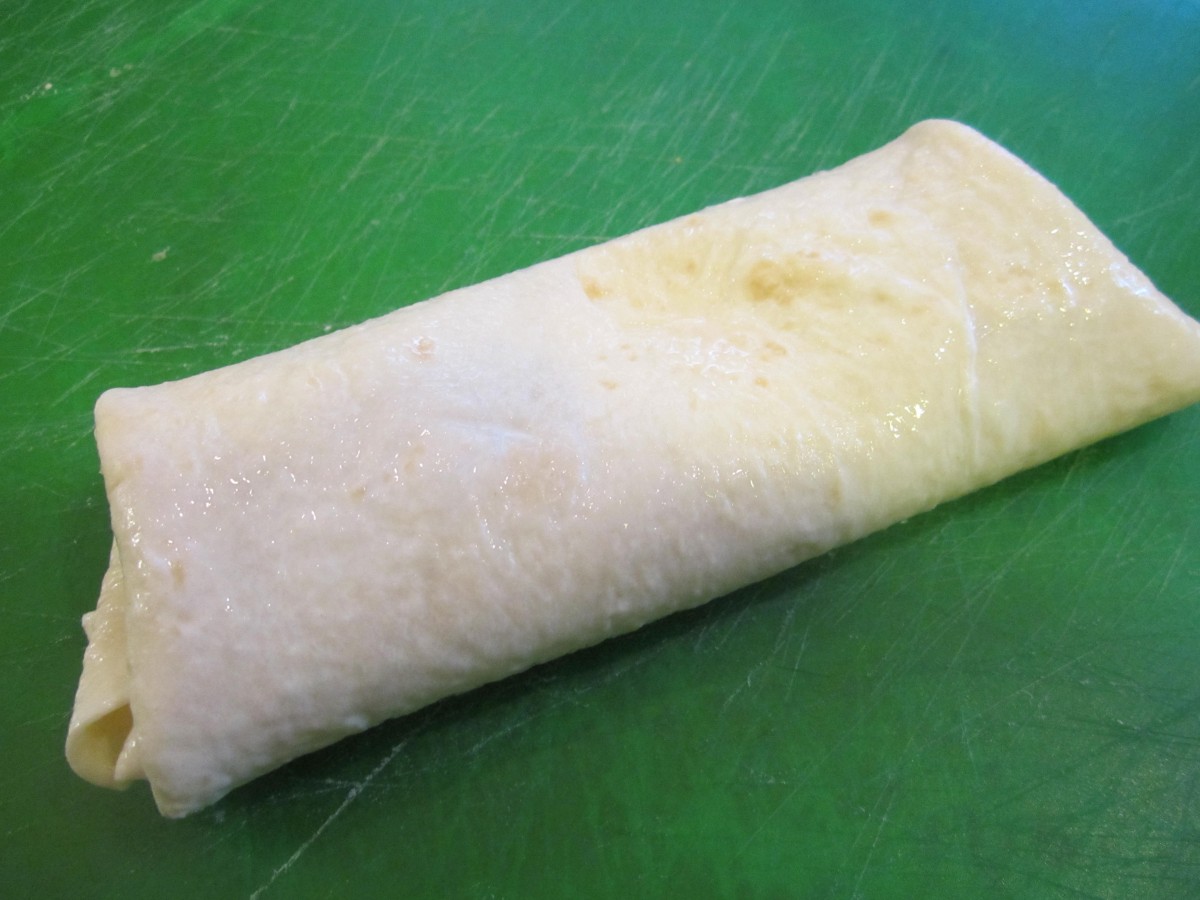
Fold sides in and roll up
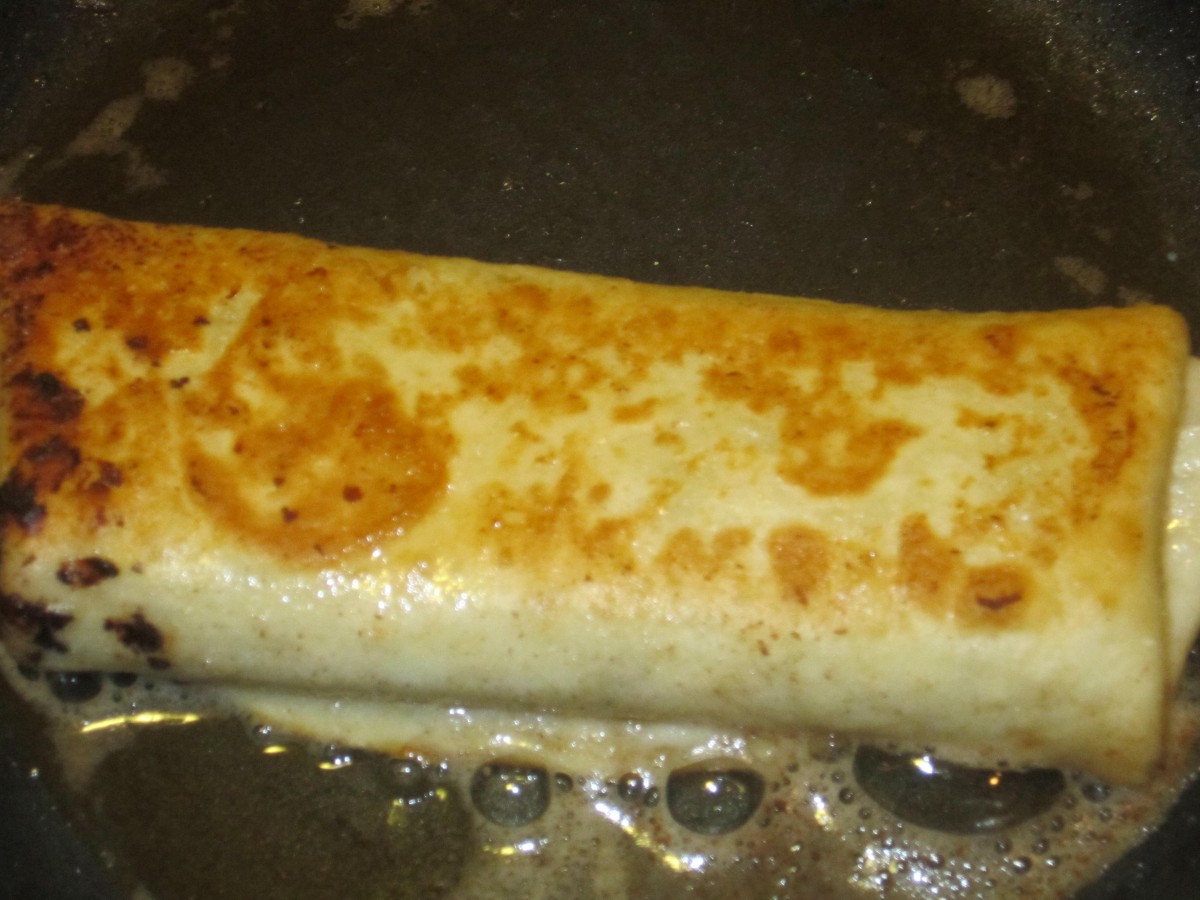
Brown in butter
Really Fun Cooking Class

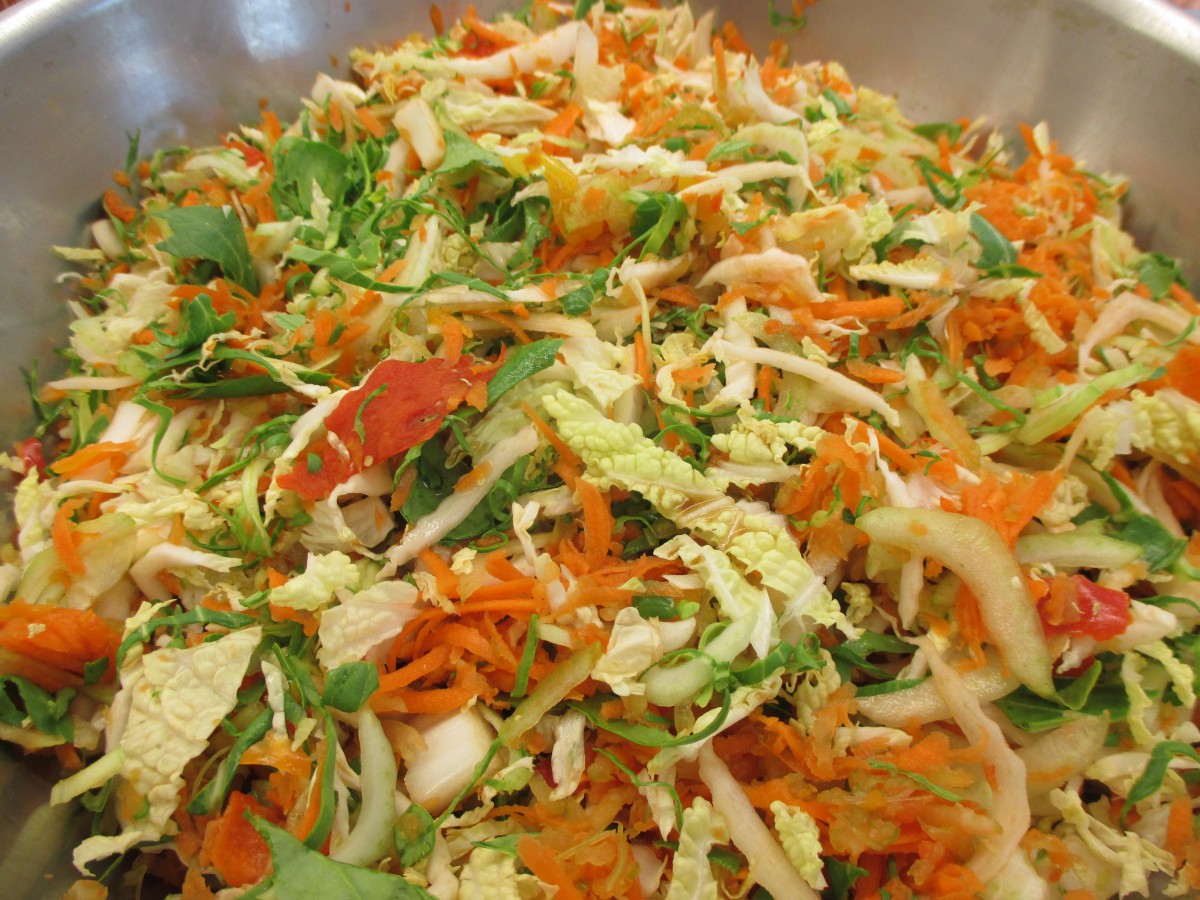
Veggie filling for the egg rolls
I was so pleased to be asked to do an inter-generational cooking class for the Jennings Center for Older Adults. The class was a mix of residents from Jennings and kids from their day care center. We made fried rice and egg rolls. Not one of the participants had ever made egg rolls before, so it was a new experience for all, old and young. It was so much fun to see kids working with older adults. I also got chopsticks for everyone. They had a lot of fun trying to eat fried rice with them.
I have to share what one of the kids told me before class started. She was telling me that sometimes kids find old people scary, but that they were really nice. She enjoyed spending time with them. I thought that was perhaps my favorite moment of the day. She was a real natural at making egg rolls, too. She would show others how to make them, if they were having trouble. The pics at the bottom of the post are of her rolling an egg roll. I think she is about 7 or 8 years old. All of the kids and adults were fun to work with.
Thanks to Jodi Spiegal and the rest of the staff for helping things to run so smoothly. Looking forward to our next class.
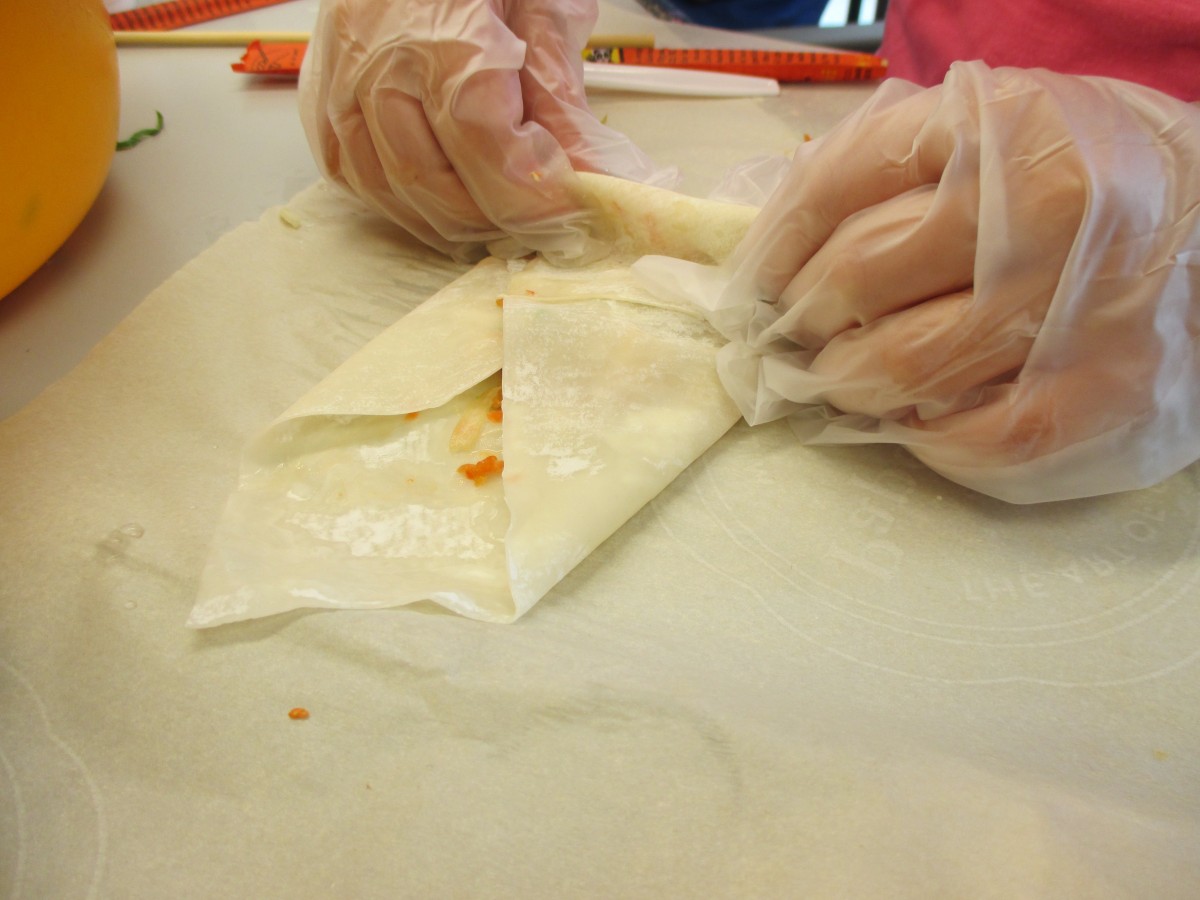
One of the kids making her egg roll

Almost finished. So well done.
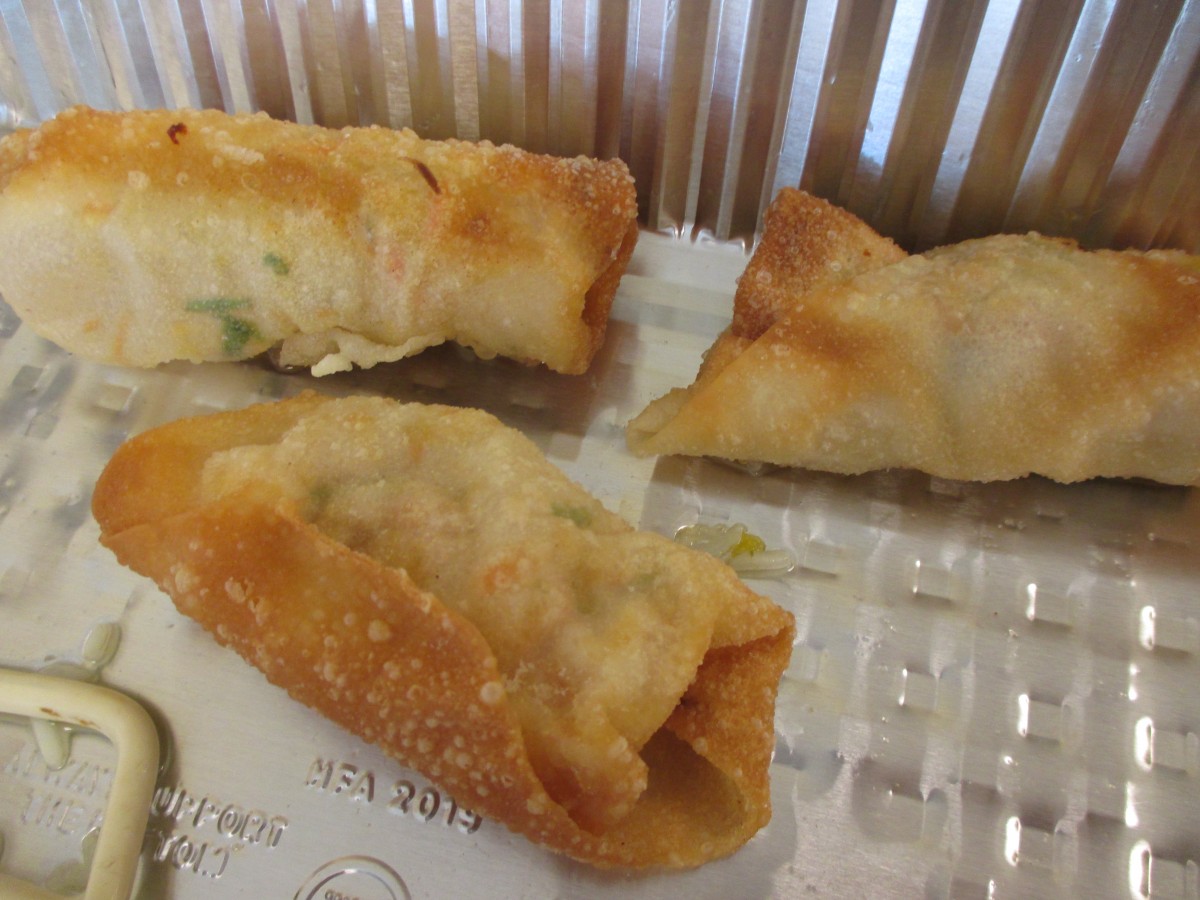
Some of the finished egg rolls
Cherry Vanilla Jam

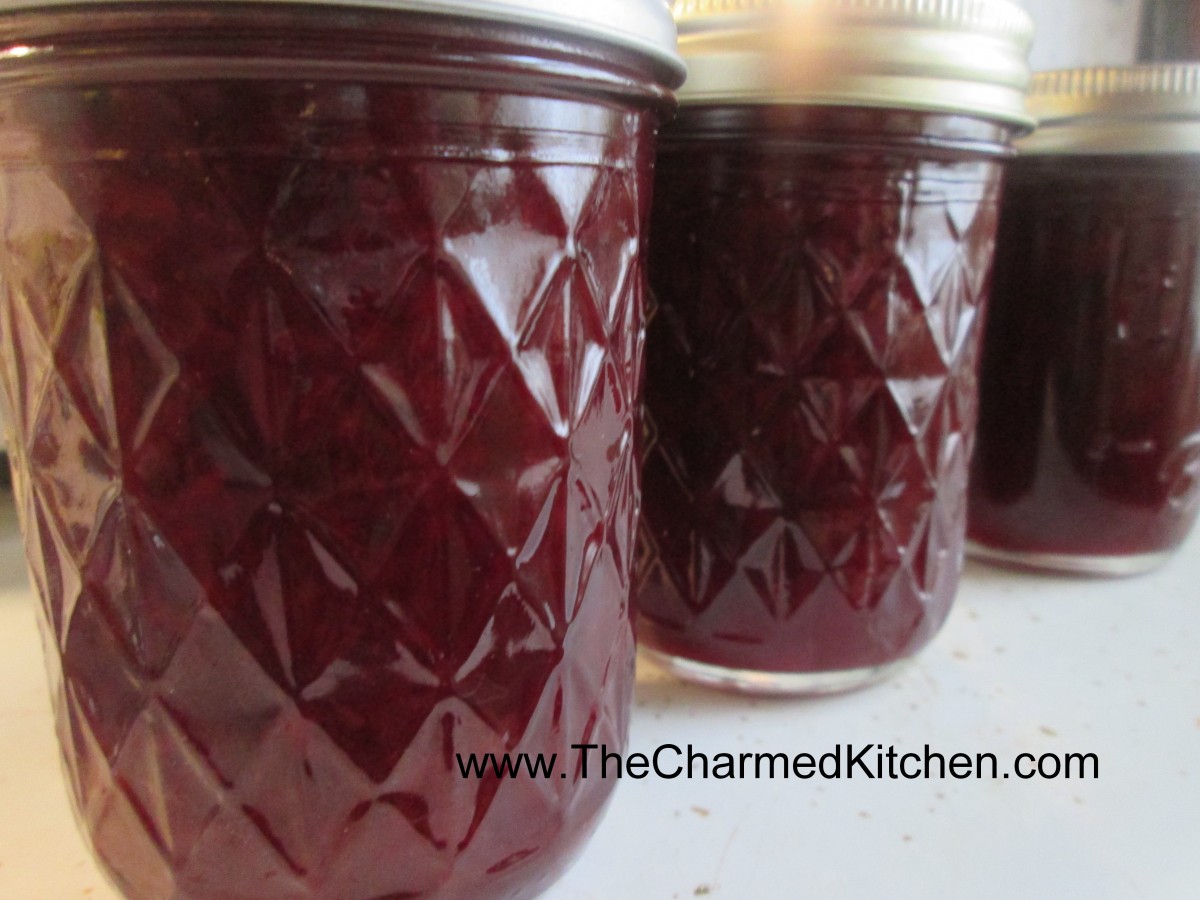
Cherry Vanilla Jam
When cherries are in season I can’t get enough of them. I kind of like the taste of sour cherries, even without adding sugar to them. If you are going to cook with them, this cherry vanilla jam is a great recipe. The addition of vanilla gives this jam such a nice fragrance. I also add just a touch of lemon juice- for a little extra flavor. It tastes like summer in a jar. Make more than one batch. This one is always a favorite with family and friends. Seems I run out quickly every year.
Cherry Vanilla Jam
4 c. chopped pitted sour cherries including any juice
2 T. lemon juice
2 T. pure vanilla extract
1 box powdered pectin
5 c. sugar
Wash jelly jars and lids and keep warm until ready to use. Place a large pot of water, with a rack, on to boil for the water bath. In large saucepan combine cherries with lemon juice, vanilla and pectin. Bring to a rolling boil, stirring often. Add the sugar and bring mixture back to a rolling boil, stirring often. Once the mixture gets to a full, rolling boil, constantly stir for one minute longer. Remove jam from heat and skim off any foam. Ladle hot jam into hot jars, filling to about 1/4 inch from the top. Wipe off rim and screw on the lids. Repeat with remaining jam. Process in a hot water bath for 10 minutes. Remove from water bath and allow jars to cool. Yield: about 7 half pint jars of jam.
Adapted from NCHPF recipe.
Minty Brown Rice Salad

Minty Brown Rice Salad
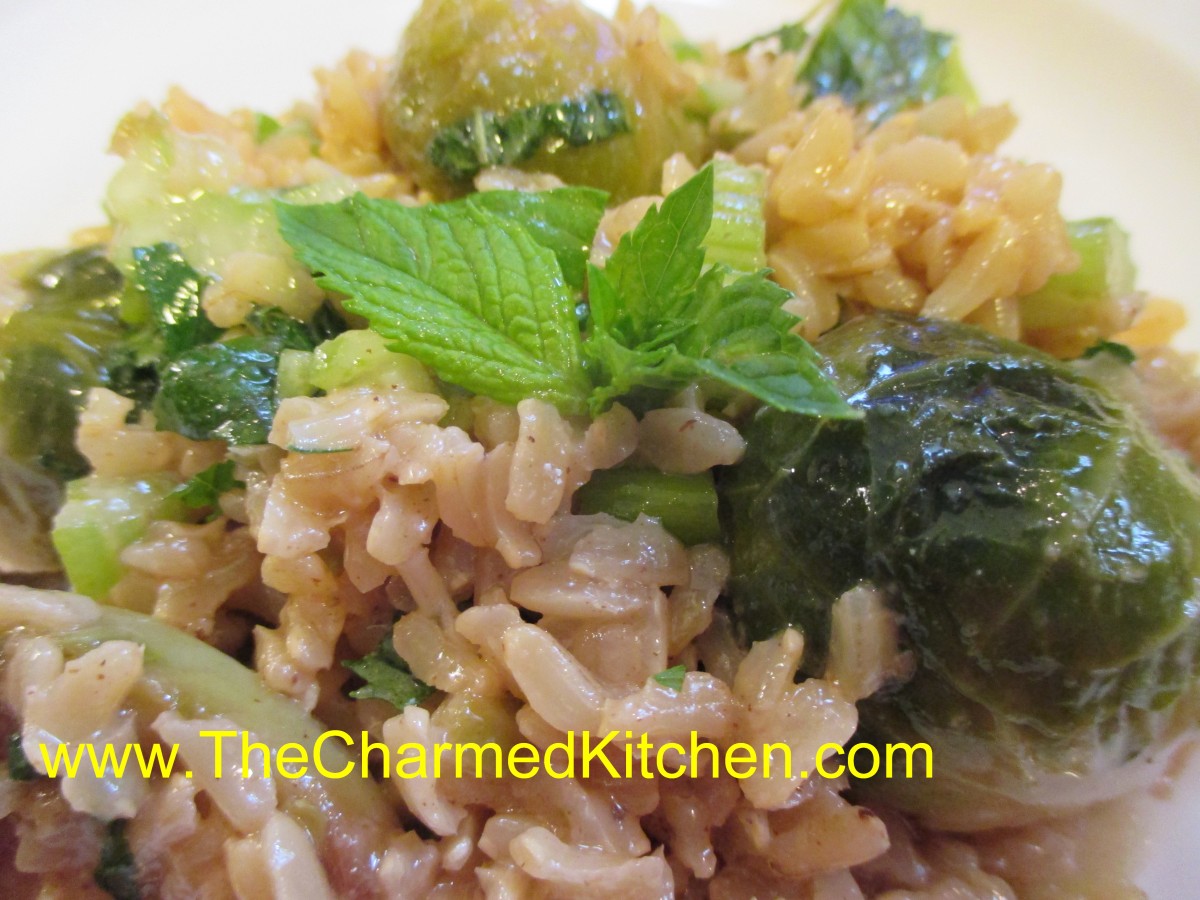
I make salads with rice and other grains pretty often. It started years ago with leftover rice from Chinese takeout. It was hot and I wanted a salad. I don’t remember everything I put in that salad, but I knew I liked the rice in it. For this rice salad I started with brown rice. I had browned the rice in a little oil, before cooking, to give it even more flavor. I also added some roasted Brussels sprouts, minced celery, green onions and a light dressing. What I think really made this recipe work, was the addition of fresh mint.
Minty Brown Rice Salad
3 c. cooked cold rice, I prefer brown rice but use what you like
8-12 oz. Brussels sprouts, cut in half and cooked*
1/2 c. minced celery
2 green onions, sliced
3 T. chopped fresh mint leaves
2 T. chopped lovage leaves- use celery leaves, if you don’t have lovage
1/4 c. oil- I used grape seed oil
1/4 c. white wine vinegar
salt and pepper to taste
hot pepper sauce to taste
In medium bowl combine rice with veggies and herbs. Drizzle the oil over the rice mixture, toss to combine. Then drizzle the vinegar over the rice mix. Mix will and add seasonings to taste. Chill until ready to serve. Serves 4-6.
* Trim off the bottoms, cut the sprouts in half and rinse. You can cook the Brussels sprouts any number of ways- steam, boil, roast. I just heated oil in a large pan and sauteed the sprouts until they were a little golden. I added some salt and a little water. Put the lid on the pan and let them finish off another couple of minutes, over low heat, until tender.
Pickle Class


Dilly Green Beans
If you are interested in learning how to make pickles- I am teaching a pickle making class next week. This class is through the Countryside Conservancy at will be held at Old Trail School at 2315 Ira Rd. Bath, Ohio. This is in the very scenic Cuyahoga Valley National Park.
Date of the class is June 24 and it will be from 7-9 pm. This is a hands on class. Besides a jar of fresh made pickles to take home you will also receive plenty of additional recipes and a lot of information on making pickles and pickled products. Click on the link below for more details.
https://countrysideconservancy.worldsecuresystems.com/BookingRetrieve.aspx?ID=43514
Blueberry Vanilla Jam


Blueberry Vanilla Jam
I make a lot of jams, jellies and preserves in the summer when berries are abundant. That way I can enjoy them throughout the year. They also make such nice gifts. I have posted this recipe before, but had a request from somebody for it- so here it is. I used the basic berry jam recipe from the Ball Blue Book, but I added some vanilla and a little lemon juice for extra flavor. Looks like I’ll get a decent blueberry harvest this year- assuming I get there before the birds, squirrels and chipmunks. Enjoy.
Blueberry Vanilla Jam
9 c. crushed fruit
6 c. sugar
1/4 c. lemon juice
1 T. vanilla
Pick over berries getting any stems. Rinse , drain and crush. Place berries, sugar, lemon juice and vanilla in a large saucepan and heat slowly until sugar has melted. Bring up heat and cook over high heat, stirring often. Stir more as mixture thickens. It will take 20-30 minutes to get to the gel stage. To check for gel stage dip a metal spoon in blueberry mixture and hold it up sideways. Allow mixture to drip off and when two drops come together to form one larger drop- you are at gel stage. You can also use a candy thermometer. When the jam reaches 220 degrees- or 8 degrees over the temp of boiling water- you are at gel stage. Ladle hot jam into clean, hot jelly jars. Fill to within 1/4 inch of the top. Wipe rims and place on lids prepared according to directions on box. Screw lids comfortably tight. Place jars in boiling water bath with water at least 1-2 inches over the tops of the jars. Cover pot and start timing when water returns to the boil. Process 15 minutes. Remove jars to towel, cutting board or cooling rack in a draft-free location. Check seals once jars are cooled. Makes 8-10 jelly jars.
Source: Adapted from Ball Blue Book


