Sweet Potatoes- Five Ways

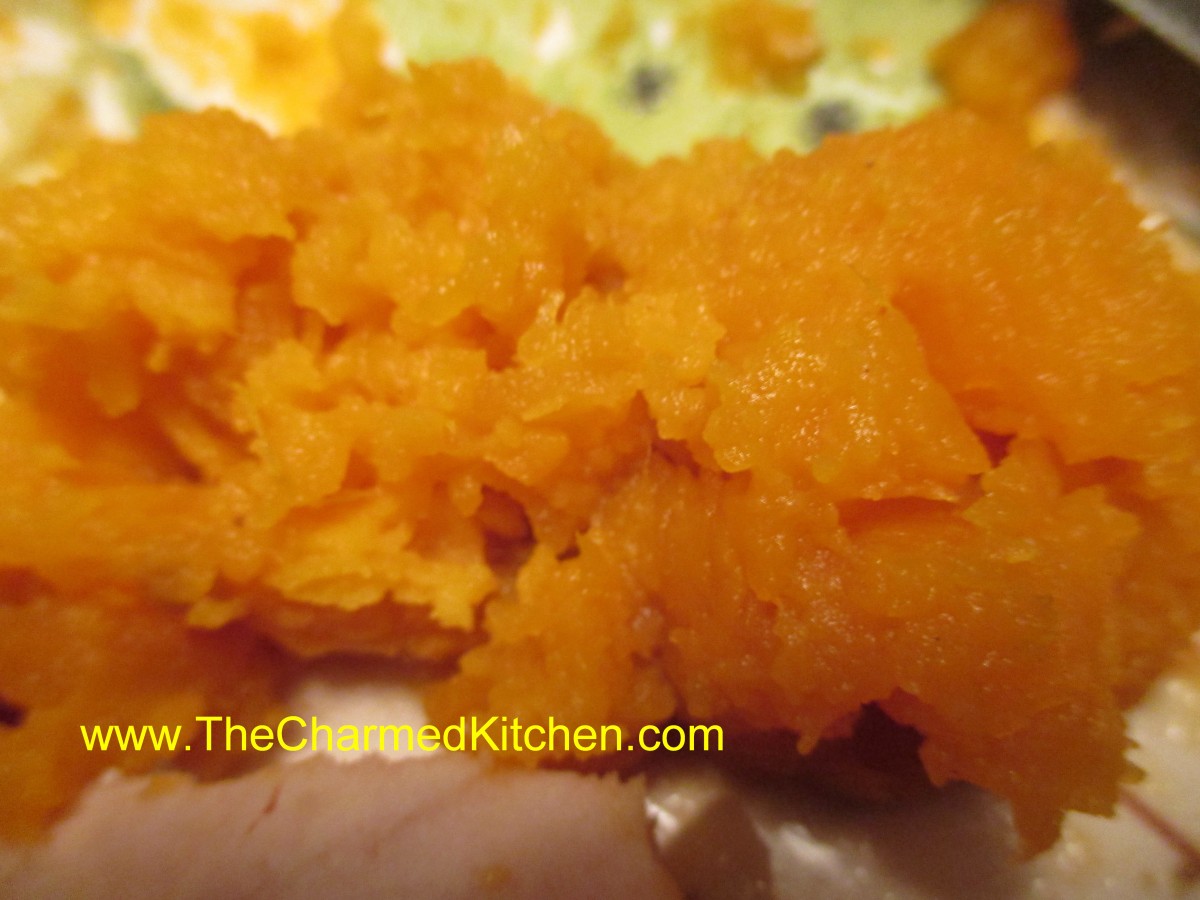
Mashed Sweet Potatoes
I love sweet potatoes and am always looking for fun ways to serve them. I will admit to not being a fan of sweet potatoes topped with marshmallows. I am not opposed to sweetening them, though. The following recipes include some simple treatments for the very versatile sweet potato. If you are looking for a fun way to serve sweet potatoes I am sure you will find a recipe here to love.
This simple recipe just sweetens the potatoes a little. I think here the nutmeg is the secret to make them taste really special.
Mashed Sweet Potatoes
2 lbs. sweet potatoes, peeled and cut in chunks
4 T. butter
1/4 c. brown sugar
1-2 t. fresh grated nutmeg
salt and pepper to taste
Boil potatoes until tender. Drain water and add remaining ingredients. Smash the potatoes a little as you mix them. Serves 6.
Sweet Potatoes with Apples
Sweet Potato Salad

Herbed Sweet Potato Biscuits
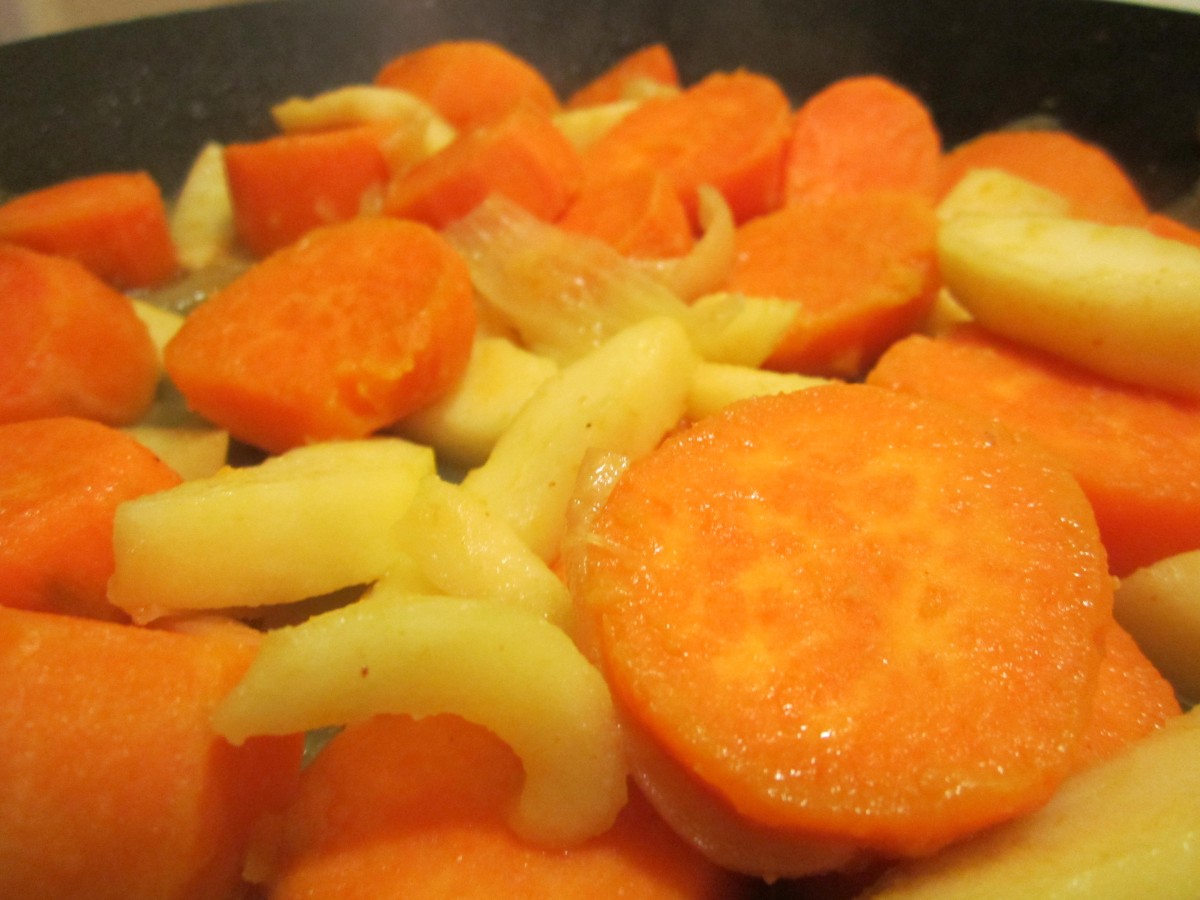
This recipe is a great side dish. Slightly sweet and just a touch of vinegar makes this a winner.
Sweet Potato and Apple Saute
2 T. oil or butter
1 large onion, peeled and sliced
3 small sweet potatoes, peeled and sliced about an inch thick
1/2 c. water or stock
2 apples, peeled, cored and sliced
2 T. honey
2 T. cider vinegar
salt and pepper to taste
dash of hot sauce
Heat oil or butter in skillet and add the onion. Cook until golden. Add sweet potatoes and water or stock and cook until sweet potatoes are almost tender. Add apples and cook until apples are heated through. Add honey and vinegar and cook until most of the liquid disappears. Season to taste and serve.
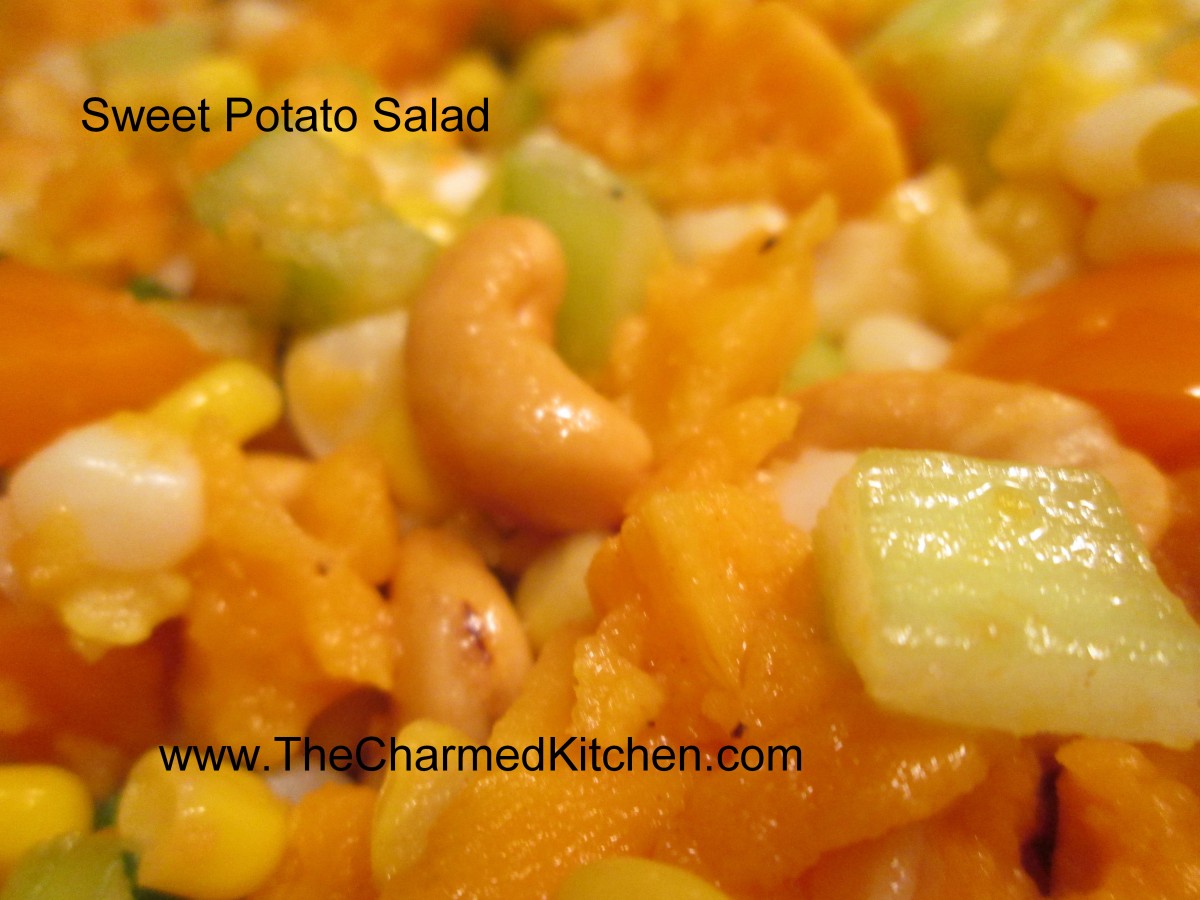
While I often serve this salad for summer picnics it works well any time of the year.
Sweet Potato Salad
3 large sweet potatoes
2 c. corn kernels, fresh off the cob preferred but frozen is O.K.
2 ribs celery, sliced
1 sweet onion, diced
1 c. sweet pepper, seeded and chopped
2-3 T. fresh parsley
1/3 c. oil
1 t. Dijon mustard
3 T. apple cider vinegar
1 T. lemon juice
1 clove garlic, minced
Salt and pepper to taste
½ c. cashews
In medium saucepan boil or steam potatoes until tender, about 20-25 minutes. Remove with slotted spoon and place in a large bowl of ice water. Add corn to saucepan and cook until just tender about 2-3 minutes. Drain corn and add to ice water with the potatoes. Once the vegetables have cooled down drain them and peel and cut the potatoes into bite-sized pieces. Place potatoes and corn in a mixing bowl with remaining vegetables. Combine remaining ingredients, except cashews, in a jar with a tight-fitting lid and shake well before pouring over the sweet potato mixture. Toss to blend and chill until ready to serve. Add cashews just before serving. Serves 6.
Maybe you are looking for a different kind of biscuit. This recipe is flaky, crisp on the outside and moist inside. Always a hit when I make them.
Herbed Sweet Potato Biscuits
2 1/4 c. flour
1 T. baking powder
1/2 t. grated lemon peel
1/4 t. each baking soda, dried basil and dried thyme
1 egg, beaten
1 1/2 c. shredded sweet potato, about 1 large
1/2 c. fine chopped green onions
1/2 c. sour cream
2T. butter, melted or olive oil
Stir together dry ingredients in large bowl and set aside. Combine remaining ingredients and add to flour mixture mixing until just blended. Turn onto lightly floured surface and knead a few times until dough just stays together. Dough will look too dry- but it will come together after you knead it. Press into an 8-inch square and cut into four squares.* Cross cut each square into four triangles. Place on greased baking sheet and bake in a preheated 425 degree oven for 20 minutes. Makes 16.
* I press the dough into a lightly floured 8×8-inch baking pan and then flip it out onto the work surface. That way you’ll get nice, even edges.
For when you want really simple this is the way to go. Steamed and then tossed with just butter, nutmeg and salt and pepper the flavor of the sweet potatoes shine on their own.
Steamed Sweet Potatoes
3-4 lbs. Sweet potatoes, scrubbed, peeled if desired and cut in chunks
salt
pepper
butter
fresh grated nutmeg
If you don’t have a steamer, just place a metal strainer in a big pot and add an inch of water to the bottom. Cover and bring to a boil. Add sweet potatoes, cover and cook until tender, about 30 minutes. These can be done ahead and just reheated in the oven or in a microwave when ready to serve.
Remove potatoes from strainer and place in a serving bowl. Season to taste and add butter. Add a fresh grating of nutmeg over the top and serve. Serves 4-6, but with a lot of other side dishes, could serve 8.
Note: if you just look too forward each year to having them sweetened you can still steam them and just add 1/3 brown sugar with the butter and toss. A nice sweetener is to add a little maple syrup. To brown them up a little, place the potatoes in an oven safe dish and bake, uncovered 30 minutes to make a glaze.
Dressing versus Stuffing

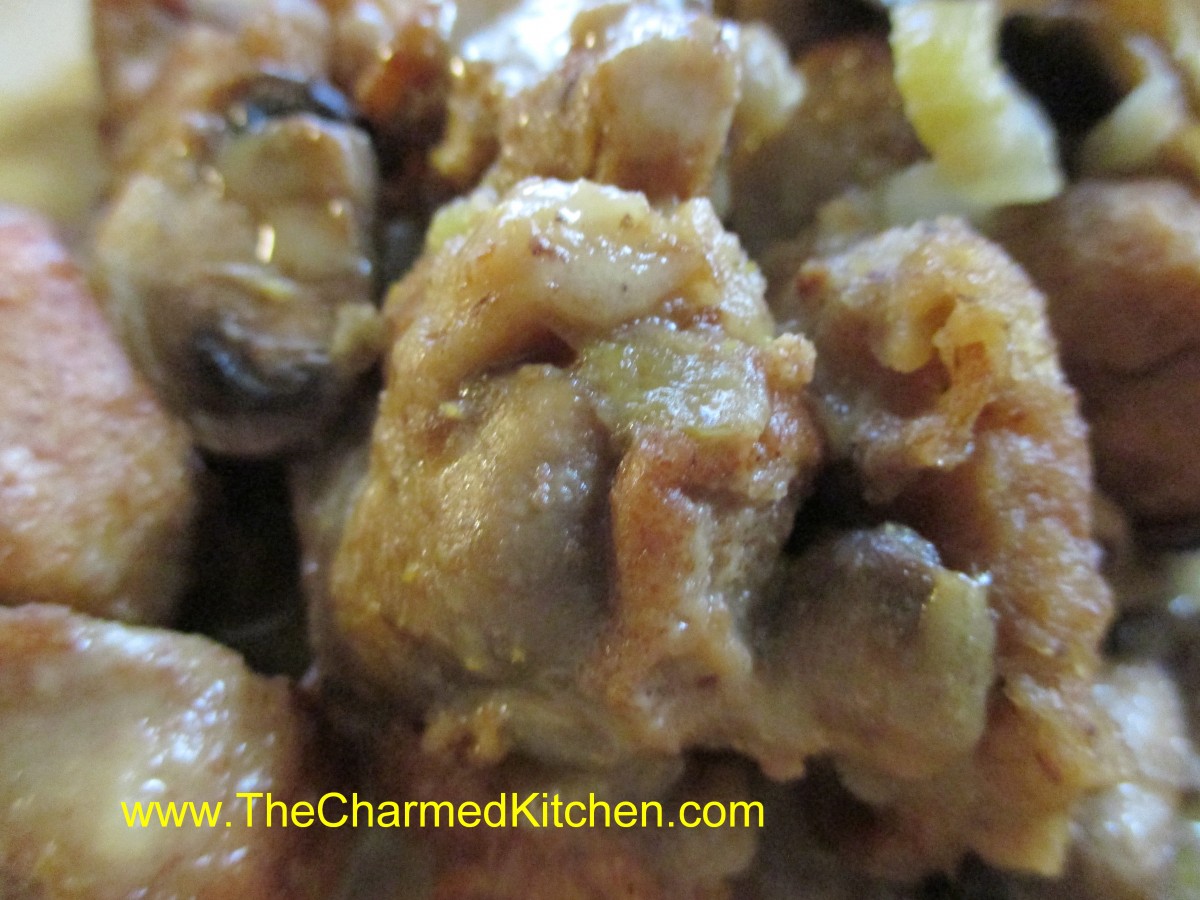
Mushroom Dressing
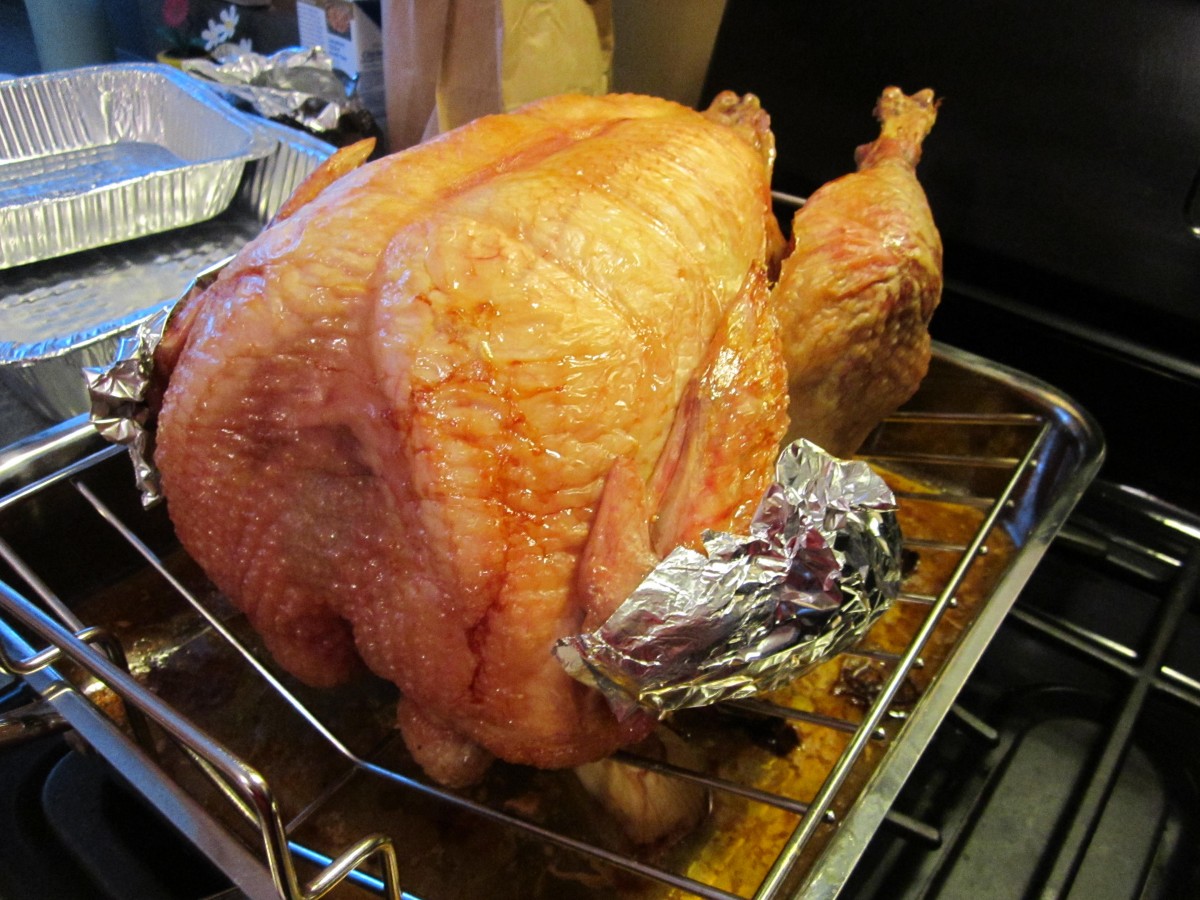
This time of year everyone seems to be planning for Thanksgiving. Most of that planning is around the dinner. There are people who make stuffing and those who make dressing. The difference between the two is where you cook it. When you stuff the bird, it is stuffing. Cooked outside of the turkey it is dressing. Over the years I’ve had a lot of variations on both. My Mom always bought Pepperidge Farm stuffing mix as a base. The she added onions, celery, sausage and sometimes mushrooms. She also made a pretty darn good cornbread stuffing. I tend to use a good quality bread, often homemade, that I toast and combine with veggies and stock and then bake as dressing. I love stuffing, too. The only problem is that by stuffing the bird you must increase the cooking time to be sure the stuffing has reached a safe internal temperature ( 165 degrees). I prefer to stuff smaller birds, like chicken, where the cooking time isn’t as long. We always had stuffing when I was little. eventually Mom switched over to dressing to make it faster to cook the bird.
There are also people who add eggs to their stuffing/dressing. That wasn’t something I’ve done. It is something I need to try at some point. The “eggers” swear by the moistness and texture of their recipe. I will admit to being intrigued.
So how do you make your stuffing/dressing? Eggs, no eggs? In the bird or out? I love to hear what others are doing. I have my recipe, which I will share with you, but I am open to trying something new.
Dressing/Stuffing
Basic Bread Stuffing/ Dressing
1 c. sliced mushrooms
¾ c. diced celery
3 T. minced onions
2 T. chopped parsley
4 T. butter or margarine
4-5 c. bread cubes
salt and pepper to taste
¼ – ½ c. turkey or chicken broth if making dressing
Sauté vegetables in butter until tender. Add bread and seasonings and toss to coat. Stuff into turkey just before cooking or add broth and place in covered casserole, cooking for 45 minutes to an hour at 350 degrees. When making stuffing allow ¾ c. per pound of turkey. You may want to stuff the bird and still make extra dressing for the next day. When making dressing be sure to cover the pan well to keep the dressing from drying out.
Variations:
Oyster dressing: Add 12 ounces of oysters, cooked in their own liquid for 3 minutes and drained to the stuffing. For the dressing you may want to reserve some of the cooking liquid and add it in place of turkey broth.
Cornbread Stuffing: Omit bread cubes and add 4-5 cups of cornbread crumbs.
Fruit Stuffing: Omit parsley and add 1 ½ c. chopped tart apples and ½ c. chopped prunes.
Sausage: Add 1 cup cooked and crumbled sausage
Of course there is always the prepared stuffing mixes on shelves everywhere. I make no judgements. Time is a precious commodity. If you are going to use Pepperidge Farm or any of the other dry mixes watch what liquid you use as the mixes tend to be saltier and adding broth could make them too salty. Also when you use pre-seasoned mixes, add the same vegetables you would have added to homemade for a better taste. My mom always uses the Pepperidge Farm stuffing mix and by the time she adds all of her little touches it tastes great.
Free Thanksgiving Workshop

 I will be at the Coit Rd. Market this Saturday, November 22 to answer all your Thanksgiving questions. I will be working with Kevin Scheuring aka The Spice Hound. We will share our combined wisdom on all foods Thanksgiving. From cooking the perfect bird to dressing versus stuffing, gravy, sides, desserts and even what to do with leftovers. Come on down- the fun starts at 10am and runs until 1 or so. We will have some food for tasting. If there is something you need to know about now is the time to ask.
The Coit Rd. Market is located at 15000 Woodworth Rd. in East Cleveland.
Come on down- ask a few questions- eat some yummy food and spend some time checking out what the vendors have to offer.
Sweet Potato Pie

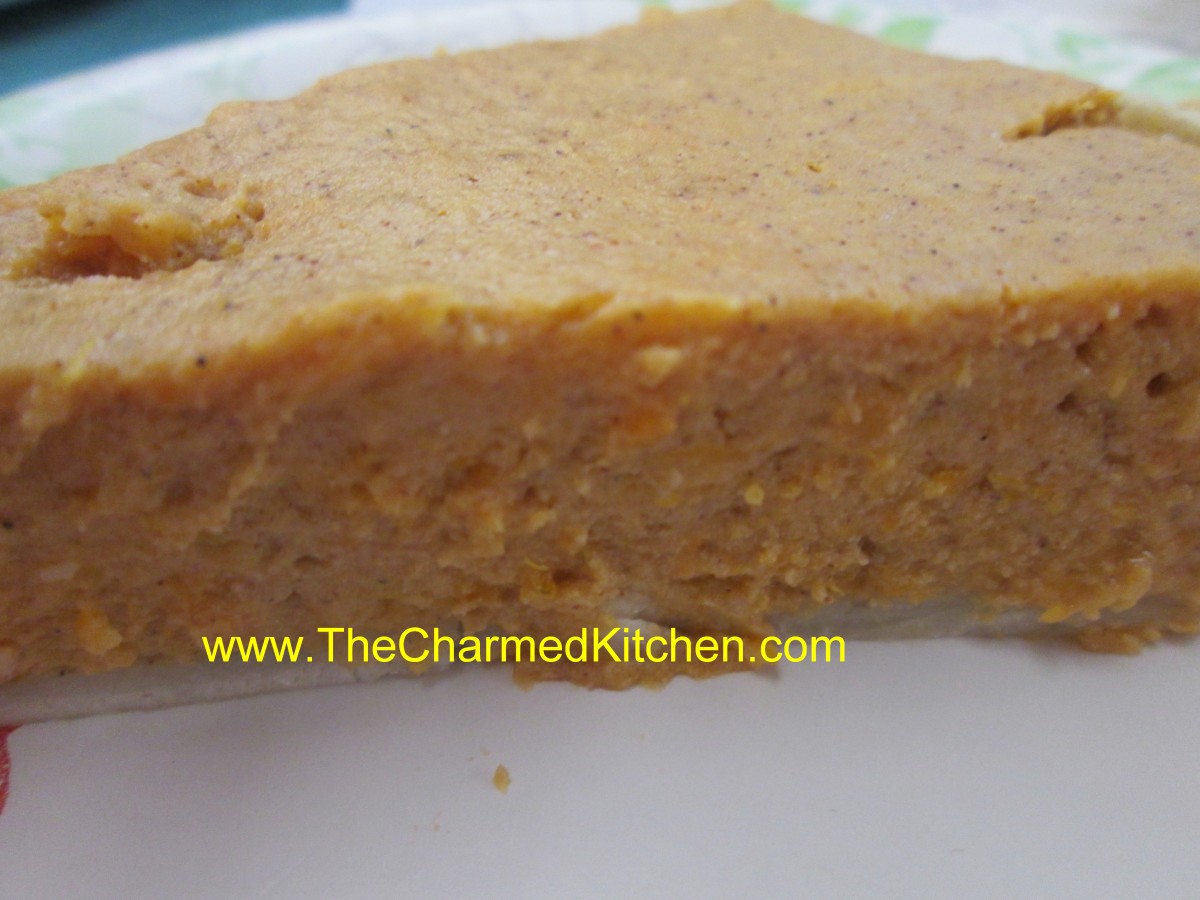
Sweet Potato Pie
If you need a dessert for Thanksgiving you might want to try sweet potato pie. I can still remember the first time I ever ate sweet potato pie. My friend, Hazel, had grown these amazing and very big sweet potatoes and used one of them to make several pies. It was a very big sweet potato. She brought one into work and I was lucky enough to get a slice. It was bliss. She gave me her recipe and I have been making it ever since. Here is Hazel’s recipe. She’s gone now but I think of her fondly whenever I make this pie.
Sweet Potato Pie
½ c. sugar
1 t. cinnamon
½ t. allspice
½ t. salt
¼ t. cloves
1 ½ c. cooked, mashed sweet potato
2 eggs, beaten
1 c. milk or almond milk
2 T. melted butter or 2 T. olive oil
1 (9-inch) unbaked pie crust
Combine sugar with seasonings. Stir in remaining ingredients and combine until smooth. Pour into pie crust and bake in a preheated 400 degree oven for 40 minutes, or until filling is set.
Flaky Pie Crust
2 c. flour
1 t. salt
3/4 c. shortening, chilled- you could also use lard, if preferred
1 T. cider vinegar
4-5 T. cold water
Combine flour and salt and cut in shortening. Toss in vinegar and water 1 tablespoon at a time until dough holds together. Use a fork to toss the ingredients together and as soon as the mixture holds together stop adding water. Makes 2. Chill well before using.
Gravy 101


Gravy with mashed potatoes and turkey
I had a conversation with a friend recently about making gravy. She said she often buys canned gravy because hers doesn’t always work out. I found that kind of sad. Gravy is so easy to make. I thought with so many people planning turkey dinners it might be a good time to post some tips for making really good gravy- every time. I’ve also included some ideas for gluten free gravy and ways to de-fat your gravy, too. For those of you who have trouble making gravy I hope this helps.
Gravy 101
1. Make a stock using wing tips and the neck and giblets, other than the liver. Use onions, carrots and some celery to add flavor and you might even use a paste-type soup base (chicken or turkey) in place of the salt and to add flavor. Just place everything in a saucepan and cover with cold water. Simmer a couple of hours and strain. I also add some herbs like parsley, thyme and a little marjoram. Don’t make too salty. I use an organic reduced sodium soup base.
2. De-glaze the roasting pan after removing the turkey. Just place the pan on a burner and add the strained stock. Turn on the burner and stir around the stock to loosen and brown bits in the bottom of the pan. This is where the gravy really gets its flavor. Strain this mixture back into the saucepan you were using to make the stock.
3. Thicken with flour and water or flour and milk, depending on your taste. I like using milk. Place flour in a jar with a tight fitting lid and cover with cold milk or water. Screw on lid and shake until mixture is smooth. You’ll need about 2 tablespoons of flour for each cup of liquid, depending on how thick or thin you like your gravy.
4. Add to the strained mixture in the saucepan and cook, stirring until thickened. Adjust seasonings and serve. If it’s too thin for your taste, just add more flour and milk or water. It is easier to add a little more flour if the gravy is too thin than to thin gravy that is too thick. Make at least ¼ cup per person plus extra for leftovers the next day.
Note: You can also thicken the gravy while it is still in the roasting pan and then strain it into a saucepan.
Gluten Free Gravy
If you want gluten free gravy you have the option of thickening it with cornstarch. I know a lot of people that swear by cornstarch. My only problem with cornstarch is that it will break and get watery when you want to reheat the gravy. I have made gluten free gravy by just saving the veggies I used to make the stock with the giblets. Usually it’s a mixture of carrots, onions and celery. After simmering in the stock they are very soft. I place the veggies in with the drippings and the stock in the roasting pan and stir it all around. I place in a saucepan and use an immersion blender to smooth it all up. The veggies thicken the gravy with no added flour.
De-fatting Gravy
There will be fat in the gravy. I remember my Mother’s gravy boat with a spout that came from the bottom- so you poured the gravy out from the bottom- leaving the fat behind. You can get rid of most of the fat quickly a couple of different ways. You can get a de-fatting cup. It looks like a measuring cup with a spout that comes up from the bottom. Ladle the gravy into the cup and pour it out into a saucepan or gravy boat. You can also take your freshly made gravy and let it sit for a few minutes in the pot, off the heat. Use a metal spoon to skim off the fat then grab a handful of ice cubes and place them on the top of the gravy. The ice will freeze the fat. Move them around the surface very gently. The fat will harden on the ice cubes. Use a slotted spoon to remove the ice cubes with most of the fat stuck to them. Do this quickly, so you don’t dilute your gravy.
Pumpkin Roll

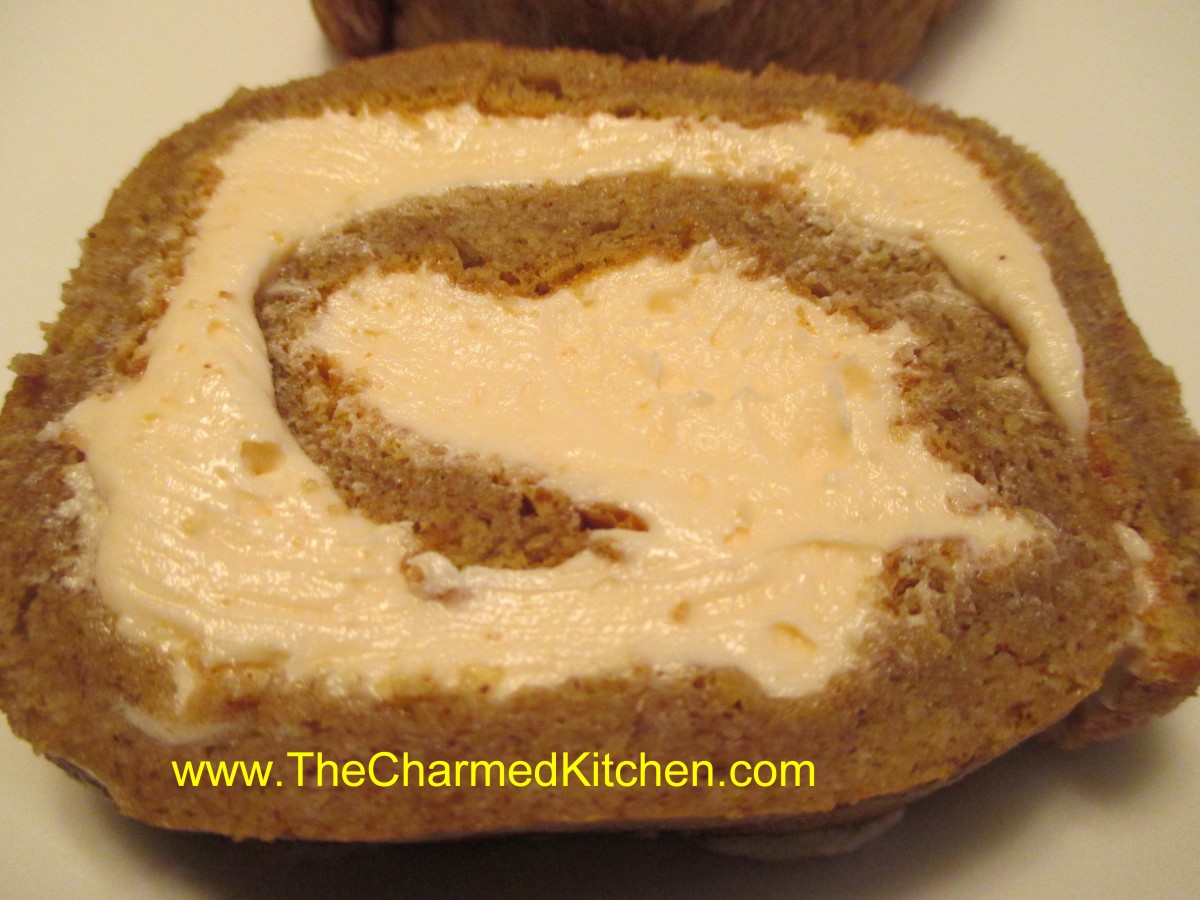
Pumpkin Roll
This is one of those desserts everybody seems to like. The cake is tender and moist with just the right amount of pumpkin and spices. Whenever I make one someone will comment that they seem hard to make. They aren’t. Just follow the directions and you’ll be fine. The effort is well worth it. Another plus is that this recipe makes 2 cakes so you can serve one now and have another one for later. They are baked in a jelly roll pan. There are several sizes of jelly roll pans out there. For this recipe I use the smaller size, which is 10×15 inches. These cakes can also be frozen.
Pumpkin Roll
6 eggs, separated, at room temperature
1 c. sugar, divided
1 c. flour
1 c. canned pumpkin
2 t. cinnamon
1 t. baking powder
1 t. ginger
½ t. nutmeg
½ t. salt
about 4 cups powdered sugar
1 lb. cream cheese, softened
1 t. vanilla
1 c. chopped nuts, optional
Preheat oven to 375 degrees. Grease 2 jellyroll pans (10×15) and line with wax paper. Grease and flour paper and set aside. In large bowl beat egg whites until soft peaks form. While beating add ½ cup of the sugar, 2 tablespoons at a time. Beat until peaks are firm and glossy. In small bowl on low speed mix together flour, pumpkin, spices, baking powder, salt, remaining sugar and egg yolks. Gently fold flour mixture into egg whites. Divide batter between prepared pans and bake one 12 minutes or until cake springs back when toughed lightly. Meanwhile, prepare a tea towel by laying on a clean surface and dusting generously with powdered sugar. When cake is done immediately turn onto prepared towel and remove wax paper. Starting at narrow end roll up cake in the towel and allow to cool. Repeat with second cake.
Prepare filling by beating together 3 cups of powdered sugar with the cream cheese and vanilla. Add additional sugar, if needed. Stir in nuts, if using.
To finish cakes, carefully unroll and remove towel. Spread half of the filling on one cake and re-roll. Repeat with second cake. Chill. Makes 20 servings and can be frozen.
Zucchini Carrot Cupcakes

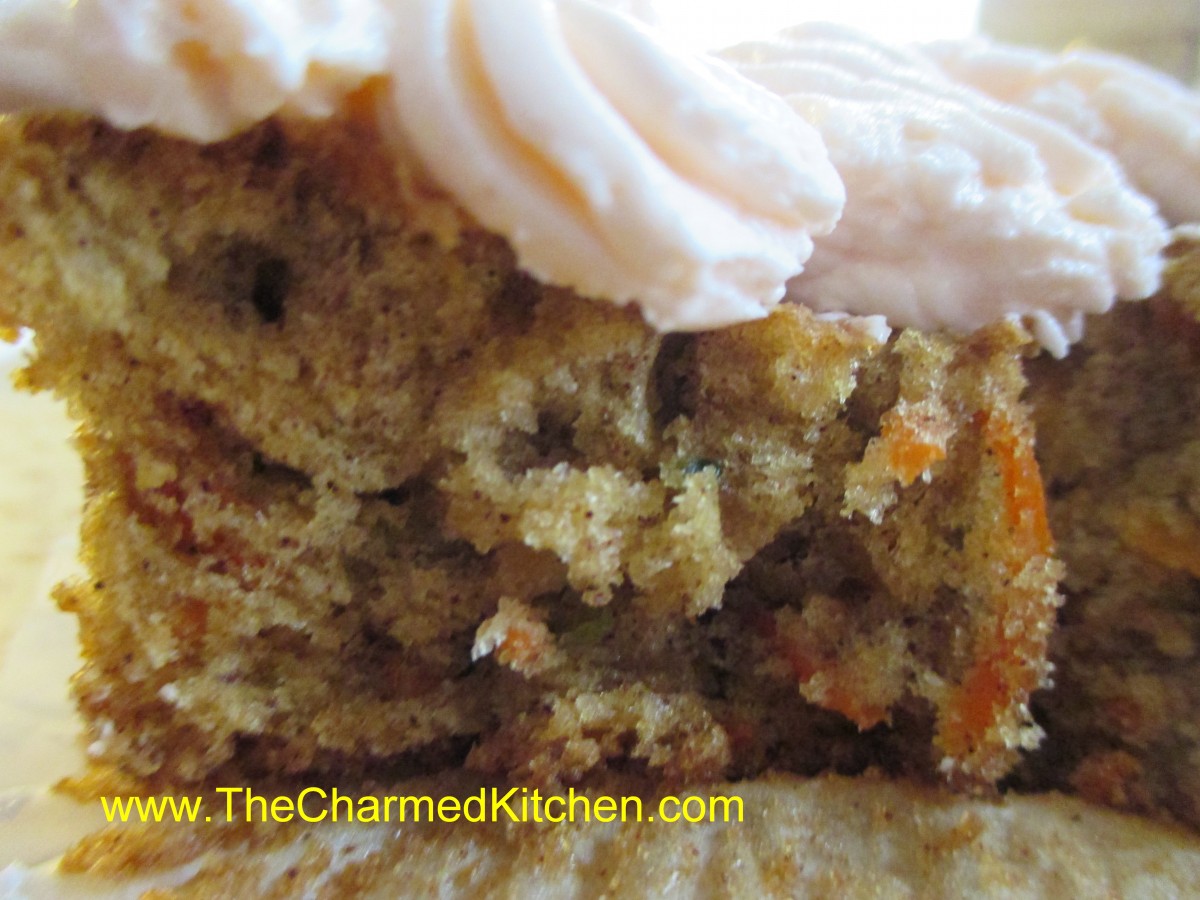
Zucchini Carrot Cupcakes
These are really good cupcakes. They are moist and not too sweet with a slightly dense texture. Sort of a cross between carrot cake and zucchini bread they have more texture than a traditional cupcake and plenty of flavor. I made these for a group of kids yesterday and they loved them. I got 24 cupcakes out of the recipe but they were a little small. Perhaps 18 would be a better way to go. I used a simple vanilla buttercream to finish them off. I whipped the frosting a long time so it was extra fluffy. Here are the recipes for both the cupcakes and the frosting.
Zucchini Carrot Cupcakes
2 eggs
1 c. sugar
2/3 c. oil
1¼ c. flour
1 t. baking powder
1 t. baking soda
1 t. cinnamon- I think I would use a little more next time
½ t. salt
1 c. grated carrot
1 c. grated zucchini, squeezed dry and packed tightly
½ c. chopped nuts, optional
Beat eggs with sugar until frothy. Beat in oil then add dry ingredients. Beat on high for 4 minutes. Stir in veggies and nuts. Pour batter into 18- 24 paper lined muffin tins, filling them 2/3 full. Bake in a 350-degree oven for about 15 minutes or until top springs back when lightly touched. Cool and frost. Makes 24.
Note: These cupcakes deflate a little while cooling.
Classic Vanilla Frosting
3/4 cup butter
6 cups confectioners’ sugar
1/3 cup milk
1 1/2 teaspoons vanilla extract
1/4 teaspoon salt
2 tablespoons milk
Beat butter in a large bowl until fluffy. Gradually add 3 cups of the sifted confectioners’ sugar, beating well. Slowly beat in the vanilla, salt, and 1/3 cup of the milk. Gradually beat in the 3 remaining cups of confectioner’s sugar. Beat in additional milk (1 to 2 tablespoons) if needed, to make frosting of spreading consistency. If desired tint the frosting with 6 to 8 drops of food coloring.
Chocolate Zucchini Cupcakes


Chocolate Zucchini Cupcakes
It seems when zucchini are abundant I can never find enough ways to use them all. That means I end up shredding and freezing a LOT of zucchini. It comes in handy throughout the year. I decided to make these cupcakes for an event I have later today. I like the recipe because the zucchini makes the cakes nice and moist. They aren’t that sweet, either. I used a simple vanilla frosting but you could just dust them with powdered sugar or perhaps use a cream cheese frosting. I have a friend who likes me to leave them plain. She prefers them unfrosted. Frosted or not these are a simple and tasty recipe that can make a dessert even the zucchini haters should love.
Chocolate Zucchini Cupcakes
½ c. butter
½ c. oil
1 ¼ c. sugar
2 eggs
½ c. buttermilk
1 t. vanilla
2 ½ c. flour
1/3 c. cocoa
2 t. cinnamon
1 t. baking soda
1 t. baking powder
2 c. shredded zucchini
Heat oven to 350 degrees. Line 30 muffin pans with paper liners and set aside. In mixing bowl combine butter, oil, sugar and eggs and beat until light and fluffy. Beat in milk and vanilla. Combine dry ingredients and add to egg mixture- beating until smooth. Stir in zucchini. Scoop batter into cupcake paper lined pans, filling about 2/3 full. You will get about 30, I sometimes get more. Bake 15-20 minutes or until toothpick inserted comes out clean. Cool and frost. Makes 30-36.
I used the Classic Vanilla Frosting recipe below, but doubled the recipe.
Classic Vanilla Frosting
3/4 cup butter
6 cups confectioners’ sugar
1/3 cup milk
1 1/2 teaspoons vanilla extract
1/4 teaspoon salt
2 tablespoons milk
Beat butter in a large bowl until fluffy. Gradually add 3 cups of the sifted confectioners’ sugar, beating well. Slowly beat in the vanilla, salt, and 1/3 cup of the milk. Gradually beat in the 3 remaining cups of confectioner’s sugar. Beat in additional milk (1 to 2 tablespoons) if needed, to make frosting of spreading consistency. If desired tint the frosting with 6 to 8 drops of food coloring.
Baklava with Chocolate Drizzle

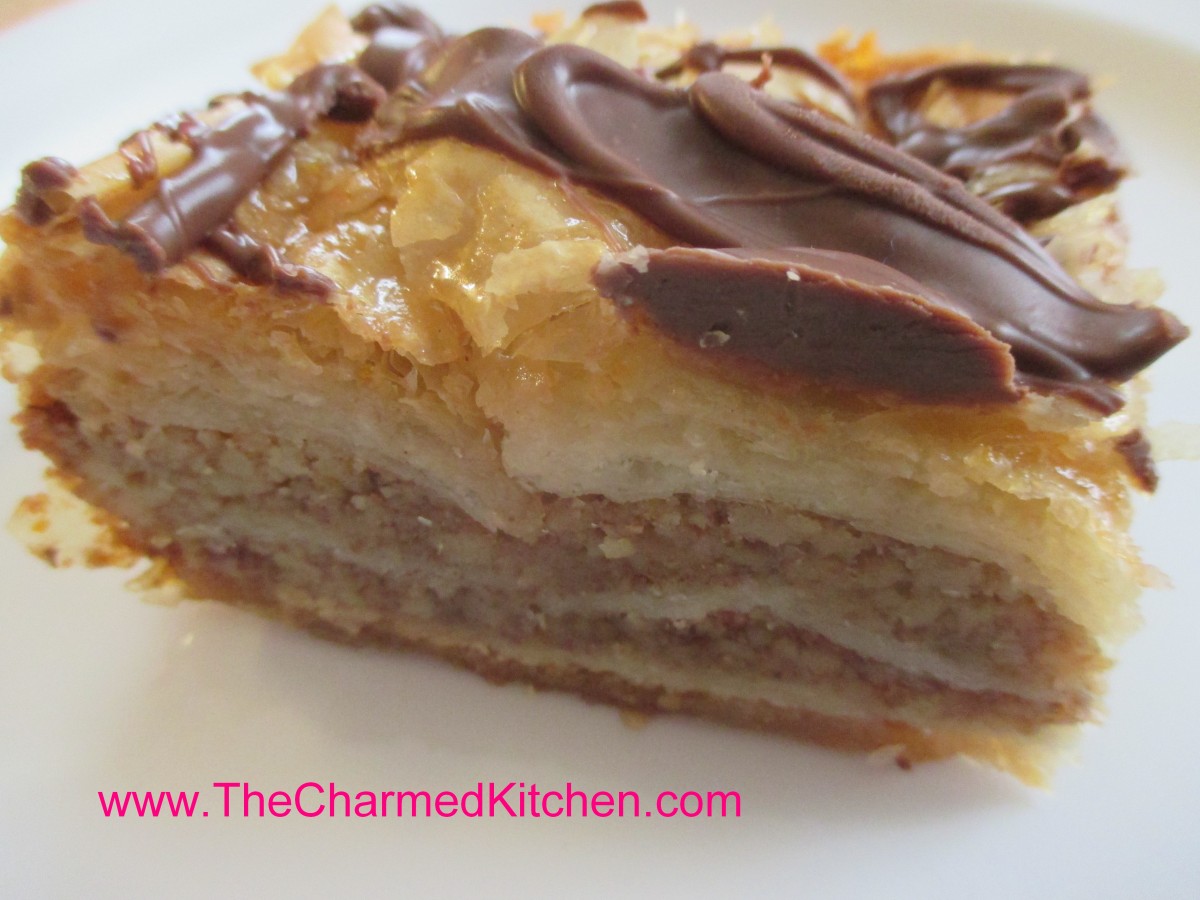
Baklava with Chocolate Drizzle
I was in charge of making dessert for a dinner with friends last night. Since we were doing a lot of Mediterranean inspired dishes I made baklava. I still had candy left over from Halloween so I decided to melt some of the candy bars and drizzle them over the top. It was, as expected, very well received. Baklava isn’t hard to make. You just have to move quickly while assembling because the phyllo leaves dry out quickly and get brittle. Just have everything ready before you open the package of dough and get started. The phyllo sheets I used are pretty big so I folded them in half to fit the pan I used. There was a little trimming to do, but not much. Well worth the effort.
Baklava with Chocolate Drizzle
1 lb. phyllo
½ lb. butter, preferably unsalted
¾ lb. walnuts or blanched almonds, chopped fine
¼ c. sugar
½ t. cinnamon
Syrup, recipe follows
½ c. melted chocolate
Combine nuts, sugar and seasonings and set aside. Brush a 9×13-inch pan with butter and line bottom with 8 phyllo sheets, folded in half to fit pan, brushing each with butter as you go. Spread ½ of the nut mixture on phyllo leaves. Top with 3-4 buttered sheets of phyllo. Spread with the rest of the nut mixture. Add the rest of the leaves for the top. Brush top layer of leaves with remaining butter. With a sharp pointed knife score the top sheets in whatever shapes and sizes you want. Bake in a preheated 350-degree oven for 45 minutes to an hour. Baklava should be golden brown. Meanwhile prepare syrup. When baklava has cooled, warm up the syrup and pour over. Drizzle with melted chocolate. Cut into squares to serve.
Syrup:
1 c. sugar
½ c. honey
1 c. water
zest of 1 lemon or orange
Bring to a boil and simmer 10 minutes. Strain and set aside.
Roasted Curry Cauliflower Soup

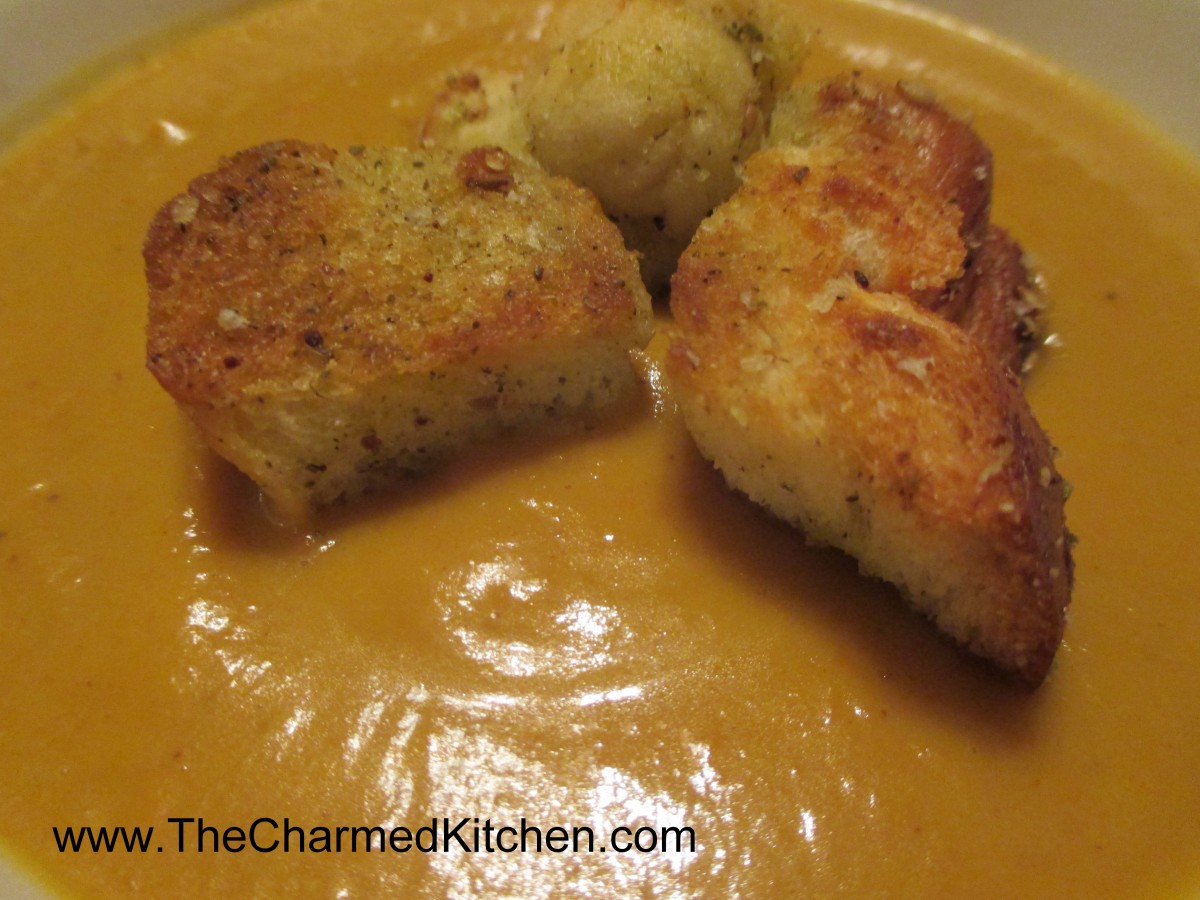
Roasted Curry Cauliflower Soup
This may be one of my favorite soups yet. Creamy and flavorful it was a big hit at dinner last night. This recipe was inspired by what I had on hand and a dinner planned with friends. It started with this enormous cauliflower I had picked up at a produce market. I knew I wanted to use it. I had thought of just roasting it and having it as a side. I also knew we needed a soup for dinner. Ended up roasting the cauliflower anyway but using it as part of the soup. Added other veggies for color as well as flavor. I also made sure to get it really smooth. I used an immersion blender but it could have been processed in a blender. We topped it with croutons, but it could be served without, if you prefer.
Roasted Curry Cauliflower Soup
3 onions, peeled and sliced
1 large cauliflower, cut into flowerets
3 T. oil
salt
6 c. stock- chicken or veggie- or more if needed
2 medium or 1 large sweet potato, peeled and sliced
3 large carrots, peeled and sliced
1 can ( 13.5 oz.) coconut milk
1 c. half and half- or more coconut milk, if you prefer
2 T. curry powder
2 t. turmeric
Salt and pepper to taste
Preheat oven to 400 degree. Place onions in and cauliflower in roasting pan and drizzle with oil. Sprinkle on some salt and place in oven. Roast until veggies are turning golden brown, stirring occasionally. This will take about 20-30 minutes. Place cauliflower mixture in a crock pot and add the stock and other vegetables and cook on high for at least 4 hours. Add remaining ingredients and puree soup until smooth. Adjust seasonings. You can add more stock if soup is too thick. Serve as is or top with croutons when serving. Serves 6-8.


