Pineapple Glazed Chicken

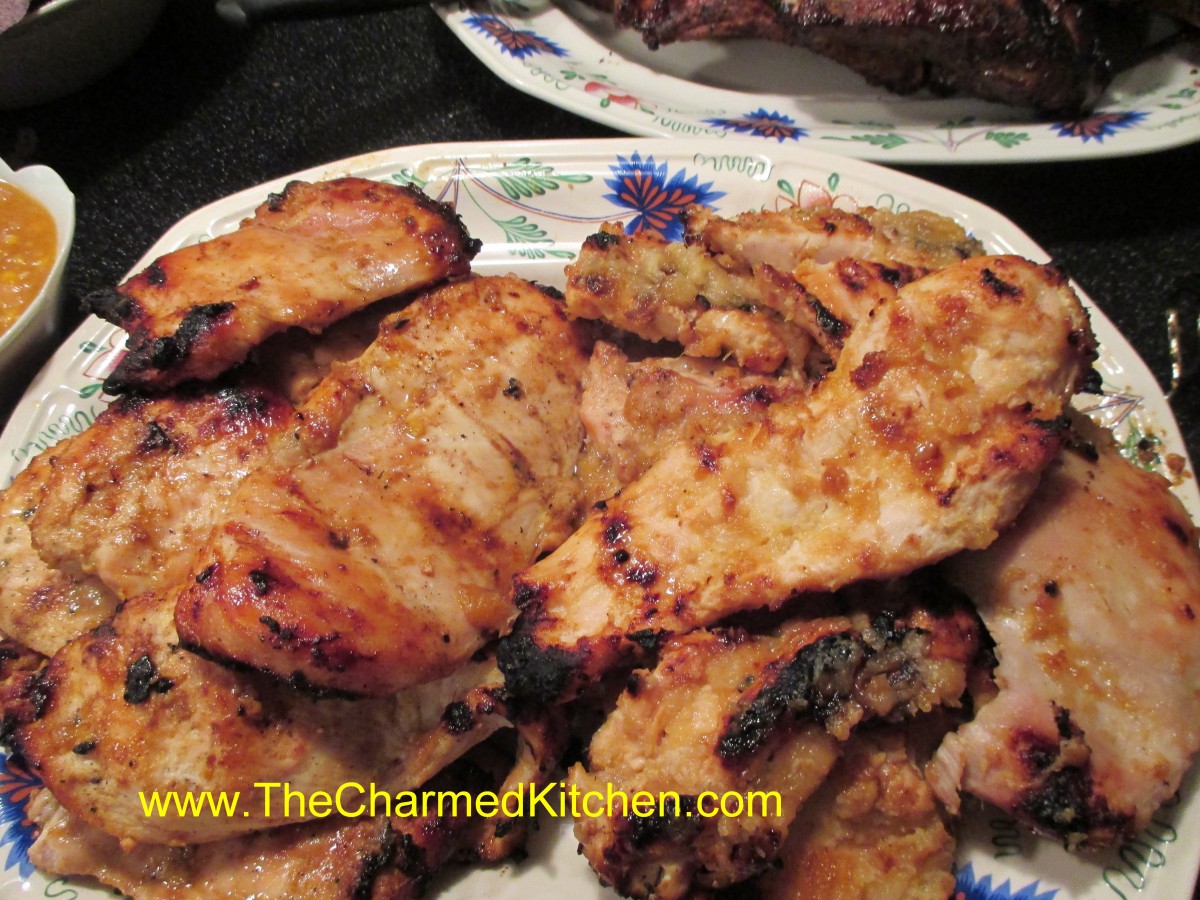
Grilled Pineapple Chicken
I found myself with an open can of crushed pineapple and I didn’t want to waste it. I have a number of baked dishes where I could have used it but I decided to go with a savory dish instead. I was getting together with friends to grill some chicken and ribs so I ended up making a glaze for the chicken with the pineapple. We marinaded the chicken in about half of the sauce and brushed the rest on while it was cooking. It added just the right amount of sweetness without overpowering the meat. Here is the recipe.
Pineapple Glaze
2 T. oil
1 medium onion, minced
1 can ( 20 oz.) crushed pineapple, undrained
1/2 c. apple cider vinegar
1/2 c. sugar
1 T. hot sauce
2 t. minced garlic
1 t. ginger
1 t. sesame oil
1 t. salt, or to taste
1/2 t. white pepper
In skillet saute onion in oil until golden brown. Add remaining ingredients and simmer until thickened, about 10-15 minutes. Adjust seasonings. Use as a sauce or glaze for meats.
Beachwood Camp – Week 2

Braiding Bread
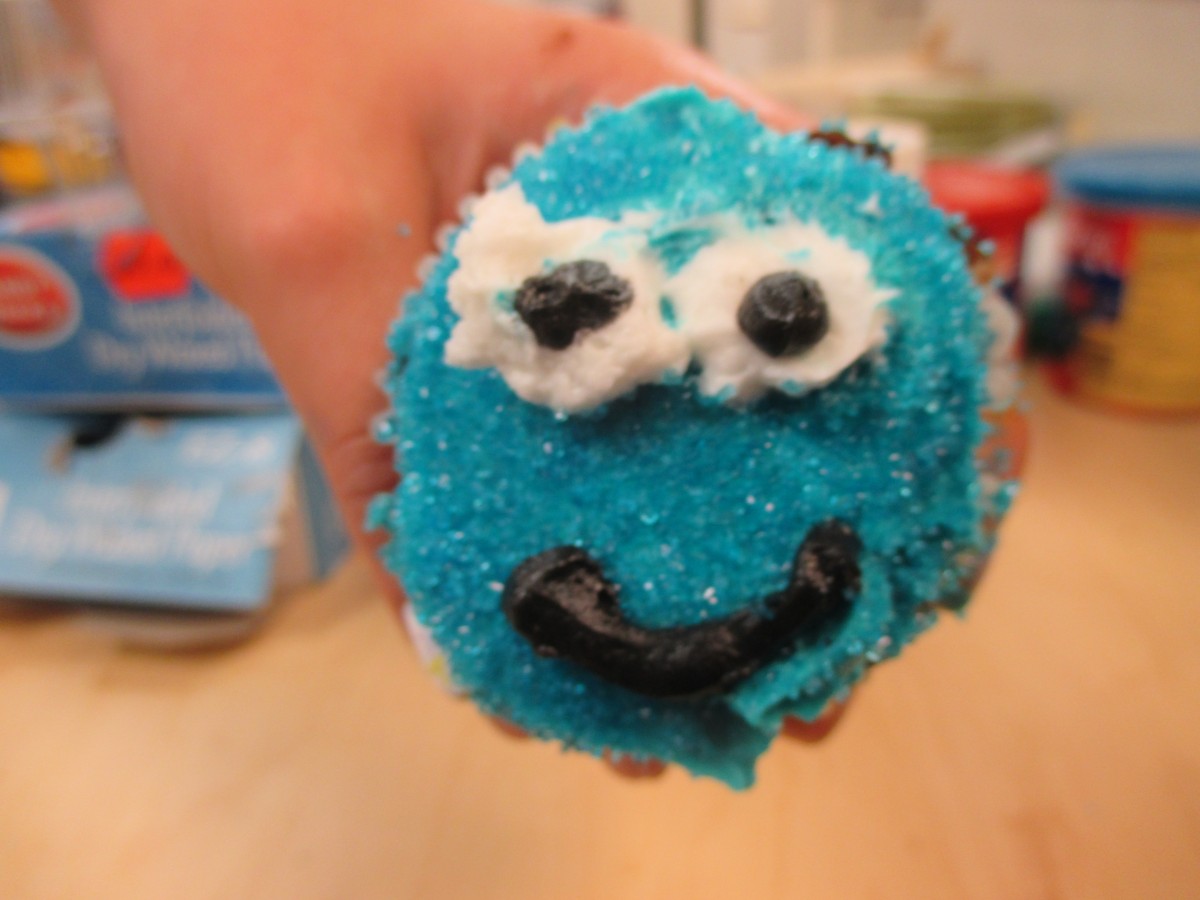
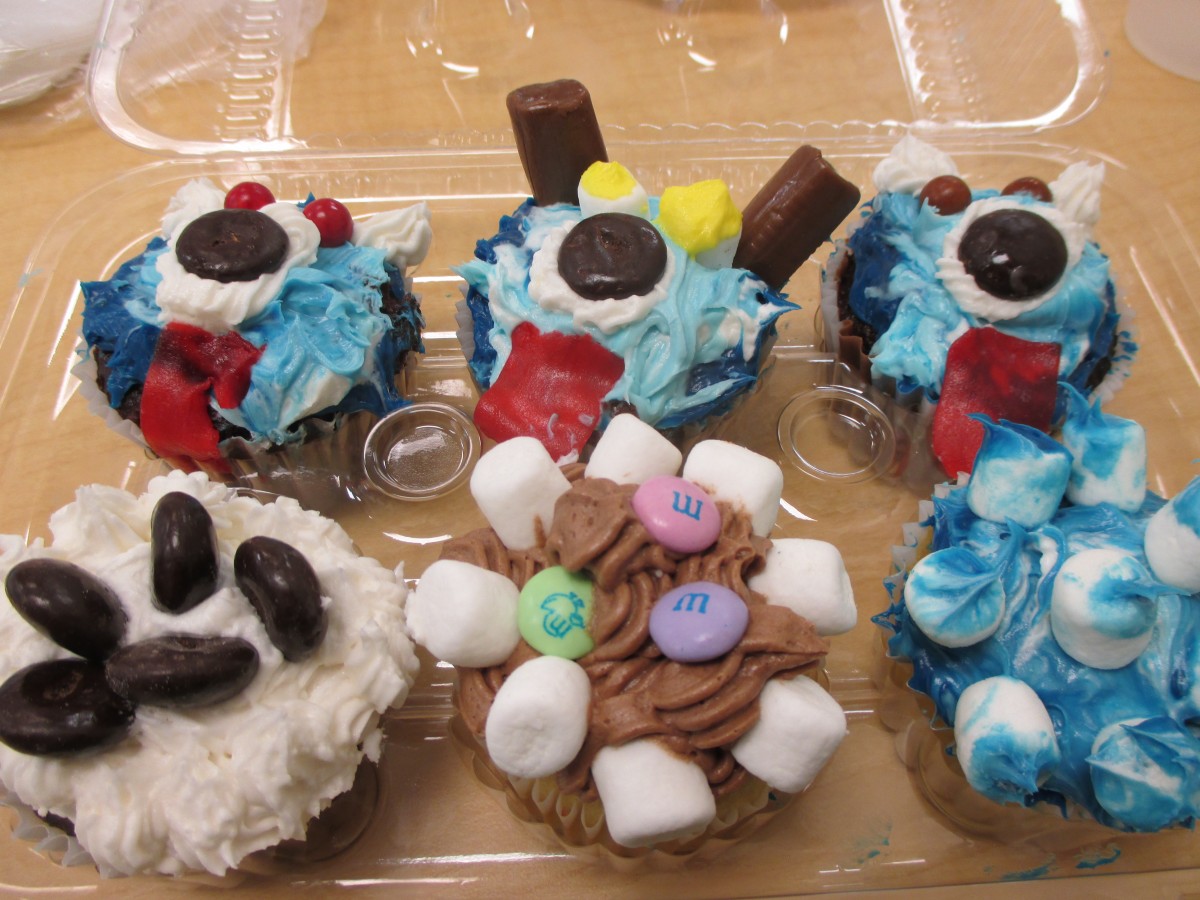
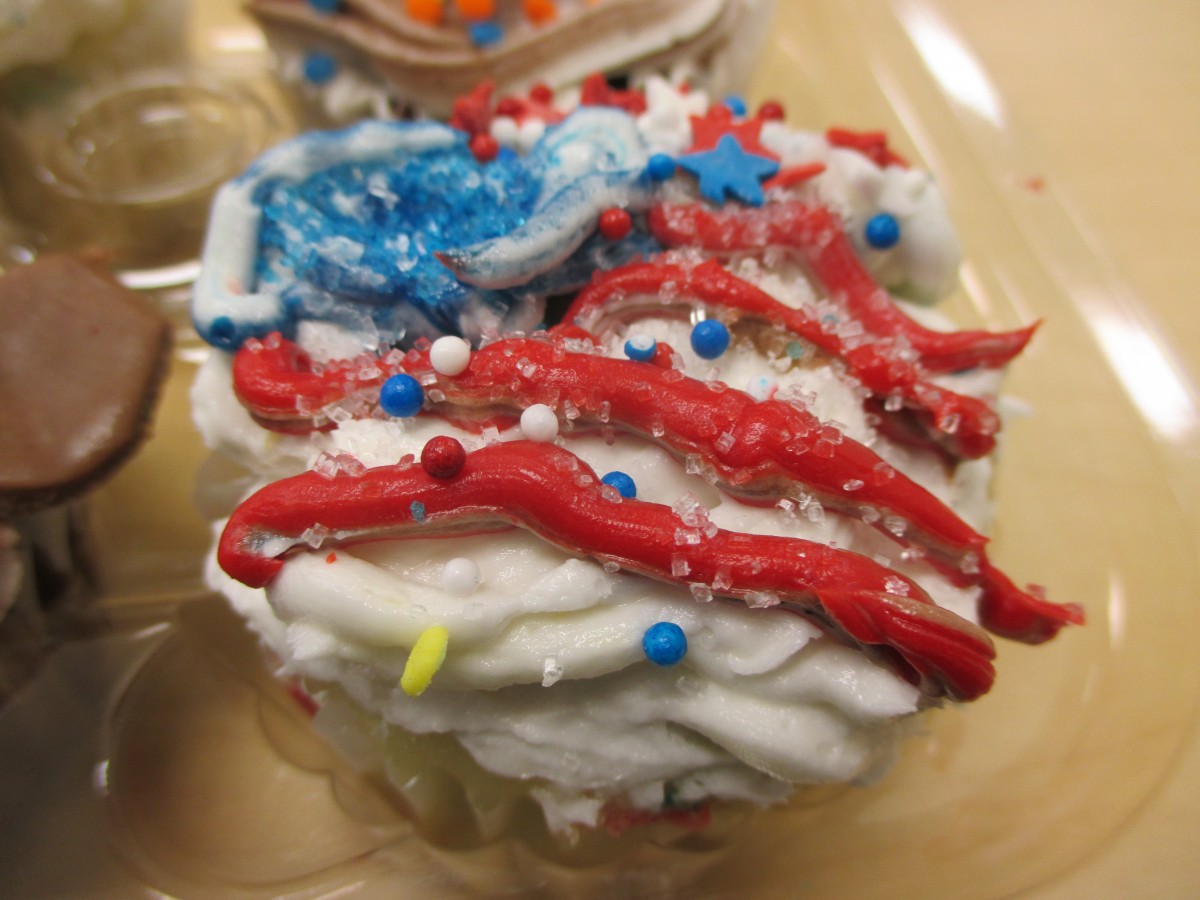
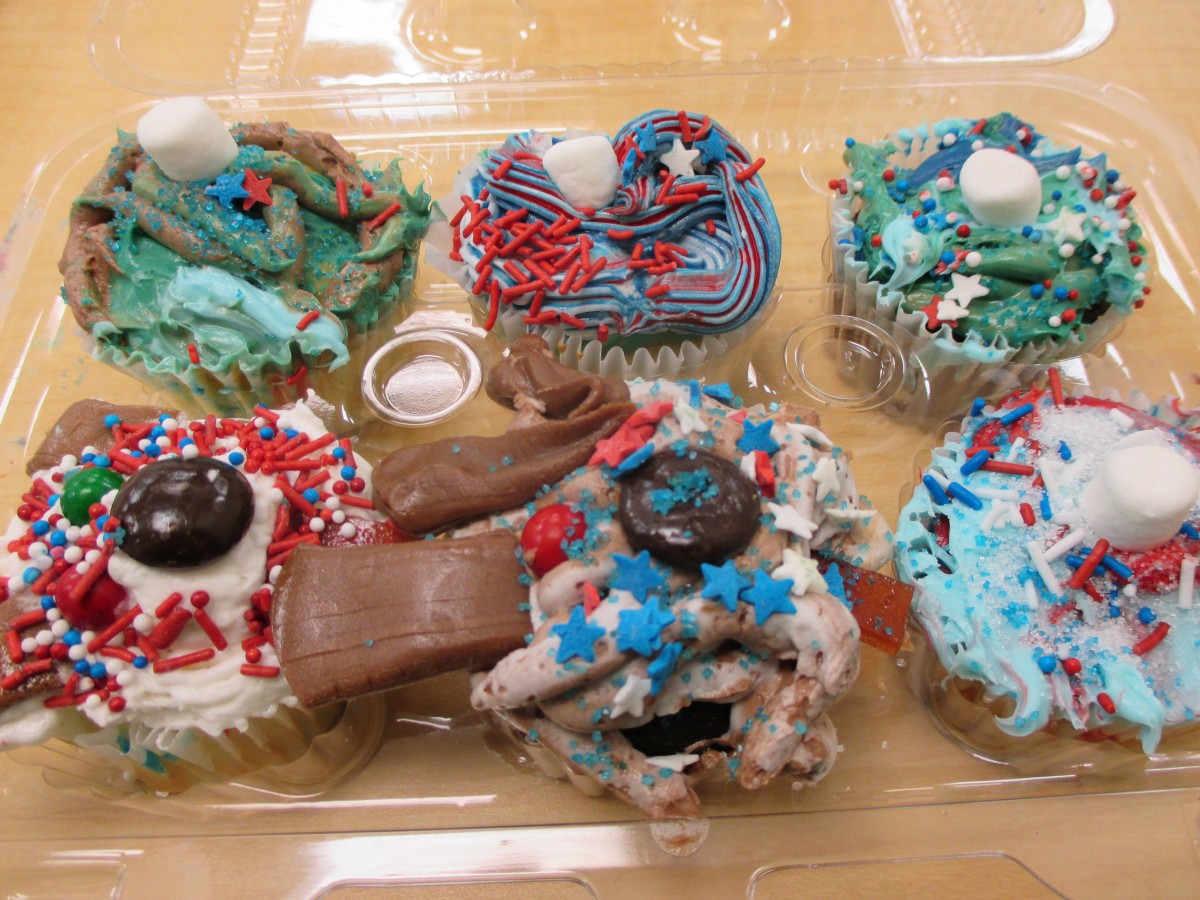
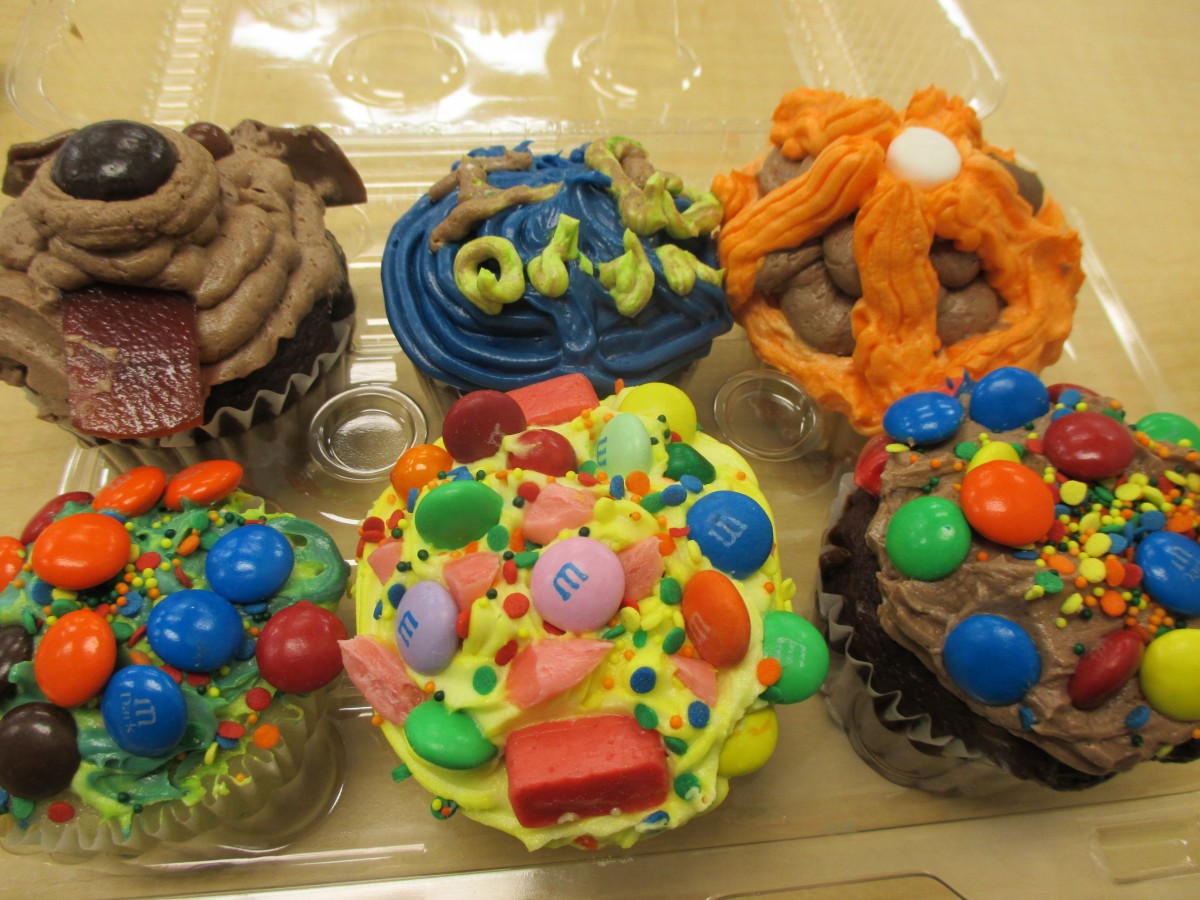
It’s been a very busy couple of days with the new kids in cooking camp this week. Well, not all of the kids are new. Two girls from last week’s camp decided to come again this week and a few of the kids have been before. They are a lively, energetic group and I mean that in only positive ways. They range in age from 9-12 and all seem to want to cook more and more stuff. We’ve done things similar to week 1 in the first couple of days. Pizza, bread baking, cupcakes etc. I look forward to every day.
Tomorrow is salad day and I got a list of ingredients they want for making their salads. I must have 20 different fruits and veggies ready for tomorrow including ingredients for Caesar salad, feta cheese, fresh herbs, dried cranberries, garlic and so many more things. I am looking forward to what they will be creating. Here are some of the pictures from our first two days. I haven’t been taking as many pics as usual- having too much fun.

Tech Support Cookies- Pecan Cinnamon Shortbread

Tech Support Cookies
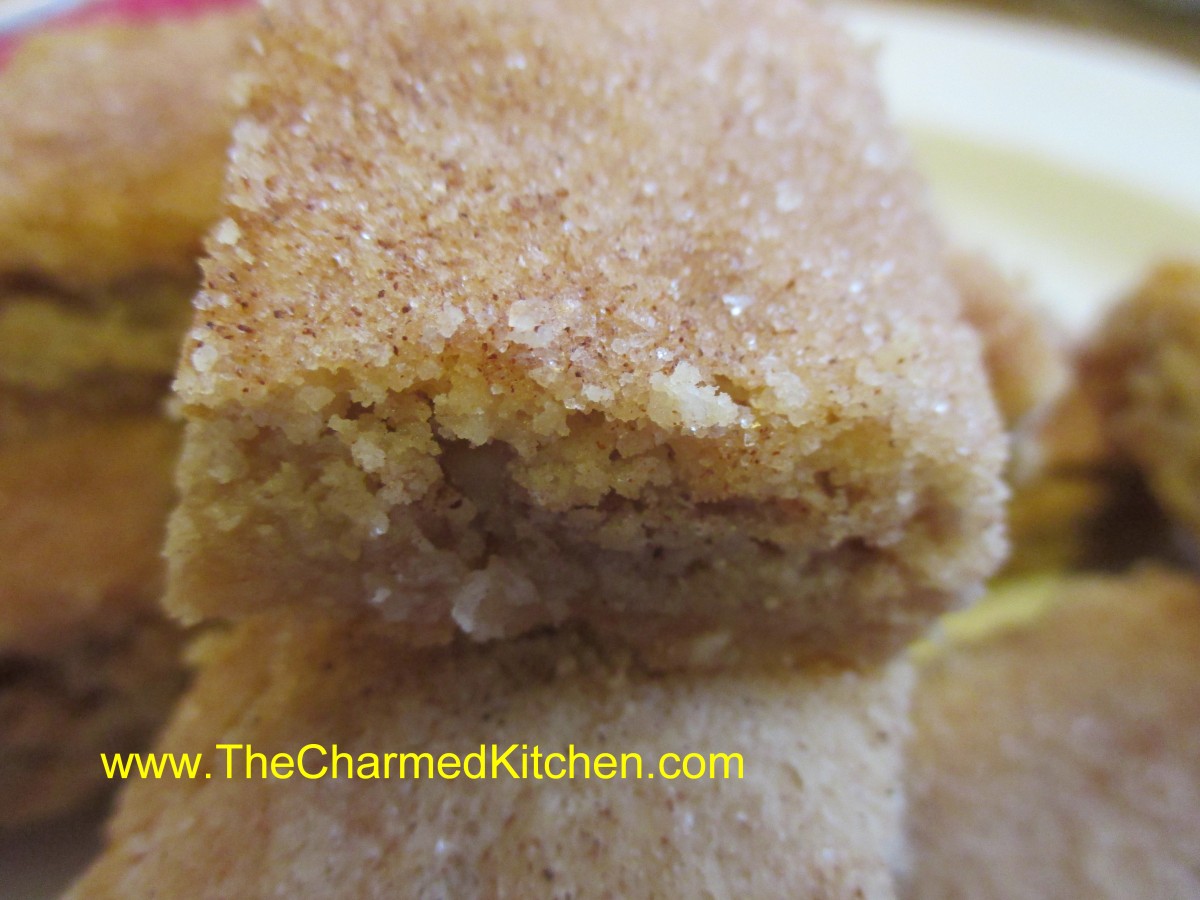
There is a good reason for the odd name for these cookies. I have a great friend who is also a tech guy. Really knows his stuff. He has always been there when I have some tech trouble or a new tech toy. The only problem is he won’t let me pay him for his trouble. Well, he won’t take money. Our arrangement is that I cook stuff for him in exchange. I think I am getting a pretty good deal. He says that he is. He came over today to look at a problem I was having with my computer and I decided to bake some cookies for him. I even ended up creating a new cookie just for him. I started with my shortbread cookie recipe and added ground pecans and cinnamon. I also sprinkled them with cinnamon sugar. They came out great. Here is the recipe.
Tech Support Cookies – Pecan Cinnamon Shortbread
1 c. sugar
2 c. butter
4 c. flour
¾ c. finely ground pecans
2 t. cinnamon
½ c. cinnamon sugar
Cream together sugar and butter. Stir in flour, nuts and cinnamon and press into 9×13-inch baking dish. Sprinkle with cinnamon sugar and cut into squares. Bake in a 300 degree oven for an hour or until light brown around edges. Re-cut while warm. Makes 4 dozen.

Fresh from the oven
Candy Bowls- Beachwood Camp


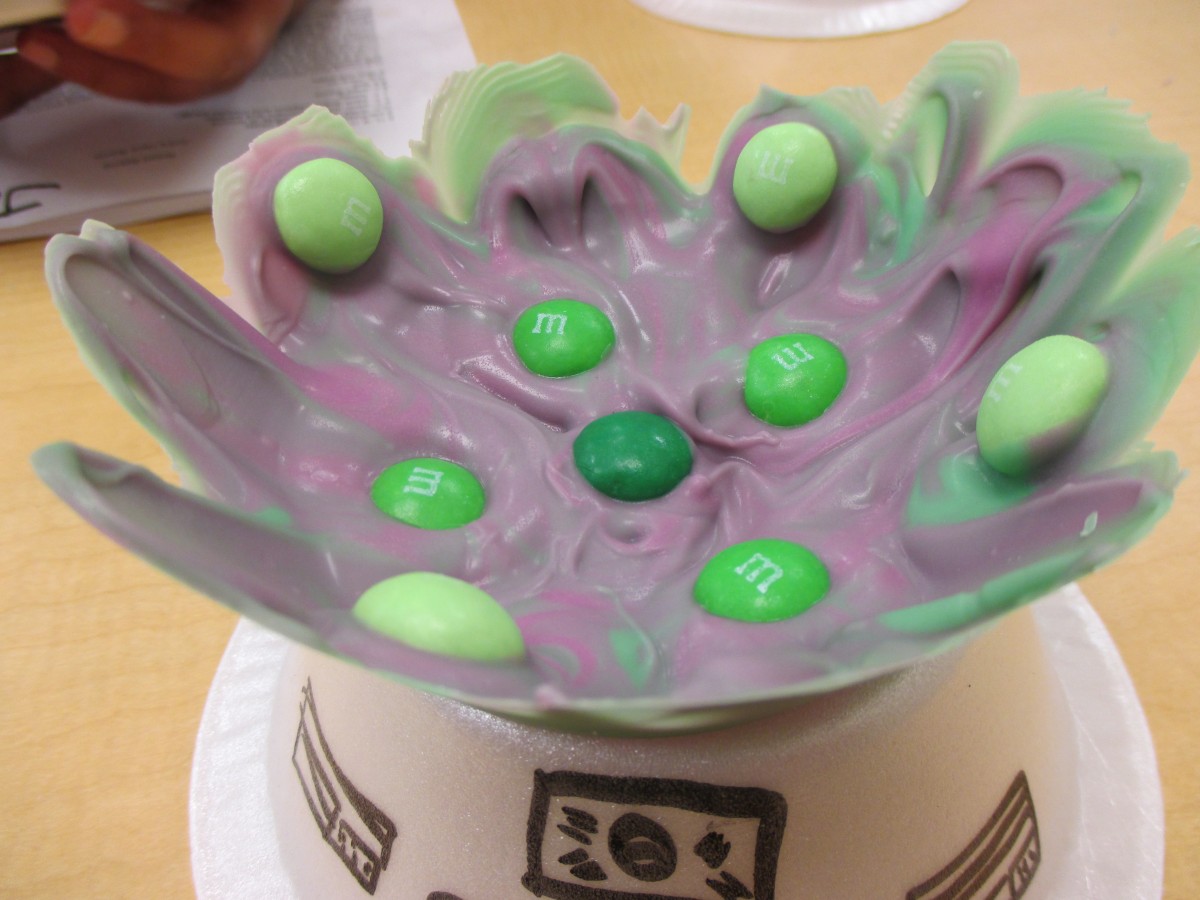
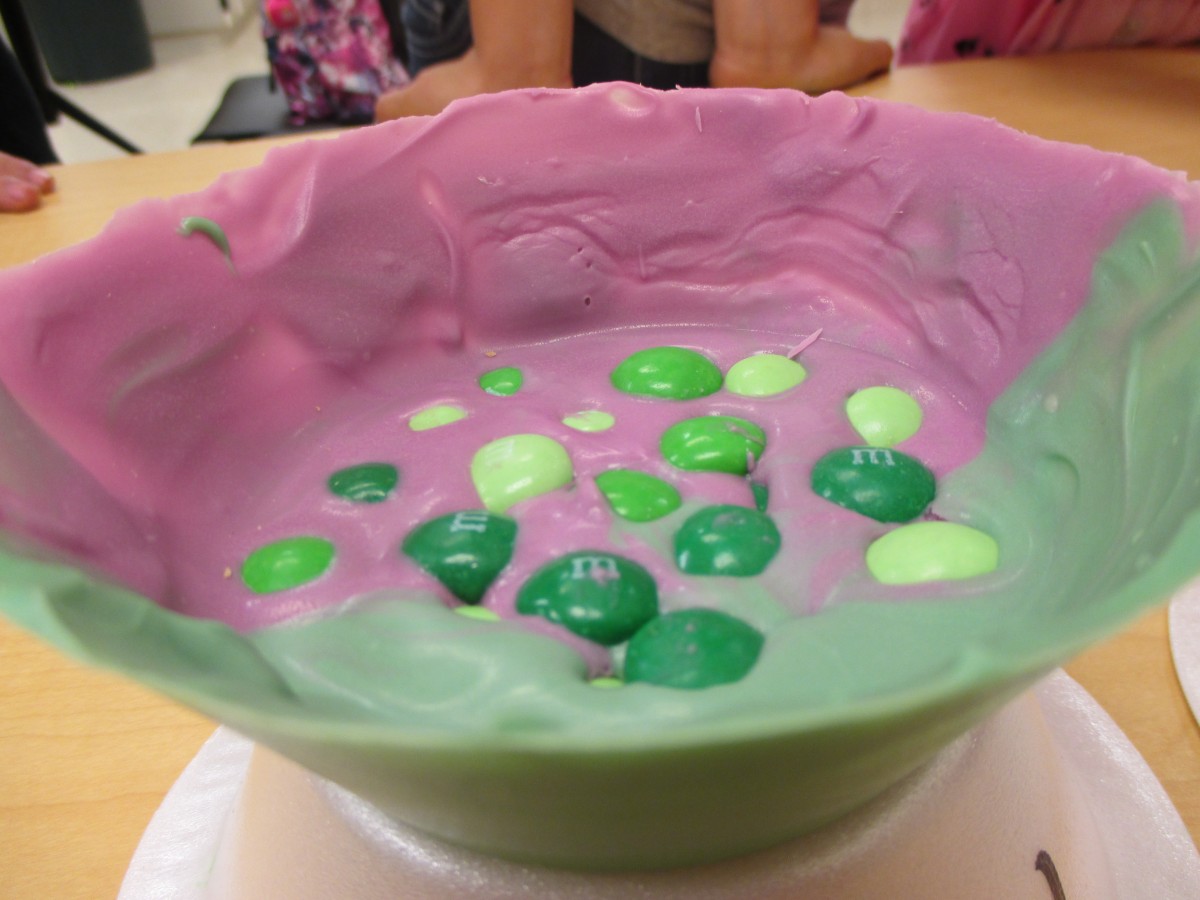
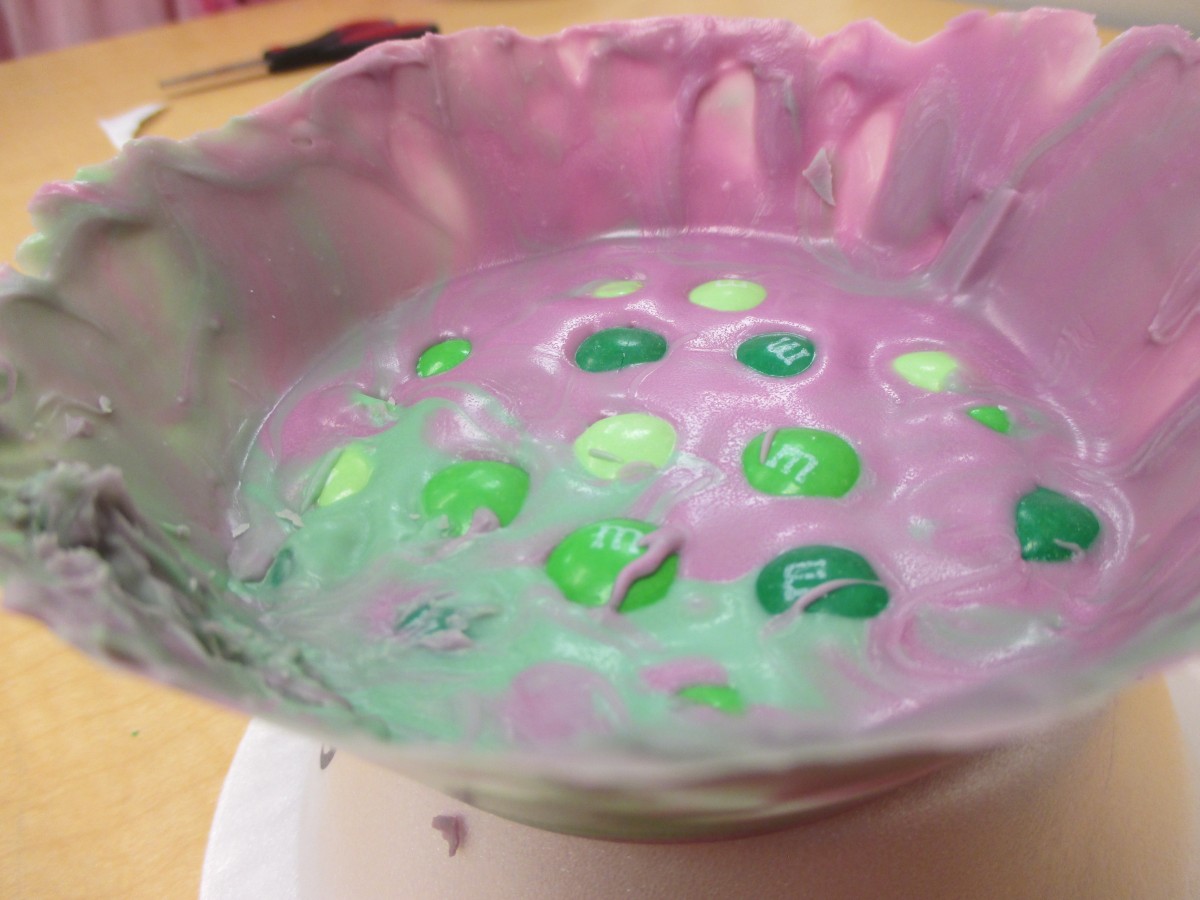
Candy Bowl
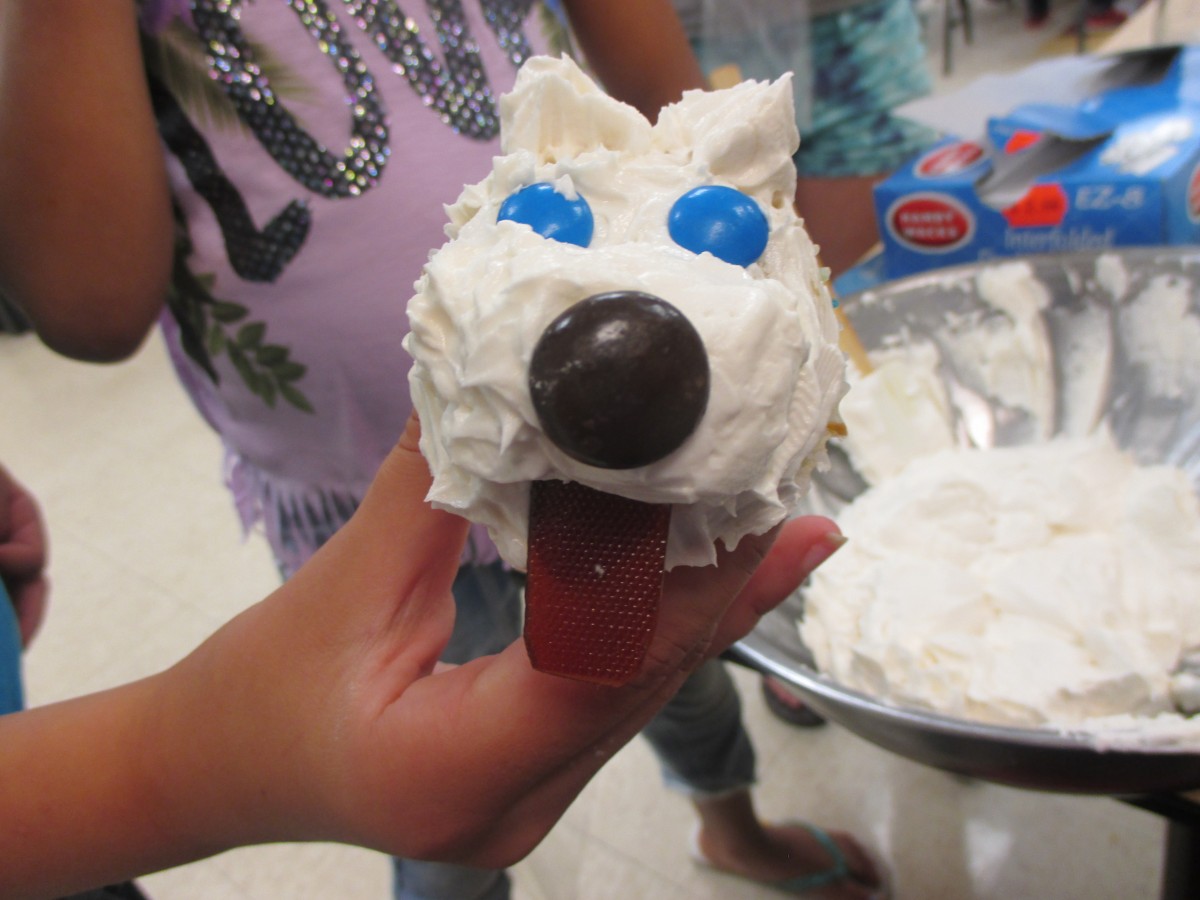
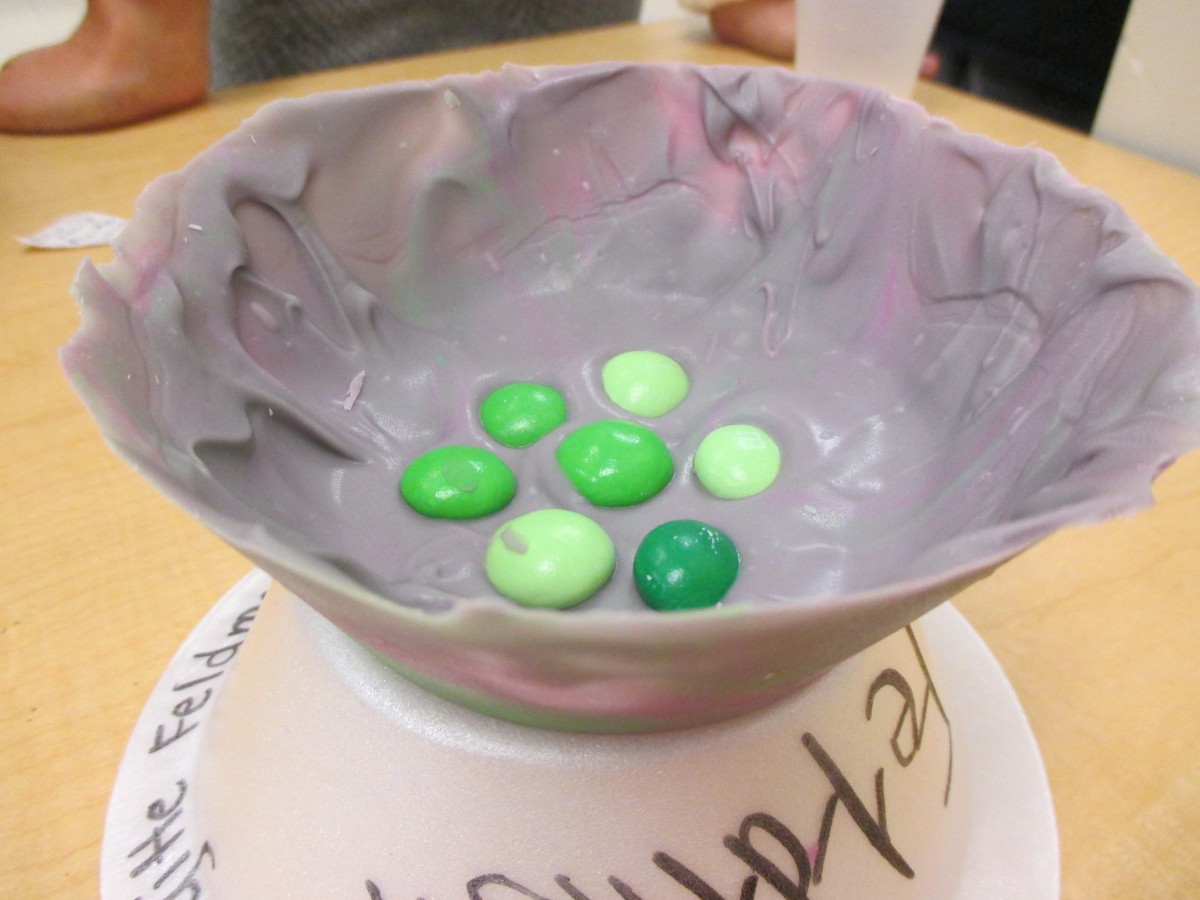
We had such a great week in cooking camp. The last thing we do to end camp every week is have ice cream. This year we made candy bowls to have our ice cream in. I got several bags of the melting disks used to make candy. They come is assorted colors and I got orchid and green. I melted them and the kids put some of each in styrofoam bowls and used a spoon to spread it inside of the bowls. We placed them in the freezer or fridge to harden. Once chilled the kids popped them out and had pretty bowls. Most wouldn’t eat them. They wanted to take them home to show their parents. We used to make the bowls by dipping balloons in melted chocolate, hardening them off and popping the balloons. After a few balloon exploding incidents we opted for the safer bowl method. We also had some mint candies to decorate the bowls. Here is what they made.
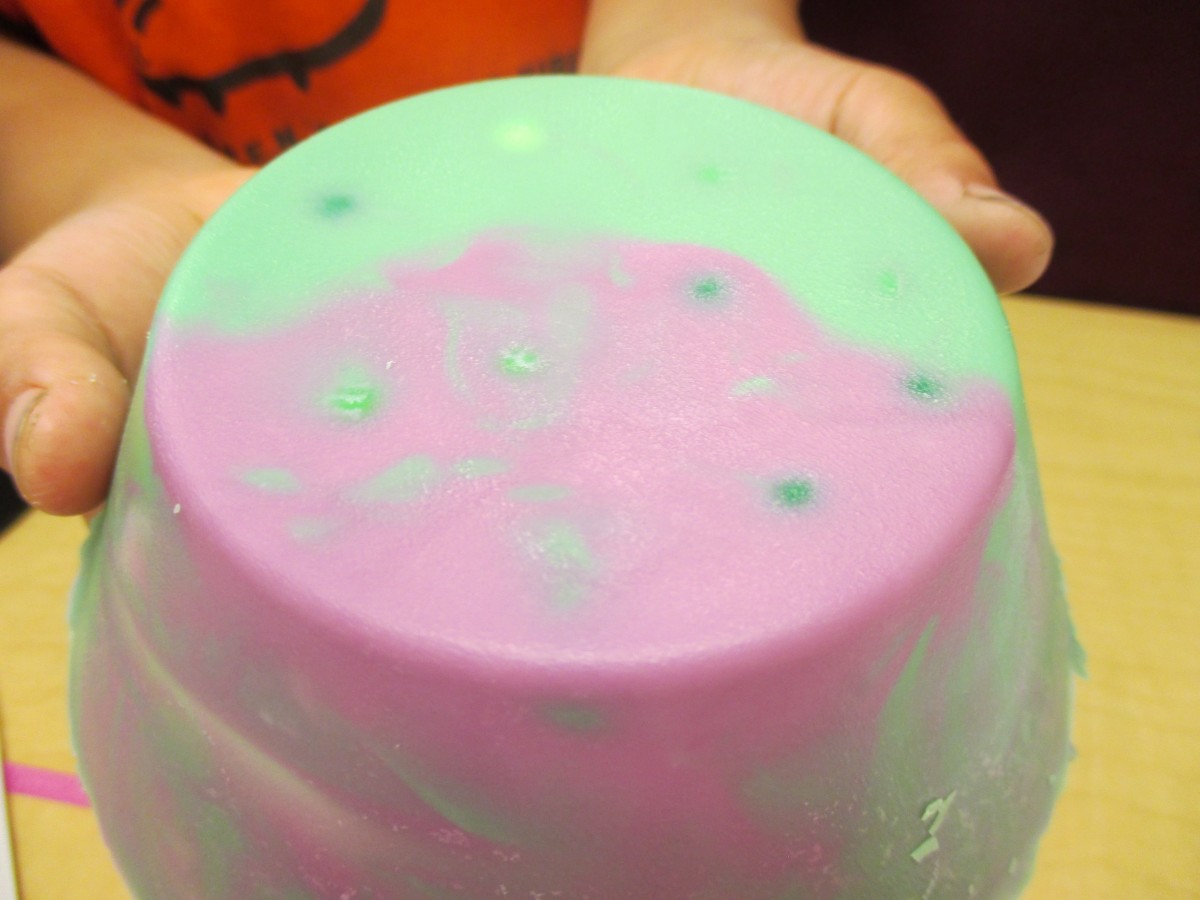
Bottom view


Beachwood Camp- Chicken Nuggets

Chicken Nuggets
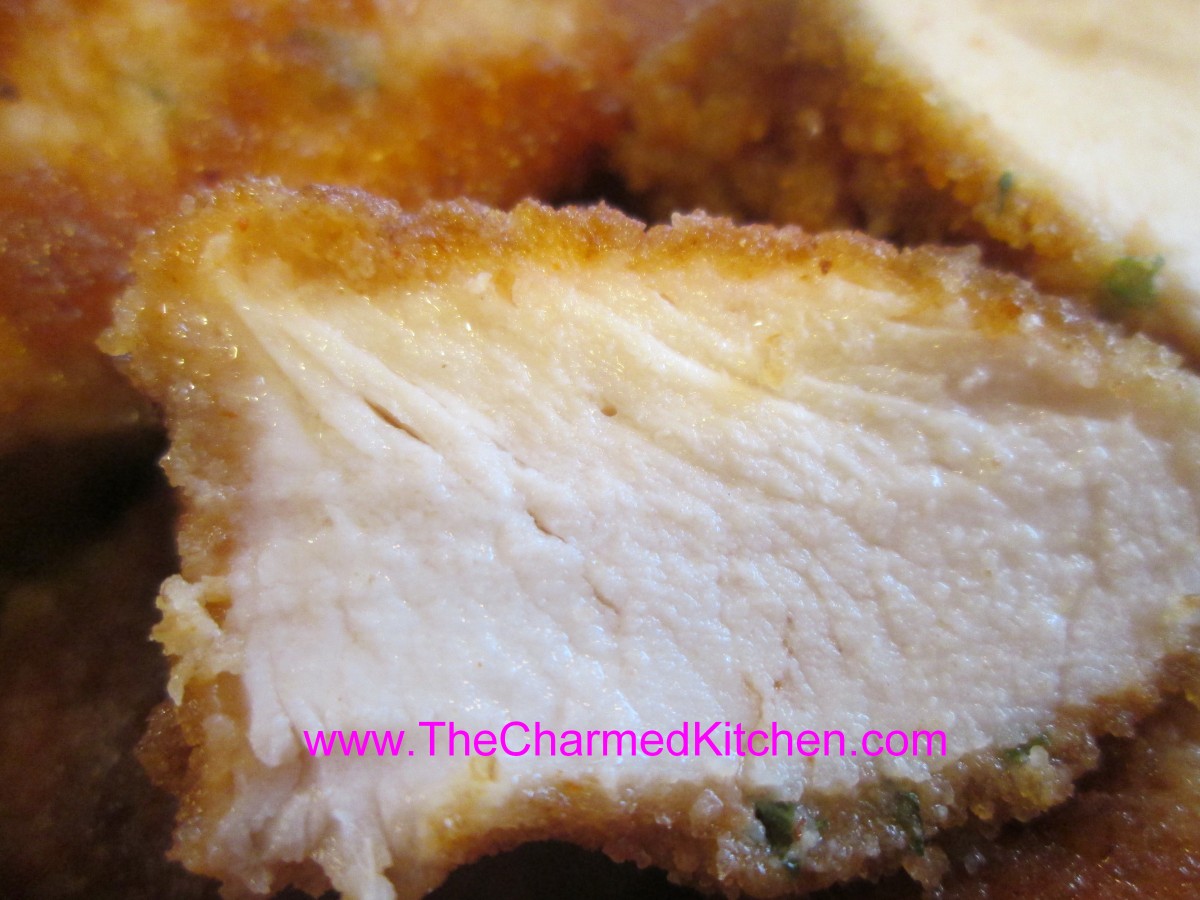
I actually made these for the kids when they were making their salads on Wednesday. The kids loved them so I promised to post the recipe. My favorite comment of the day was when one of the girls came over to watch me making the nuggets- I was breaded them at the time. She was amazed and called out to a friend to come watch because I was using real chicken!!! I am not sure what surprised her about that but she later asked me if I make everything from scratch. I said I often did. Liked it better that way. Here is the recipe. It is very easy. The nuggets are baked, not fried.
Chicken Nuggets
1 egg
3 T. milk
1 t. dried parsley
1/2 t. paprika
1/2 t. salt
1/4 t. pepper
1/4 t. garlic powder
1 lb. boneless chicken, cubed into 1-inch pieces
bread crumbs- about a cup
oil
Combine egg with milk and seasonings in a bowl and mix with a fork until smooth. Add the chicken to the egg mixture and stir to coat well. Using a fork remove the chicken pieces and drop in the breadcrumbs, rolling to coat evenly. Place breaded chicken pieces on a baking sheet. Drizzle with a little oil and place in a preheated 450 degree oven. Bake for 10-12 minutes, or until juices run clear and chicken is cooked. Serve with barbecue sauce, sweet and sour sauce, honey mustard or whatever dipping sauces you like. Serves 3-4.
To freeze for later use you can freeze raw or cooked- I prefer to freeze the nuggets raw and cook when needed. Place nuggets on a baking sheet and place in freezer until hard. Place in freezer container. When using frozen uncooked nuggets- bake in a 425 degree oven for 20-25 minutes.


Salad Days – Beachwood Cooking Camp

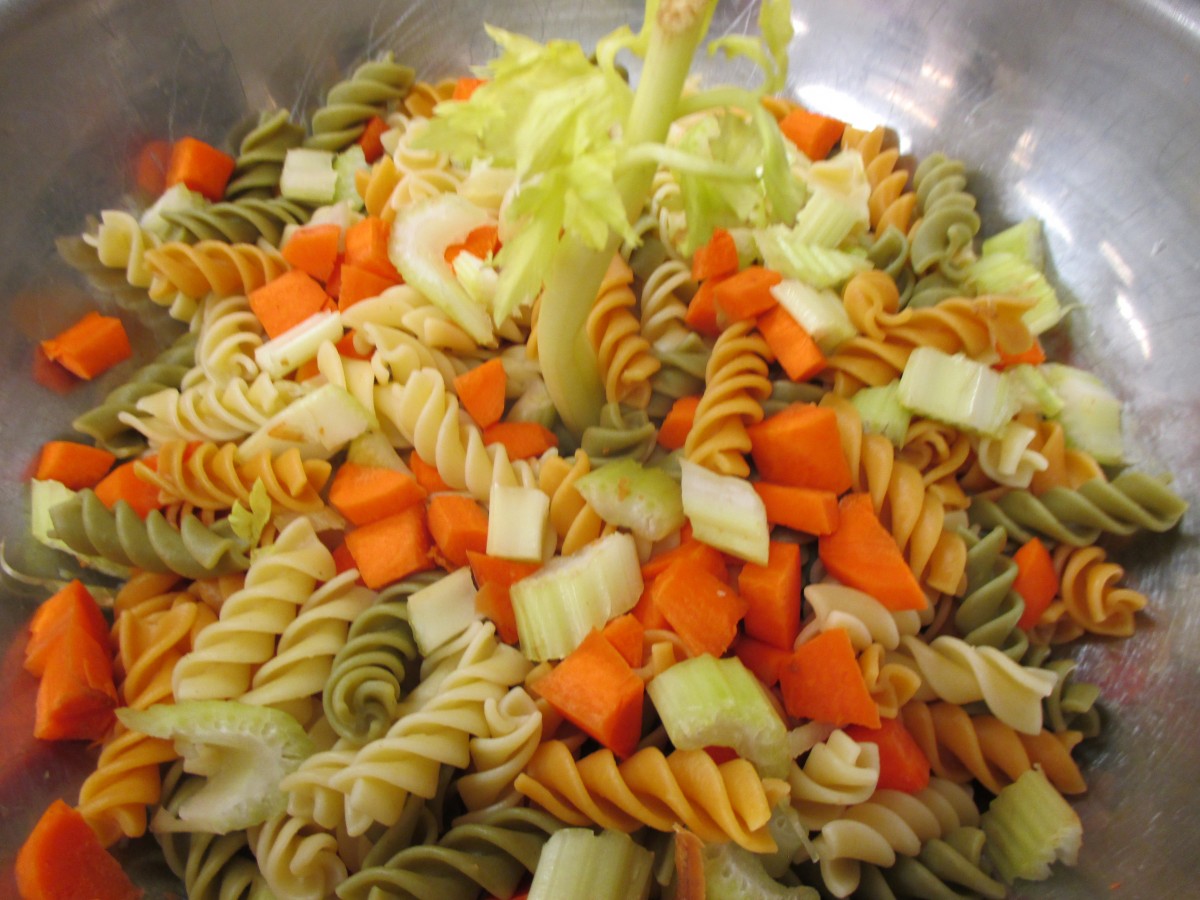
Pasta and Veggie Salad
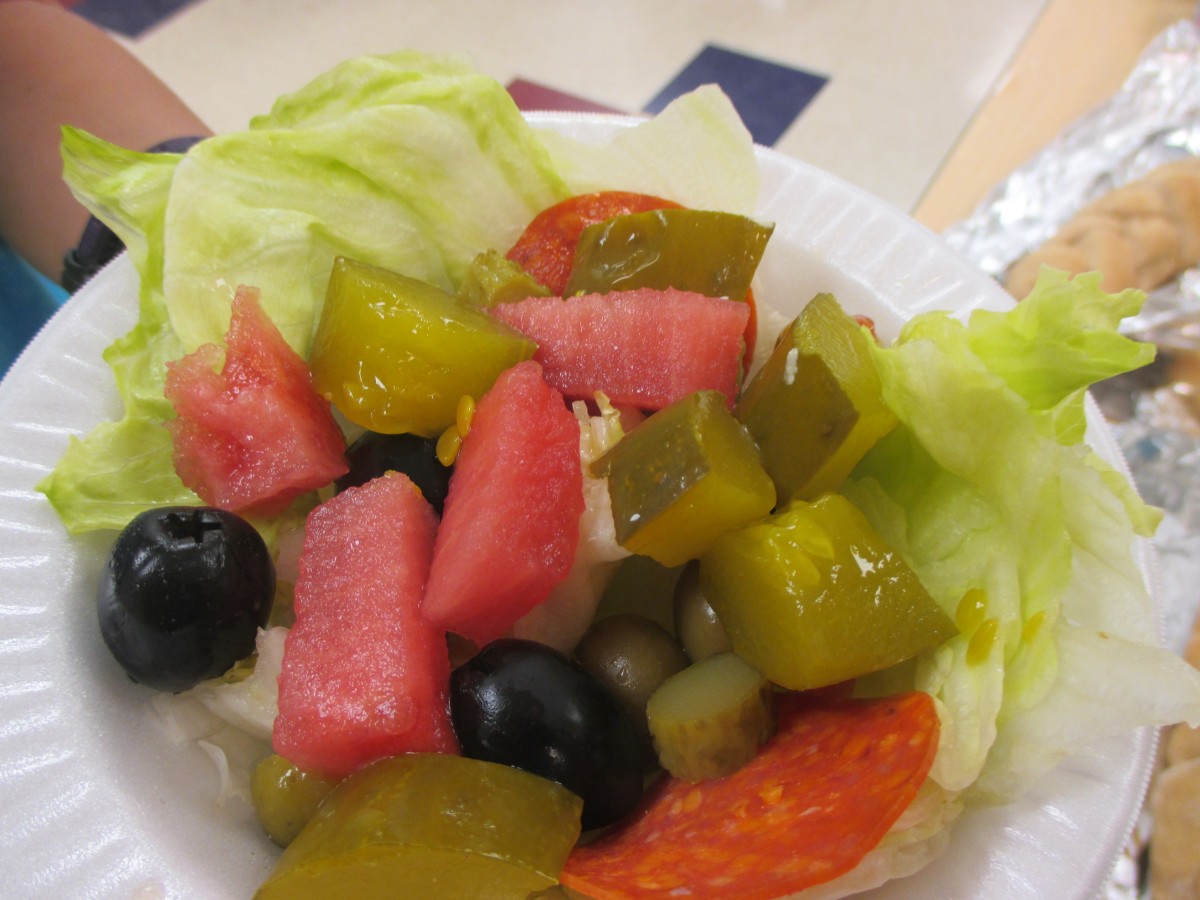
All I told the kids is that we were making salads on Wednesday. I brought in veggies, dressings, fruit, pasta and a few more ingredients. The kids worked in teams and this is what they created. One girl said this was the best day of camp so far!! Another girl said that she didn’t like potato salad but when she made it herself, she did. That was kind of the point. When kids get involved in cooking they seem more likely to try new things. I heard the potato salad was very good. It was all gone by the time I went to try it. Here are some of the pics from today.

Fruit salad with cucumbers and a touch of fresh lemon and lime juice
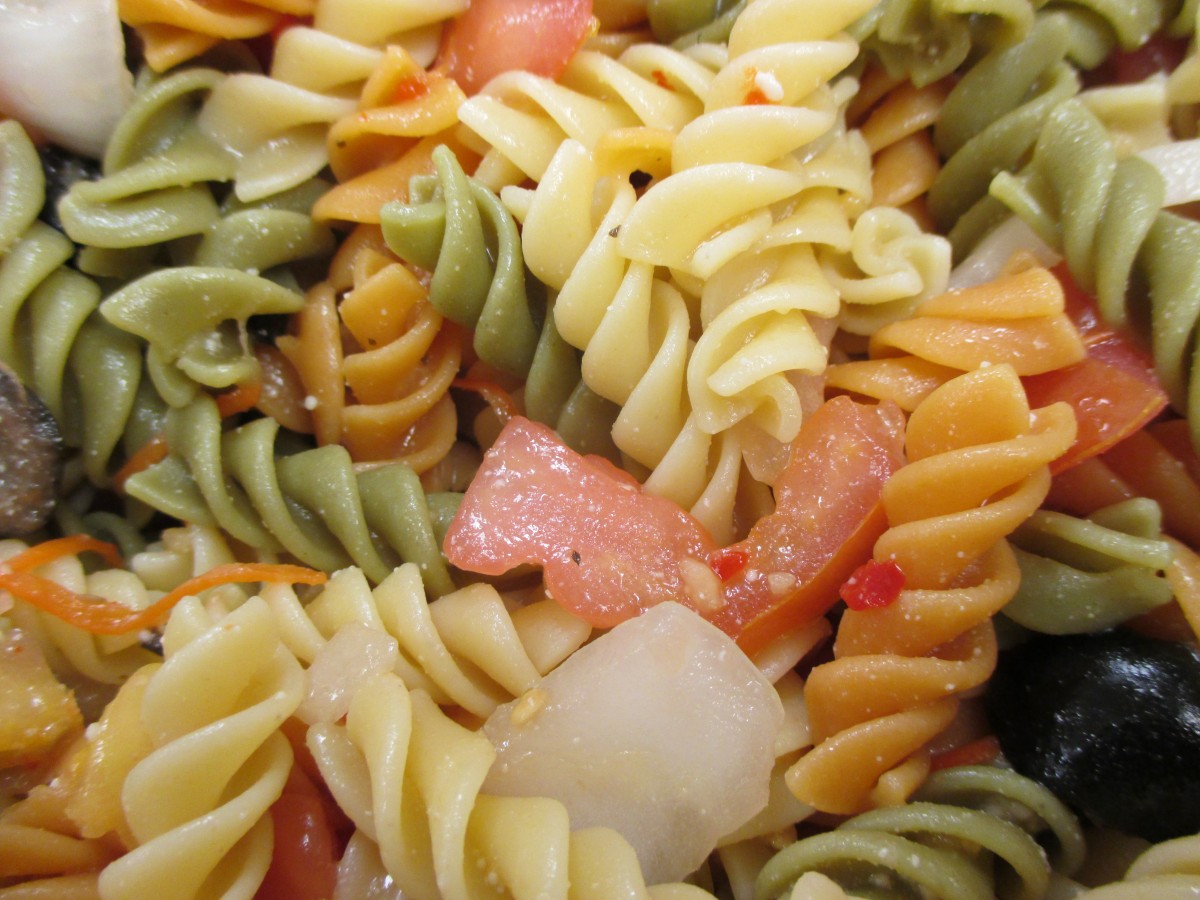
Pasta salad with sweet onion and tomato
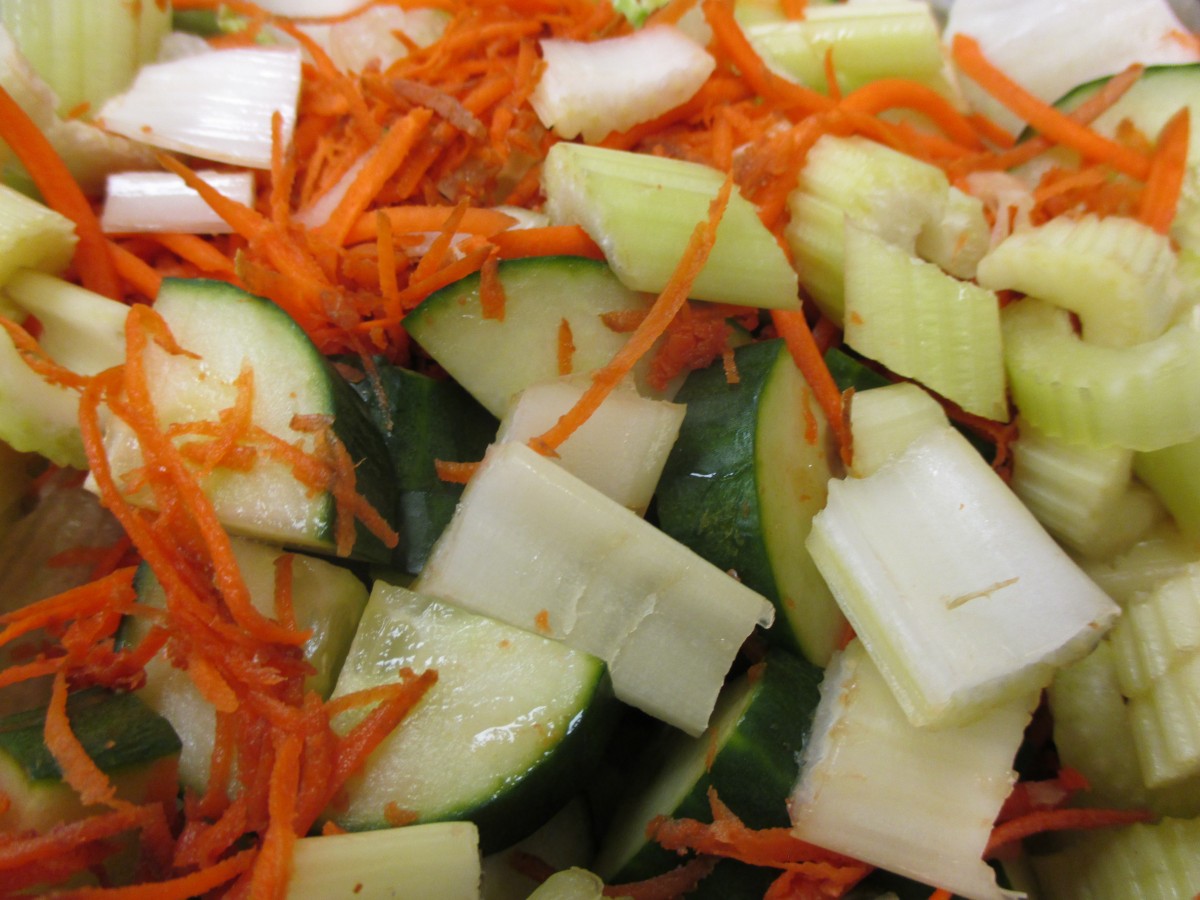
Mixed Veggie Salad
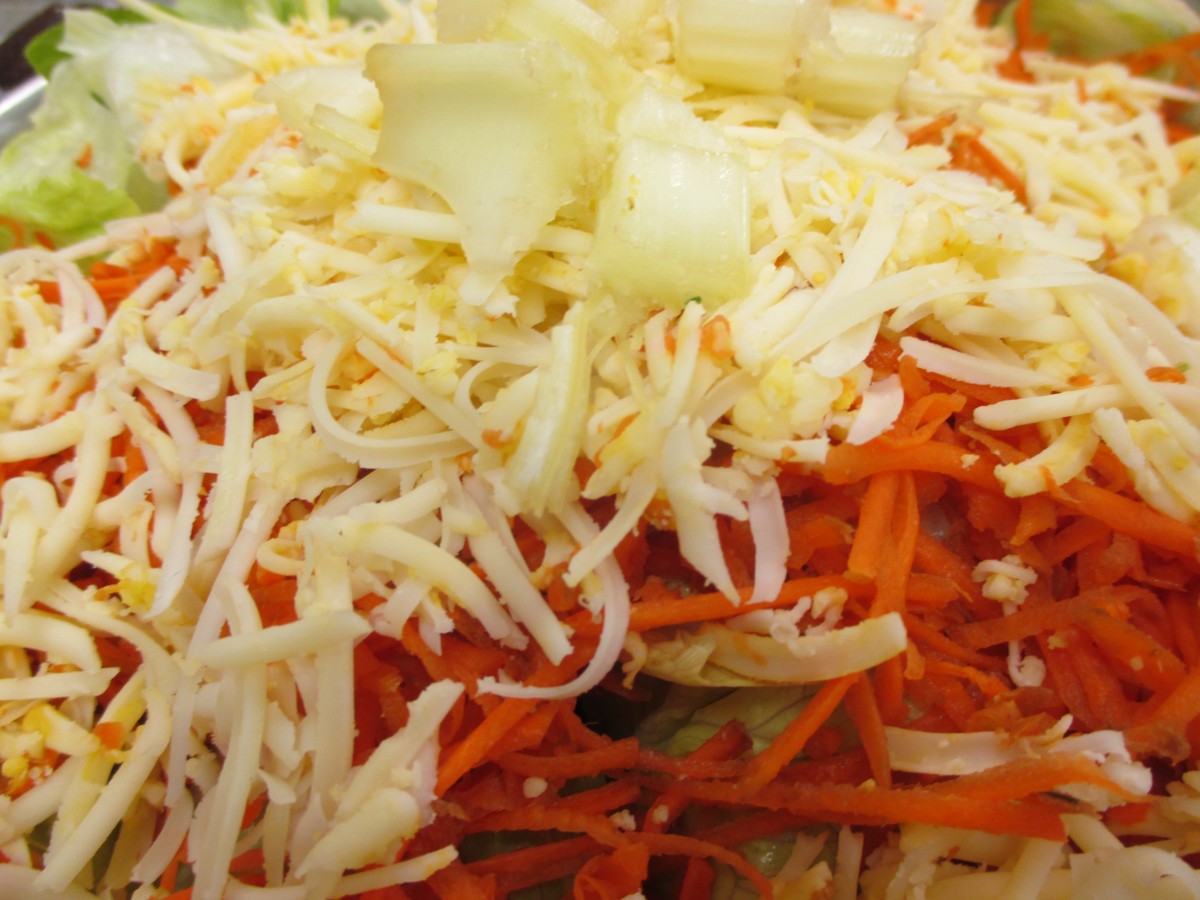
Lettuce Salad with shredded carrots and cheese
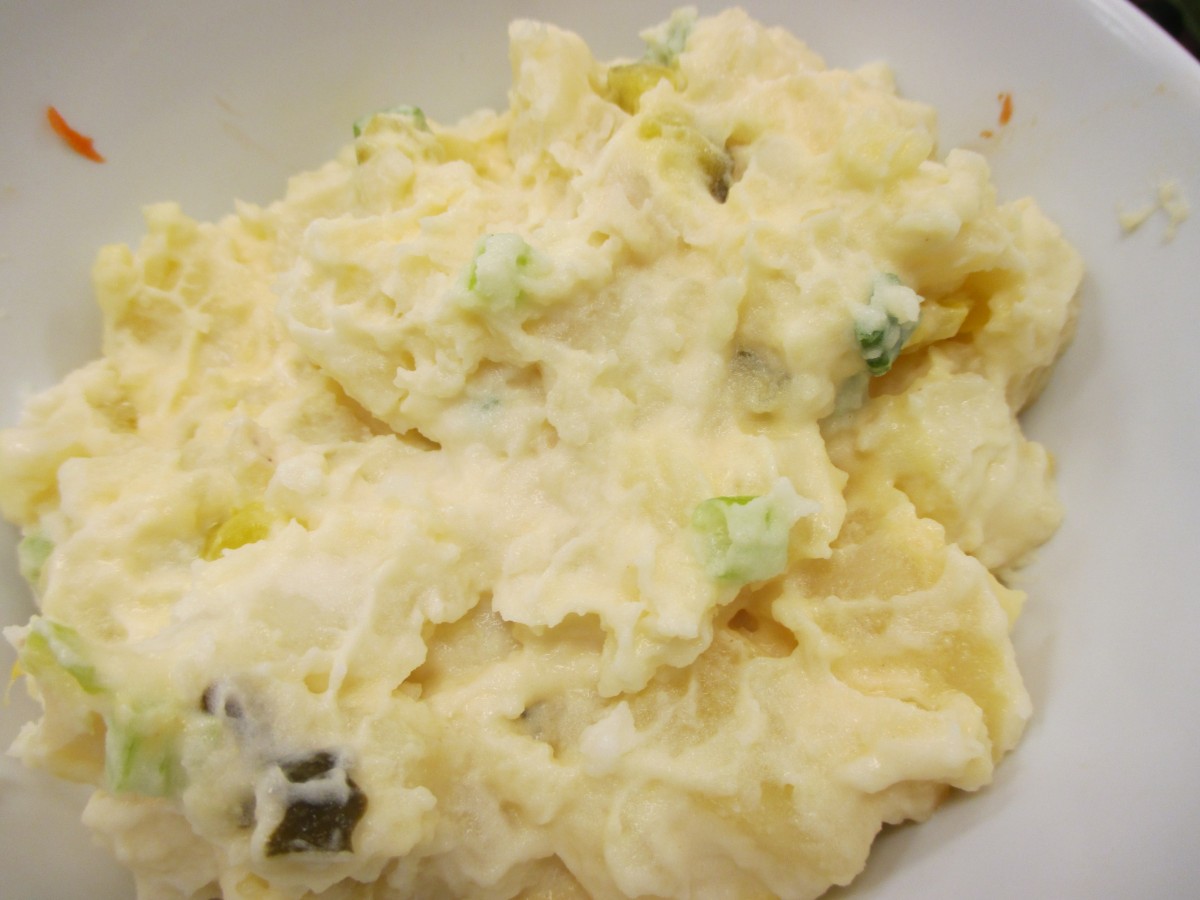
Potato Salad – extra creamy
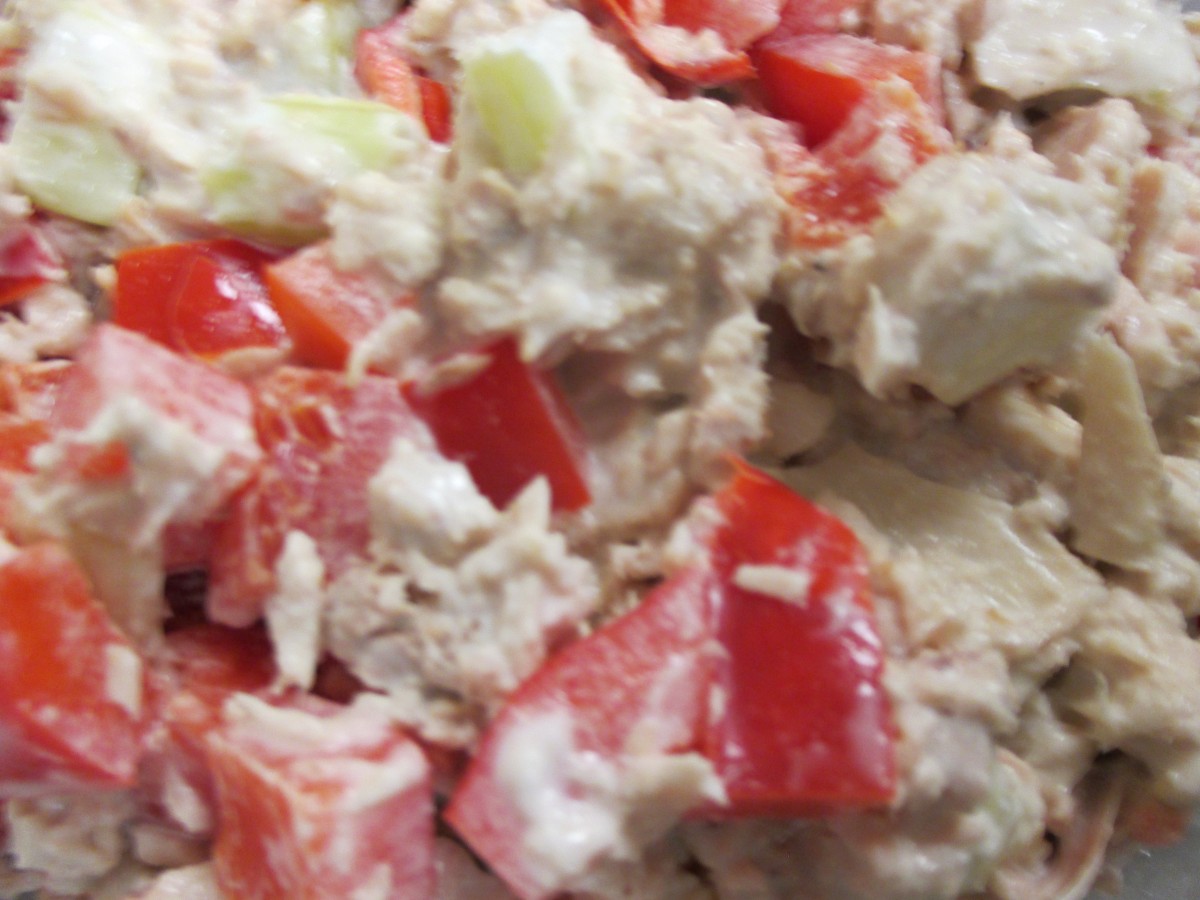
Tuna Salad
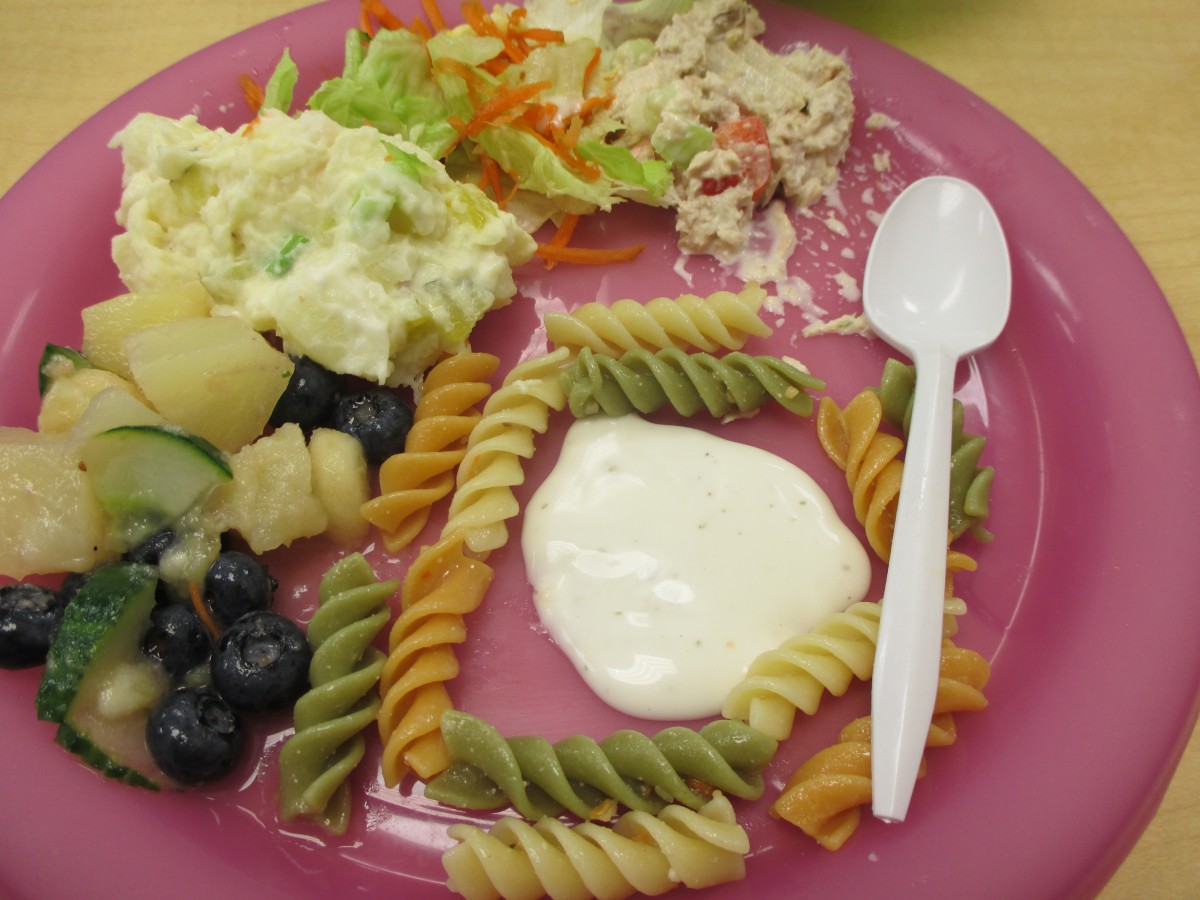
Creative plating!!

Beautiful and tasty, too.
Bread Baking- Beachwood Camp

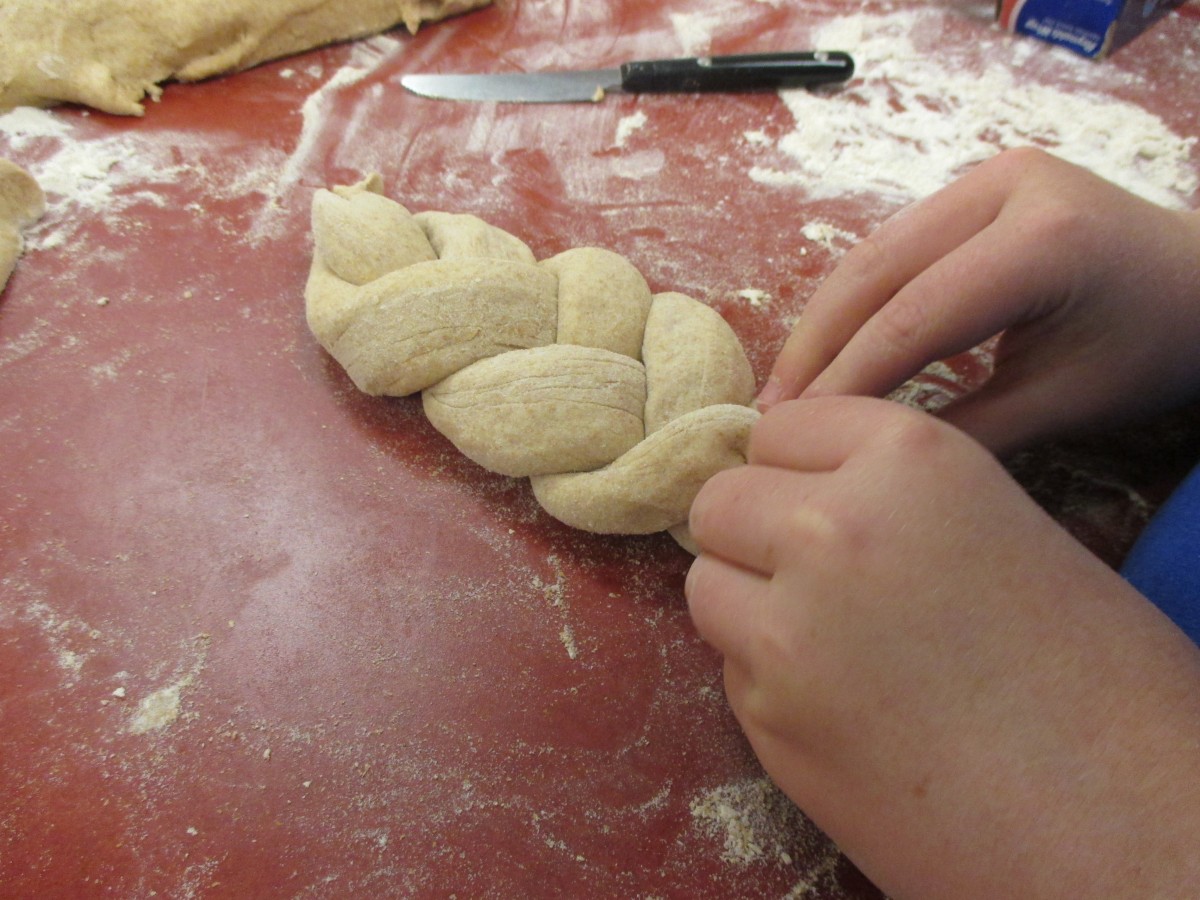
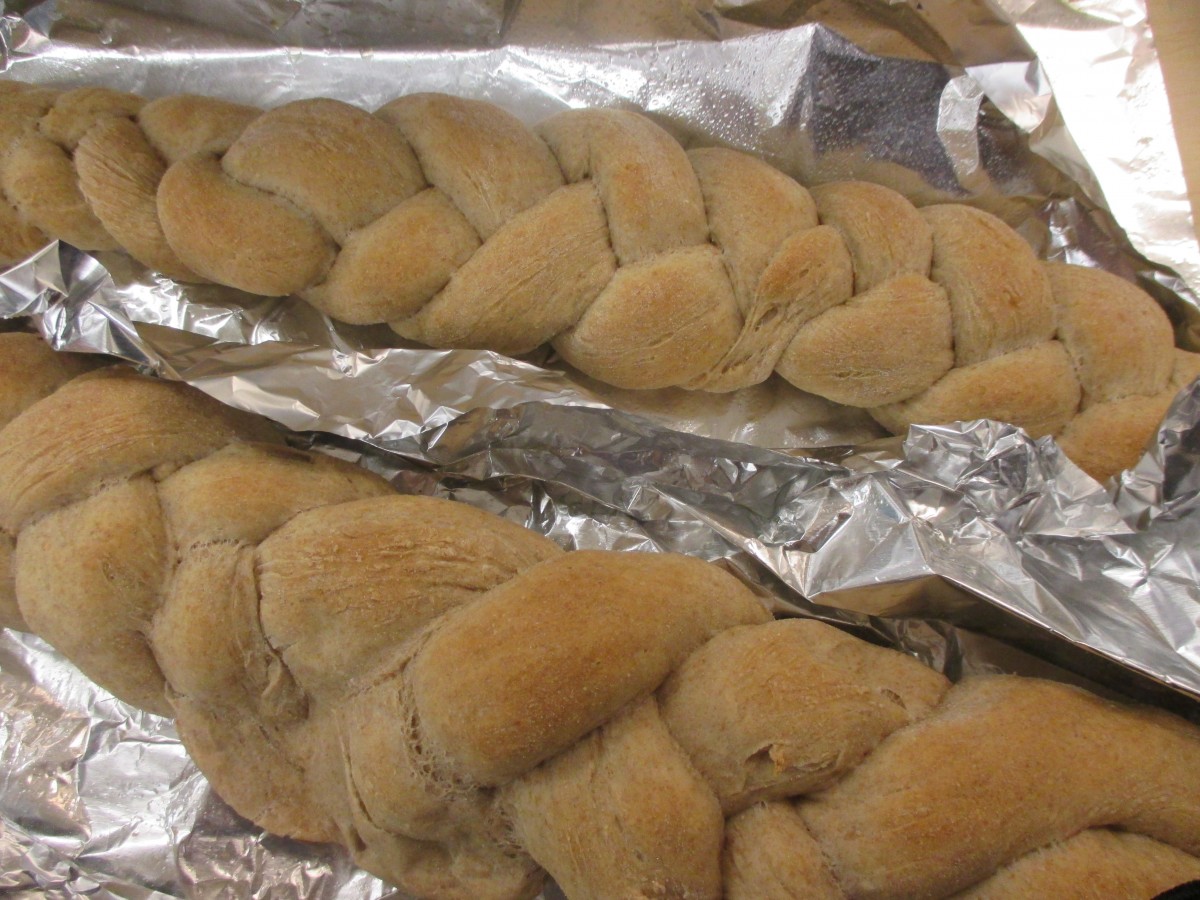
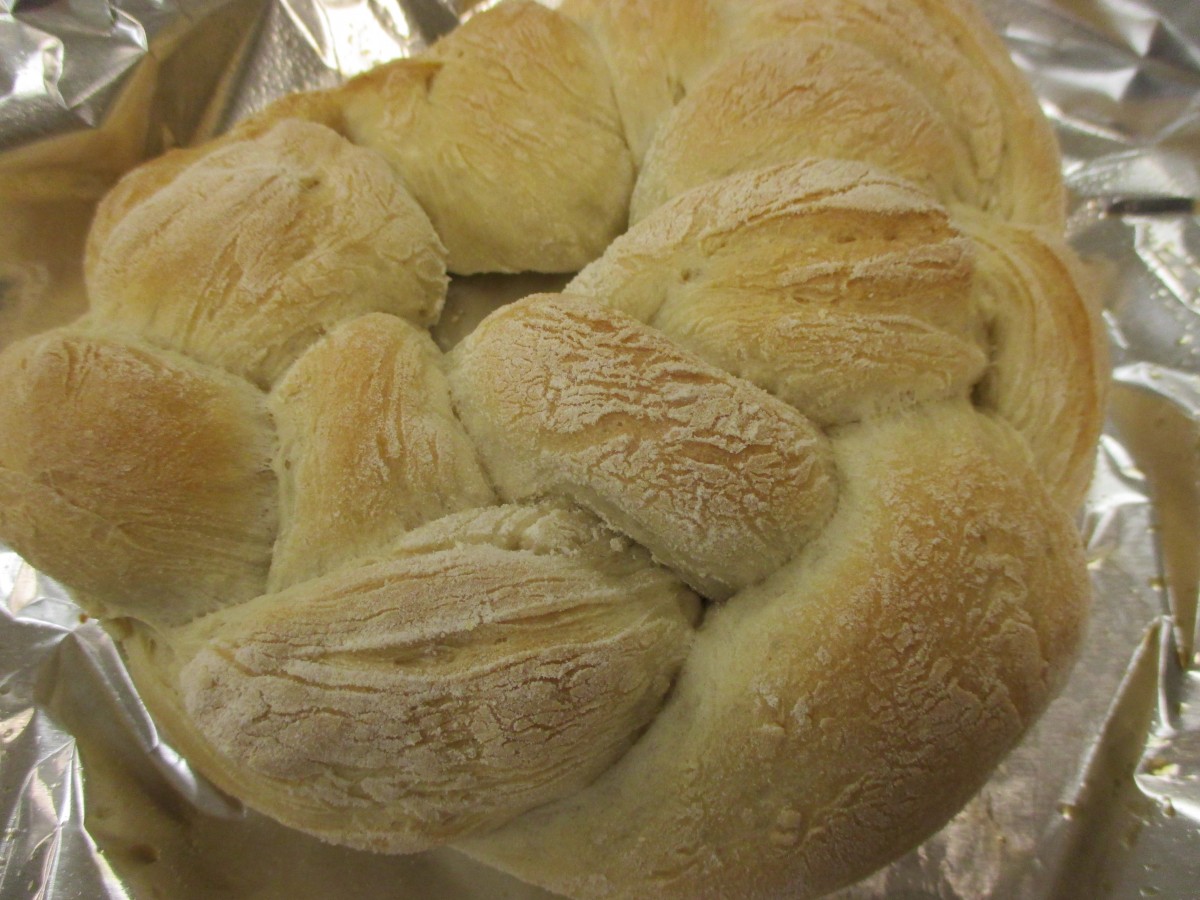 The kids did a great job today baking bread. We made braided breads, cheese stuffed loaves and pita bread. Here are some pics I took today. Keep in mind the kids range in age from 7-11. I am impressed every day at what they can do!!!
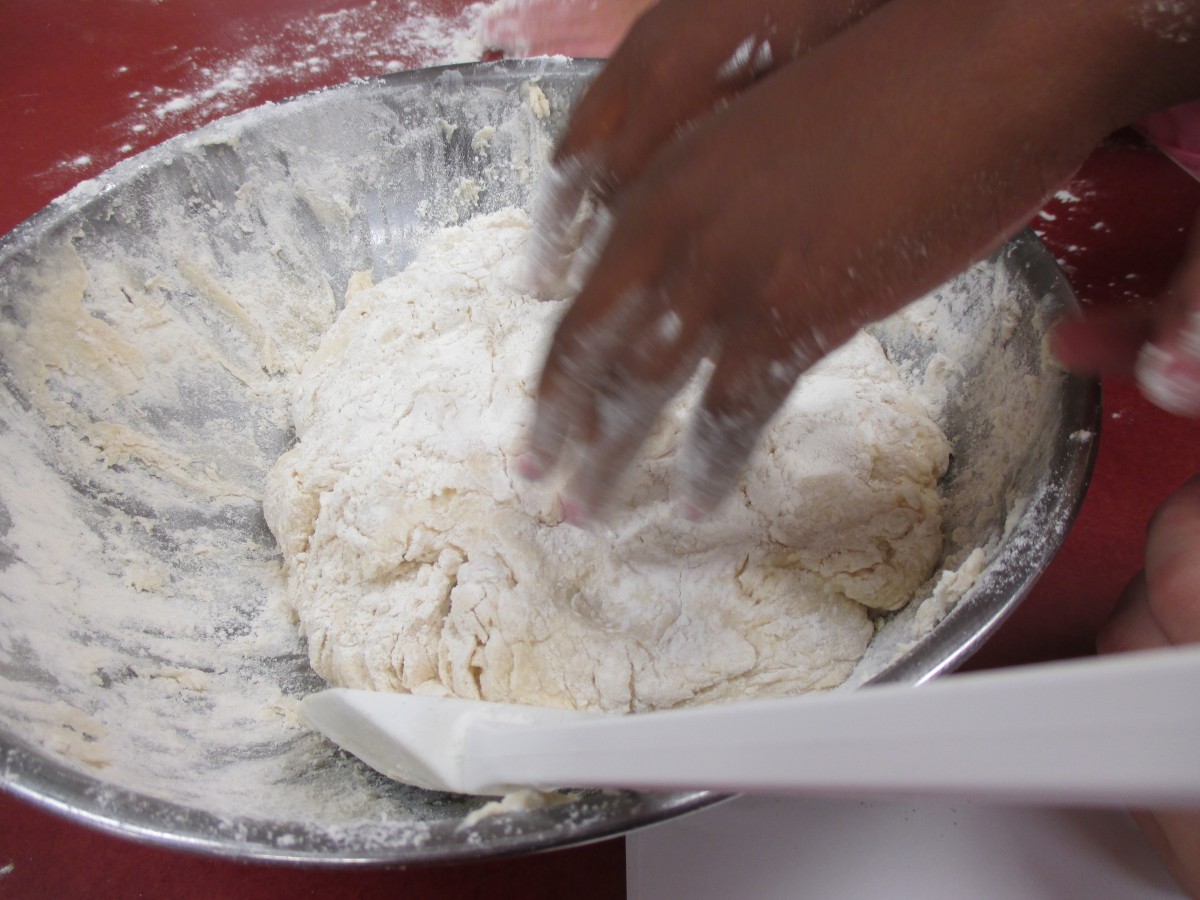
Kneading

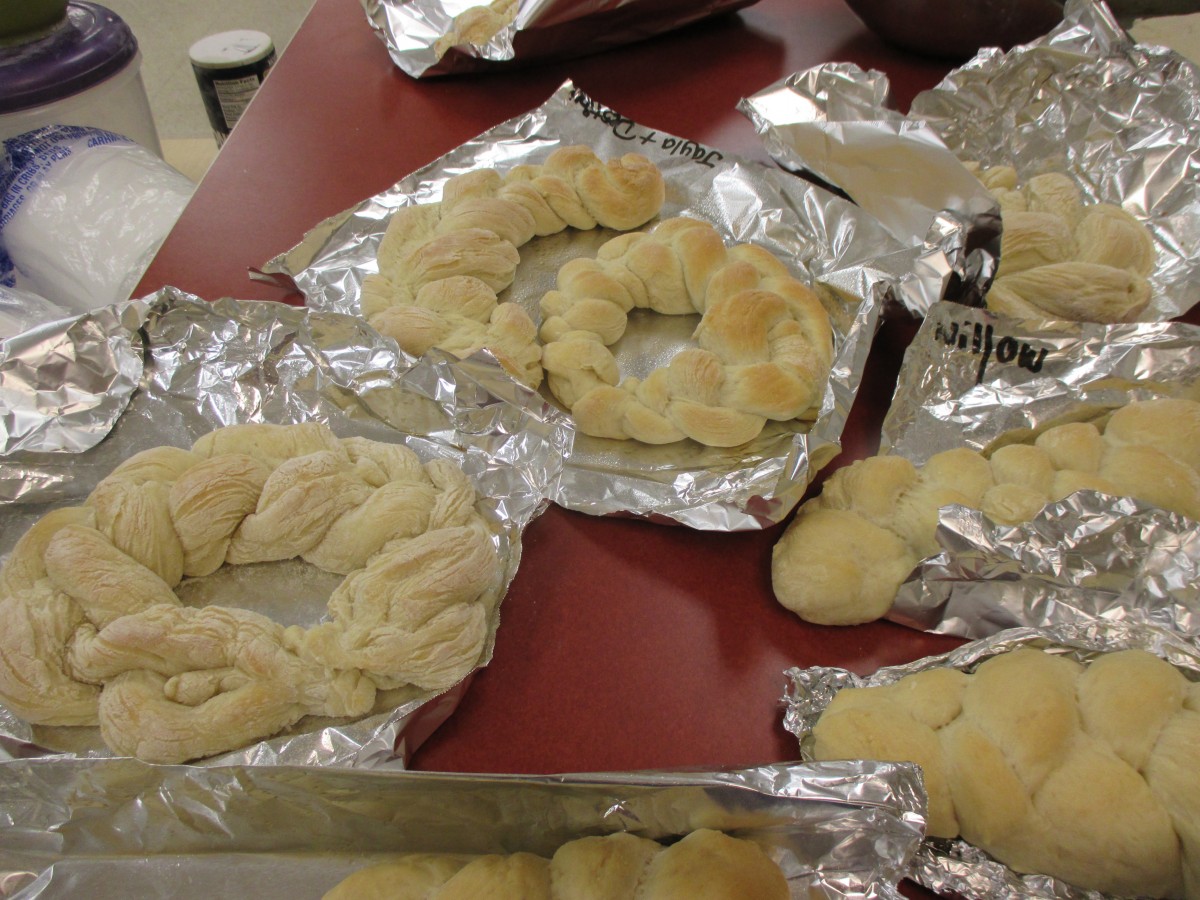
Ready to braid
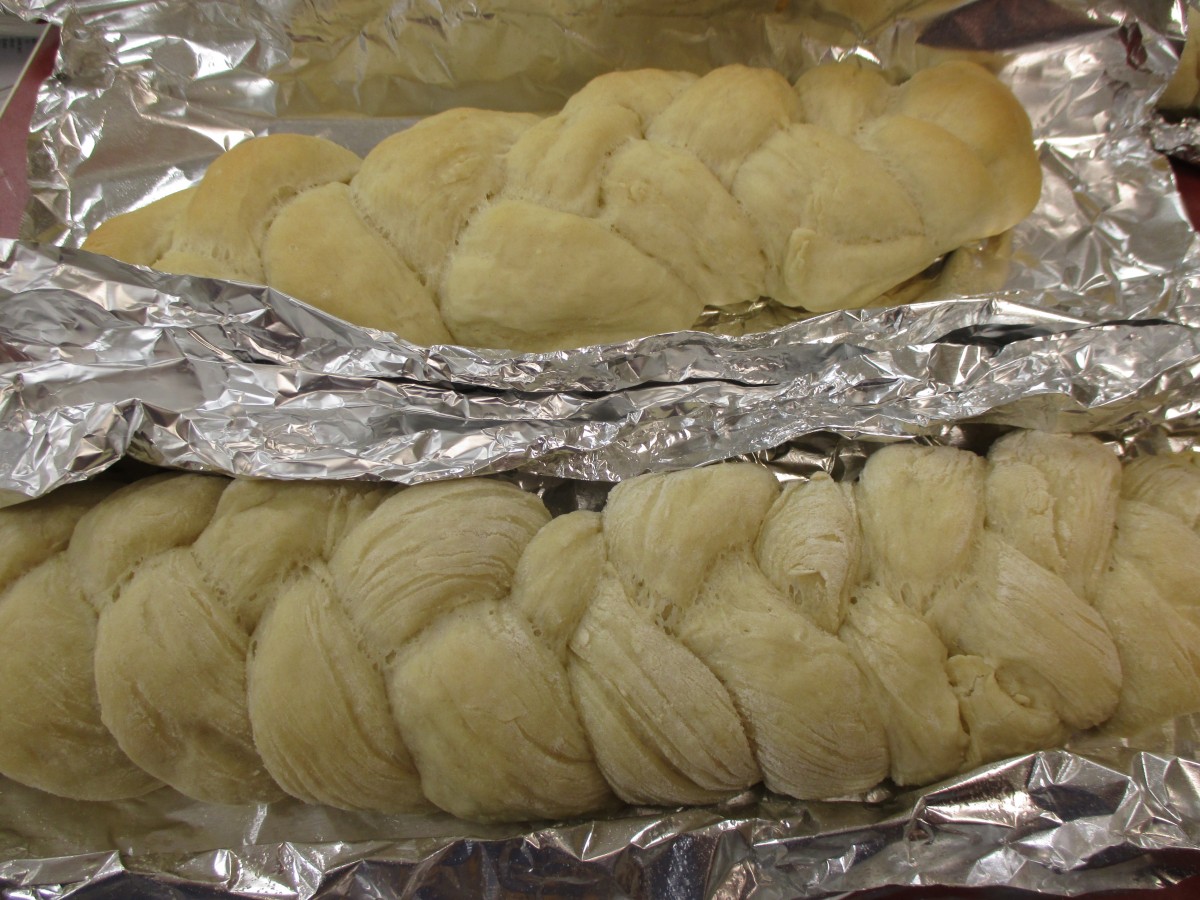
Some of the braids
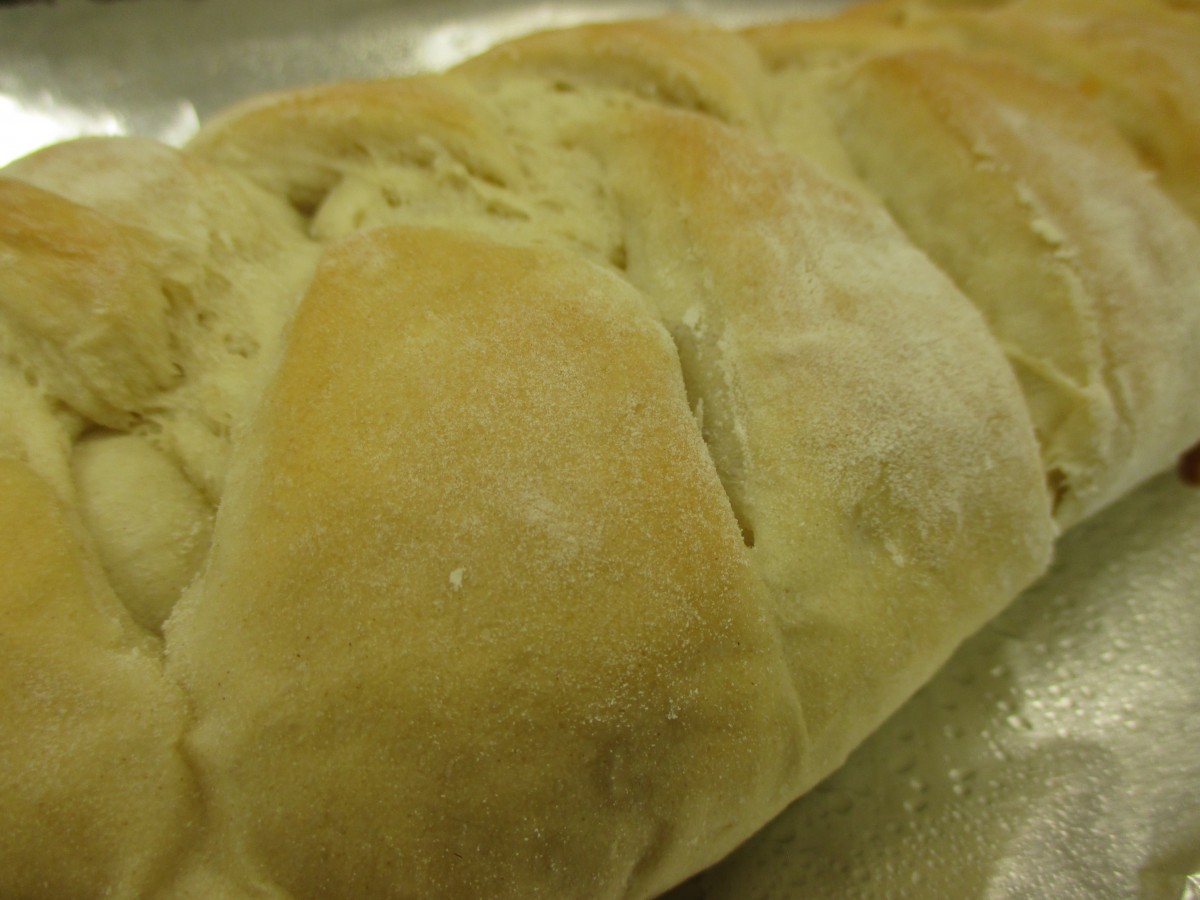
more bread
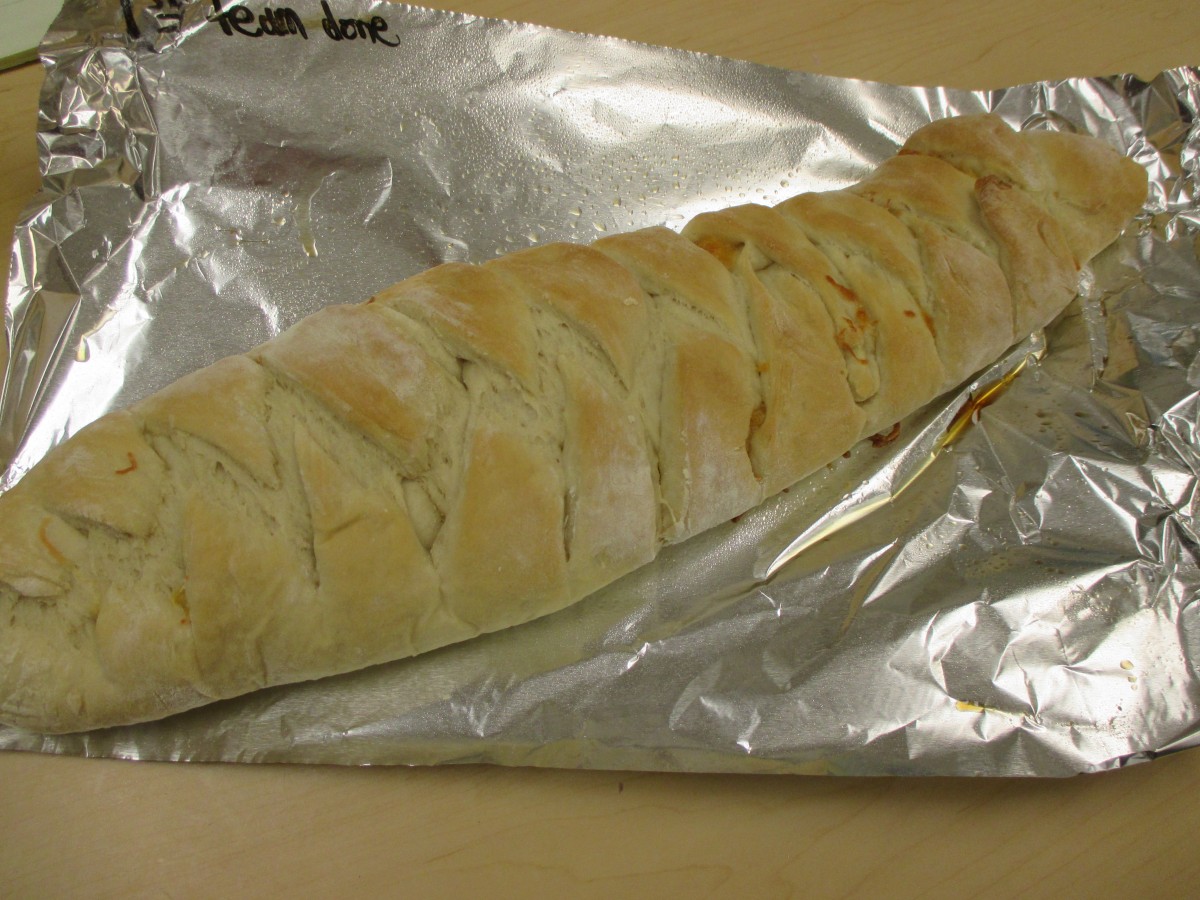
Cheese stuffed bread
More cheesy bread
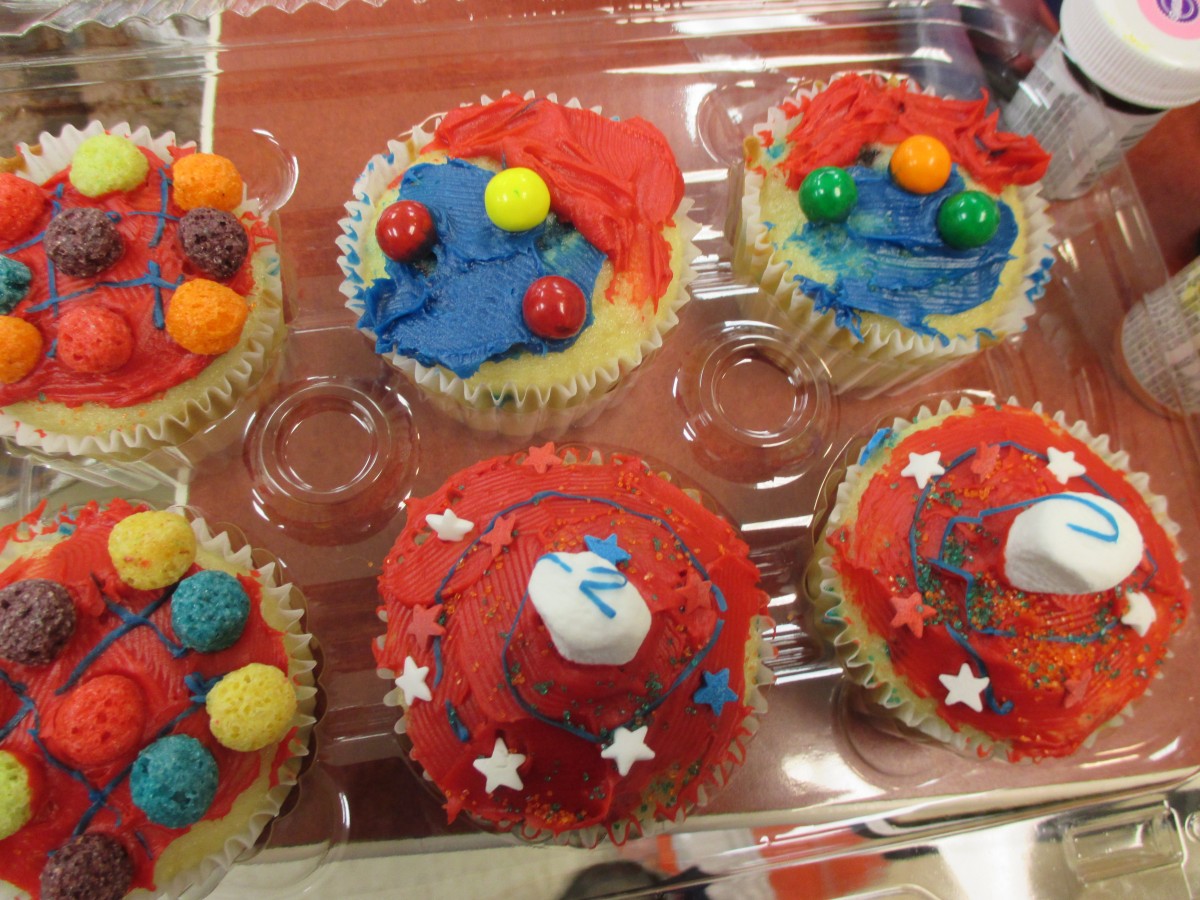
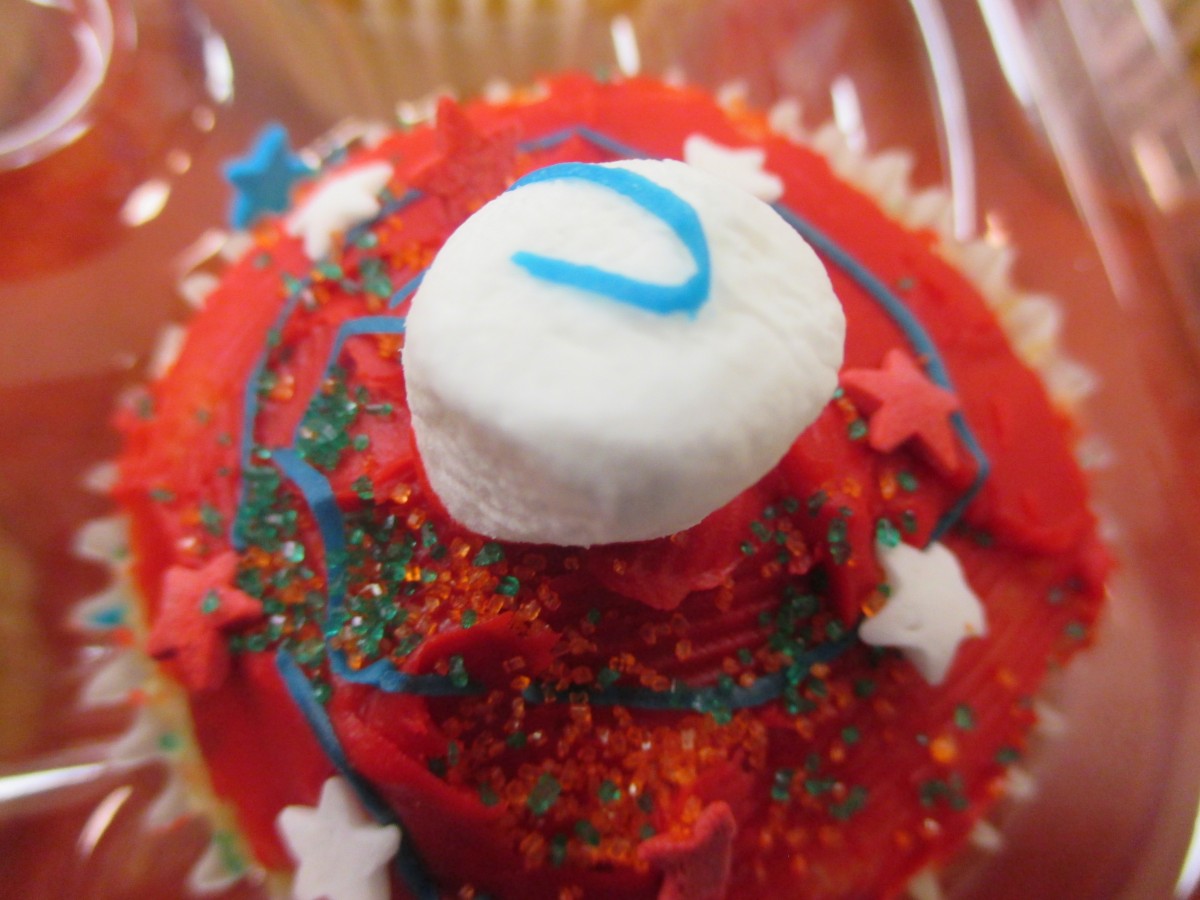
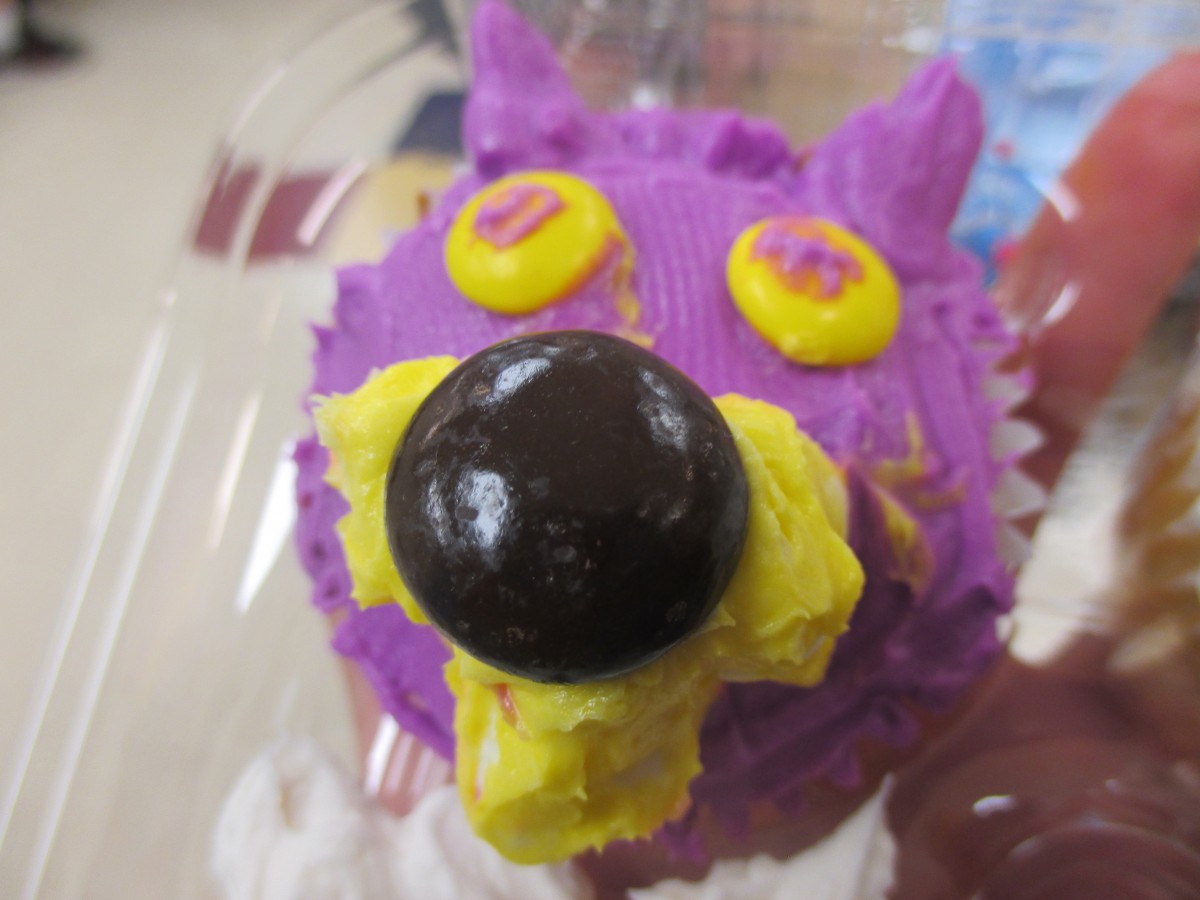
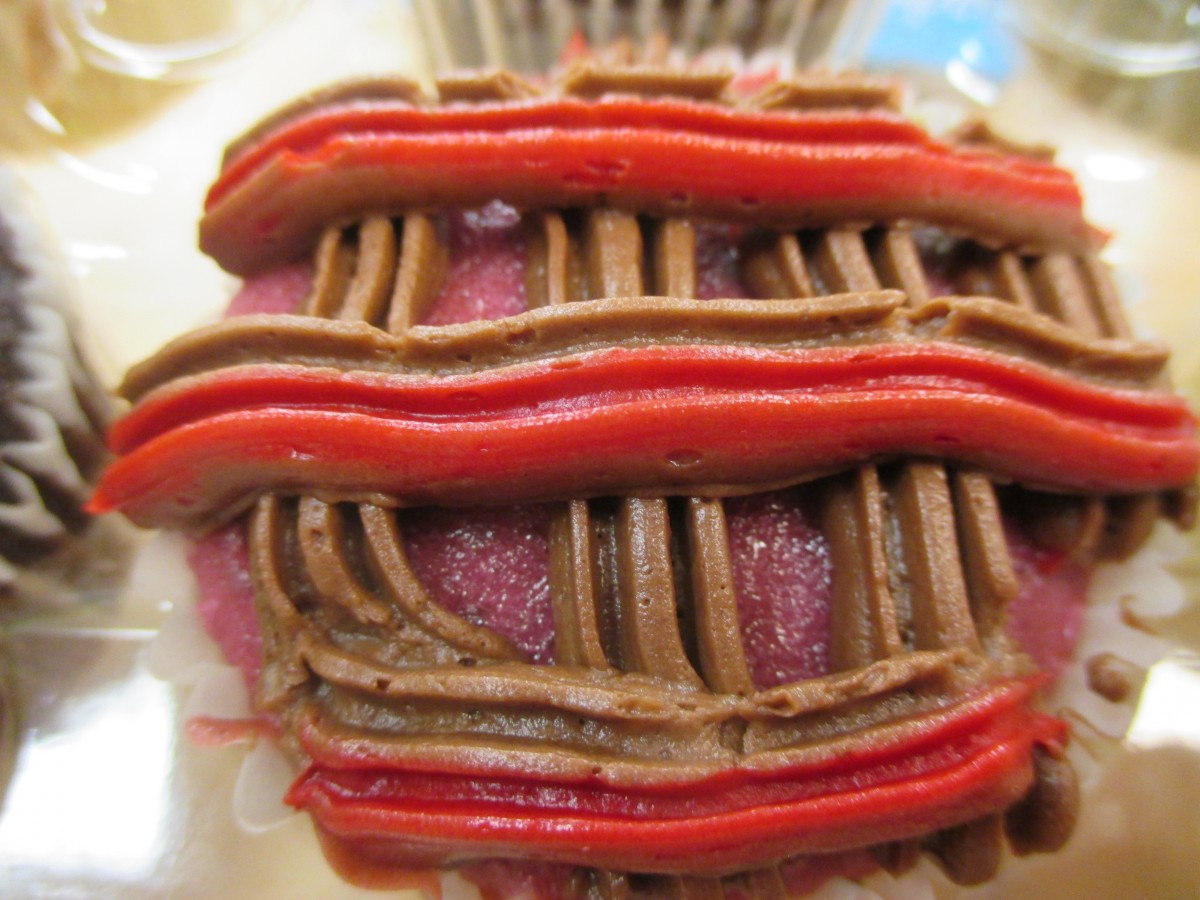
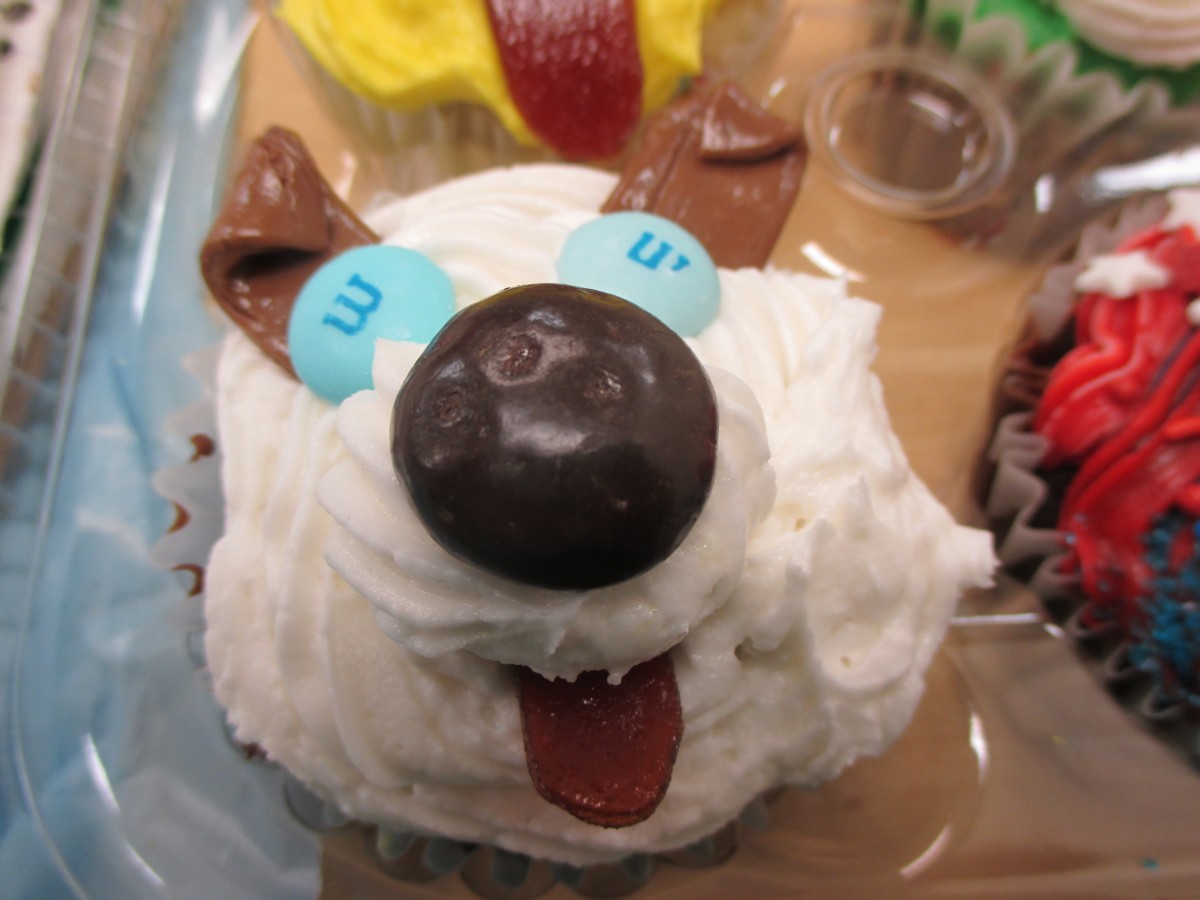
“Pizza” Cookies

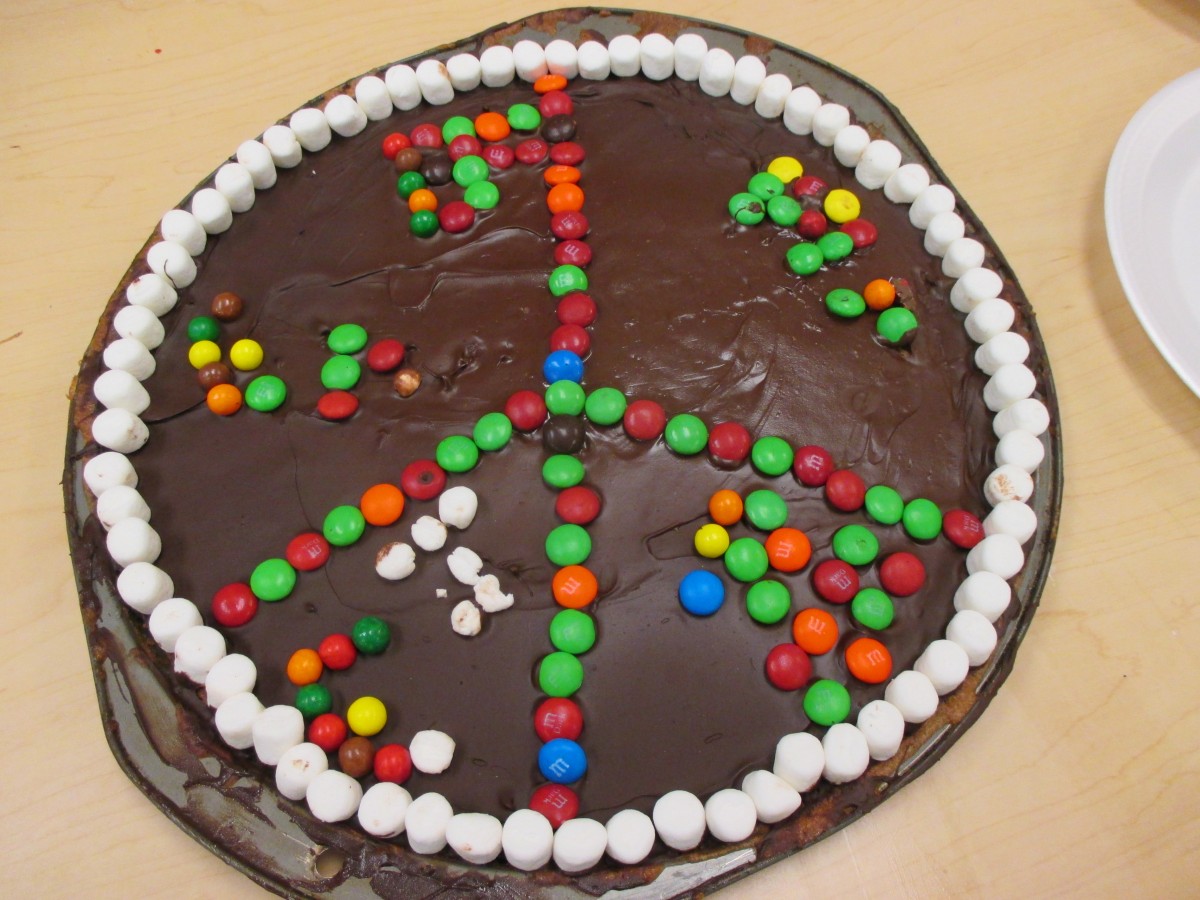
“Pizza” Cookies
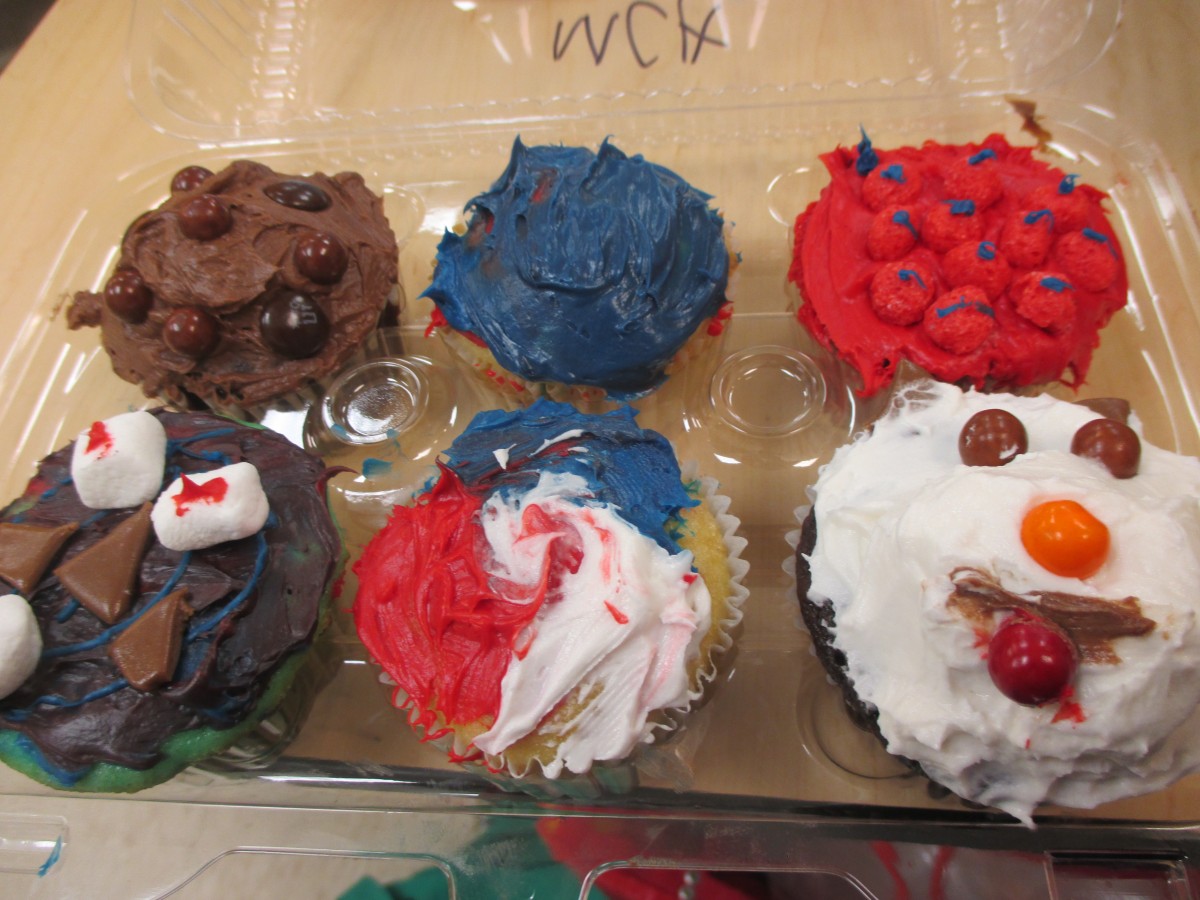
We were making pizza in camp and made these giant cookies, baked in pizza pans, for dessert. The recipe calls for peanut butter but since we have a couple of kids with nut allergies we just left it out. The cookies work just fine either way. They are a lot of fun to make, decorate and eat!! Recipe follows.

“Pizza” Cookies
½ c. each butter, peanut butter and packed brown sugar
1/3 c. granulated sugar
1 egg
1 t. vanilla
1 c. flour
1 c. chocolate chips
¾ c. mini marshmallows
2/3 c. peanuts, optional
½ c. M&M’s
Beat together butter, peanut butter and sugars until smooth. Beat in egg and vanilla. Stir in flour and press into ungreased 12-13-inch pizza pan. Bake in a 350-degree oven for 15-18 minutes. Remove from oven and sprinkle with chocolate and peanut butter chips. Let stand for 1 or 2 minutes than spread over crust with a spatula. Top with remaining ingredients and return to oven for 5 minutes. Cool and cut. Makes 12 servings.
Beachwood Camp- Pizza Day


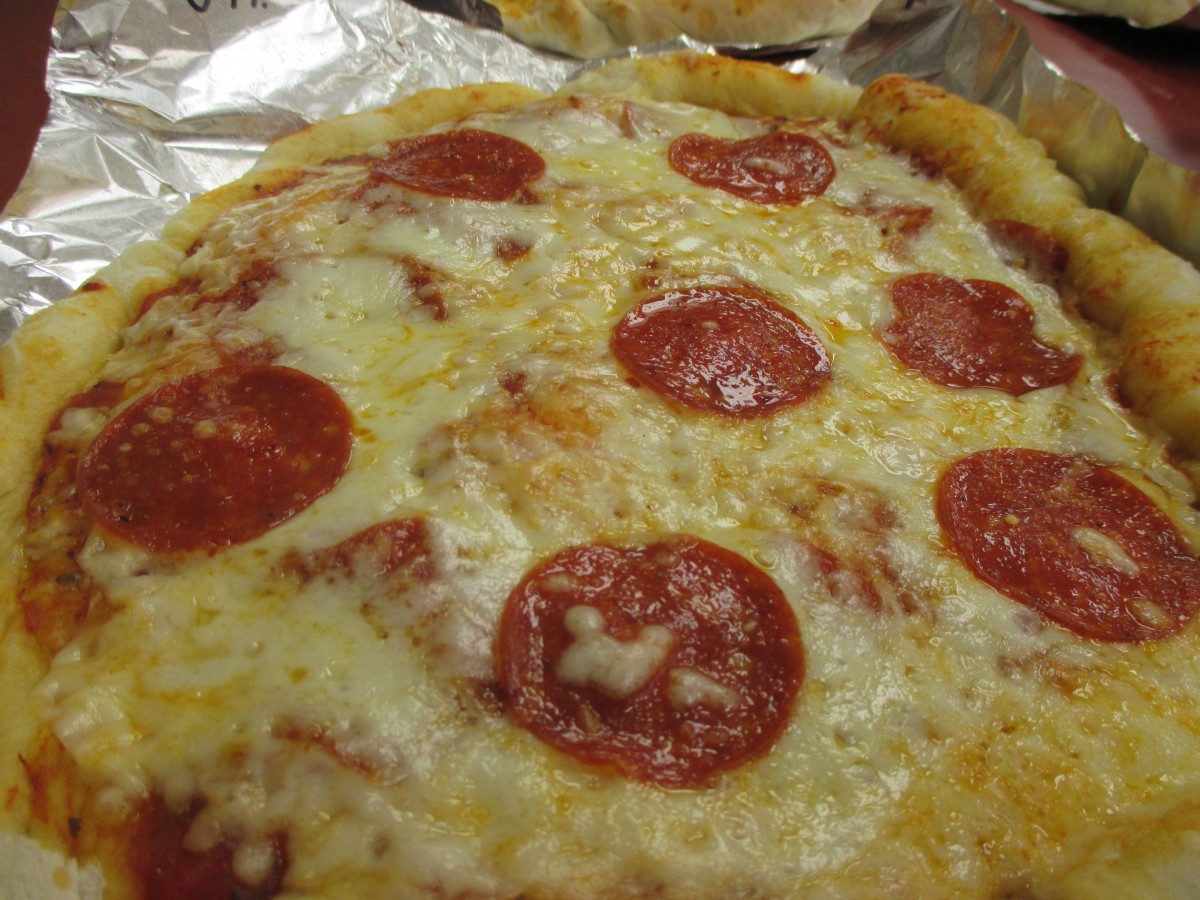
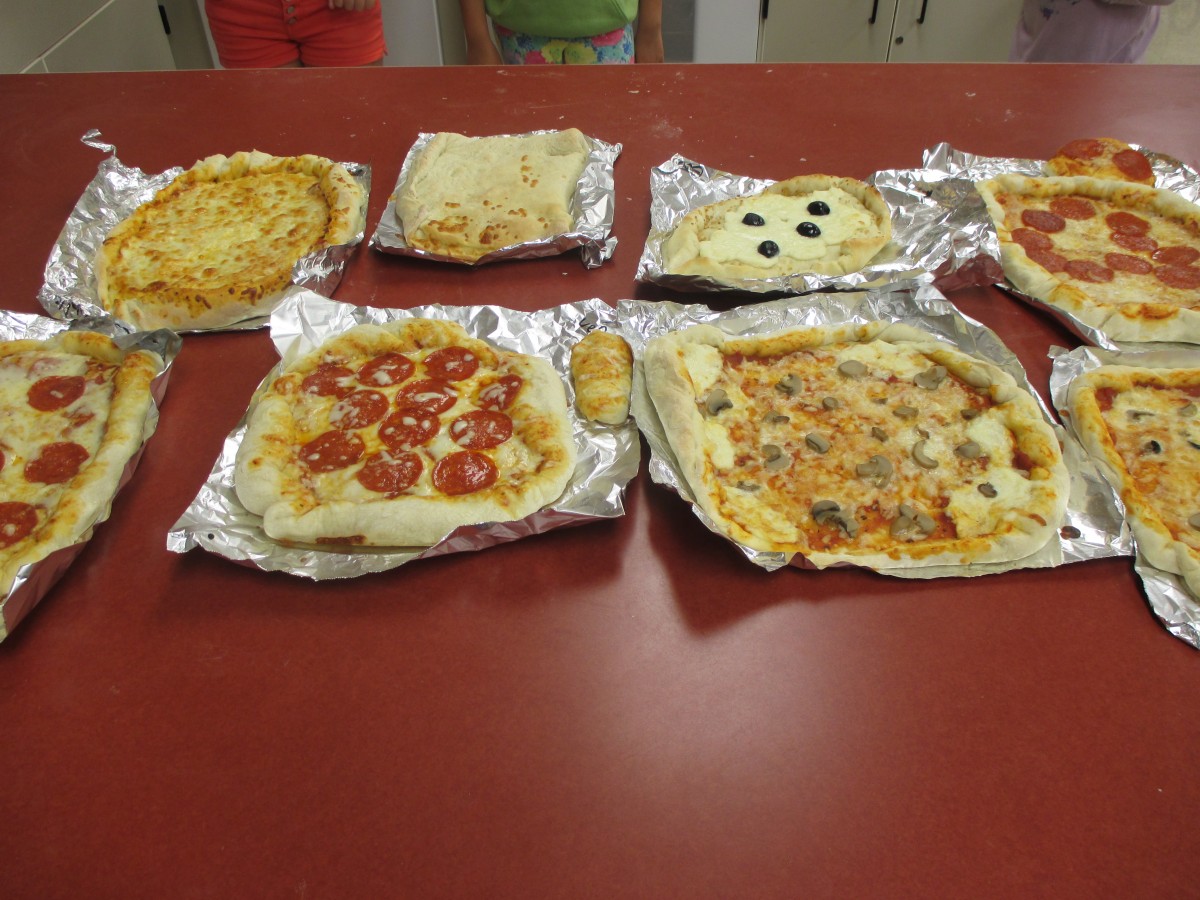
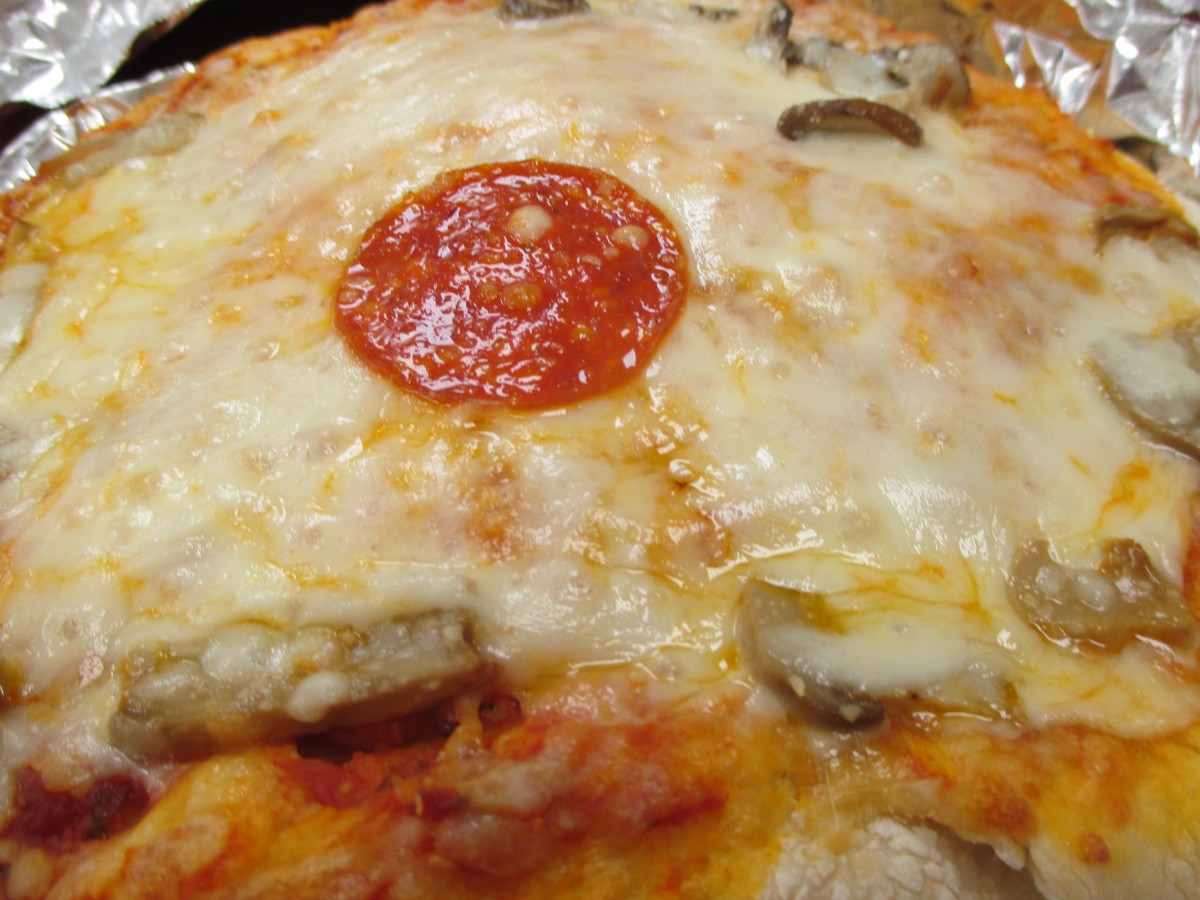
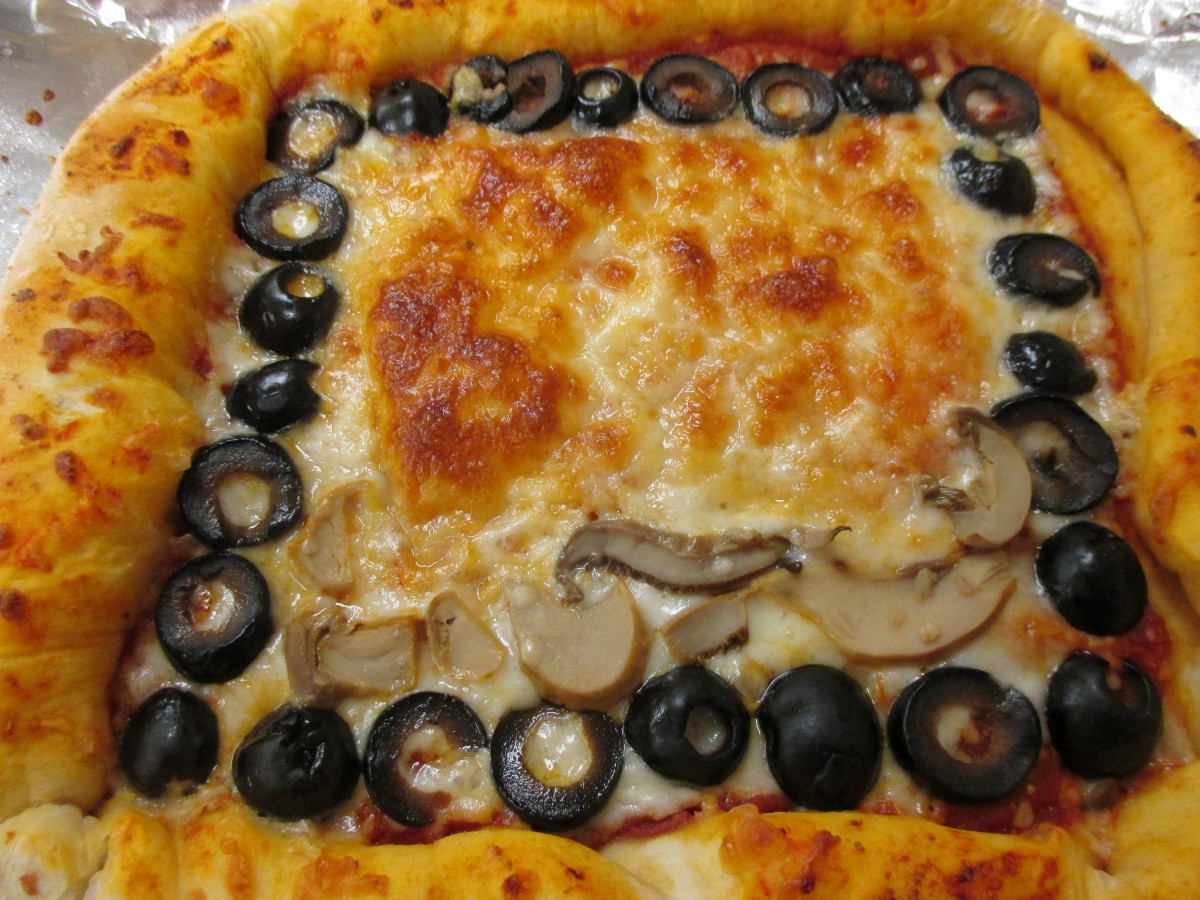
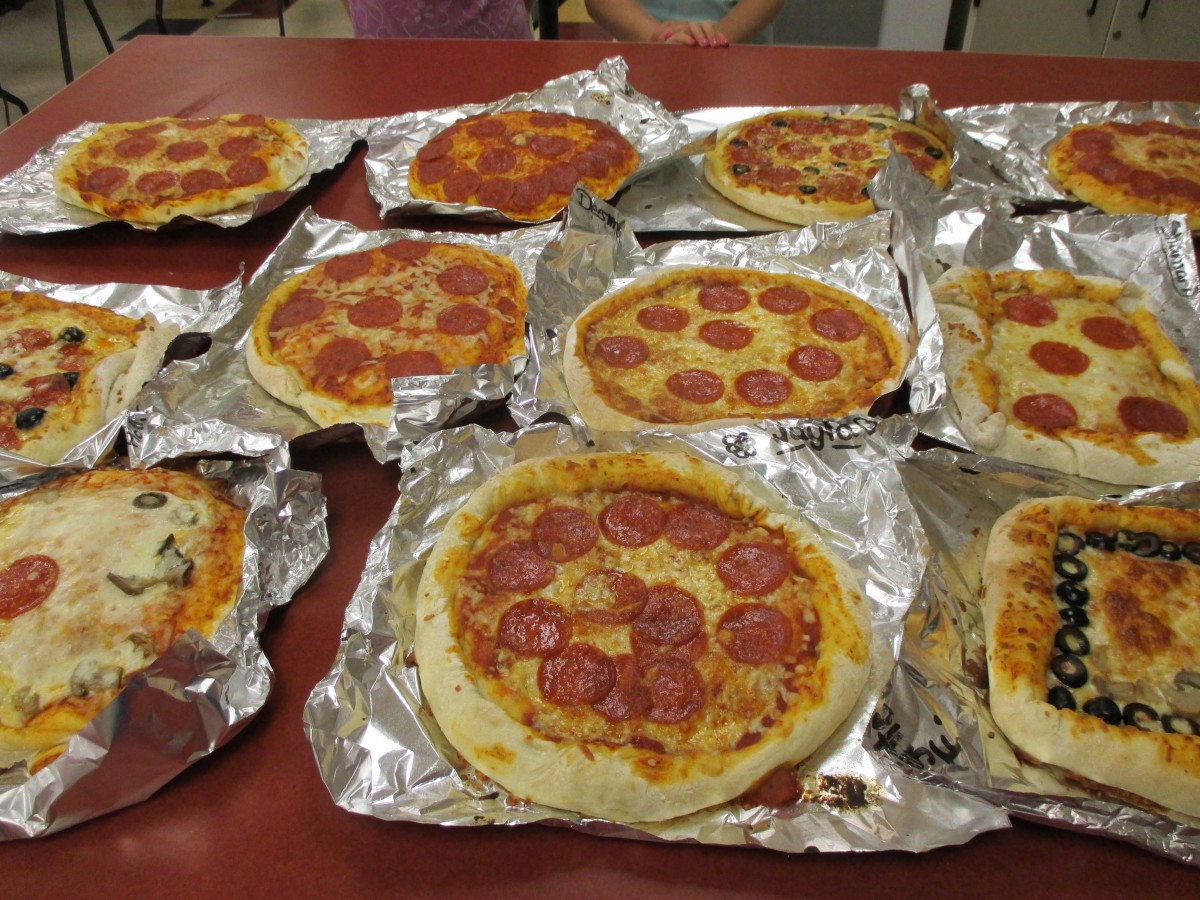
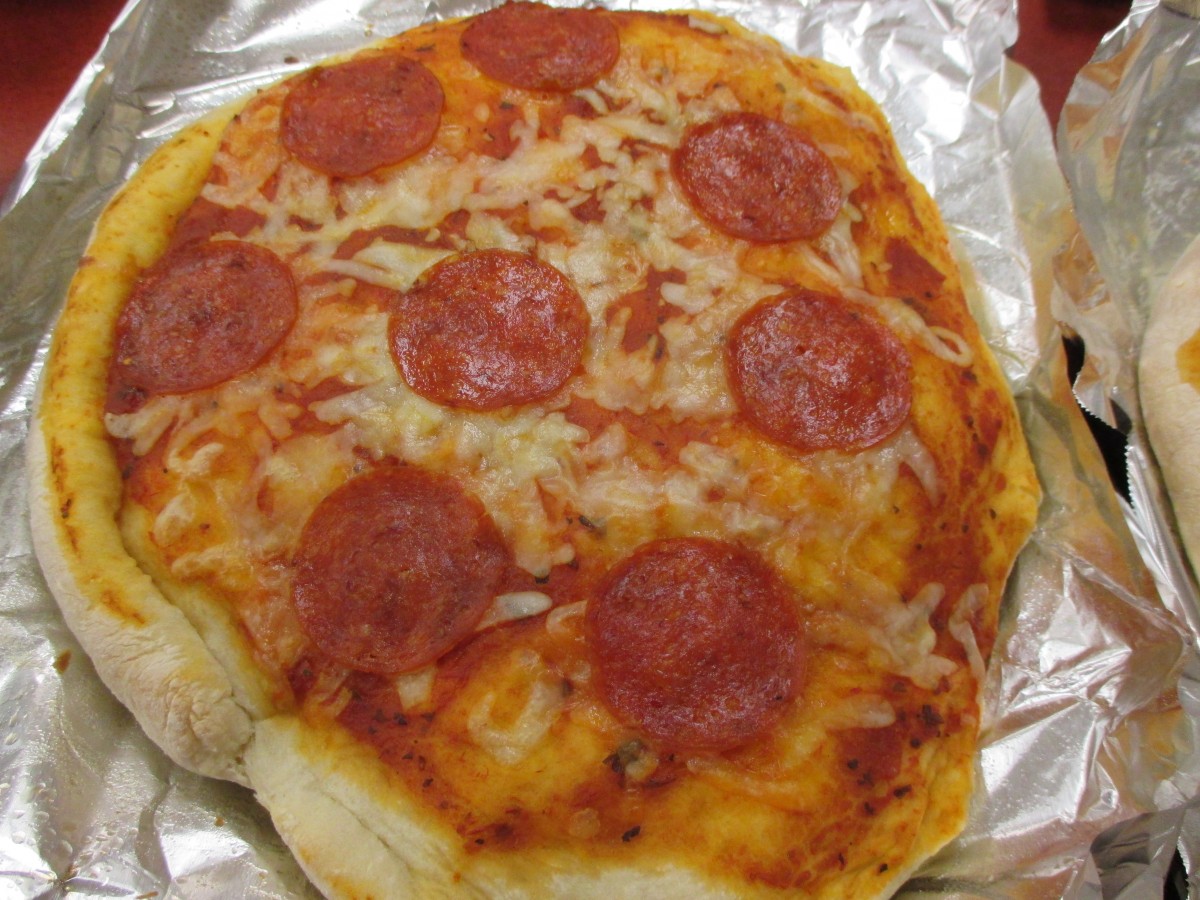
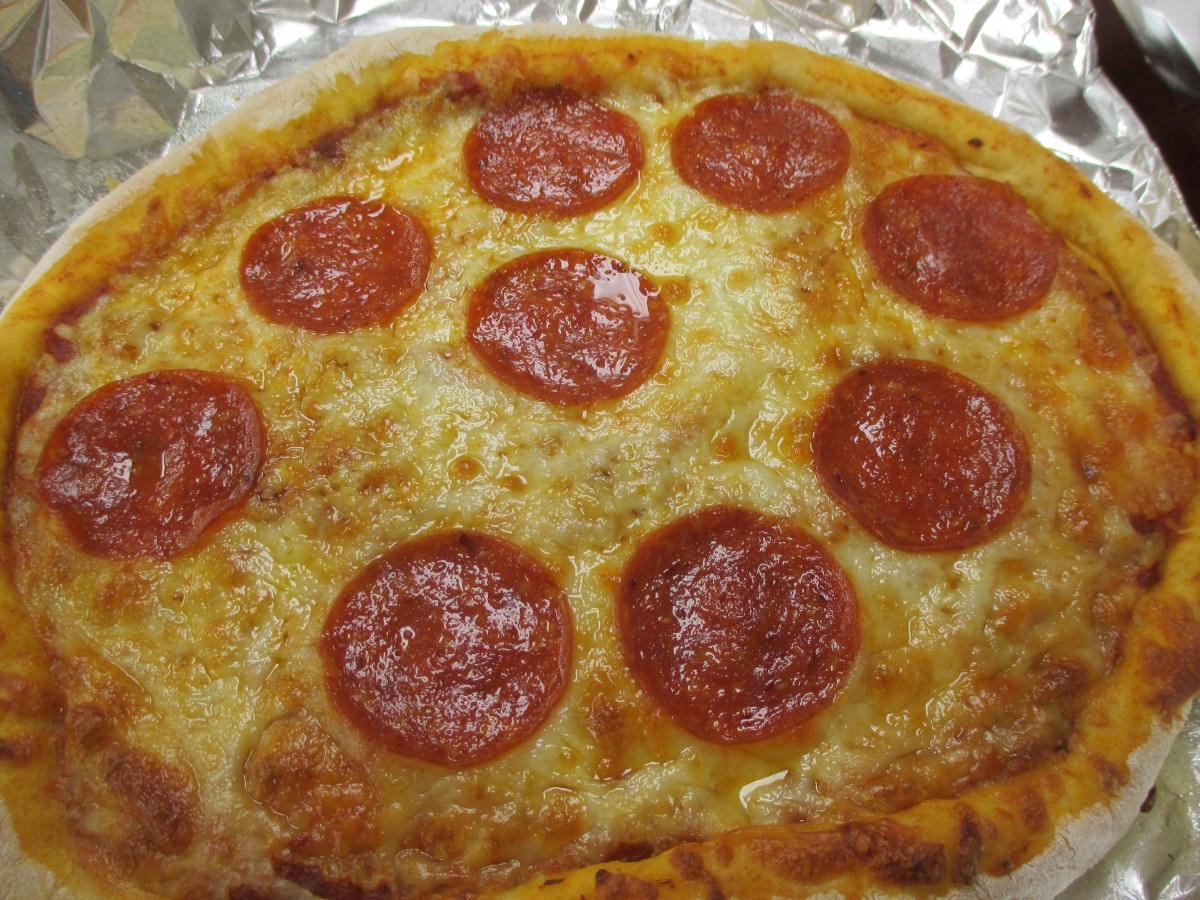
Homemade Pizza
If you think it is too hard to make pizza from scratch let me share with you what my camp kids made today. These are all from scratch. They made the dough, rolled it and made the pizzas you see here. The kids range in age from 7-12. I am so proud of each and every one of them. Recipe follows.

Homemade Pizza
1 packet active dry yeast
1 t. sugar
1 2/3 c. warm water
4-4½ c. flour
2 t. salt
3 c. pizza sauce
16 oz. shredded mozzarella cheese
Cornmeal
In bowl combine 2 cups of the flour with the yeast, sugar and salt. Add the water and stir to blend. Add flour gradually and keep stirring. Stir until soft dough forms. Place dough on floured surface and knead until stretchy and smooth, about 10 minutes. Allow dough to rest 3 minutes and knead a few more times. Place in bowl and cover. Let rise until doubled in bulk, about 45 minutes.
Punch dough down. Divide dough in half and roll each half into a 12-inch circle. Dust back of baking sheet with cornmeal and place dough on cornmeal, pressing down a little. Slide dough off sheet and onto a clean baking sheet. Place half of the remaining ingredients on the dough and repeat with remaining half of dough. Add more toppings, if you like and bake in a preheated 450-degree oven for 13-15 minutes. Cool a few minutes before cutting. Makes 2 pizzas.
Mini Pizzas: You can also divide the dough into 8 equal pieces and roll them out into 6-inch rounds. Then let each person make his or her own pizza. Bake a few minutes less than the big pizzas.
Get creative with the toppings: for your pizza toppings can include pepperoni, sausage, peppers (sweet or hot), Canadian bacon, mushrooms, artichokes, tomatoes, olives, chicken, turkey, pineapple, grilled eggplant, chickpeas, kidney beans, white beans, fresh herbs, spinach, broccoli, zucchini, ham, onions, roasted garlic, green beans and even dandelion greens. Well, you get the idea.
Have fun with the cheese, too. Mozzarella is great, but you can use any cheese you like including cheddar, feta, Parmesan, Romano, Monterey Jack, Muenster, provolone, Edam, Colby, Swiss or brick.


