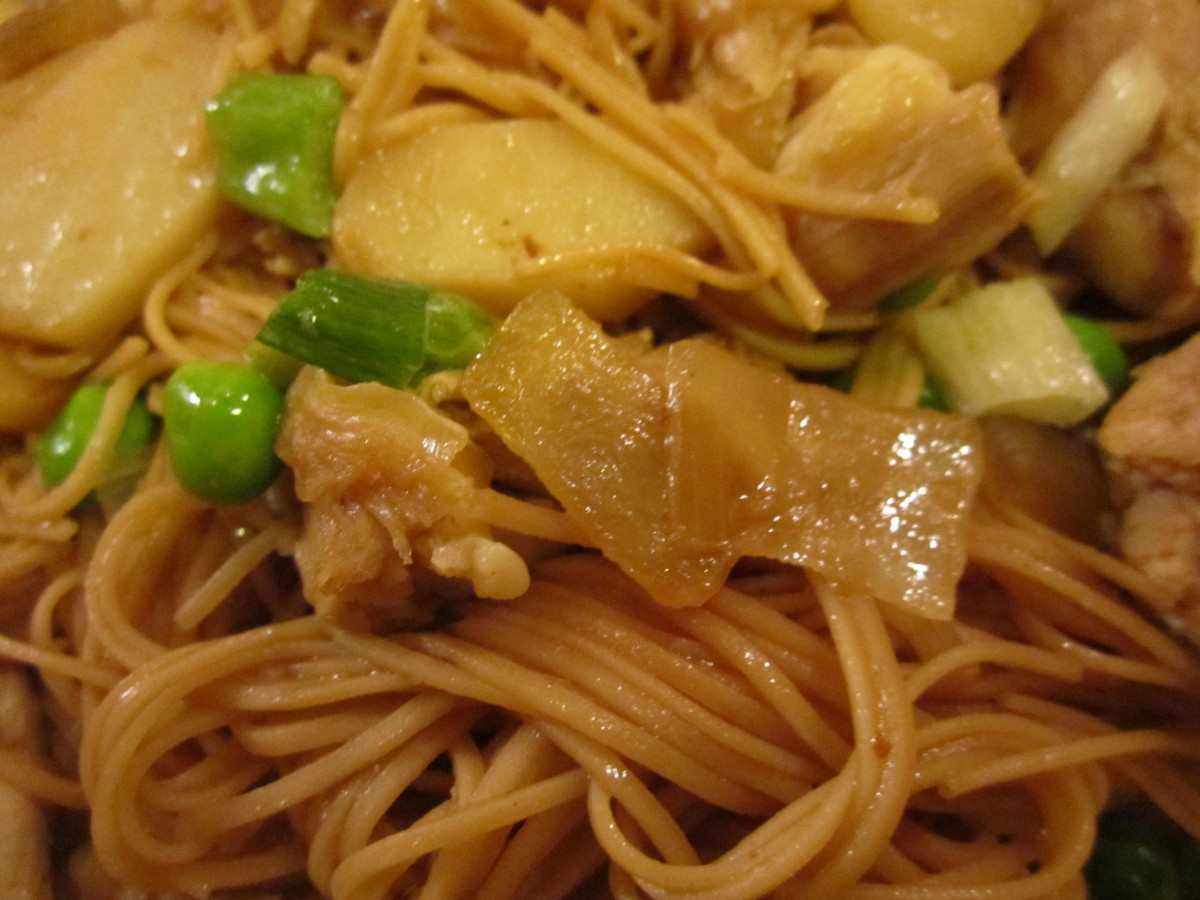
Chicken (or Pork) Lo Mein


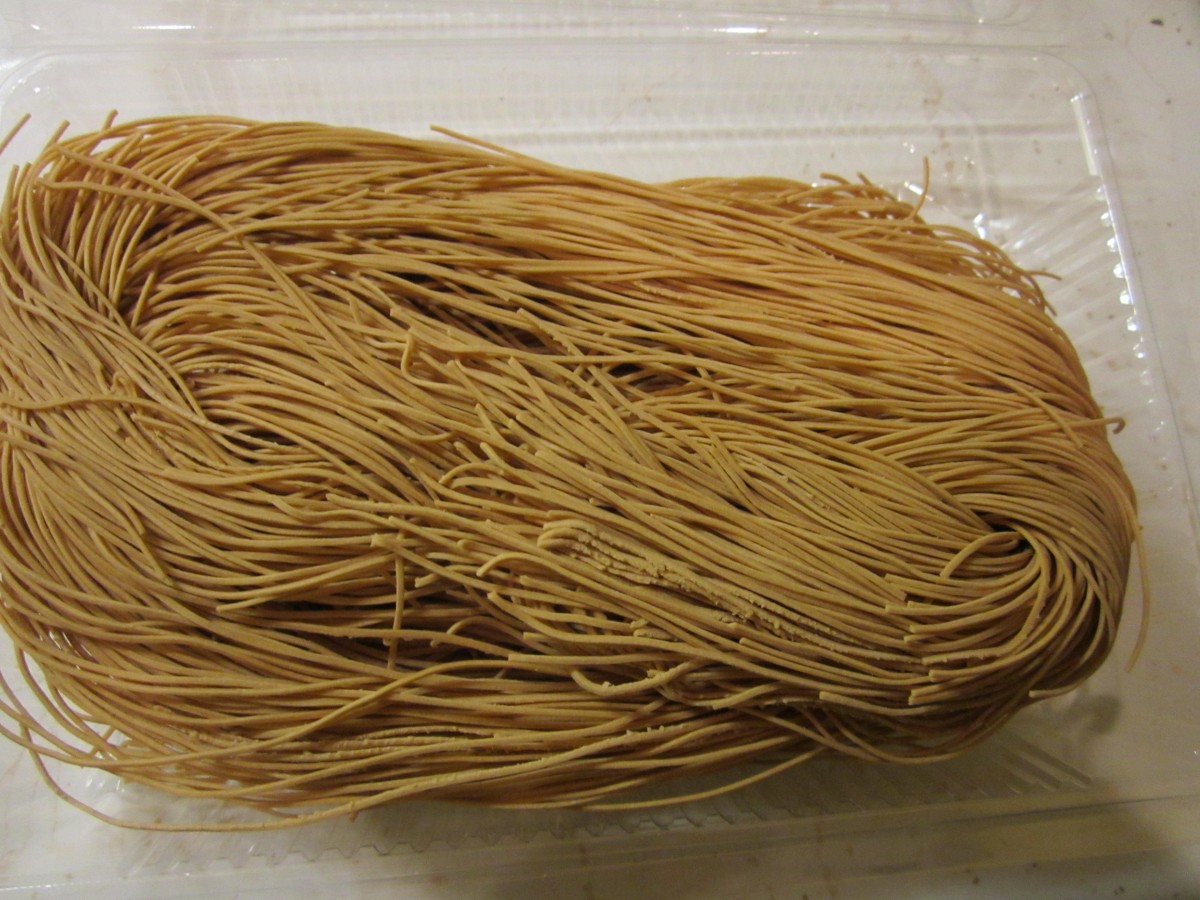
Lo Mein is an easy dish to prepare and everyone seems to love it. I used cooked chicken in this one, but pork works great. too. The real trick is to not overcook the very fine pasta traditionally used in lo mein. Follow package directions, but cook a little under done. That way, when you mix all the hot ingredients together, the noodles get a chance to soak up all those flavors and not get mushy.
Chicken Lo Mein
1 onion, chopped
2 T. oil
1 can sliced water chestnuts, drained
1/2 c. green peas- you could also use green beans
2 c. diced cooked chicken- pork works too
8 oz. angel hair pasta -I use a very fine noodle I get at the Asian market
soy sauce to taste
Hoisen sauce or oyster sauce to taste- you could also use stir-fry sauce
sesame oil
chopped green onions
Heat water for pasta. Heat oil in skillet and cook onion until browned. Add water chestnuts and cook 1 minute longer. While onion is cooking, cook pasta. Add peas to onion mixture and stir to combine. Add the chicken and heat through. Drain pasta and toss into chicken mixture. Season with soy sauce and what ever Asian sauce you have on hand. Drizzle with sesame oil and top with green onions. Serves 4.

Chocolate Waffles

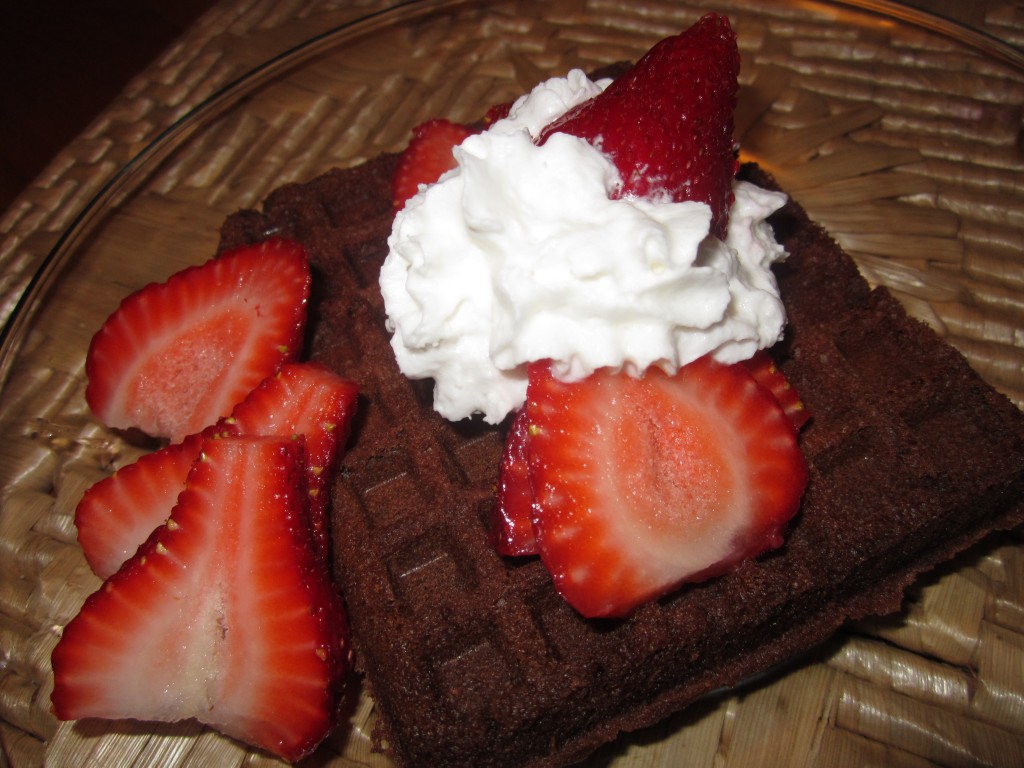
These waffles can make a great start to Valentine’s Day, or any day for that matter. Chocolate for breakfast? Why not? They also make a wonderful dessert.
The waffle batter has cocoa in it, for the chocolate flavor, but I added some cinnamon and nutmeg for a little spice. The flavor is wonderful.
Top them with whatever you like. For breakfast, warm maple syrup or a dusting of powdered sugar work well.
For dessert try topping them with whipped cream and berries. Or you can add a scoop of ice cream and hot fudge. If you like, you can even add some chocolate chips to the batter for a stronger chocolate taste.
Chocolate Waffles
2 eggs, room temperature
1/2 stick butter, melted and cooled
1 t. vanilla
1 c. buttermilk
1 c. flour
3/4 c. sugar
1/2 c. cocoa
1 t. cinnamon
1/2 t. each baking powder and baking soda
1/4 t. salt
1/4 t. nutmeg
Beat first three ingredients until light and foamy, about 2 minutes. Stir in milk. Beat in dry ingredients just until blended. Bake until waffles are cooked through. Makes 4 cups batter. Serve with whipped butter or sour cream and fresh fruit. I like them just dusted with powdered sugar, too.
Chocolate Shortbread Hearts

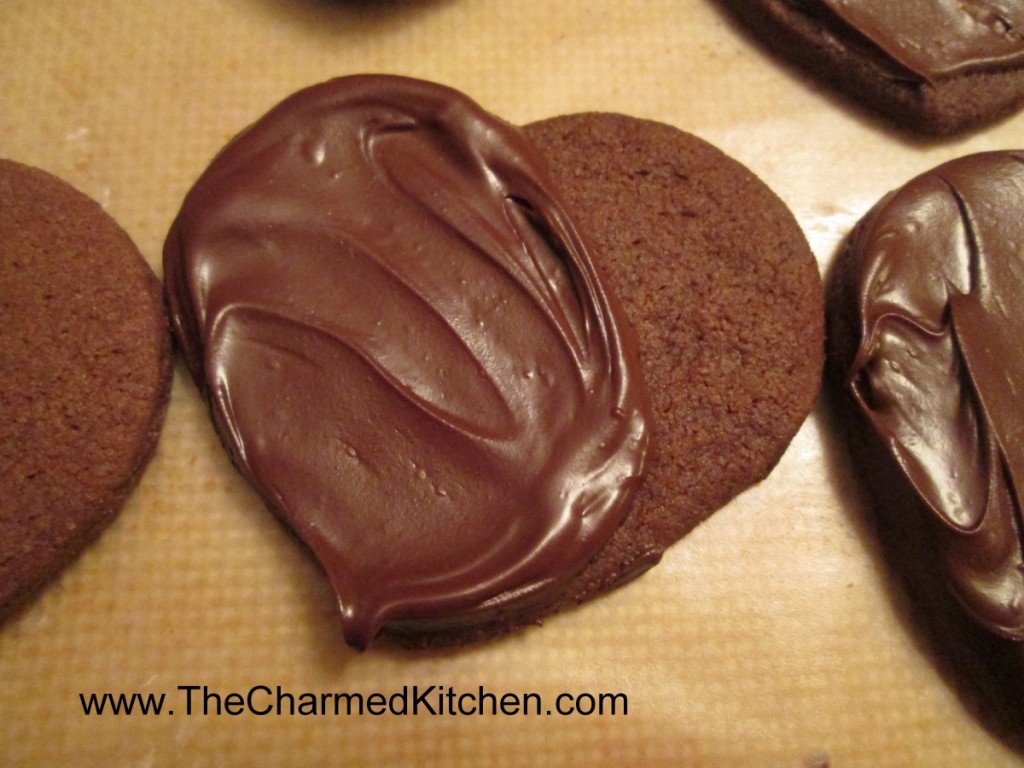
I never met a shortbread cookie I didn’t like. These are no exception. With the addition of cocoa, you end up with a cookie that has the traditional delicate texture of shortbread, with the added bonus of a rich, chocolate flavor.
They are great just plain, dusted with powdered sugar or, my favorite way, brushed with a little melted bittersweet chocolate.
Simple, tasty and a nice treat for the chocolate lovers you love.
Chocolate Shortbread
1 c. butter, room temperature
3/4 c. sugar
2 c. flour
1/3 c. cocoa
1/4 t. salt
8 oz. semi-sweet chocolate
Toppings: Optional, you can dust with powdered sugar or melt a little chocolate and spread over half of the cookies.
Beat together butter and sugar until well blended. Mix together dry ingredients and slowly beat into butter mixture, stirring it in at the end. Roll out dough about 1/4 inch thick and cut out with cookie cutters. Re-roll scraps and cut out the remaining dough. Place on an un-greased baking sheet and bake at 325 degrees until cookies are firm around the edges, about 20 minutes. Cool on baking sheet 5 minutes before transferring to a rack to cool. Melt chocolate and dip cookies in it or use chocolate to hold 2 cookies together.
Chocolate Crepes


These chocolate crepes make a great dessert, or breakfast, for Valentine’s Day. The crepes pair nicely with fresh berries, but you could add any number of fillings. Ice cream, jam, pudding, custard or whipped cream all work well.
I topped mine with berries and whipped cream. You could also add some shaved chocolate as a topping.
If you haven’t made crepes, this might be just the recipe to convince you. They aren’t that hard to make. It just takes a little practice.
I often make a double batch of the crepes, then freeze some, between layers of wax paper. That way I can have crepes whenever I want.
You can fill these crepes with all sorts of stuff. I had fresh berries, so that is what I used. I added some Kahlua to the batter for a little extra flavor and it worked out just great.
You can have all the components ready, then just assemble when ready to serve. Such a lovely dessert.
Here is the recipe.
Chocolate Crepes
1 c. flour
4 eggs
1 1/2 c. milk
¼ c. cocoa
3 T. sugar
¼ c. Kahlua or other coffee flavored liqueur or ¼ c. strong coffee
1/4 c. butter, melted and cooled
Mix all ingredients in blender (except butter) until smooth, scraping sides often. Add butter and blend well. Let stand for 30 minutes before using, or batter can be refrigerated, covered, overnight. Beat again, just before using.
Heat 6 or 7 inch skillet. Brush with butter or oil and pour in about 1 tablespoon of batter, tipping pan to cover bottom of pan completely with batter. Cook until edges start to brown, turn over and cook until lightly browned (about 2 minutes per side.)
Crepes can be made day ahead or even frozen between sheets of waxed paper and frozen. Makes 18.
Strawberry filling: I just sliced a couple of pounds of berries and added a little sugar- about ½ cup- a tablespoon of vanilla and a healthy dash of cinnamon.
When filling the crepes I spooned some berries down the center of the crepe and added some whipped cream. Folded over, topped with a few berries and another bit of whipped cream.
Mom’s Spanish Rice

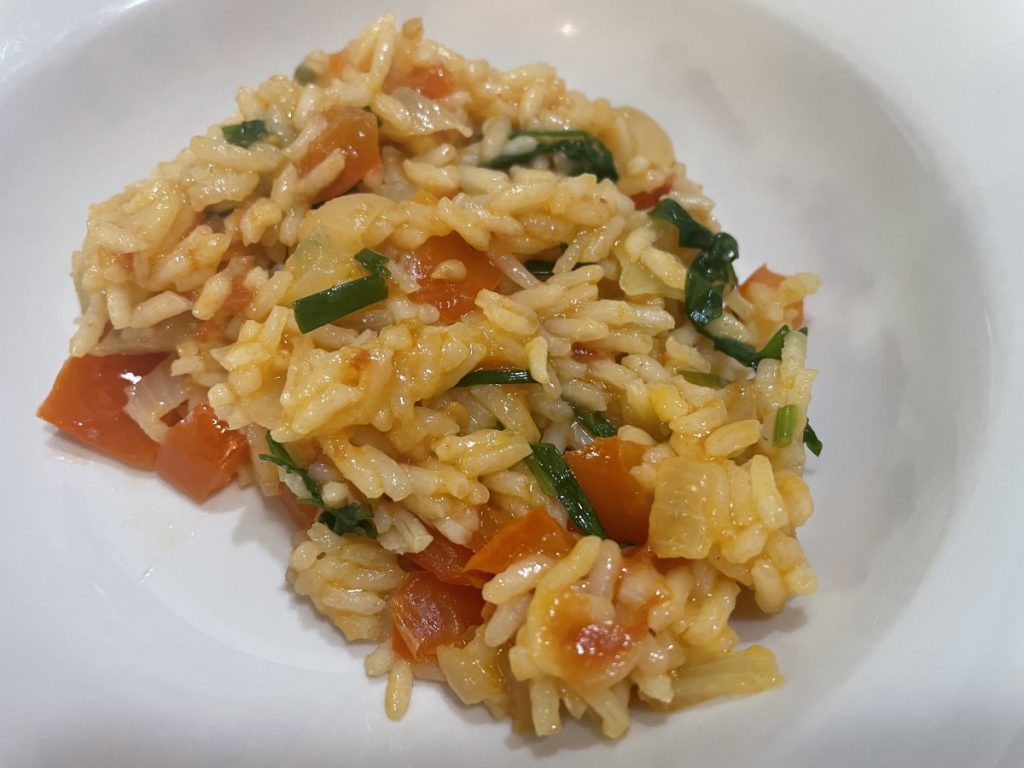
One of my favorite rice dishes is Spanish Rice. When I was a kid my Mom would make it as a side dish for roasted chicken or pork chops. The addition of peppers and tomatoes elevates humble rice in a simple and tasty way. I canned a lot of tomatoes, so using them in more dishes is always a good thing.
It can be made with or without bacon. For a recent class I opted not to add the bacon. Even if you opt to leave the bacon out, this classic dish is always a hit. The bacon adds a nice, smoky flavor, if used.
Mom’s Spanish Rice
1 lb. bacon, chopped up, optional or 3 T. oil
1½ c. long grain rice – I used Jasmine rice*
1 onion, chopped
2 sweet peppers, any color, seeded and chopped
2 c. chicken stock, vegetable stock or water
1 (14 oz.) can whole tomatoes, cut up – I used a pint of home canned tomatoes
2 T. fresh chopped parsley
1 T. chopped fresh chives, optional, or green onion
salt and pepper to taste
Cook bacon in skillet. Spoon out all but a couple of tablespoons of the fat. If using oil instead of bacon, just heat the oil in the skillet and add the onion and rice. Add rice and onion to bacon, cooking until onions are tender. Add remaining ingredients and simmer, covered until rice is cooked, about 20 minutes. Makes 5 cups.
* When using a brown rice cooking time will increase to about 40 minutes. You might need a little more liquid.
To rinse or not to rinse. It’s a personal choice whether you rinse your rice before cooking. I usually rinse my rice before cooking.
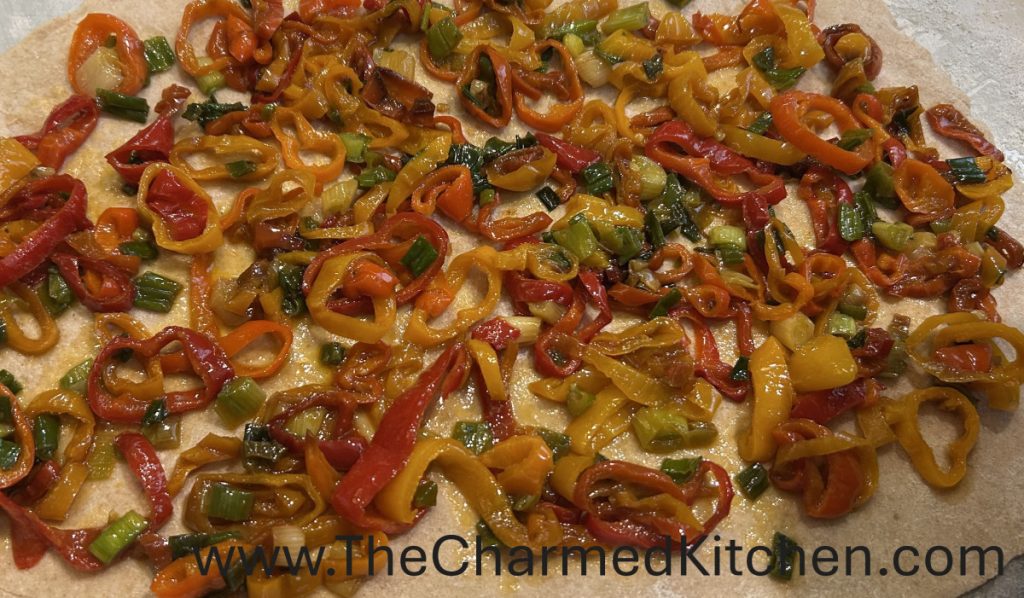
Pepper and Parmesan Rolls


These fun rolls came about after a chat I had with a friend about cinnamon rolls. We were talking about how you could roll up all sorts of doughs, sweet or savory. Same for the fillings. We also discussed what you would call them, since they wouldn’t really be cinnamon rolls anymore. This inspired me to make some non-cinnamon rolls. Since he was coming over for dinner the next day, I decided to make some savory rolls to have with dinner. I already had peppers and Parmesan cheese, so that is what I used. They came out great. I will definitely make them again. I can see adding different veggies and changing the cheese. He wants us to make them with mushrooms next time.
So here is the recipe for my Pepper and Parmesan Rolls. Hope you try them and enjoy them as much as we did.
Pepper Parmesan Rolls
2 c. flour
1 pkt. yeast
1 t. salt
¾ c. warm water
¼ c. oil
2 T. honey
1½-2 c. spelt flour
4 cups sliced sweet mini peppers
2 T. oil
3-4 green onions, washed, trimmed and sliced
Salt and pepper to taste
1 c. shredded Parmesan cheese
In medium bowl, combine flour with yeast and salt. In a small bowl combine the water with the ¼ cup of oil and the honey. Add to the flour mixture and stir to combine well. Stir vigorously for a couple of minutes. Start adding the spelt flour, stirring as you add the flour, until dough starts to come away from the sides of the bowls. I was using a pretty good size bowl, so I started kneading the dough right in the bowl. Knead the dough, adding flour if it gets really sticky. Knead for 5-10 minutes until the dough looks smooth. Cover bowl with a towel and leave until dough doubles in size, about an hour.
While dough is rising you can make the filling. I used those cute little sweet peppers, but any sweet peppers could be used. I seeded and sliced them and had about 4 cups. Heat oil in a pan, add the peppers and cook them over medium heat until they are nice and tender. Add salt and pepper to taste. Toss in the green onions and cook a few more minutes. They cooked down a lot and I ended up with about 2 cups of cooked peppers. Remove from heat and transfer to a medium bowl to cool down. Set aside. Grease an 8×8 inch baking pan and set aside.
Once dough is doubled, punch dough down and move to a lightly floured board. Roll out into a rectangle about 12×8 inches. Spread the pepper mixture over the dough, leaving a little space on the bottom. Then sprinkle ¾ cup of the cheese. Starting on the long side, roll up dough onto a tube shape. Using a serrated knife, cut the dough into 9 slices and place in the prepared pan. Sprinkle on the rest of the cheese and cover with a towel to rise until doubled, about 45 minutes to an hour. Preheat oven to 375 when dough is almost doubled. Bake for about 25 minutes or until bread is nice and golden around the edges. Makes 9 rolls.
Note: You can store them at room temperature for a day, but store in the fridge if it’s longer than that. I made these the day before I served them, so I covered them with foil and warmed them in a 350 degree oven for about 10-15 minutes.

Caramelized Onion Dumplings


I’m always interested in finding new ways to use dumpling wrappers. They make such easy appetizers. I did a program recently on cooking with these wrappers and wanted something new. I decided to create a caramelized onion filling.
I started by cooking down the onions over low heat and adding sugar, vinegar and some additional seasonings. Then I added softened cream cheese and chilled the filling until I was ready to fill the wrappers. I fried them for the class, but they could also be baked, steamed or even added to broth for a quick soup.
I used cream cheese, but next time I’d like to try Swiss cheese. To evoke the flavors of French onion soup. They were a big hit. Everyone loved them.
I get my wrappers at a local Asian grocery store. There are at least a dozen choices. It can get overwhelming. I have a few brands I like. They come in round or square shapes and either works for this recipe. Your local grocery store probably carries at least one kind of wrapper. They are often called wonton wrappers or potsticker wrappers. Sometimes dumpling wrappers. Different types have different thicknesses and are used for different fillings. For this recipe, any of them will work.
Here is the recipe. You might like to try these at your next party.
Caramelized Onion Dumplings
3-4 medium onions, peeled and chopped fine
1 T. oil
2 T. cider vinegar
2 T. sugar or brown sugar
1 t. paprika
Dash of hot sauce
Salt and pepper to taste
8 oz. cream cheese
1 package wonton or dumpling wrappers
Oil for frying or water or broth for steaming
In medium skillet cook the onions in oil over medium to low heat until onions are tender. Add the sugar, vinegar and seasonings and keep cooking the onions until they are a little golden and most of the liquid has cooked off. Adjust seasonings and stir in the cream cheese. Chill filling until ready to use. Place a wonton wrapper on work surface and place a teaspoonful of the onion filling in the middle. Fold 2 corners in to just touch. Take one of the remaining corners and roll up into a tiny roll. Dampen edge with a little water to affix. Repeat with remaining filling. You should get a several dozen. You can also fold the wrapper in half over the filling and moisten to affix, or pinch the edges together to make a ruffle effect. There are a lot of ways to form your dumplings. Pour 1-inch of oil into a small saucepan and heat to 350 degrees. Fry dumplings a few at a time until golden and drain on paper toweling. Keep warm in 300-degree oven until ready to serve- but best served right after you make them. To steam dumplings, place in a steamer basket lined with cabbage leaves above simmering water or broth. These dumplings can also be dropped directly into a pot of simmering broth and served in the broth.
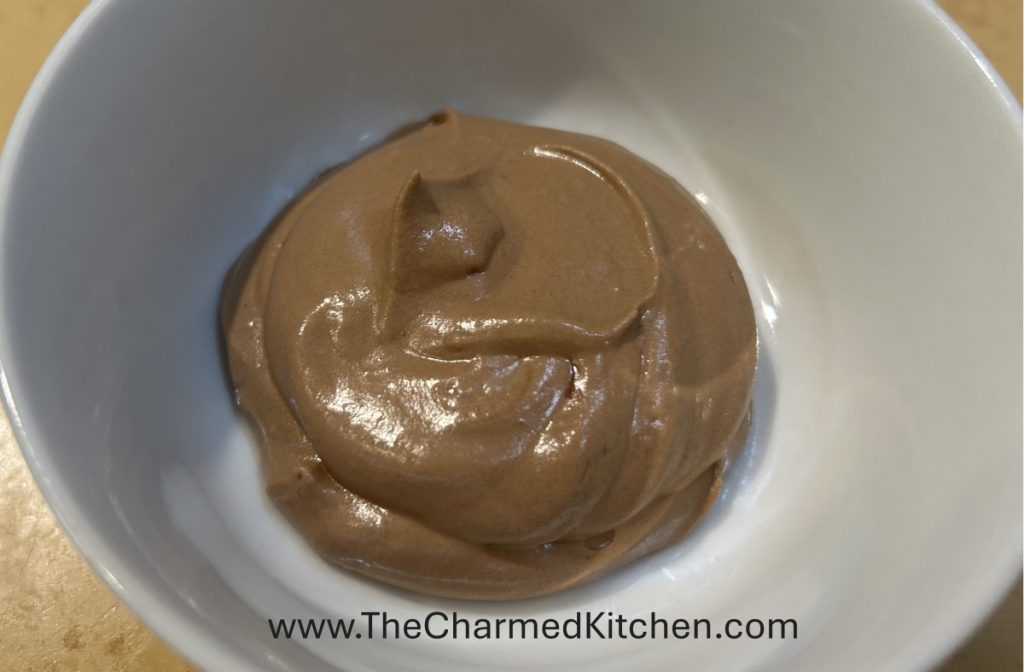
Homemade Chocolate Mousse

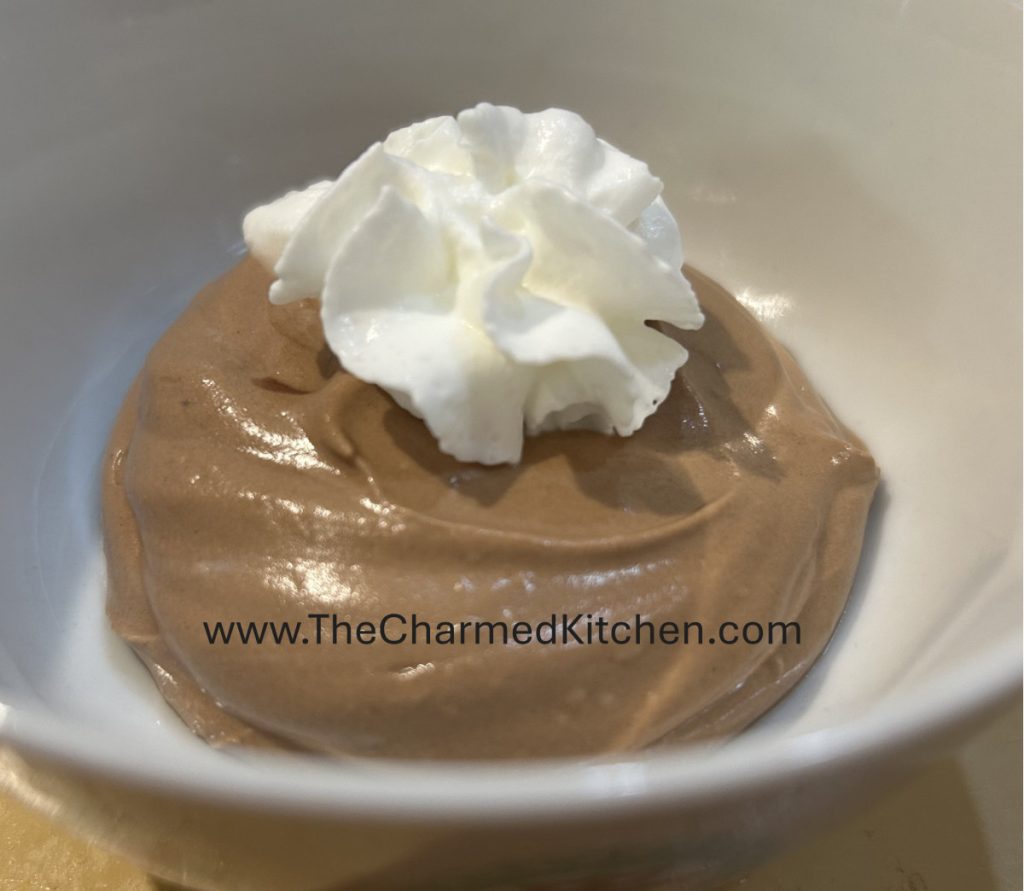
With Valentine’s day right around the corner you might be thinking about chocolate and chocolate desserts. Frankly, I think any time is the right time for chocolate. I was asked to do a demonstration of a chocolate dessert a few days ago. I wanted to make something that was really tasty, but also easy to make. This chocolate mousse certainly checks all the boxes. No real cooking required and no hard to find ingredients. So why wait? Here is the recipe. Enjoy.
Chocolate Mousse
½ c. semi sweet chocolate chips or dark chocolate chips (3 oz. total)
1 c. heavy whipping cream, divided
8 oz. cream cheese, room temp
¼ c. sugar
1 t. vanilla
½ t. salt
Optional toppings, shaved chocolate, berries or whipped cream
Place chips and ¼ cup of the whipping cream in a glass bowl and heat in the microwave for a minute. Remove and stir until chips are melted and mixture in smooth. Set aside. In a mixing bowl combine the cream cheese and sugar along with the vanilla and salt and beat with and electric mixer until smooth- 2-3 minutes. Stir in the chocolate mixture and continue beating until mixture is creamy and smooth. This takes 4-5 minutes. Scrape down sides of the bowl a couple of times. You can add the rest of the whipping cream two different ways. You can just add the rest of the whipping cream and beat it in until smooth. You can also whip the cream in a separate bowl and then fold it into the chocolate mixture. I have made it both ways and both worked. Spoon into serving cups and chill until ready to serve. Top with any toppings you like when serving or serve plain. Serves 4-6. Note: It keeps nicely for a few days, so you can make it a bit ahead of time.
Bacon-Wrapped Water Chestnuts


Bacon-wrapped water chestnuts are always a big hit when I make them. People can’t seem to get enough of them. The combination of salty and sweet, with the smokiness of the bacon, a little heat, and the crunch of the water chestnuts is a flavor explosion.
When I make them for parties, everyone loves them. OK, not my vegetarian friends, but everyone else does. There are never any leftovers.
What is it about the smell of bacon cooking? Maybe for you, like me, it is a childhood memory. We never had bacon for breakfast during the week. Not even every weekend. But on some magical Sunday mornings, I would wake up and smell bacon cooking. No one slept in on those mornings. Mom or dad would be frying the bacon in the cast iron skillet. If we had pancakes or waffles, I would dip my bacon in the syrup on my plate.
This recipe combines some of those flavors. You can assemble them ahead of time, then just cook when you are ready. You can also cook them a day or two ahead, then reheat before serving. I have even been known to freeze them. They are easy to make, too.
So here is the recipe that I use. You can adapt it to suit your taste. Perhaps make them spicier? I hope you try them for a party soon.
Bacon-Wrapped Water Chestnuts
20 slices bacon, cut in half
40 water chestnuts, whole
Hot sauce
Maple syrup
Brown sugar
Roll ½ a slice of bacon around water chestnut and place rolls in a baking dish. Make sure the edge of the bacon is on the bottom, so it stays in place. It will save you from having to put a toothpick in each one. Cook in a 400-degree oven for 20 minutes or until rolls are well-browned. Remove from pan and drain on paper towels. Return rolls to baking dish. Drizzle with maple syrup and sprinkle with brown sugar and hot sauce. Return to oven and bake until caramelized, about 10 minutes. Makes 40.
Grapefruit Scones


I wanted something to serve with tea and decided to make scones. I am not sure why I decided to use grapefruit in the recipe. It might have been that big bowl of pink grapefruit sitting on the counter.
I started with a scone recipe I had used before, then tweaked it by adding grapefruit zest and juice. I added grapefruit juice and zest every where I could think of.
They came out great. You could even see little flecks of pink here and there.
Scones, done right, are very tender. These scones came out just perfect. A little crispy on the outside, tender on the inside. Not too sweet and the delicate flavor of grapefruit. So here is the recipe.
Grapefruit Scones
2 c. flour
½ c. sugar
1 T. baking powder
1 t. baking soda
½ t. salt
Zest of 1 grapefruit
½ c. cold butter
1 egg, beaten
¼ c. half and half
¼ c. grapefruit juice
Topping:
2-3 T. half and half
4 T. sugar
1 T. grapefruit zest
Glaze:
1½ powdered sugar
1 T. grapefruit zest
3-4 T. grapefruit juice
Preheat oven to 375. Line a baking sheet with parchment paper or silicone liner- or grease lightly. Set aside. In medium bowl, combine flour with sugar, baking powder, baking soda, salt and zest. Cut in cold butter until mixture looks like coarse crumbs. In small bowl, combine egg with half and half and grapefruit juice. Add to flour mixture and stir until mixture forms into a soft dough. Mix until combined, but don’t over mix. On lightly floured surface, divide dough in half. Dust an 8-inch round cake pan. Add half of the dough and press in until dough is evenly spread in the pan. Turn the pan over, quickly, onto the prepared baking sheet to get the dough out. Note: this part seems a little tricky, but it gives you a perfect 8-inch circle of dough. Don’t under-flour the pan and the dough will come right out. Also, be sure to flip the dough near one corner of the baking sheet, so you will have room for the other half of the dough. Re-flour the cake pan, press in the rest of the dough and flip it onto the baking sheet. Now you have 2 ( 8-inch) circles of dough on the baking sheet- hopefully. Don’t sweat this part. If the dough doesn’t come out easily, just scrape it out of the cake pan, add more flour, return the dough to the cake pan, and try it again. And when you are flipping it out of the pan- do it quickly. If you prefer, you can place the dough on the baking sheet, in two piles, and shape it into 2 ( 8-inch) circles. Using a dough cutter or a spatula, cut each circle of dough into 8 wedges. For the topping, brush the scones with half and half. Combine the sugar and zest and sprinkle over the dough. Bake for 20-22 minutes, or until golden brown. Re-cut the scones where you cut them before, and place the scones on a cooling rack. Let them cool a few minutes. Meanwhile, make the glaze. Combine the powdered sugar and zest, then add enough grapefruit juice to make a glaze you can drizzle. Using a small spoon or even a fork, drizzle the tops of the scones with the glaze. Make a pot of tea and eat your scones. Makes 16.


