Baked Eggplant

Baked Eggplant

Baked Eggplant

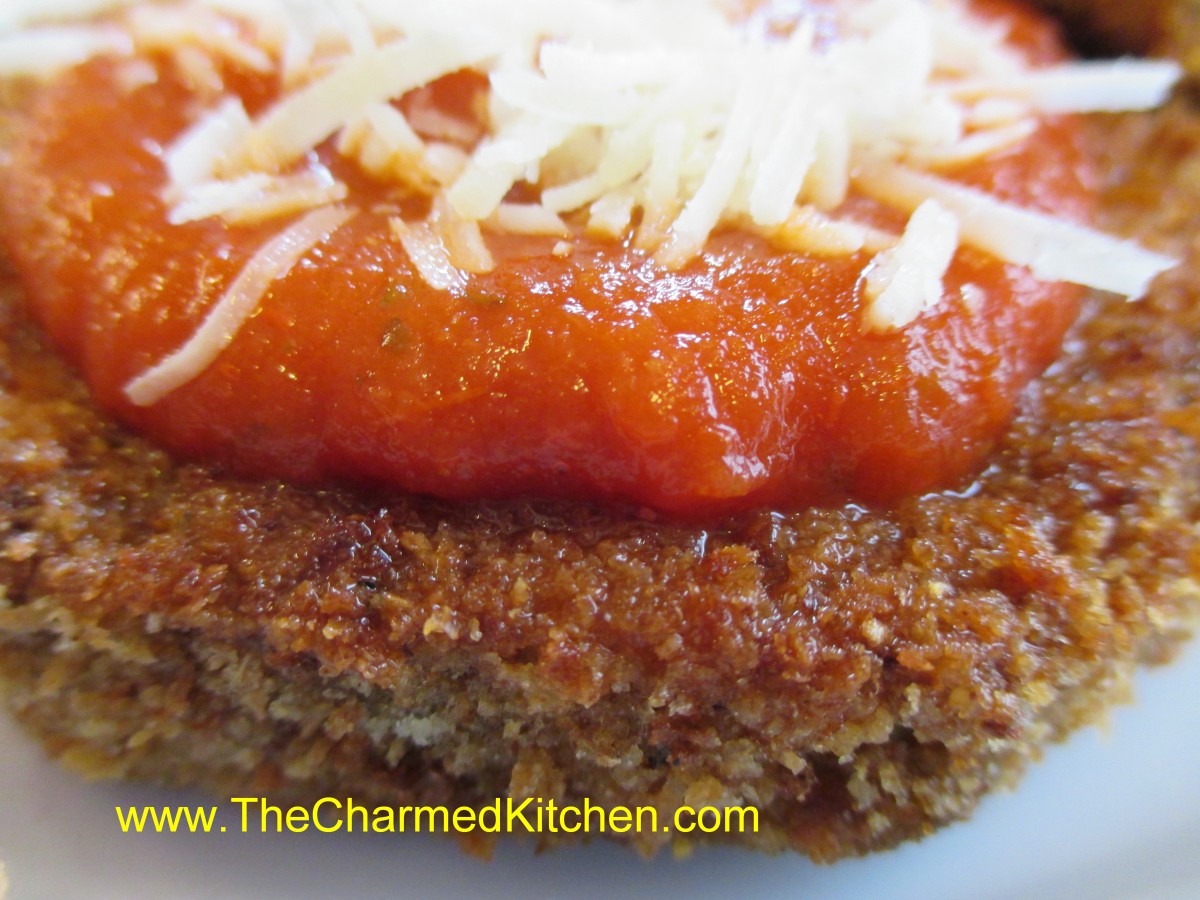
I got the most beautiful eggplant at Blue Pike Farm the other day. I decided to just make some baked breaded eggplant slices. They are easy to make and taste great. Eggplant is notorious for soaking up oil when cooking. By baking, rather than frying, you can keep them from getting oily but still be crunchy. I peeled my eggplant, but you can leave the skins on, if you prefer. The recipe is pretty simple. I sliced the peeled eggplant about 1-inch thick and salted them lightly. I let them sit for a bout 30 minutes and then drained them, rinsed them off and patted them dry. I made an egg wash with eggs, a little water, salt, pepper, paprika, dried basil and dried oregano. I dipped the slices in the egg wash and then in bread crumbs. After breading the slices I placed them on a baking sheet and drizzled them with oil. I baked them in a 425 degree oven for 20-25 minutes, turning once or until tender. To serve them I had some fresh tomato sauce and some Parmesan cheese. So yummy.

Green Tomato Pickles

Green Tomato Pickles

Green Tomato Pickles

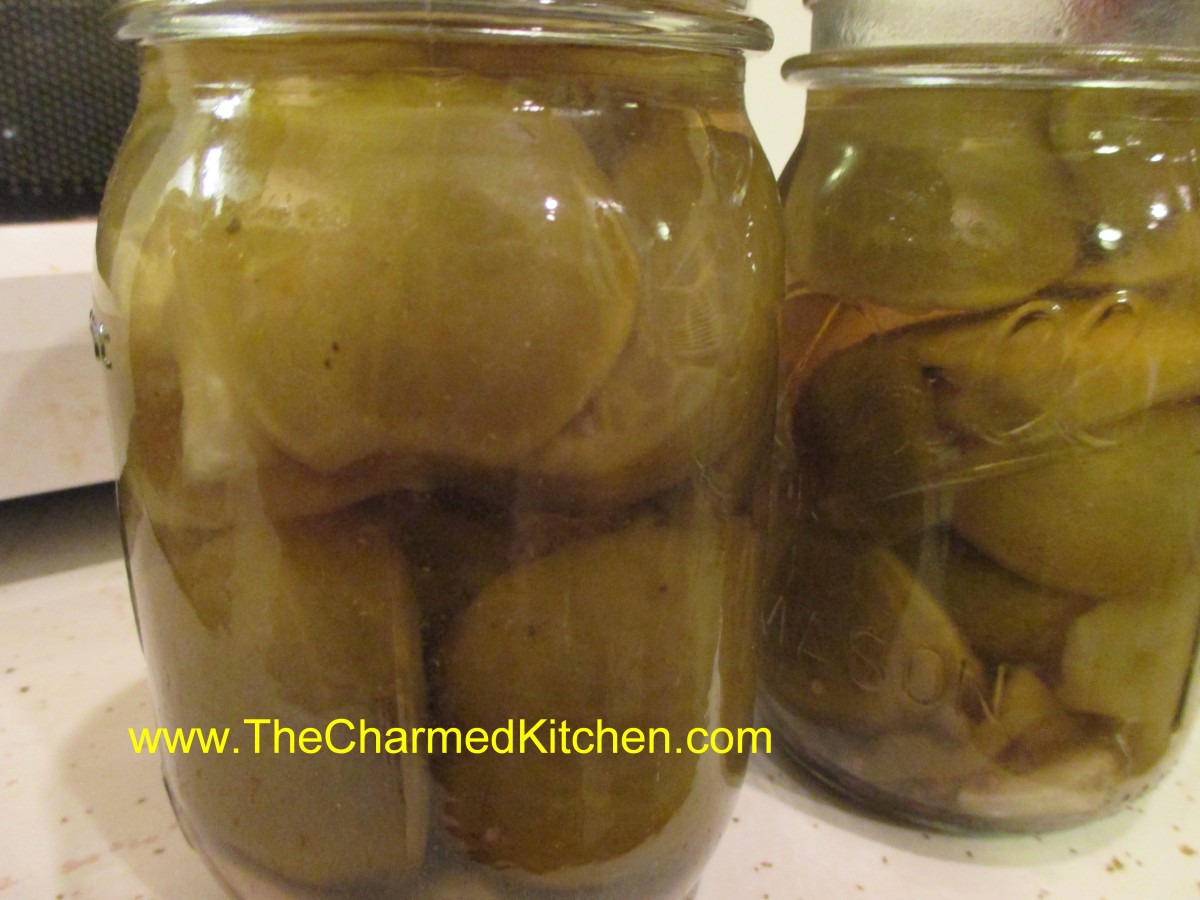
I had a request for this recipe from my niece, Sarah. I make these every year with end of the season green tomatoes. She loves them as do I. It’s a great way to get more out of your garden. I also love to make them with green cherry tomatoes, so cute. You can cut up bigger tomatoes or keep small and medium ones whole. You can also make a spicy version by adding 1 teaspoon red pepper flakes to each jar.


Green Tomato Dill Pickles – Kosher Style

Green tomatoes
6 ribs celery, cut in 2-inch pieces
6 Sweet green peppers
6 cloves Garlic
2 quarts water
1 quart vinegar- 5% acidity- you can use white or cider vinegar
1 cup canning or pickling salt
Dill, optional

Use small firm green tomatoes. Pack into hot, clean canning jars. Add to each quart jar a bud of garlic, 1 piece of celery, and 1 green pepper cut into fourths. Make a brine of the water, vinegar, and the salt. Boil with the dill for 5 minutes. Pour the hot brine over the pickles to within 1/2 inch of the top of the jar. Put on cap, screw band firmly tight. Process in a boiling water bath for 15 minutes. These pickles will be ready for use in 4- 6 weeks. Yield: About 6 quarts. Source: NCHFP

“Dilly” Green Beans

I love these pickled green beans. Made a batch last night. The hardest part is waiting a couple of weeks for their flavor to develop. I want to eat them now!

Dilly Green Beans

4 lbs. table‑perfect whole green beans

1 3/4 t. crushed dried hot red pepper

3 1/2 t. dried dill seed or seven fresh dill heads

7 cloves of fresh garlic, peeled

5 c. vinegar

5 c. water

1/2 c. less 1 T. pickling salt


Wash beans thoroughly.  Remove stems and tips, and cut them as much as possible in uniform lengths to allow them to stand upright in canning jar, coming to the shoulder of the jar.  have jars clean and very hot, and lids and sealers ready in scalding water.  In each jar place one dill head or 1/2 t. dill seed, add one garlic clove, and 1/4 t. crushed hot red pepper.  Pack beans upright in jars, leaving 1 inch of head room.  Heat together the water, vinegar and salt.  When the mixture boils, pour it over the beans, filling each jar to 1/2 inch from the top.  Run a plastic knife down and around to remove trapped air.  Adjust lids, and process in a boiling water bath for 10 minutes, after the water in the canner returns to a boil.  Remove jars.  …Wait at least 2 weeks for these beans to develop their flavor.  Yield: 7 pints


Posted in Cooking |

Dilly Green Beans

Dilly Green Beans

Dilly Green Beans

In cooking class last night we made dilly green beans. These are one of my favorite pickles.  I like pretty much any type of pickle and I love green beans so no surprises there. If you have an abundance of green beans you might consider making a batch of these to enjoy year round.  While the recipe calls for 1/4 teaspoon of red pepper flakes per jar- feel free to add more for a spicier version.


Dilly Green Beans


4 lbs. table‑perfect whole green beans

1 3/4 t. crushed dried hot red pepper

3 1/2 t. dried dill seed or seven fresh dill heads

7 cloves of fresh garlic, peeled

5 c. vinegar

5 c. water

1/2 c. less 1 T. pickling salt


Wash beans thoroughly.  Remove stems and tips, and cut them as much as possible in uniform lengths to allow them to stand upright in canning jar, coming to the shoulder of the jar.  have jars clean and very hot, and lids and sealers ready in scalding water.  In each jar place one dill head or 1/2 t. dill seed, add one garlic clove, and 1/4 t. crushed hot red pepper.  Pack beans upright in jars, leaving 1 inch of head room.  Heat together the water, vinegar and salt.  When the mixture boils, pour it over the beans, filling each jar to 1/2 inch from the top.  Run a plastic knife down and around to remove trapped air.  Adjust lids, and process in a boiling water bath for 10 minutes, start timing after the water in the canner returns to a boil.  Remove jars.  …Wait at least 2 weeks for these beans to develop their flavor.  Yield: 7 pints


Source:  Putting Food By

Posted in Cooking |

Corn Salad with Mustard Dressing

Corn Salad with Mustard Dressing

Corn Salad with Mustard Dressing

I had some beautiful local sweet corn and wanted to make a salad with it. It was a really hot day and the thought of a salad was very appealing. I started by just boiling the corn and cutting it off the cob once cooled down. It would be great using roasted corn, too. I had some sweet orange peppers so I added them to the corn for color and crunch. The dressing was really simple, a mix of olive oil, apple cider vinegar, lots of whole grain mustard, a little sugar, a little mayo, hot sauce and salt. I knew I should have written it down, but here is the recipe as close as I can remember to the amounts.


Corn Salad With Mustard Dressing

8 ears of corn, cooked, cooled and cut off the cob

1 cup chopped sweet pepper

1/2 c. apple cider vinegar

1/4 c. whole grain mustard- probably more- I used 2 big spoonfuls

1/4 c. olive oil

1/4 c. mayo

1/4 c. sugar

healthy dash of hot sauce

healthy dash of salt

Combine corn and peppers in a bowl. In a container with a tight fitting lid combine remaining ingredients and shake well to combine. Adjust seasonings and pour over the corn mixture. Stir well, cover and chill a couple of hours before serving. Serves 8.

Note: I would have also added some sweet onion, but I knew one of the dinner guests doesn’t like onions much. I think they would be a nice addition to this salad.

Salsa Verde?

Salsa Verde?

Salsa Verde?

I got the most beautiful purple tomatillos from Carl at Blue Pike Farm. I made salsa with them. It was wonderful. Because of the color of the tomatillos it was also the most beautiful sort of plum color.  The problem is – what do I call it? I always just say salsa verde when referring to a salsa made from tomatillos because it’s green. This isn’t green. I couldn’t really call it red salsa- that would imply tomatoes. Besides, it isn’t red. So I gave up with a new name and decided to just post the recipe.

Purple Tomatillos

Purple Tomatillos


Salsa Verde?

1 red onion, diced

 3 T. olive oil

2 c. chopped tomatilloes

1 jalapeno pepper, seeded and diced

2 cloves minced garlic

juice of 2 limes

salt and pepper to taste

dash of hot sauce

In skillet cook onion in oil until tender. Add tomatillos, pepper and garlic and cook until veggies are tender, about 15 minutes. Add juice and seasonings. Chill and serve. Makes 2 cups.

Beautiful Blackberries

Blackberries!!

Blackberries!!

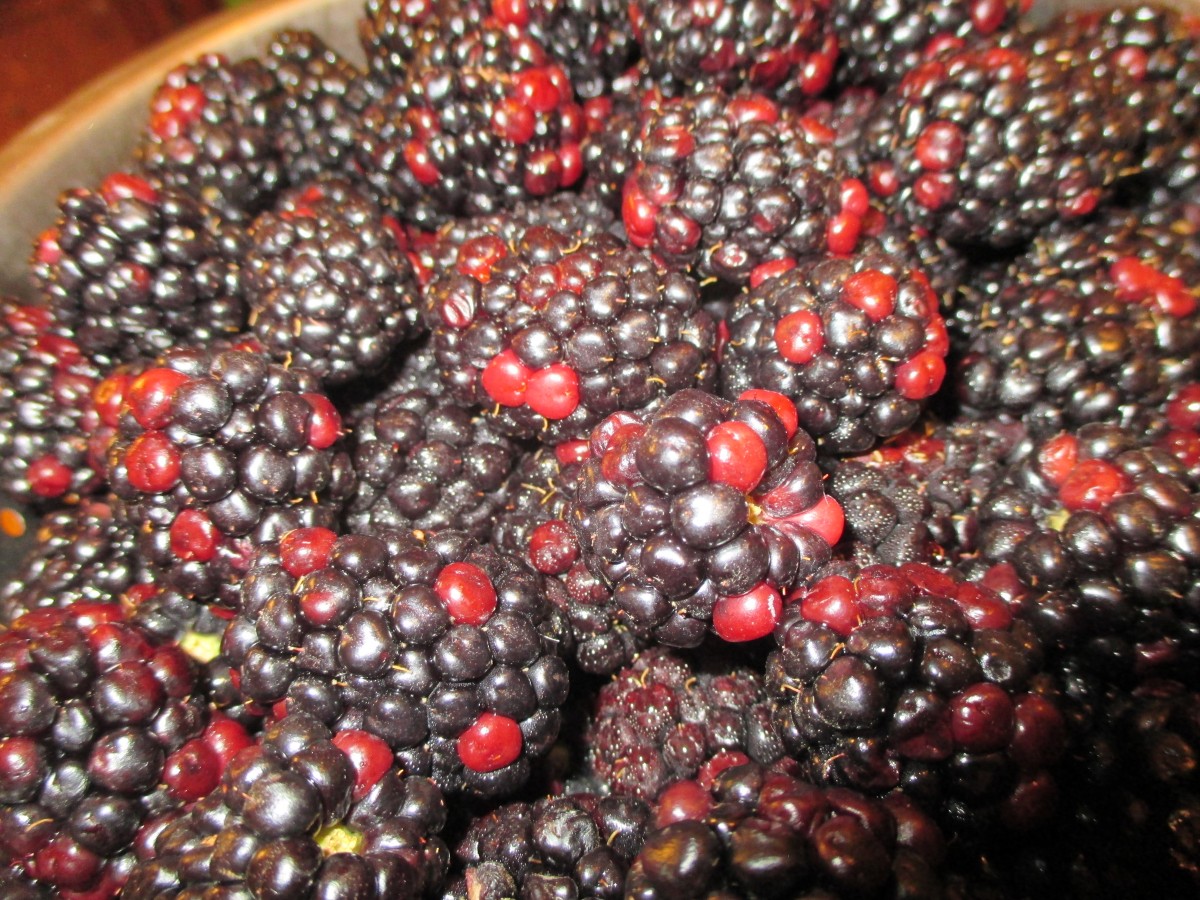
I was lucky to get almost 4 pounds of blackberries today. Now I have to decide what to do with them. Baking? Jam? Sorbet? What would you do with them?

Here are some things I have done with blackberries before.


Blackberry Jelly

3 quarts blackberries*

1/2 c. water

1 box powdered pectin

5 c. sugar

Place the berries in a pot and use a potato masher to crush the berries. Add the water and simmer until the berries are soft. Strain out the solids and then pour the juice through several layers of cheesecloth to clarify. You should end up with about 4-5 cups of juice. Place juice in a pot and add the pectin. Bring mixture to a boil stirring constantly. Add the sugar and return mixture to the boil, again stirring constantly. Boil for 1 minute. Remove from heat and skim off any foam. Ladle mixture into clean, hot jelly jars and fill to 1/4 inch from the top. Seal and repeat with remaining jelly.  Place in a boiling water bath and process 10 minutes. Makes 6-7 half pints.

* Best if some of the berries are a little under ripe. Higher in natural pectin.

Note: I decided to take the solids and seeds and place them in a large jar and cover them with vodka so I can make liqueur later. We’ll see how that works out in a few weeks. I’ll sweeten that mixture later after filtering out the solids.

Blackberry Scones

 2 c. flour

1/3 c. sugar

1 T. baking powder

¾ t.  salt

6 T. chilled butter

2 c. blackberries -do not defrost if using frozen

1 t. orange zest

2 large eggs

1/3 c. heavy cream or half and half

Mix dry ingredients together in bowl and cut in butter to resemble coarse crumbs. Toss in berries and zest. Beat together eggs and cream and stir into flour mixture. Mix very gently to avoid bruising berries. Use 1/2 cup ice cream scoop to scoop batter onto a baking sheet.  Sprinkle with a little extra sugar, if you like. Bake in a preheated 375-degree oven for 22-24 minutes. Makes 10-12.


Blackberry Cinnamon Muffins

 1 c. milk

1 egg

¼ c. oil

2 c. flour

1/3 c. sugar

1T. Baking powder

¾ t. salt

½ t. cinnamon

1 c. blackberries, I used fresh but frozen would work, too.

Topping:

1/2 c. sugar

1 t. cinnamon

4 T. butter, melted

Beat together milk, egg and oil. Combine dry ingredients and add to milk mixture, stirring to just moisten flour. Fold in blackberries. Fill 12 paper lined muffin cups to 3/4 full.  Bake in preheated 400-degree oven for 20 minutes or until golden brown. Combine sugar and cinnamon in a small bowl. Place melted butter in another bowl. When muffins are removed from the oven carefully dip the top of a muffin in the melted butter and then in the cinnamon sugar. If muffins are too hot to hold wait a few minutes before dipping. Repeat with remaining muffins. Serve warm. Makes 12.


Wild Blackberry Jelly

Wild Blackberry Jelly

Wild Blackberry Jelly

I was given some beautiful wild blackberries and they have been in the freezer just waiting for me. Thanks to both Janice and Amy McWilliam. Decided to use some of them to make blackberry jelly. It came out perfect. Sweet and tart and full of the flavor of summer.

Blackberry Jelly

3 quarts blackberries*

1/2 c. water

1 box powdered pectin

5 c. sugar

Place the berries in a pot and use a potato masher to crush the berries. Add the water and simmer until the berries are soft. Strain out the solids and then pour the juice through several layers of cheesecloth to clarify. You should end up with about 4-5 cups of juice. Place juice in a pot and add the pectin. Bring mixture to a boil stirring constantly. Add the sugar and return mixture to the boil, again stirring constantly. Boil for 1 minute. Remove from heat and skim off any foam. Ladle mixture into clean, hot jelly jars and fill to 1/4 inch from the top. Seal and repeat with remaining jelly.  Place in a boiling water bath and process 10 minutes. Makes 6-7 half pints.

* Best if some of the berries are a little under ripe. Higher in natural pectin.

Note: I decided to take the solids and seeds and place them in a large jar and cover them with vodka so I can make liqueur later. We’ll see how that works out in a few weeks. I’ll sweeten that mixture later after filtering out the solids.

Posted in Cooking |

Blackberry Jelly at the Market

Blackberries!!

Blackberries!!

I will have fresh made blackberry jelly for sale at The Blue Pike Farm tomorrow. Supply is limited. I was able to get some really outstanding berries and just had to make jelly. I will also have my other jellies and pickles and relishes. There will be baked treats including chocolate beet cake. Carl will have Silver Queen corn, too. I love Silver Queen. An older variety and a true classic. Hope you can come by and say hello.


Blue Pike farm is located at 900 E. 72 Street- just 1/2 mile South of the Shoreway. Market hours are Thursday from 4-7 pm.

Posted in Cooking |

Cheesy Onion Garlic Bread

Cheesy Onion Garlic Bread

Cheesy Onion Garlic Bread

We were having steaks on the grill and wanted some sort of a bread dish. I love garlic bread and make it a lot but decided to go all out and make this version instead. A mixture of garlic and onions are cooked in butter and then spread over the bread slices. That would be plenty for most garlic bread- but I took it up a notch with a cheesy/ mayo mix on top. Baked for just a few minutes- these were really a hit. They can also be served as an appetizer.


Cheesy Onion Garlic Bread

1 French baguette, cut into 3/4 inch diagonal slices
1 large minced onion
8 cloves minced garlic
1/4 cup butter
2 cups shredded mozzarella cheese
1/2 cup grated Parmesan cheese
1 cup mayonnaise
Preheat the broiler. Slice the French baguettes diagonally into 3/4 inch slices.
In a medium skillet over medium heat, melt the butter. Combine the onions and garlic in the skillet. Cook and stir until tender. Set aside to cool. In a mixing bowl, combine the mozzarella cheese, Parmesan cheese and mayonnaise. On a cookie sheet, arrange the French bread slices in a single layer. Spread the onion and garlic mixture on the bread slices. Spread the cheese and mayonnaise mixture over the onion and garlic mixture on the bread slices. Bake in a 400 degree oven for 10 minutes or broil about 5 minutes, until the cheese is bubbly and slightly browned. Serve immediately.