Category: Cooking

Easy Dill Pickles

Easy Dill Pickles

Easy Dill Pickles

I got a load of pickling cucumbers today and have been making pickles. The first few batches have been Dill Pickles with Bread and Butter Pickles next. To make the dill pickles a little more fun I added 1 teaspoon of red pepper flakes to about half of the jars for a spicy version. 

Easy Dill Pickles

30-40 pickling cucumbers, 5 inches long, scrubbed and ends trimmed off

¾ c. sugar

¾ c. canning or pickling salt (non-iodized)

1 quart vinegar

1 quart water

7 fresh dill heads

3 T. pickling spice

7 garlic cloves, peeled, optional

Mix together the sugar, salt, vinegar, water and pickling spices and bring to a boil. Cook 10 minutes. Place a dill head in the bottom of seven clean, hot pint jars. Add the garlic, if using. Meanwhile cut trimmed and washed cucumbers into halves or quarters lengthwise and pack upright into the jars. Trim the length, if needed to fit no higher than to the shoulder of the jar. Pour over the hot brine leaving ½ -inch of headspace. Wipe rims and screw on lids. Place in a simmering water bath and process at 185 degrees F for 10 minutes. Remove and cool. Makes 7 pints.

Posted in Cooking |

Canning- When is it Safe?

Canned mangoes

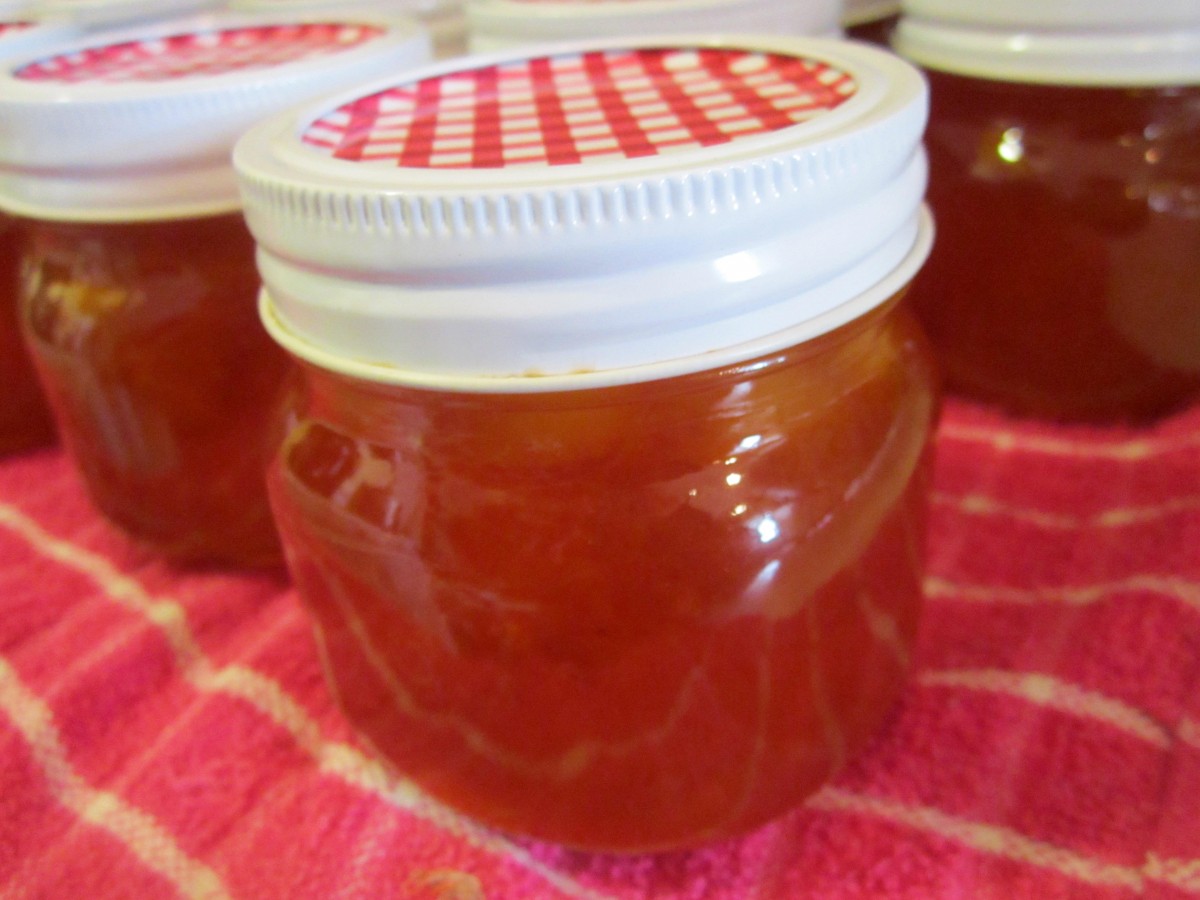
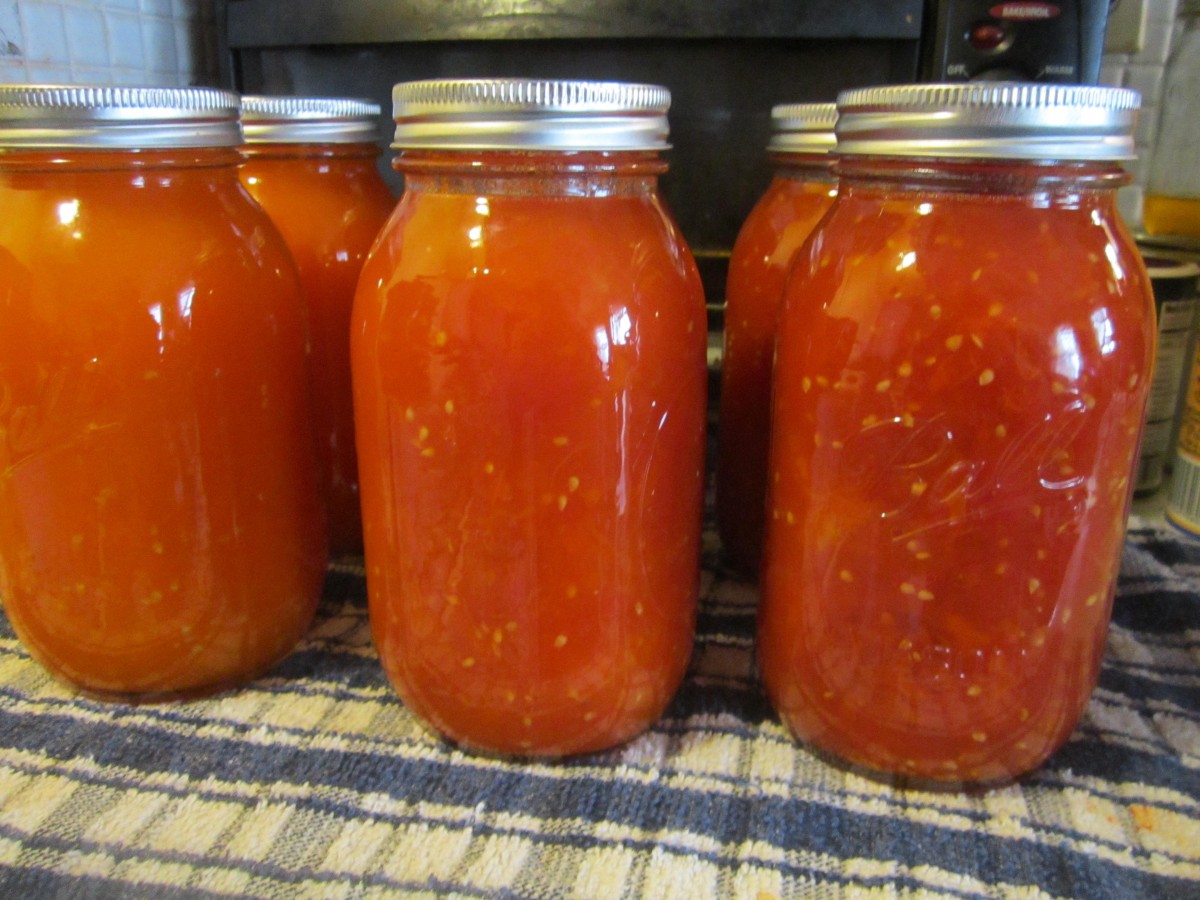
I had to post this just because in recent weeks I have had several reports of unsafe canning.  Not trying to be preachy here folks but you can make you or someone else sick if you don’t follow the rules. Having said that- if you do follow rules and use reliable recipes canning is safe.

The biggest misconception seems to be that as long as the jars sealed they are safe. NOT TRUE!!!! As long as you put hot food into a jar even a short processing time will likely seal the jars. That does not mean the foods inside were processed long enough to kill any possible pathogens. Some years back I had a lively conversation with one of my community gardeners because an out of date Blue Book said you canned green beans in a boiling water bath for 3 hours. She thought they had to be safe. Trouble is you can boil the beans for 3 days  the water in a boiling water bath will not go over 212 degrees F. The spores for botulism are killed at 220 degrees.

Lets talk about the 2 basic kinds of approved methods: water bath and pressure canning. A boiling water bath is for fruit products ( juices, jellies , jams etc.), pickled products and tomatoes if the have been acidified. Pressure canners are used for non-pickled vegetables, convenience foods like soup and chili, meat, poultry and fish.

A water bath canner requires jars to be completely submerged in the water and covered to a depth of 1-2 inches over the jars. The water should be boiling when you add the jars to the canner and processing timing starts when water returns to the boil. In the case of pickles processing is done when water is at a simmer. Don’t short the time and if you live at higher elevations ( over 1,000 ft.) processing times are longer. When the time is up remove the jars and allow them to cool down out of drafts.

Pressure canners differ somewhat in their directions. Some require 3-4 inches of boiling water in the canner and others require a specific amount of water. Follow the directions that came with your canner. Jars are placed in the canner with the boiling water and it is closed. Under high heat the canner must be vented for 10 minutes and then fitted with a gauge to register the internal pressure- usually 10 pounds. timing starts once the canner reaches pressure. Once it has reached pressure you can turn the heat down. Maintain enough heat to keep it at pressure but not to go over.  Once the time is up the canner is removed from the heat and allowed to cool until a vent- that will have popped up after the canner was vented- falls down naturally. This can take 30 minutes or even up to an hour. Once the vent has dropped you wait one more minute then remove the lid- opening it away from you as it will still be very steamy in the canner. Now the jars can be placed on a counter to cool. You can’t rush the process by placing the canner in cold water. You just have to wait.

The sound of the jars “plinking” will let you know they are sealed. Following the correct times and procedures will assure you that they are safe.

Remember- use reliable recipes-follow the times- ask for help if you aren’t sure. I love to can and promote it all the time. It worries me to think that someone could get ill or lose their stored foods through spoilage when all they had to do was change a few practices. Be safe people!!!


Posted in Cooking |

Whole Wheat Swiss Bread

Spelt Bread

Whole Wheat Swiss Bread

I decided to post this recipe after I read a friend’s post earlier today. She was wondering how to make bread when you don’t have a large block of time to be home waiting for rising and more rising and then baking. Here is a recipe that might help her out. The dough is prepared, rested for a bit, shaped and then popped in the fridge to rise. It can be baked several hours later or even the next day. You can prep it in the evening- let it rise in the fridge overnight- and bake it in the morning. It is also a wonderful whole wheat bread with Swiss cheese melted in the dough.

Whole Wheat Swiss Bread

3 c. flour

2 ½ -3 c. whole wheat flour

2 packages active dry yeast

2 T. sugar

2 t. salt

1 c. each milk and water

4 oz. diced Swiss cheese

3 T. butter or margarine

Oil


Combine 2 cups of the flour with the yeast, sugar and salt in a mixing bowl. Heat together water and milk with cheese and butter until warm, cheese does not have to melt. Add to flour mixture and beat 3 minutes. Stir in remaining white flour and beat 2 minutes. Stir in enough whole wheat flour to make a soft dough.  Knead on floured surface until smooth and elastic. Cover with bowl and let rest 20 minutes. Divide dough in half and shape into loaves by rolling out and then rolling into a loaf and sealing seams. Place in greased 8×4 inch loaf pans and brush with oil. Cover with plastic wrap and place in fridge. Chill 2 –24 hours. Remove from fridge and remove plastic wrap allowing to stand while oven preheats. Bake at 375 for 35-40 minutes. Remove from pans and brush with butter. Cool. Makes 2 loaves.

Posted in Cooking |

Spinach and Brie Filled Bread

Spinach and Brie Bread

Went to a wine tasting party on Saturday at my dear friends Marge and Larry’s. What a crazy and fun group of friends. I decided to make a filled bread with spinach, kale, onions and several cheese including half a pound of brie. Needless to say it was well received. It looks difficult but is really easy to make. I often make them switching out the fillings. You can fill with meats and cheeses. I like Ham and Swiss, Chicken with broccoli and pizza fillings. For Pizza breads: after rolling out the dough brush with a little oil, spread thick pizza sauce down middle of dough and top with pizza toppings and cheese. Fold up and proceed as directed.

Spinach Filled Bread

3 ¼ c. flour

1 T. sugar

1 t. salt

1 package quick-rising yeast

1 c. hot water

1 T. oil

1 onion, sliced

1 T. oil

4 c. fresh kale, washed and chopped

1 (10 oz.) package frozen spinach, thawed and squeezed dry

8 oz. brie, cubed

2 oz. mozzarella cheese, shredded

1 oz. shredded Parmesan cheese

salt to taste

healthy dash hot sauce

Heat 1 tablespoon of oil in large skillet. Cook onion until wilted and add kale cooking until kale is wilted. Season to taste with salt and hot sauce. Place kale mixture in a bowl and add spinach and cheeses and mix well. Set aside to cool. Meanwhile prepare dough. Set aside 1 cup of the flour. Combine remaining flour with the other dry ingredients in a medium bowl. Stir in water and oil and gradually stir in enough flour to make a soft dough. Turn onto lightly floured surface and knead until dough is smooth and elastic, about 5 minutes. Roll dough into a rectangle about 16 x 8. Place spinach mixture down center of dough.  Cut one-inch wide strips of dough from filling to edge on both sides. It will sort of look like fringe.  Alternating sides, fold strips up and over the filling at an angle.  Carefully lift loaf onto greased baking sheet and place at an angle. Cover with a towel and place sheet on top of a roasting pan half-filled with simmering water for 15 minutes.  Take bread and bake in a preheated 400-degree for 20-25 minutes or until golden brown. Cool slightly before slicing. Serve warm and refrigerate leftovers.


Note: The variations for this bread are almost endless. Some favorite combinations are ham and Swiss with mustard, corned beef with Swiss cheese, sauerkraut and Thousand Island dressing, roast beef and cheddar, chicken, broccoli and cheese, Spinach with ricotta or feta and onions, pizza, assorted fillings. You get the idea. Use your imagination and have fun. Just be careful not to overfill, or the bread will be hard to move, use fillings that aren’t too runny and always use cold fillings.


If you want to use regular yeast use warm, rather than hot water. Also, don’t let dough rise over boiling water. After kneading cover dough and let rise 45 minutes. Punch down and assemble as in original recipe. Cover with a towel and let rise until dough looks puffy, about 40 minutes. Bake as directed above. These breads can also be frozen.


Posted in Cooking |

Red Grape Crumble

Red Grape Crumble

Red Grape Crumble

When you think of crumbles, cobblers and the like what fruit comes to mind? Apples? Peaches? Grapes actually work great in these dishes. If you haven’t tried them this way maybe this recipe will change your mind.

Red Grape Crumble

5-6 cups stemmed seedless grapes, rinsed and drained

1/2 c. sugar

2 T. flour

2 t. cinnamon

1 1/2 c. rolled oats

1 c. flour

1/3 c. brown sugar

2 t. cinnamon

pinch of salt

1 stick ( 4 oz.) butter

Combine grapes in a mixing bowl with sugar and 2 tablespoons of flour and cinnamon. Toss to coat and place in a 6 cup baking dish.  In another bowl combine oats, flour, brown sugar cinnamon and salt and stir to combine. Add butter and use your hands to break up the butter and combine it with the dry ingredients. Mixture should be crumbly. Spoon it over the grape mixture. The baking dish will seem too full- but the mixture cooks down a lot so don’t worry. Bake in a preheated 375 degree oven for 35 minutes or until topping is golden brown and grape mixture is bubbly. Serve warm or cold  topped with whipped cream or ice cream, if you like. Serves 5-6.

Toss grapes with sugar, flour and cinamon

Toss grapes with sugar, flour and cinnamon

Top grapes with the oatmeal mixture

Top grapes with the oatmeal mixture

Cook until grapes are bubbly and topping is golden brown

Cook until grapes are bubbly and topping is golden brown

Serve plain or with whipped cream or ice cream

Serve plain or with whipped cream or ice cream


Posted in Cooking |

Mini Marshmallow Roast

Mini Marshmallow Roast

Mini Marshmallow Roast

Who doesn’t love roasting marshmallows? I certainly do. Many fond childhood memories of wrapping up a family picnic with roasting marshmallows over dwindling coals. Still, sometimes you just don’t have a campfire available or Mother Nature gives you a soggy day. The good news- you can have a marshmallow roast any time you like. Even indoors if you like.  The trick is to use mini marshmallows, toothpicks or bamboo skewers and a candle. You can pretty much have toasted marshmallows any day of the year. Still haven’t figured out the mini S’mores, though.


Please be sure that if kids are doing this that they have adult supervision at all times.

IMG_1714

Posted in Cooking |

Smoky Lambsquarters with Tomato

Smoky Lambsquarters with Tomato

Smoky Lambsquarters with Tomato

If you have a garden its a pretty good bet you have lambsquarters. It is a plant that tends to sprout up wherever soil has been cultivated. Many consider it a weed. Truth is lambsquarters is a flavorful edible green that is close in taste to spinach. A member of the Goosefoot family of plants it is full of iron, vitamins and minerals. If you have lambsquarters and were going to toss them in the compost pile- I hope you’ll reconsider and give them a taste instead. There is a picture of lambsquarters at the bottom of this post so you can identify it.

Smoky Lambsquarters with Tomato

1 T. olive oil

1 onion, sliced

1 clove garlic, minced- or more

1/2 c. cooked, crumbled bacon

4 c. lambsquarters, rinsed and drained

3-4 c. diced  tomatoes- fresh or canned

1 t. Italian or Tuscan seasoning

salt to taste

hot cooked pasta

cheese- I used mozzarella and Parmesan

In skillet cook onion in oil over high heat until tender. Add garlic and cook 1 minute longer. Add bacon and lambsquarters and mix together. Add tomatoes and reduce heat to medium and bring to a simmer. Add seasonings. Simmer about 10 minutes or until some of the cooking liquid has evaporated.  Adjust seasonings and spoon mixture of hot pasta. Top with cheese of your choice. Serves 2-3

Lambsquarters

Lambsquarters

Prep by removing large stems.

Prep by removing large stems.

Cook until lambsquarters are tender.

Cook until lambsquarters are tender.

Spoon over hot pasta.

Spoon over hot pasta.


Posted in Cooking |

Pumpkin Bread

Pumpkin Bread

Pumpkin Bread

I made several batches of Pumpkin Bread last night so the kids in cooking camp today would have something to snack on. They liked it a lot and pretty much ate all 6 loaves. Several of the kids asked for the recipe so here it is.

Pumpkin Bread

1 ¾ c. flour

1 ½ c. sugar

1 t. baking soda

¾ t. salt

½ t. each cinnamon and nutmeg

½ c. butter, softened

2 eggs, beaten

1 c. pumpkin

1/3 c. water

Mix dry ingredients and set aside. Beat together butter and eggs until fluffy. Beat in pumpkin and water until smooth. Stir in dry ingredients until smooth. Pour into a greased 9×5-inch loaf pan. Bake in a preheated 350-degree oven for 60-65 minutes. Cool in pan 10 minutes before removing from pan and placing on cooling rack.  Wrap in plastic, best served the next day. Freezes well. Makes 1 loaf.

Posted in Cooking |

Beachwood Teen Camp- Cooking Contest

Breakfast- Egg and French Toast Sandwich with Chicken. Made by Mia, Nia and Michael

Breakfast- Egg and French Toast Sandwich with Chicken. Made by Mia, Nia and Michael

I was lucky enough today to run a cooking contest with the Beachwood Teen Adventure Camp. This is the third or fourth year and the kids just keep getting better and better. They worked in 4 teams and each team had to make a breakfast, lunch and dinner dish using bread is some way.  I gave them a pantry to work with and they came up with dishes that were creative and pretty tasty. They all worked so hard and while there was one team that won in the end they all had dishes they could be proud of. Here are the winning dishes with the names of the kids who produced them. Did I mention I am really full? Thanks to Pete Conces and special thanks to Michelle and her staff for helping everything to run smoothly.

Lunch: Pasta bowl filled with pasta and a mixed salad with home made dressing. Prepared by: Maia, Angela and Harleigh

Lunch: Pasta bowl filled with pasta and a mixed salad with home made dressing. Prepared by: Maia, Angela and Harleigh


Dinner: Chicken Panini with pasta and broccoli tossed with olive oil. Prepared by Arin, Kyra, Cameron and Paul

Dinner: Chicken Panini with pasta and broccoli tossed with olive oil. Prepared by Arin, Kyra, Cameron and Paul


Posted in Cooking |

Free Herb Gardening Talk

 Lovage

Lovage

For those of you who want to learn more about herb gardening I will be doing a program at the Bay Village Library on “Getting the Most from Your Herb Garden.” The program is on Monday June 24, 2013  at 7 pm. To register please click on the link below or call the Bay Village Library at  440-871-6392. This is a FREE program!!

I will also be selling copies of my herb gardening book “The Charmed Garden” with a portion of the proceeds going to Friends of the Library.
Seating is limited so reserve your spot today!!!
Address: 502 Cahoon Rd, Bay Village, OH 44140
 
Posted in Cooking |