Herbal Cocktails

Lemon Verbena Gimlet

If you don’t think of using herbs in cocktails, maybe you should. They add a depth of flavor that can take things to a whole new level.

Of course, minty mojitos and mint juleps are classics. Still, there are even more ways you can use herbs in drinks.

I put together three recipes that use herbs in drinks. The classic mojito, a gin cocktail that uses lavender syrup, and a spin on a gimlet, using lemon verbena.

These are great drinks for summer, or any time, really.

Try adding other herbs to your cocktails. You might be surprised at just how tasty they can be.

You can plant a few herbs, too. That way, they will be handy for making drinks.

So here are the recipes. I hope you try them and enjoy them as much as I do.

Classic Mojito


10 mint leaves, I used a variety called Mojito mint, that has a slight lime flavor

½ a lime, cut in 4 wedges

2 T. sugar

1½ oz. rum

1 c. ice cubes

½ c. club soda

In glass place mint leaves and one wedge of lime. Muddle to release juices and bruise mint leaves. Add sugar and 2 more wedges of lime. Muddle until limes are crushed. Add rum, stir well. Add ice, stir and top with club soda. Garnish with lime wedge.


Lemon Lavender Cocktail


2 oz. gin

1 ½ oz.  lemon juice

1 ½ oz.  lavender syrup (recipe follows)

splash of club soda

some ice

one lemon slice, for garnish

Pour gin, lemon juice and lavender syrup into a glass and stir. Top with club soda, add some ice and garnish with a lemon slice.


For the lavender syrup:

¾ c. water

¾ c. sugar

1 tablespoon dried lavender buds


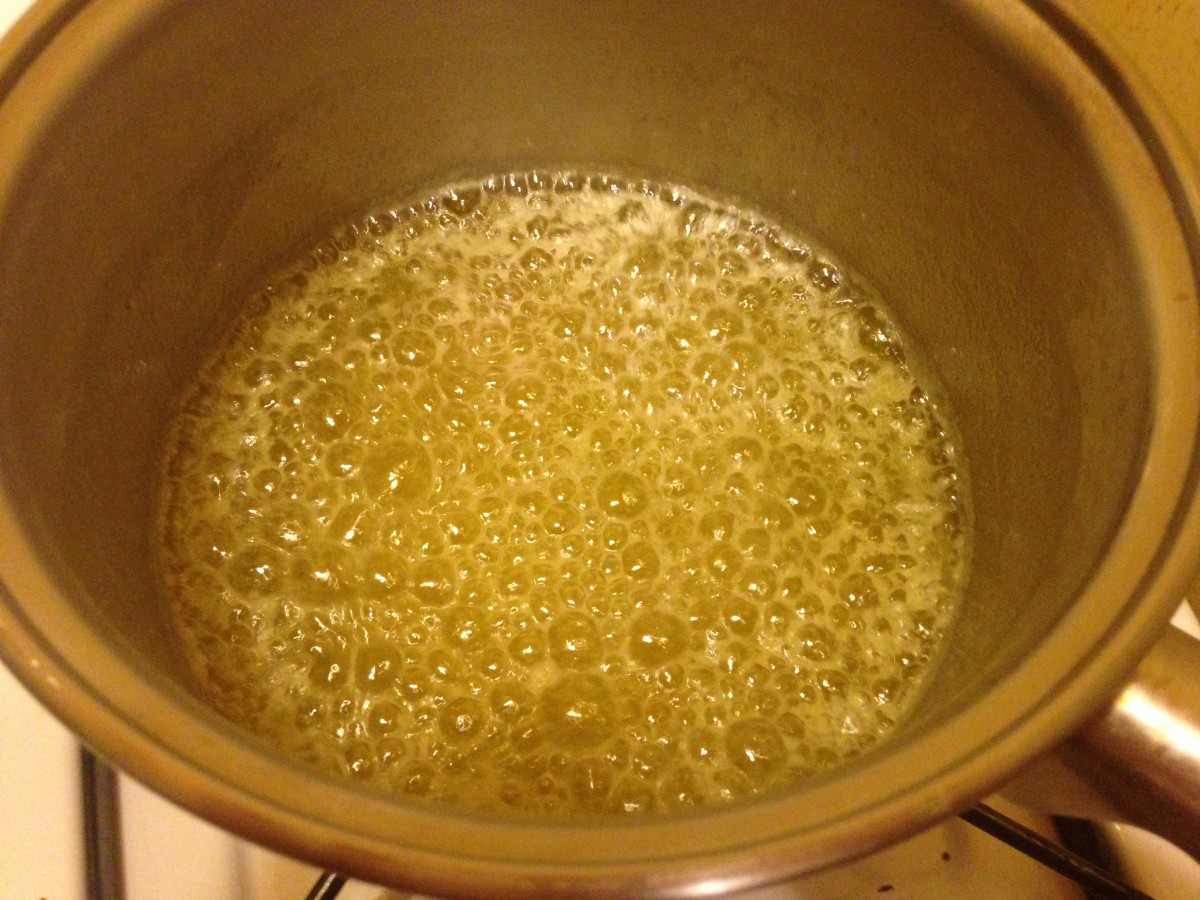
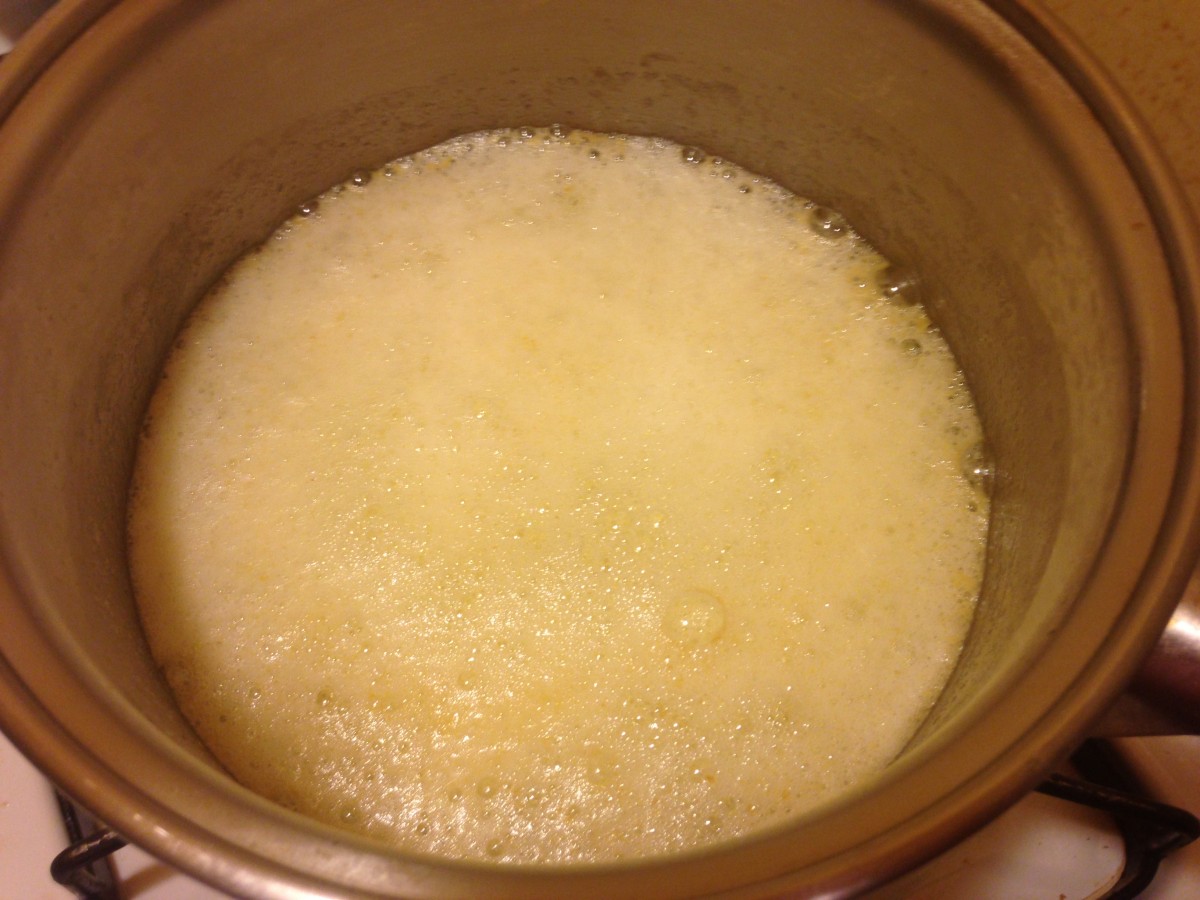
Combine sugar and water in a small saucepan. Add lavender and cook on low heat until sugar is dissolved. Bring to a boil and cook for 2-3 minutes, just until it starts to thicken a bit. Then set to the side to cool. Strain out the lavender and refrigerate. Yields just under a cup of syrup.


Lemon Verbena Gimlet


1 cup water

¼ c. sugar

¼ c. torn verbena leaves

¾ c. dry gin

¾ c. club soda, chilled

¼ c. fresh lime juice (about 2 limes)

Lemon verbena sprigs (optional)

Lime slices (optional)


Combine 1 cup water and sugar in a small saucepan. Rub torn verbena to bruise; add to pan. Bring sugar mixture to a boil, stirring gently as needed to dissolve sugar evenly; cook 30 seconds. Remove from heat; cool completely. Strain mixture through a sieve over a bowl; discard solids. Combine sugar mixture, gin, soda, and juice. Serve over ice. Garnish with verbena sprigs and lime slices, if desired.


Posted in Cooking | Tagged |

Rhubarb Glazed Chicken

Rhubarb Glazed Chicken

It is rhubarb season around here. Rhubarb is turning up at local farm markets and even in some grocery stores.

Like a lot of people, when I think of rhubarb, I first think of dessert, like pie or cobbler. But rhubarb’s tangy, tart flavor, lends itself to lots of savory uses.

I had some rhubarb and could not decide what to do with it. I chopped it up, and cooked it in a little water until tender. I ended up with 2 cups of cooked rhubarb.

I used this as the base for the glaze. I added the other ingredients, cooked it down until it was thick, and ended up with about 2 cups of sauce. It had a nice balance of sweet, tart and heat.

I used some of it as a glaze for chicken I was cooking. I froze the rest. It would also be good on other meats or even on grilled veggies.

Rhubarb Glazed Chicken

8 chicken thighs or 1 whole chicken, cut up

1 cup rhubarb glaze (recipe follows)

salt and pepper to taste

Place chicken pieces in roasting pan, season to taste and bake in a preheated 375 degree oven for 30 minutes. Remove from oven and drain any fat out of the pan. Pour over the rhubarb glaze and return chicken to oven for an additional 35 minutes. Baste the chicken with some of the glaze in the pan and return to oven for 15 minutes more. Serves 4.

Rhubarb Glaze

2 c. cooked rhubarb

1 c. apple cider vinegar

1/4 c. brown sugar

2 T. honey

2 T. dried minced onion

1 T. hot sauce

1 T. paprika

2 t. minced garlic

1 t. Worcestershire sauce

1 t. cumin

1 t. cinnamon

salt to taste

Place all ingredients in a saucepan and cook over medium heat until thickened. Stir more often as mixture thickens. Cook until sauce has reduced to about 2 cups. Use as a glaze on meats and vegetables. It was great on chicken but would also go well on pork or duck. I could also imagine it on portobello mushrooms. Note: I liked the tang of it but you could make it a little sweeter to suit your own taste. Makes 2 cups. Will keep a few weeks in the fridge or can be frozen.


Posted in Cooking | Tagged |

Blueberry Galette

Blueberry Galette

I made this galette for dessert last night. It was very well received. I served it plain, but it could be served topped with ice cream or whipped cream, if you like.

A galette is a cross between a pie and a tart. Rather than placing the crust in a pie pan, the crust is rolled out and the fruit is placed in the middle. The edges of the crust are folded over the fruit, leaving them exposed in the middle.  Galettes have a rustic charm.

I had homemade blueberry pie filling, but you could use store bought, if you prefer.

The ingredients are pretty simple, pie crust and pie filling. You’ll need enough pie crust dough for one pie and one cup of blueberry pie filling per galette. After I folded over the edges, I brushed them with a little milk and sprinkled the edges with sugar, to help the crust brown nicely.


Blueberry Galette

Crust for one pie- recipe follows

1 cup blueberry pie filling

milk

2-3 T. sugar

Roll out crust like you would for a pie, about a 10 or 12 inch circle. Place crust on a baking sheet. Spoon filling into the middle of the crust. Fold edges of the crust over the fruit filling, leaving about a three inch circle exposed in the middle. Brush crust with milk and sprinkle  with the sugar. Bake in a preheated 375 degree oven for 30 minutes, or until crust is golden brown. Remove to a rack to cool. Serves 4-6.


Blueberry Galette ready to serve


Here is the recipe I used for the crust. It would make enough for about 3-4 galettes.  I was making tarts for another dinner, so I used some of the crust to make the galette. I use this dough for kolachy, too.


Eva’s Kolachy Dough

3 c. flour

1 t. baking powder

½ t. salt

1 c. butter

3 eggs

2 pkts. Yeast

½ c. warm milk


In mixing bowl, combine flour with baking powder and salt. Cut butter into flour until mixture looks like coarse crumbs. Set aside. Place eggs in a small bowl and beat until smooth. In small bowl, dissolve yeast in warm milk. Add to egg mixture and stir to combine. Add egg mixture to flour mixture and stir until combined. If mixture is sticky add a small amount of flour. Roll dough out on floured board. Thinner the better, as this dough will puff some when baked. Unlike a traditional pie crust dough, this one does not need to be chilled. It is also very easy to roll out.

Posted in Cooking | Tagged |

Fruit Sodas

Homemade Fruit Sodas

Most days I am perfectly content to just drink water. But I understand that most people aren’t like that.

When friends stop over, I want to offer them something more than just ice water. Alternatives might include fruit juice or soda pop. I sort of combined the two into a fruity, fizzy drink that is fun to drink.

When it’s hot- and even when it’s not- cold, fizzy drinks are fun to drink. No special equipment is required to make these, and they are better for you than commercial soda.

I use 2 ingredients- club soda and either concentrated fruit juice or fruit syrups. In every grocery store you can find juice concentrates in the freezer section. Just place a spoonful of the concentrated juice in your glass- add club soda and stir gently to mix. Add ice and serve. Ready when you want it.

One benefit is that you can control how much juice to add. Make it more, or less sweet, to suit your taste. Sometimes I add just a little, so it is more like infused water than soda. If you like it sweeter, fine.

You can also use fruit syrups- sold in lots of grocery stores and beverage stores. Read the label. The ones I buy have 2 ingredients- fruit juice- which is listed first and sugar which is listed second. That’s it. No high fructose corn syrup or a bunch of artificial ingredients and most of what is in the bottle is juice.

I’ve make “soda” from frozen concentrated grape juice, orange juice, apple juice and pineapple juice. I’ve used fruit syrups made from blueberries, sour cherries, strawberries and blackberries. You can use them individually or do combos. All I did was combine them with soda water. They are fun for kids to make, too.

You can dress them up with fancy ice cubes. Just add small pieces of fruit or mint leaves to ice cube trays, fill with water, and freeze. Also nice when guests stop over.

Is this stuff better for you than water? I suppose not. But sometimes we all want something more than plain water. For me, this is a nice option- fizzy fruit juice.

Posted in Cooking | Tagged |

Lemonade Glazed Chicken

Lemonade Glazed Chicken

If any drink says summer, it’s lemonade. A tall, icy glass of lemonade is the perfect refresher on a hot summer day. Lemonade is also fun to cook with, especially during the summer.

I’ve been making my own lemonade concentrate for some time now. It’s just lemon juice and sugar. Sometimes I use honey, instead. I keep some in the freezer so I can make fresh lemonade whenever I want it.

I find myself looking for other ways to use the concentrate. I ended up making this glaze when I wanted a sauce to use on  chicken. I really liked it.

I’ve tried this glaze on chicken a couple of times. I could see it going well with pork or even seafood. The sweet/sour nature of lemonade works well as a base for sauces.

I used homemade lemonade concentrate, but store bought is fine, too. Here is the recipe.

Lemonade Glaze for Chicken, Pork, Seafood

2 T. oil
1 medium onion, chopped fine
2 t. minced garlic
12 oz. lemonade concentrate recipe follows
¼ c. red wine vinegar
2 T. hot sauce, or to taste
1 T. prepared mustard
3 T. honey
1 t. cumin
1 t. ginger
2 t. salt, or to taste

Heat oil in pan and cook onion until lightly browned. Add garlic and cook 1 more minute. Add remaining ingredients and cook until mixture has cooked down and thickened- about 10-15 minutes on medium high heat. Stir occasionally. You should end up with about 1½ cups of glaze.
To use: Brush on meat during last 15 minutes of cooking if baking or grilling. Add in last 5 minutes if cooking in a pan.

Here is the recipe for the lemonade concentrate.

Homemade Lemonade Concentrate

1 1/3 c. lemon juice- fresh or bottled

1 c. sugar*

lemon zest, optional

Combine ingredients and stir until sugar is dissolved. Freeze until ready to use. Makes a little over 1 1/2 cups. To use: combine three parts water to one part  concentrate.

* You can use honey instead of sugar- but only use 1/2 c. honey as it is much sweeter than sugar.

Posted in Cooking | Tagged |

Mini Strawberry Shortcakes

Mini Strawberry Shortcakes

With strawberry season in full swing, I thought I would share another favorite strawberry recipe. These little shortcakes are as cute as they are tasty. You can have all the components ready, then just assemble when ready to serve. Fun to serve at parties.

I made the shortcake base with a scone recipe, and used an ice cream scoop to put the batter on the baking sheet. They ended up looking like little sandwich buns. Split and filled with sweetened strawberries, I replaced the top and added chocolate ganache and whipping cream to finish them off.

The scone is tender and not too sweet. Satisfying and light at the same time.


Mini Strawberry Shortcakes

The shortcakes
2 c. flour
1/4 c. sugar
½ t. salt
1 T. baking powder
1 1/4  c. heavy cream or 1 cup half and half
Preheat oven to 425 degrees. Sift together dry ingredients and gradually add cream to form soft dough. Stir mixture until it just holds together. Using an ice cream scoop place batter on baking sheet a couple of inches apart. You should get about a dozen. Bake 10-12 minutes or until golden. Makes about 12. Cool on rack until ready to use.

The berries

2 lbs. strawberries, sliced thin

1/2 c. sugar, or to taste

Combine berries and sugar in medium bowl and place in fridge until ready to use. Berries should be in the sugar for at least a couple of hours and can even be prepped a day ahead to allow the juices to come out of the berries.

The ganache

1 c. semi sweet chocolate chips or 6 oz. semi sweet chocolate, chopped

1/2 c. heavy whipping cream.

Combine both in double boiler or in microwave and heat until mixture is just warm enough to melt the chocolate. Stir until smooth.

The whipped cream – use whipped cream, sweetened or unsweetened according to your taste.

Assembly: Slice the caps off the tops of the shortcakes. Place a generous spoonful of the sliced berries on the bottoms of the shortcakes and spoon some of the strawberry liquid over them as well. Place the tops of the shortcakes back on and spoon on a dollop of the chocolate ganache. I let me get to room temperature so it didn’t drip down exactly as I had planned. Top with some whipped cream and serve. Makes about 12.

Posted in Cooking | Tagged |

Giant Strawberry Shortcake

Giant Strawberry Shortcake

A couple of days ago, I posted a recipe for mini strawberry shortcakes.  Now, we go to the other extreme. One giant shortcake.

Seriously, it is a fun way to make shortcake. You could make one for Father’s day.

This is a great dessert for a party, picnic or barbecue. Instead of making a bunch of individual shortcakes, make one really big one. It makes quite an impression.

When ready to serve it, just cut into slices, like cake or pie. I often serve this shortcake with ice cream on the side. Feel free to switch up which fruits you use. I used kiwi fruit with the strawberries, but you can add different fruits. Peaches would go well with the strawberries or blueberries. Just have fun and use fruit combinations you like. For the 4th of July, you could use a combination of strawberries, raspberries and blueberries.


Giant Strawberry Shortcake

1 egg

3/4 c. milk

1/2 t. lemon juice

2 c. flour

1/4 c. brown sugar

1 T. baking powder

1/2 stick cold butter plus 1 T. softened

1/2 c. plus 1 T. sugar

1 qt. strawberries, sliced thin

2 kiwi fruit, peeled and sliced thin

1/4 c. chopped nuts, toasted

whipped cream, optional


In small bowl combine egg, milk and lemon juice and set aside. In larger bowl combine the flour, brown sugar and baking powder. Cut in cold butter to resemble coarse crumbs. Add egg mixture and stir until mixture forms into a soft dough. Knead dough gently on a lightly floured surface about 10 times. On greased baking sheet pat dough into a 15×6-inch oval. Sprinkle dough with the 1 tablespoon of sugar and dot with the softened butter. Bake in a preheated 400 degree oven for 20-25 minutes, or until lightly golden. Place on wire rack to cool. Toss the berries with the remaining 1/2 cup of sugar. Allow to stand 30 minutes. Split the shortcake lengthwise and remove the top. Spoon over the half the berries and replace top of shortcake. Combine the kiwi with the remaining berries.Spoon over the remaining fruit and sprinkle with the nuts. Dot with whipped cream, if desired. Cut in wedges to serve. Serves 8.

Note: you can bake shortcake day ahead and prep the fruit day ahead, keeping it chilled and just assemble when ready to serve.

Posted in Cooking | Tagged |

Peanut Butter and Jelly Mini Pies

Peanut Butter and Jelly “Pies”

These are a great way to take peanut butter and jelly on the road. These little “pies” are just cut out circles of pie crust, filled with peanut butter and jelly, sealed, then baked.  Very easy to make, and a fun cooking project for kids as well as adults.

I prefer home made pie crust, but use store bought, if you like.

A nice treat, these little pies can be a snack, breakfast, lunch or even a dessert.

They are also great to take along to the pool, for picnics and road trips. You can fill them with just jelly, if you like. I have filled them with peanut butter and a few chocolate chips for a fun dessert. You can use almond or cashew butter, if you like.

Get creative and have fun.


Peanut Butter & Jelly  Mini Pies

1 (15 oz.) package pie crusts or homemade crust for 2 pies*

1 egg

1 T. water

½ c. peanut butter

½ c. preserves, any flavor

Powdered sugar, optional

Preheat oven to 400-degrees. On lightly floured surface roll out one of the crusts into a 12-inch circle. Using a 2½-inch round cookie cutter cut out about 12-14 circles, re-rolling scraps and set aside. Roll out second piece of dough so you will have about 24-28 circles altogether. Beat together water and egg and set aside. Place a circle on work surface and place 1 teaspoon each of peanut butter and preserves in the center. Brush edges of the circle with egg wash. Place second circle on top and press edges together to seal. Repeat with remaining circles. Place “pies” on lightly greased baking sheets and bake for 12-15 minutes or until golden brown. Cool on wire rack and dust with powdered sugar, if desired.

Martha Stewart’s Pie Crust Recipe

2½ c. flour

1 t. salt

1 t. sugar

2 sticks (1 cup) butter, very cold

About 6 T. ice water

Combine dry ingredients and cut in butter to resemble coarse crumbs. Using a fork to mix the dough start to add the ice water a tablespoon or 2 at a time until mixture just holds together. Wrap and chill until ready to use. Makes 2.


Mom’s Challah Bread

Challah

I thought I would share one on my Mom’s favorite recipes today. I miss her everyday. She was such a wonderful mother. She taught me how to bake and cook. She taught me how to make a dollar stretch and not to be wasteful. She taught me how to have compassion for others. She taught me to never go to bed mad. She also taught me to stand up for myself.

I remember a story she told me of her and my dad. They were dating and he was acting jealous, because she was talking to a friend at a party. She walked out. She left the party and he ran after her. She told him that he needed to respect her, or she would not stay with him. She would not take any sort of crap from him. Good lesson for us all.

I have wonderful memories of my mother making this bread. Whenever I make it, I think of her. It is a simple egg bread, in many ways, but the braiding makes it look so pretty. You can bake the bread in loaf pans, or on baking sheets. Both look great.

This is one of my favorite sandwich breads, but I also like it for French toast. Challah is a nice option for bread in your holiday stuffing (or dressing) and it makes great bread pudding.

I had a bread class last night, and we made dinner rolls with the dough, instead of the traditional loaves. It gave everyone in the class a chance to play around with the dough. They got about 30 dinner rolls!! If you do choose to make rolls, bake 15-20 minutes.


Challah

2 c. hot water

1 T. each sugar, salt and oil

1 package active dry yeast

¼ c. warm water

About 8 cups flour

2 beaten eggs

Poppy or sesame seeds, optional

In large bowl combine hot water, salt, sugar and oil. Dissolve yeast in warm water in small bowl and add to oil/water mix. Stir in 1 cup of the flour and eggs, reserving 2 tablespoons of the eggs for later. Gradually stir in enough of the flour to make soft dough. When dough pulls away from sides of bowl remove to floured surface. Knead dough, adding flour as necessary about 8-10 minutes. Dough should be smooth and elastic. Place dough in a lightly greased bowl, turning to grease top, cover with a towel and allow to rise in a warm, draft free place until doubled, about 1 hour.

Punch dough down and divide into 8 equal pieces. Roll three of the pieces into 12- inch ropes. Place in a greased 9×5-inch loaf pan. Take one of the remaining pieces of dough and divide into thirds. Roll the pieces into 3-nine inch ropes and place on top of the braid already in the pan. Repeat with remaining dough and cover. Allow to rise until doubled in bulk, about 1 hour. Preheat oven to 400 degrees. Brush loaves with reserved eggs and sprinkle with sesame or poppy seeds, if desired. Bake 40-45 minutes. When done loaves will be nicely browned and sound hollow when tapped. Makes 2 loaves.

Note: Bread dough can also be placed on greased baking sheets instead of in loaf pans. The result will be longer and flatter, but very pretty.

Challah Bread, baked on a baking sheet, instead on in loaf pans

Challah Bread, baked on a baking sheet, instead on in loaf pans

Posted in Cooking | Tagged , |

Homemade Blackberry Liqueur

Blackberry Liqueur in the making

Making liqueurs has been a hobby of mine for a long time. The first liqueur I ever made was blackberry liqueur. My friend Dale lived in an apartment building, near a large ravine. The ravine was filled with wild blackberries. Dale asked if we could turn them into a liqueur. He harvested them- and held them in the freezer until we had enough. Once we had plenty, I combined the berries with vodka and let the mixture steep together. After enough time had passed, I strained it, sweetened it and enjoyed it. It is still one of my favorites.

I wasn’t planning on making blackberry liqueur until I got a call from my friend Mari. Her fridge was dying and she had a bunch of stuff from the freezer she didn’t want to go to waste. She asked if I wanted a stash of frozen fruit. I said that I did, so I picked up a rather large bag of assorted, thawing fruit.

Among the bags were two bags of blackberries. I knew what I wanted to do with them. I grabbed a half gallon jar, and filled it with the berries, vodka and lemon zest. Now, it is just a waiting game. The jar will spend the next three months in a dark cabinet. After that, I’ll strain it, filter it and sweeten it. I have already  promised some to Mari.

Sweetening is actually optional. For sipping, sweetened is the way to go. While the recipe lists specific amounts, sweeten to your own taste. For using in cocktails, you might want to leave some unsweetened. The unsweetened blackberry liqueur is known as an eau de vie, or water of life. I like that.

So here is the recipe. If you have some extra berries, you might also want to make liqueur with them.


Blackberry Liqueur


4-c. fresh or frozen  berries (thawed)

Sliced and scraped peel of one lemon

1 clove, optional

3-c. vodka or 2 c. vodka and 1 c. brandy

1 c. simple syrup- recipe follows


Lightly crush berries with a fork, if using fresh. Combine with peels and clove and vodka and steep 3 months. Strain and filter and add sugar syrup. Mature 4-6 weeks.


Simple Syrup

Simple syrup is made from 1 cup of sugar and ½ cup of water. Bring to a boil, then cool. You will have 1 cup of syrup. You can sweeten with honey, if you prefer. Watch when you substitute honey for sugar, as it is sweeter and stronger flavored. Add a small amount, let it sit for a day or so- and give it a taste. You can always add more sweetener later.