

Here is my latest TV appearance. Haven’t watched this one but I was told it was funny. Problem is I wasn’t trying to be funny. 🙂 Thanks to the people at Fox 8 and New Day Cleveland for making me feel welcome.
Here is my latest TV appearance. Haven’t watched this one but I was told it was funny. Problem is I wasn’t trying to be funny. 🙂 Thanks to the people at Fox 8 and New Day Cleveland for making me feel welcome.
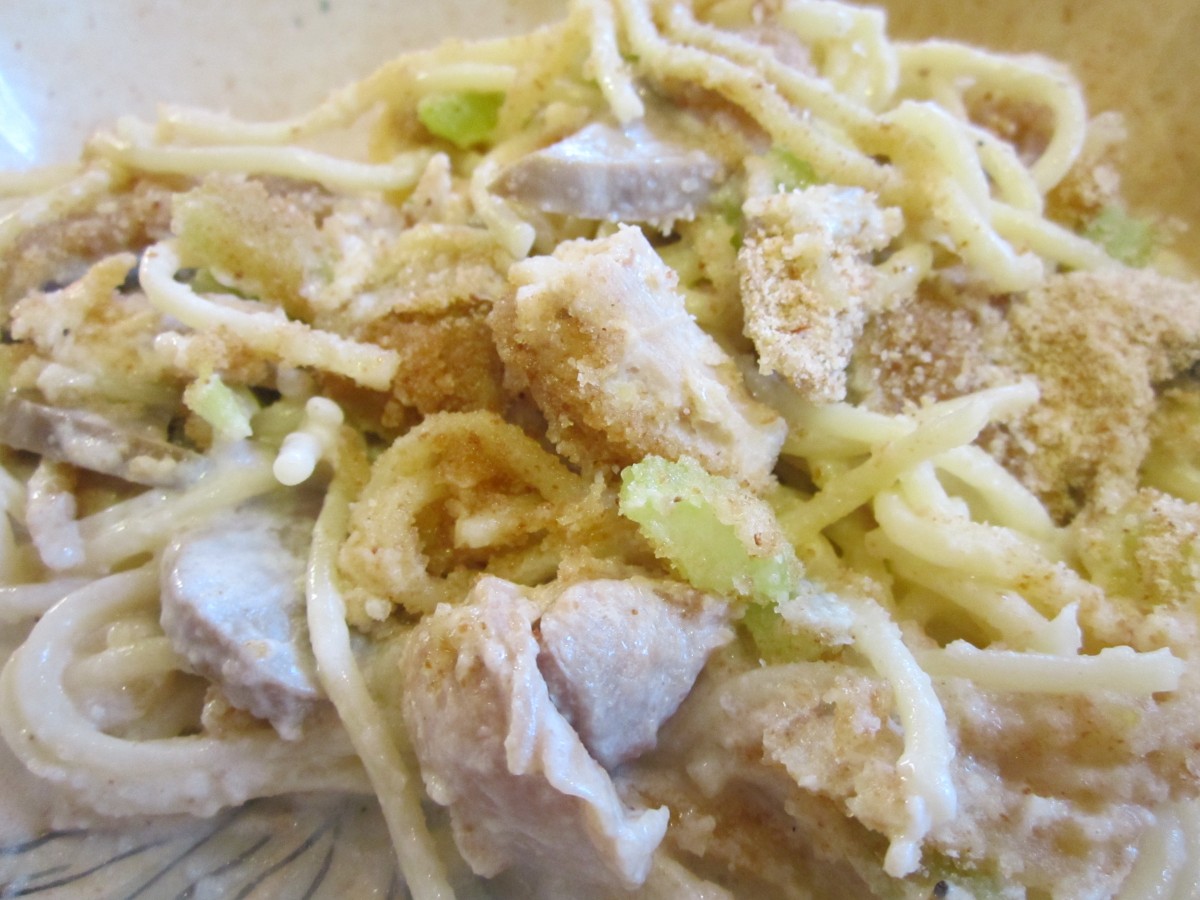
Turkey Tetrazzini
I had a request recently for Turkey Tetrazzini. Had a conversation with a friend about how certain foods become our comfort foods. For me Turkey Tetrazzini is a comfort food. Special childhood memories. I made the Tetrazzini for my friend and made some for home, too. Simple and full of yummy flavors and as expected, comfort.
Turkey Tetrazzini
2 T. butter or oil
1 c. chopped celery
4 oz. sliced mushrooms
4 T. flour
1 1/2 c. chicken or turkey stock
1 c. half and half or milk
1/4 c. sherry
2 c. cooked turkey, cubed
4-6 oz. broken spaghetti, cooked
salt and pepper to taste
bread crumbs
butter
Parmesan cheese- optional
Heat butter or oil in pot and add celery and cook 3 minutes. Add mushrooms and cook 3 minutes more. Stir in flour and mix well. Add stock, half and half and sherry bring to a simmer- stirring often. Stir in turkey and pasta. Adjust seasonings. Place mixture in oiled casserole and sprinkle the top with bread crumbs and drizzle a little melted butter over the top. Add Parmesan cheese, if you like. Place in a 350 degree oven and bake until bubbly- about 25 minutes. Serves 4.
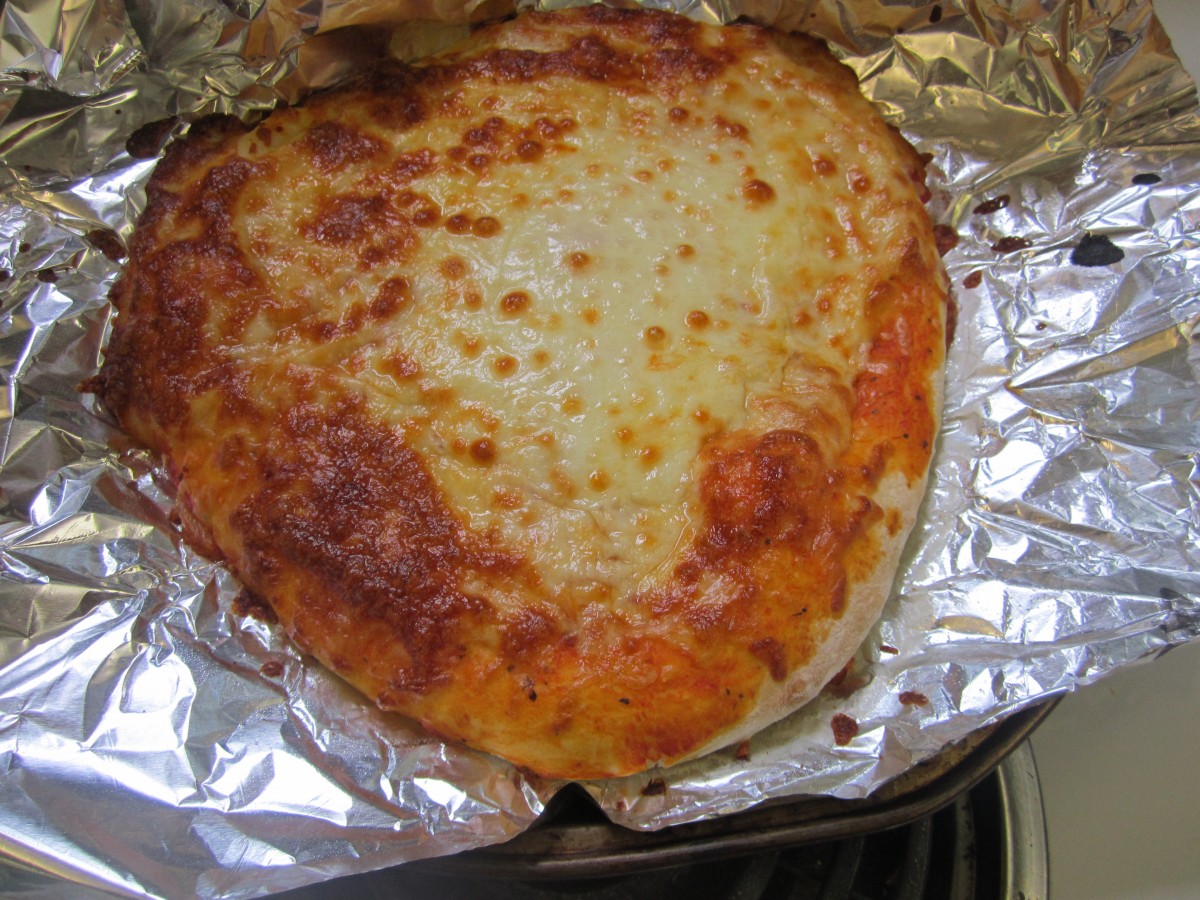
Homemade Pizza
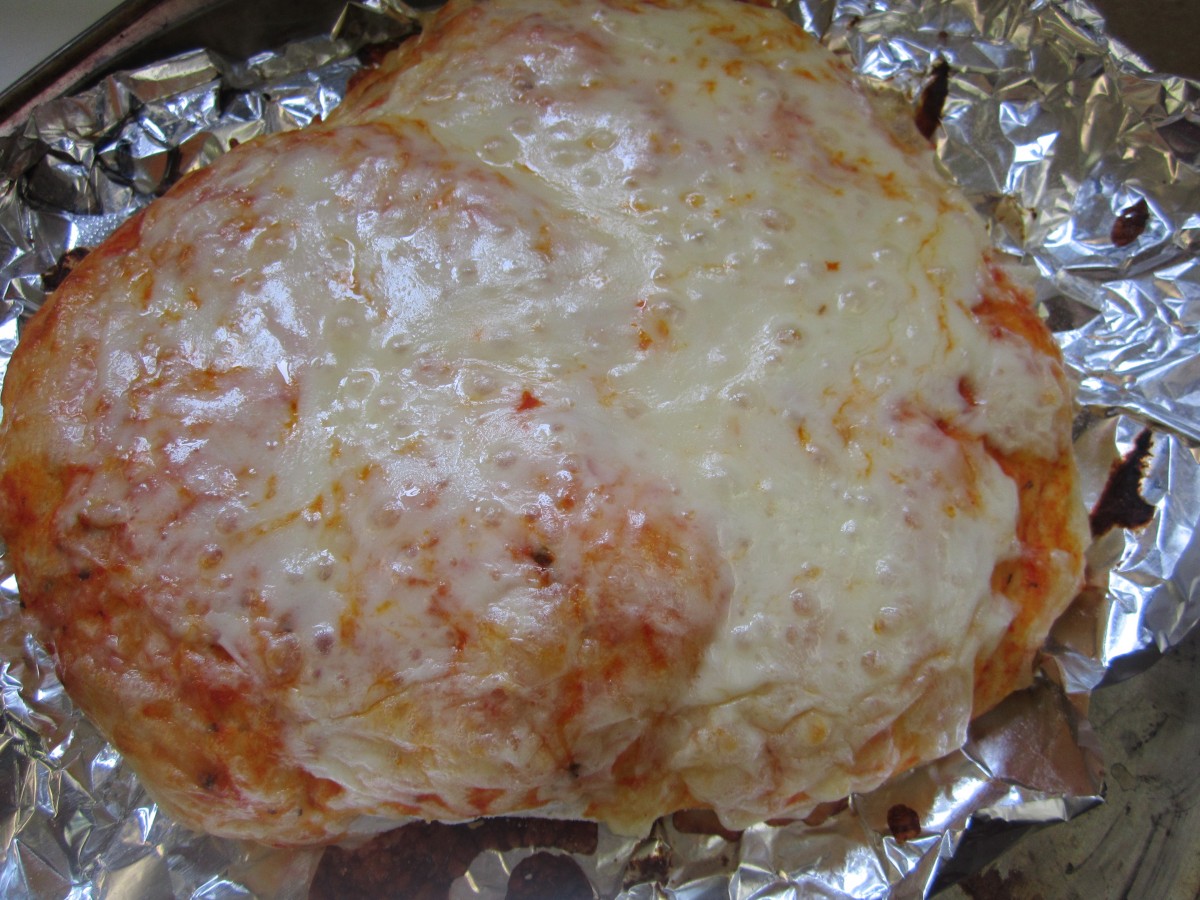
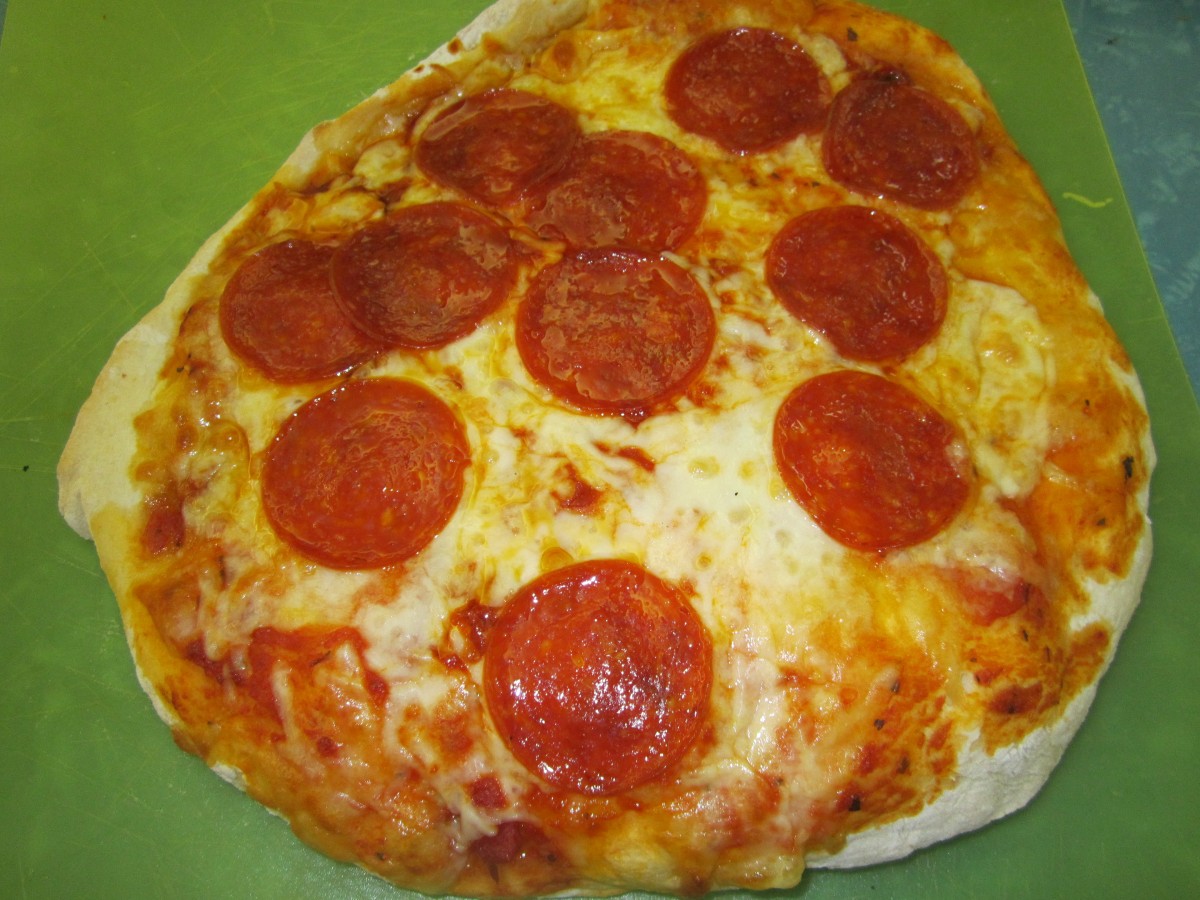
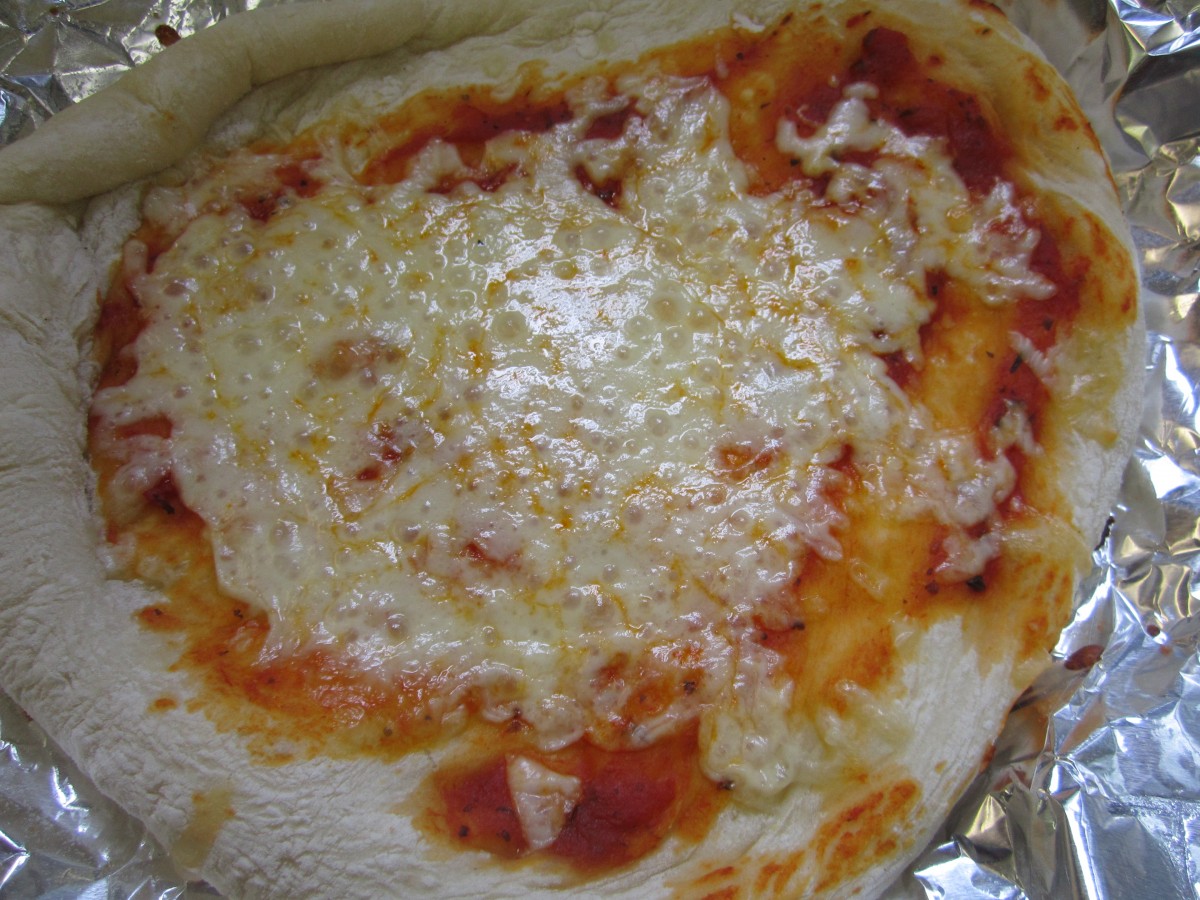
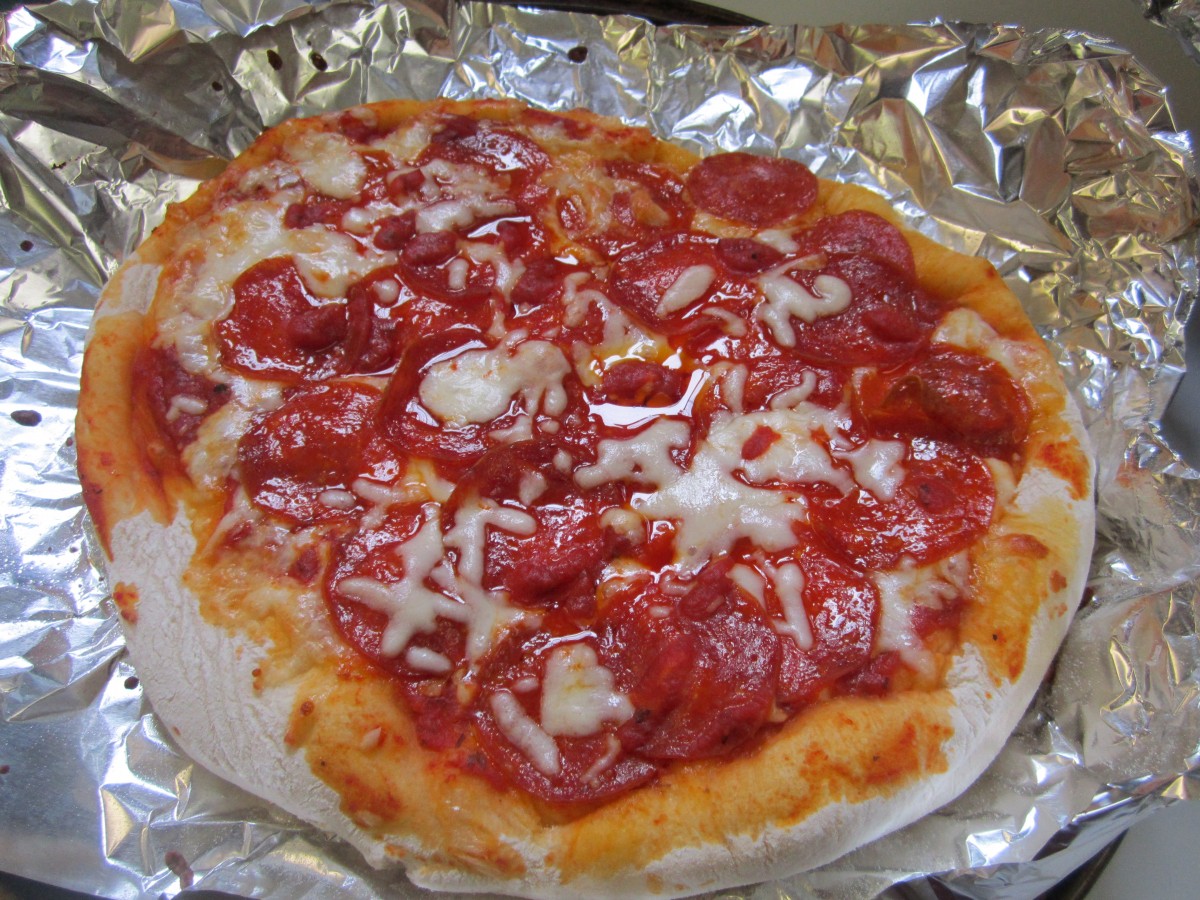
Just wanted to share what the kids made in camp today. They made the pizza dough and kneaded it by hand, rolled it out and added the toppings they wanted. I did handle the in and out of the oven part. If you ever thought making your own pizza was too hard let me point out that the first picture is a pizza made by a 6- year- old. The kids ranged in age from 6-11 and all did a great job. Here is the recipe they used.
Homemade Pizza
1 packet active dry yeast
1 t. sugar
4-4½ c. flour
2 t. salt
1 2/3 c. warm water
3 c. pizza sauce
16 oz. shredded mozzarella cheese
Cornmeal
In bowl combine 2 cups of the flour with the yeast, sugar and salt. Add the water and stir to blend. Add flour gradually and keep stirring. Stir until soft dough forms. Place dough on floured surface and knead until stretchy and smooth, about 10 minutes. Allow dough to rest 3 minutes and knead a few more times. Place in bowl and cover. Let rise until doubled in bulk, about 45 minutes.
Punch dough down. Divide dough in half and roll each half into a 12-inch circle. Dust back of baking sheet with cornmeal and place dough on cornmeal, pressing down a little. Slide dough off sheet and onto a clean baking sheet. Place half of the remaining ingredients on the dough and repeat with remaining half of dough. Add more toppings, if you like and bake in a preheated 450-degree oven for 13-15 minutes. Cool a few minutes before cutting. Makes 2 pizzas.
Mini Pizzas: You can also divide the dough into 8 equal pieces and roll them out into 6-inch rounds. Then let each person make his or her own pizza. Bake a few minutes less than the big pizzas.


Coconut-Almond Shortbread Cookies
This is one of the best cookies I have ever made!! I need a vegan dessert option for a client so I have been playing around and came up with this recipe. I decided to start with a shortbread cookie and just replace the butter. The solution? A mixture of coconut oil and almond butter. You will never miss the butter.
Coconut-Almond Shortbread
1 c. sugar, plus 1/4 cup extra for sprinkling
1 c. almond butter
1 c. coconut oil
4 c. flour
2 t. cinnamon
Cream together sugar, almond butter and coconut oil. Stir in flour and press into 9×13-inch baking dish. Combine extra sugar with cinnamon. Sprinkle over the cookies dough and cut into squares. Bake in a 300 degree oven for an hour or until light brown around edges. Re-cut while warm. Makes 4 dozen.

Blueberry Tea Cakes
I made these for a last minute dinner with friends. They are soft and sweet- but not too sweet. Perfect for a light dessert, served with tea or even for breakfast. For some reason the dog is really crazy about them, too. He keeps staring at the plate and barking.
Blueberry Tea Cakes
1/2 c. butter, softened
1 c. sugar
2 eggs
1 t. vanilla
2 t. baking powder
1/4 t. salt
2 c. flour
1/2 c. milk
2 1/2 c. blueberries, preferably fresh, but frozen OK
Topping:
2 T. sugar
½ t. cinnamon
Heat oven to 375. Grease 24 muffin tins or line with paper liners. Beat butter until fluffy and beat in sugar until light. Beat in eggs then beat in vanilla, baking powder and salt. Beat in half the flour then half the milk and repeat. Fold in berries and spoon batter into prepared pans, filling half-full. Combine remaining sugar with cinnamon and sprinkle over the cakes. Bake 25 minutes or until springy to the touch. Makes 24.

Blueberry Tea Cake

Artichoke and Edamame Salad
Needed a quick salad so I looked at what I had around and came up with this one. It turned out to be a big hit at dinner last night.
Artichoke and Edamame Salad
1 lb. edamame (fresh soybeans)*
1 can artichoke hearts, drained and chopped
2 c. cooked corn
1 c. chopped sweet onion
1/3 c. olive oil
1/2 c. cider vinegar
1 t. sugar, optional
fresh chopped parsley
fresh chopped basil
salt and pepper to taste
To prepare edamame steam them, in their pods, until tender, about 8 minutes. Place in cold water. Once cool enough to handle slip the edamame out of their pods. Discard pods and place edamame into a mixing bowl. Add remaining ingredients and stir to mix well. Chill until ready to serve. Serves 4-6.
* A lot of stores have them in the freezer section. They are in the pods. The pods are not edible. If you don’t have edamame you can substitute fresh lima beans.

Edamame in the pods

Edamame out of the pods

Purslane Frittata
In some parts of the world purslane is grown as a vegetable. In other places it is treated as a weed. I am fortunate to have purslane growing in my yard all on its own. Its low growing habit and thick fleshy leaves make it easy to identify. I used some freshly picked purslane, paired with beets greens and green onions to make a frittata. It came out really good and I hope this might inspire you to try purslane.
Purslane Frittata
2 T. oil
2 green onions, sliced
2 c. purslane leaves and small stems*
2 c. chopped beet greens and stems
4-5 eggs, beaten
salt and pepper to taste
fresh chopped parsley
1-2 c. shredded cheese- any kind you like
Heat oil in skillet and cook green onions and purslane until wilted, about 3-4 minutes. Add beet greens and cook until they are wilted, another 3-4 minutes. Add salt and pepper to taste and pour in the eggs. As the eggs start to cook use a spatula to slide under the cooking eggs, tipping the pan allowing uncooked eggs to reach the bottom of the pan and cook. When eggs are almost set turn down heat to low and cover pan allowing eggs to finish cooking. Remove lid and top with chopped parsley and cheese. Replace the lid and turn off heat. Allow to sit 5 minutes to melt the cheese. Slide frittata to serving plate and cut in slices to serve. Serves 2-3.
*If you aren’t familiar with purslane here is some information that might help. The leaves taste a little citrus “like” and have a pleasant crisp texture. Leaves can be eaten raw, cooked or pickled. Leaves and smaller stems are edible. Any stems that have become woody in texture should be discarded. I love to add purslane leaves to salads.

Fresh Purslane

Easy Broccoli Salad
Made this for a class a couple of days ago and making it for dinner tomorrow. One of my favorites. Some people add cheese- I do sometimes. The secret is to steam the broccoli just a little so it still has some crunch, but is not totally raw or overcooked and mushy. If you haven’t made it before I encourage you to make broccoli salad soon.
4-6 c. broccoli flowerets
1 can water chestnuts, drained and chopped
4-5 slices bacon chopped, cooked crisp and drained
about 2/3 c. mayo or salad dressing, or to taste
salt and pepper to taste
1 sweet red pepper, seeded and diced, optional
Cook broccoli until tender/crisp. Cool and combine with remaining ingredients. I like to add the diced pepper closer to serving time as it can make the salad runny if added too soon. Chill. Serves 4-6.
Warm Pasta Salad
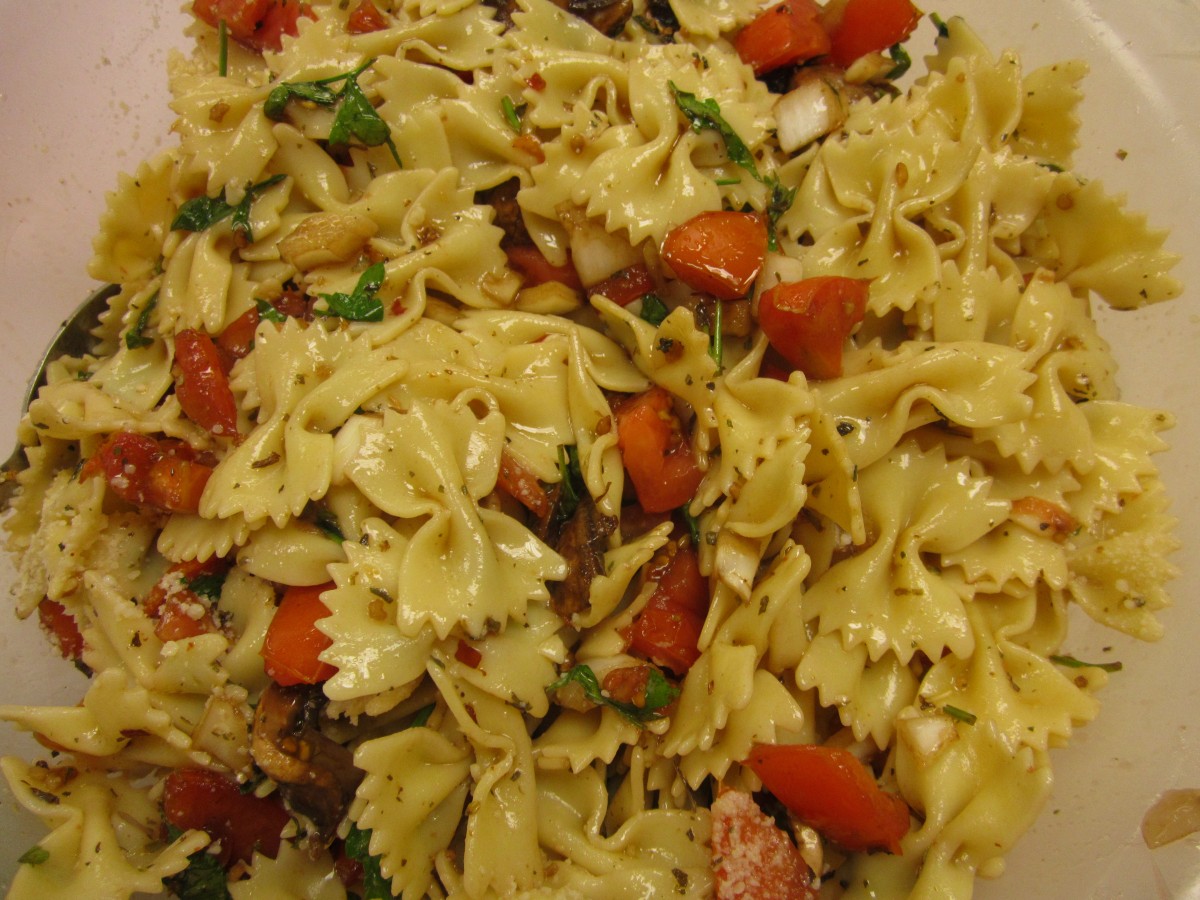
I love this recipe. Marinated veggies are tossed with hot pasta to create a fragrant and tasty variation on pasta salad. You can play around with choice of herbs. I like to add capers, too, or even toss in a little Parmesan cheese at the end. It can be served right away- slightly warm or even chilled.
1 lb. Plum tomatoes, chopped
1 medium onion, chopped, I use sweet onion or you can use green onions
4oz. Fresh mushrooms, sliced
2 cloves garlic, minced
¼ c. fresh parsley, chopped
1 T. dried basil
1 t. dried oregano
½ c. olive oil
¼ c. red wine vinegar
3 T. balsamic vinegar
Dash of hot red pepper flakes
Salt to taste
1 lb. Uncooked pasta
Combine all ingredients, except pasta and chill overnight. . Cook pasta, drain and toss with tomato mixture. Mixture should be served right away. Serves 6.

Pesto Potato Salad
While a lot of us think of pasta when we think pesto it actually makes a great dressing for potatoes, too. So if you are looking for a new idea for your potato salad, why not give pesto a chance??
2 lbs. Boiling potatoes, cut into bite sized pieces
1 c. basil leaves
3 T. pine nuts
3 T. olive oil
2 garlic cloves, minced
1/3 c. Parmesan cheese
Salt to taste
Cook potatoes until tender. Cool. In blender combine remaining ingredients, except 1 tablespoon of the pine nuts. Pour blended mixture over potatoes and sprinkle with the reserved nuts. Chill. Serves 6-8.