TV Appearance
I was on New Day Cleveland on Friday cooking with sweet potatoes. Here is the clip if you missed it.
Carrot and Cabbage Salad
Carrot and Cabbage Salad
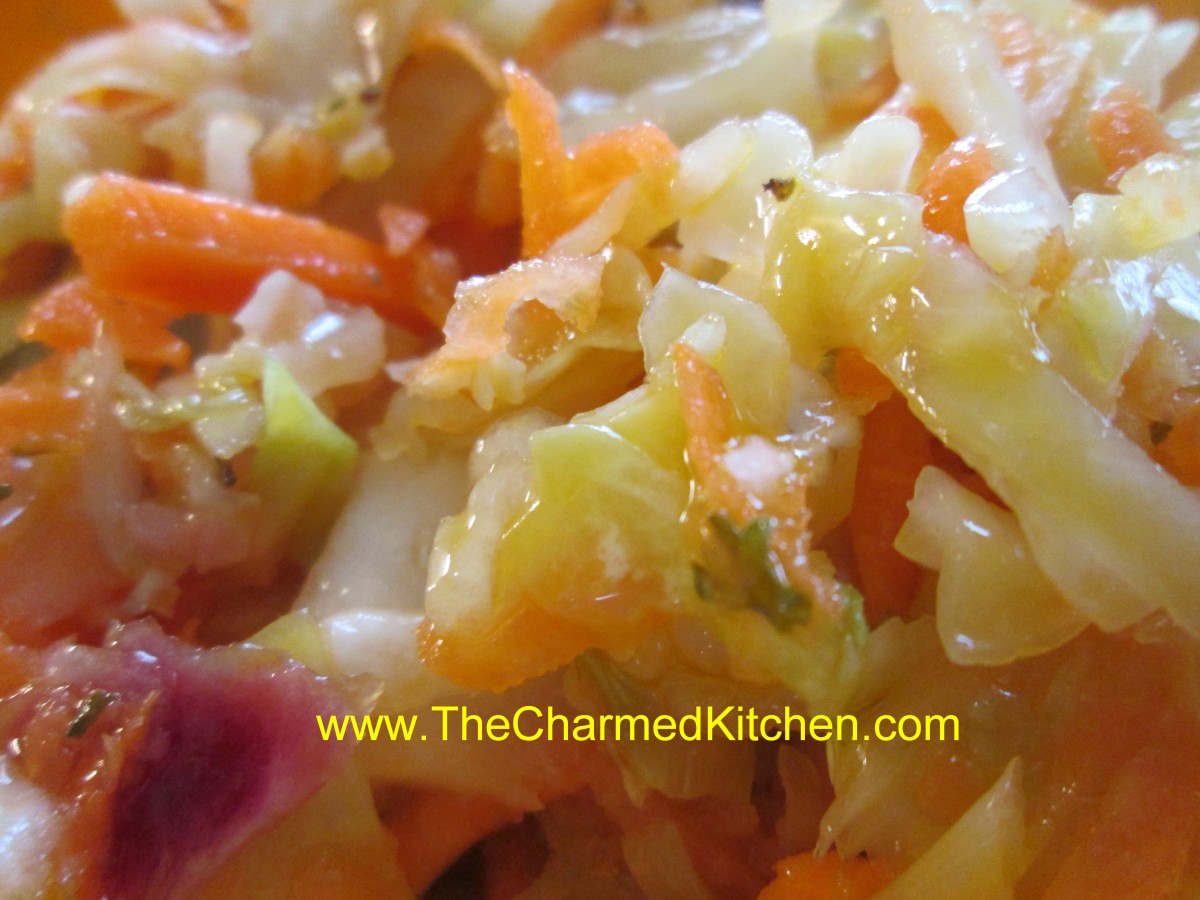
I love a good salad. I also like to make dishes that can travel well when I am visiting with friends. After a conversation with a friend the other day about her having to travel for a family event and bring food along I was inspired to come up with this recipe. Similar to a cole slaw this salad has an equal share of carrots and an herb-infused dressing that gives it a great flavor. It can be made a couple of days ahead, if needed, and is better if you make it the night before.
Carrot and Cabbage Salad
1 lb. carrots, peeled and shredded
1 lb. shredded cabbage- you can use the cole slaw mixes sold in stores
Dressing:
2/3 c. apple cider vinegar or herb flavored vinegar
1/2 c. oil
1/4 c. sugar, or to taste
1 T. salad and vegetable seasoning-recipe follows- or 1 T. dried herbs of your choice
Salt and pepper to taste
Combine veggies in a bowl. Combine dressing ingredients in a jar with a tight-fitting lid and shake well to combine. Adjust seasonings. Pour dressing over the veggies and stir to mix well. Cover and chill for several hours or overnight. Serves 10-12.
Salad and Vegetable Seasoning
½ c. dried parsley
¼ c. dried minced onion
1 T. dried thyme
1-T. celery seeds
2 t. dried oregano
1 t. dried marjoram
1-t. dill seeds
Combine all ingredients and store in a cool, dry, dark place. Makes about a cup. Use in salad dressings or on cooked veggies and in soups and stews.
Herbed Focaccia
Herbed Focaccia
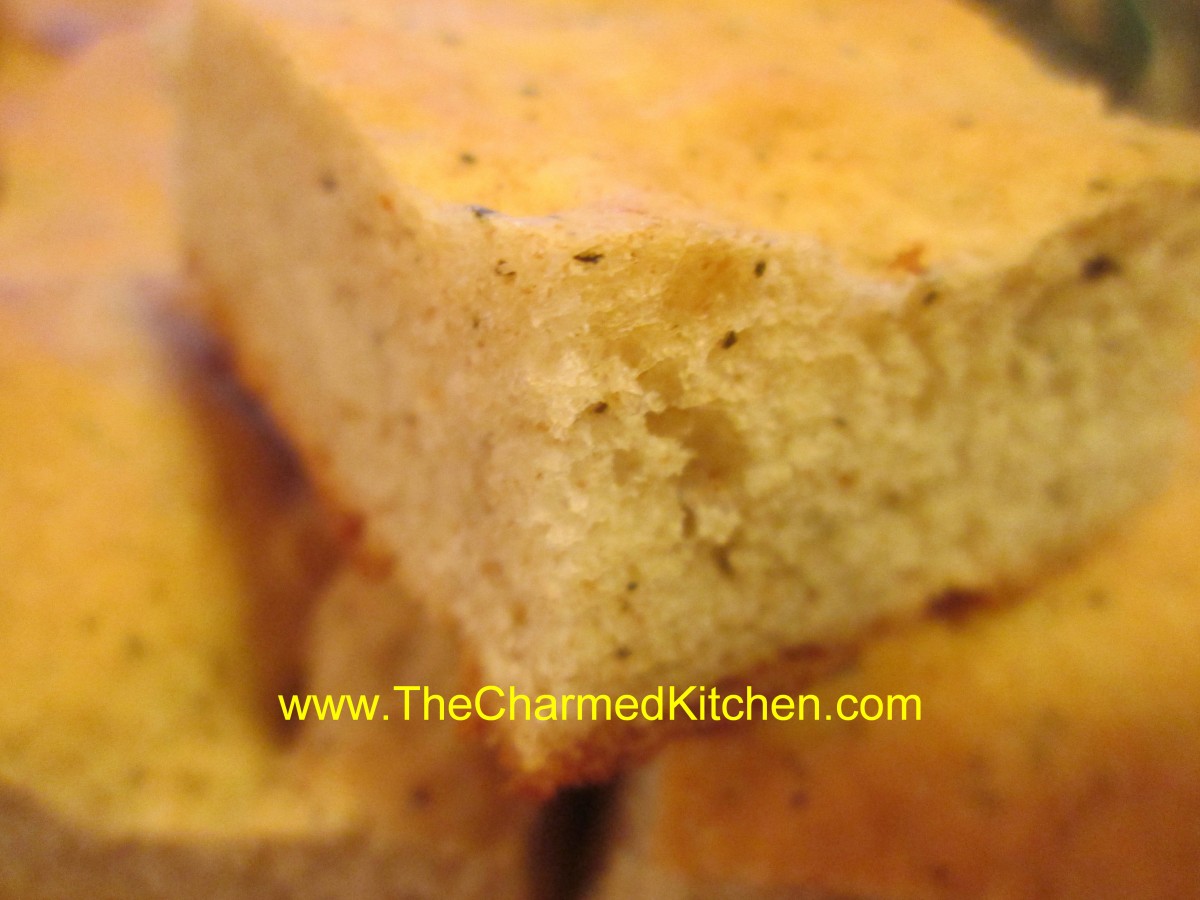
Focaccia is a tasty Italian flatbread that can be enjoyed as is, or can be topped with cheese, meats and vegetables, like pizza. I made this one with my own pizza seasoning blend of herbs but you can play around with other flavors.
Herbed Focaccia
4-4 1/2 c. flour
1 packet quick-rising yeast
1 T. sugar
1 t. salt
1 3/4 c. hot water
2 T. olive oil
1½ T. Pizza Seasoning*
2 cloves garlic, minced
1/3 c. minced shallots
In a medium bowl combine 2 cups of the flour, yeast, sugar and salt. Add hot water and stir until a smooth batter forms. Stir in the remaining ingredients and enough flour to form a sticky, soft dough. Place dough in a greased bowl, cover with a towel and allow to rise for about 30 minutes. Dough should double. Punch dough down and place on work surface. Cover with the bowl and allow to rest 10 minutes. Grease a jellyroll pan. With oiled fingers press dough into the pan. Dough will have imprints from your fingers. Cover and let rest 10 minutes. Bake in a preheated 400-degree oven for 25-30 minutes. Allow to cool slightly before cutting. Makes 1 loaf.
Pizza Seasoning
3 T. basil
2 T. oregano
1 T. fennel seeds
1 T. crushed red pepper flakes
1 T. dried minced onion
Combine all ingredients and store in a cool, dry place. Use to flavor sauces, breads and more.
1 t. minced garlic
Strawberry Won Tons

Strawberry Won Tons
Still playing around with these won ton wrappers. I wanted a dessert recipe and decided a spin on strawberry pie might be fun. I started with a pound of strawberries. I used about a cup of sliced berries to make the glaze. Just placed the berries in a small saucepan with about 1/2 cup of water and brought to a boil. Simmered for 10 minutes or so- until the berries lost color and the liquid turned a pretty red color. I strained out the liquid and discarded the berries. I put the berry liquid back on the stove, sweetened with sugar to taste- about 1/4 cup, maybe a bit more. I also made a slurry of water and tapioca starch to thicken it. I could have used corn starch but tapioca starch holds up better to reheating. I used about a tablespoon of tapioca starch and a couple of tablespoons of cold water and poured this into the simmering strawberry liquid until it got to the thickness I wanted. I removed the glaze from the stove and let it cool down. Once cooled I added about 2 cups of finely chopped strawberries. Now my filling was ready to go.
To make the little strawberry-wontons I just put a teaspoon of the filling in the middle of a wonton. I moistened the edges of the wrapper with water and folded it in half. I also folded some up like little eggs rolls. In small pan I heated the oil to 350 degrees. Less than half an inch of oil in the pan. Pan fried until crisp- about 30-60 seconds per side. Drained on paper towels and sprinkled with powdered sugar.
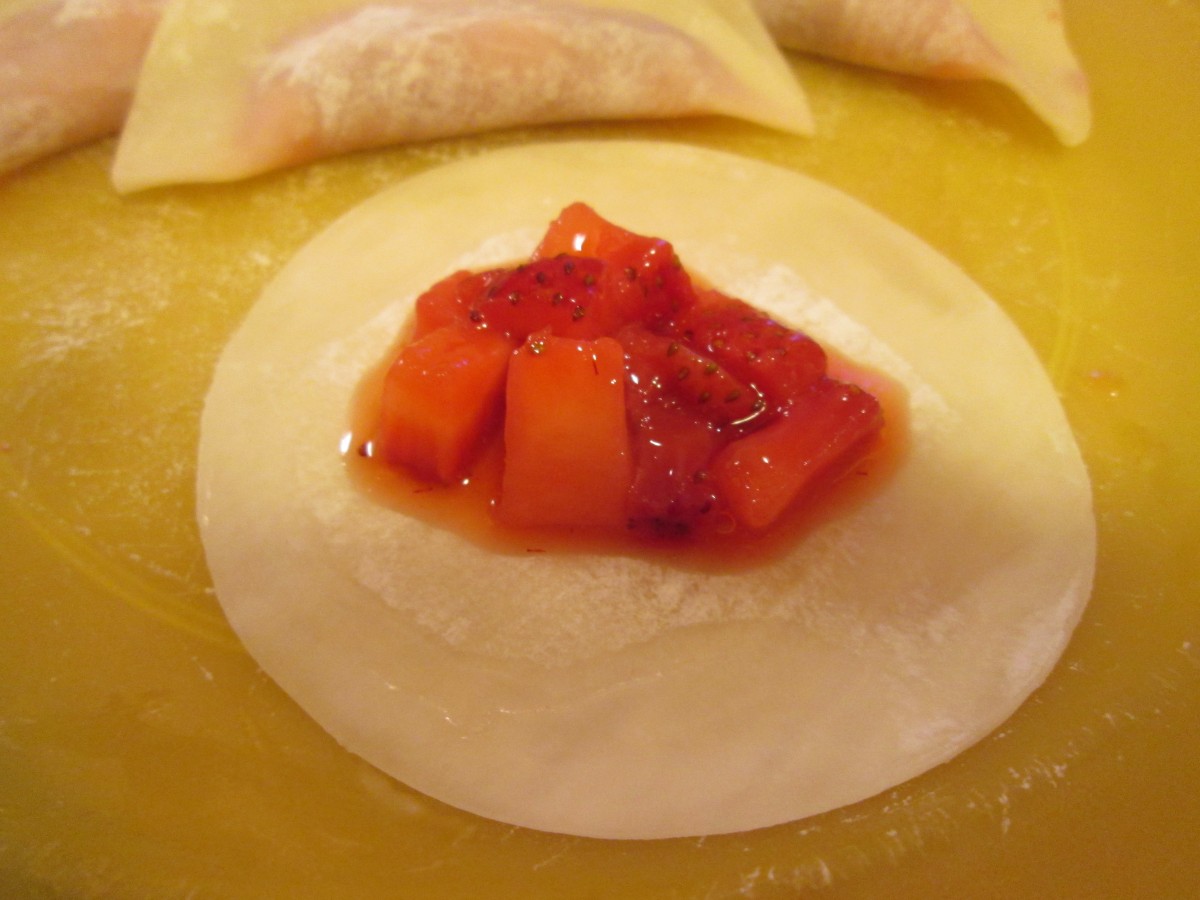
Spoon filling on center of won ton wrapper

Pan fry until crisp
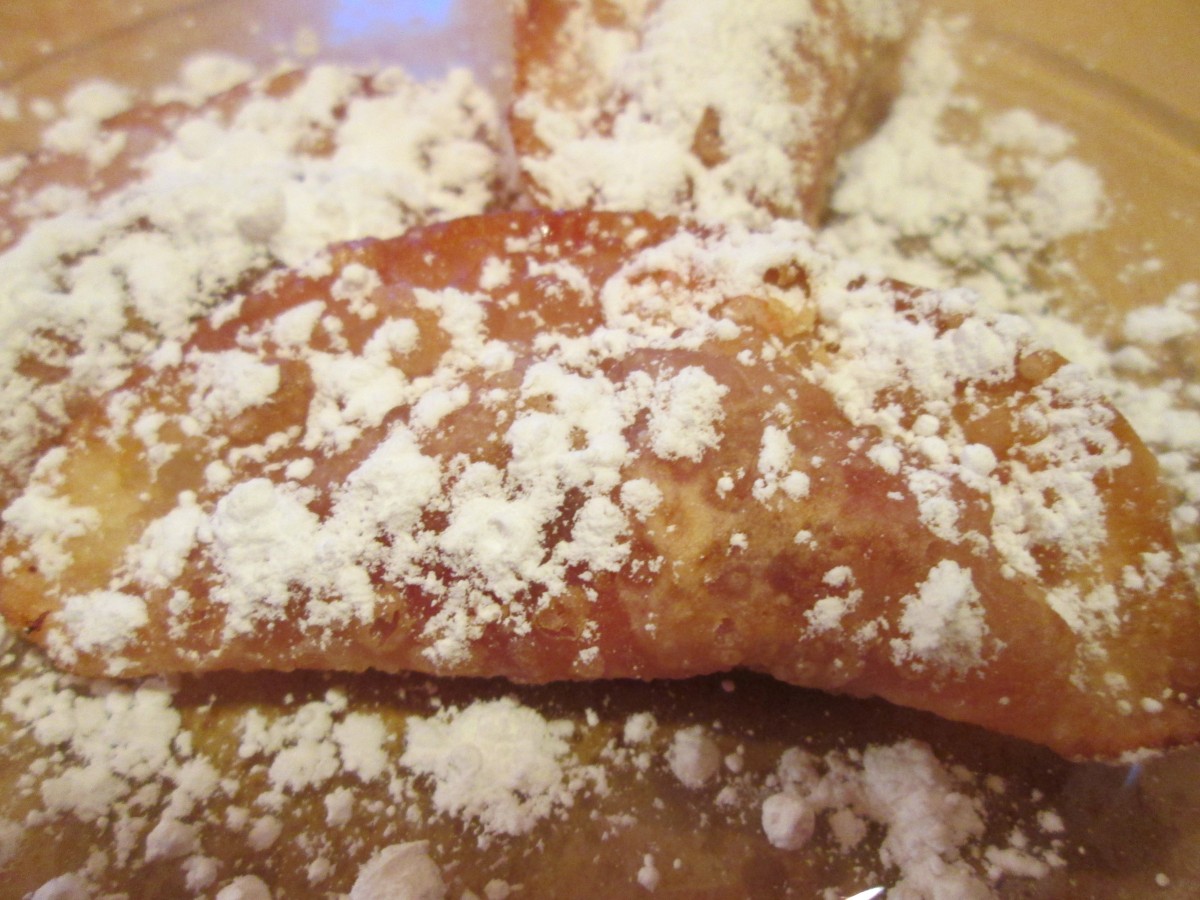
Cool a little then dust with powdered sugar
Pot Stickers
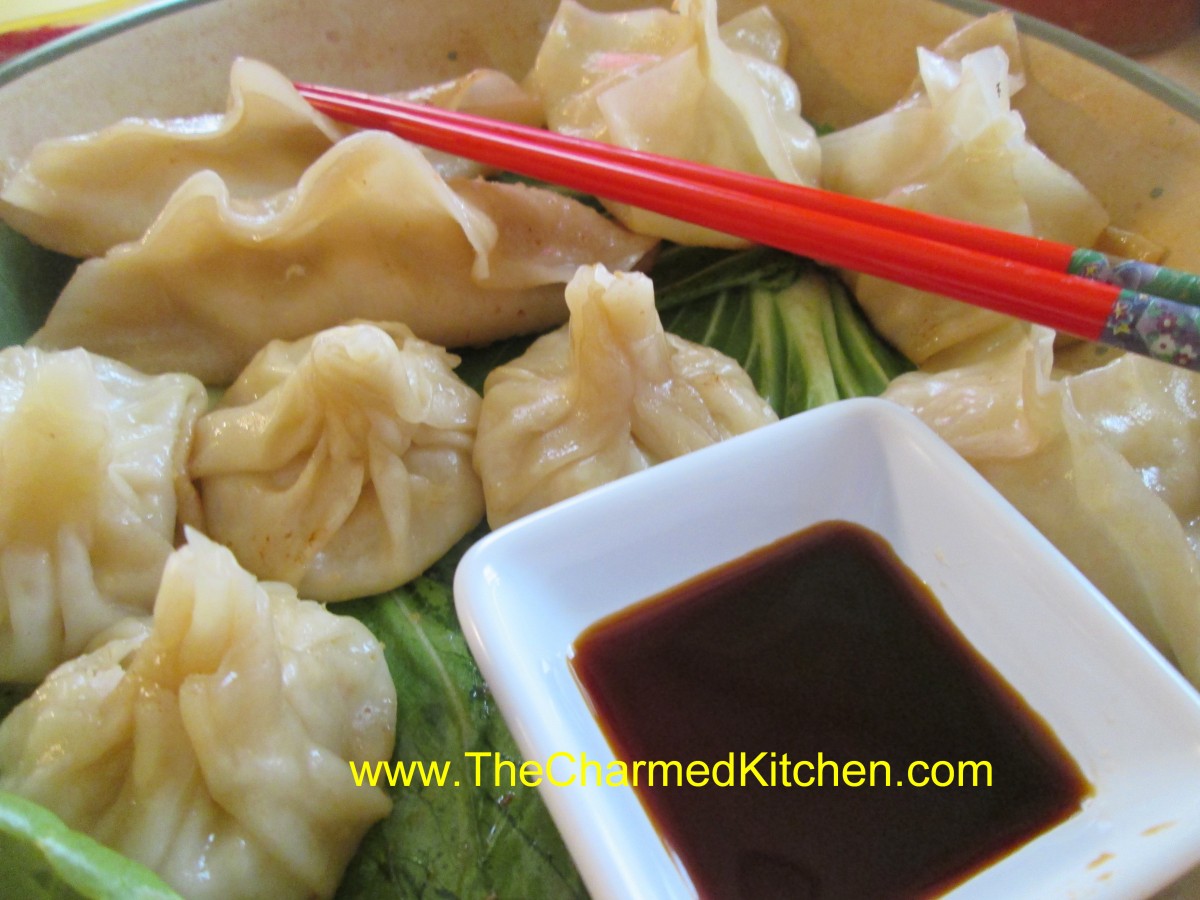
Pot Stickers
We went down to the Asian market recently. I always have so much fun there- and buy so much. Stocked up on won ton wrappers. OK, I had a class on cooking with wontons but I bought a LOT more wontons than we would need for class. I’ve been having fun playing around with them. I’ll be posting pictures and recipes. Some of these are recipes from class, some are new.
Pot Stickers are called that because when the steaming liquid evaporates and they start to brown on the bottom they tend to stick to the pot. Doing them in an un- seasoned pan that does not have a non-stick coating can result in the pot stickers leaving their bottoms behind them in the pan.
Feel free to play around with fillings. I could easily have left out the meat and added chopped, cooked mushrooms for a vegetarian version.
Traditional Pot Stickers
1/2 pound ground pork- I used ground chicken
1/2 medium head cabbage, finely chopped- I used Chinese cabbage, or nappa
1 green onion, finely chopped
2 slices fresh ginger root, finely chopped
2 water chestnuts, drained and finely chopped
1 teaspoon salt
1/2 teaspoon white sugar
1 teaspoon sesame oil
1 (14 ounce) package wonton wrappers
5 tablespoons vegetable oil
3/4 cup water- or stock
Dipping Sauce:
1 tablespoon chili oil
1 tablespoon soy sauce
1 teaspoon rice vinegar
Crumble pork into a large, deep skillet. Cook over medium high heat until evenly brown. Drain and set aside. In a medium bowl, mix together the pork, cabbage, green onion, ginger, water chestnuts, salt, sugar and sesame oil. Chill in the refrigerator 6 to 8 hours, or overnight. Place a tablespoon of the pork mixture into each of the wonton wrappers. Fold the wrappers, and seal the edges with a moistened fork. In a large, deep skillet, heat 3 tablespoons vegetable oil over medium high heat. Place the pot stickers into the oil seam sides up. Heat 30 seconds to a minute. Pour water into the skillet. Gently boil 7 to 8 minutes, until oil and water begins to sizzle, and then add remaining oil. When the bottoms begin to brown, remove pot stickers from heat. In a small serving bowl, mix together the chili oil, soy sauce, and vinegar, adjusting proportions to taste.
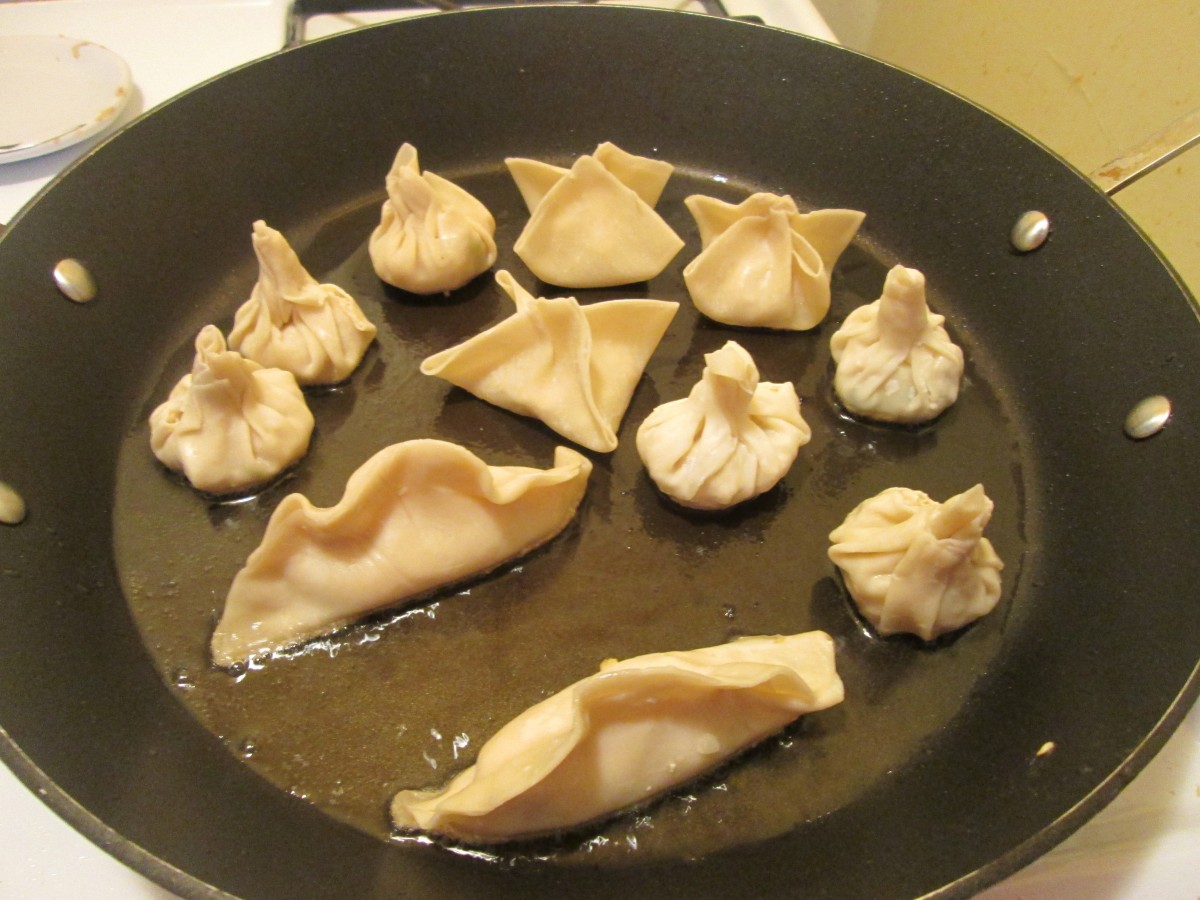
Start browning in a pan.
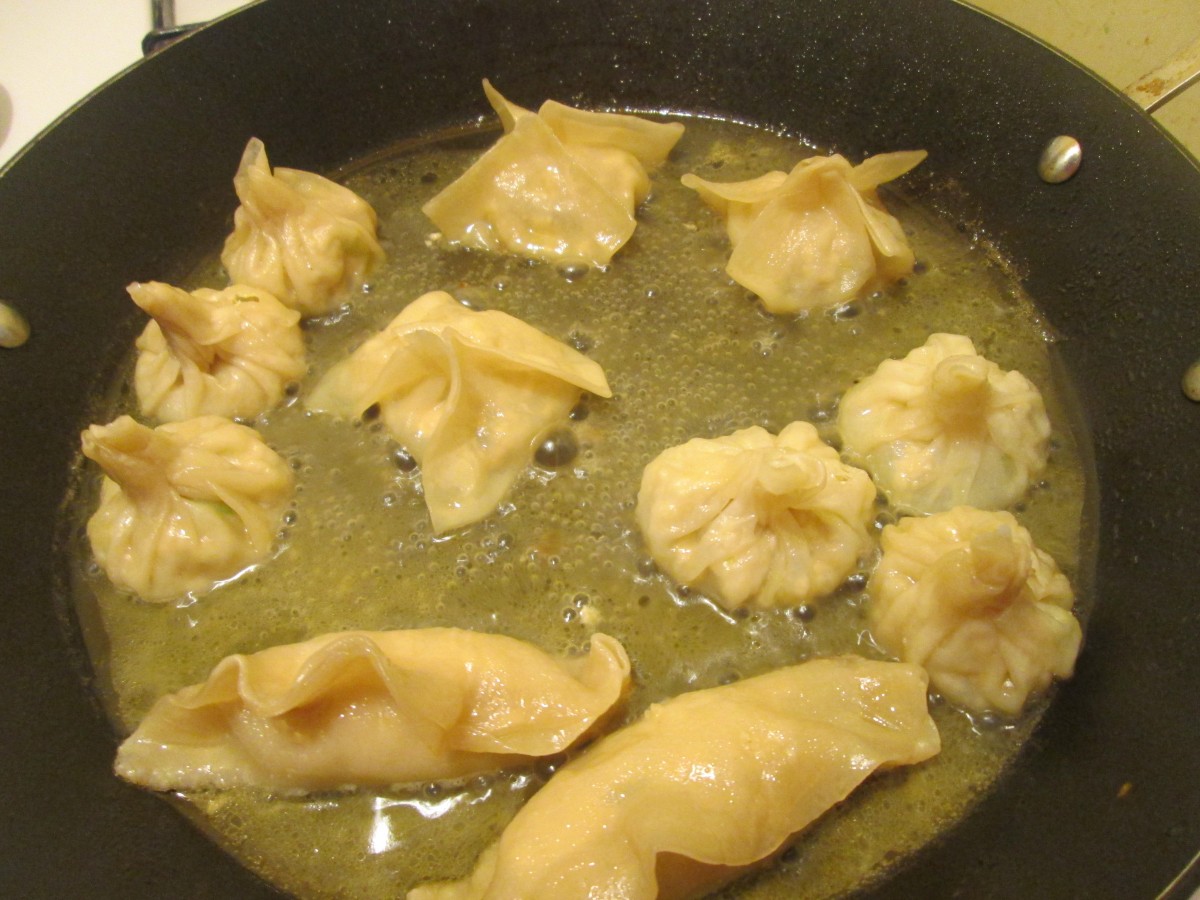
Steam in liquid
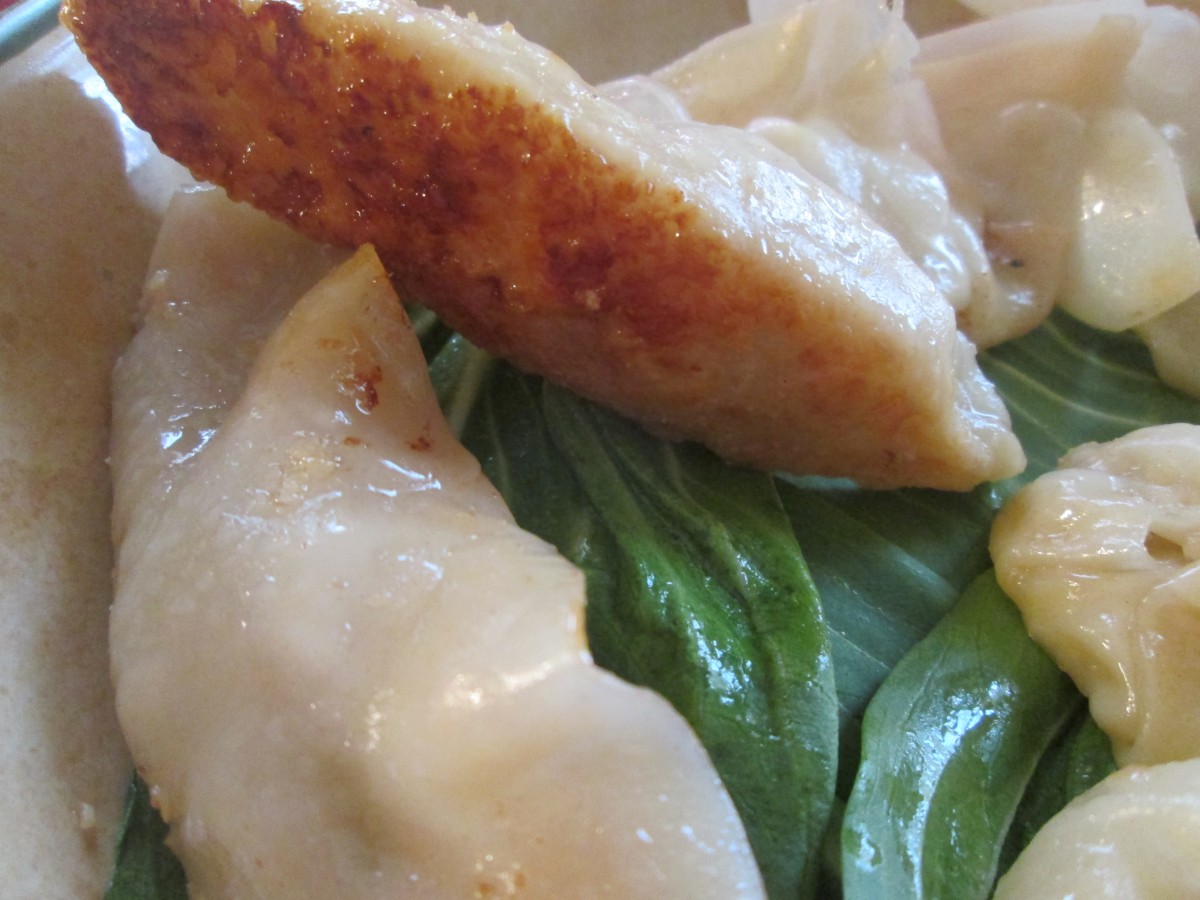
Pot stickers should be brown on the bottom
Herb Festival at Barrel Run Crossing Winery
I will be talking about cooking with herbs at Herb Day at Barrel Run Crossing Winery in Rootstown, Ohio this Saturday. It is looking to be a really fun event with herb plants for sale, wine for tasting, a concert in the evening and me. I will have a lot of foods for sampling. It is looking to be a very fun day. Hope to see you there. Click on the link below for details.
https://www.facebook.com/events/652639471450200/?ref=5
http://www.barrelrunwinery.com/
Canning Class
 I will be teaching a canning class at The Beachwood Middle School on Thursday, May 28th. You can register to take this class through SELREC, 216 382 4300. You can also register by calling Beachwood rec dept at 216 292 1970. The School is located on Richmond Road behind the library.
Canning 101: Canning, when done correctly, is a safe and relatively easy way to preserve food for later use. This class is all about learning the newest rules of canning. You will learn when to use a water bath and when a pressure canner is needed. We’ll discuss what foods are the easiest to can and even the foods that no one should can at home. We’ll also do some tasting in class of home canned foods. Food Fee: $8.00.
Scallops with Asparagus
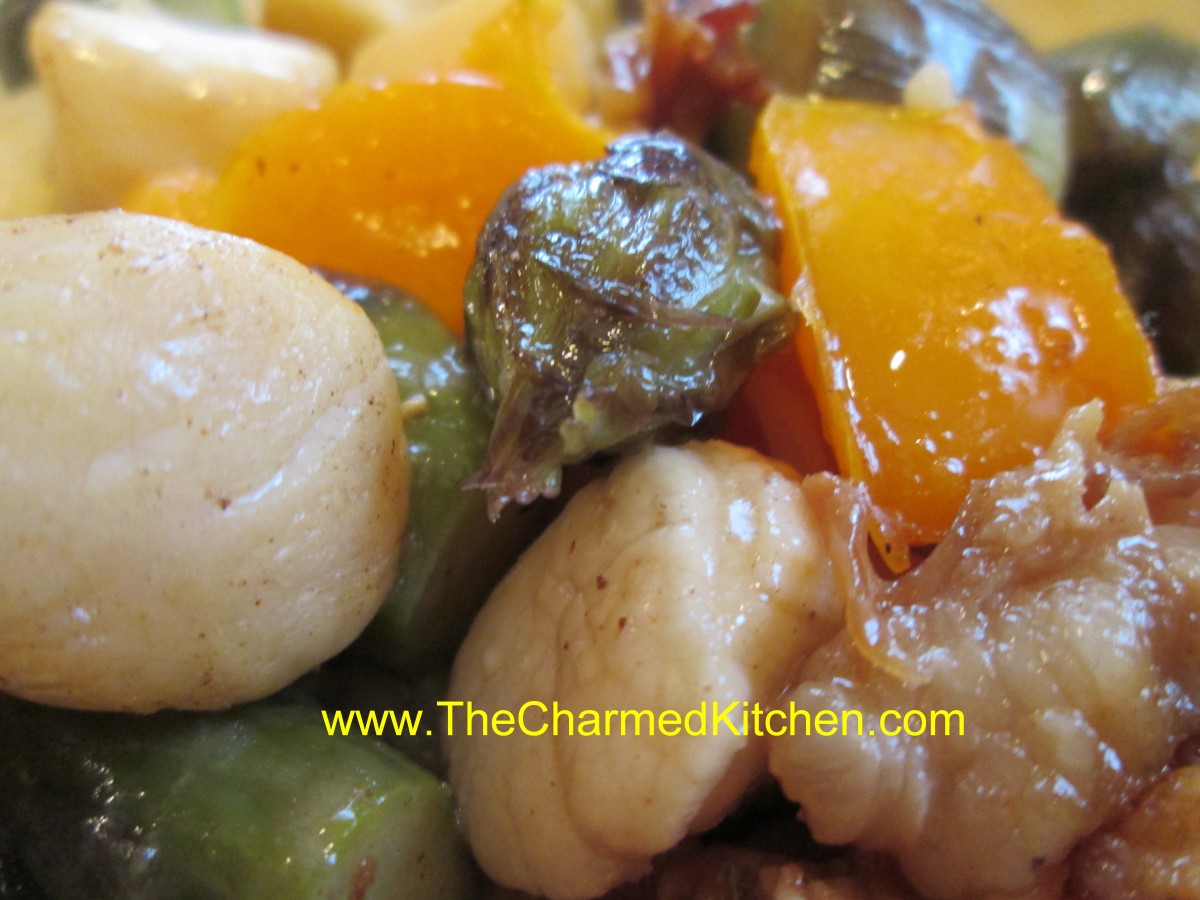
Scallops and Asparagus
I had some pretty purple asparagus and wanted to use it in a main dish instead of as a side dish. I also had some scallops and bacon. A few more ingredients and the dish was complete. I started by cooking a few thick slices of chopped bacon in a medium skillet. Once the bacon was cooked I spooned out some of the fat and added the asparagus and a chopped sweet pepper to the pan. I stir fried the veggies until just tender then pulled them out of the pan. I added the scallops to the pan and cooked over high heat for a couple of minutes. I put the asparagus mixture back in the pan and added a splash of sherry, some soy sauce and hot sauce. Served tossed with some pasta. This was a great combination.
Broccoli Rabe with Pasta and Pecans
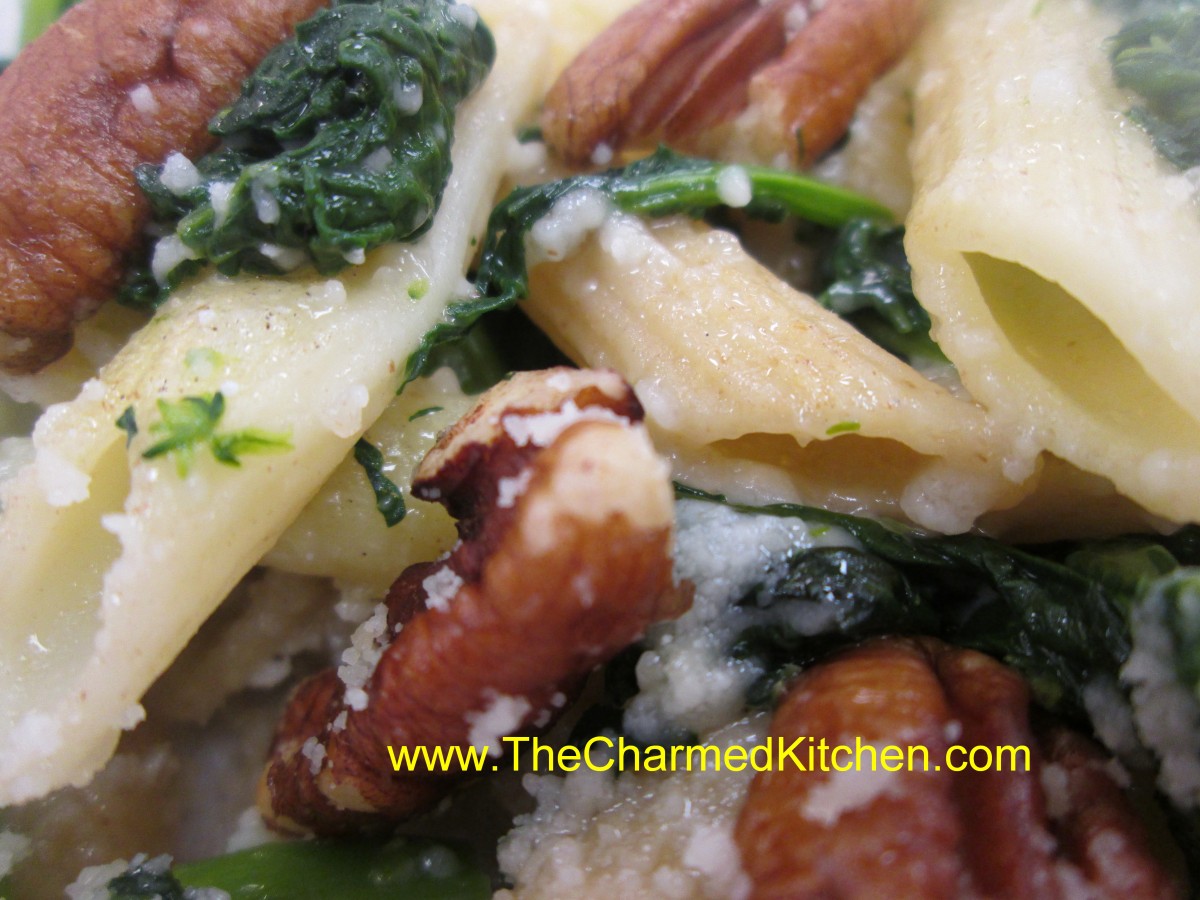
Broccoli Rabe with Pasta and Pecans
I am always surprised at how many people have never tried broccoli rabe- also known as rapini. This versatile vegetable consists of stems, leaves and small flowerets with a strong broccoli flavor. It is all edible and very tasty. I think perhaps the sometimes strong, even bitter flavor, might turn people away from trying it. I enjoy that bitterness, but if you don’t you can temper it by first blanching the broccoli rabe. That’s what I do with this dish. I also pair the broccoli rabe with pasta and some cheese which also mellows out the flavor.
Broccoli Rabe with Pasta and Pecans
1 bunch broccoli rabe (rapini), trimmed and cut into 1-inch pieces
1 (8 ounce) box uncooked pasta
½ c. pecans
3 tablespoons olive oil
2 large cloves garlic, sliced
salt and black pepper to taste
1/2 cup shredded Parmesan cheese
Fill a large pot with lightly salted water and bring to a rolling boil over high heat. Once the water is boiling, stir in the broccoli rabe, and cook until just tender, about 5 minutes. Remove with a slotted spoon, and set aside. Return the water to a boil, and stir in the pasta. Cook, uncovered, stirring occasionally, until the pasta has cooked through, but is still firm to the bite. Drain well in a colander set in the sink. While the pasta is cooking, cook and stir the pecans in a skillet over medium heat until fragrant, about 5 minutes. Set the nuts aside, add the olive oil, and reduce heat to low. Stir in the garlic, and cook until golden brown, about 3 minutes. Stir in the broccoli rabe, and cook 3 minutes to reheat. Season to taste with salt and black pepper, then stir in the drained pasta and walnuts. Toss with Parmesan cheese before serving. Serves 4.

Broccoli Rabe
Cherry Scones

Cherry Scones
I found myself with an open can of cherry pie filling. Those who know me know that I hate to waste anything. It sat there in the fridge for several days, taunting me. I wanted to do something different but I wasn’t sure what. In the end I decided to make cherry scones. I started with a basic scone recipe and adjusted some ingredients to allow for the moisture of the pie filling. I experiment a lot with this sort of thing and am usually pretty good at it. Most things come out just fine. Sometimes, however, things come out better than fine. This is one of those recipes. I almost want to call them cherry biscuits. Soft, not too sweet and full of flavor from both the cherries and a vanilla glaze. I will surely make these again. Here is what I did.
Cherry Scones
3 c. flour
1/4 c. sugar
1 T. baking powder
1 t. salt
1/2 c. cold butter
1 1/3 c. cherry pie filling
2 eggs
2 t. vanilla
Glaze:
2 c. powdered sugar
2 T. vanilla
water
Preheat oven to 400 degrees. Line 2 baking sheets with parchment paper or grease lightly. I have silicone baking mats so that is what I use. Set aside. In mixing bowl combine dry ingredients and cut in butter to resemble coarse crumbs. Combine pie filling with eggs and vanilla and stir to blend well. Add to dry ingredients and stir until mixed well. Mixture will be a stiff batter. Scoop 1/4 cup portions of batter onto the baking sheets- leaving a couple of inches between them. You will need both baking sheets. I used a 2 oz. ice cream scoop and got 22 scones. Bake for 15-17 minutes or until golden brown on the bottom. I switched my baking sheets about halfway through the baking. Remove to a cooling rack and make the glaze.
Combine the powdered sugar and vanilla in a small bowl and add enough water so the glaze is about the thickness of maple syrup, probably a couple of tablespoons. Dip the tops of each of the warm scones in the glaze and return to the cooling rack.


