Fresh Peach Sorbet

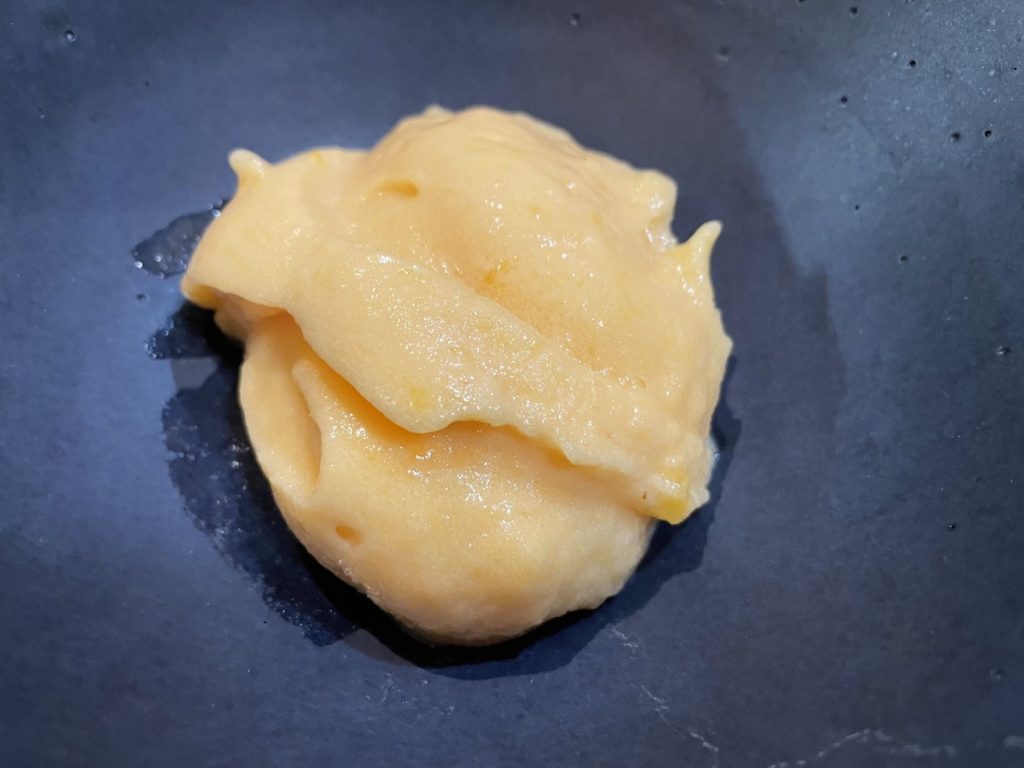
This is an easy and refreshing dessert. Perfect for summer. It has a thick, creamy texture and deep peach flavor. Even better- no cooking and no ice cream machine required. You will need a food processor, though. After I made the sorbet, I realized that I love it and don’t make it enough. I seem to freeze lots of strawberries and blueberries, but don’t freeze many peaches. That is changing. I will most definitely be freezing more peaches.
There are two steps to this recipe and you will need to allow freezing time. Actual prep time is pretty minimal. I have made this before and added vanilla of cinnamon. I didn’t this time, but feel free to play with flavors. Here is the recipe. Enjoy!!
Creamy Peach Sorbet
6 ripe peaces
2/3 c. sugar , or to taste – you can use honey or other sweeteners of your choice.
Peel peaches and remove the pits. You don’t need to remove every last bit of peel. Throw away the pits or plant them. Dice the peaches. Combine peaches with sugar and stir together. Freeze in shallow pan. Remove peaches from freezer and allow to soften enough to break into chunks. This should only take a couple of minutes. Place in processor and blend until very smooth. Serve immediately or return to freezer until ready to serve. Makes about 1 quart.
Note: When it works out perfectly, the peach sorbet looks sort of creamy. You might think there is dairy in it. Having the peach mixture as frozen as possible before putting in the processor is the secret. Only soften enough to break up, but don’t let the peach mixture get too melty. If you think your sorbet isn’t creamy enough, you can freeze it again, then process in the food processor a second time.
Strawberry (Pink) Lemonade


I love this “pink” lemonade. The lovely blush comes from strawberries, not artificial color. The strawberries add more than just color- they add their wonderful flavor as well.
This is a great drink for hot summer days. Heck, I think its a good drink anytime. You don’t have limit yourself to lemonade. I have also made a pink limeade, which is also very tasty.
The strawberry seeds will settle to the bottom of the pitcher- so be careful when pouring out the last bit of lemonade. No one wants a mouth full of seeds.
This lemonade can also be used as a base for cocktails.
Here is the recipe. I have also included some helpful information when buying strawberries.
Strawberry Lemonade
7 c. water
1¼ c. sugar
1¼ c. lemon juice
2-3 c. fresh strawberries, washed and stemmed
In a pitcher, combine water with sugar and lemon juice and stir until sugar dissolves. Place berries in blender and add about 2 cups of the lemonade. Process until strawberries are pureed. Add strawberry mixture to the remaining lemonade. Chill before serving. Serve over ice, garnishing with whole berries, if desired. Watch as seeds will accumulate on the bottom of the pitcher.
Shopping Tip
When berries are priced by weight or volume it is not always easy to decide which is the best price. If one store has quarts for $2 and another had berries for $2 per pound where would you get the better deal? Also, if a recipes calls for 4 cups sliced berries how many do you need to buy? Here are some approximate guidelines.
3/4 lb. = 1 full pint
1 1/2 lbs. = 1 full quart
1 1/2 lbs. = 4 cups sliced
1 lb. frozen = 1 1/3 c. whole berries
To help your berries last longer soak them in a water/vinegar solution for a few minutes as soon as you get them home. Then just drain and put in the fridge. This will keep them from getting mold as quickly. I use 1/2 cup of vinegar and 4 cups of water.
Tara’s Coconut Cracker Snacks


I was getting together with friends and wanted to bring one of my favorite snacks along. It was a special occasion. Throughout the pandemic, my friend Tara, has been having fire pit gatherings in her backyard. They have been a great way to see friends in a safe way. Because Tara is moving, this was the last fire pit at this house. We recently had a fire pit party at her new place and I made a batch to celebrate.
We made these in cooking class the other night. The class was all about recipes using 5 ingredients or less. As always, they were a big hit.
The base is saltine crackers topped with butter, brown sugar, coconut and cinnamon. They are ready in just a few minutes. Perfect when you are craving something sweet, but don’t have a lot of time. Not too sweet and just a little salty, too. You could use chopped nuts in place of the coconut if you prefer. They are super crunchy, too. Like a brittle, but with a cracker base. Great served alone, or with ice cream. Nice treat to take to picnics or road trips,
Store in a cool, dry place to keep them crunchy.
Tara’s Coconut Cracker Snacks
36 saltine crackers
1/3 c. butter
1/3 c. brown sugar
1 c. coconut
1 t. cinnamon
Cover a baking sheet with foil. Place the crackers, touching, side by side in a single layer. Melt butter in microwave, then add sugar and heat together 1 minute on high. Stir butter and sugar mixture together until smooth and drizzle this over the crackers. Combine coconut and cinnamon and then sprinkle the coconut over the crackers. Bake in a 350 degree oven for 8-10 minutes, or until coconut is toasted. Cool on baking sheet on a cooling rack. Crackers will easily break apart from each other. Makes 36.
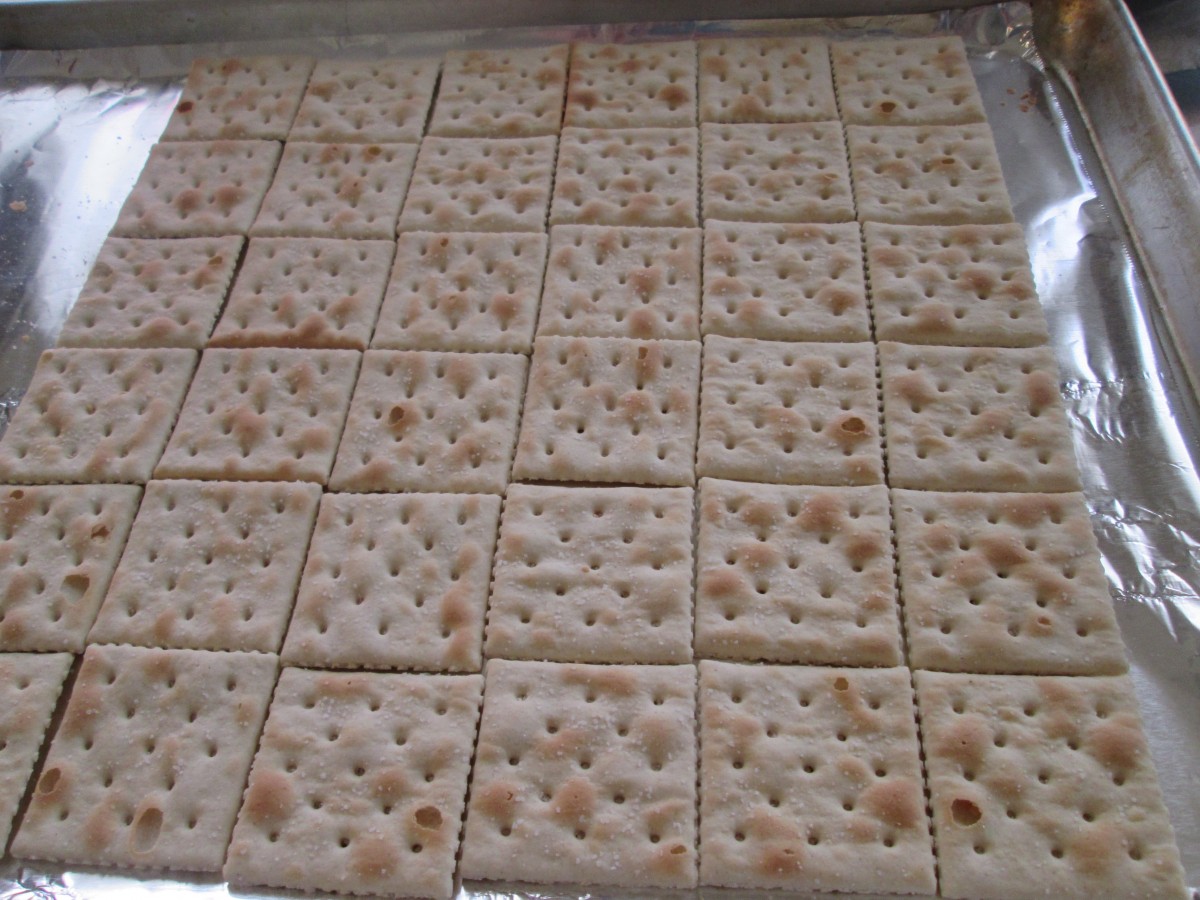
Arrange crackers on a baking sheet
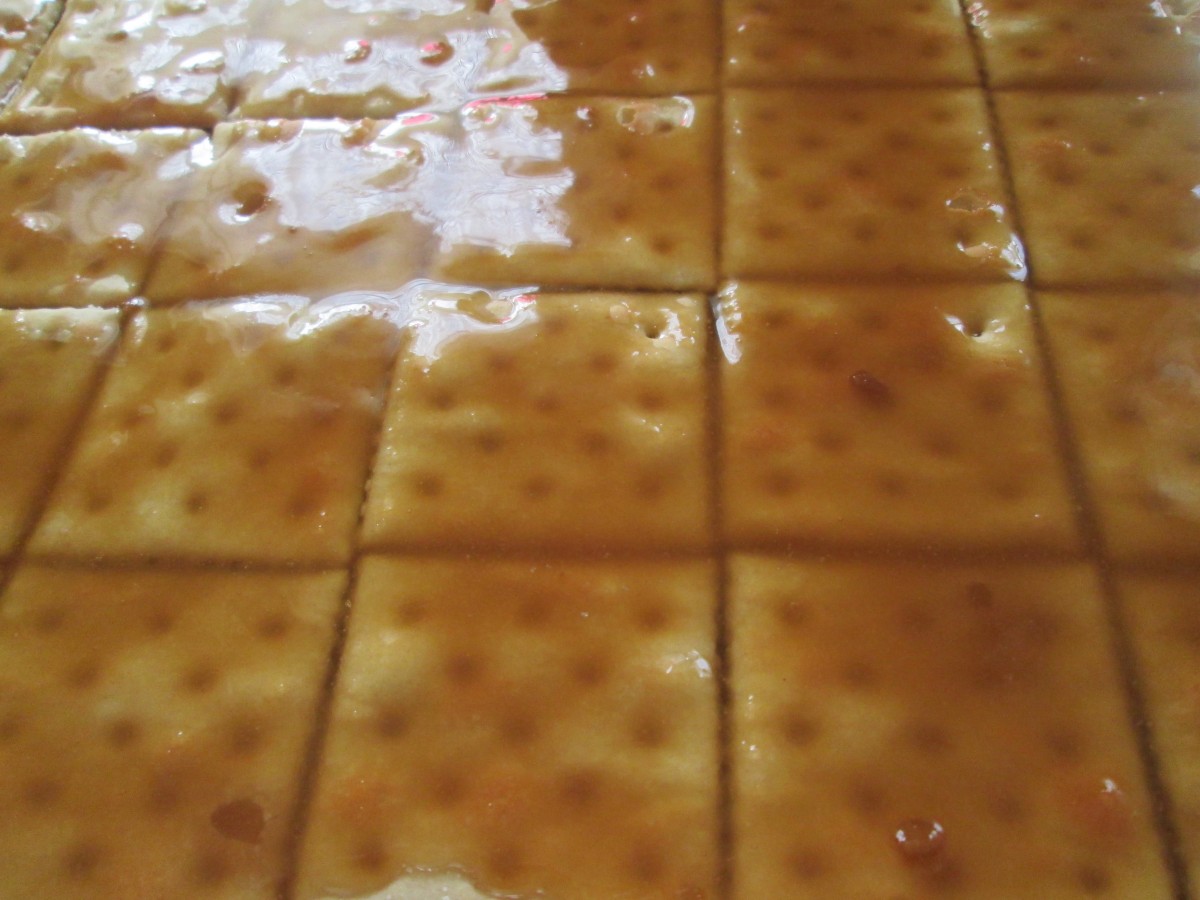
Drizzle crackers with the butter/brown sugar mixture
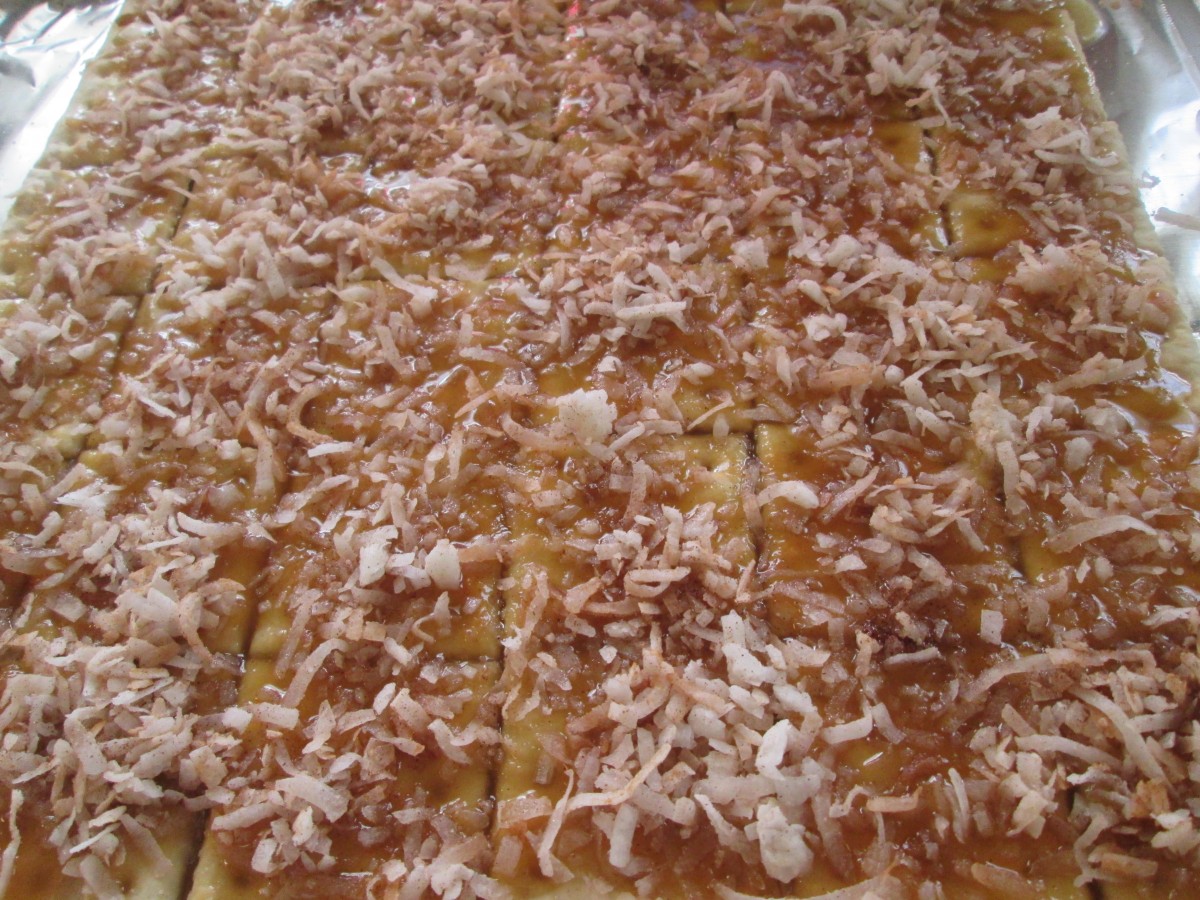
Sprinkle on the coconut and bake until coconut is toasted
Cherry Bombs

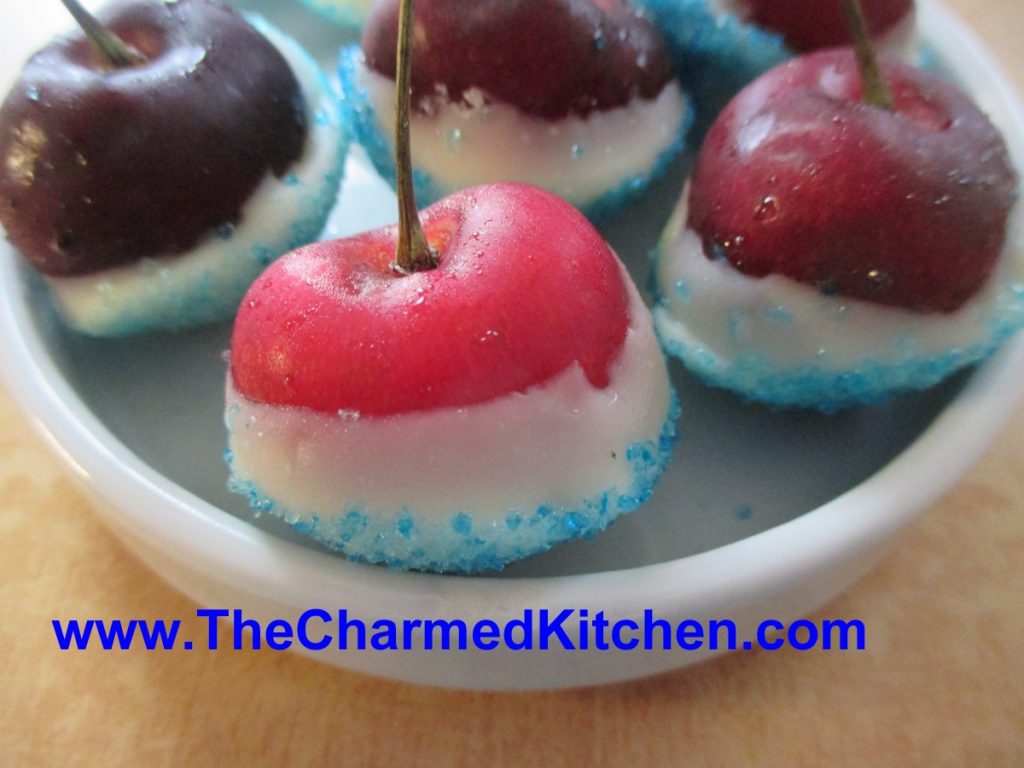
These little treats make a great addition to your 4th of July party. They are simple to make, with only three ingredients. You can make them in no time at all. It is a fun treat for kids to make, too.
Think of the cherry bombs as a type of candy. A simple, sweet treat that can be served just as they are. They can also be used to top a cake or other dessert. You can even garnish a cocktail with them. I did the same thing with strawberries, but “strawberry bombs” did not have the same ring to it.
To make the cherry bombs, you will need cherries, white chocolate and blue sugar. If you don’t have blue sugar, you can put granulated sugar in a bag, add a few drops of blue food coloring, seal the bag and shake it up. The sugar will turn blue. You could also use blue sprinkles.
Wash and dry off some large, sweet cherries. Melt white chocolate, stirring until smooth. Dip the cherries in the white chocolate, then the blue sugar. Place on wax paper to firm up. Store in fridge.
Firecracker Chicken


Sometimes the best recipes happen when you don’t have time to plan. This is one of those recipes. Even better because it only uses 4 ingredients. Fun for the 4th of July, too.
I needed an appetizer, but didn’t have extra time for prep. I also did not have time to go to the store, so I used what I had on hand. I had some boneless chicken breasts. I could also have used boneless thighs or even chicken wings. I used what I had.
I cut them into strips and poured a bunch of hot sauce over them. Put them in the fridge to marinade overnight. The next day I just tossed the chicken strips in breadcrumbs and fried them in a little oil. Served with extra hot sauce on the side, they were a big hit.
Firecracker Chicken
2 lbs. boneless chicken, I used breasts, but thighs would be good, or wings
3/4 c. hot sauce, plus extra when serving
2 c. bread crumbs
2 c. oil, for pan frying
Cut chicken into strips and place in a bowl. Pour over the hot sauce and stir to coat evenly. Cover and chill overnight, or even for a couple of days. Place bread crumbs in a plastic bag. Place a small handful of chicken in the bag and shake to coat. Place on a plate and continue with the rest of the chicken. Heat oil in skillet to 350- 375 degrees. Fry chicken in several batches- you don’t want to crowd them in the skillet- that will make the oil cool down too much. Fry for a minute or two per side. Remove to platter lined with paper towels and cook the rest of the chicken. Keep chicken warm until ready to serve. Serve with extra hot sauce on the side. Serves 8 or more as an appetizer, but can be served as a main dish, too.
Mom’s Breaded Chicken


With picnic season here, I thought I would share this recipe again. It always brings back great memories of childhood picnics/cookouts with my family. I love this recipe and I hope you do, too.
I looked forward to the big family picnics we had when I was a kid. My Dad and I would go early in the morning to pick out our favorite location, and get tables arranged. Then he would start a fire in the grill and make us bacon and eggs in the cast iron skillet.
Everyone started arriving soon after that. Well, not everyone. My Mom, and one of my aunts, would always come a little later. That is because they were finishing up the breaded chicken that was always a part of these picnics. She wanted it to be served nice and warm.
It would have been breaded the day before. My mom felt that when you breaded the chicken ahead of time, it seemed to help the breading to stick better. I do it the same way today.
This isn’t fried chicken. The breaded chicken is lightly browned in a skillet, then finished off in the oven. It is crispy on the outside and nice and juicy inside. It is also a lovely memory for me of time spent with family. Here are the directions for how she made it.
Mom’s Breaded Chicken
Chicken pieces, I often use a whole bird, cut into pieces, or just thighs and drumsticks.
salt and pepper to taste
flour
Parsley
Paprika
Garlic powder
eggs
Milk
Bread crumbs
oil
Pat chicken pieces dry. Season with salt and pepper. In a bag, combine flour- about ½ c. per 8 pieces of chicken should be about right. Season flour with a little salt and pepper. In bowl combine milk and eggs with the rest of the seasonings, including more salt and pepper. I use 1 egg with enough milk to make a thin batter for every 4-5 pieces of chicken. Keep in mind that the size of the pieces matters. Wings will need less batter than legs or breasts. Place bread crumbs in a shallow dish or in a plastic bag. Place a few pieces of chicken in bag with the flour and shake to coat, dipping off the excess. Then dip chicken pieces (1-2 at a time) in egg mixture, turning to moisten completely. Then place chicken in crumbs and turn or shake to coat evenly. Repeat with remaining chicken until all of it is breaded.
At this time you can cover and refrigerate the chicken for several hours or overnight if desired. You can also go ahead and cook it right away. Mom suggests you bread the chicken the night before so it will stick better, but hey, you’re an adult, do what you want.
To cook the chicken, heat ½- inch of oil in a heavy skillet and preheat the oven to 400 degrees. Foil a roasting pan and then place a rack inside. Once the oil is hot, brown the chicken pieces several at a time, turning to brown evenly. Place the browned chicken on the rack in the baking dish and continue to brown remaining chicken. Place chicken in oven and bake until chicken is cooked and juices run clear when chicken is poked. Cooking time will vary depending on the size of the pieces, how much you browned them and how many you are cramming in one pan. Baking time will be about 45 minutes. Check a large piece of chicken, near the middle of the pan to be sure.
This is a real summer favorite and the baking on the rack helps fat to drip off, giving you fried chicken flavor with fewer calories. This chicken can be served hot, warm or cold.
Peach Preserves with Cinnamon

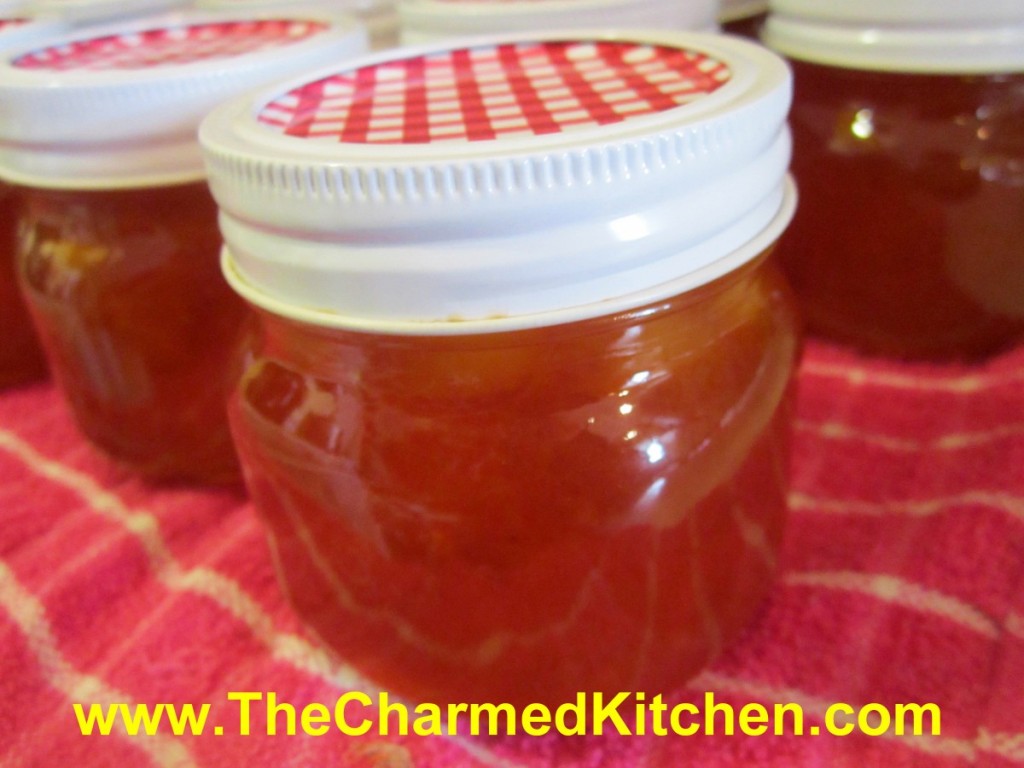
After getting some peaches from a local market, I decided to make preserves with some of them. The peaches were so juicy and perfectly ripe. They smelled amazing. I knew I would not be able to eat them all. I used a basic preserve recipe, but added cinnamon for added flavor. I also used pectin in this batch.
You can make peach preserves without added pectin, but because these were so ripe, I knew they would set better with the pectin. There is less pectin in very ripe fruit. The end result was just what I was going for. Pieces of peach, suspended in a soft gel, lightly flavored with the cinnamon. I may have to make another batch.
Peach Preserves – with cinnamon
4 c. sliced peaches, about 2-3 lbs. of fresh
6 T. pectin
2 T. lemon juice
3-4 (4-inch) cinnamon sticks
7 c. sugar
Note: Before starting the preserves have your canning supplies ready including clean jars, lids, rings, water bath canner, funnel and ladle.
Prepare peaches by scalding in boiling water for a minute. Place in cold water, then slip off the skins. Cut in half and remove the pits and any fibrous parts near the pits. Slice peaches and place peaches and any juices in a large pot. Add the pectin, juice and cinnamon sticks and bring to a boil, stirring often. Add the sugar and cook over high heat, stirring often, until mixture comes to a boil that you can’t stir down. Stir constantly for 1 full minute.
Remove from heat and remove the cinnamon sticks. Skim off any foam, if needed. Ladle hot preserves into clean, hot jars, filling to ¼-inch from the top. Wipe rims and screw on lids until comfortably tight. Repeat until the jars are filled. Place jars in water bath canner filled with boiling water. Water must cover the jars by at least an inch or two. Cover pot. Once water returns to the boil, start timing. Process for 10 minutes, turn off heat and leave jars in pot for 5 minutes longer. Remove jars to counter with a towel on it, or a cooling rack. Keep out of drafts. Allow jars to cool, check seals. Makes about 9 half pint jars.
Adapted from Ball Blue Book
Blueberry Cinnamon Scones


I was looking for something to serve at brunch with a friend. I had blueberries so I decided to make blueberry scones. I added some cinnamon to the dough- I love the flavor of blueberry with cinnamon. Really was the right move. They are so good. Tender and just sweet enough. They are great served with butter and jam or you can use them as the base for shortcakes. Filled with strawberries and topped with whipped cream, they would be a fun shortcake for the 4th of July. These would be a nice addition for a Sunday brunch.
Blueberry Cinnamon Scones
2 c. flour
3 T. sugar
1 T. baking powder
2 t. cinnamon
¾ t. salt
6 T. chilled butter
1 ½ c. blueberries, fresh or frozen- do not thaw berries
1 t. lemon or orange zest
2 large eggs
1/3 c. heavy cream
Mix dry ingredients together in bowl and cut in butter to resemble coarse crumbs. Toss in blueberries and zest. Beat together eggs and cream and stir into flour mixture. Mix very gently to avoid bruising berries. Use a small ice cream scoop to scoop out batter and place on baking sheet. Place scoops about an inch apart. Press down slightly. Brush with a little cream and sprinkle with a little extra sugar. Bake in a preheated 400-degree oven for 20-22 minutes. Makes 15-18.
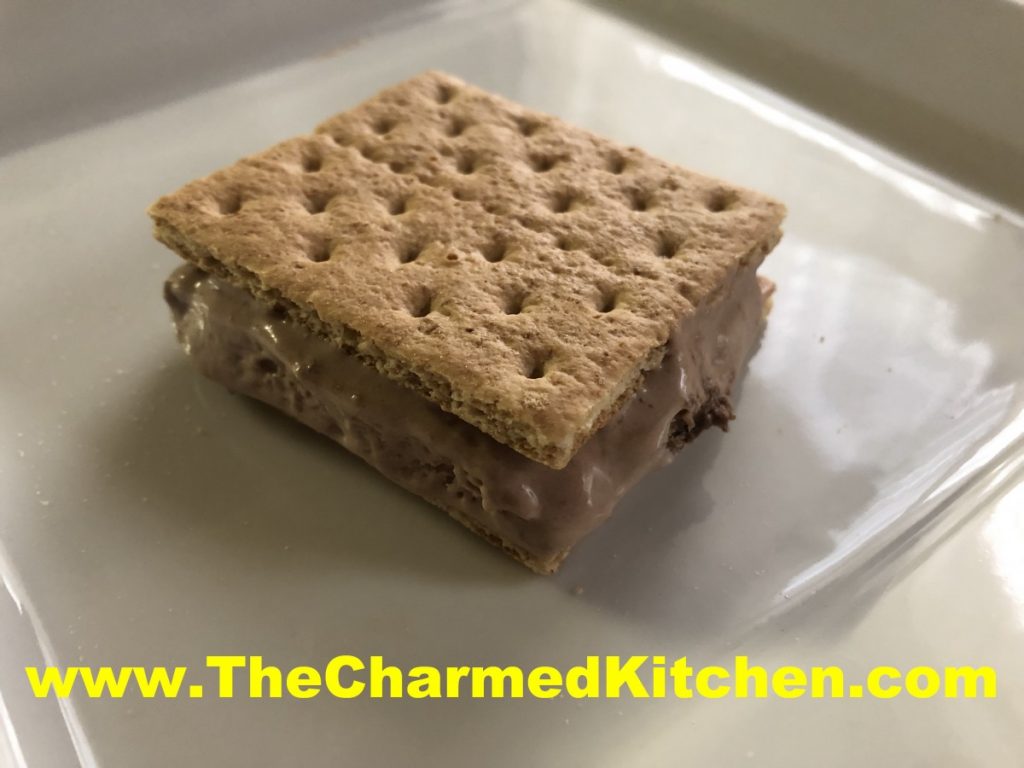
S’Mores Ice Cream Sandwiches

Summer is the time for picnics, campfires and S’mores. Summer is also the time of year to eat lots of ice cream and other frozen treats.
This dessert combines the ingredients of S’mores in a frozen treat. How fun is that?
They aren’t hard to make, but you need to allow time for ingredients to freeze. The mixture is frozen, then cut into squares and sandwiched between Graham crackers. They get returned to the freezer to harden up. It is a nice treat to have on hand.
We make these in cooking camp every year. The kids love them!!
So here is the recipe.
S’mores Ice Cream Sandwiches
1 (14 oz.) can sweetened condensed milk
2/3 c. chocolate syrup
1 c. coarsely crushed graham crackers
1 c. mini marshmallows
2 c. whipping cream, whipped
72 graham cracker square halves
In large mixing bowl combine sweetened condensed milk and syrup. Fold in crackers, marshmallows and whipping cream. Pour in foil lined 9×5-inch loaf pan and freeze until firm, about 6 hours, or longer. Remove from pan and peel off foil. Slice loaf in half lengthwise and then each half into 18 (½ inch) slices. Place one slice between two crackers and repeat with rest. Wrap and freeze until ready to eat. Makes 36. Note: You can slice the filling thicker. You’ll have fewer “sandwiches”, but they will have more filling. I usually get about 2 dozen.
Peachy Pork Chops


I found myself with some very ripe peaches. Since I was having pork chops for dinner I decided to use the peaches as a glaze for the pork. The combination was wonderful. The sauce added sweetness and some tang. I have some sauce left over. Thinking of using it on duck the next time.
Peachy Pork Chops
4 pork chops
Salt and pepper
Oil*
About 1 cup of the peach glaze- recipe follows
Season the pork chops with salt and pepper. Heat a little oil in a skillet and brown the chops on both sides over high heat. Add the peach sauce and turn the heat down to medium. Cook until chops are just cooked through and glaze has thickened a bit. Watch so glaze does not burn. Serves 4.
* I actually used bacon fat
Fresh Peach Glaze/Sauce
5 medium peaches, peeled, pitted and diced
1 small onion, peeled and chopped fine
½ c. cider vinegar
½ c. sugar
2 T. honey
2 T. lime juice
2 T. minced garlic
1 t. salt, or a little more to suit your taste
½ t. smoked paprika
½ t. red pepper flakes, or more for a spicier chutney
Combine all ingredients in a saucepan, and cook over medium heat until peaches are tender and onion is translucent, about 15 minutes. Stir occasionally to avoid burning. Cook over low heat, stirring occasionally until sauce thickens. It should cook down to about 2 cups. Adjust seasonings. Will keep in fridge a couple of weeks- can be frozen.


