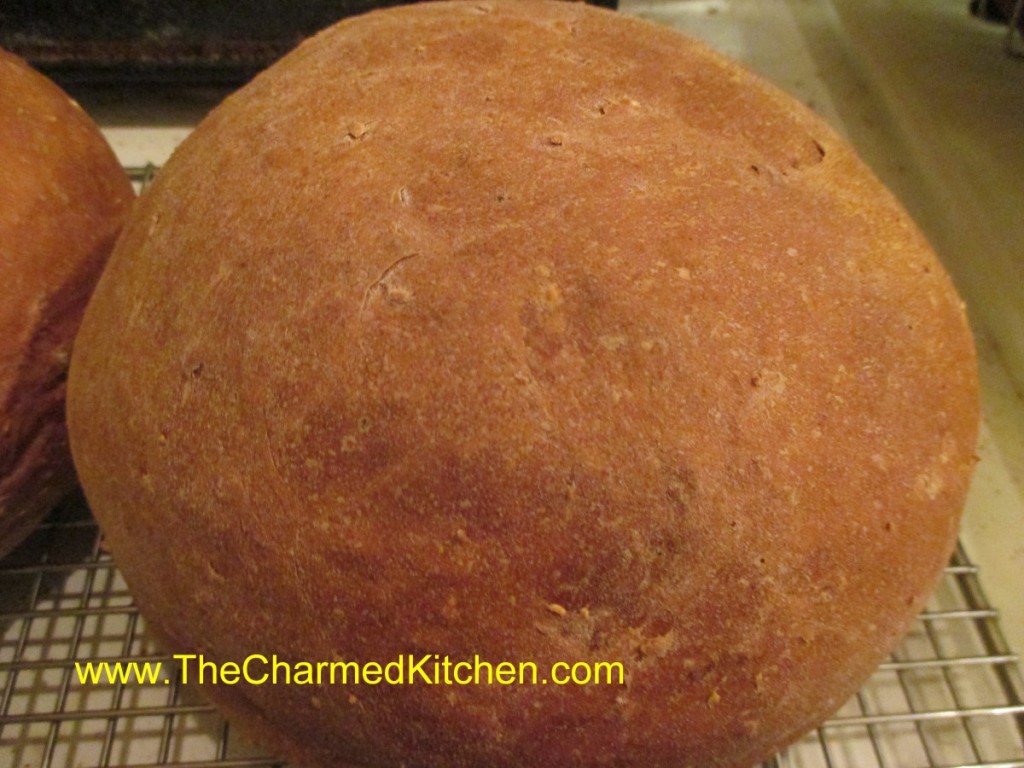
Rosemary Oatmeal Bread

There is something about the smell of baking bread that always makes me remember my childhood, and going to the movies. I know that sounds odd, but there is an explanation. When I was a kid, there was a neighborhood movie theater. It was close by and we would walk there to see movies. On the walk home, we passed a local bakery. Late at night they would be baking bread and other goodies for the next day. The air would be filled with the aroma of baking bread.
This oatmeal bread is one of my favorites. With the addition of rosemary and molasses, the bread has an earthy sweetness that I just love. It is versatile. You can make 2 round loaves, or bake it in loaf pans, or even make dinner rolls out of it.
Rosemary Oatmeal Bread
5-5 ½ c. flour
1 package active dry yeast
1 ½ t. salt
3T. fresh rosemary, chopped or 1 T. dried, crumbled
1 1/3 c. water
¼ c. milk
¼ c. molasses
¼ c. butter
1 egg
1 c. old fashioned oatmeal
In large bowl mix 1 cup of the flour with yeast and salt. In small pan, heat together next 5 ingredients until warm. Pour into bowl with flour mixture and beat 2 minutes. Stir in 1 cup additional flour and egg and beat 2 minutes longer. Stir in oatmeal and 1 cup more flour and stir, adding enough flour to form soft dough. Turn onto lightly floured surface and knead, adding flour as needed until dough is smooth and elastic. Place dough on a greased bowl, turning to grease top and cover, allowing to rise in warm place until doubled in bulk, about 1 hour.
Grease a large baking sheet and set aside. Punch dough down and divide in half. Shape each half into a ball and place on prepared sheet. Cover with towel and allow to rise until doubled, about 1 hour. Bake in a preheated 375 degree oven for 30 minutes or until done. Loaves are done when they sound hollow when tapped lightly. Makes 2 loaves.
This versatile dough can also be shaped into loaves and places in 8×4-inch greased loaf pans. Baking time will remain the same. Dough can also be divided into 24 equal pieces and shaped into dinner rolls. Bake rolls at 375 for 15 minutes.
The Science of Creamy Mac and Cheese

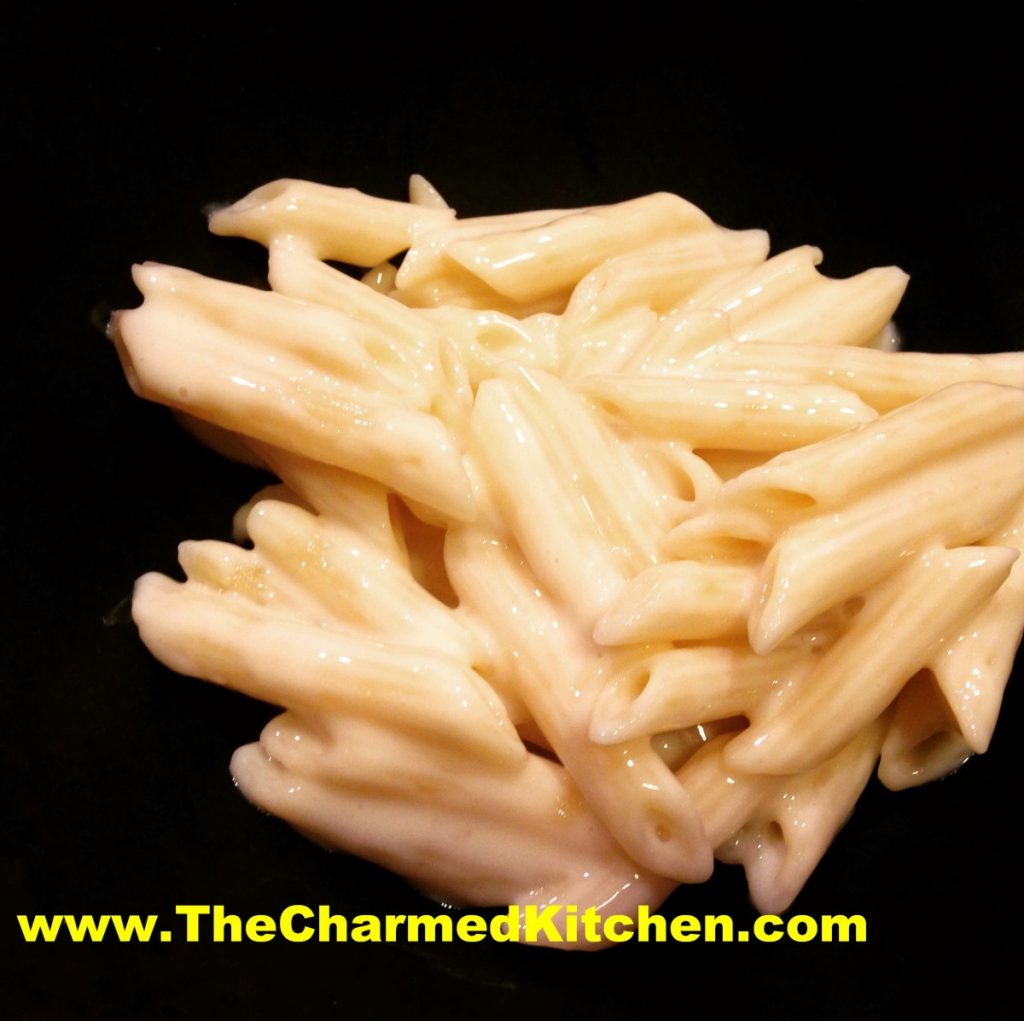
I knew about sodium citrate and its effects on cheese sauces. It took me a while to try it myself. The end result was the creamiest cheese sauce ever. Now I use it all the time when I want a really creamy cheese sauce. We made two versions of mac and cheese in a cooking class with kids. We made the traditional roux-based recipe and the less traditional sodium citrate version. The kids preferred the sodium citrate version by far.
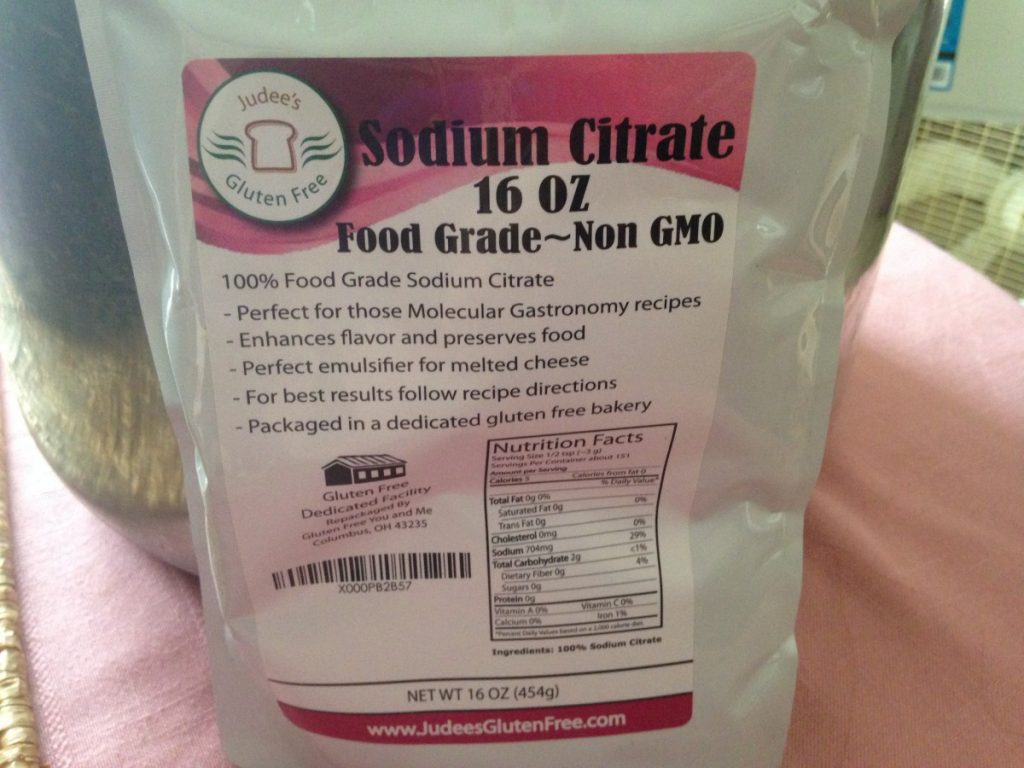
Sodium citrate is the natural salt of citric acid. It has a sour taste, and is used as a preservative and food additive. It is also used in sour candies.
For a lot of us, making a cheese sauce involves making a classic white sauce, or béchamel. Flour and butter are combined in a saucepan, then heated together until the butter melts and the mixture is smooth. Then you add milk, cream or half and half. Once the mixture thickens, you add the cheese and end up with a cheese sauce. Wonderful and classic, but some cheeses don’t melt that well. You end up with a tasty, but somewhat un-creamy end product.
There is a way to make the creamiest cheese sauce ever and it involves a little science. When you make a cheese sauce, the cheese will melt, but sometimes has a grainy texture. That is because of the way the proteins bond with calcium in the cheese. When you combine warmed liquid with a little sodium citrate, then add the cheese, the sodium substitutes for some of the calcium and the cheese breaks down better. The end result is a really creamy sauce.
The liquid you use can be water or milk. I like half and half. I found several recipes on line. I played around, and ended up with the recipe below. Some directions said you have to use an immersion blender to get a creamy result. I did that the first time and the sauce was very creamy. I used a whisk the next time. I found whisking worked just fine.
You want to be sure to use food grade sodium citrate.
Super Creamy Mac and Cheese
12 oz. dry pasta
2 T. butter
1¼ c. half and half – you can also use water, milk, broth
2½ t. sodium citrate
12 oz. finely shredded cheese- I used Gouda, but cheddar, Muenster or any cheese that melts well, will work
Salt and pepper to taste
Cook pasta according to package directions. Drain, place in bowl and toss with the butter. Set aside. Heat half and half in a saucepan, over medium heat. Stir in the sodium citrate and bring to a simmer. Add the cheese slowly, about ¼ cup at a time, whisking well until melted before adding more. Sauce will become thick and creamy. Once all the cheese has been added, stir in the prepared pasta, adjust seasonings and serve. If you like, you can place mac and cheese in a casserole, top with buttered bread crumbs and bake until bread crumbs are toasted, about 20 minutes at 350 degrees. Serves 4.
Dukkah – A Taste of Egypt

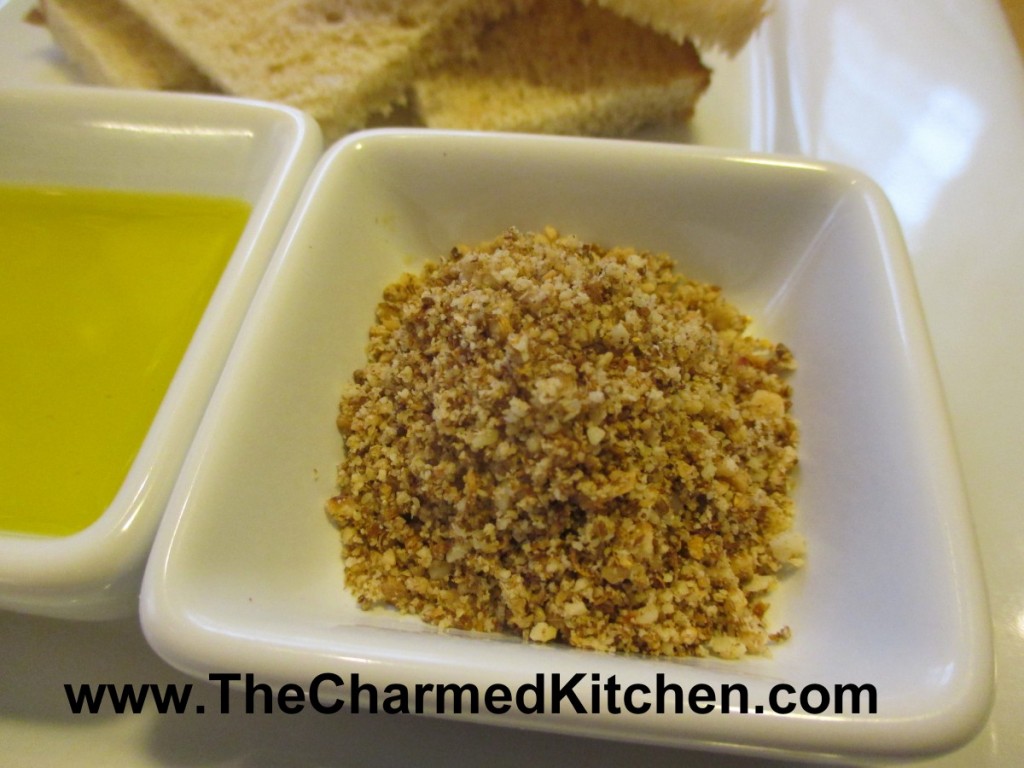
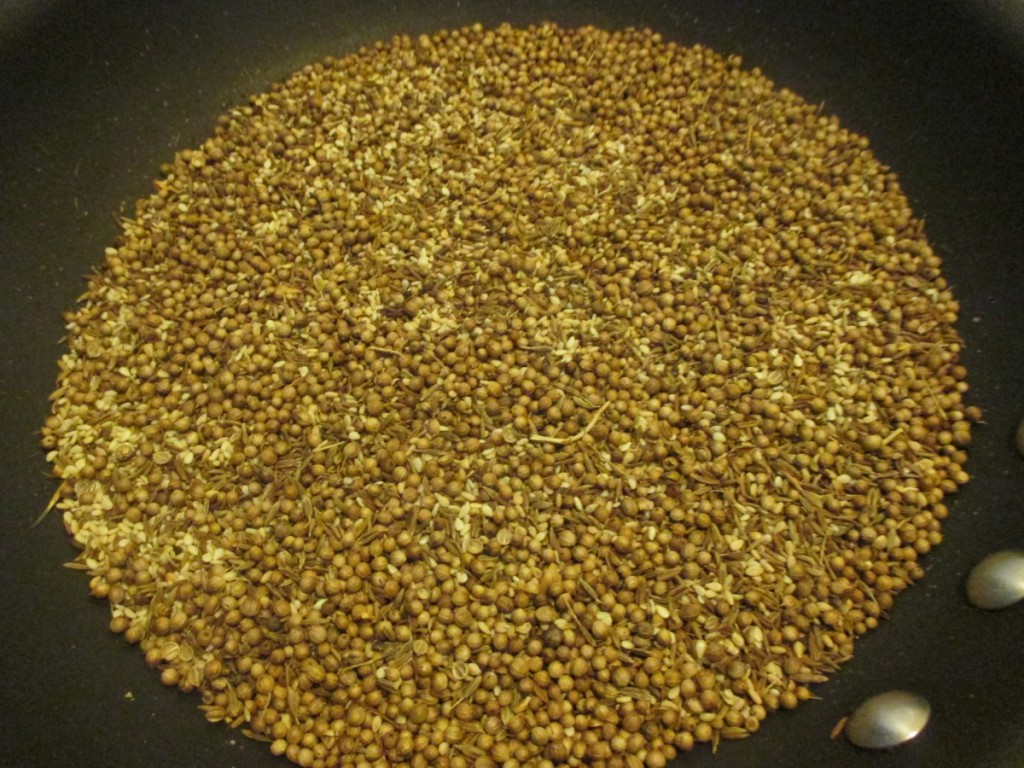
Dukkah is an Egyptian dish that is a mix of toasted nuts and spices. It has a wonderful fragrance and crunchy texture. A lot of the flavor comes from toasting the nuts and spices before grinding them up. Toasting really brings out the flavor of both the nuts and the other ingredients.
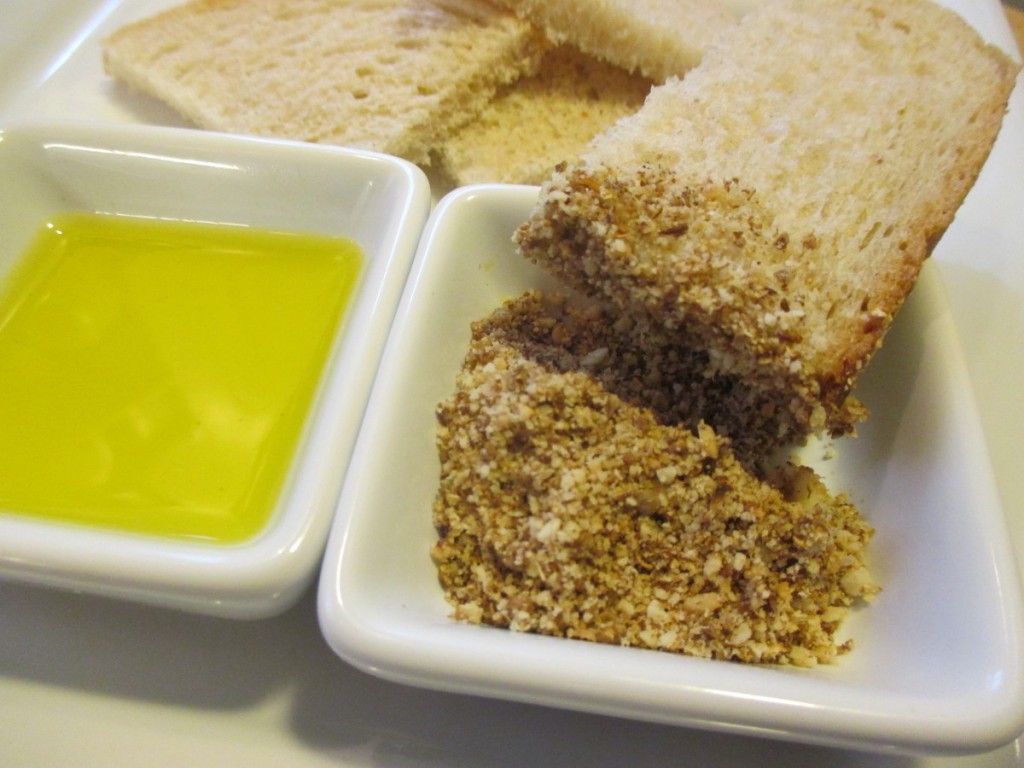
Dukkah is traditionally served with olive oil and bread. You put some dukkah in a little bowl, and put olive oil in another little bowl. Dip your bread in the oil and then in the dukkah. I like to sprinkle it on fish or chicken before baking. Dukkah is also good tossed with cooked veggies, or sprinkled on an omelet. So simple and so tasty.
Dukkah
¾ c. each whole, blanched almonds and hazelnuts
½ c. (scant) coriander seeds
¼ c. cumin seeds
6 T. sesame seeds
In 300-degree oven toast nuts for about 20 minutes or until golden. Bake cumin and coriander seeds, stirring occasionally, for about 10 minutes or until you can smell them. Toast sesame seeds for about 5 minutes. Cool all ingredients. If you prefer, you can toast the seeds in a skillet, over medium heat. Just place the coriander and cumin seeds in a skillet and heat, stirring often until they become fragrant, about 5 minutes. Add the sesame seeds and continue toasting until sesame seeds are golden brown, about 5 minutes longer. Be careful not to burn them. Grind sesame seeds and spices into a coarse powder. In processor, chop nuts fine and combine with spices. To serve dukkah: pour olive oil in a small bowl. Place crusty bread and dukkah on a plate. Dip bread in oil then in the dukkah. I also use dukkah sprinkled on chicken and fish. Store in fridge or freezer for extended freshness.
Apple Galette


If you like apple pie, you will like apple galette. A galette is made by rolling out your crust, adding filling and folding up the edges. No pie pan involved.
I actually find a galette easier to make than pie. You don’t have to try to roll out your dough to fit into the pie pan. Nor does you dough have to be rolled into a perfect circle.
That takes a lot of pressure off, if rolling a perfect circle of dough is not your best talent. I must confess to liking its rustic charm. I make my own crust, but you can used purchased crusts, if you prefer.
You can serve your galette with ice cream, whipped cream or dusted with powdered sugar. You can make it with other fruits, as well. Any fruit pie can become a galette.
Apple Galette
Flaky Pie Crust
2 c. flour
1 t. salt
3/4 c. butter, chilled
1 T. cider vinegar
4-5 T. cold water
Combine flour and salt and cut in butter. Toss in vinegar and water 1 tablespoon at a time until dough holds together. Use a fork to toss the ingredients together and as soon as the mixture holds together stop adding water. Makes 2. Chill well before using.
Filling:
5-6 medium apples- I used Jonathan, Gala and Macintosh
2/3 c. sugar- plus extra for sprinkling
3 T. cornstarch
1 T. cinnamon
1 T. Lemon juice, plus extra for treating the apples
1 t. nutmeg
1 t. vanilla
1/2 t. salt
Prepare dough. Roll half the dough into a 10-inch circle- repeat with remaining dough. Keep covered with plastic wrap until ready to use. Peel and core apples and slice thin. Place apples in water with lemon juice added to prevent browning. Drain apple slices well and place in a bowl. Toss with the sugar, cornstarch, lemon juice and seasonings. Place one of the crusts on a baking sheet. Pile half of the prepared apples on the center of the crust. You should have about a 2-inch circle of dough around the edges that is uncovered. Fold edges of the crust up over the apples pressing lightly to hold in place. Sprinkle with a little extra sugar. Repeat with the remaining crust and apples. You will have a little liquid in the bowl from the apple mixture- save that for now. Place the galettes in a preheated 425 degree oven and bake for 15 minutes. Turn down heat to 350 and bake for another 40 minutes or until crust is golden brown. While galettes are baking take the liquid left from the apples and cook in a small saucepan until thickened- it will take a minute or two. This will be used to glaze the galettes. When galettes come out of the oven brush the apples with the thickened glaze. Cool on wire rack. Makes 2.
Pear and Oatmeal Muffins


It is pear season. While apples seem to get more attention, pears are a wonderful, versatile fruit.
Pears will ripen off the tree and are often picked unripe and allowed to ripen after harvest. Unlike a lot of other fruits, pears do not suffer from being picked before they are ripe. As they ripen, pears become very sweet.
I like to pick out both ripe and unripe pears at the local market. That way, I’ll have ripe pears over a longer period of time.
I had some ripe pears and wanted to do something with them. Since I had a friend coming for over breakfast, I thought muffins. It’s always nice to have an easy breakfast option on hand.
I started with a basic muffin recipe, and added some diced pears, cinnamon, orange zest, nutmeg and a cinnamon sugar topping, to make them special. And yes, you could substitute apples for the pears!!!
I was really happy with how they turned out. Not overly sweet, moist and tender. Here is the recipe.
Pear and Oatmeal Muffins
1 ½ c. flour
1 c. rolled oats
1 T. grated orange peel
2 t. baking powder
1 t. cinnamon
½ t. each nutmeg and salt
½ t. baking soda
1 egg, beaten
1/3 c. honey
1/3 c. oil
¼ c. orange juice
1½ cups of peeled, diced pears – 2 or 3 pears should do it
2 T. melted butter, optional
cinnamon sugar, optional
Combine flour with the dry ingredients. Set aside. Combine egg with the honey, oil and juice. Add egg mixture to flour mixture and stir until flour is just moistened. Fold in pears. Batter will be thick. Divide batter among 12 greased muffin cups. Bake in a preheated 375- degree oven for 20-25 minutes. While the muffins are warm, dip tops in melted butter and then dip in the cinnamon sugar, if you like. They are tasty, with or without the cinnamon sugar topping, but I like to add this last step. Makes 12.
Apple Cider Sorbet

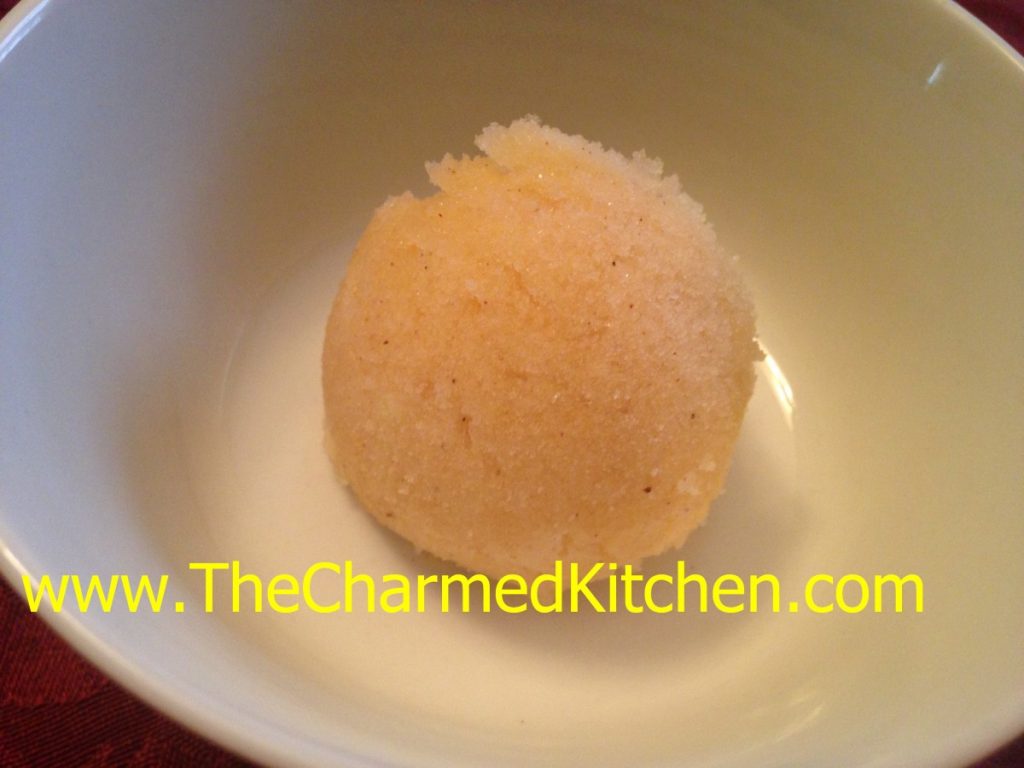
I’ve had my share of warm apple cider, but I never froze it before. This sorbet is such a nice dessert option. Light and naturally sweet, it is the perfect finish for any meal.
The cider is boiled down, to concentrate the sweetness. Then fresh apples are added and pureed. The mixture gets frozen, then pureed one more time- to really smooth out the texture. Cinnamon sticks impart their flavor when boiled in the cider. You could certainly used ground cinnamon, if you don’t have cinnamon sticks. Feel free to add other spices, too, like allspice, cloves or ginger.
Over the years, I have made all sorts of sorbets. I love the light, creamy texture. I am not sure why I never tried to make an apple sorbet before. I am so glad I finally did. This is a nice, lighter option for dessert. It is also a nice dairy-free option, for those who can’t have ice cream.
Apple Cider Sorbet
6 c. apple cider
2 (4-inch) cinnamon sticks
3 apples, peeled, cored and diced
In saucepan place cider and cinnamon sticks. Cook over medium high heat, uncovered, until cider has cooked down to 2 cups. Remove cinnamon sticks and discard them. Cool cider and combine in food processor with the apples. Puree until smooth. Transfer mixture to a container with a lid. Freeze until solid. Remove from freezer and allow to soften for a few minutes. Break into chunks and puree in processor, until smooth and creamy in texture. You can serve it right away, or return to freezer to enjoy later. Makes 1 quart of sorbet.
Spelt Biscotti

Biscotti are so easy to make. I don’t know why more people don’t bake their own. They are always nice to have with coffee, tea or a cold glass of milk. These aren’t too sweet, so biscotti make a nice breakfast. They also stay crisp for a long time, if stored in an air tight container.
Biscotti are twice baked. First in a loaf shape, then they are sliced and baked again. Most recipes will tell you to bake the slices half way, then turn them over to finish baking. A little time saving trick- just place a cooling rack on the baking sheet, then place the sliced biscotti on the rack. That way, they get crisp on both sides at once and there is no need to turn them.
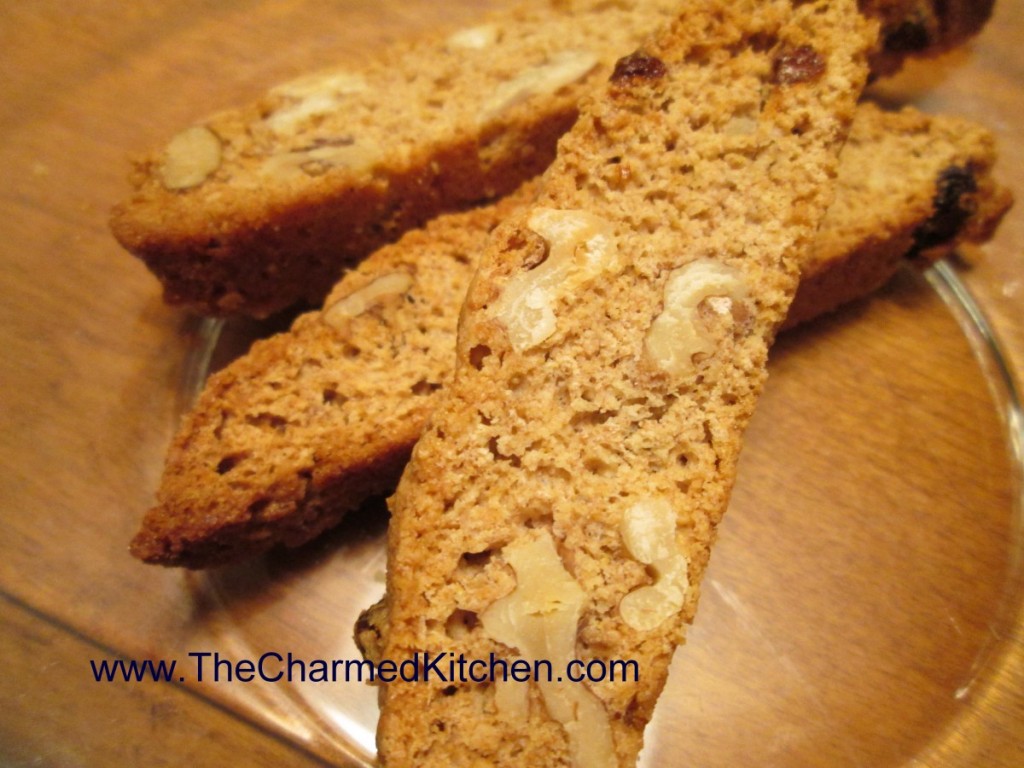
These biscotti are made with spelt flour. Spelt is an ancient grain that is very closely related to wheat. It does contain gluten, so not an option for people with wheat allergies or Celiac, but a nice way to add a whole grain to your menu if you do eat wheat. Unlike whole wheat flour, which tends to be heavy in baking, spelt has a lighter texture and acts more like white flour. I used it to make these biscotti and they are crisp, light and very tasty.
Spelt Biscotti – with Walnuts
1 ¼ c. spelt flour*
⅓ c. sugar
1 t. baking powder
¼ t. salt
½ c. walnuts
¼ c. golden raisins- I often use dried cranberries or other dried fruit
2 eggs
1 t. vanilla
Combine dry ingredients with nuts and raisins in medium mixing bowl. In small bowl combine eggs and vanilla and add to dry ingredients. Stir together to make a slightly sticky dough. With oiled hands shape into loaf (2”x11”) on oiled sheet. Bake at 350-degrees for 20 minutes. Remove from oven. Slice the loaf thin using a serrated knife and place slices on a rack on a baking sheet then return to oven, reduce heat to 300-degrees bake 25 minutes. Remove from oven and allow to cool. Store in an airtight container to retain crunch. Makes about 16.
* If you can’t find spelt flour you can use 3/4 c. all purpose flour and 1/2 c. whole wheat flour instead or substitute the entire amount of flour with whole wheat pastry flour.
Lemon Cheesecake Squares

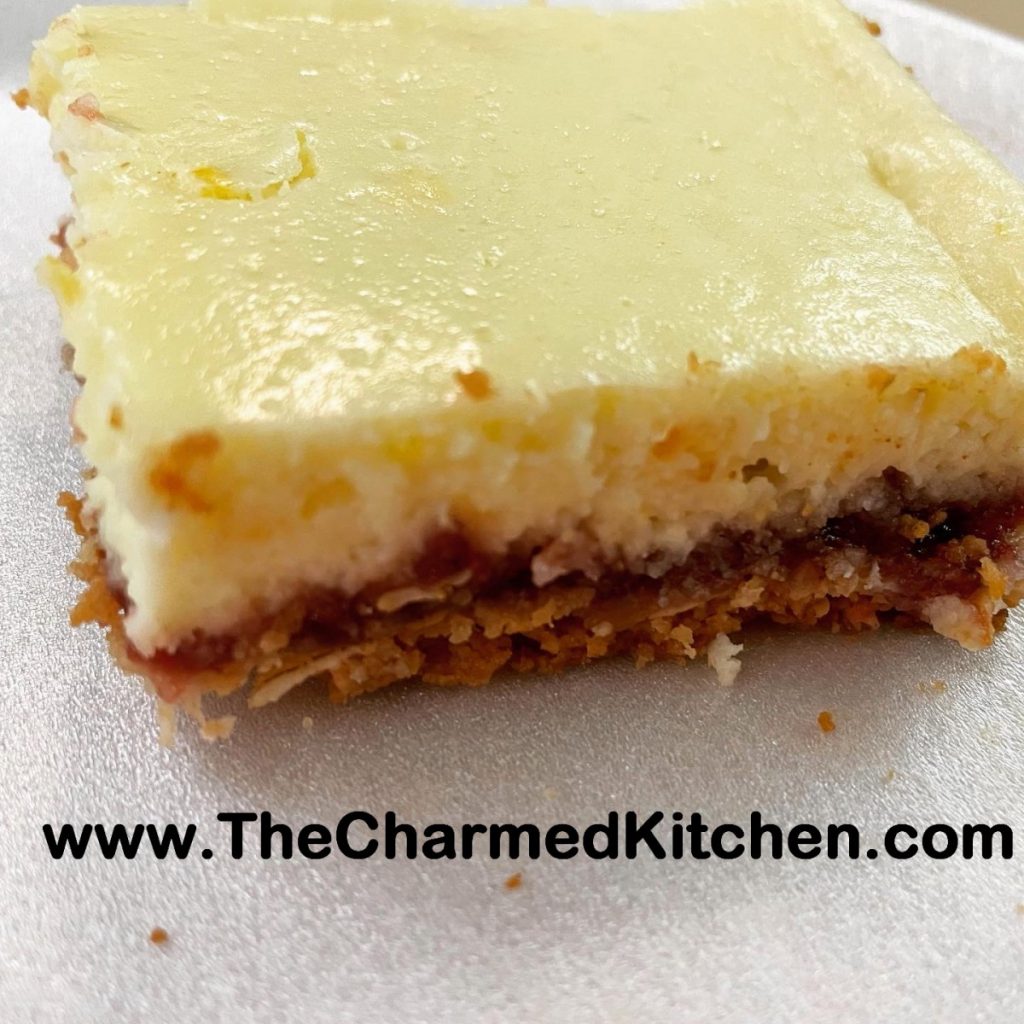
We made these cheesecake squares in cooking class the other night. It had been awhile since I had them. I forgot just how good they are. Between the crust and lemon cheesecake topping there is a layer of raspberry jam. They are just so good. As an added bonus, they are also very easy to make.
This is a slightly non-traditional cheesecake. For starters, the crust is oatmeal-based not graham cracker. This cheesecake is also not baked in a spring form pan, but in a 9×13 inch pan.
Like other cheesecakes, they can be frozen.
So here is the recipe. Enjoy!!
Lemon Cheesecake Squares
Crust
¾ c. butter
1/3 c. brown sugar
1¼ c. flour
1 c. oatmeal, old-fashioned or quick cooking
¼ t. salt
Filling
½ c. raspberry jam
2 (8oz.) packages cream cheese, softened
¾ c. sugar
2 T. flour
2 eggs
3 T. lemon juice
2 t. grated lemon peel
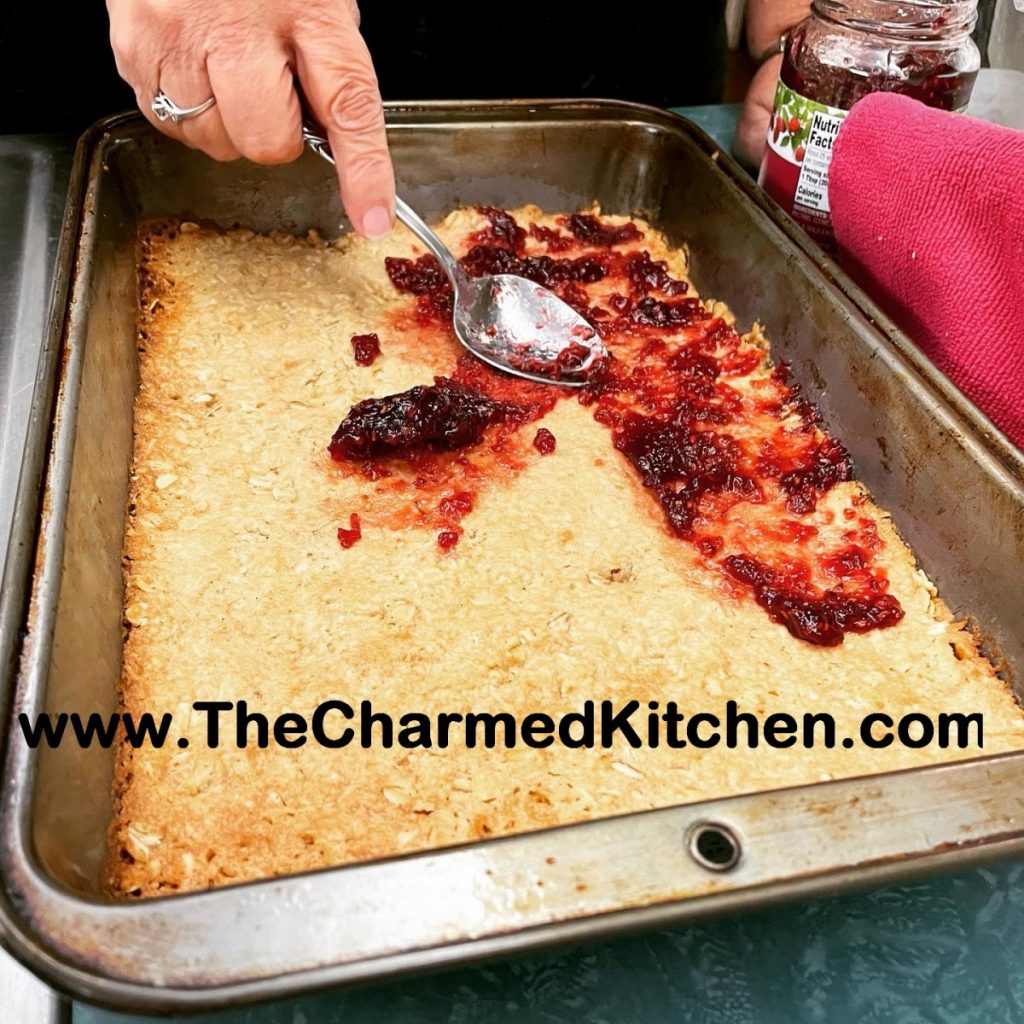
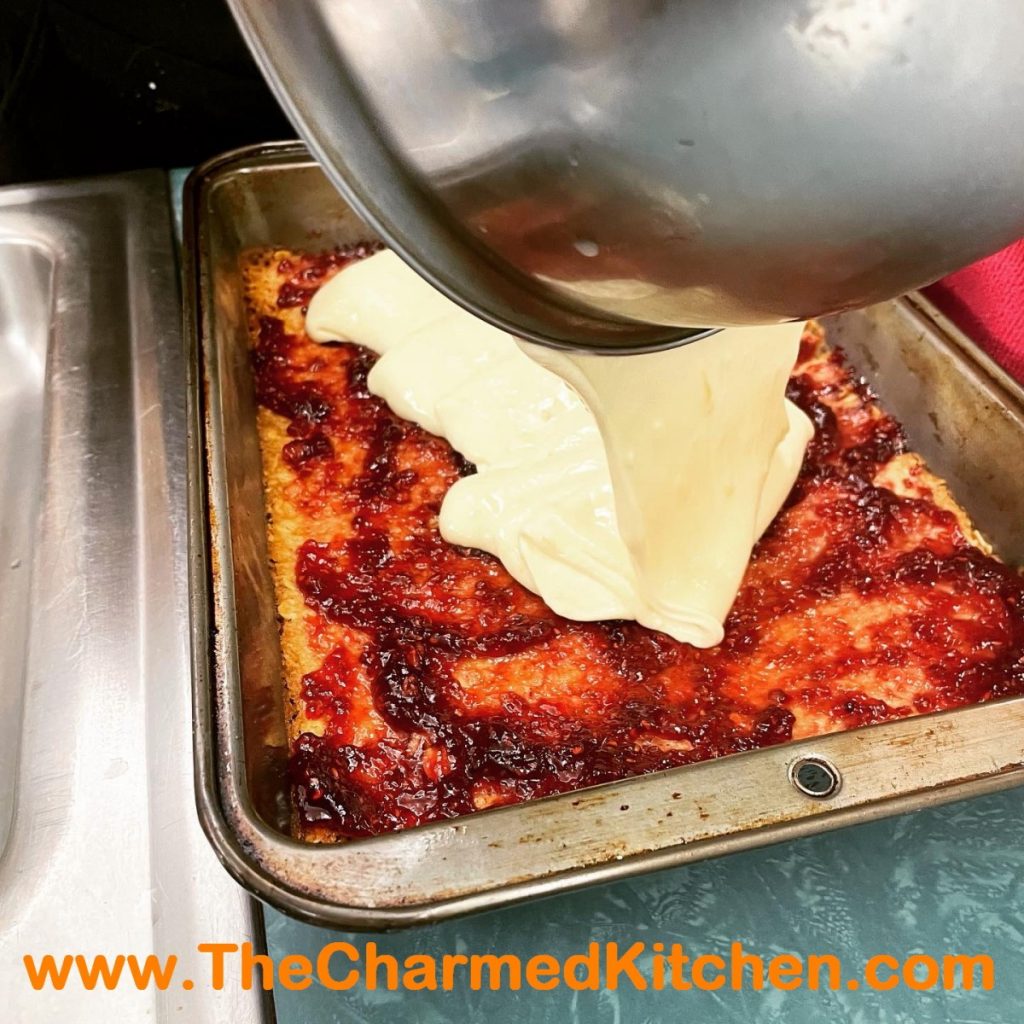
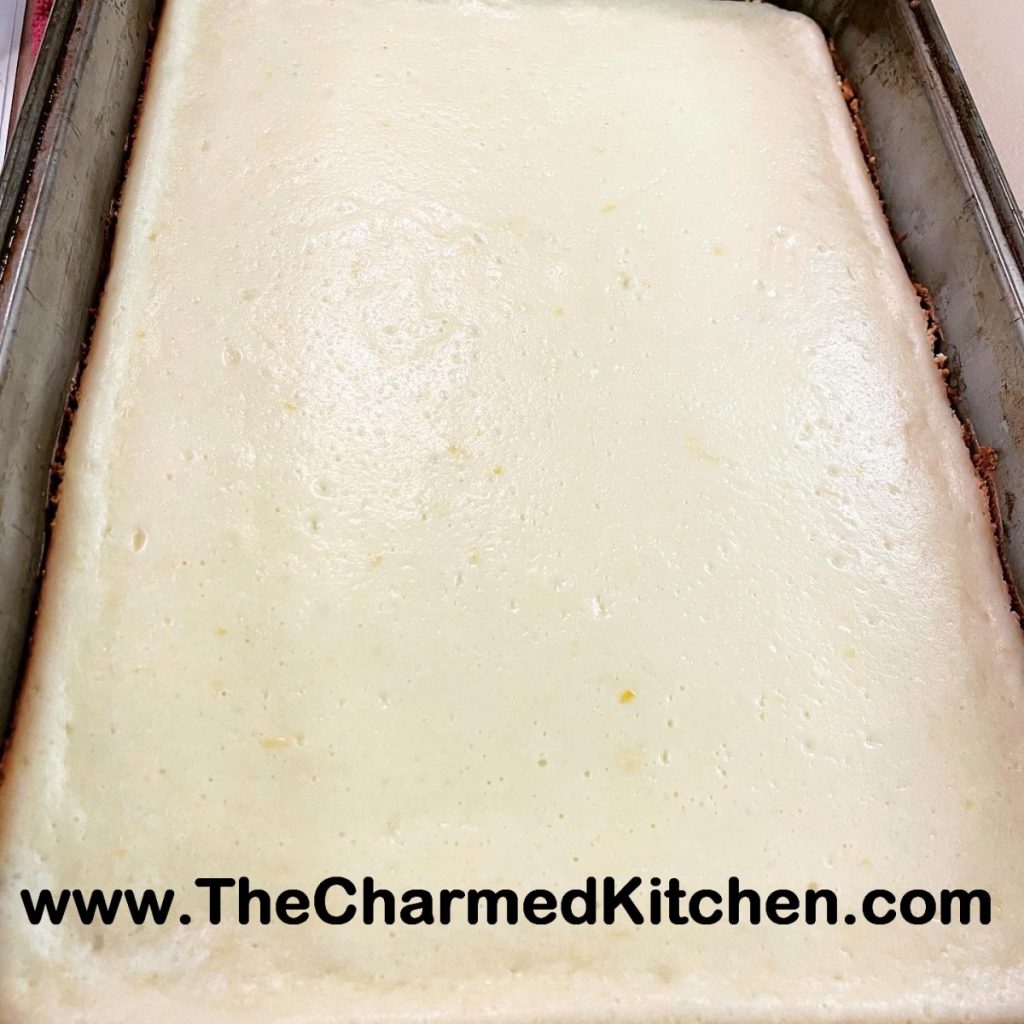
Heat oven to 350-degrees. Grease a 9×13-inch baking pan. Beat together butter and brown sugar then stir in rest of crust ingredients. Press into bottom of prepared pan and bake 20 minutes. Remove from oven. Crust should be golden around the edges. Spread jam over hot crust. As the jam warms it get easier to spread. Beat cream cheese sugar and flour until fluffy. Beat in eggs one at a time. Stir in juice and peel. Pour over jam and bake for 25 minutes, or until set. Cool then chill. Store covered in fridge. Makes 24 squares.
Frozen Mocha Cheesecake

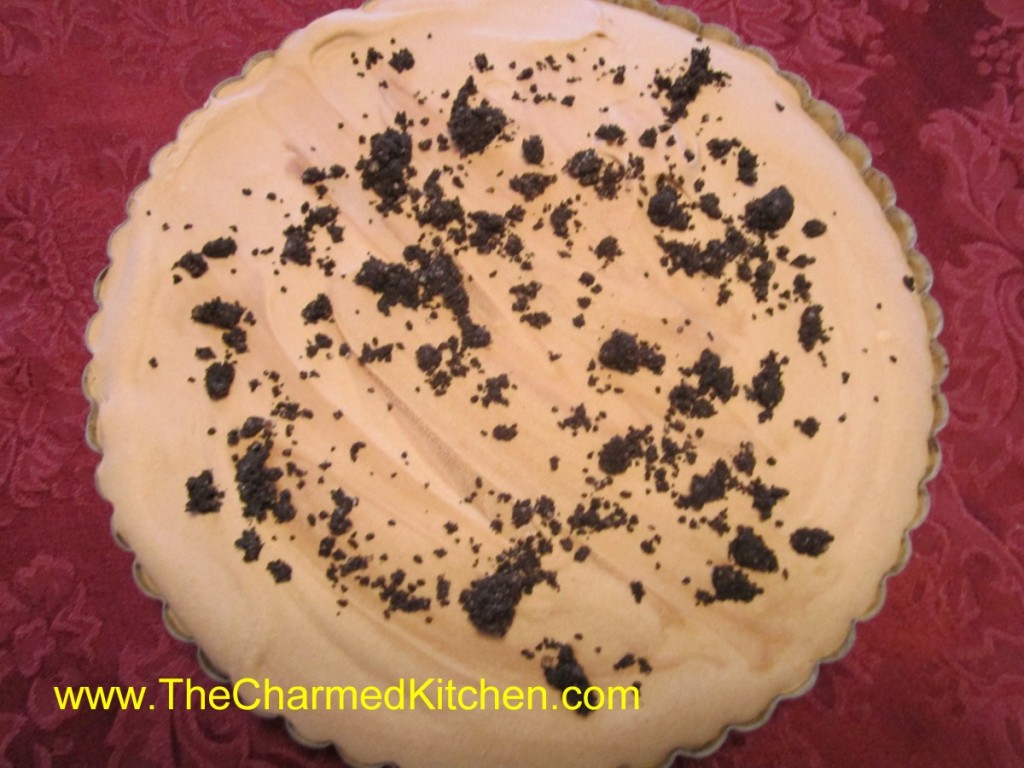
If you want a really tasty dessert that requires no baking, this one just might do it for you. Rather than being baked, this cheesecake is prepared, then frozen. Because it is made ahead of time and frozen, you can keep it on hand for when you need a dessert.
You can make one large cheesecake, or you could also make smaller, individual serving cheesecakes, in ramekins.
It also pairs chocolate with coffee- a classic combination. The crust is normally made with chocolate cookies- I used chocolate graham crackers for the crust. They worked great.
Great dessert for hot weather. Who am I kidding? I would want this even if there was a blizzard.
I taught a cheesecake class last night and served this cheesecake to the class. Everyone loved it. It has a rich, creamy texture and plenty of flavor.
Frozen Mocha Cheesecake
1 ¼ c. chocolate cookie crumbs
¼ c. sugar
¼ c. butter, softened
8 oz. cream cheese
1 (14oz.) can sweetened condensed milk
2/3 c. chocolate syrup
2 T. instant coffee crystals
1 t. hot water
1 c. whipping cream, whipped
Combine crumbs, sugar and butter and press into 9-inch springform pan. Chill. Beat cheese until fluffy and beat in milk. Stir in syrup and dissolve coffee in water. Add to cheese mixture and fold in whipped cream. Pour into prepared crust and freeze until solid, at least 6 hours. Garnish with additional cookie crumbs if you like or with shaved chocolate. Keep leftovers frozen and use within a few weeks for best flavor.
Whole Wheat Bread

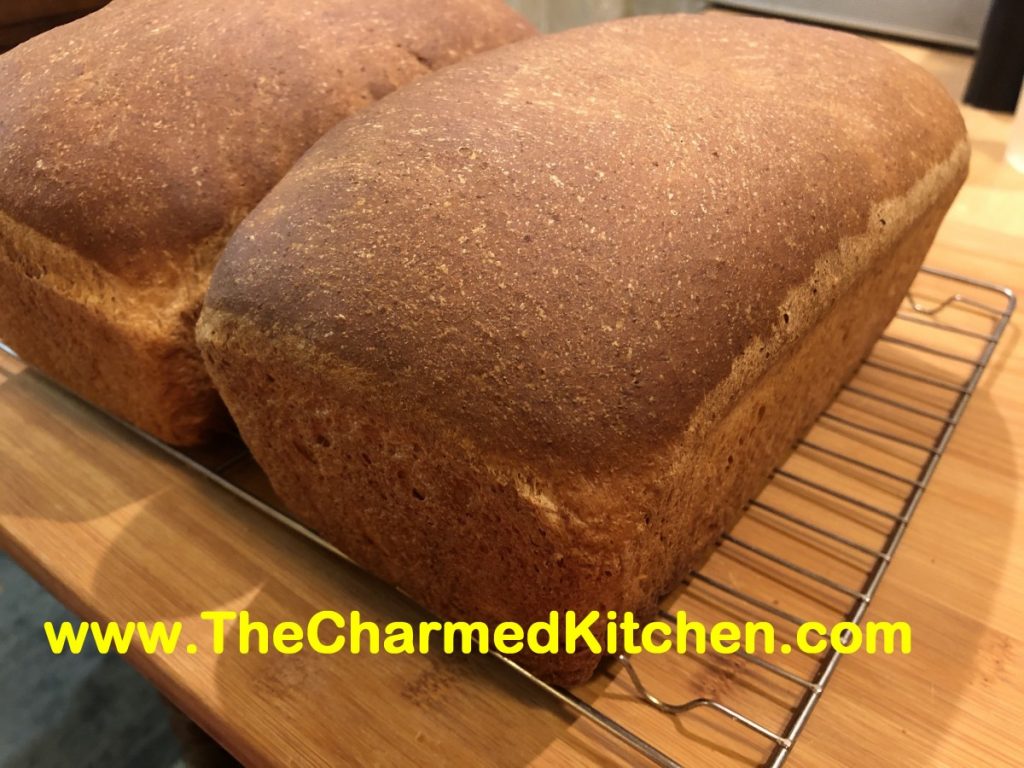
A lot of us want to eat more whole grains, but are unhappy when we try to make 100% whole wheat bread at home. There is a secret to baking whole wheat bread that is both tender, and slices easily.
Whole wheat flour, high in gluten, also is high in fibers, which make it harder to get the gluten to that stretchy state. If you knead whole wheat bread dough for 5- 10 minutes, like white bread dough, you’ll have a dough that is far from elastic.
The secret? Knead it longer. I knead my whole wheat bread dough about 20 minutes. That is easy if you have it in a stand mixer. Just set it on low and let the dough hook do the work. Not so easy if you are kneading by hand. When kneading for 20 minutes by hand, more and more flour gets added to the dough, to keep it from sticking. The extra flour results in a heavy dough, and a loaf of bread that is best used as a door stop. If you have to knead by hand- knead on a wet surface. The dough won’t stick to your hands or the board and you can knead it long enough to get a properly worked dough. How do you know your dough has been worked long enough? Hold the dough up to light and pull it. It should stretch thin enough so that you can see the light through it, without tearing. Here is one of several recipes I have for 100% whole wheat bread. I love it and I think you will, too.
100% Whole Wheat Bread
2 packets active dry yeast
2 2/3 c. warm water
½ c. oil
½ c. honey, molasses or maple syrup
6 ½ -7 c. whole wheat flour
½ c. non fat dry milk
2½ t. salt
Combine first 4 ingredients in a mixing bowl and stir in 3 cups of the flour, the dry milk and the salt. Beat with electric mixer for 3 minutes. Stir in enough flour for mixture to form a thick batter and continue mixing on low in mixer for 15-20 minutes. Dough takes time to become elastic. Add extra flour slowly until dough comes away from the sides of the work bowl, but not too soon. Note: if you must do this by hand add flour until dough starts to come away from the sides of the bowl and knead with wet hands on wet work surface for 15-20 minutes. Transfer dough to lightly greased bowl and cover, allowing to rise until puffy, about 1 hour. Punch dough down and transfer to a lightly floured surface. Divide in half and shape each half into a loaf. Place in a lightly greased 9×5 – inch pan. Brush top with oil and place a piece of plastic wrap over the top. Allow to rise until doubled. Bake in a preheated 350 degree oven for 40 minutes. Tent with foil after 20 minutes to prevent over browning of the top. Test for doneness by removing bread from pan and thumping on the bottom. Bread should sound hollow. Makes 2.


