Chicken Florentine Soup


This soup is warm and comforting. It was a nice choice for an unseasonably chilly evening. It was one of those spur of the moment recipes that really exceeded expectations. I just had a few ingredients to start with- one of those times when you look through the fridge for inspiration and get lucky.
I knew I was making soup, and that I had chicken and chicken stock. Adding onions and carrots to soup- pretty standard for me. I’ve been on a spinach kick lately so that seemed like a natural addition as well. Found a few mushrooms I’d forgotten about, and put them in, too.
For some reason it was such a perfect combination. I love when it works that way. I am also happy when I remember to write down what I did so I can make it again someday- and share the recipe with all of you. Since the soup has spinach as a central ingredient, I decided to call it Chicken Florentine Soup. So here is the recipe.
Chicken Florentine Soup
2 T. oil
1 medium onion, sliced
1 large carrot, peeled and sliced thin
6-8 cups chicken stock
1½ lbs. boneless, skinless chicken, cubed – I used thighs
1-2 c. sliced mushrooms – I used the baby Bellas
8 oz. fresh spinach, washed well
¼ c. chopped fresh parsley
Salt and pepper to taste
Dash of hot sauce
Heat oil in soup pot and cook onion until tender. Add carrot and cook a few minutes more. Add stock and bring to a boil. Reduce to simmer and cook 10 minutes. Add chicken and mushrooms and cook 10 minutes longer. Add spinach and cook 5 minutes more. Adjust seasonings and serve. Makes 6 servings
Peach and Blueberry Cake


This cake is the perfect summer dessert. It is moist and filled with the fruits of summer. It also travels well, so you can box it up and take it along to the park for a picnic or to a cookout.
The cake is pretty simple to make. The batter can be mixed by hand- no need for long beating times or for getting out the mixer. In the time it takes to preheat the oven, you can have the cake ready to bake.
The batter and fruit are layered in the pan, along with the cinnamon sugar.
I added a citrus/powdered sugar glaze, once the cake was cooled, but it is optional.
So here is the recipe.
Peach and Blueberry Cake
1 c. oil, I used avocado oil
4 eggs
1 t. vanilla
1/3 c. lime juice- you can use lemon, instead
3 c. flour
2 c. sugar
3 t. baking powder
¼ t. salt
2 medium peaches, peeled, pitted and sliced
1½ c. blueberries- fresh or frozen
½ c. sugar
2 t. cinnamon and set aside
Glaze:
1 c. powdered sugar
1 t. lemon zest
2 T. lime juice- or enough to make glaze of pouring consistency.
Grease a 9×13 inch pan. Preheat oven to 350-degrees. Combine oil, eggs, vanilla and juice. Stir until smooth. Set aside. In medium bowl combine flour, 2 cups of sugar, baking powder and salt. Stir to combine dry ingredients, then add the oil/egg mixture. Stir until batter is smooth. It will be thick. Place ½ of batter in prepared pan. Arrange peach slices on batter and top with the blueberries. Combine the ½ cup of sugar with the cinnamon. Sprinkle on ½ of the cinnamon mixture. Pour on remaining batter and sprinkle with remaining sugar mixture. Bake 45 minutes, or until cake tests done. Cool. Serve the cake as is, or make the citrus glaze and drizzle it over cooled cake. Serves 12.
French Sorrel

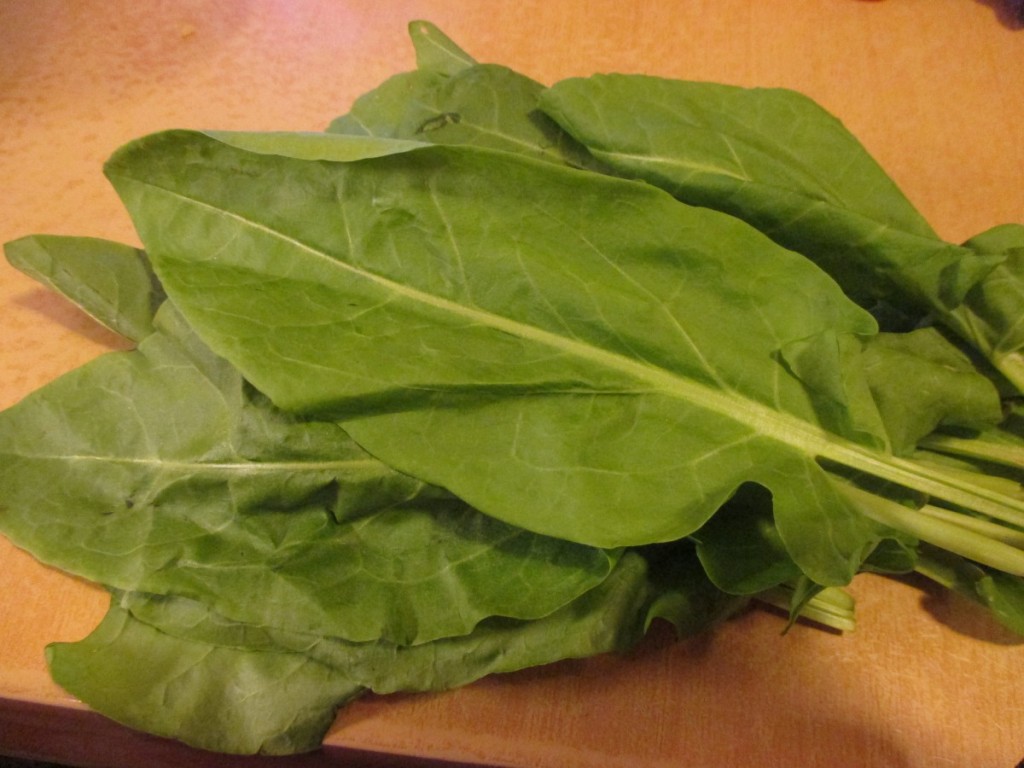
Sorrel is also known as French sorrel and garden sorrel. It’s a member of the dock family and its less cultivated relatives can be harvested in most any field. The sorrel grown in herb gardens produces larger leaves, and is milder in flavor, than its wild cousins. French sorrel produces large, pointed leaves on 6″ stems. When in flower, the plant sends up flower stalks that can reach more than 3′ in height.
Sorrel can be started from seed, either indoors or directly sown in the garden. You can also buy plants at garden centers that carry herbs. It can be hard to find plants in some areas.
Sorrel is a hardy perennial and will produce tasty leaves for many years, once established. It prefers full sun and well-drained soil. The leaves have a sour, almost lemony flavor that is used in dishes like sorrel soup. The lemony/sour flavor makes sorrel a natural match for seafood.
Young leaves can also be served raw in salads. To encourage new, tender growth sorrel can be cut back to the soil line. New leaves will start to grow soon after cutting back. Used raw, young sorrel leaves can be added to soups and sauces, egg or pasta dishes. Because sorrel leaves are high in oxalic acid, they should be eaten in moderation. Or, the leaves can be blanched and rinsed to reduce the oxalic acid.
When I was a kid, my Busha (Polish grandmother) would make sorrel soup from wild sorrel. I remember harvesting the tiny leaves in a field. She needed a brown paper grocery bag full for a batch of soup. You can imagine how delighted I was to discover that there was a domestic version I could grow at home- with much larger leaves.
Here are some of my favorite recipes using sorrel.
Sorrel Soup
2 medium onions, chopped
2 T. oil
2 lbs. potatoes. Peeled and cubed
1 rib celery, sliced
1 qt. chicken or vegetable stock
1 qt. milk
1/3 –1/2 c. flour
1 lb. Sorrel leaves, washed and spun dry, chopped
salt and pepper to taste
In soup pot sauté onions in oil until tender. Add vegetables, stock and 3 cups of the milk. Simmer, covered, until vegetables are tender, about 20 minutes. In a container with a tight fitting lid place the flour with the remaining milk and shake until mixture is smooth. Pour into hot soup and simmer 3-4 minutes. Use more or less flour depending on how thick you like your soup. Toss in sorrel, adjust seasonings and serve. Garnish with snipped chives, if desired. Serves 6-8.

Sorrel Pesto
1 c. tightly-packed sorrel leaves
½ c. olive oil
3 – 4 cloves garlic
salt to taste
½ c. pine nuts, sunflower kernels, pecans or walnuts, toasted preferred
1 c. fresh grated Parmesan cheese
Hot sauced to taste
Combine all ingredients in blender or food processor until smooth. Adjust seasonings. Use with chicken or fish. Sorrel Pesto is also good on potatoes, or tossed in a spinach salad with some wine vinegar. Great on grilled vegetables, too!
Sorrel Sauce
½ c. mayo
½ c. sour cream or Greek yogurt
½ c. fresh chopped sorrel leaves
2 T. minced green onion
1 T. chopped fresh parsley
2 t. fresh lemon or lime juice
salt and pepper to taste
dash red hot pepper sauce
This sauce is good with fish and chicken or on baked potatoes. You can also use it as a dip with veggies.
Fresh Strawberry Pie


When I was a kid, there was a local restaurant known for its fresh strawberry pie. It became a favorite of mine back then, and strawberry pie is still a favorite. This pie is always a big hit. A flaky crust and a whole lot of fresh strawberries, topped with a glaze, is a winning combination.
A nice benefit, over most other pies, is that only the crust has to be baked- that takes just a few minutes- so you don’t need the oven on for very long and the house stays cooler. I used a homemade crust that really works for this particular pie. Directions for blind baking (pre-baking) the crust are included below, along with the recipe for the crust I used.
Fresh Strawberry Pie
1 (9-inch) pie crust, baked and cooled -recipe follows*
1 qt strawberries (1¼ lbs), hulled
1 c. sugar
2 T. cornstarch
¼ c. water
1 T. butter
4 oz. cream cheese
Whipped cream, optional
Select about 25-30 berries to be placed in pie crust, large side down and set aside. Puree or crush remaining berries. Place in a saucepan with the sugar and bring to a boil. Combine cornstarch with water and stir until smooth. Add to the strawberry mixture and cook, stirring constantly until mixture thickens and gets clear. Simmer about 5 minutes. Remove from heat and stir in butter. Set aside. Place cream cheese in a small bowl and mash with about a tablespoonful of the puree. Spread on the crust and arrange the reserved berries on the crust pointy side up. Put the largest berry in the middle and arrange the rest around it decoratively. Spoon the puree over the berries and allow the pie to cool down a little before putting in the fridge. Serve with whipped cream, if desired.
Note: other berries can also be used including raspberries, blackberries and blueberries, or a combination. This recipe can also be used as a filling for tarts and tartlets.
*What is blind baking?
Some recipes call for pre-baking the crust. Sometimes this is because the filling is either un-baked, like a fresh strawberry pie or very moist, like custard pie. Blind baking is placing foil on an un-baked crust and then weighing it down. Then the crust is baked either a little, or until done depending on what the recipe calls for. The weights, often dry beans or rice keep the crust from getting air bubbles in it when it bakes. >^..^<
How to blind bake (pre-bake) a pie crust
The prepared pie crust should be pricked all over with a fork. Cover the surface with foil and then pie weights. Pre-heat oven to 425-degrees. For a crust that is only being partially baked allow 15-20 minutes, but remove before the outer edges get brown. If the crust is to be fully baked remove it after 15-20 minutes. Remove weights and foil and return crust to oven for an additional 20 minutes, but watch carefully so it doesn’t over-brown.
Half and Half Dough**
This is a great crust for liquid fillings like custard type pies and fresh fruit pies.
¼ c. butter, room temp
½ c. shortening, room temp- you can use lard or chilled coconut oil instead
¼ c. sugar
½ t. salt
2½ c. pastry or all purpose flour
1/8 t. baking powder
¼ c. milk
1 t. lemon juice
Cream together the first 4 ingredients until smooth. Mix together the flour and baking powder. Set aside. Combine milk with the juice and set aside. Stir ½ c. of the flour into butter mixture. Stir until smooth. Add a little of the milk, stirring until smooth. Add remaining ingredients alternately until finished. Dough will firm up once chilled. Chill at least 4 hours before using. Makes 2 crusts.
** this recipe makes 2 crusts- which makes me think you should just make 2 pies. If you don’t want to do that- the other half of the dough will freeze well for a few months. Seriously though, just make 2 pies!!!
Lavender: Growing and Cooking With

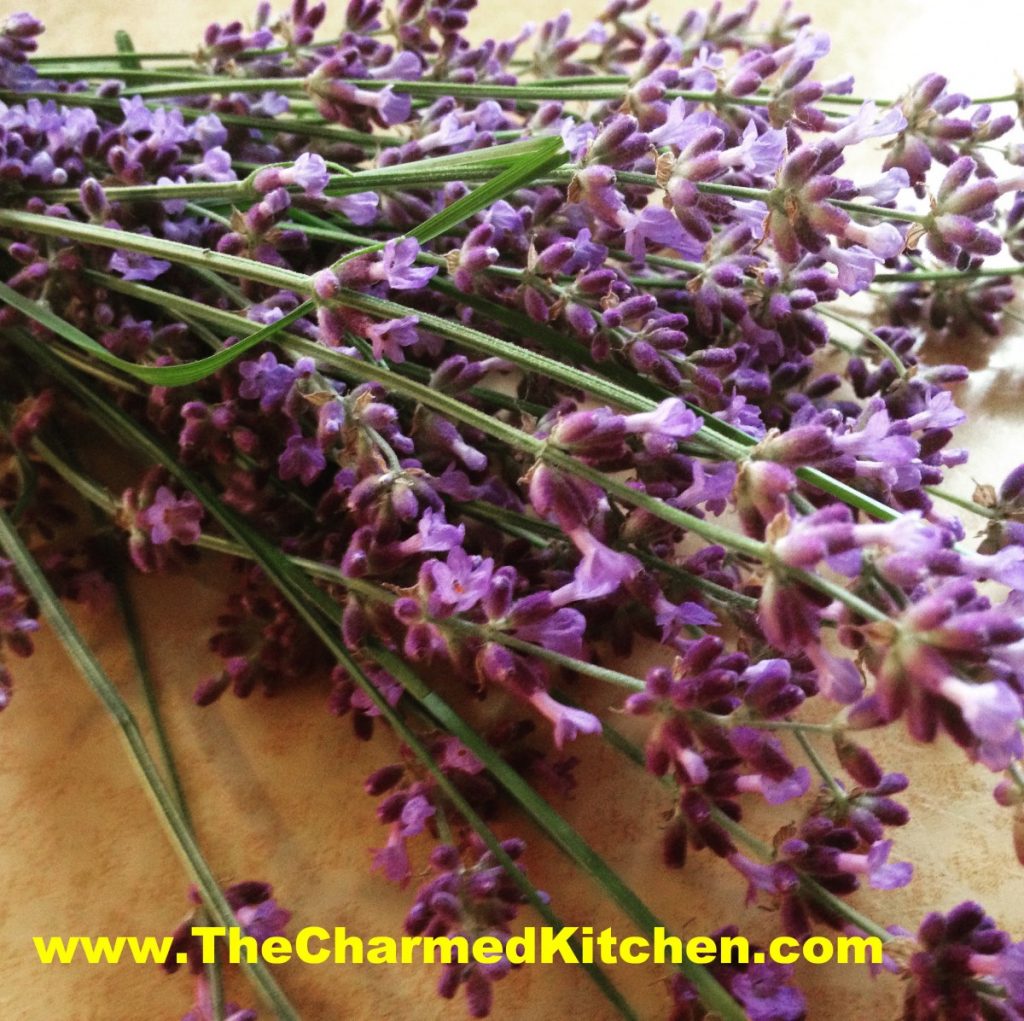
Lavender is such a joy to grow. Besides being a pretty plant, it attracts bees and deer don’t eat it! There are 2 main types of lavender you can grow in your garden, English or French. English lavender is a perennial; in northern climates, French lavender is an annual. Both require full sun and good drainage. Both can be started from seed, although English lavender is slow to germinate and can be a little tricky. Both types can also be started from cuttings and layering. There are many cultivars of both lavenders, although some may be difficult to find. An English lavender variety you may wish to try is Munstead, which grows to a height of 2′ and bears true lavender-colored flowers. Other varieties include Hidcote, with dark purple spikes; Alba, with white blooms; Jean Davis, with pink flowers; and Dutch with deep blue flowers. All are wonderfully scented. The foliage of French lavenders is greener than that of English types.
Lavender grows quickly once it is established, and can get quite tall in mild climates. French lavender can also be grown as a houseplant during cold winter months, and moved outdoors during the summer.
Lavenders are grown for their intoxicating fragrance. Some say that the smell of lavender can reduce headaches. The flowers are harvested just as they begin to open, and are dried on the stalk. These dried blooms can then be used in arrangements, or the blooms can be stripped from the stem and used in potpourri and sachet.
While the fragrance of lavender lends itself to all sorts of cosmetic uses, it is a wonderful ingredient to cook with, too. The secret is to use enough lavender to impart flavor, without having your food taste like soap. That can be a tricky balance.
Lavender is a traditional ingredient in Herbes de Provence, a French seasoning blend, often used with meats like lamb or pork. Lavender can be used for so much more. I love using lavender is sweet dishes, like shortbread and in syrups that can be added to cocktails. All the recipes are using lavender blossoms that have been harvested and then allowed to dry. You can use fresh blossoms, too.
Harvest blossoms before they are fully open, if you can. Cut them with at least a few inches of their stems attached. I tie them together in small bunches, hang them up. and allow them to air dry. Once dry, I strip the blossoms off the stems and store in an airtight jar. Store in a reasonably cool location.
So here is a compilation of some of my favorite lavender recipes. I hope you enjoy them as much as I do.

Strawberry and Lavender Ice Cream
2 c. chopped strawberries
1 c. sugar
1 T. lavender blossoms
1 T. vanilla
2 c. cream or half and half or a combination. You can also use some milk or even almond or rice milk.
Additional sugar to taste
Place strawberries, lavender, vanilla and sugar in saucepan and bring to a simmer, stirring occasionally. Remove from heat and chill. Combine chilled berry mixture with cream. Add additional sugar if you like. Remember that once it is frozen the ice cream will not taste as sweet so make this mixture a little sweeter than you want the final product to be. How much sugar you add varies with personal taste and how sweet the berries are. Place in an ice cream maker and process according to manufacturer’s directions. Once finished put in an sir- tight container and place in freezer. Makes about 1 quart.
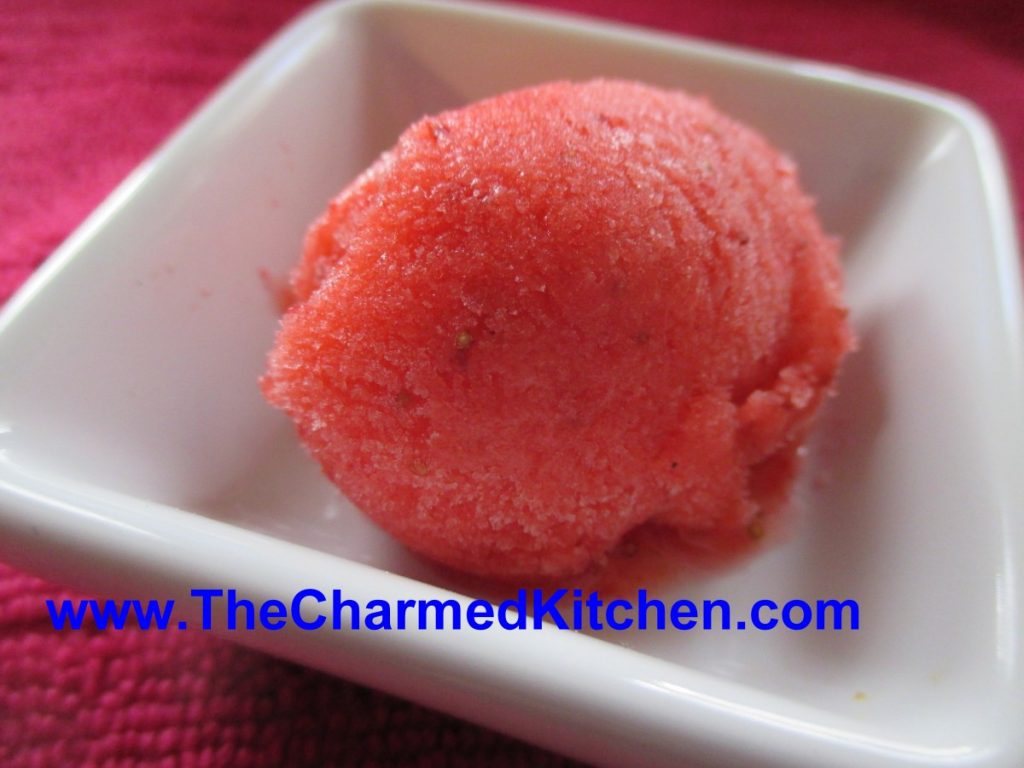
Strawberry- Lavender Sorbet
1 1/2 lbs strawberries
1/2 c. sugar, or to taste – you could also sweeten with honey, if you prefer, or use no sweetener
2-3 T. lavender syrup- recipe follows
Wash and stem berries. Place in food processor and blend until smooth. Sweeten to taste, stirring until sugar is dissolved. Place in a container with a lid and freeze. Once frozen, remove strawberry mix from freezer and sit it on the counter to soften a little bit. This is really the important part. You don’t want it to thaw, but you do want it soft just enough to break into chunks. Place chunks in food processor and blend it again, adding lavender syrup to taste. The liquid of the syrup also helps the sorbet to blend better. It will actually start to look a little creamy and lighter in color. You can serve it right away- or put it back in the freezer to serve later. At this point the sorbet is ready- but you can repeat the soften/process step once more, if you like, for even creamier sorbet. Makes 3-4 cups.
Lavender Syrup
¾ c. water
¾ c. sugar
1 tablespoon dried lavender buds
Combine sugar and water in a small saucepan. Add lavender and cook on low heat until sugar is dissolved. Bring to a boil and cook for 2-3 minutes, just until it starts to thicken a bit. Then set to the side to cool. Strain out the lavender and refrigerate. Yields just under a cup of syrup. Will keep in the fridge for weeks and weeks.
Another recipe using lavender syrup
Lemon Lavender Cocktail
2 oz. gin
1 ½ oz. lemon juice
1 ½ oz. lavender syrup (recipe follows)
splash of club soda
some ice
one lemon slice, for garnish
Pour gin, lemon juice and lavender syrup into a glass and stir. Top with club soda, add some ice and garnish with a lemon slice.
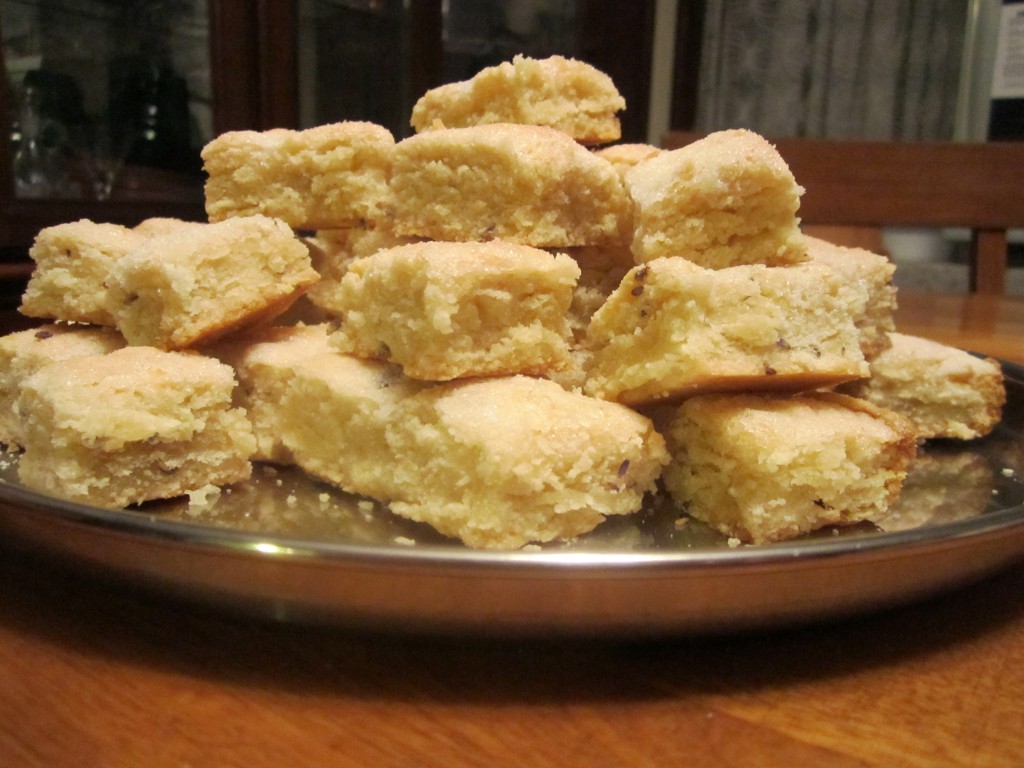
Lavender and Vanilla Shortbread
1 c. vanilla sugar, plus extra for sprinkling*
2 c. butter
4 c. flour
2-3 T. lavender blossoms
Cream together the one-cup of sugar and butter. Stir in the flour and lavender blossoms. Press mixture in to a greased 9×13 inch-baking dish. Cut or score into small squares, or on the diagonal for diamond shapes. Sprinkle with extra sugar and bake in a preheated 300-degree oven for 50-55 minutes or until lightly browned around the edges. Re-cut the squares as soon as you remove the shortbread from the oven. Cool before removing from pan. Make about 100 small squares.
* If you don’t have vanilla sugar just use granulated sugar and add 2 teaspoons of vanilla extract to the dough.
Making Vanilla Sugar
Some specialty stores sell vanilla sugar and it is expensive. I find it easy to just make my own. Vanilla sugar can be used in baking or to top desserts, in tea, and other drinks. I love to sprinkle vanilla sugar on sugar cookies and on muffins, too.
I buy vanilla beans by the pound online and use them in cooking and to make my own vanilla extract.
To make vanilla sugar just cut vanilla beans in half lengthwise and then into 1 inch pieces. Place granulated sugar in a jar and add the vanilla beans. Cover jar and shake once in awhile. The sugar is fragrant in about a week but will get stronger the longer it sits. I use one vanilla bean per cup of sugar. You can add more sugar to the jar as you use it. The beans will continue to flavor new sugar added to the jar for some time.
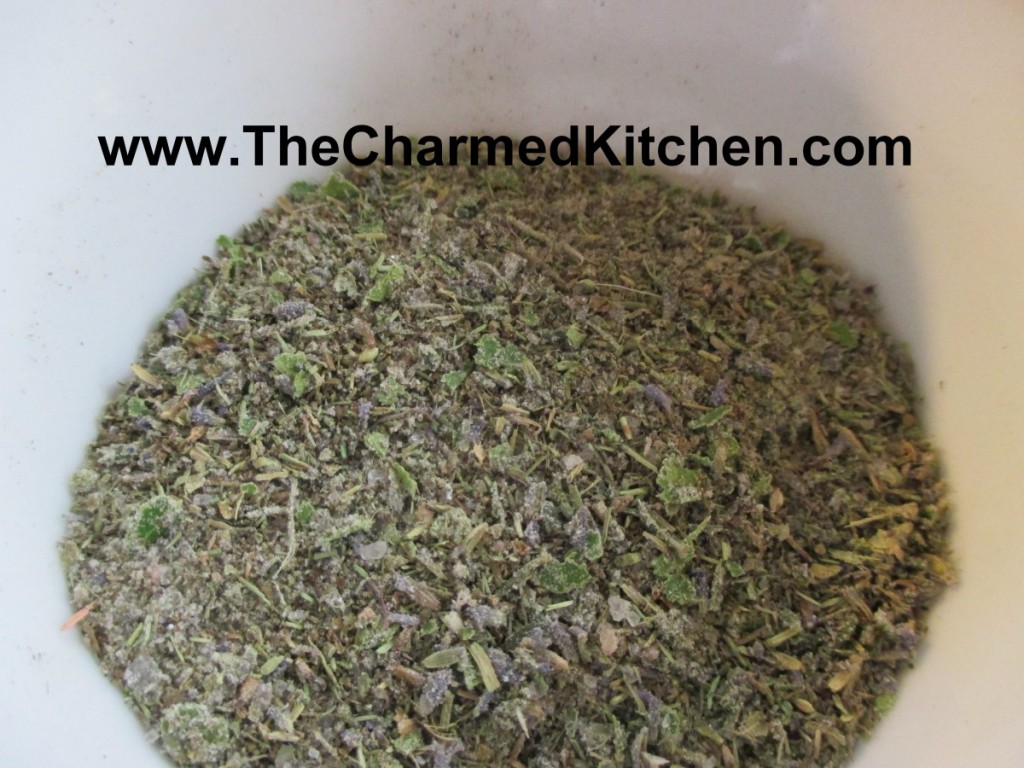
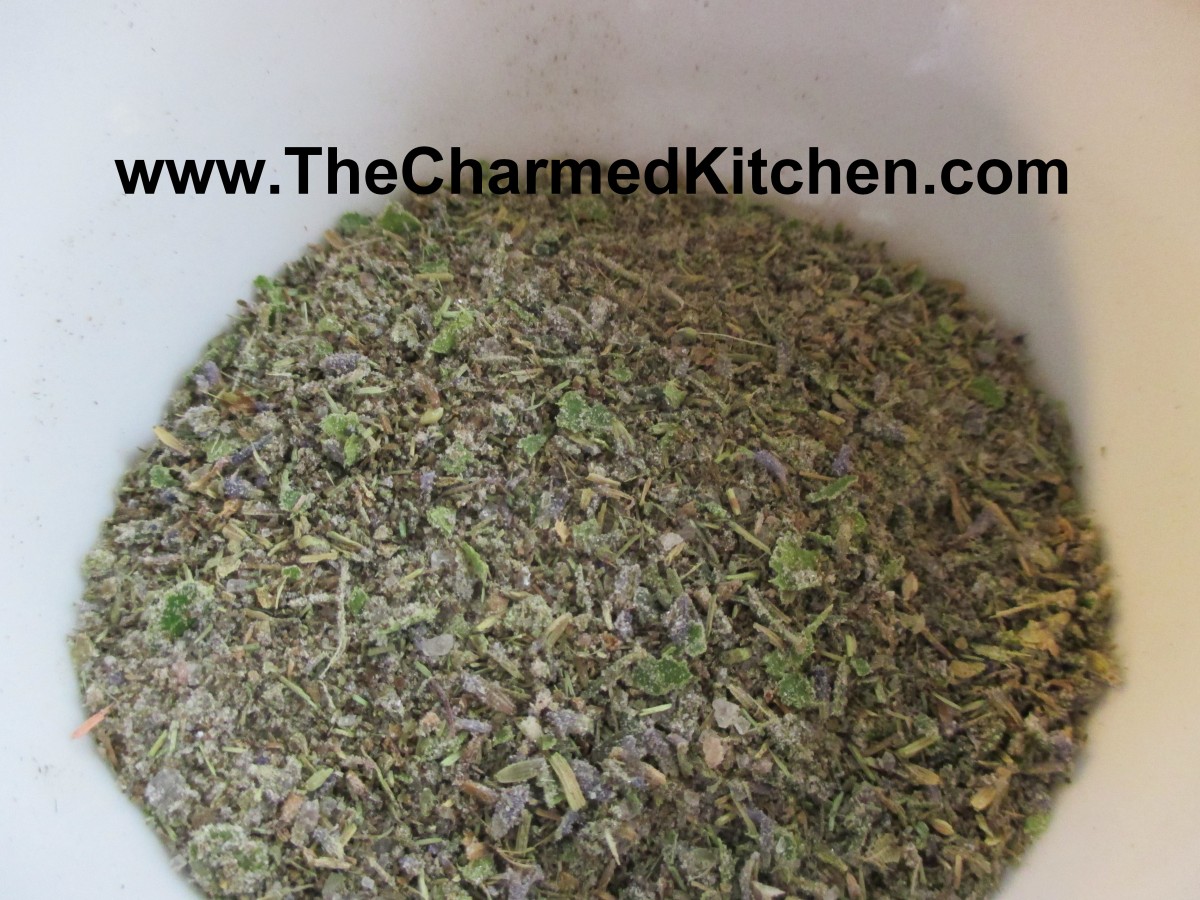
I make my own herb and spice blends often, because it gives me control over what I put in it. I also grow a lot of herbs, so it just makes sense. You can use dried or fresh herbs in this recipe. If you are using any fresh herbs, then store your mix in the freezer.
1 T. thyme, or 2 T. fresh
1 T. rosemary or 2 T. fresh
1 T. savory or 2 T. fresh
2 t. basil or 2 T. fresh
1 t. lavender or 1 T. fresh
2 bay leaves
Blend fresh or dried herbs until bay leaves are powdered. Rub this mixture on grilled meats, roasts, chicken, or fish. If using fresh herbs, make small amounts and freeze what is unused.
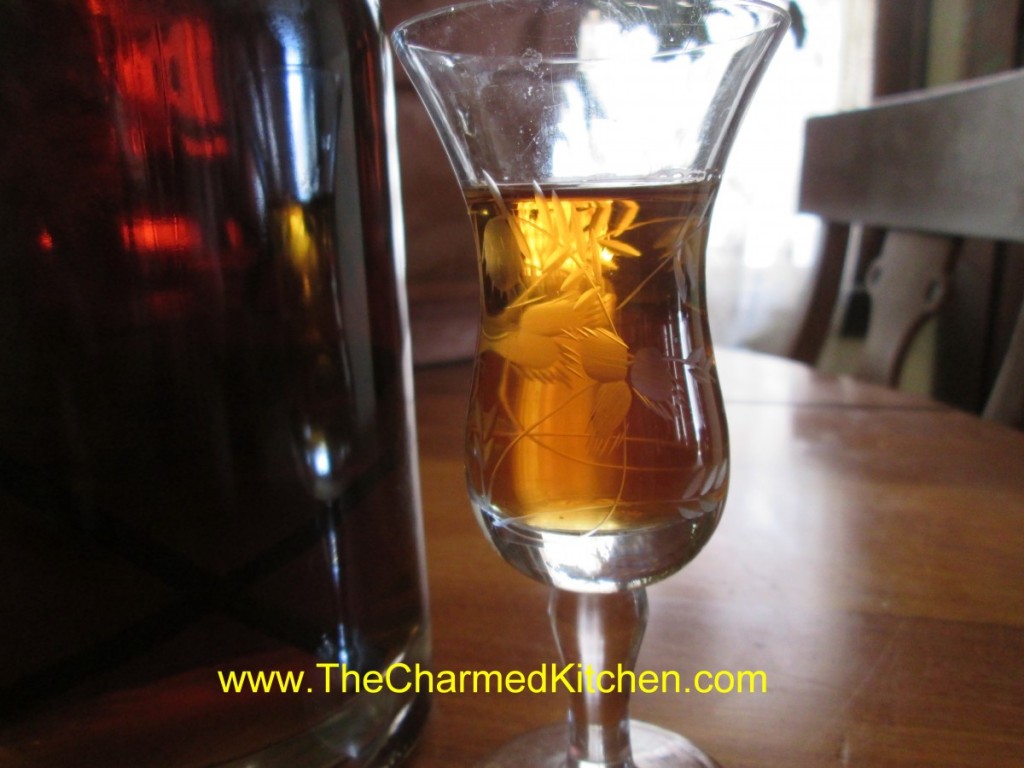
I started by combining 2 cups of lavender blossoms with about 4 cups of vodka in a large Mason jar. These were dried blossoms from last year’s harvest. I put the lid on the jar and let it steep together for a few weeks. After a few weeks I strained out the blossoms. Then I poured the mixture through a strainer lined with a coffee filter to get out any fine particles so my end product would be clear. I had expected the mixture to be a lavender color. It ended up a pretty honey brown color instead. It also had a very strong fragrance and flavor of lavender. Quite pleasant.
After tasting the lavender vodka I decided to add sugar to the mixture. I made a cup of sugar syrup by combining one cup of sugar with 1/2 cup of water in a small pot and brought it to a boil. This gave me a cup of sugar syrup. Once the sugar syrup cooled to room temp I added it to the lavender vodka and allowed this to mellow for another week.
The odd thing was that at first the sugar syrup and lavender vodka would not blend. The sugar syrup settled to the bottom of the bottle. No amount of stirring and shaking seemed to matter. I’d all but given up when a friend was over and tipped the bottle a few times. Amazingly it finally combined. On the advice of another friend I decided to add a couple of vanilla beans as well. The flavor is pretty interesting.
Lavender Vinegar
It’s easy to make. Just add 2 cups of vinegar for every cup of blossoms. If you are using dried flowers use 1/3 cup for every 2 cups of vinegar. Store in a cool, dark place in a container with a tight-fitting lid.Steep for at least 2 weeks- or longer.
Be sure to use vinegar that is 5% acidity- it will say that on the label. I like to use white wine vinegar, red wine vinegar or cider vinegar.
Homemade Chocolate “Magic” Shell


I used to love getting a chocolate-dipped ice cream cone when I was a kid. I still do.
The ice cream shop near my house had them. I watched as the soft serve was swirled onto the cone, then turned upside down and dipped into a vat of melted chocolate goodness. Like magic, the chocolate hardened, and made this lovely, crisp shell.
Then they came out with the squeeze bottles of the stuff. Just a drizzle onto your ice cream and the chocolate hardened like, well, magic.
There are a lot of recipes out there for “magic” shell. I tried a few. All tasted fine, but some just worked better than others. I played around and found the mix that worked best for me.
You store it at room temp, then drizzle on ice cream. In a few seconds, it hardens up.
It is very easy to make- just three ingredients. So easy- so good.
Homemade Chocolate Magic Shell
1 c. chocolate chips- I used dark chocolate chips
3/4 c. coconut oil- I used the unrefined
1/2 c. powdered sugar
Heat all together until melted. I melted mine in a microwave for 1 minute, but you could also melt over a double boiler. Stir until smooth. Store at room temp. To use, drizzle over ice cream, wait about 10-20 seconds- and it will harden.
Growing and Cooking With Dill


On appearance alone, dill is a welcome addition to any garden. It is a feathery, delicate looking plant that can reach a height of 3′ or more. It is an annual, so it has to be replanted every year. The good news is that dill is easy to grow. A lot of friends have told me that their dill reseeds itself and comes back every year.
When dill gets tall, it should be given some support to keep it from falling over in high winds. If you plant your dill in a clump, rather than in rows, you can put a few stakes around the plants, and run twine around it for support. I use tomato cages. I put them around the dill plants when they are small, so they grow up in the cages.
Dill does not transplant well, and seed should be sown where it is to grow or in peat pots, so you can transplant them without disturbing the roots too much. Dill is tolerant of cold, and can be planted fairly early in the spring. The only problem with planting dill early is that the plants are past their prime when the cucumbers are coming into season. I plant small amounts of dill every couple of weeks from Spring into Summer, so I know I will have dill when I need it.
Dill grows best in full sun and well-drained soil. While both the leaves and seeds are edible, some types of dill go to seed rather quickly, making the leaves less tasty. A cultivar of dill called Dukat, does not grow as tall as most types, and delays flowering by several weeks over other cultivars. For more leaves and a longer growing season, Fernleaf dill is another nice cultivar to plant. It is more compact, so less support is needed. Its bushy growth habit produces lots of fresh dill leaves.
Dill seed heads are used in pickle making. The mature seeds are used in salad dressings and potato salads. The dill leaves, also called dill weed are used in carrot, potato, and other vegetable dishes. Dill is a must if you are growing cucumbers for homemade pickles.
If your dill heads mature before you need them, all is not lost. Just freeze them to use later. Dill leaves freeze great, too. You can place dill in freezer containers or freezer bags and freeze. I chop up the leaves a little to save space. To freeze dill seed heads, I just place in plastic freezer bags, squeeze out as much air as possible, seal, and pop in the freezer.
My Mom loved dill. She made wonderful crock pickles and used them in cucumber salads. She would also add dill to carrot dishes and potatoes. I have included some of her favorite dill recipes, and a few of mine. Enjoy!!

Couscous Salad with Shrimp and Dill
½ c. olive oil
¼ c. fresh lemon juice
1 clove minced garlic
1 t. celery seed
2 c. couscous, about 10 oz.
2 ¼ c. boiling water or vegetable broth
1 lb. peeled cooked shrimp
1 c. diced sweet red pepper
½ c. chopped green onions
2 T. fresh dill weed or 2 t. dried
Whisk first 4 ingredients together for dressing. Place couscous in heat proof bowl and pour over the boiling water. Let stand until water is absorbed, about 10 minutes. Fluff with a fork and add remaining ingredients, stirring to mix well. Pour over dressing and toss to coat. Chill at least 30 minutes or up to 2 hours. 6 Servings.
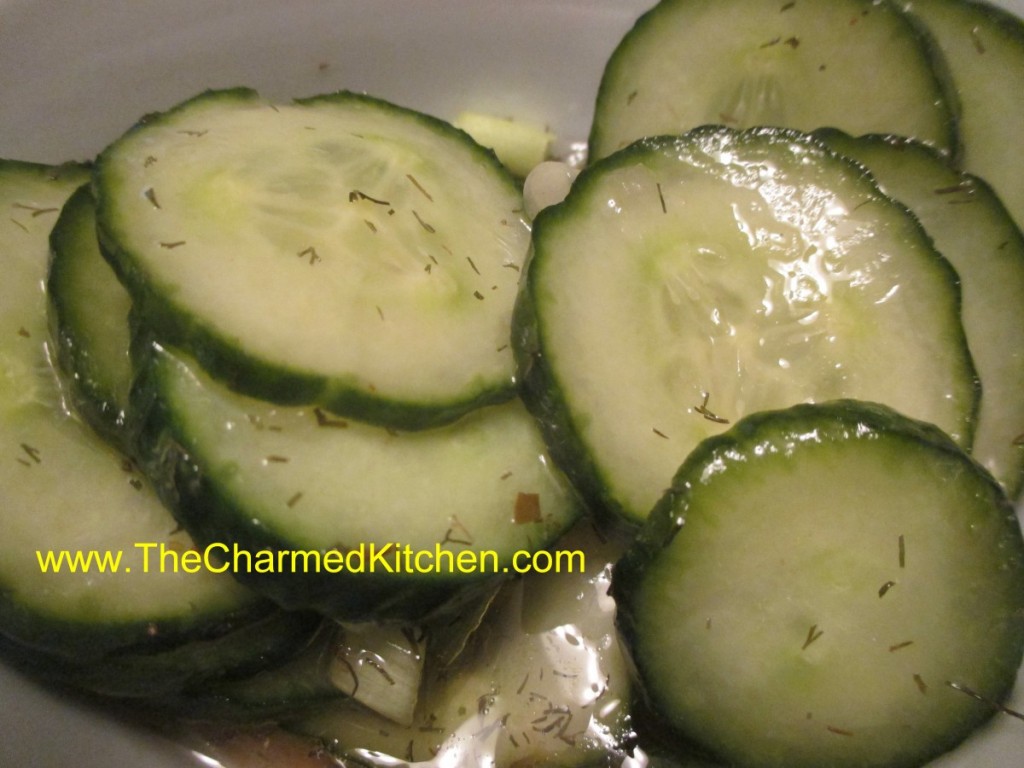
Dill Cucumber Salad
2 English cucumbers, sliced thin
2/3 c. cider vinegar
1/3 c. oil
2 T. sugar
2 t. salt
1 t. dill weed- I used dried- use about 1 tablespoon if using fresh
1 t. parsley
Fresh ground pepper and hot sauce to taste
Place cucumbers in a bowl and set aside. Combine remaining ingredients in another bowl and mix well. Pour over the cucumbers and mix together. Chill salad several hours before serving. Serves 6.
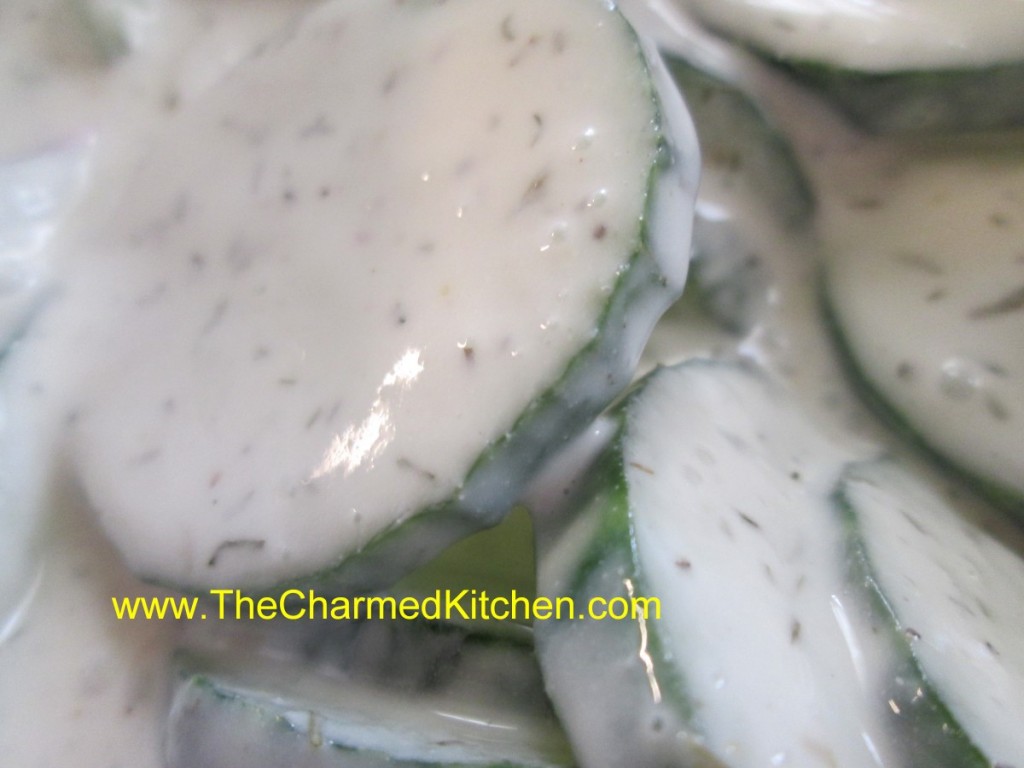
Mom’s Cucumbers and Sour Cream
2-3 medium cukes, sliced
1 c. sour cream or strained yogurt
¼ c. sugar
¼ c. vinegar
2 green onions, chopped
1 –2 T. chopped fresh dill or 1-2 t. dried
Combine all ingredients and chill at least 10 minutes. Serves 4-6.
Easy Dill Pickles
30-40 pickling cucumbers, 5 inches long, scrubbed and ends trimmed off
¾ c. sugar
¾ c. canning or pickling salt (non-iodized)
1 quart vinegar
1 quart water
7 fresh dill heads
3 T. pickling spice
7 garlic cloves, peeled, optional
Mix together the sugar, salt, vinegar, water and pickling spices and bring to a boil. Cook 10 minutes. Place a dill head in the bottom of seven clean, hot pint jars. Add the garlic, if using. Meanwhile cut trimmed and washed cucumbers into halves or quarters lengthwise and pack upright into the jars. Trim the length, if needed to fit no higher than to the shoulder of the jar. Pour over the hot brine leaving ½ -inch of headspace. Wipe rims and screw on lids. Place in a simmering water bath and bring to a boil. Process for 10 minutes. Remove and cool. Makes 7 pints.
Dilly Green Beans
4 lbs. table‑perfect whole green beans
1 3/4 t. crushed dried hot red pepper
3 1/2 t. dried dill seed or seven fresh dill heads
7 cloves of fresh garlic, peeled
5 c. vinegar
5 c. water
1/2 c. less 1 T. pickling salt
Wash beans thoroughly. Remove stems and tips, and cut them as much as possible in uniform lengths to allow them to stand upright in canning jar, coming to the shoulder of the jar. have jars clean and very hot, and lids and sealers ready in scalding water. In each jar place one dill head or 1/2 t. dill seed, add one garlic clove, and 1/4 t. crushed hot red pepper. Pack beans upright in jars, leaving 1 inch of head room. Heat together the water, vinegar and salt. When the mixture boils, pour it over the beans, filling each jar to 1/2 inch from the top. Run a plastic knife down and around to remove trapped air. Adjust lids, and process in a boiling water bath for 10 minutes, start timing after the water in the canner returns to a boil. Remove jars. …Wait at least 2 weeks for these beans to develop their flavor. Yield: 7 pints
Aunt Tillie’s Crock Pickles
1 gallon water (use spring or distilled if your water is hard)
1 c. vinegar
1/2 c. canning salt
1 T. pickling spice
garlic and fresh dill
fresh pickling cucumbers, washed and ends trimmed
Boil together the water, vinegar, salt and pickling spice. Cool completely. In large, straight sided crock, stainless steel or food safe plastic container alternate layers of cukes with dill and garlic according to your taste. You can also eliminate garlic if you choose.
Pour over brine to completely cover cucumbers and dill. Place plate or lid on container and weigh down to keep “pickles” submerged. Allow fermentation to take place in a reasonably cool place like a basement, but do not refrigerate. Every couple of days you should skim any scum or foam that forms on the surface. When no scum forms any more, fermentation is complete. The process can take weeks. You can also add more cucumbers as you harvest them, but try to stick the newer ones on the bottom. Pickles can then be placed in sterile jars, covered with fresh brine, sealed and refrigerated. They will keep several months this way. You can also cover with fresh, hot brine, seal and place in a boiling water bath and process at a simmer for 15 minutes to store outside of the fridge.
Green Tomato Dill Pickles- Kosher style
Green tomatoes
Stalk celery
Sweet green peppers
Garlic
2 quarts water
1 quart vinegar
1 cup salt
2-3 T. fresh dill, I sometimes add a little more
Use small firm green tomatoes. Pack into sterilized canning jars. Add to each quart jar a bud of garlic, 1 stalk of celery, and 1 green pepper cut into fourths. Make a brine of the water, vinegar, and the salt. Boil with the dill for 5 minutes. Pour the hot brine over the pickles to within 1/2 inch of the top of the jar. Put on cap, screw band firmly tight. Process in a boiling water bath for 15 minutes. These pickles will be ready for use in 4 6 weeks. Yield: About 6 quarts.
Dilled Cucumber Soup – Serve Chilled
2 cucumbers, peeled and seeded
2 c. yogurt, or sour cream
salt to taste
cayenne pepper to taste
¼ – ½ c. fresh snipped dill
1 T. fresh chopped parsley or cilantro
1½ c. milk
2 ribs celery, diced
1 sweet red pepper, seeded and diced
lemon wedges and dill sprigs for garnish
Finely chop one of the cucumbers and place in a bowl. Coarsely chop the second cucumber and place in a food processor. Add yogurt and seasonings and blend until smooth. Add the pureed mixture to the cucumber in the bowl and add remaining ingredients, except the lemon wedges and dill sprigs. Chill soup, covered, for several hours or overnight. To serve ladle into chilled bowls and garnish, if desired with lemon and dill. Serves 4.
Dill Gravy
1 T. oil
2 T. flour
1/2-1 c. fresh chopped dill
2 T. vinegar
1 t. sugar
salt and pepper to taste
about 1/2 c. water
In small skillet heat oil and brown the flour. Stir in all ingredients until dill wilts. Start adding the water, over medium high heat, stirring constantly. Add the water slowly, allowing the gravy to come to the boil and thicken as you go. You may need a little more or less water according to you taste. You can use stock in place of water if you prefer. Serve with meat and potatoes. Makes 1/2 c.
Dill Marinade
1/4 c. white wine
juice of half a lemon or lime
1/3 c. olive oil
2 T. balsamic vinegar
2 T. chopped fresh dill
2 T. Dijon- style mustard
salt and pepper to taste
Combine all ingredients in a blender until smooth. Use with chicken, swordfish, tuna or shark steaks.
Beet and Carrot Salad
1 large or 2 medium beets
2 large carrots
4 T. olive oil
4 T. cider vinegar
2 T. honey, or to taste
1 T. fresh dill weed or about 1 t. dried
Dash of hot sauce
Salt and pepper to taste
Peel beets and shred or grate them using a hand grater or food processor. Place in a mixing bowl and set aside. Peel and shred the carrots and add to the beets. Combine remaining ingredients and pour over the beet mixture. Stir to coat and chill until ready to serve. Makes about 3 cups.
Mango Honey Ginger Sorbet

Sorbet is a great dessert for warm weather. When I saw mangoes on sale the other day, I knew I wanted to turn them into sorbet. I also picked up a fresh piece of ginger root, and decided to add some to the sorbet, along with some honey for extra sweetness. The flavors worked great together.
The secret to a creamy sorbet is pureeing the mixture twice. Once with the fresh fruit, then again once the mixture has frozen. Once pureed the second time, you can put your sorbet back in the freezer until ready to serve. It is a nice dessert to have on hand. Freezing the pureed mixture in an ice cream machine will also give you a smooth final product.
Sorbet can be served on its own, with cookies, cake or fresh fruit. You can also add a scoop of sorbet to your favorite Summer cocktail.
I like to keep several different sorbets on hand, so my guests can mix and match. Making a fresh fruit sorbet is also a way of saving seasonal fruits for use throughout the year.
Here is the recipe for the mango sorbet. You might want to add a little more, or less, honey to suit your own taste. Once frozen, the sorbet will not taste as sweet. The sweetness of the mangoes will also determine how much honey you add to your sorbet.
Mango Honey Ginger Sorbet
6 ripe mangoes
½ c. honey
1 T. fresh grated ginger
Remove peel and pits from mangoes. Puree the mangoes and add the honey and ginger. Freeze. After the mixture is frozen, place mango puree in a food processor and mix again until creamy. Serve, or place back in freezer until ready to serve. Makes about 1 quart.
Picnic Food Safety

With picnic and cook-out season here-I thought it would be a good time to post some tips to keep your picnic safe.
Common Picnic Problems
Besides ants, the biggest concern at a picnic should be food safety. While most of us know to keep cold foods cold, and hot food hot, there are some basic things we should all do to insure a safe, happy day.
Away from home and refrigeration, it is can be tricky to keep foods cold until ready to serve. Bring plenty of ice and coolers for all perishable food. Keep food cold until you are ready to cook or eat it. Get food back into coolers as soon as everyone has finished eating.
Package raw meats extra carefully. Raw meat juices, spilling on salads, will make them inedible. Pack raw meats separately if you can, or on the bottom of the cooler in a leak-proof container. You might also consider bringing meats, like burgers, frozen to thaw on the grill or in the cooler. Smoked meats are safer than their non-smoked counterparts but both types can spoil. The ideal situation is to have one cooler only for raw meats.
Don’t make burgers on site. Outdoor prep is always tricky. Better to form burgers at home, where you can wash all surfaces, as well as your hands, thoroughly. If you make them there- bring disposable gloves and a lightweight cutting board to work on.
Never use ice for drinks that has been in contact with raw meat, or even if any raw meats have been stored in the ice. Keep beverage ice in its own cooler, or keep it bagged to insure it is clean and safe.
Solid blocks of ice melt more slowly than cubes, and make good cooler inserts for long, hot summer days. Also, keep coolers in the shade to offset the power of the sun.
Meat should be cooked thoroughly and ground meat is always more at risk for contamination. Make sure your fire is hot enough. Allow for chilly, windy days and pack extra coals or other fuel, to keep the fire hot throughout the cooking process.
Make sure you don’t put cooked meats on the tray that the raw meat was on. Also have different prepping and serving utensils for both the raw and cooked meats.
You can also precook meats (like chicken pieces or ribs), cool and chill until ready for dinner. Then just heat them up over the coals. This way you don’t have the worry of bringing along raw meats and you’ll spend less time cooking and more time having fun.
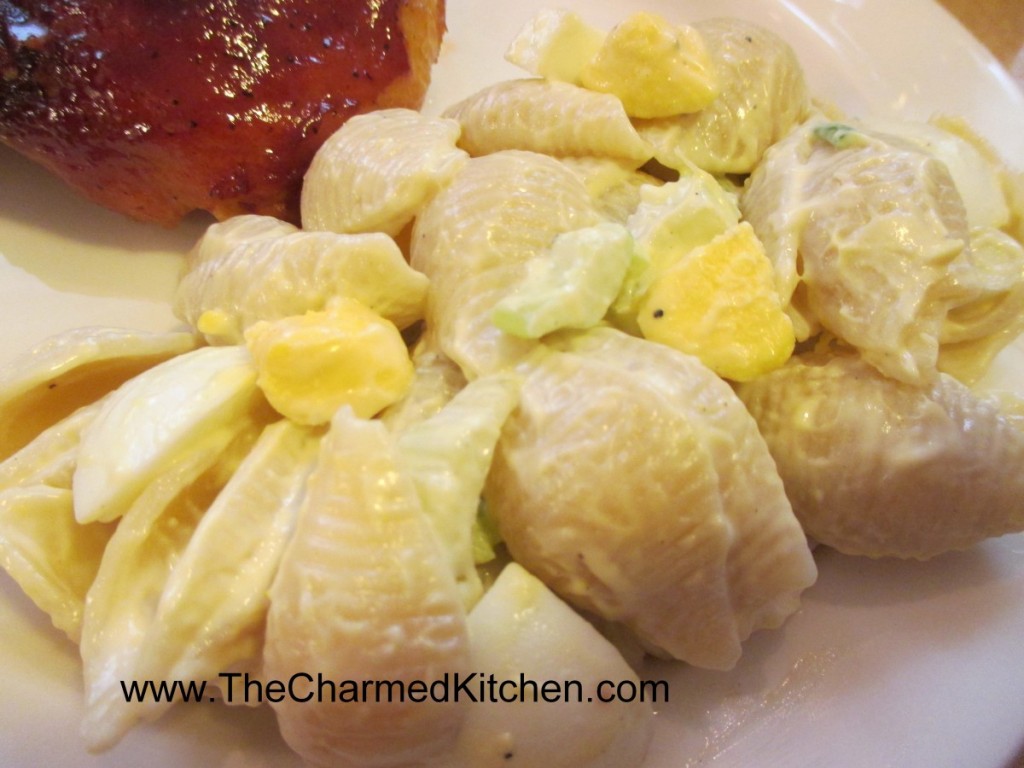
Mayo is not the evil purveyor of bacteria some people think. Mayo from a fresh jar, can actually retard the growth of bacteria. This does not mean you can leave the potato salad in the trunk for 3 hours because it has mayo in it. It just means that mayonnaise is not the culprit for food spoilage- bad handling was likely the cause.
While 2 hours is the maximum for food to be left out before being refrigerated again, use common sense. Obviously, on a 95 degree day that time is much shorter. Rather than one big bowl of pasta salad, bring several smaller ones that you can switch out. That way you always have cold salad that is safe. And bring plenty of serving spoons. It does no good to swap out the bowls of pasta salad for a fresh bowl, if you keep using the same serving spoon. Try to stay in the shade, too. Bringing some sort of canopy can keep food cooler than sitting in direct sunlight.
I am a big believer in a good hand washing being the best way to clean your hands- but you might not have running water where you are. Hand sanitizers are great when you don’t have hand washing as an option. I also bring a package of sanitizing wipes, in case a surface needs cleaning up, too.
If it is a hot day- you might want to have a large container, filled with ice, that you can put the bowls of salad into, to keep them colder. That way the salads are surrounded by the ice and stay cold a lot longer. You can use a small baby pool. I like to use a container designed for under the bed storage. Nice size.
In the end, it is about using common sense, and copious amounts of ice. Remember, that if you lose track of time, forget to put something back in the cooler or leave something in the trunk, it is always better to play it safe. When in doubt-throw it out.
Mini Strawberry Shortcakes


These little shortcakes are as cute as they are tasty. You can have all the components ready, then just assemble when ready to serve.
Fun to serve at parties, picnics and cook outs. Because these are small, they work well with other desserts on larger dessert trays.
I made the shortcake base with a scone recipe, and used a small ice cream scoop to put the batter on the baking sheet. They ended up looking like little sandwich buns.
I split them, and filled with sweetened strawberries. I replaced the top and added chocolate ganache and whipping cream to finish them off.
The scone is tender and not too sweet. Satisfying and light at the same time.
Mini Strawberry Shortcakes
The shortcakes
2 c. flour
1/4 c. sugar
½ t. salt
1 T. baking powder
1 1/4 c. heavy cream or 1 cup half and half
Preheat oven to 425 degrees. Sift together dry ingredients and gradually add cream to form soft dough. Stir mixture until it just holds together. Using an ice cream scoop place batter on baking sheet a couple of inches apart. You should get about a dozen. Bake 10-12 minutes or until golden. Makes about 12. Cool on rack until ready to use.
The berries
2 lbs. strawberries, sliced thin
1/2 c. sugar, or to taste
Combine berries and sugar in medium bowl and place in fridge until ready to use. Berries should be in the sugar for at least a couple of hours and can even be prepped a day ahead to allow the juices to come out of the berries.
The ganache
1 c. semi sweet chocolate chips or 6 oz. semi sweet chocolate, chopped
1/2 c. heavy whipping cream.
Combine both in double boiler or in microwave and heat until mixture is just warm enough to melt the chocolate. Stir until smooth.
The whipped cream – use whipped cream, sweetened or unsweetened according to your taste.
Assembly: Slice the caps off the tops of the shortcakes. Place a generous spoonful of the sliced berries on the bottoms of the shortcakes and spoon some of the strawberry liquid over them as well. Place the tops of the shortcakes back on and spoon on a dollop of the chocolate ganache. I let me get to room temperature so it didn’t drip down exactly as I had planned. Top with some whipped cream and serve. Makes about 12.


