Carrot Pasta Sauce

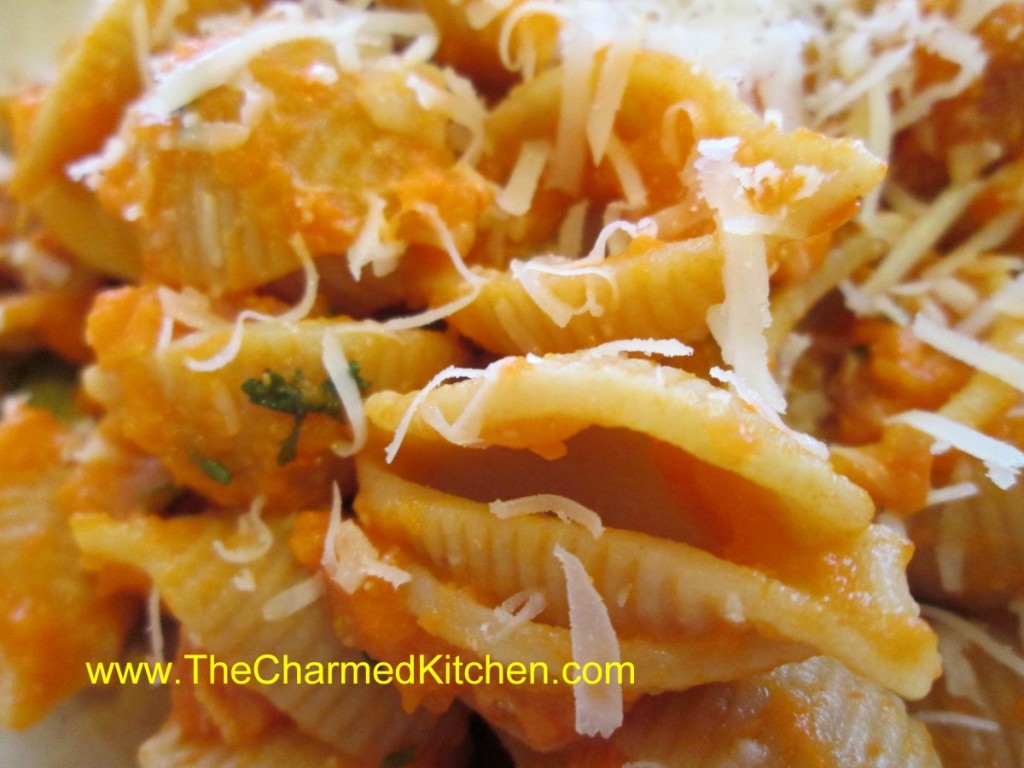
This pasta sauce is one of my favorites. Most people don’t think of carrots, when they think of pasta sauce, but maybe they should. It tastes wonderful and looks pretty, too. Since I was gifted some beautiful carrots this morning, I decided to make this pasta sauce with some of them. Thanks Courtney and Carl!!
It’s a simple sauce that packs a lot of flavor.
The process is easy. Just cook carrots, with sauteed onions and garlic in stock, until the carrots are really tender. Most of the liquid cooks off. Puree, adding cream or half and half and some dill. Adjust seasonings and you are done!
I used chicken stock, but you could use a vegetable stock for a vegetarian version of this dish. Toss the sauce with pasta, rice, or even with veggies or meats. You can add some fresh grated cheese, too, if you like.
You might get kids to eat carrots, this way.
Here is the recipe. I hope you try it.
Carrot Pasta Sauce
1 T. oil
1 onion, chopped
1 garlic clove, minced
1 lb. carrots, peeled and sliced
2 c. chicken or vegetable stock
Salt and pepper to taste
1/2 c. cream, half and half or evaporated milk
1T. fresh dill or 1 t. dried
Hot cooked pasta
Sauté onion in oil until tender. Add garlic, carrots and stock and
cook until carrots are very tender. Much of the liquid should have
evaporated by then. Place mixture in blender and add cream or milk,
mixing until smooth. Add dill and adjust seasonings, tossing over hot
pasta to serve. I sometimes top with some shredded Parmesan cheese, too.
Variations: Use sweet potatoes, pumpkin, winter squash or even peas for different tastes.
Chicken and Herb Dumplings

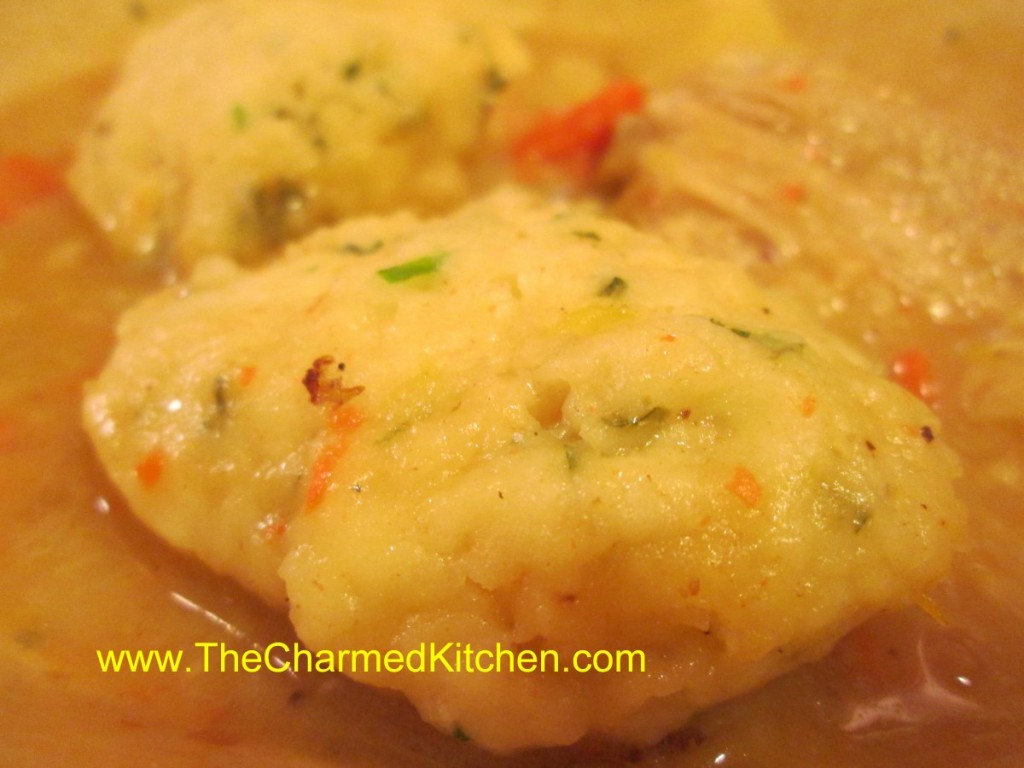
There are foods I will always associate with my childhood. Chicken and dumplings is one of those dishes. I can remember watching my Mom spooning the dumpling batter over the simmering pot of chicken and vegetables. She’d cover the pot and wait.
When she uncovered it, the dumplings had puffed up, and pretty much covered the whole dish. It was magical to me. The dumplings were so tender and light.
I can’t make this dish, all these years, later without thinking of her.
My mom made her dumpling batter with a buttermilk baking mix- like Bisquick. Eventually, she started making her own baking mix, like I do today.
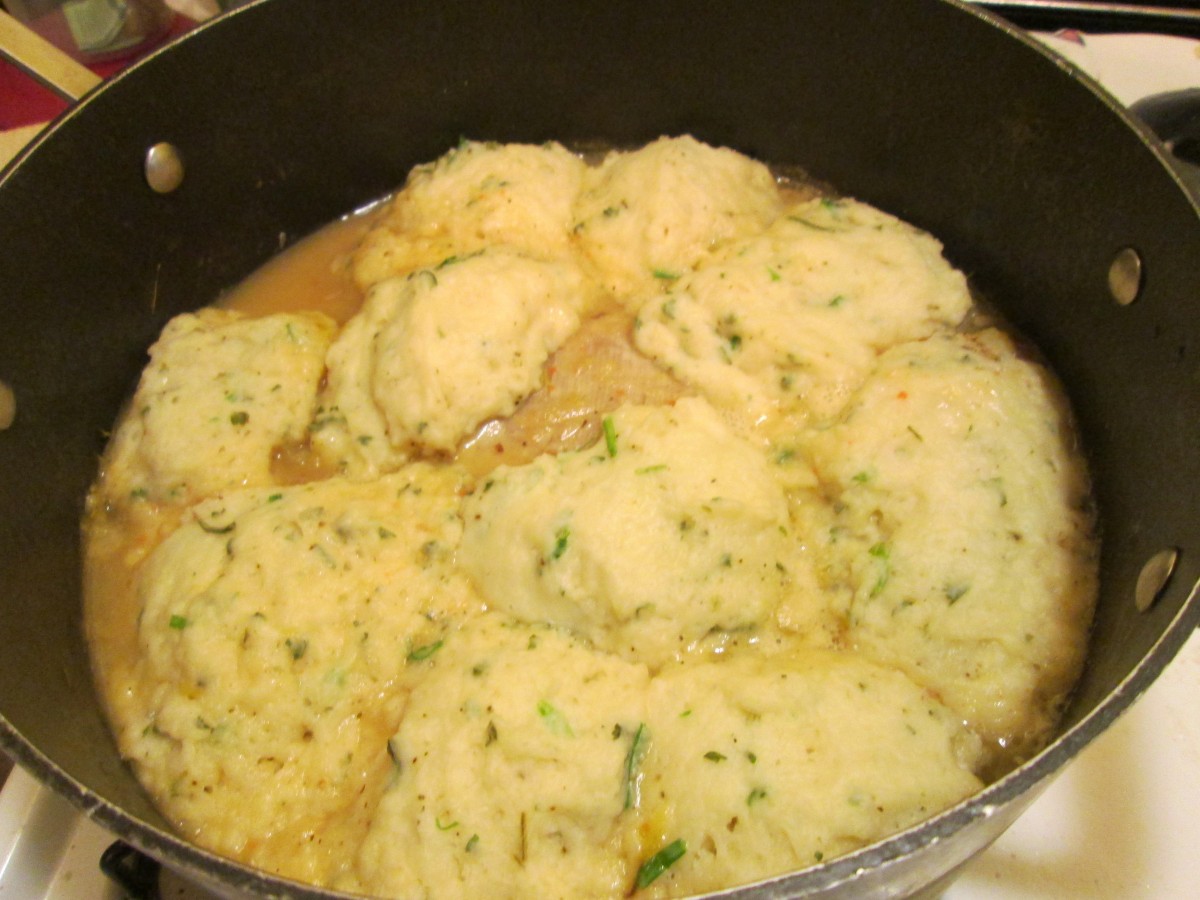
Dumplings will puff up when cooked
Mom’s Chicken and Herb Dumplings
1 T. oil
1 (3 lb.) broiler, cut into pieces
salt and pepper
flour for dredging
1 medium onion, chopped
2 carrots, peeled and sliced
3-4 potatoes, cut into chunks
2-3 c. chicken stock
1 t. each marjoram and thyme
1 c. buttermilk baking mix* , like Bisquick,I make my own, recipe follows
1/3 c. milk
2 t. fresh parsley
2 t. snipped chives or green onions
1/2 t. red pepper flakes
Season chicken pieces with salt and pepper and dredge pieces in flour.
Heat oil in large skillet and brown chicken pieces on all sides. Remove
chicken pieces and sauté onion until tender. Add carrots, potatoes,
broth and chicken to skillet and cook, covered, 20 minutes. Sprinkle
herbs over the chicken. Combine baking mix with milk, parsley, chives
and red pepper flakes and spoon batter in skillet in 8 mounds. Cover and
cook over low heat 20 more minutes. Serves 4.
*Here are two versions of the biscuit mix.
Chef Pastry Mix/ Biscuit Mix
8 cups sifted, all-purpose flour
1 c. powdered milk
1 c. powdered buttermilk
¼ c. baking powder
1 T. salt
2 c. shortening, coconut oil or butter- if using butter store in the fridge- coconut oil version should be stored in fridge in warm weather
Sift dry ingredients together 3 times. Cut in fat to resemble cornmeal. Keep in an airtight container. Store in a cool dry place and use within six months.
Whole Wheat Baking Mix
5 c. flour
3 c. whole wheat pastry flour
1 c. whole wheat flour
1/3 c. baking powder
1 c. powdered milk, not non-fat
2 t. salt
3 1/2 sticks butter
Mix dry ingredients together well, then cut in butter. Store in fridge for up to 3 months and can be frozen for up to a year. Makes about 12 cups.
Homemade Granola

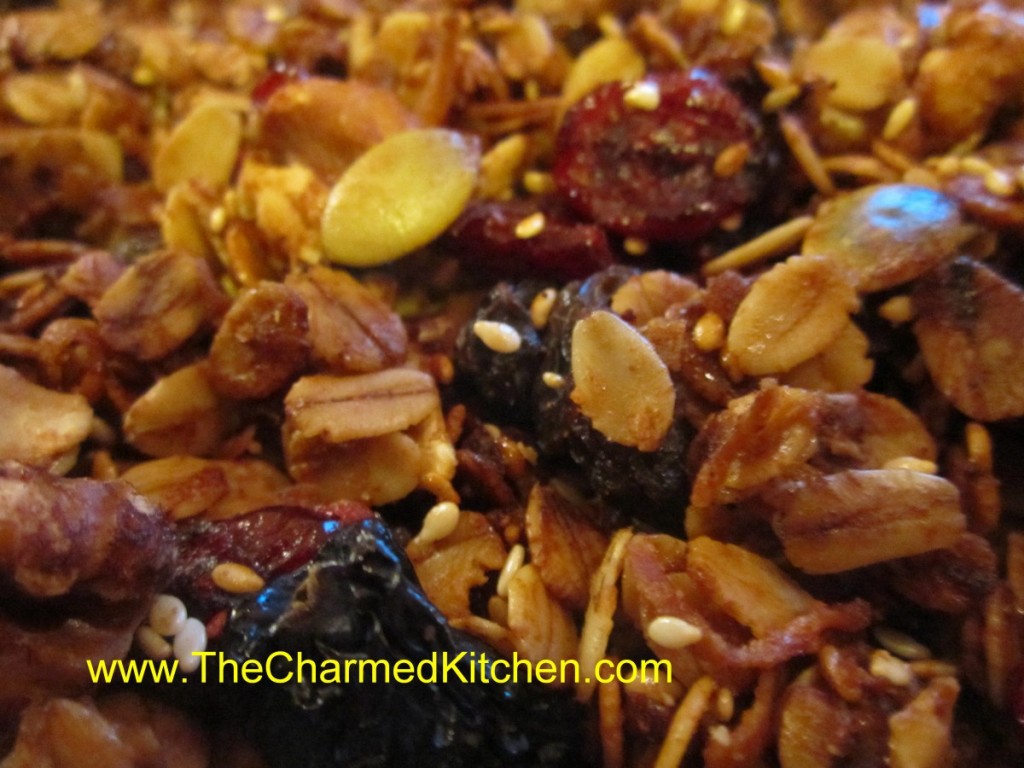
One of the advantages of making stuff from scratch, is that you get to control what goes in it. This is really true for granola. The boxed stuff in the store is often full of way too much sugar for my taste. The base for granola is toasted oats, but after that you can get creative. I use plenty of nuts and seeds, sometimes coconut, and finish it off with an assortment of dried fruits. This is a great recipes when you are eating out of your pantry. You can use what ever nuts, seeds and dried fruits you have around.
I prefer my granola less sweet than most commercial brands. By making my own, I get to control what, and how much, sweeteners to add. For my granola, I use honey to sweeten it. You can more or less, to suit your taste.
I know granola is most often thought of as a breakfast food, but it makes a great snack, and sprinkled on yogurt it can also be a tasty choice for lunch. Great to take along when hiking or going to the park. I actually like to sprinkle granola on ice cream, too.
Homemade Granola
3 c. rolled oats
1/4 -1/2 c. each of any of the following to equal 1-2 c. total
Sesame seeds, sunflower seeds, chia seeds, wheat germ, peanuts, pecans, almonds, hazel nuts, pumpkin seeds, walnuts, coconut… you get the idea. Don’t forget to chop up any big pieces.
1 t. cinnamon
1 t. orange peel
1/2 t. nutmeg
pinch of salt, optional
1/4 c. oil
1/4 c. honey- or add a little more if you like a sweeter granola
2 t. vanilla
Dried fruit to equal 1 -1 1/2 cups. Some choices could include: raisins, dried cranberries, cherries, pineapple, dates, figs, apricots, bananas, strawberries, blueberries etc. Cut up larger pieces.
In large bowl combine oats with seeds and nuts and toss well with seasonings. Heat together oil, honey and vanilla and pour over oat mixture, tossing to coat evenly. Spread on a cookie sheet and bake in a 300 degree oven for 30 minutes. Halfway through the baking time stir mixture so the edges won’t burn. Remove from oven and return to large bowl. Toss with the dried fruit and allow to cool before storing in an airtight container in a cool, dry place. Use in 1 month or store in freezer or fridge to keep longer. Makes 5-7 cups.
Peanut Butter Coconut Shortbread – Vegan

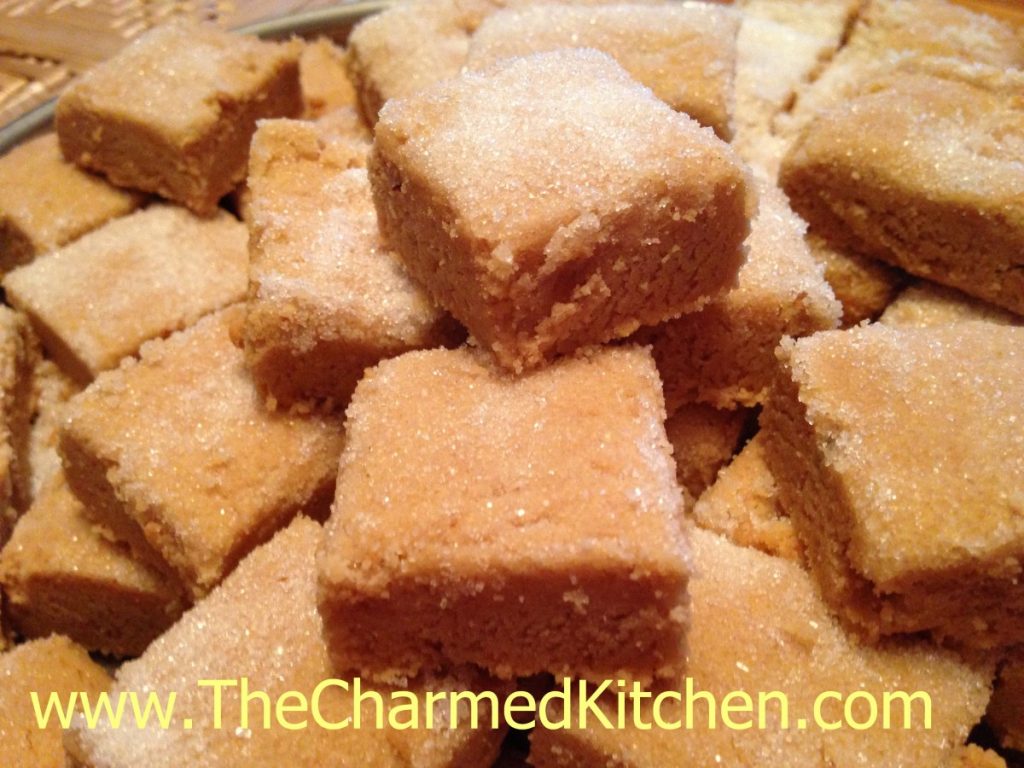
Since so many of us are confined home, ingredients for baking might be in short supply. These shortbread cookies don’t require eggs or butter.
The original recipe called for a pound of butter. I swapped out the butter with a cup each of peanut butter and coconut oil. It worked out great.
The cookies had that same wonderful crumbly texture and rich flavor you expect in a good shortbread cookie. I used crunchy peanut butter- it was what I had. I like the bits of peanuts in the cookies. I could see adding a few more chopped peanuts the next time I make these cookies.
You could also use other nut butters, like almond or cashew, if that is what you have.
Peanut Butter-Coconut Shortbread
1 c. sugar, plus 1/4 cup extra for sprinkling
1 c. peanut butter
1 c. coconut oil
4 c. flour
2 t. vanilla
Cream together sugar, peanut butter, coconut oil and vanilla. Stir in flour until mixture forms into a dough. Press into 9×13-inch baking dish. Sprinkle extra sugar over the cookies dough, and cut into squares. Bake in a 300 degree oven for an hour or until light brown around edges. Re-cut while warm. Makes 4 dozen. They can be frozen.
Nisu Bread

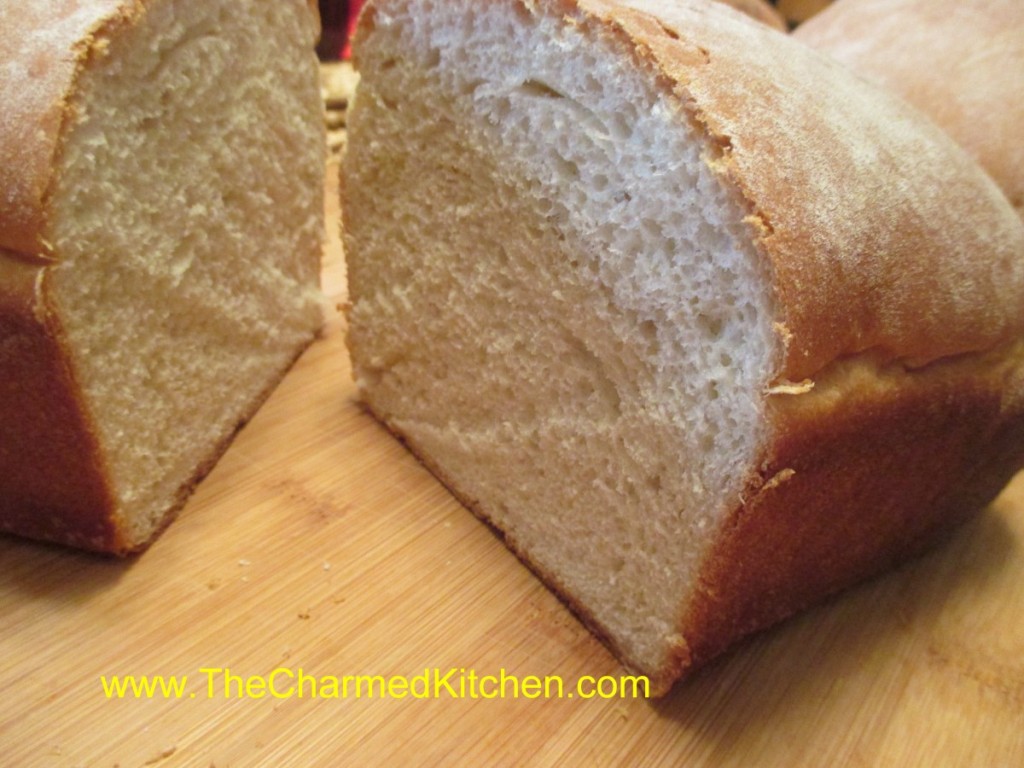
Since so many friends are staying home and baking bread, I wanted to share one of my favorite recipes. This wonderful recipe came from the Finn grandmother of two good friends. I think of her every time I make this bread. She was a sweet and loving woman.
Nisu is a soft, slightly sweet bread, made special with the addition of cardamom.
Cardamom is a spice that has a rich, sweet flavor and fragrance. You can purchase it whole, in pods, or ground. Cardamom is often used in baked goods and adds a nice flavor to frosting and glazes. It is also used to flavor coffee. Cardamom is a little pricey. The good news is a little goes a long way. If you buy ground cardamom, you can store it in the freezer to keep it fresh longer.
This bread is lovely just toasted, and makes great French toast. It is also a nice sandwich bread. The recipe makes three loaves, so you can leave one out and freeze the other two.
Nisu
½ c. warm water
2 packages active dry yeast
2 c. milk
½ c. sugar
2-3 t. ground cardamom
1 t. salt
6 T. butter
6-7 c. flour, preferably bread flour
2 eggs
Dissolve yeast in water and set aside. Place milk in large bowl and add the sugar, cardamom, salt and butter. Heat in microwave until liquid is very warm. Butter might not be completely melted. Stir mixture until sugar is dissolved. Place 2 cups of flour in a mixing bowl and add the milk mixture, eggs and yeast mixture. Beat on medium speed for 3 minutes. Add 1 cup more of the flour and beat 2 minutes more. Stir in enough of the remaining flour to make a soft dough. Turn onto a floured surface and knead until dough is firm and smooth, about 10 minutes. Place in an oiled bowl and turn dough to coat. Cover with a towel and allow to rest until doubled in bulk, about 1 hour. Punch dough down and divide into 3 pieces. Roll each piece into a loaf and place in greased 9×5 inch bread pans. Cover and allow to rise until doubled in bulk, about 45 minutes. Bake in a 375-degree oven for 30 minutes or until golden and loaf sounds hollow when tapped lightly. Makes 3 loaves.
Venetian Cabbage

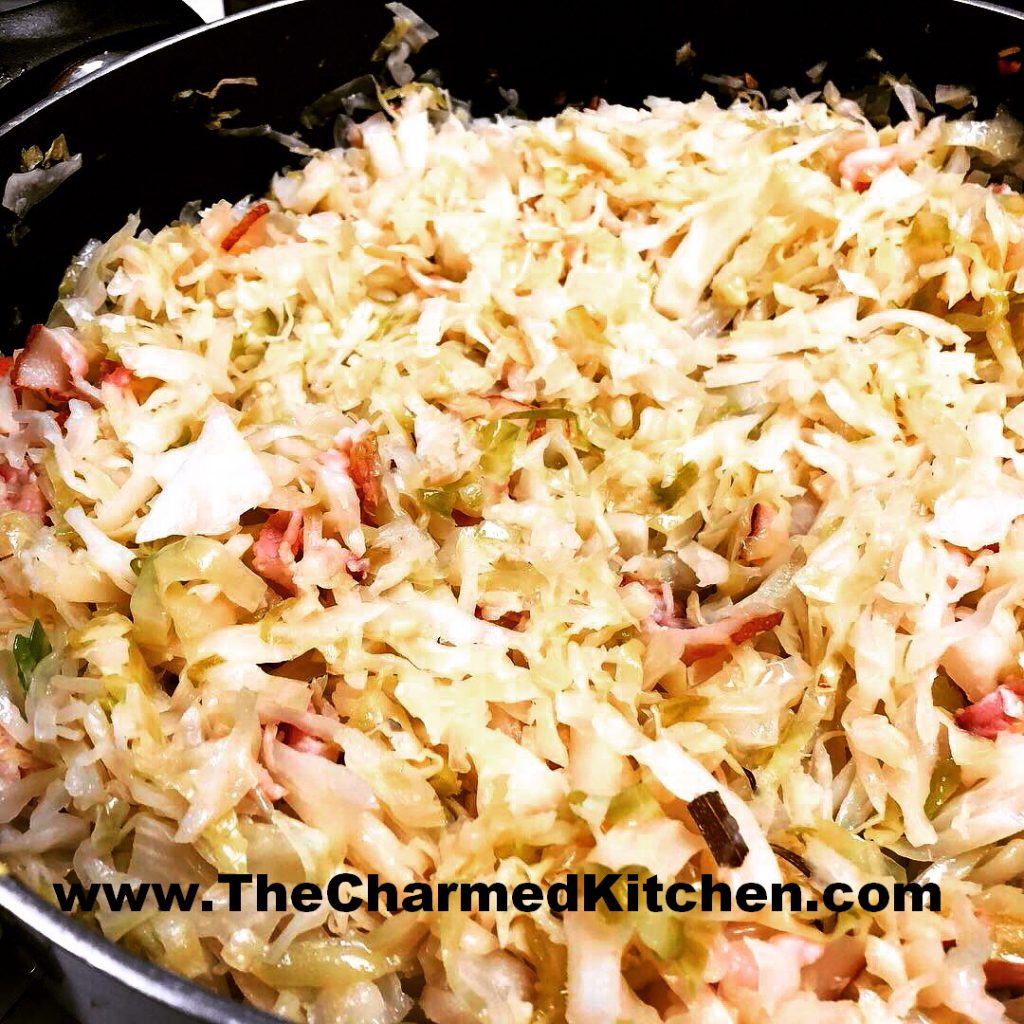
If you still have some cabbage sitting around after St. Patrick’s Day, you might want to try making Venetian cabbage. This Italian-inspired recipe really elevates the humble cabbage.
I love cabbage in all sorts of dishes. Maybe it’s my Eastern European roots. I really love it prepared this way.
Smokiness from the pancetta and a hint of rosemary and garlic really makes this dish sing. I made it last night, but didn’t cook it as long as the original recipe called for. I think I prefer it less cooked. The cabbage retained some crispness. My best advice is to taste this dish as it cooks to see how “done” you like it.
If you are looking for an easy and tasty way to prepare cabbage, try this recipe for Venetian Cabbage. I think you will be pleased.
Venetian Cabbage
1/2 c. minced pancetta (Italian bacon) or thick bacon
2 cloves garlic, minced
pinch of rosemary, minced- I used a bit more
1 T. olive oil
2 1/2 lbs. green cabbage, trimmed and shredded
1/2 c. chicken stock or white wine
Cook bacon, garlic and rosemary and oil in saucepan until mixture starts to sizzle. Stir in the cabbage, tossing to coat well. Cook, covered, over low heat for an hour, or a little less, adding the stock or wine a little at a time. Add salt to taste before serving. Serves 6.
Homemade Marshmallows

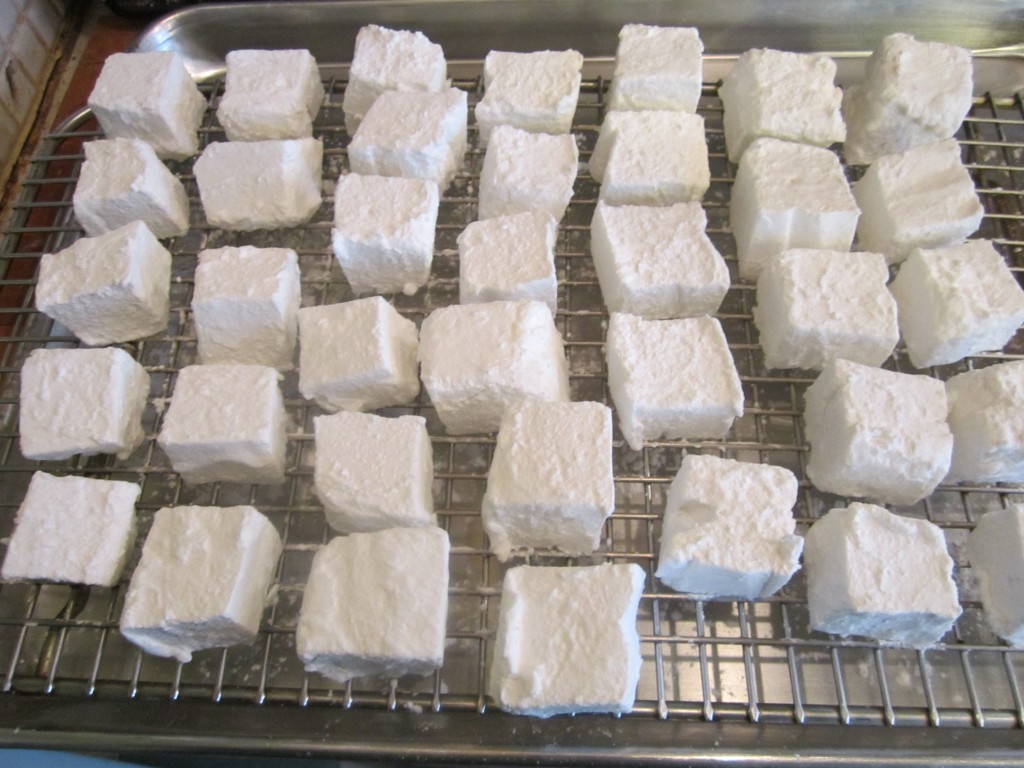
Marshmallows are very easy to make, and so much better than store bought. Kids can make them, too.
You don’t need a candy thermometer, or any fancy equipment. A stand mixer is a plus, as the mixture needs to be whipped for 15 minutes. When you finish the mixing process, you have marshmallow fluff. After the fluff has time to set, you have marshmallows!!!
My recipe is for classic vanilla marshmallows, but you can add different flavors and even colors, if you like. How fun to enjoy a mug of hot cocoa topped with homemade marshmallows. Maybe even make a mint version for your cocoa? They also toast up just like store bought marshmallows.
I’ve used this recipe for ages. I like that it is super easy, and still gives you quality marshmallows. I’ve seen more complicated versions- but why make life harder than it already is?
Marshmallows
1/2 c. cornstarch
1/2 c. powdered sugar
small amount of butter
2 envelopes unflavored gelatin, or 6 sheets of gelatin*
1/2 c. granulated sugar
1/3 c. water
2/3 c. corn syrup
1/2 t. vanilla
Combine cornstarch and powdered sugar in a small bowl. Butter an 8x8x2 inch-baking pan. Sprinkle with some of the cornstarch mixture. Reserve the rest of the mixture for use later on. Combine the gelatin, granulated sugar and water in a small saucepan and cook over low heat, stirring constantly until gelatin is dissolved.** Pour gelatin mixture into a large bowl, adding the corn syrup and vanilla. Beat with an electric mixer on high speed for 15 minutes. Be precise on the timing. The mixture will be thick and fluffy, marshmallow cream, actually. Place mixture into the prepared pan, spread evenly and refrigerate overnight. The mixture is very sticky. You might need to wet a metal spatula to get it spread out evenly. The next day, sift some of the reserved cornstarch mixture over the marshmallows. Sprinkle some more of the coating mixture on a work surface and turn the marshmallow out onto the prepared surface. Cut the marshmallows into 1-inch squares, coating as you go. The marshmallows are very sticky until completely coated. Allow to dry on a rack. Store in an airtight container for up to 3 weeks. Makes about 4 dozen candies.
You can swap out flavorings- using maybe mint or lemon in place of the vanilla. You can also add a few drops of food coloring, if you like. Oh, and when you are at the rolling the pieces around in the cornstarch and powdered sugar stage of the process- don’t wear black. You’ll thank me later for that.
* Note: 3 sheets of sheet gelatin= one packet (1 tablespoon) of powdered gelatin.
** Note: If you are using sheet gelatin, place it in the pan with COLD water and stir until dissolved. Then add the sugar and just cook, over medium-low heat until just warm, stirring often. Don’t let the mixture get too hot or the gelatin will not work.
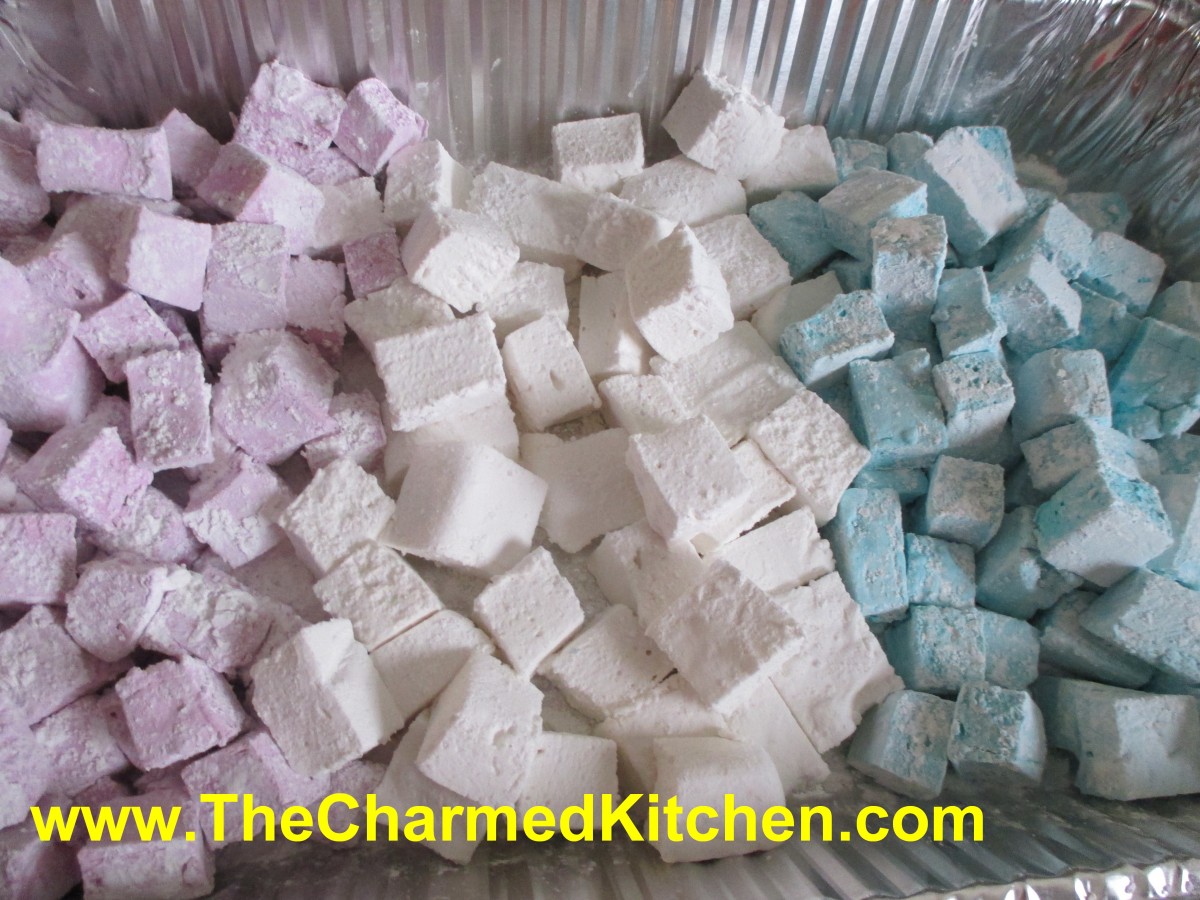
Rainbow Marshmallows
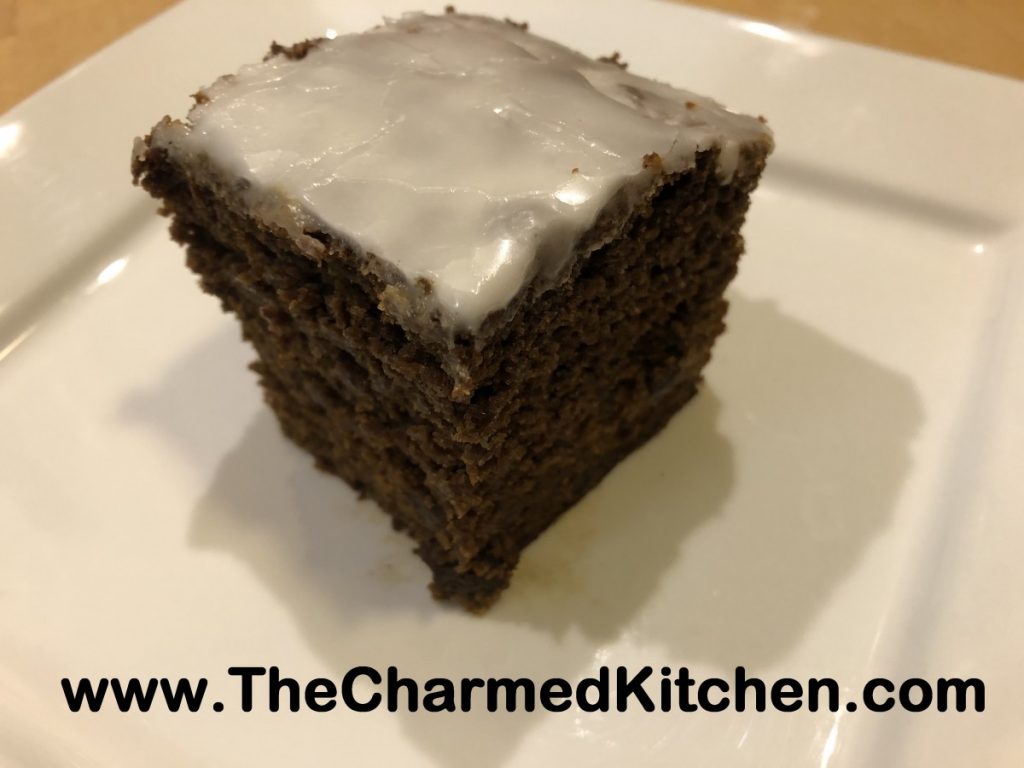
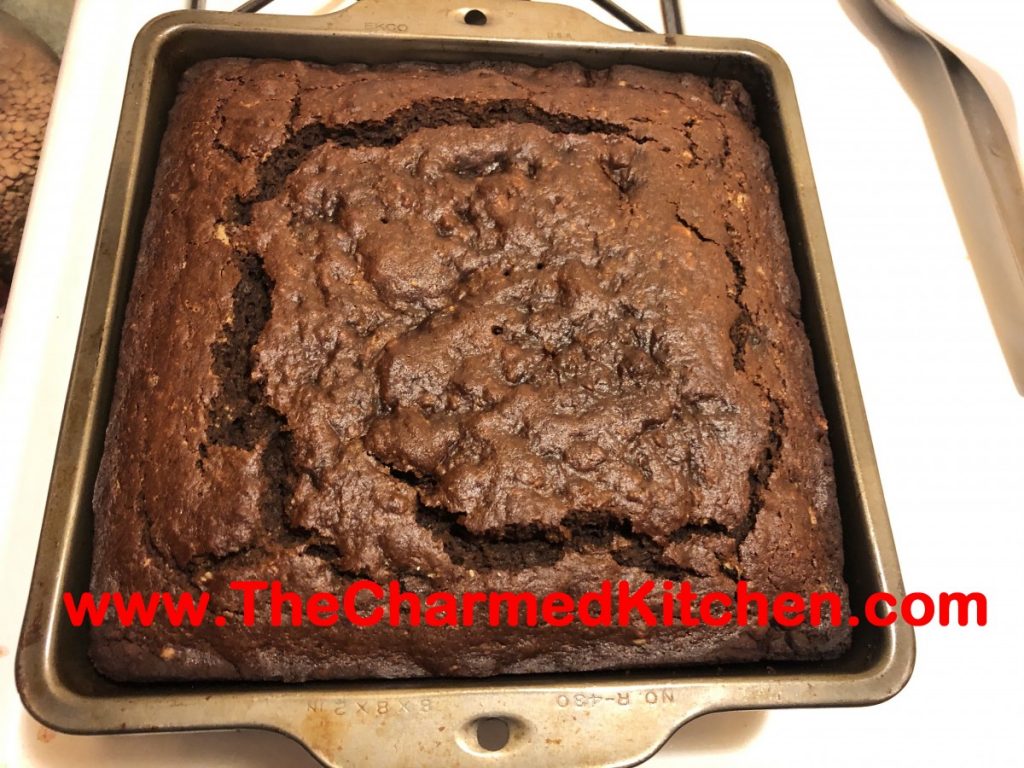
Old Fashioned Molasses Cake

I can remember the first time I made a molasses cake. I was about 17. The recipe was in one of my Mom’s “women’s magazines”. I loved the earthy flavor that the molasses gave the cake.
I also remembered that the cake had applesauce in it. I canned a lot of applesauce last fall and have been looking for recipes using applesauce.
I found the original recipe last night and decided to make the cake. I did change a few ingredients around. The recipe I originally used had shortening in it. I swapped it out for butter. I also added more spices.
It is every bit as wonderful as before. Moist, not too sweet, with just a kiss of spices. So, if you have a jar of molasses and some applesauce, give this cake a try.
Molasses Applesauce Cake
2¼ c. flour
1 t. baking soda
1 t. cinnamon
1 t. salt
½ t. nutmeg
Pinch of cloves
4 oz. butter, softened, 1 stick
1 c. applesauce
1 c. molasses
1 egg
¾ c. raisins, plumped in warm water, then drained well, optional
Glaze:
1½ c. powdered sugar
2 T. lemon juice
Preheat oven to 350. Grease an 8-inch square baking dish. Set aside. In mixing bowl combine dry ingredients and stir to blend. Cut in butter to resemble coarse crumbs. Add remaining ingredients to flour mixture and stir until blended. Pour batter into prepared pan. Spread out evenly. Bake for 40-45 minutes, or until toothpick inserted into cake comes out clean. Cool cake then top with glaze. To make glaze, combine powdered sugar and lemon juice in small bowl, stirring until smooth. Pour over the cake. Serves 8.
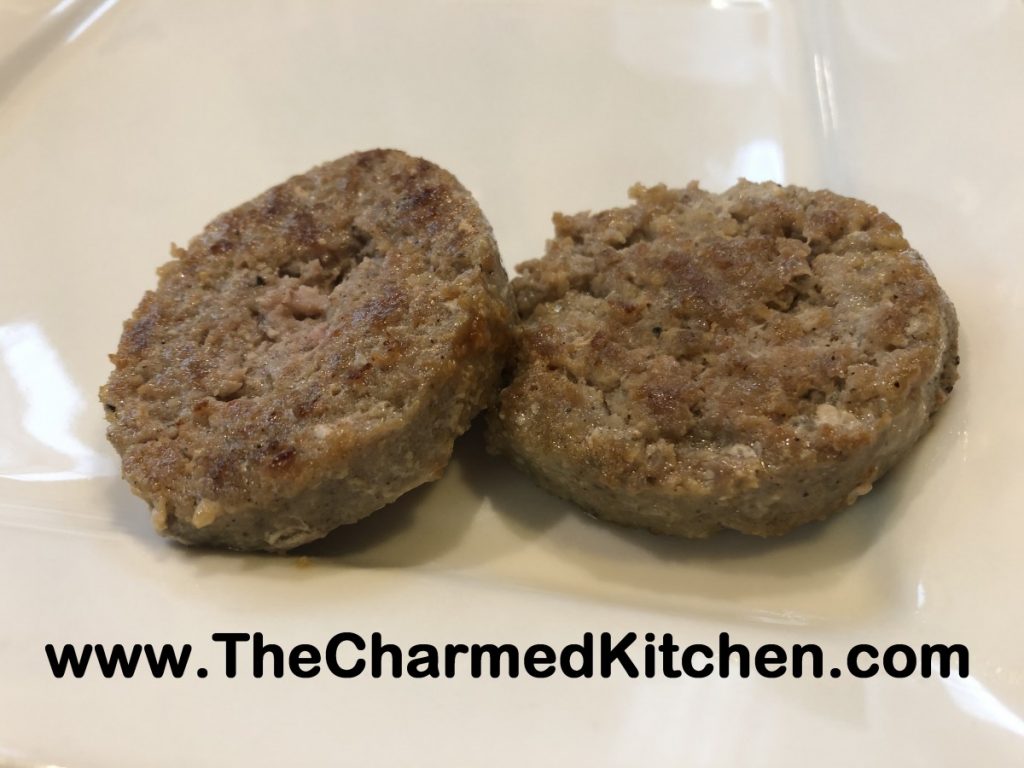
Homemade Breakfast Sausage

I wanted breakfast sausages, but didn’t have any, so I had to make my own.
These breakfast sausage are so flavorful. The nice thing about making your own sausage, is knowing all the ingredients that go into them. You can adjust seasonings to suit your taste.
Making sausage does not have to be hard. I grew up in a family that had a sausage stuffer. So making sausage seems pretty normal to me. But if you never made sausage, you really should give it a go.
I have a home movie, from before I was born, of my parents making Polish sausage. They were grinding the meat, seasoning it, prepping the casings and getting the meat into the casings. They made it look easy.
But if you make sausage without the casings, like these little breakfast sausages, the process is pretty simple. You don’t need any special equipment, either.
If you don’t have ground meat or a meat grinder, you can grind the meat in a food processor. Just cut the meat into cubes and place in the processor. Pulse on and off until you get the grind size you want. For these sausages, you want a pretty fine grind. Don’t put too much meat in at once. It is better to do a couple of smaller batches.
I made patties, but if you want links, just take the prepared mix, roll it out into tube shapes, wrap in plastic wrap and chill. Then just slice to the length you want. You can use ground pork, turkey, beef, chicken, venison or any combo you like. I even splurged once, and used ground duck.
Homemade Breakfast Sausage
2½ lbs. ground pork, turkey, beef, chicken (leave on some fat)
1 T. dried sage
2 t. salt
2 t. pepper
1 t. dried marjoram
½ t. dried thyme
¼ t. allspice
¼ t. nutmeg
¼ t. dry mustard
⅛ t. cloves
pinch of cayenne pepper
⅓ c. warm water
Mix herbs and spices with water and let stand 10 minutes. Add the water and spice mixture to the meat and blend thoroughly. Form into patties, and chill, or cook immediately.* You can also form into rolls, roll in plastic wrap and chill. Then just slice your patties from the rolls. Patties can be fried or baked. This sausage can also be frozen for later use. Makes almost 3 pounds.
* I have made my own brown and serve by cooking the sausage, over low heat in a large skillet. I add a little water and cover the pan, so they cook, but don’t brown. Cool and then freeze. When I want to have a few, I grab them out of the freezer and just brown in a skillet over medium-low heat.
Italian Wedding Soup

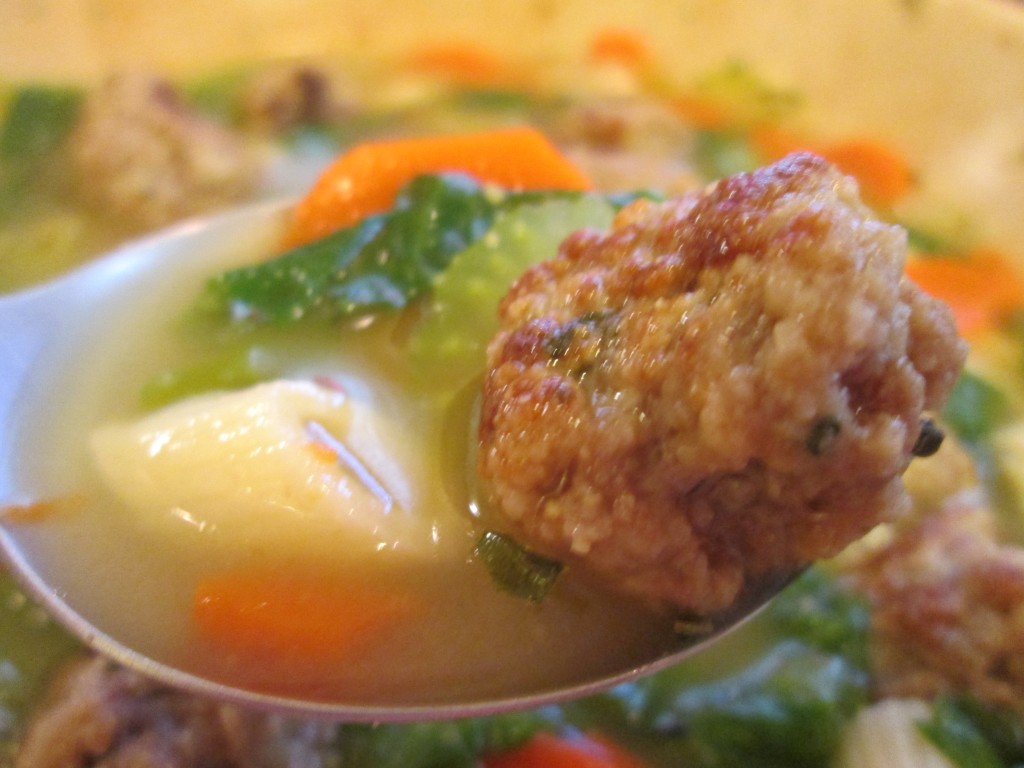
I love this soup. I’ve had different versions over the years, but they all have those wonderful little meatballs in common. This recipe came from the mother of a dear friend. I still have her handwritten copy in a file. Every time I make this soup I think of her.
Italian Wedding Soup
Meatballs:
3/4 lb. ground beef or a mixture of beef, pork and veal or turkey
1 egg, beaten
1/4 c. dry bread crumbs
2 T. grated Parmesan cheese
1 T. dried parsley or 3 Tablespoons fresh chopped parsley
1/4 t. salt
1/4 t. garlic powder or 2 cloves of minced garlic
1/4 t. each pepper and dried oregano
1 T. oil
Soup:
8 c. chicken stock, not too salty
1 c. thin sliced carrots
1 c. thin sliced celery
1/2 c. thin sliced green onions, optional
1/2 t. dried basil or 1 1/2 t. fresh chopped
1/2 c. uncooked small pasta, I like orzo
1/2 lb. escarole or kale, cut in thin strips
To make meatballs combine all ingredients except the oil and form into 50 tiny balls. Sauté in oil until browned on all sides. Drain. In large saucepan combine broth with vegetables. Bring to a boil and simmer, covered 10 minutes. Add basil, pasta, meatballs and escarole or kale and simmer 10 minutes longer. Serves 6-8.
Note: you can use spinach instead, but add for last 5 minutes of cooking.


