Homemade Vegetable Soup Base


I have made a lot of stuff from scratch- could I make my own soup base? I could, and I did! Not soup stock, but the stuff in jars that you just mix with water for instant broth. I wanted a no-meat soup base for when I was cooking meat-free.
I made a vegetable soup base that is a mixture of vegetables, both fresh and dried, herbs, mushrooms, nutritional yeast, spices and salt. There is pretty good amount of salt, but I wanted to be able to store it in the fridge and be safe.
It worked out that every teaspoonful of the finished base has less than 1/4 teaspoon of salt. Not great, but a lot less than bouillon cubes.
If you want to make yours with less salt or no salt- you’ll have to freeze the mixture in ice cube trays and take it out of the freezer as needed. Sort of like your own bouillon cubes.
The nice part is, I can now make a vegetable soup easily and I know exactly what is in it. It can also be added to chicken or other meat-based stocks, in place of the salt, to add extra flavor.
Homemade Vegetable Soup Base
4 carrots, peeled and cubed
3 celery ribs, washed and cubed
1 large sweet onion, peeled and cubed
3 green onions, washed and cut up
1 c. sun- dried tomatoes, soaked in water 30 minutes, and drained
1 c. dried mushrooms, soaked in water 10 minutes and drained
1 c. chopped cabbage
1 c. parsley, chopped
1/2 c. chopped sweet pepper
1/4 c. nutritional yeast, optional
2 T. turmeric
8 oz. salt- I used sea salt and used a scale to weigh it. It’s around a cup but will differ if you are using a coarse salt
Combine all ingredients, except the salt, in a food processor and blend until smooth. I have a decent size Cuisinart and still had to do this in batches. Combine in a bowl with the salt and stir well to blend. Store in a clean jar in the fridge until ready to use. I ended up with about 5 cups of soup base. To use, add about 1 teaspoonful to a cup of hot water for vegetable broth. Use less or more according to your taste. Use in place of salt in other soups, stews and sauces.
Orange and Oatmeal Scones


I love fresh scones, still warm from the oven. Since it is citrus season, I decided to make scones with some seasonal orange flavor. These scones have a nice, crunchy outside and crumbly, tender middle.
The orange juice and orange zest gives them a wonderful flavor. The oatmeal gives them a lovely texture and the raisins add just a bit if sweetness. A very nice combination.
These are great served warm, topped with sweet butter and jam. They are perfect for breakfast or brunch.
You can also use these scones as the base for a berry shortcake. Split, topped with sweetened berries and some whipped cream, they turn into a simple and tasty dessert.
Orange and Oatmeal Scones
2 1/2 cups flour
2 cups rolled oats
1 cup sugar
1 teaspoon salt
1 tablespoon baking powder
1/2 teaspoon baking soda
1/2 cup very cold, unsalted butter – cut into chunks
1 egg
1/2 cup orange juice
2 t. grated orange peel
1 cup raisins – plumped and well dried
Glaze
milk, sugar, orange zest
Line a large baking sheet with parchment paper (double two sheets if you have them – one inside the other). Preheat oven to 425 F. In a large bowl, place flour, oatmeal, sugar, salt, baking powder, baking soda and mix together. Cut or rub in butter to make a mealy mixture. Stir in egg and orange juice. Add orange peel and raisins. Mix to make a soft dough. Turn out onto a lightly floured board and knead for a few minutes. Roll or pat out into a thickness of 1/2 inch. Using a serrated cookie cutter cut into disks or rounds. Brush with milk and sprinkle with sugar and orange zest. Bake until nicely browned – about 14 minutes. Makes about 24.
Amy’s Skillet Chicken Pot Pie


I am not sure there is better comfort food than chicken pot pie, at least not for me. Brings back very nice memories. Maybe we all need a little comfort right now.
This chicken pot pie is made in a cast iron pan. It is started on top of the stove, then finished in the oven. Kind of the ultimate one-pot dinner.
My friend Amy was so proud of how this recipe turned out. She found the original recipe somewhere, but changed it, to make it her own.
It was, and is, the best chicken pot pie I ever tasted. For our dinner that night, Amy doubled the original recipe, and used a larger skillet. You could easily cut it in half and use an 8 or 10-inch skillet
Here is Amy’s recipe. Enjoy!!
Amy’s Skillet Chicken Pot Pie
¼ c. olive oil
2 T. butter
1 sweet onion, chopped
4 parsnips, peeled and sliced
4 cloves garlic, minced
1 tablespoon chopped fresh sage, optional
1 small bunch kale, center ribs and stems removed, leaves chopped
Kosher salt
freshly ground pepper
¼ cup all-purpose flour
3 cups low-sodium chicken broth
2 T. sherry
½ small butternut squash, peeled, cut into 1/2-inch pieces (about 1½ cups)
½ of a roasted chicken- meat removed from bones, torn into bite sized pieces – about 1½ cups of meat
1 sheet frozen puff pastry, thawed
1 large egg
Place a rack in upper third of oven; preheat to 425°. Heat oil in a deep 12-inch cast-iron or other heavy ovenproof skillet over medium-high heat. Add onions; cook, stirring occasionally, until beginning to brown, about 4 minutes. Reduce heat to medium-low. Add parsnips, garlic and sage to skillet and cook, stirring occasionally, until garlic begins to brown, about 2 minutes. Add kale and season with salt and pepper. Cook, tossing often, until wilted, about 4 minutes. Sprinkle flour over. Cook, stirring constantly, for 4 minutes. Stir in broth, 1/2-cupful at a time, then add squash. Bring to a boil, reduce heat, and simmer until squash is just softened and broth is thickened, 8-10 minutes. Add chicken to skillet, stir, and season with salt and pepper. Unfold pastry and smooth any creases; place over skillet, allowing corners to hang over sides. Whisk egg and 1 teaspoon water in a small bowl. Brush pastry with egg wash; cut four 1-inch slits in top to vent. Bake pot pie until pastry is beginning to brown, 15-20 minutes. Reduce oven temperature to 375° and bake until pastry is deep golden brown and crisp, 15-20 minutes longer. Let cool for 10 minutes before serving.
Dedicated with loving memory of Amy. Miss you forever, my friend.
Busha’s Beet Soup


This colorful, tasty soup, was first made for me by my Busha, my Polish grandmother. Beets are a big ingredient in Eastern European culture. My Mom cooked with them, too.
I have fond memories of spending time with my Busha. I stayed with her on weekends a few times. One of those weekends, she taught me how to make a wonderful coffee cake. I still have the index card where I wrote down the recipe as she went along making it. Busha didn’t write her recipes down much.
Another time, she made beet soup. I loved it. I think the color is what pulled me in. I was a big fan of pink back then. I still am, especially when it comes to this soup.
I love to use fresh, raw beets, when possible. You can use cooked beets, or even canned, if you like. Some time I use frozen beets.
I make homemade spaetzle, but other pasta or cooked, diced potatoes are good, too.
So here is the recipe for the soup and the spaetzle. I always think of Busha when I make it.
Busha’s Beet Soup
1 large onion, sliced thin
oil
5-6 medium beets, about 2 pounds
5-6 cups beef, chicken or vegetable stock
1 c. dairy sour cream
1 t. dill weed
cooked spaetzle, recipe follows
In soup pot, sauté onion in oil until starting to brown. Meanwhile, peel and dice the beets. You should end up with 5-6 cups of cubed beets. Add beets and stock to pot and bring to boil. Cover and turn down to a simmer. Cook until beets are tender, about 20- 25 minutes. Place sour cream in small bowl and ladle in a little of the hot soup, whisking until smooth. Add another ladle of soup and whisk again. Pour this mixture into pot of soup along with the dill weed. Serve with the spaetzle. Serves 4-5.
Note: You can also pre-cook the beets or use canned beets. Trim off leaves of beets, leaving 2 inches of stem. Leave roots intact. Boil beets in water until tender, which can take as little as 20 minutes for tiny beets or 45 minutes for the large ones. Cool in bowl of ice water and then slip off the skins. Dice and add to soup as if the beets were canned. You don’t need the long cook of fresh beets. Just bring soup up to a simmer.
If you prefer, serve the soup with diced boiled potatoes or kluski, rather than the spaetzle.
You can serve the sour cream on the side, rather than incorporating it into the soup, then allow people to add a dollop of sour cream to individual bowls. Polish beet soup usually adds the sour cream and Russian style is to dollop on the top. Both versions taste good.
Spaetzle
3 eggs
1/2 c. half and half or evaporated milk
1/2 t. salt
1 1/2 c. flour
Combine all ingredients and let rest 30 minutes. Drop by small spoonfuls into boiling water. Cook until they float and puff up, about 5 minutes. Drain and serve with soups, stews, sauces or buttered.
Whole Wheat Swiss Cheese Bread

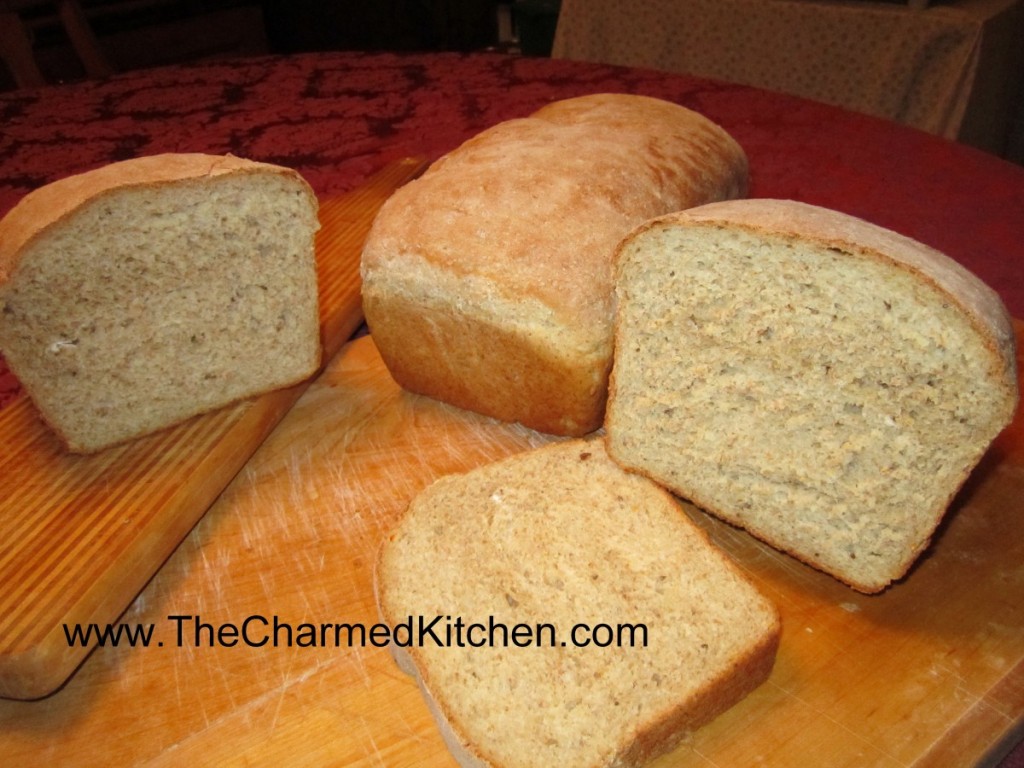
This really is a great bread. The dough has Swiss cheese melted into it- giving you great texture and flavor. It is also a cool- rise recipe. That means the dough is prepared, rested for a bit, shaped and then popped in the fridge to rise. It can be baked several hours later or even the next day. You can prep it in the evening- let it rise in the fridge overnight- and bake it in the morning. Great for when you want homemade bread- but don’t have a long block of time to make it.
The bread has a lovely crumb and makes nice sandwiches, toasted or un-toasted. Here is the recipe. Enjoy.
Whole Wheat Swiss Bread
3 c. flour
2 ½ -3 c. whole wheat flour
2 packages active dry yeast
2 T. sugar
2 t. salt
1 c. each milk and water
4 oz. diced Swiss cheese
3 T. butter
Oil
Combine 2 cups of the flour with the yeast, sugar and salt in a mixing bowl. Heat together water and milk with cheese and butter until warm, cheese does not have to melt. Add to flour mixture and beat 3 minutes. Stir in remaining white flour and beat 2 minutes. Stir in enough whole wheat flour to make a soft dough. Knead on floured surface until smooth and elastic. Cover with bowl and let rest 20 minutes. Divide dough in half and shape into loaves by rolling out and then rolling into a loaf and sealing seams. Place in greased 8×4 inch loaf pans and brush with oil. Cover with plastic wrap and place in fridge. Chill 2 –24 hours. Remove from fridge and remove plastic wrap allowing to stand while oven preheats. Bake at 375 for 35-40 minutes. Remove from pans and brush with butter. Cool. Makes 2 loaves.
Magic Cauliflower Soup


When I made this soup, I knew it was extra good. A friend was over and I gave him a bowl to taste. He looked at me and said, “This is the best cauliflower soup you ever made.” I think he might be exaggerating a bit, but it is really good.
Making soup is a funny thing. I start out with a base of ingredients and then ad from there based on what I have and what sounds good. I rarely make a soup I don’t like at this point, but some are just better than others. Some are really, really good. I think of it as soup magic.
I didn’t have a name for the soup yet, so I decided to call it Magic Cauliflower Soup. I thought it was funny and fitting. I did write down what I did so I can make it again. I will definitely be making it again.
The soup lives up to its name. It has plenty of flavor, even without the toppings. With the toppings, it becomes something very special.
If you are looking for a really good and easy soup recipe- I suggest you give this one a try.
Magic Cauliflower Soup
3 T. oil
1 large onion, chopped
1 small head cauliflower, chopped- about 6 cups
1 qt. chicken stock, but you could use beef or vegetable stock instead
1 qt. canned tomatoes, I had home canned, you could use a 28 oz. can of tomatoes
4 ribs celery, chopped
2 potatoes, peeled and diced
2 T. curry powder, I used my homemade curry powder
2 t. turmeric
1 t. cumin
Salt and pepper to taste
Mushroom topping:
2 T. oil
1 onion, diced
1 lb. baby Portobello mushrooms, sliced
3 T. chopped parsley
Salt and pepper to taste
Additional toppings:
Green onions, sliced
Cashews, you could also use peanuts
Sesame oil
Heat oil in soup pot and cook onion until tender. Add cauliflower and cook about 5 minutes longer. Add remaining ingredients and cook, uncovered, until vegetables are very tender, about 30 minutes. While soup is cooking, make mushroom topping. Heat oil in medium skillet and cook onion until golden. Add mushrooms and cook until mushrooms are almost caramelized, about 10 minutes. Add parsley and cook a few more minutes. Set aside until ready to use.
Once soup veggies are tender, puree until smooth. To serve soup, ladle some hot soup into a bowl. Top with some of the mushrooms and add a few green onions, cashews and a drizzle of sesame oil. Serves 6.
A New Year- A New You


There is something to be said for starting over, making resolutions and a feeling of hope and optimism. The clean slate. Renewal. Many of us do it every year. Big hopes that this year we will make those changes and lose the weight, get organized or write that novel. Its human nature, I think.
There is a little bakery a few minutes from my house. They close every year the first two weeks of January. They say business falls off right after the holidays, what with everyone making New Year’s resolutions. When they reopen the third week of January, business pretty much goes back to normal. There is a lesson in there somewhere.
So is the answer to not make resolutions? I don’t think its that simple. I think any day can be the day that change happens. Its more about planning and realistic goals and a support system than just making a long, often unrealistic, list of goals.
Maybe its more about incremental changes. Smaller, doable goals. And sharing the journey with a friend. A buddy system to keep you both on track. I used to go swimming every morning before work. Those who know me know that I am not a morning person. But a friend had access to an indoor pool. It was so cool to be swimming in a warm pool with snow outside. And I love swimming. No one was there most mornings so we had the place to ourselves. I felt wonderful. But on days when I wanted to sleep in, the fact that my 2 friends were going, got me out of bed. We all encouraged each other on different days.
So what do we do? Maybe start with an honest internal conversation. If we can’t be honest with ourselves, how likely are we to succeed? Writing stuff down helps me, but I have always been a list maker. Journaling helps a few of my friends. Might work for you. Somehow writing things down makes them more real and helps me to focus.
Don’t do it alone. Look to friends or family for support. Consider using the buddy system. Find a professional, if needed. Reading the right book might be what helps you. The better the planning, the better the odds.
Be prepared to have set backs and bad days. Get back up on the horse. This is my weak spot. I get frustrated if I have a bad day and I give up. That is where the buddy system can help. Don’t beat yourself up too badly if you don’t succeed at first. We learn from our failures and our successes. Having a friend can really help.
So here’s to a good year ahead and to everyone I love having a good year, a better year. And if you don’t have some amazing new accomplishments, may you at least make some changes, some positive steps towards your goals. I’m still going to love you, either way. Love you bunches.
Mom’s Sweet and Sour Cabbage

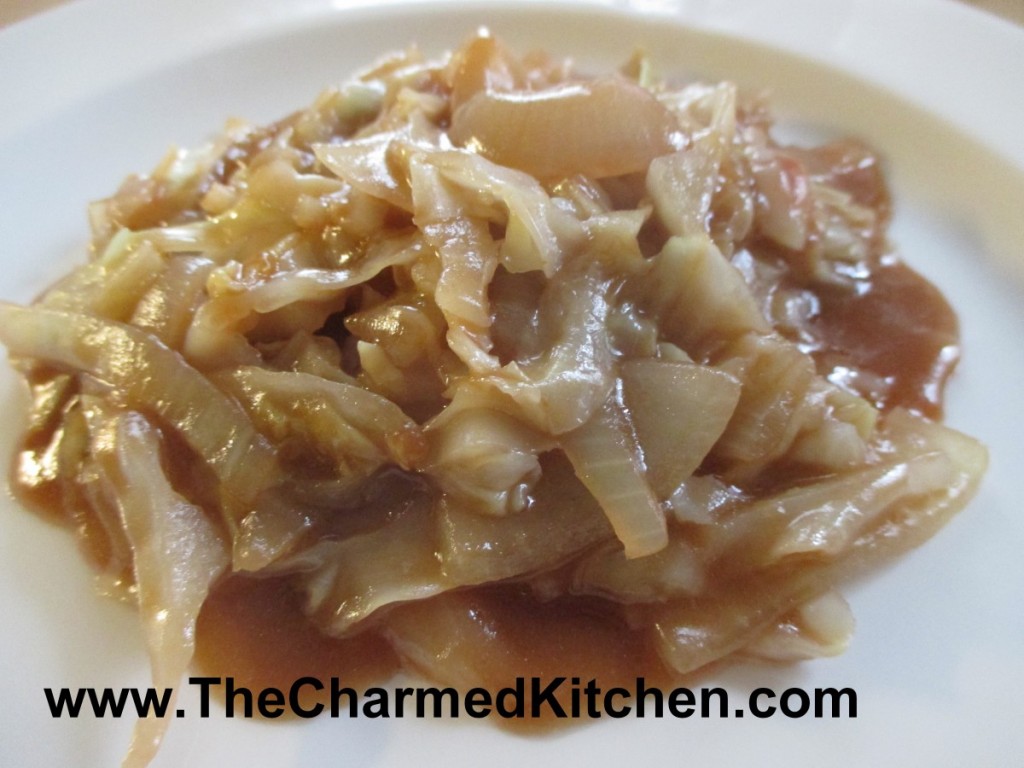
This cabbage dish is great served with pierogi, roast chicken or pork chops. Sometimes I just serve it over noodles. If you cut the cabbage into small pieces, you can also use it as a filling for pierogi.
The recipe calls for using a paste-type soup base for flavoring. This was a little change from how my Mom made it, but it was hard to explain what she really did. Using the soup base is a way anyone could make this cabbage dish. Every time my mom roasted a chicken or maybe a pork roast, she would save all the drippings from the pan. She’d strain them and chill it to remove the fat. She would take the drippings and pop them in a container in the freezer. Once she had a “nice amount”, she would use it to flavor the cabbage. You can see why I used the alternative soup base directions. You could also use chicken or vegetable stock, in place of the water, for more flavor.
Here is the recipe. Hope you enjoy it as much as I do.
Sweet and Sour Cabbage
3 lbs. sliced cabbage, about a 3 ½ lb. head or 3 lbs. Cole slaw mix
1 onion, sliced
1 T. oil, butter or even bacon fat
3 c. water
1 T. paste type soup base or to taste
½ t. thyme
1 t. dillweed
1 t. marjoram
1 T. soy sauce
1 T. Worcestershire sauce
¼ c. balsamic vinegar
2 T. sugar
½ c. catsup
1 c. water
¼ c. flour
Sauté onion in oil until wilted. Bring water to boil in large pot. Add soup base and add cabbage. Stir in onions and remaining ingredients, except for the 1 cup of water and flour and cook, uncovered until cabbage is tender. This can take from 15-25 minutes, depending on the age of the cabbage and the size of the pieces. In jar with a tight- fitting lid combine remaining water and flour and shake until smooth. Add to cabbage mixture and cook, stirring until thickened, about 2 minutes. Adjust seasonings. This dish is great served alone, or with pork or chicken dishes or with potatoes.
Wine and Tequila Punch


I would never have thought that combining tequila and wine would taste so good, but it really is a great drink for parties. I had a request for this recipe, and I am going to share it with you, the best that I can.
I normally am pretty good about measuring ingredients and writing things down, but a friend actually made it.
My friend Sue, is a very good cook. She has great instincts when it comes to flavors. She is also lovingly known as the Queen of Substitutions. She will start with a recipe and then just add what she has on hand. Often things work out, sometimes, not.
This is one of those times when things worked out very well, indeed. She was watching TV and saw a recipe for a tequila and wine punch. She had the tequila and wine, but not quite all of the other ingredients, so she kind of made it up as she went along. The end result was a drink that was not too sweet and very refreshing. She used bottled margarita mix, but I included a recipe to make your own.
So here is the recipe.
Wine and Tequila Punch
1 1/2 c. tequila
1/2 bottle of wine, use what you have on hand, Sue did
1 c. margarita mix*
1 c. orange juice
1 or 2 oranges, sliced thin
ice
In pitcher, combine tequila with wine, mix, juice and oranges. Add lots of ice, stir and serve.
Margarita Mix
You can make your own margarita mix. Combine 1 cup of water and one cup of sugar. Bring to a boil, stirring to help dissolve the sugar. Add 2/3 cup each of lemon juice and lime juice- fresh squeezed preferred. Store in fridge until ready to use.
The Science of Creamy Mac and Cheese


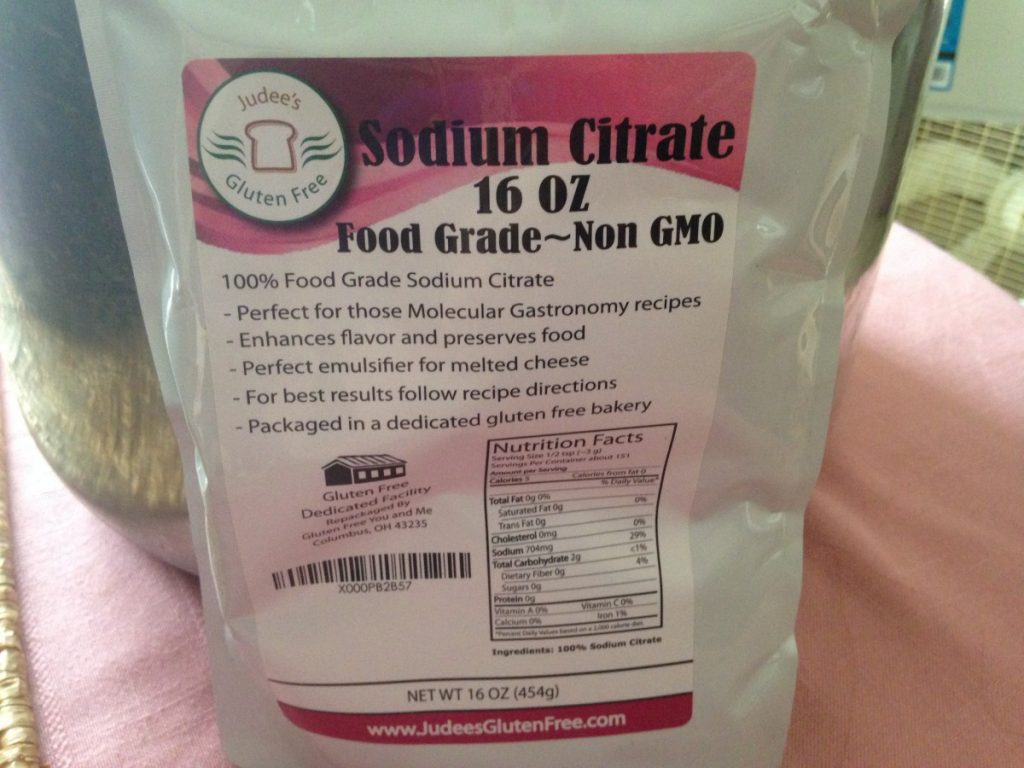
I knew about sodium citrate and its effects on cheese sauces. It took me a while to try it myself. The end result was the creamiest cheese sauce ever. Now I use it all the time when I want a really creamy cheese sauce.
Sodium citrate is the natural salt of citric acid. It has a sour taste, and is used as a preservative and food additive. It is also used in sour candies.
For a lot of us, making a cheese sauce involves making a classic white sauce, or béchamel. Flour and butter are combined in a saucepan, then heated together until the butter melts and the mixture is smooth. Then you add milk, cream or half and half. Once the mixture thickens, you add the cheese and end up with a cheese sauce. Wonderful and classic, but some cheeses don’t melt that well. You end up with a tasty, but somewhat un-creamy end product. Even a bit grainy. When I made both versions for friends, the sodium citrate version was preferred, hands down. We’ve also made mac and cheese both ways in cooking camp and the kids definitely prefer the sodium citrate version.
There is a way to make the creamiest cheese sauce ever and it involves a little science. When you make a cheese sauce, the cheese will melt, but sometimes has a grainy texture. That is because of the way the proteins bond with calcium in the cheese. When you combine warmed liquid with a little sodium citrate, then add the cheese, the sodium substitutes for some of the calcium and the cheese breaks down better. The end result is a really creamy sauce.
The liquid you use can be water or milk. I like half and half. I found several recipes on line. I played around, and ended up with the recipe below. Some directions said you have to use an immersion blender to get a creamy result. I did that the first time and the sauce was very creamy. I used a whisk the next time. I found whisking worked just fine. These days I normally just give the sauce a vigorous stirring.
You want to be sure to use food grade sodium citrate.
Super Creamy Mac and Cheese
1 lb. dry pasta
2 T. butter
2 c. half and half – you can also use water, milk, broth
2½ t. sodium citrate
1 lb. shredded cheese- I’ve used cheddar, Muenster or any cheese that melts well, will work
Salt and pepper to taste
Cook pasta according to package directions. Drain, place in bowl and toss with the butter. Set aside. Heat half and half in a saucepan, over medium heat. Stir in the sodium citrate and bring to a simmer. Add the cheese slowly, about ¼ cup at a time, whisking or stirring well until melted before adding more. Sauce will become thick and creamy. Once all the cheese has been added, stir in the prepared pasta, adjust seasonings and serve. If you like, you can place mac and cheese in a casserole, top with buttered bread crumbs and bake until bread crumbs are toasted, about 20 minutes at 350 degrees. Serves 6-8. Note: The last time I made mac and cheese I just dumped most of the cheese in at once, instead of slowly. It worked fine. Adding it slowly just helps you control how thick you want the sauce to be. If it gets too thick you can stir in more milk or even add some water.