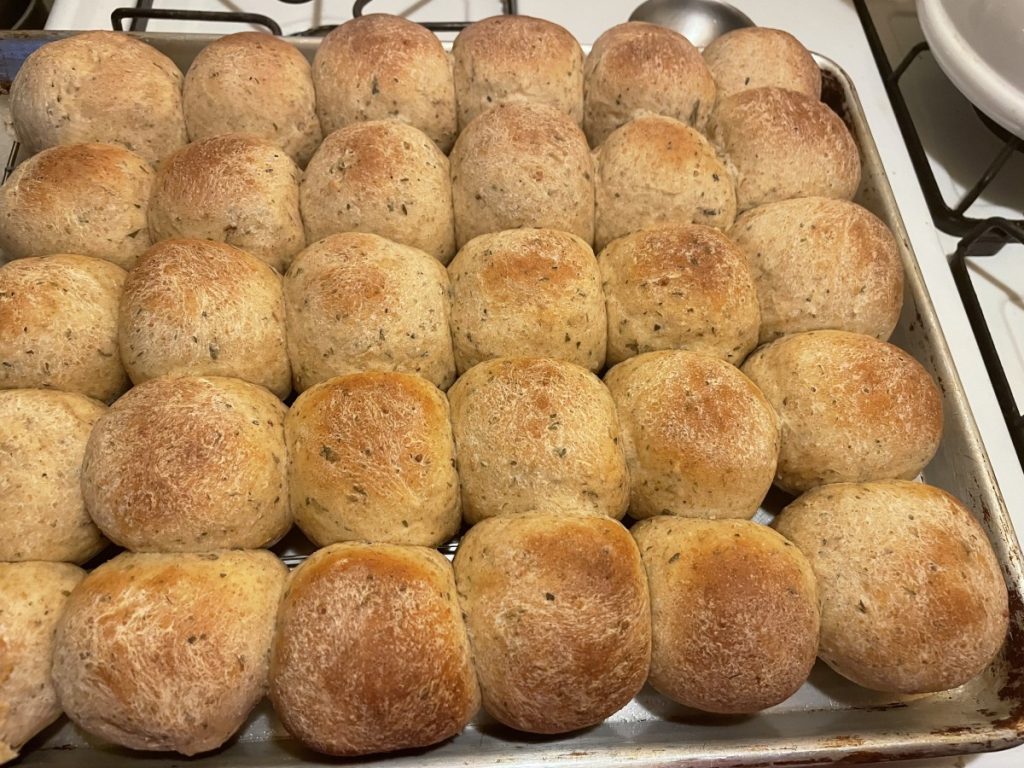
Roasted Curry Cauliflower Soup

This may be one of my favorite soups yet. Creamy and flavorful it was a big hit at dinner the other night. This recipe was inspired by what I had on hand and a dinner planned with friends. It started with this enormous cauliflower I had picked up at a produce market. I knew I wanted to use it. I had thought of just roasting it and having it as a side.
I also knew we needed a soup for dinner. Ended up roasting the cauliflower anyway but using it as part of the soup. Added other veggies for color as well as flavor. I also made sure to get it really smooth. I used an immersion blender but it could have been processed in a blender. We topped it with croutons, but it could be served without, if you prefer.
Roasted Curry Cauliflower Soup
3 onions, peeled and sliced
1 large cauliflower, cut into florets
3 T. oil
salt
6 c. stock- chicken or veggie- or more if needed
2 medium or 1 large sweet potato, peeled and sliced
3 large carrots, peeled and sliced
1 can ( 13.5 oz.) coconut milk
1 c. half and half- or more coconut milk, if you prefer
2 T. curry powder
2 t. turmeric
Salt and pepper to taste
Preheat oven to 400 degree. Place onions in and cauliflower in roasting pan and drizzle with oil. Sprinkle on some salt and place in oven. Roast until veggies are turning golden brown, stirring occasionally. This will take about 20-30 minutes. Place cauliflower mixture in a crock pot and add the stock and other vegetables and cook on high for at least 4 hours. Add remaining ingredients and puree soup until smooth. Adjust seasonings. You can add more stock if soup is too thick. Serve as is or top with croutons when serving. Serves 6-8.
Almond Biscotti

I love these biscotti. They are just the thing to dunk in a cup of hot coffee or tea. Besides chopped almonds, they are flavored with Amaretto, lemon zest and lemon juice. The almonds and lemon work really well together.
The hard texture of biscotti comes from twice baking them. First the dough is formed into a log and partially baked. Then the “log” of dough is sliced- and the slices are baked a second time. For the second baking, most recipes tell you to turn the biscotti halfway through the baking process. This is so they dry and crisp up on both sides evenly.
I have a much easier way to handle the second bake. Just place a cooling rack on your baking sheet. Then arrange the slices on top of the cooling rack. Now, when you bake the slices- the heat dries them out and crisps them up on both sides. No need for turning them over mid-bake.
Biscotti are so easy to make, I wonder why more people don’t make their own. The ones from the store are never as good.
So here is the recipe. I hope you try to make your own biscotti, if you haven’t before.
Almond Biscotti
2 c. flour
1 t. baking powder
1/4 t. salt
1 c. sugar
3 eggs
2 T. Amaretto liqueur
1 T. lemon juice
2 t. grated lemon peel
2 c. coarsely chopped almonds, about 9 oz.
Combine dry ingredients and set aside. Beat sugar and eggs together until light and lemon colored, about 3 minutes. Mix in liqueur, juice and peel. Beat in dry ingredients and stir in almonds. Mixture will be very sticky. Spray large baking sheet with non-stick coating. By spoonfuls transfer dough to baking sheet forming 2 14-inch long strips. Using floured hands shape each strip into 2 1/2 inch wide log. Bake in a 350-degree oven for about 30 minutes. Logs should be light golden and firm to touch. Transfer to cutting board and using a serrated knife, cut into 3/4-inch thick slices. Place a cooling rack on your baking sheet and arrange slices on top of the cooling rack, cut side down. Bake 11-12 minutes. Remove from oven and cool completely. Can be stored in airtight container for a week. Makes about 40.
Sweet Potato Gnocchi
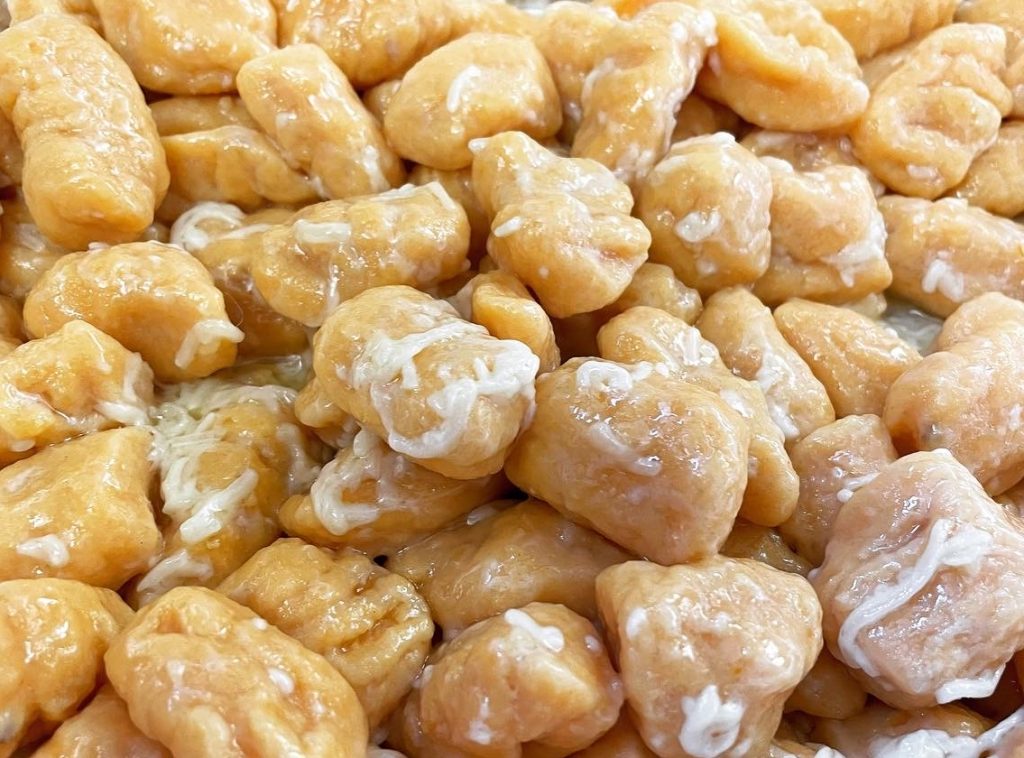
These tasty dumplings are easy to make and taste just wonderful. In many ways I think they are easier to make than pasta. The dough is mixed and rolled into ropes, then cut into individual pieces and boiled. No rolling pins or heavy lifting required. You can add the traditional gnocchi ridges by rolling the cut pieces of dough over the back of a fork before cooking. It is optional, but does look nice.
They can be served as a side dish, with butter and salt, We added some Parmesan cheese. You can also toss them with your favorite pasta sauce. The picture does not do them justice. They were so delectable.
The dough is a combination of cooked sweet potato, cooked russet potato, eggs, flour and salt. I have made them without the russets and liked them best with a little added. Other white potatoes could also be used. You can certainly add additional seasonings, if you like. Turmeric can be added for color, rather than flavor.
Sweet Potato Gnocchi
1 c. mashed, cooked sweet potatoes
½ c. mashed, cooked russet potatoes
2 eggs
1 t. salt
1 t. turmeric, optional
2 c. flour or more
Get a pot of water boiling. In mixing bowl combine the sweet potatoes with the eggs and seasonings. Add about 1½ cups of the flour and stir until a soft dough forms. Continue adding flour, a little at a time, until the dough can be handled without sticking to your hands but is still soft. Take about ¼ of the dough at a time and roll into a rope, about 15 inches long, on a floured work surface. Cut dough into ½ inch thick pieces. You can leave them as is, or add ridges by rolling each gnocchi over the tines of a fork. Place gnocchi in a pot of boiling water and after a few minutes the they will float to the top. Cook them for several minutes after they have risen to the top of the pot. Remove with a slotted spoon and drain. If you aren’t going to use them right away drizzle with a little oil to prevent sticking or toss with butter. You can also run a little cold water over them instead. Repeat with the remaining dough.
Pickled Beets
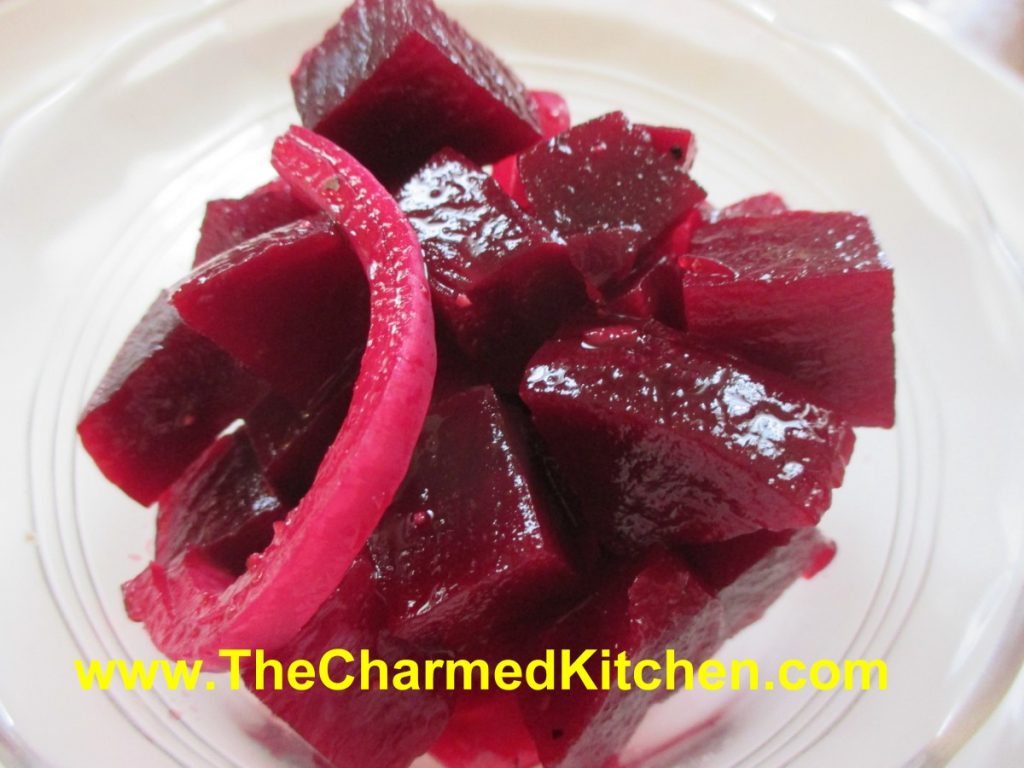
I love beets in all sorts of dishes. The bright color and earthy flavor appeal to me. They are so versatile. Beets are great in soups, salads and even desserts. One of my favorite ways to prepare beets is to pickle them.
Last week, I was lucky enough to get some really beautiful organic beets at a local produce market. I made beet soup and beet cake and enjoyed the greens steamed.
I had enough beets left to pickle some. This simple preparation makes them perfect to add to salads, or to enjoy on their own. They will keep in the fridge for weeks and weeks. I sometimes serve pickled beets with cheese and crackers as an appetizer.
I cooked my beets by just boiling them whole until tender, but you can also roast them. Once cooked, just let them cool a little and slip off the skins. Then just dice them up and add the dressing. They will taste better after a few days in the fridge. It gives the dressing a chance to get into the beets and onion and give them that pickled flavor. Feel free to add other seasonings. I had some fresh dill, so that is what I used.
Pickled Beets
2 lbs. beets, greens trimmed off, leaving 1 inch of the stem
1 red onion, peeled and sliced thin
1 c. cider vinegar
1/2 c. sugar- more or less to suit your taste*
2-3 cloves of garlic, minced
1 T. fresh dill snipped, or 1 t. dried
2 t. salt
1 t. fresh ground pepper
1/2 t. celery seed
dash of hot sauce
Cook beets whole until tender. I boiled my beets in a large pot of water for about 35 minutes- they were kind of big. You could roast them, if you prefer. Place in cold water for 5 minutes, then remove from the water and slip off the skins. They usually come off easily, but you might have to peel them. Dice into 1/2 -inch cubes and place in a bowl. Add the onion. Combine remaining ingredients and pour over the beets. Stir to combine, cover and place in fridge. These are ready to eat in a couple of days. Keep for weeks.
*You can also omit the sugar altogether- they will be very tart- but still tasty.
The Gentle Art of Biscuits

Biscuits are easy to make. They really are. Fast, too. You can mix up a batch of biscuits in the time it takes the oven to preheat. Yet, I know people who seem to struggle with them. With a couple of friends recently, we talked about the secret to a light and flaky biscuit.
So what goes wrong? How do you make light, flaky biscuits every time?
For the moment I’ll assume you have a decent recipe. There are a lot of great biscuit recipes out there. I know people that have treasured family recipes. Biscuits that have been made the same way for generations.
Assuming also, that the baking powder is fresh*, there has to be some other reason that some folks just seem to struggle with biscuits.
The problem is, more than likely, over-mixing the dough. When I talk to someone who tells me that their biscuits are always heavy or tough, I first ask about how they are put together. Less is more, when it comes to biscuits. Less handling of the dough, more tender the biscuits.
Once the dry ingredients have been mixed and the fat cut in, there is just liquid to be added. I prefer to chill whatever fat I am using.
At this point the dough should be handled just enough to hold together. A light hand means a light biscuit. The same is true for making scones. The more you knead the dough, handle the dough and roll the dough, the less flaky biscuits become. Be gentle with your dough.
Don’t treat biscuit dough the way you would a yeast-based dinner roll. The two are very different in how they are handled. Yeast-based doughs benefit from kneading and “working” the dough. Biscuits are the opposite.
Even when cutting out the biscuits, it will help if you cut them out as close together as you can. That way you have fewer scraps to re-roll. Every time you roll the dough out- it becomes a little tougher. You can always roll or pat your dough into a square and cut out the biscuits into triangles, leaving no scraps and no re-rolling.
Here is a recipe for one of my favorite biscuits. They are light and very flaky. Is there anything better than a fresh, warm biscuit with some butter?
Biscuits Supreme
2 c. flour
4 t. baking powder
2 t. sugar
½ t. cream of tartar
½ t. salt
½ c. cold butter, shortening or coconut oil – you can even use lard
2/3 c. milk
Stir together dry ingredients and cut in butter to resemble coarse crumbs. Make a well in the center and add milk all at once. Stir until dough sticks together and knead on lightly floured surface 10-12 strokes. Roll or pat to ½ inch thickness. Cut with 2-21/2 inch biscuit cutter and place on ungreased baking sheet. Bake in 450-degree oven for 10-12 minutes. Serve warm. Makes 10-12.
Note: We made two batches of these biscuits in class last night. One with butter and the other with shortening, to compare them side by side. Both handled and rose perfectly. A few people said the shortening biscuits were flakier. I make no judgements about what fat you choose to use in your biscuits. I use butter most often, unless I am serving them to someone who doesn’t eat butter/dairy for some reason. .
*If your baking powder might be old, you can test it. Place a couple of tablespoons of boiling water in a cup. Add a teaspoon, or two, of baking powder. The mixture should bubble vigorously. If there are no bubbles, or very few bubbles, you might want to get a new container of baking powder.
Green Tomato Sweet Relish
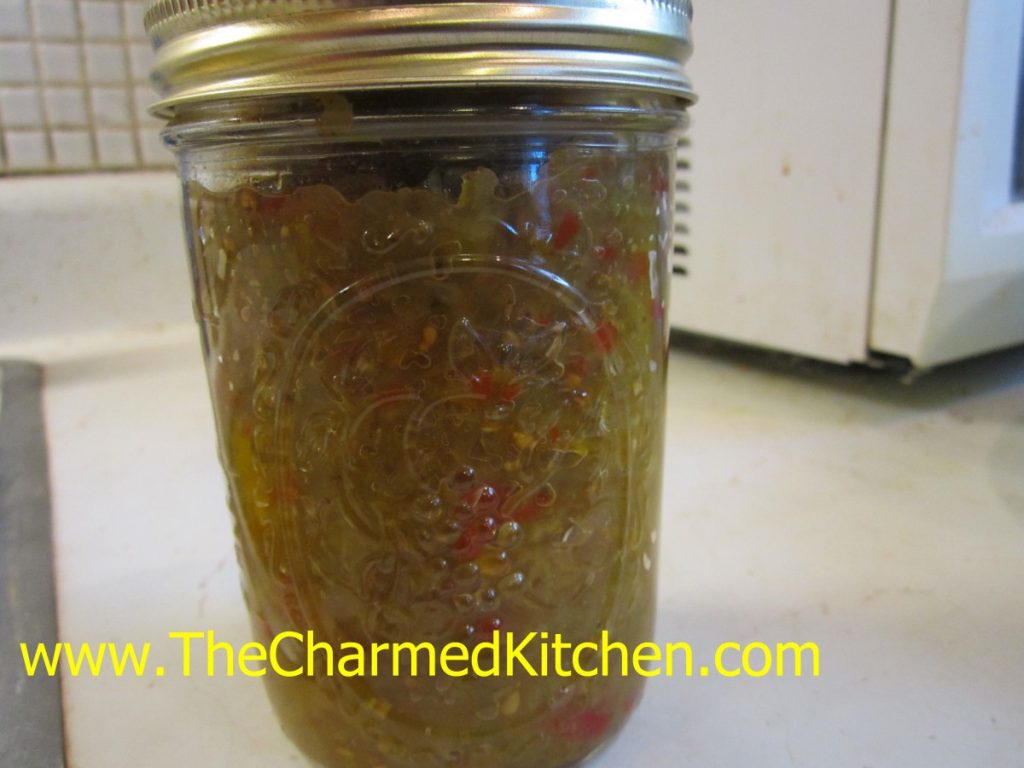
This sweet relish is a great way to preserve those last of the season tomatoes. It is every bit as good as relishes made from cucumbers.
Someone asked me for the recipe- so here it is.
Green Tomato Sweet Relish
6 pounds green tomatoes, about 22 medium
2-3 medium onions
2 medium sweet red peppers
1 sweet green pepper
1 large rib celery
1 3/4 c. white or cider vinegar ( 5% acidity)
1 2/3 c. sugar
3 T. canning salt
1 1/2 t. celery seeds
1/2 t. each cinnamon, cloves, allspice and turmeric
1/4 t. cayenne pepper
Wash trim and quarter vegetables. Put vegetables through food grinder using medium blade or pulse in food processor to chop finely. Drain, discarding liquid. Wash jars in hot, soapy water. Rinse and set aside. Combine vinegar with remaining ingredients in large saucepan and bring to a boil. Add vegetables and simmer 10 minutes, stirring occasionally. Continue simmering while packing hot jars, one at a time. Fill to within 1/2 -inch from top of jar. Wipe rims and place on lids. Process 10 minutes in a boiling water bath. Makes 5-6 pint jars.
Cinnamon Pear Coffee Cake

This pear-studded cake is perfect to have with that morning cup of coffee- or for dessert. The tender cake is topped with chopped pears, cubes of cream cheese, cinnamon sugar and a vanilla glaze. The taste is amazing. I used Bartlett pears, but any ripe pear would work.
I will say up front, that this is not the prettiest cake out there. It comes out of the oven kind of lumpy, from all those pears and the tiny cubes of cream cheese. Once you top it with the cinnamon sugar, and later the glaze, it looks a lot better. It is one of the tastiest cakes, though, and isn’t that what’s important?
So if you want to enjoy one of my favorite late Summer/early Autumn fruits in a new way- try making this simple, tasty pear coffeecake. I don’t think you will be disappointed.
Cinnamon Pear Coffeecake
1 stick (½ cup) butter
1 egg, lightly beaten
1 c. half and half
1 c. all-purpose flour
1 c. sugar
2 t. baking powder
2 t. cinnamon
1 t. vanilla
½ t. salt
2 lbs. pears, about 4 large, cored, peeled and sliced *
8 oz. cream cheese, cut in small pieces
Topping
3 T. cinnamon sugar
Glaze:
½ c. powdered sugar
1-2 T. milk
½ t. vanilla
Preheat oven to 350 degrees. Melt butter and pour into a 9-by-13-inch glass baking dish. In a small bowl, mix together the egg, half and half, flour, sugar, baking powder, cinnamon, vanilla and salt. Pour directly over the butter in the baking dish, but do not stir. Drain pears well. Add the pears, arranging in a single layer as much as possible. Sprinkle cream cheese pieces over fruit. Place in preheated oven and bake for 45 minutes, or until top is golden brown and edges are bubbling. When you remove the cake from the oven, sprinkle with the cinnamon sugar. Set cake aside to cool. Make glaze by combining glaze ingredients. Add just enough milk for a nice consistency for drizzling. Drizzle over cooled cake. Store leftovers in fridge. Serves 12.
* To keep pears from discoloring place in a bowl with 2 cups of water and 2 tablespoons lemon juice
Chocolate Beet Cake

When I say beet cake, a lot of people give me a funny look. First, there are the beet haters, and you know who you are. The people who just don’t like the taste of beets. I get that, beets are an acquired taste.
Then there are the people who like beets, but could never picture them in a cake. I bake cakes with carrots in them, zucchini and even parsnips. Adding beets to a cake is not so far off. The beets add a subtle red color to the cake, but they also add moistness. The end result is a cake that is full of flavor and has a wonderful, moist texture. Rumor has it that the first red velvet cake was tinted red with beet juice, not artificial red coloring.
Truth is, I don’t really taste the beets in the cake much at all. I taste the chocolate. So here is the chocolate beet cake recipe. I hope you enjoy it.
Chocolate Beet Cake
2 cups all-purpose flour
1½ teaspoons soda
1/2 teaspoon salt
1 1/2 cups sugar
1/2 cup cocoa powder
3 large eggs, beaten
1 cup plus 2 tablespoons oil
1½ cups grated cooked beets
2 teaspoons vanilla
Powdered sugar, optional, or cream cheese frosting- recipe below
Preheat oven to 350°. Combine flour, soda, salt, sugar and cocoa in a bowl; set aside. In a mixing bowl, combine the eggs and oil. Beat in vanilla and continue beating until well blended. Slowly beat in dry ingredients until well mixed; stir in beets. Pour into a greased and floured 9×13-inch baking pan. Bake at 350° for 25 to 35 minutes, or until cake bounces back when touched lightly with finger. Cool in pan on a rack. Frost cooled cake, or dust with powdered sugar.
Frosting recipe:
8 oz. Cream cheese, softened
3/4 c. powdered sugar- or more to taste
1 stick butter, room temperature
Beat all together until fluffy. Frost cake and refrigerate until ready to eat.
Plum and Pomegranate Sauce
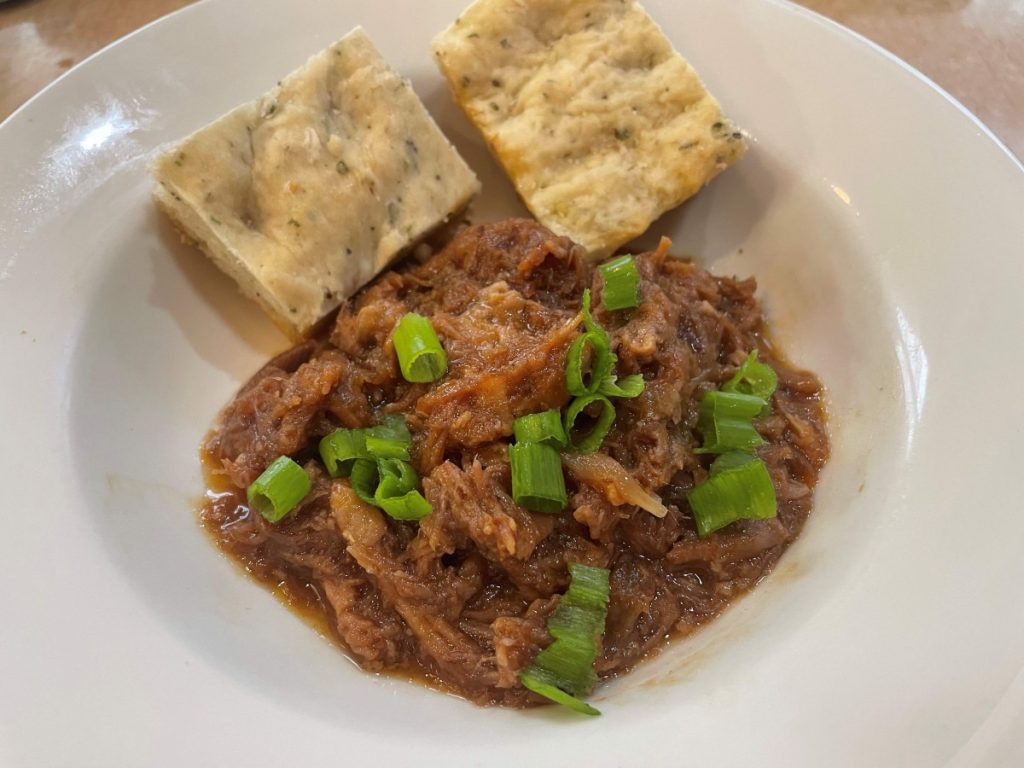
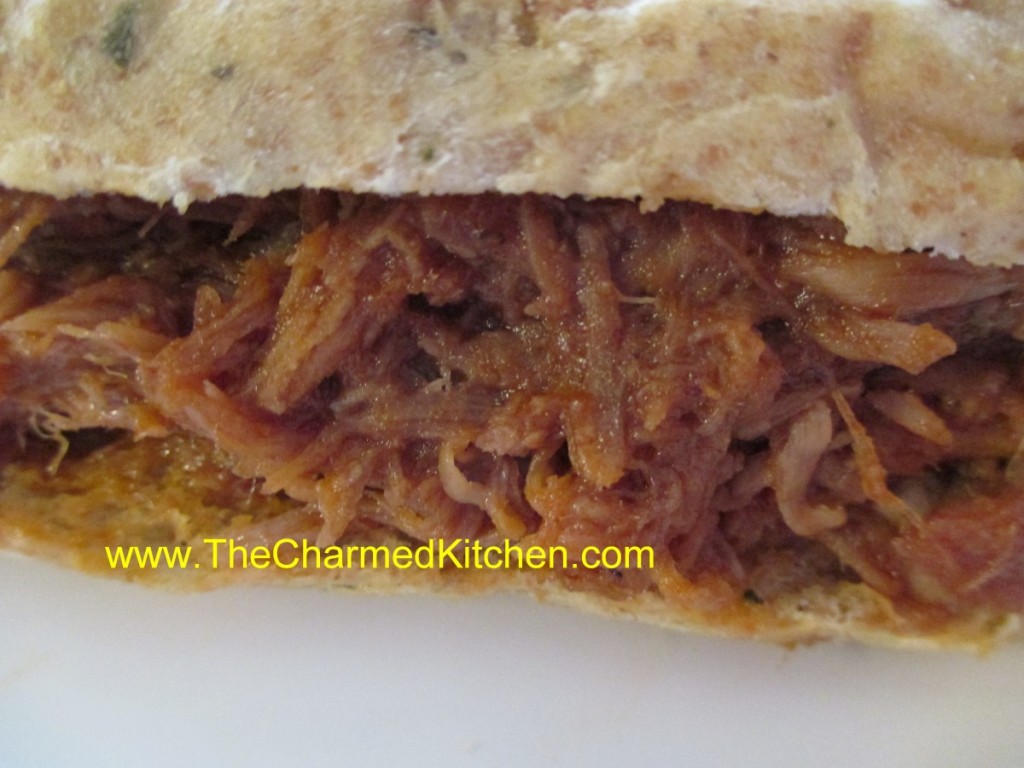
Pulled Pork with Plum and Pomegranate Sauce
For a Labor Day gathering I wanted to use a pork shoulder for part of the dinner. I had plums and wanted to use them. I like pairing fruits with meats and other savory ingredients. I pureed the plums, then used them as the base for a sauce I needed for pulled pork. One of my dinner guests was not a big fan of more tomato based barbecue sauces, so I figured plum sauce might be a better option. I added pomegranate syrup for more tang- and for its pretty color, along with a handful of other ingredients. I let it simmer down until nice and thick, then stirred it into my pulled pork. Even the guest who said she is not normally a fan of pulled pork liked it with this sauce. It would also go well with poultry and lamb.
Plum and Pomegranate Sauce
3 T. oil- you could use butter or bacon fat, if you like
1 medium onion, minced
2 gloves garlic, minced
2 c. plum puree*
½ c. pomegranate molasses**
½ c. apple cider vinegar
2 T. honey- or a little more to taste
2 t. hot sauce- or to taste
1 t. grated ginger
Salt and pepper to taste
Heat oil in pan and cook onions until very tender. Add the garlic and cook another minute or two, being careful not to burn the garlic. Add remaining ingredients and cook until sauce is thickened, about 30 minutes. I simmer the sauce and stir more often as it reduces to avoid scorching. You should cook it down to around 2 cups. Adjust seasonings once it is cooked down. Use with pulled pork, on chicken or as a glaze for duck or even lamb.
* To make the plum puree- dip plums in boiling water for 30 -60 seconds. Remove them to a bowl with ice water to cool. Slip off skins and discard. Remove pits and discard them, too. Place plums in a blender or food processor and puree until smooth. You’ll need about 1½ pounds of plums for 2 cups of puree.
** Pomegranate molasses can be found in some grocery stores and in specialty stores. It is pomegranate juice that is boiled down until it becomes thick and syrupy.
