Author Archives: Judi

Spiced Cherries

Spiced Cherries

These cherries are so good, I am already wishing I had canned more of them. I was inspired by my cousin, Laurie, who needed spiced cherries for a recipe she wants to make.

I first thought about the spices I wanted to use. I didn’t want to overpower the cherries, but I wanted the spices to complement the flavor of the fruit. In the end I used cinnamon sticks, fennel seeds, fenugreek, cloves and some cracked black pepper.

Once I decided which spices I wanted to use, I steeped them in boiling water. Kind of like making tea. Then I strained out the spices and used the spiced water in the syrup for the cherries.  I could just have added spices to the cherries when I canned them, but I didn’t want stuff in the jars I would need to strain out later. I also knew the spices would get more intense over time, if left in the jars. By making a tea and tasting it, I knew what level of spice I would have in the final product.

The spiced cherries can just be eaten, right out of the jar. They can also be drained and added to fruit salads or used to top desserts. You can also use them to bake with. They aren’t overly sweet.

Laurie is using them in some sort of chocolate cherry martini. Now that sounds good!!!

They would make nice gifts, too.


So here is my recipe for spiced cherries.


Spiced Cherries


7 (3-4 inch) cinnamon sticks

2 T. fennel seeds

2 T. fenugreek seeds

1 T. whole cloves

1 T. cracked black pepper

5 c. water

11 lbs. sweet cherries

3¼ c. sugar

Zest of 2 limes

Juice of 2 limes


Place spices in a large pot and turn heat on to medium. Toast spices in pot for about 4-5 minutes, stirring occasionally. You should be able to smell them. Watch so they don’t burn. Add the water to the spices, bring to a boil, and simmer for at least 15 minutes. Longer cooking is fine. Fill water bath canner with water and heat up water to a simmer.   In the meantime, pit the cherries. You should end up with about 4½-5 quarts of pitted fruit. You can hold pitted cherries in a bowl of water with a little ascorbic acid in it, to prevent browning. Set aside. Remove the spiced water from the heat. Strain out the spices and discard them. Measure the spiced water and add enough fresh water to equal 5 cups. Return water to pot with the cherries (drained if they were in water), sugar, zest and lime juice. Bring mixture to a boil. Fill pint jars with cherries and cooking liquid, leaving ½-inch headspace. Wipe rims and screw on lids until fingertip tight. Place jars in water bath canner. Make sure the water covers the jars by 1-2 inches. Place lid on canner, and start timing when water returns to the boil. Process for 15 minutes. Remove jars from canner and place on a cooling rack or towel, in a draft free area. Once cooled, check the lids to make sure they are sealed. Remove bands and wipe down jars. Label and store. Makes about 9 pints.

Times and procedures all used NCHFP guidelines.

Jars cooling down

Posted in Cooking | Tagged , |

Marshmallows

Freshly rolled marshmallows

Homemade marshmallows were a big hit in cooking camp. The kids were fascinated that this little bowl of ingredients would whip up so light and creamy- and sticky. I think that was part of the fun.

They all took turns holding the mixer. It does take 15 minutes of mixing to get the result you want. Use a stand mixer, if you can.

We made classic vanilla marshmallows today, but you can add different flavors and even colors, if you like. How fun to enjoy a S’mores made with homemade marshmallows.

As promised, here is the recipe for making marshmallows. I’ve used this recipe for ages. I like that it is super easy, and still gives you quality marshmallows. I’ve seen more complicated versions- but why make life harder than it already is?


Marshmallows

1/2 c. cornstarch

1/2 c. powdered sugar

small amount of butter

2 envelopes unflavored gelatin, or 6 sheets of gelatin*

1/2 c. granulated sugar

1/3 c. water

2/3 c. corn syrup

1/2 t. vanilla

Combine cornstarch and powdered sugar in a small bowl. Butter an 8x8x2 inch-baking pan. Sprinkle with some of the cornstarch mixture. Reserve the rest of the mixture for use later on. Combine the gelatin, granulated sugar and water in a small saucepan and cook over low heat, stirring constantly until gelatin is dissolved.** Pour gelatin mixture into a large bowl, adding the corn syrup and vanilla. Beat with an electric mixer on high speed for 15 minutes. Be precise on the timing. The mixture will be thick and fluffy, marshmallow cream, actually. Pour mixture into the prepared pan, spread evenly and refrigerate overnight. The next day, sift some of the reserved cornstarch mixture over the marshmallows. Sprinkle some more of the coating mixture on a work surface and turn the marshmallow out onto the prepared surface. Cut the marshmallows into 1-inch squares, coating as you go. The marshmallows are very sticky until completely coated. Allow to dry on a rack. Store in an airtight container for up to 3 weeks. Makes about 4 dozen candies.

You can swap out flavorings- using maybe mint or lemon in place of the vanilla. You can also add a few drops of food coloring, if you like. Oh, and when you are at the rolling the pieces around in the cornstarch and powdered sugar stage of the process- don’t wear black. You’ll thank me later for that.

* Note: 3 sheets of sheet gelatin= one packet (1 tablespoon) of powdered gelatin.

** Note: If you are using sheet gelatin place it in the pan with COLD water and stir until dissolved. Then add the sugar and just cook, over medium-low heat until just warm, stirring often. Don’t let the mixture get too hot or the gelatin will not work.

Dissolve gelatin in water

Dissolve gelatin in water

Cook with water and sugar until warm

Cook with water and sugar until warm


Combine with remaining ingredients in mixer

Combine with remaining ingredients in mixer

Mixture after 15 minutes of whippig

Mixture after 15 minutes of whipping

Spread in prepared pan and chill

Spread in prepared pan and chill

Cut into squares

Cut into squares


Roll in cornstarch/powdered sugar mixture

Roll in cornstarch/powdered sugar mixture


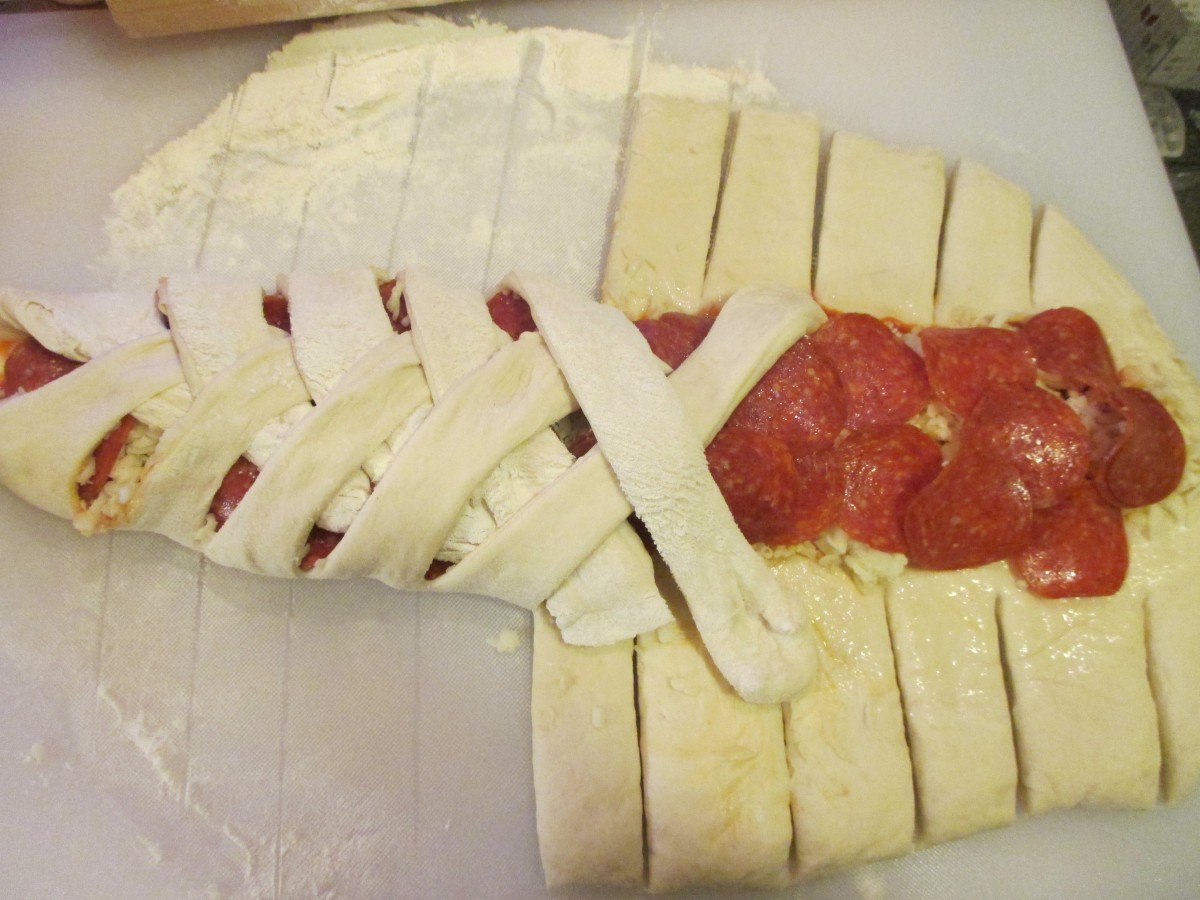
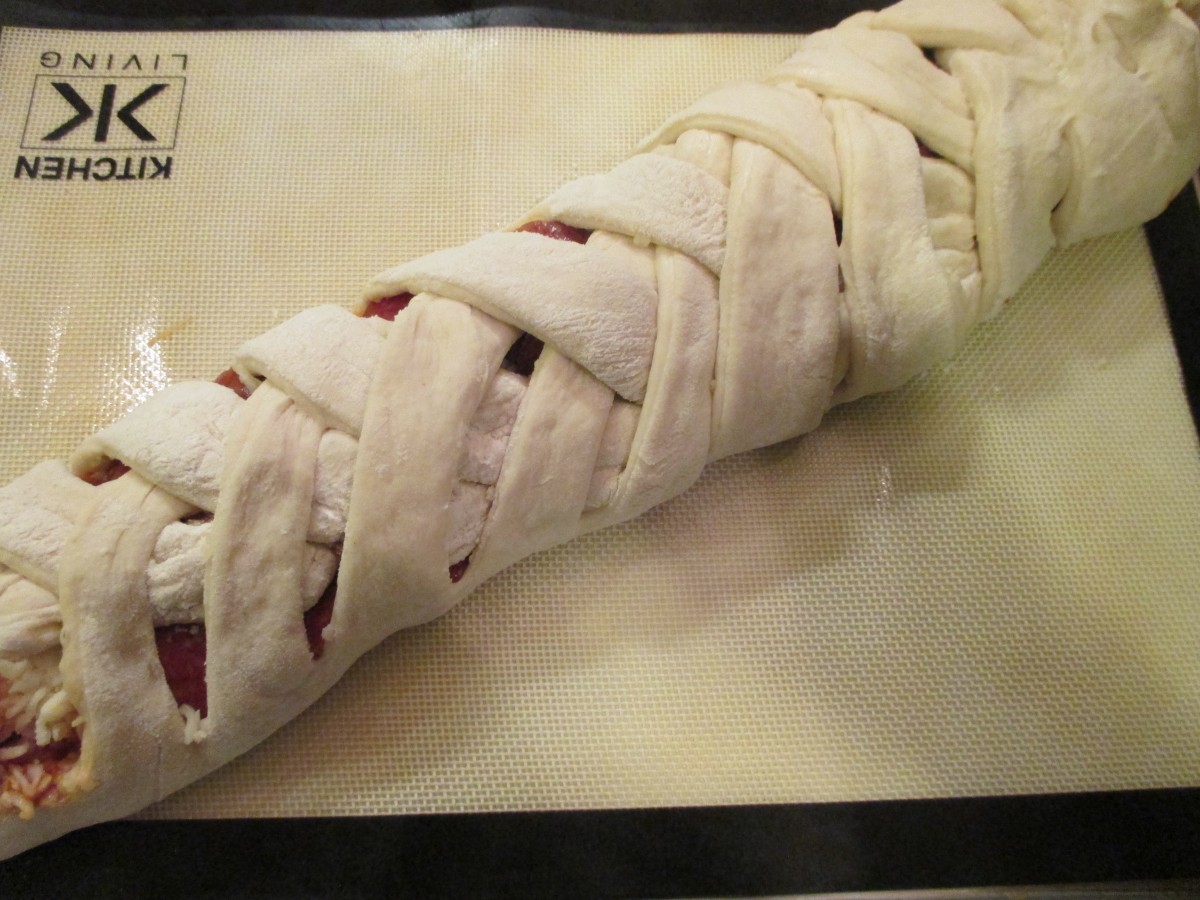
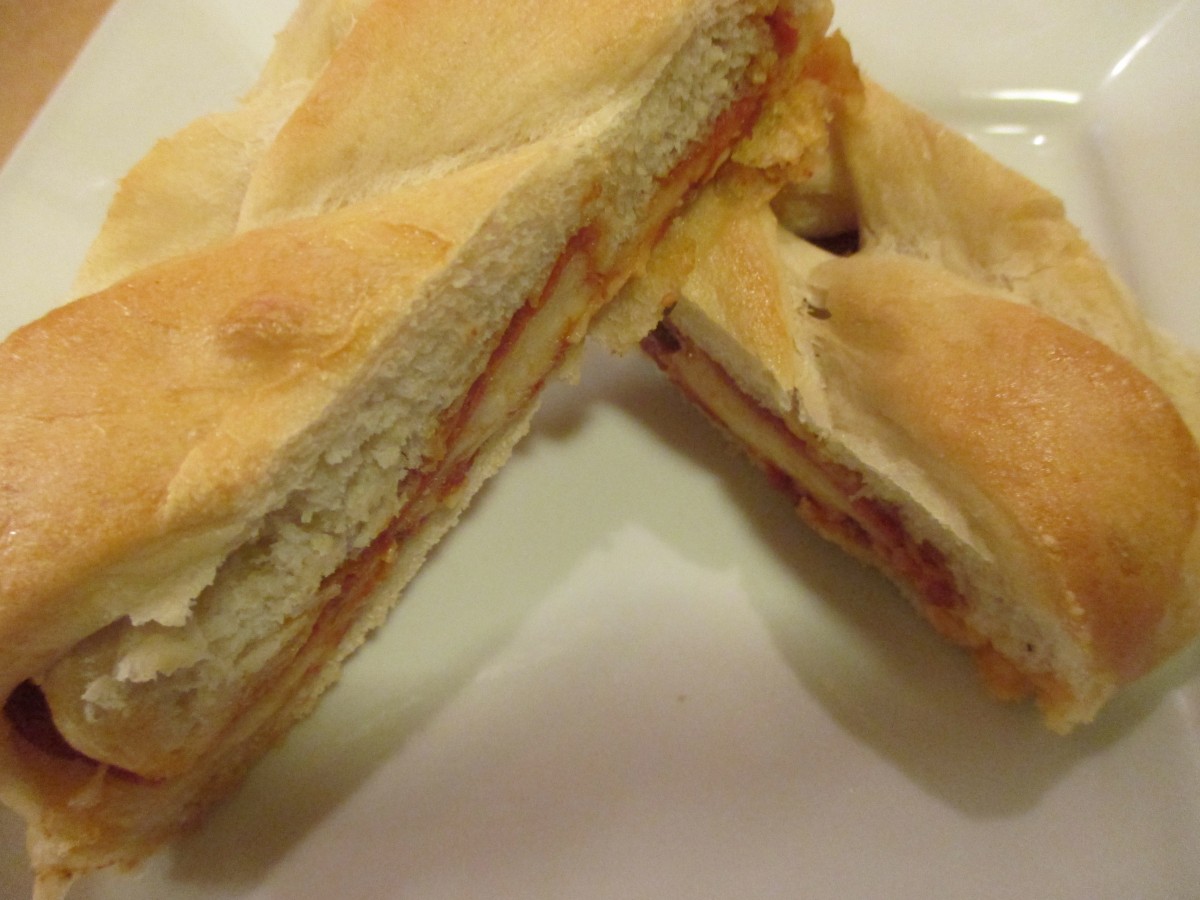
Homemade Pizza

Pizza!

In camp yesterday, we made pizza. The kids ranged in age from 6-12 years old. They made their own dough, rolled it out, and added the toppings they liked. It was a great experience for them.

Homemade pizza is not difficult to make. We didn’t do anything fancy. We didn’t have a pizza oven or a pizza stone. I will admit that pizza from a pizza oven or even better, a wood burning oven, is hard to beat. But for home cooks, and families with kids, this is a great way to get them started in making pizza.

I gave them a quick lesson in rolling out the dough. They rolled it out themselves. I kept a hands-off approach and only assisted when a few used too little flour and their dough was sticky. It was very warm and humid in the kitchen.

While they all got about the same amount of dough, pizzas ranged in size from a dinner plate, to the size of a baking sheet. Some only wanted sauce and cheese, others added a lot of toppings. Some were heart shaped, most were fairly round.

Were they perfect? Or the best pizza they ever had? I doubt it. But they made them on their own. Most wouldn’t even taste them – because they wanted to share their pizzas with their families. To me, that was the best part of the day. As parents and family came to pick them up – the kids all showed off their “pies”.

So here is the recipe we used. If you never made pizza at home- I encourage you to give it a try. Even better, find a kid to make the pizza with you.


Homemade Pizza

1 packet active dry yeast

1 t. sugar

1 2/3 c. warm water

4-4½ c. flour

2 t. salt

3 c. pizza sauce

16 oz. shredded mozzarella cheese

Cornmeal, optional

Assorted toppings. We had pepperoni, sausage, ham, mushrooms, sweet peppers, olives and pineapple

Combine yeast, sugar, salt and 3 cups of flour in mixing bowl. Add warm water and stir until smooth. Slowly start adding enough of the remaining flour to form a soft dough. The dough should start to come away from the sides of the bowl. Place dough on floured surface and knead until stretchy and smooth, about 10 minutes. Add more flour, if needed. Place in oiled bowl or plastic bag and cover. Let rise until doubled in bulk, about 45 minutes.

Punch dough down. Divide dough in half and roll each half into a 12-inch circle. Grease baking sheet and dust with a little cornmeal, if desired.  Place half of the remaining ingredients on the dough and repeat with remaining half of dough. Add more toppings, if you like and bake in a preheated 450-degree oven for 13-15 minutes. Cool a few minutes before cutting. Makes 2 pizzas.


Mini Pizzas: You can also divide the dough into 8 equal pieces and roll them out into 6-inch rounds. Then let each person make their own pizza. Bake a few minutes less than the big pizzas.

Posted in Cooking | Tagged , |

Fresh Blueberry Sweet Rolls

Blueberry Sweet Rolls

With blueberry season here, I had to make these rolls. These are a favorite recipe of mine. You know they have to be good, if I was willing to bake on such a hot day. One perk of working with yeast dough on warm, humid days, is that the dough loves this weather. They rose quicker than ever.

These rolls are great for breakfast, but I think they make a pretty good dessert. Sweet, but not too sweet.  Studded with plenty of berries, too. For dessert, I serve them with a scoop of ice cream or whipped cream.

Invited a neighbor over this morning for a cup of coffee- and surprised her with these. These rolls were just what we both needed. I sent her home with the rest.


Blueberry Sweet Rolls

3-3 1/2 c. bread flour
1 package active dry yeast
1 1/3 c. evaporated milk
6 T. butter
1/4 c. sugar
1 t. salt
1 egg
6 T. butter, melted

1/2 c. sugar
2 t. cinnamon
1 t. grated lemon or orange peel
2 c. fresh or frozen blueberries

In bowl combine 1 1/2 c. of the flour with the yeast, sugar and salt. Heat together the milk and 2T. of the butter until warm and add to the flour mixture, beating 2 minutes. Add egg and beat 2 minutes longer. By hand stir in enough of the remaining flour to make a soft dough. Turn dough onto a lightly floured surface and knead, adding flour as needed until dough becomes moderately stiff. Place in greased bowl, turning once to coat and cover. Allow to double in bulk, about 1 1/2 hours. Punch dough down, cover, and let rest 10 minutes. Divide dough in half. Roll each half into a 14×8 inch rectangle. Brush dough with the melted butter. Combine the remaining sugar, peel and cinnamon and sprinkle over the dough. Top with the blueberries and press the berries into the dough. Starting at the long side roll up dough jelly roll fashion and seal edge by pinching. Repeat with second roll. Cut each roll into 12 slices and place 12 rolls in greased 9 inch round pans. Cover pans and allow to rise until doubled, about 30 minutes. Bake in a 375 degree oven for 20-25 minutes. While rolls are warm, you can top with a powder sugar glaze, if desired. Makes 24.

Very Blueberry Chef Salad

Blueberry Chef Salad

I have really been craving salads lately. I think it is the heat. Sometimes, just having a tossed salad to start dinner is enough. Other times- I want dinner to be the salad.

This is one of those salads that is a meal all on its own. Made with plenty of blueberries, it is one of my favorites. The dressing is a creamy honey French dressing which pairs beautifully with the berries.

I topped mine off with cashews, but you could add croutons if you prefer.


Blueberry Chef Salad

Dressing:

1/3 c. honey

1/4 c. white wine vinegar or cider vinegar

1 t. paprika

1 t. dry mustard

1/4 t. salt

1/2 c. olive oil

3 cups blueberries

Salad:

6 c. torn salad greens

12 oz. cooked chicken, turkey, ham etc, cut into strips

1 c. cubed cheese

1/2 c. cashews


In blender, combine first five ingredients and start running machine on high. Add oil in a slow stream until mixture becomes thickened. Pour into bowl and stir in berries and chill, several hours if you can. When ready to serve arrange greens on one large platter or on smaller salad plates. Arrange meat and cheese on platter or plates. Spoon over the dressing and cashews then serve. Serves 4-6.

Homemade Chocolate Ice Cream

Homemade Chocolate Ice Cream

I love this ice cream. Smooth, creamy and full of chocolate flavor. What’s not to love? This is also the simplest ice cream recipe I have ever made. Seriously – the easiest.

For starters, you don’t need an ice cream maker. And the recipe is only two ingredients. You really can’t get easier than that.

This recipe came about because I hate to waste anything. I had a carton of heavy whipping cream that was getting close to it’s expiration date. I didn’t need it for anything, but didn’t want to waste it. I decided I could use it to make ice cream.

It was late and I was tired, so I wanted a quick fix. I put the whipping cream in my mixer and whipped it up. Once it got to stiff peaks, I started adding chocolate syrup. With the mixer still running, I kept adding syrup until the mixture was the color I wanted. I figured when it was the color of chocolate ice cream, I had added enough.

I put the mixture in a quart container, put on the lid and popped it in the freezer. It was a couple of days before I remembered it was in there. I gave it a taste. I was so pleased. It was very creamy and smooth.


So here is the recipe, although I guess I sort of already told you what to do.

Super Easy Homemade Chocolate Ice Cream

1 pint whipping cream

chocolate syrup to taste – I used around a half a cup- I think

Place whipping cream in a bowl and whip until stiff peaks form. With mixer running, add the syrup. Add until mixture is the color of chocolate ice cream. You can also give it a taste, to be sure. Place mixture in a container with a tight fitting lid and place in freezer. Freeze several hours before trying it. Makes 1 quart.


Spiced Beet and Tomato Soup

Spiced Beet and Tomato Soup

I had picked up some beautiful fresh beets at the market over the weekend. Since it’s was a little cool today, I thought I’d make soup with them. I took inspiration from what I had on hand including onions, potatoes and home canned tomatoes. Adding the tomatoes was a last minute decision that worked out really well. The tomatoes added just the right amount of tart/sweet flavor.  The color was pretty, too.

I know beets aren’t everybody’s favorite, but I love them. I love how they taste.  I love the color. I love how everything I cook with beets turns out the most gorgeous color.

I don’t, however, love the way my kitchen looks whenever I cook with beets. It’s like something out of a crime scene. Not blaming the beets. Just wondering how it is I can clean up everything, then walk in the kitchen the next day and find flecks of red all over?

Here is the soup recipe. It was a small bunch of beets, so I just made a small batch of soup, but it could easily be doubled.


Spiced Beet and Tomato Soup

1 bunch beets, about 1 lb.

oil

1 onion, chopped

1 t. cumin seeds

1 t. fennel seeds

3-4 c. stock- I used chicken

1 potato, cubed

1 pint canned tomatoes – or 2 c. diced tomatoes – or 14 oz. can of diced tomatoes

1t. dill

1/4 t. cayenne, or to taste

salt and pepper to taste

Wash beets and trim leaving about 1 inch of the stem attached. Reserve greens.  Place beets in a saucepan of boiling water and simmer for about 20 minutes. Remove beets and cool in cold water until you can handle them. While beets are cooling, cook onion in oil until tender. Add seeds and cook until they are toasted and onions are golden.  Peel and cube the beets. Add to the onions along with the stock, potatoes and tomatoes and cook until potatoes are tender, about 15 minutes. Rinse and chop up about 1 cup of the beet greens and add them to the soup along with the seasonings. Cook until greens are tender, about 5 minutes. Adjust seasonings and serve. Serves 3-4.

Posted in Cooking | Tagged , , |

Dilly Beans

Dilly Green Beans

In a pickle making cooking class last night, we made dilly green beans. These are one of my favorite pickles.  I like pretty much any type of pickle, and I love green beans, so no surprises there. If you have an abundance of green beans, you might consider making a batch of these to enjoy year round.

These are great just eaten like other pickles, as a side. But they are also great added to a Bloody Mary- or so I am told. I also like to serve them as an appetizer with cheeses, crackers and olives.

While the recipe calls for 1/4 teaspoon of red pepper flakes per jar- feel free to add more, for a spicier version.


Dilly Green Beans


4 lbs. table‑perfect whole green beans

1 3/4 t. crushed dried hot red pepper

3 1/2 t. dried dill seed or seven fresh dill heads

7 cloves of fresh garlic, peeled

5 c. vinegar

5 c. water

1/2 c. less 1 T. pickling salt


Wash beans thoroughly. Remove stems and tips, and cut them as much as possible in uniform lengths to allow them to stand upright in canning jar, coming to the shoulder of the jar. have jars clean and very hot, and lids and sealers ready in scalding water. In each jar place one dill head or 1/2 t. dill seed, add one garlic clove, and 1/4 t. crushed hot red pepper. Pack beans upright in jars, leaving 1 inch of head room. Heat together the water, vinegar and salt. When the mixture boils, pour it over the beans, filling each jar to 1/2 inch from the top. Run a plastic knife down and around to remove trapped air. Adjust lids, and process in a boiling water bath for 10 minutes, start timing after the water in the canner returns to a boil. Remove jars. …Wait at least 2 weeks for these beans to develop their flavor. Yield: 7 pints


Source: Putting Food By


Fresh Cherry Cake

Fresh Cherry Cake

This cherry cake is the perfect summer dessert. It is full of fresh cherries and not too sweet. I love to serve it warm from the oven, but even at room temp, it is a crowd pleaser.

The cake is great, just as it is, but can also be dressed up with a scoop of ice cream, whipped cream or a drizzle of melted chocolate.

While fresh cherries are in season, I try to use them in as many dishes as I can. I also pit and freeze some to enjoy later. I used fresh, pitted cherries, but you could use frozen, if you prefer.

The recipe calls for biscuit mix- like Bisquick. You can use store bought, or even make your own. I included a recipe for homemade biscuit mix at the bottom of this post.

So here is the recipe. Enjoy!!

Fresh Cherry Cake

2 c. biscuit mix*

1/2 c. sugar

1/3 c. milk

2 T. oil

1 egg

1½ c. pitted cherries- sweet or sour


Preheat oven to 350. Grease and flour a 9×9-inch pan. Beat all ingredients together, except cherries, for about 30 seconds. Fold in cherries and pour into prepared pan. Bake for about 35 minutes. Cake should be golden brown on top and test clean with a toothpick. Serve warm, if you can.

*You can use Bisquick or Jiffy Mix, or use homemade. Recipe follows.


Pastry Mix/ Biscuit Mix

8 cups sifted, all-purpose flour

1 c. powdered milk

1 c. powdered buttermilk

¼ c. baking powder

1 T. salt

2 c. shortening**

Sift dry ingredients together 3 times. Cut in shortening to resemble cornmeal. Keep in an airtight container.  Store in a cool dry place and use within six months.

**You can use coconut oil, if you prefer. If you do, chill coconut oil before making the mix, and store mix in fridge.


Posted in Cooking | Tagged , |

Four Fresh Tomato Salads

Marinated Tomato Salad

Tomato season is too short around here. I can never get enough of what my mom called “real tomatoes”. The first few tomatoes never make it in the house. Warm from the sun, they are too tempting. I just pick them right off the plant and eat them.

Then, I start to think about preserving some for after the season is over. So I start drying and canning tomatoes.

Sometimes, in the excitement of canning and dehydrating tomatoes, I find I haven’t remembered to eat enough of them. So anxious to get as many as possible put away for winter, I have denied  myself the pleasure of  fresh, juicy, vine-ripened tomatoes.

Well, not this year. I have been having tomatoes with my eggs for breakfast, creamy tomato soup for lunch and plenty of tomato sandwiches and salads. I thought I would share a few of my favorite tomato salad recipes with you.

They are pretty simple. I think that is how it should be. When you have something as close to perfection as a ripe tomato, little more is needed.


Marinated Tomato Salad


3 large tomatoes, cut in wedges, or 2 pints cherry tomatoes, halved
1 T. olive oil
1 clove garlic, minced
2-3 basil leaves, cut into thin strips
2 T. balsamic vinegar
salt and pepper to taste

Combine ingredients and serve at room temperature. Serves 4-6.

Tomato and Feta Salad

3 tablespoons crumbled feta cheese
12 cherry tomatoes, thinly sliced
1/2 sweet onion, diced
1 tablespoon olive oil -I used a lemon infused olive oil
1 tablespoon lemon juice
Salt and pepper to taste

In a bowl, mix the feta cheese, cherry tomatoes, onion, olive oil, and lemon juice. Add salt and pepper to taste. Serve immediately. Serves 2.

Warm Pasta Salad


1 lb. Plum tomatoes, chopped

1 medium sweet onion, chopped

4 oz. Fresh mushrooms, sliced

2 cloves garlic, minced

¼ c. fresh parsley, chopped

1 T. dried basil or 1/4 c. chopped fresh basil

1 T. capers, optional

1 t. dried oregano

½ c. olive oil

¼ c. red wine vinegar

3 T. balsamic vinegar

Dash of hot red pepper flakes

Salt to taste

1 lb. Uncooked pasta


Combine all ingredients, except pasta and chill overnight. Cook pasta, drain and toss with tomato mixture. Mixture should be served right away . Serves 6.


BLT Salad


6-8 slices bacon

2 slices rye bread

2 slices Swiss cheese

5 c. torn up lettuce or mixed greens

3 T. olive oil

2 T. apple cider vinegar

1 T. balsamic vinegar

Salt and fresh ground pepper

2-3 tomatoes, diced


Cook bacon until crisp. Remove from pan, drain and crumble. Remove most of the bacon grease from the pan. Make a sandwich with the rye bread and the Swiss cheese. Toast in the skillet over medium heat until golden brown and cheese is melted. Set aside. Place lettuce in bowl and toss with the oil to coat the leaves. Toss with the vinegars and season with salt and pepper to taste. Add the tomatoes and the bacon and toss. Cut the sandwich into cubes and place on the top of the salad. Serves 2.

Note: you can make two sandwiches if you want more bread and cheese in the salad.

Tomato Feta Salad

Tomato Feta Salad

Warm Pasta Salad

Warm Pasta Salad

BLT Salad

BLT Salad