Cooking with Garlic Scapes

Garlic Scapes

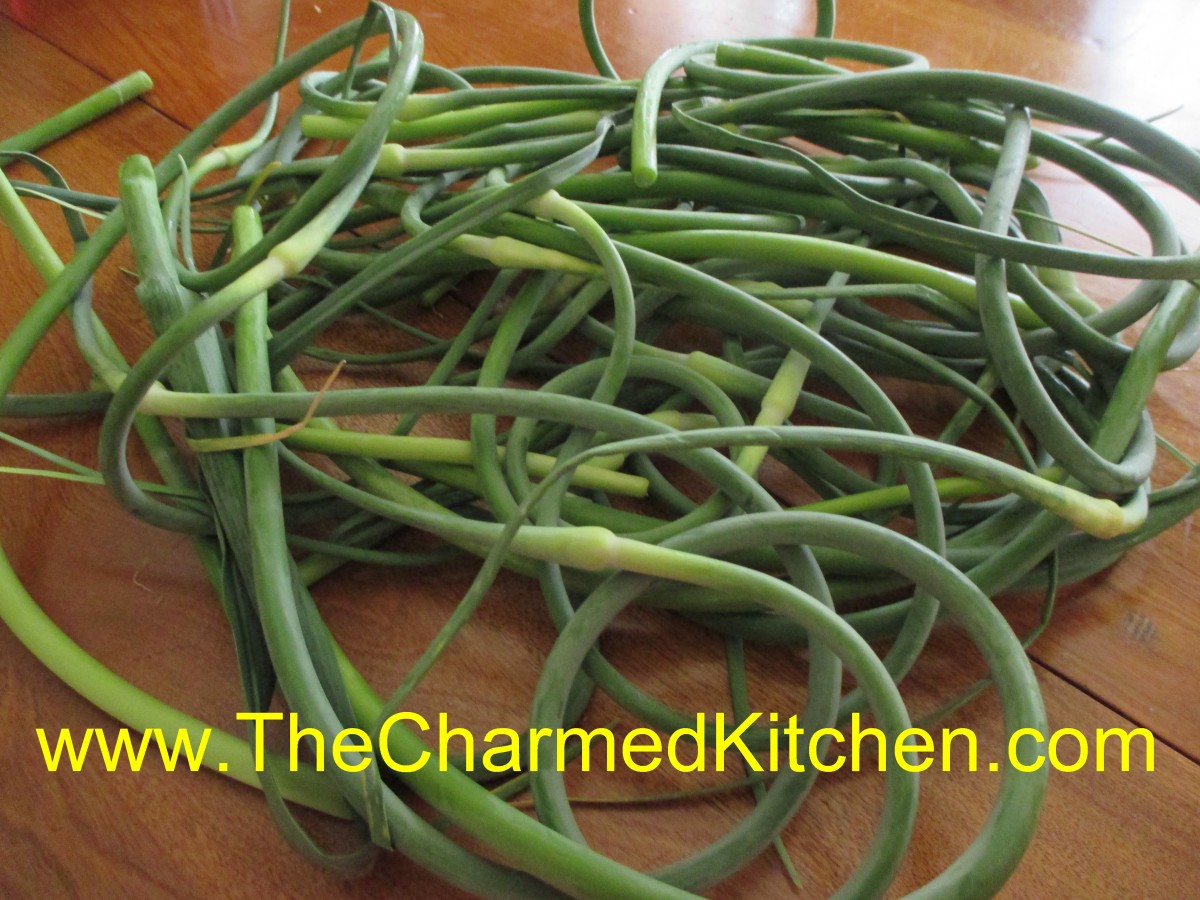
If you have never had garlic scapes, you don’t know what you are missing. Garlic scapes are the green shoots removed from hard-neck varieties of garlic. By removing the shoots, the bulbs will get bigger. So farmers remove them.  They curl as they grow, and are good served raw, or barely cooked. They are showing up at farm markets around here right now.

When cooked, the flavor mellows a lot. I love to steam garlic scapes for about 5 minutes, then just eat like fresh green beans, with butter and salt. I steamed a bunch of scapes the other day- then chopped them up and added to potato salad. So tasty!!

They have a rich, garlic flavor that is all the sweeter because of the short time they are around. Enjoy them when you can- they will be gone soon.

I use scapes in place of basil in my pesto recipe, or combine them with parsley in a garlic scape-parsley pesto. You can also combine the garlic scapes with cottage cheese in the blender- add a little lemon juice and hot sauce for a tasty dip. Here are some more recipes for cooking with garlic scapes.

Garlic Scape Pesto Sauce

1 c. chopped scapes – you can also use half scapes, half parsely
1/4 c. olive oil
3-4 cloves garlic
Salt to taste
1/2 c. pine nuts, sunflower seeds, pecans or walnuts
1 c. fresh grated Parmesan cheese

Combine all ingredients, except the cheese, in a blender and mix until smooth. Stir in the cheese and toss over hot, cooked pasta or use as a sauce on meat and poultry. Sauce will keep a few days in the fridge and makes about 1 1/2 cups, enough for 1 lb. of cooked pasta.


Lebanese Garlic Sauce

1/2 c. chopped garlic scapes

1 cup lemon juice

1 teaspoon salt

3 cups olive oil

In the container of a blender, combine the garlic scapes, lemon juice and salt. Blend at medium speed until smooth. Continue blending while pouring olive oil into the blender in a thin stream. The mixture should become thick and white almost like mayo. Store refrigerated in a glass container.  Nice on hot pasta, cooked rice or grains or brushed on meats while cooking. It also is a great salad dressing.

Garlic Scapes with  Broccoli

1 c. chopped garlic scapes

1 1/2 teaspoons salt

1 bunch broccoli, cut into florets, steamed 5 minutes, cooled

1/3 cup olive oil

1/4 cup red wine vinegar

1 tablespoon Dijon mustard

1/2 cup grated Parmesan cheese, or to taste

Place garlic scapes in a food processor with the salt and blend into a paste. Add olive oil, vinegar, and mustard.  Pulse until smooth.  Place garlic scape mixture in a bowl and add the broccoli.  Stir to coat. Chill for 3 hours to marinate, stirring occasionally. Sprinkle with Parmesan cheese before serving. Tastes even better the next day!!!
Garlic Scapes Potato Salad

Garlic Scapes Potato Salad

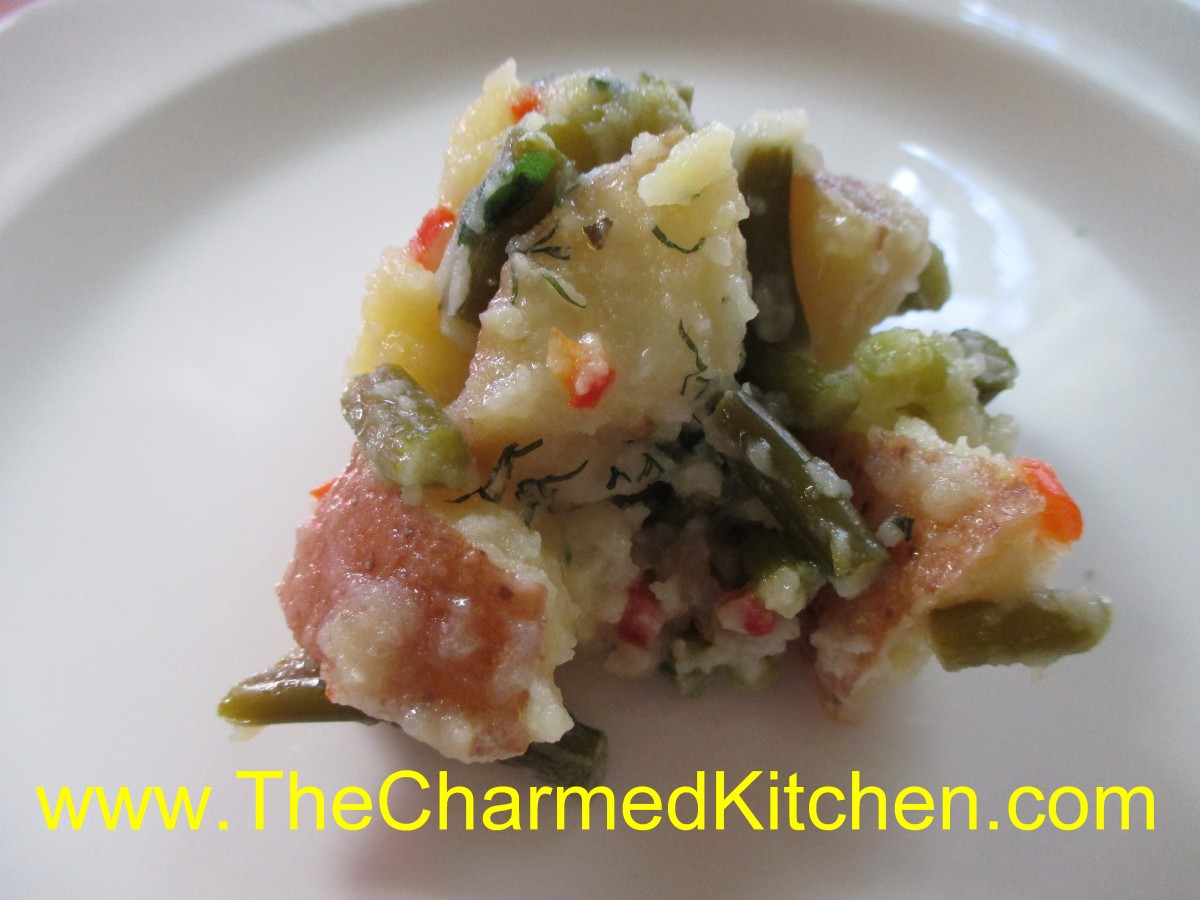
This salad was inspired by a friend of mine. We had been talking about garlic scapes and ways to cook with them. Garlic scapes are the green tops of garlic, removed to produce bigger heads. They look like curly green onions.

My friend found the flavor of raw scapes too intense for her. I told her about cooking them first a little, to tone down the bite. When cooked, they have a texture like green beans and a milder, garlic flavor. Just steaming them 4-5 minutes does the trick. You still want them to have texture.

Since she was coming to dinner, I decided to cook some scapes and add them to the potato salad. I used  oil and vinegar for the dressing.   I also added some fresh dill, parsley and just a little sugar. She loved it.

So here is the recipe. I plan on making it again a few times before garlic scapes season is over.


Garlic Scapes Potato Salad

4-5  garlic scapes

2 lbs. red skinned potatoes*

½ cup minced sweet pepper

½ c. olive oil

½ c. apple cider vinegar

2 T. sugar

2 T. chopped parsley

2 t. fresh dill weed

Salt and pepper to taste

Hot sauce to taste


Steam the scapes for 5 minutes. Cool a little, and cut into ¾ -inch slices. You should end up with about 1½ of sliced scapes when done. Place in a medium bowl. Cook potatoes until tender. I baked mine in a microwave until tender and then cut into cubes. Baking them is also a nice way to cook the potatoes. You can also opt to cut into cubes first and boil the potatoes. Whatever method to cook the potatoes is fine with me. Take the potatoes, while still warm, and place in the bowl with the scapes. Mix the rest of the ingredients together in a small bowl and stir until sugar dissolves. Pour over warm potato mix, tossing to coat evenly. Adjust seasonings. Chill and serve. Serves 6-8.

* You can really use any potato you like.


Garlic Scapes


Blueberry Pancakes with Blueberry Syrup

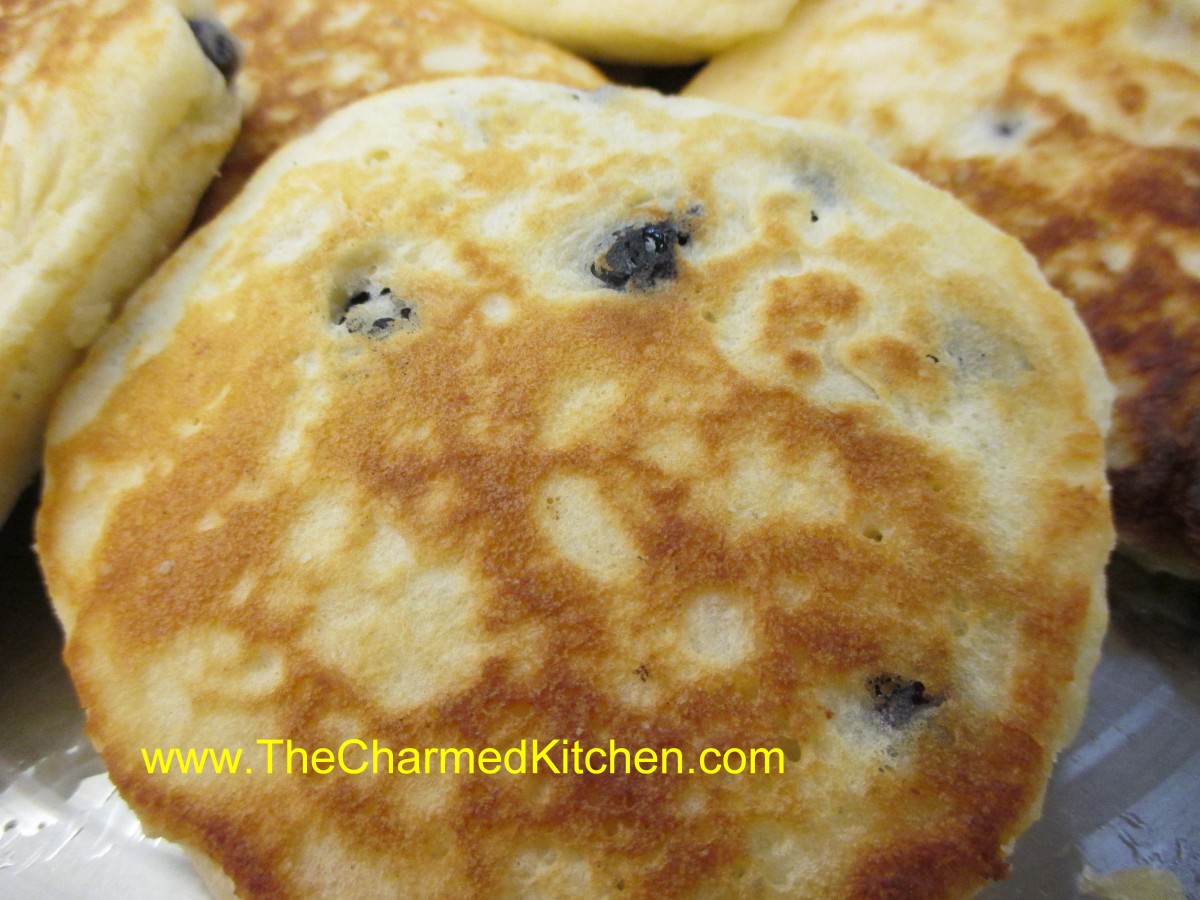
Blueberry Pancakes

For breakfast I can’t think of a better dish than blueberry pancakes with fresh made blueberry syrup. I treated my self this morning and made both.  The pancakes were light and very fluffy.

The secret is not to over mix. The batter was stirred until just mixed. I used a homemade biscuit mix as the base. The recipe follows.

The baking mix is normally made with shortening, but I use coconut oil. You can use the mix in so many other recipes, too. Any Bisquick recipe will work. When using coconut oil, you might want to store the mix in the fridge in hot weather. Normally I store it at room temperature, but pop it in the fridge during the summer.

The syrup is pretty simple. Just three ingredients; blueberries, sugar and a little water. Sometimes I add some vanilla or a little lemon zest.  I served it warm over the pancakes.


Blueberry Pancakes

2 c. biscuit mix*
1 c. milk – I used half and half
2 eggs
1 c. fresh or frozen blueberries

Combine mix, milk and eggs until just blended. Fold in berries. Pour batter by scant 1/4 cups in lightly greased griddle or skillet over moderate heat. Turn when pancakes are dry around the edges. Cook until golden brown. Makes about 13.

* Like Bisquick or Jiffy Mix or home made- recipe follows

Biscuit Mix

8 c. flour
1 c. powdered milk
1 c. powdered buttermilk (or 1 more cup powdered milk)
1/4 c. baking powder
1 T. salt
1 1/2 c. shortening* I use coconut oil

Combine dry ingredients and cut in shortening until well mixed. Store in tightly covered container. Makes 10 cups.

* You can substitute coconut oil or butter for the shortening- but mix will have to be kept cool. Refrigerate if using butter and use withing 3 months.

Blueberry Syrup

4 c. blueberries
1 c. water
1½ c. sugar

In saucepan heat berries and water to a boil and boil 2 minutes. Crush berries with a potato masher as they cook. Add sugar and cook for 10- 15 minutes on medium heat until mixture thickens.  Process syrup with an immersion blender or in a blender until smooth.  Cool, then refrigerate. Keeps a couple of weeks. Makes about 3½ cups.

Blueberry Pancakes with Blueberry Syrup

Blueberry Pancakes with Blueberry Syrup

Strawberry Ice Cream Cake Roll

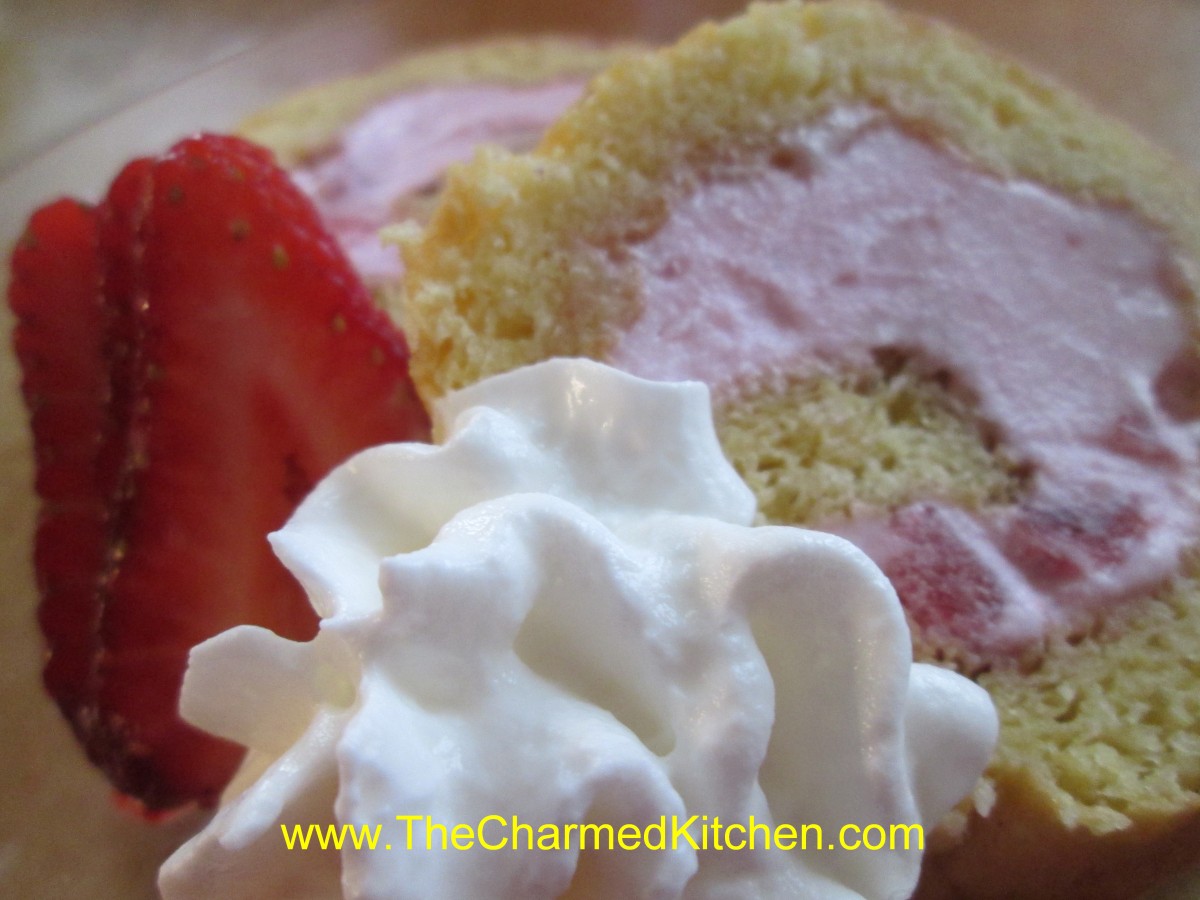
Strawberry Ice Cream Cake Roll

This is the perfect summer dessert. Fresh berries, a light, citrus scented cake and ice cream. What more could you want?

I taught  class recently on making cake rolls. I think a lot of people first think of a pumpkin roll or Buche de Noel, when they think of cake rolls. There are so many more desserts you can make with them. Cake rolls can be made in many flavors and they can be filled with custard, frosting, fruit, ice cream and more.

For this sponge cake roll, I used homemade strawberry ice cream to fill it, recipe follows. You could use store bought ice cream, if you prefer. Start with the sponge cake roll recipe below and use whatever flavor ice cream you like. You’ll need about a quart of ice cream- or a little more.

Once finished, you just pop the cake in the freezer until needed. Great to have on hand for summer parties and cook outs.

Sponge Cake Roll

This sponge cake roll can be filled with whipped cream or ice cream, or use your favorite filling.
5 eggs, separated
2/3 cup granulated sugar
1 teaspoon lemon juice
1/2 teaspoon finely grated lemon zest
2/3 cup cake flour*
1/4 teaspoon salt
1 teaspoon baking soda
3 tablespoons melted butter
Beat egg yolks until thicken and lemon colored; gradually add 1/3 cup of the granulated sugar, the lemon juice and the lemon zest. Beat egg whites until almost stiff then gradually beat in the remaining 1/3 cup sugar. Beat until stiff peaks form. Fold yolk mixture into whites. Sift dry ingredients into a separate container; add to egg mixture, folding in carefully. Fold in melted butter. Pour batter into waxed paper-lined 10x15x1-inch jelly roll pan. Bake at 375° for 12 minutes. Sprinkle with confectioners’ sugar. Turn onto a clean kitchen towel which has been generously dusted with confectioners’ sugar. Trim edges, if necessary; roll cake up, towel and all, while still warm. Let cool completely. Unroll and fill with whipped cream or ice cream then re-roll cake. The trick is to let the ice cream soften up a few minutes before spreading it on the cake. But don’t wait too long. Rather than trying to let the ice cream get soft enough to spread I used a spatula to sort of cut slices of ice cream and place them on the cake.  Store ice cream cake roll in freezer until ready to slice and serve.

*If you don’t have cake flour you can make your own. Measure out a cup of all purpose flour, remove 2 tablespoons of flour and replace them with 2 tablespoons of cornstarch. For larger amounts place 7 cups of flour in a bowl and combine with 1 cup of cornstarch. Mix well or even sift together. Store in an airtight container.


Strawberry Ice Cream

2 c. chopped strawberries

1 c. sugar

1 T. vanilla

2 c. cream or  half and half or a combination. You can also use some milk or even almond or rice milk.

Additional sugar to taste

Place strawberries, vanilla  and sugar in saucepan and bring to a simmer, stirring occasionally. Remove from heat and chill. Combine chilled berry mixture with cream. Add additional sugar if you like. Remember that once it is frozen the ice cream will not taste as sweet so make this mixture a little sweeter than you want the final product to be. How much sugar you add varies with personal taste, and how sweet the berries are. Place in an ice cream maker and process according to manufacturer’s directions. Once finished put in an air- tight container and place in freezer. Makes about 1 quart.


Posted in Cooking |

Firecracker Chicken Fingers

Firecracker Chicken Fingers

Sometimes the best recipes happen when you don’t have time to plan. This is one of those recipes. Even better because it only uses 4 ingredients. Fun for the 4th of July, too.

I needed an appetizer, but didn’t have extra time for prep. I also did not have time to go to the store, so used what I had on hand. I had some boneless chicken breasts. I could also have used boneless thighs or even chicken wings. I used what I had.

I cut them into strips and poured a bunch of hot sauce over them. Put them in the fridge to marinade overnight.  The next day I just tossed the chicken strips in breadcrumbs and fried them in a little oil. Served with extra hot sauce on the side, they were a big hit.


Firecracker Chicken Fingers

2 lbs. boneless chicken, I used breasts, but thighs would be good, or wings

3/4 c. hot sauce, plus extra when serving

2 c. bread crumbs

2 c. oil, for pan frying

Cut chicken into strips and place in a bowl. Pour over the hot sauce and stir to coat evenly. Cover and chill overnight, or even for a couple of days. Place bread crumbs in a plastic bag. Place a small handful of chicken in the bag and shake to coat. Place on a plate and continue with the rest of the chicken. Heat oil in skillet to 350- 375 degrees. fry chicken in several batches- you don’t want to crowd them in the skillet- that will make the oil col down too much. Fry for a minute or two per side. Remove to platter lined with paper towels and cook the rest of the chicken. Keep chicken warm until ready to serve. serve with extra hot sauce on the side. Serves 8 or more as an appetizer, but can be served as a main dish, too.

Cherry Almond Sorbet

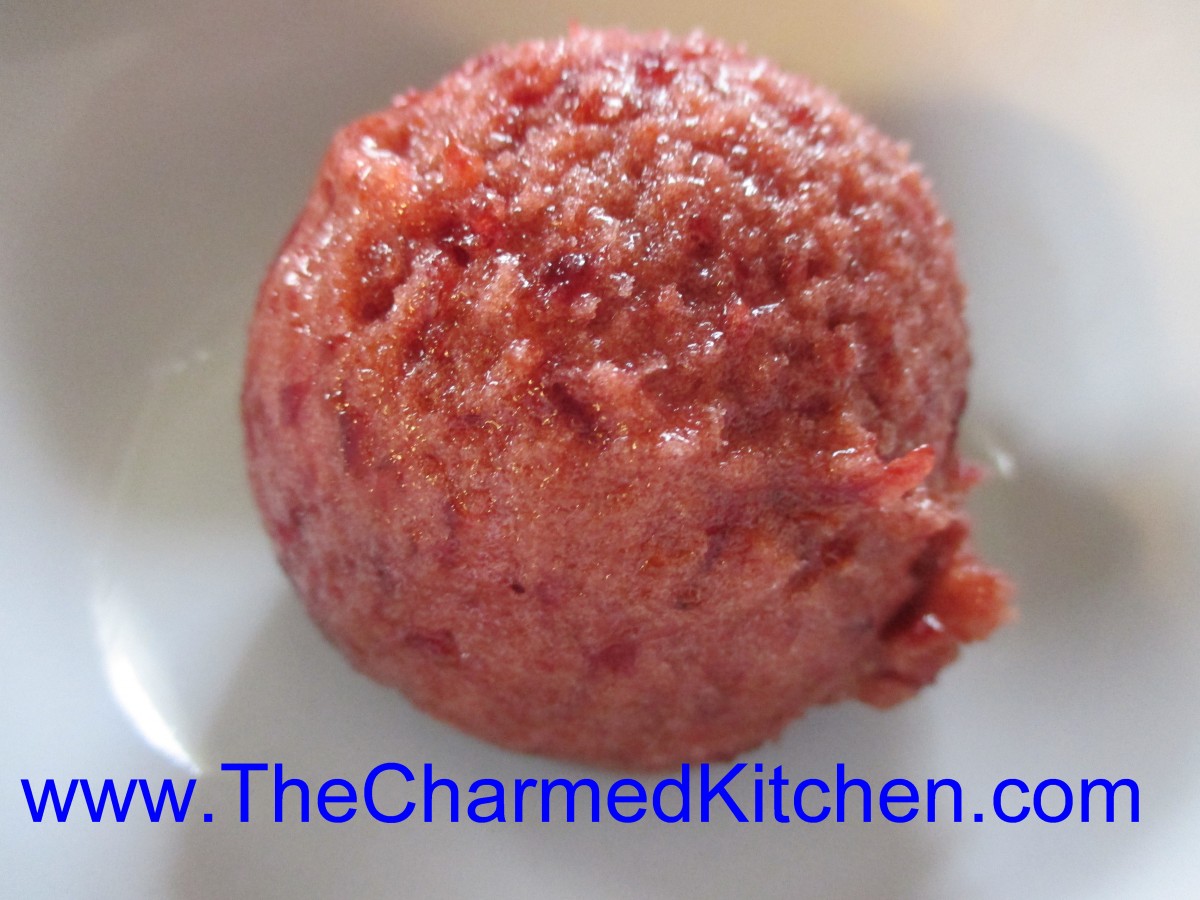
Cherry Almond Sorbet

This summer, I have been obsessed with making sorbets. The basic recipe is simple –  just pureed fruit, some sweetener and usually, some flavoring or herb, to add interest. They are so light and refreshing. The perfect dessert for summer.

So far I have make sorbet from pineapples, mangoes, strawberries, blueberries (with red grapes), peaches, cranberries and coconut. I am sure I have forgotten some of them.

I picked up fresh cherries at the market, so I could make cherry sorbet.

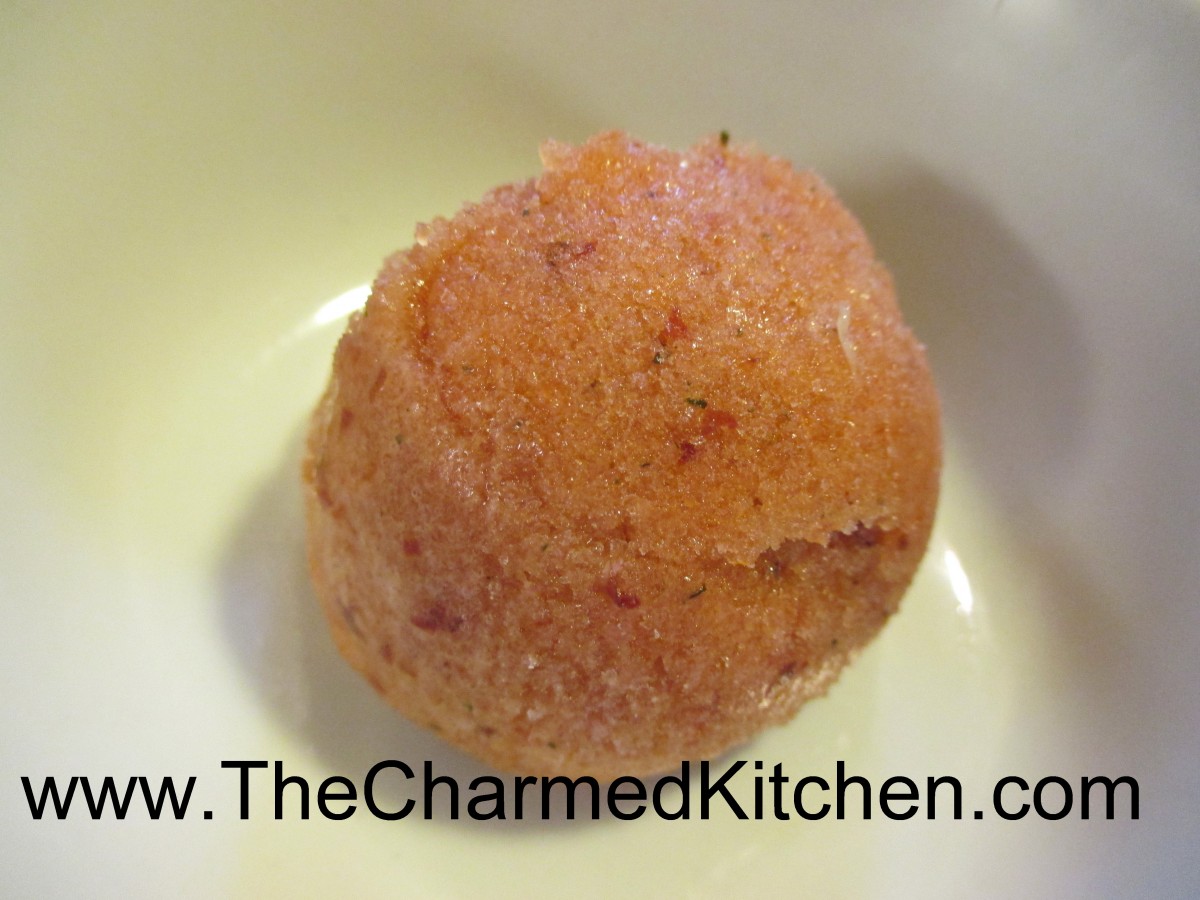
Fresh cherries are one of my favorite fruits of all time. I love both sweet and sour cherries. For the sorbet, I just pitted a pound of cherries, added sugar and some lemon juice. It needed a little something more- so I added almond extract. Really worked well with the cherries.

So here is the recipe. Simple and sweet.

Cherry Almond Sorbet

1 lb. cherries, pitted

3/4 c. sugar, or to taste*

3 T. lemon juice – it helps the cherries retain their color

1 t. almond extract

Place cherries in blender or food processor, with the sugar and extract. Blend until smooth. Adjust sweetener to suit your taste. Place in a container with a lid and freeze. Once mixture is frozen, remove from the freezer, break into chunks and place in food processor. Process until mixture looks creamy and smooth. You might have to do this in batches, depending on the size of your food processor. Eat or return to freezer until ready to use. Makes just over a quart of sorbet.

*Feel free to use other sweeteners you like in place of the sugar. Honey or maple syrup would both work nicely.

Coconut Chocolate Bowls

Coconut Chocolate Bowls

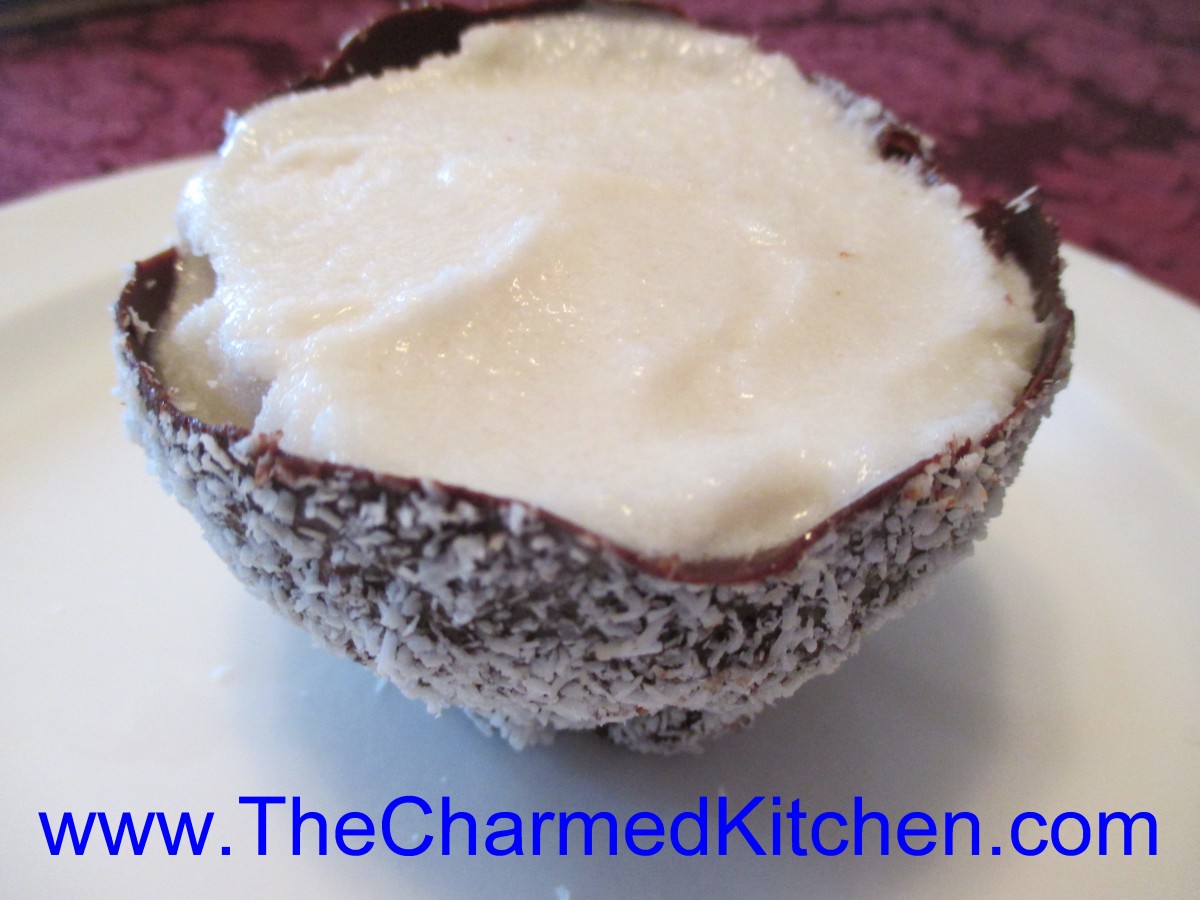
Now this is fun. Coconut almond sorbet served in chocolate bowls. The idea is to make the dessert look like coconuts. It worked out well and tasted great.

The whole dessert is dairy free and vegan as well. Great for people who have issues with dairy. You won’t miss the dairy in this recipe. The sorbet is smooth and creamy.

These are fun to serve for summer parties. You can make everything ahead of time, assemble and keep in the freezer until you want them.

The bowls are made by dipping inflated balloons in melted chocolate. Then you coat them is desiccated coconut to cover the chocolate. Desiccated coconut is dry and unsweetened. It looks like white bread crumbs. You can find it at Asian markets (it is the type of coconut used for coconut shrimp) . It is also found at cake decorating and candy making stores.

Let the bowls set- in fridge or freezer- until the chocolate hardens. Then you just pop the balloons and remove them. You are left with a chocolate bowl. Fill the bowls with the sorbet- you could use vanilla ice cream. I suppose, but the coconut sorbet really is better in this dish.

You can serve them as is- or top with some fresh fruit or chocolate sauce.

So here are the directions for the bowls and the recipe for the sorbet.


Chocolate “Coconut” Bowls


8 Balloons- blown up to 4-inch diameter

12 oz. Chocolate – I used bittersweet. Chocolate chips would work, too

about 1 cup of desiccated coconut- cake and candy making stores sell it- Asian markets, too.

Coconut Almond Sorbet- recipe follows


Blow up balloons and tie the ends. Melt chocolate and stir until smooth. I melt mine in a microwave, being careful not to let the chocolate burn. Allow chocolate to cool down a bit before dipping the balloons. This is really important: if the chocolate is too hot the balloons will explode before the chocolate hardens. Also, don’t get really cheap water balloons- they pop easy. I normally melt my chocolate and then add some unmelted chocolate to the bowl, which cools it down. Place some of the desiccated coconut in a shallow bowl. Dip the bottom of the bowl in the chocolate. Use a small rubber spatula to remove excess chocolate from the bottom. It is supposed to become a bowl, so leave some on the bottom, just not a huge blob. Tip the balloon and sprinkle the coconut all over the chocolate. You can set the balloon in the coconut, too. Set balloons on a small tray, lined with wax paper to set up. This is faster in the fridge or freezer. Once the chocolate is hard- pop the balloon and be sure to remove any of the left over pieces of balloon. Keep bowls in the fridge until ready to fill with sorbet. Makes 8.

When ready to fill them- scoop in some of the sorbet and smooth the top. You can do this ahead of time and store in the freezer until ready to serve.


Coconut Almond Sorbet


1 can (13.5 oz.) coconut milk

1½ c. almond milk

¼ c. sugar- or to taste

2 t. vanilla


Combine all ingredients in bowl and stir until sugar is dissolved. Place in an ice cream maker and freeze according to manufacturer’s instructions. Makes 1 quart.


Note: If you don’t have an ice cream machine, you can freeze the sorbet in a shallow tray. Once frozen, remove from freezer and let it soften a few minutes. Break into chunks and process in a food processor to soften. Return to freezer until ready to use.


Chicken with Cherry Mustard Sauce

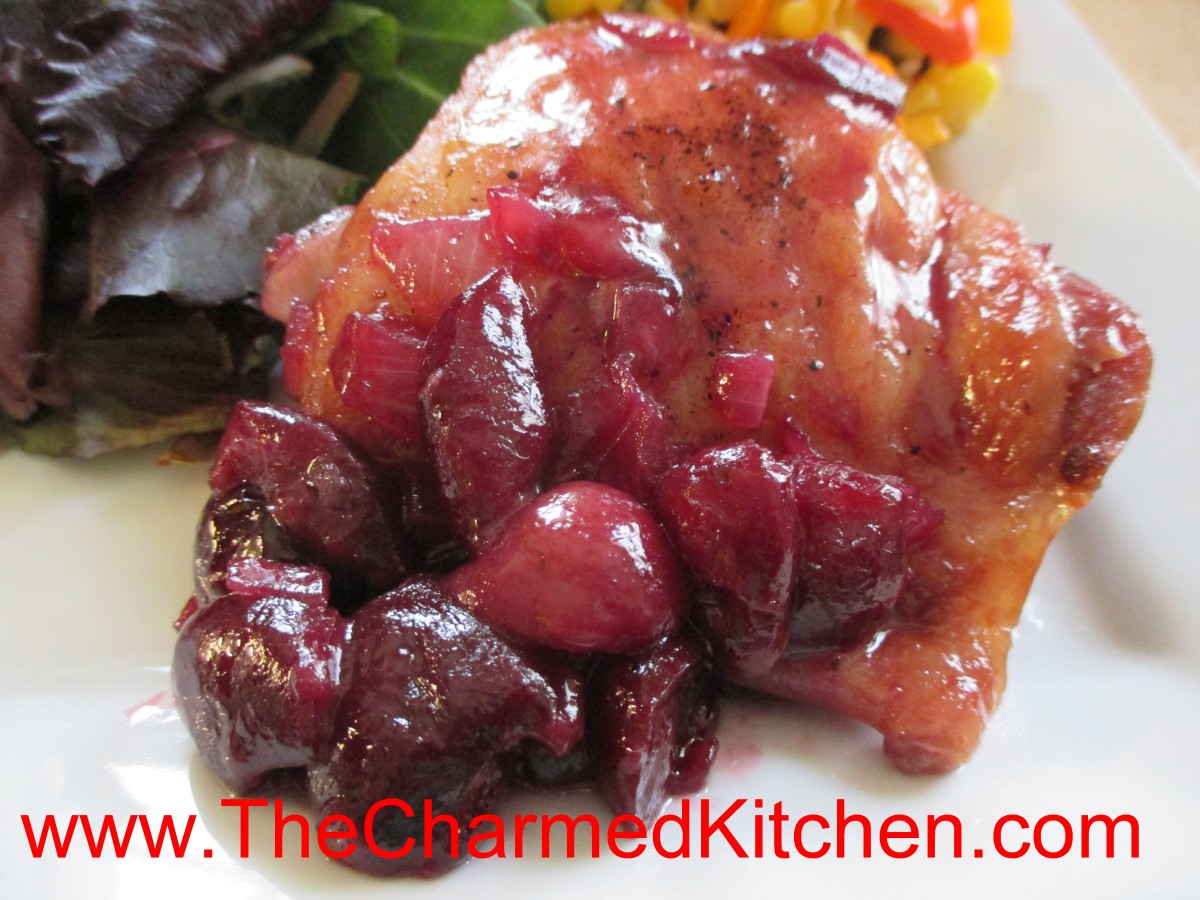
Chicken with Cherry Mustard Sauce

Cherries are one of my favorite fruits to cook with. Don’t get me wrong, I love eating cherries fresh. I bake with them and make sweet treats like jam. But, cherries are so wonderful when combined with different proteins. I love to pair cherries with duck, pork and chicken.


I think cherries add a special touch when added to main dishes. I have used them in any number of sauces, glazes, chutneys and marinades over the years.


This time, I was looking for a way to dress up some chicken. I remembered that I had a pound of cherries in the fridge. I made the cherry mustard sauce while the chicken was baking. Here is what I did.


Chicken with Cherry Mustard Sauce


To prepare the chicken: I had about 3 lbs. of bone-in chicken pieces. I seasoned them with salt and pepper and placed them in a 400-degree oven. I knew the chicken would take about 45-50 minutes to cook. I made the sauce while the chicken was cooking- sauce recipe follows. When the sauce was done, I left it in the skillet while the chicken finished cooking.

When I took the chicken out of the oven, I removed the pieces from the roasting pan and placed them skin side down in the skillet with the cherry sauce. I turned the heat onto medium-high and turned the chicken a few times until both sides were coated from the cherry sauce and the sauce had sort of glazed the chicken.

This would be a nice sauce to finish off grilled or broiled chicken, too.


Cherry Mustard Sauce


3 T. oil

1 large onion, peeled and chopped

3 cloves garlic, minced

1 lb. cherries, pitted and halved

½ c. apple cider vinegar

¼ c. brown sugar

3 T. Dijon mustard

1 t. celery seed

1 t. hot sauce, or to taste

Salt and pepper to taste


In large skillet, heat oil and cook onions until tender. Add the garlic and cook a few minutes more. Add the cherries and cook over medium- high heat for 3-4 minutes. Add remaining ingredients and turn heat down to medium. Cook until most of the liquid has evaporated, about 15 minutes. Stir occasionally. Adjust seasonings. This sauce can be used to glaze meats, or served on the side. I used it with chicken, but it would be wonderful with duck, turkey or pork, too. Makes about 3 cups of cherry sauce.


Blueberry Lime Cheesecake

Blueberry Lime Cheesecake

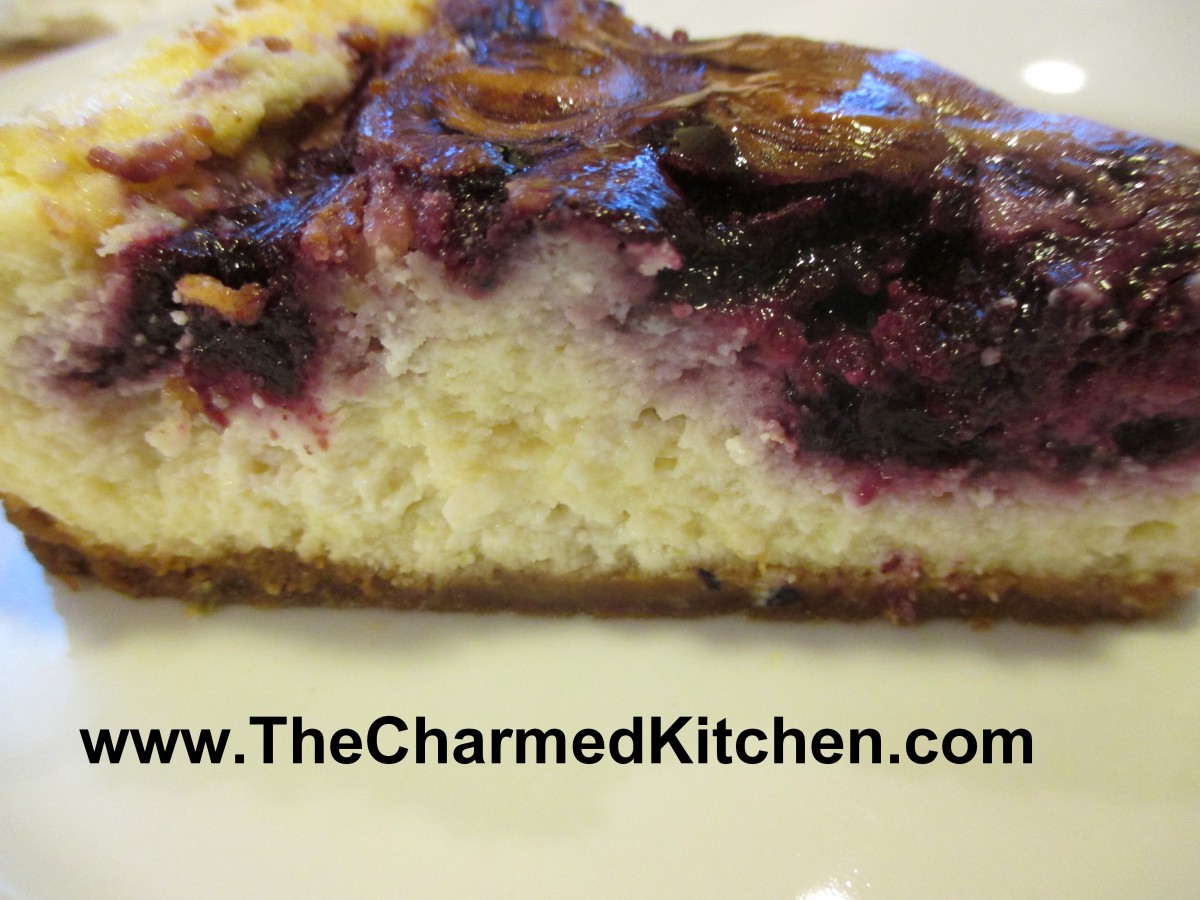
This recipe combines limes and blueberries for a cheesecake that is perfect for summer. The citrus pairs well with the berries. I had made this cheesecake before, with the blueberry puree swirled into it, but without the lime. I have often used lemons and blueberries together, but not limes so much.

I had a few extra limes in the fridge that needed to be used soon, so I decided to try them out in this cheesecake. I thought the limes would be a nice addition this time.

I must say, I really like the flavor  the lime zest and juice adds to this dessert. Adds a nice zippy flavor. Leftovers can be frozen. But let’s be honest, there aren’t going to be any leftovers!!!


Blueberry Lime Cheesecake

Blueberry Puree

1 ½ c. blueberries

¼ c. sugar

2 t. cornstarch

1T. fresh lime juice

Crust

1c. graham cracker crumbs

2 T. sugar

2 T. melted butter

Filling

3 (8oz.) packages cream cheese, softened

1 c. sugar

8 oz. sour cream

Zest from 2 limes

Juice from 1 lime

2 t. vanilla

4 eggs, at room temperature

2 T. flour


For puree, combine berries, sugar and cornstarch in saucepan and bring to a boil. Cook 5 minutes, stirring constantly. Puree in blender with lime juice and cool completely. For crust, combine crumbs, sugar and butter and set aside. Preheat oven to 350-degrees. Press crumb mixture firmly into bottom of 9 or 10-inch springform pan and bake 10 minutes.  For filling, beat cream cheese until fluffy and beat in sugar until smooth. Beat in sour cream and vanilla, zest and lime juice. Beat in eggs, one at a time. Stir in flour and pour batter into springform pan.  Drizzle blueberry puree over batter and use a knife to swirl it around. Place a roasting pan on lower rack of oven and fill with one inch of boiling water. Place springform pan on upper oven rack.  Bake 1¼ hour or until just set. Turn oven off and let cake stand in oven 1 hour more. Remove pan from oven. Cool down and refrigerate overnight. Remove pan side before serving. Serves 12.

Posted in Cooking | Tagged , |

Peaches and Herb Sorbet

Peaches and Herb Sorbet

Sorbet is such a nice dessert for summer. Light, fruity and fresh. I try to keep a few different kinds on hand. So many fruits are abundant this time of year. They are the perfect start for a great sorbet.

This peach sorbet combines ripe peaches with both basil and mint from my garden. The combination worked well together. Adding herbs and other flavorings can make sorbet even more fun to eat.

You don’t need an ice cream machine to make it, either. You just puree the fruit with the other ingredients and freeze. The secret to a smooth sorbet is to puree the frozen mixture a time or two. I place the frozen sorbet in my food processor and run it until the sorbet looks creamy. Then I put it in the freezer again. For extra creamy sorbet , repeat this process a third time.  Easy to make, but there is wait time for the sorbet to freeze.

Here is the recipe for the peach sorbet. I thought the herbs added a really nice touch to the final product. Feel free to experiment with the flavors you like.

Peaches and Herb Sorbet

5-6 medium peaches, pitted. You can peel, if you like

honey to taste – I used 1/4 cup, but depends on how sweet the fruit it

3-4 basil leaves

2 sprigs of fresh mint

Puree all ingredients together until smooth. Adjust sweetener and seasonings. Mixture will taste less sweet after it freezes. Freeze until solid.  Remove from freezer and break into chunks. Process in a food processor until mixture looks creamy. Depending on how cold your freezer is, you might have to let the sorbet soften a few minutes before processing it. Place back in freezer until ready to serve. Makes about 1 quart.

Note: For even creamier sorbet- process a another time or two- refreezing after each time.