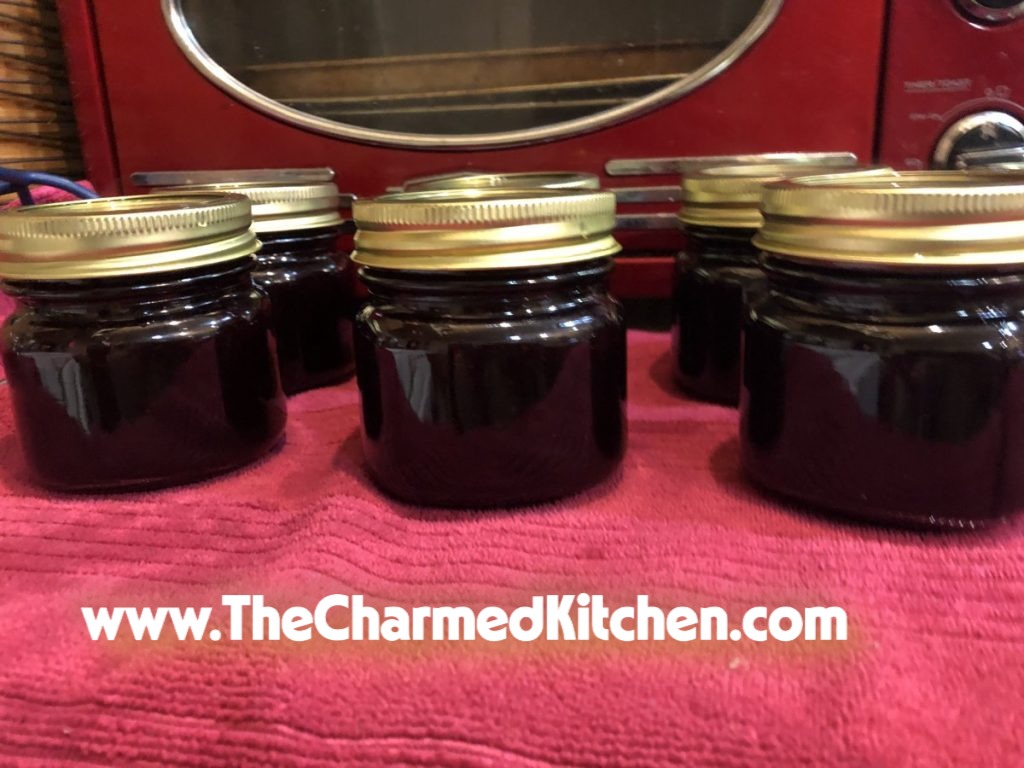
Sweet Cherry Vanilla Jam
I look forward to cherry season every year. I love eating fresh cherries, but I also like to preserve them, to enjoy year round. One of my favorite things to make is cherry jam.
This must be a great year for cherries. They seem bigger than usual, and very sweet.
While I normally make jam from sour cherries, I knew the sweet ones would work. Besides the cherries, sugar and pectin, this jam also contains lemon juice, vanilla and cinnamon. Those extra ingredients give the jam a more complex flavor and a little bit of a tang.
This may be one of my favorite jams ever!!! I was worried it would be too sweet, but it isn’t. The flavor of the cherries comes through as well at the flavor of the vanilla and cinnamon. Thinking I made need to buy more cherries and make another batch….
Here is the recipe. Enjoy.
Sweet Cherry Vanilla Jam
4 c. chopped pitted sweet cherries, about 2 lbs.
6 T. powdered pectin
6 T. lemon juice
2 T. pure vanilla extract
1 t. cinnamon
4½ c. sugar
Wash jelly jars and lids and keep warm until ready to use. Place a large pot of water, with a rack, on to boil for the water bath. In large saucepan combine cherries with pectin, lemon juice, vanilla and cinnamon. Bring to a rolling boil, stirring often. Add the sugar and bring mixture back to a rolling boil, stirring often. Once the mixture gets to a full, rolling boil, cook for one minute longer, stirring constantly. Remove jam from heat and skim off any foam. Ladle hot jam into hot jars, filling to about 1/4 inch from the top. Wipe off rim and screw on the lids. Repeat with remaining jam. Process in a hot water bath for 10 minutes. Turn off heat and let jar sit in canner 5 minutes before removing. Remove from water bath and allow jars to cool. Yield: about 6 half pint jars of jam.
Adapted from The Ball Blue Book
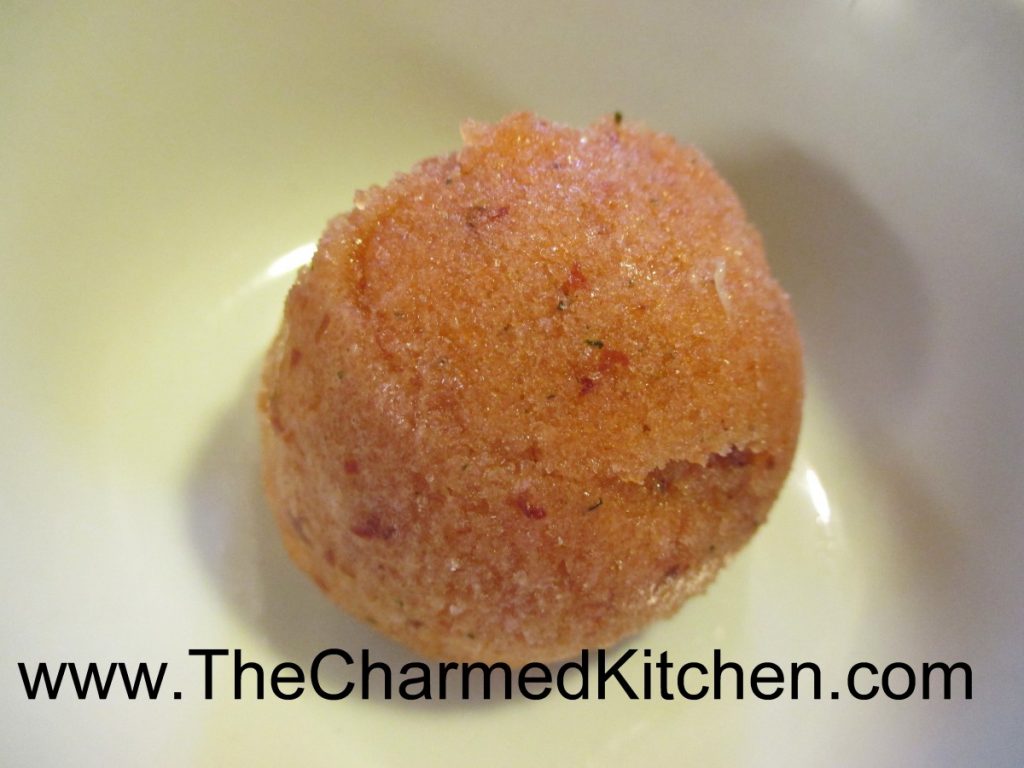
Peach Sorbet with Basil and Mint
Sorbet is such a nice dessert for summer. Light, fruity and fresh. I try to keep a few different kinds on hand. So many fruits are abundant this time of year. They are the perfect start for a great sorbet.
This peach sorbet combines ripe peaches with both basil and mint from my garden. The combination worked well together. Adding herbs and other flavorings can make sorbet even more fun to eat.
You don’t need an ice cream machine to make it, either. You just puree the fruit with the other ingredients and freeze. The secret to a smooth sorbet, is to puree the frozen mixture a time or two. I place the frozen sorbet in my food processor and run it until the sorbet looks creamy. Then I put it in the freezer again. For extra creamy sorbet , repeat this process a third time. Easy to make, but there is wait time for the sorbet to freeze.
Here is the recipe for the peach sorbet. I thought the herbs added a really nice touch to the final product. Feel free to experiment with the flavors you like.
Peach Sorbet with Basil and Mint
5-6 medium peaches, pitted. You can peel, if you like
honey to taste – I used 1/4 cup, but depends on how sweet the fruit it
3-4 basil leaves
2 sprigs of fresh mint
Puree all ingredients together until smooth. Adjust sweetener and seasonings. Mixture will taste less sweet after it freezes. Freeze until solid. Remove from freezer and break into chunks. Process in a food processor until mixture looks creamy. Depending on how cold your freezer is, you might have to let the sorbet soften a few minutes before processing it. Place back in freezer until ready to serve. Makes about 1 quart.
Note: For even creamier sorbet- process a another time or two- refreezing after each time.
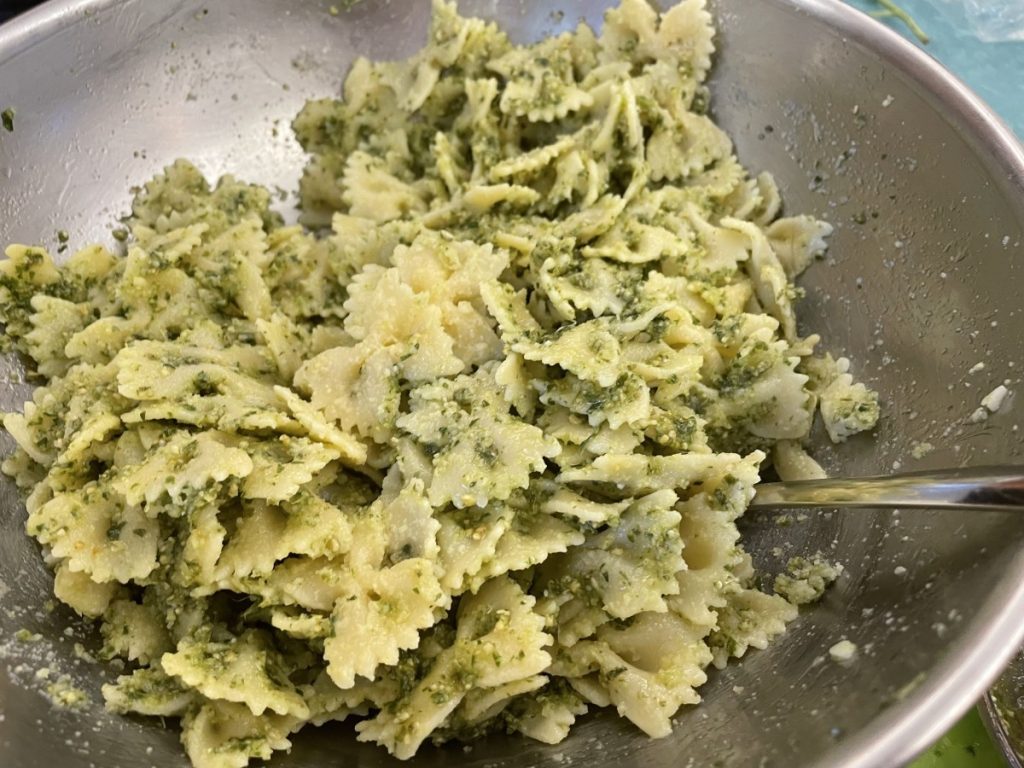
Pesto Sauce
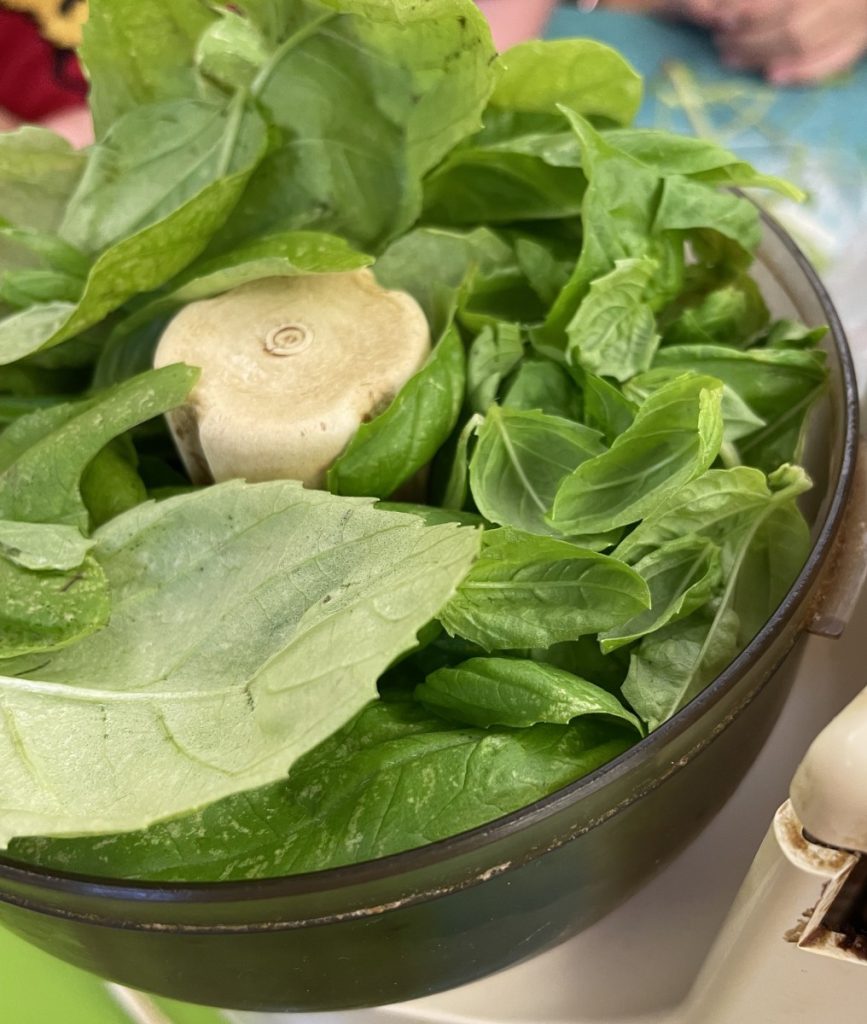
In cooking camp last week the kids made fresh pesto sauce. I wasn’t 100% sure if they would like, but it turns out it was one of their favorite dishes. Pesto is most often made with basil, but there are a lot of variations out there. Pesto can be made from parsley, sun dried tomatoes, spinach or mint.
I must admit to being a big fan of the original.
I make pesto often when I have fresh basil. I also freeze basil with olive oil, so I can make it all year long. Pesto can be tossed with pasta, rice, cauliflower or other veggies. I also like pesto on chicken and I love pesto potato salad.
Basil Pesto Sauce
1 c. tightly packed basil leaves
1/4 c. olive oil, or more as needed
3-4 cloves garlic
Salt to taste
1/2 c. pine nuts, sunflower seeds, pecans or walnuts- I like to toast the nuts first
1 c. fresh grated Parmesan cheese
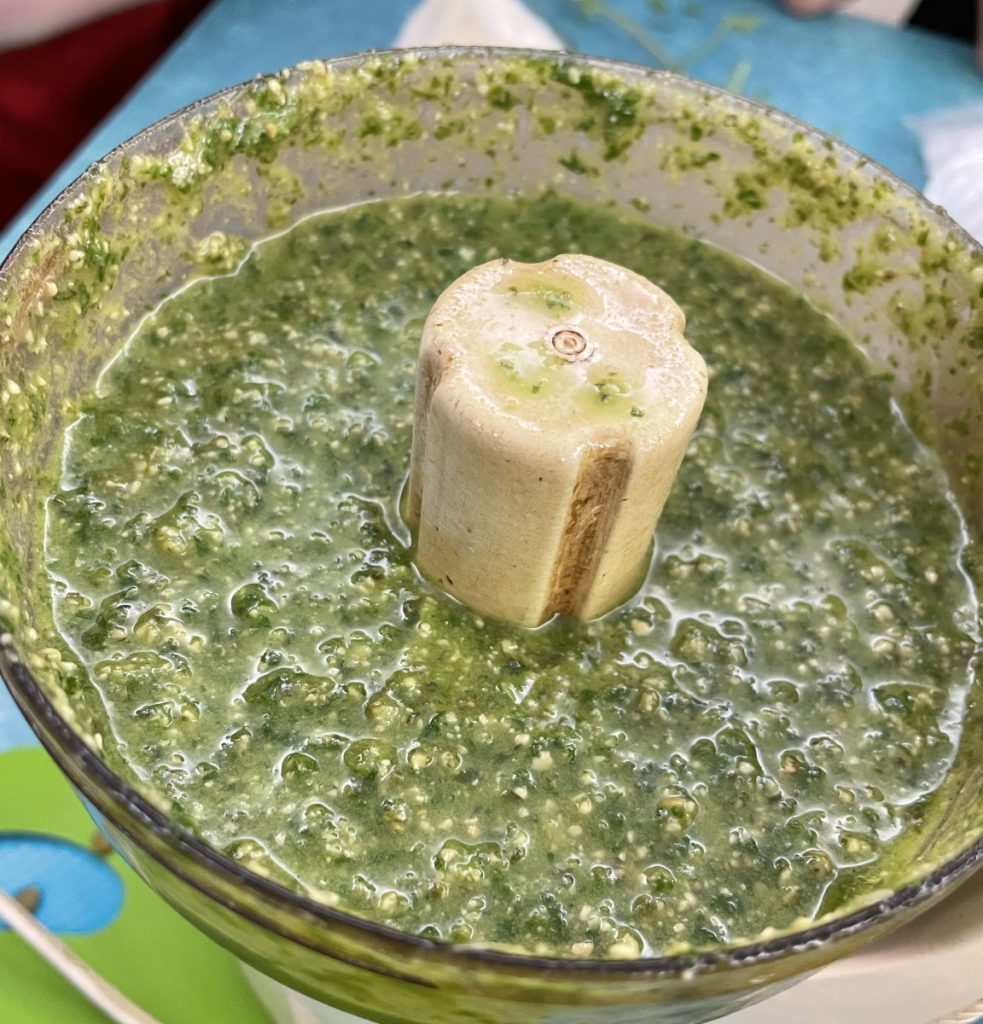
Combine all ingredients, except the cheese, in a blender and mix until smooth. Stir in the cheese and toss over hot, cooked pasta or use as a sauce on meat and poultry. Sauce will keep a few days in the fridge and makes about 1 1/2 cups, enough for 1 lb. of cooked pasta.
Cherry and Blueberry Clafoutis
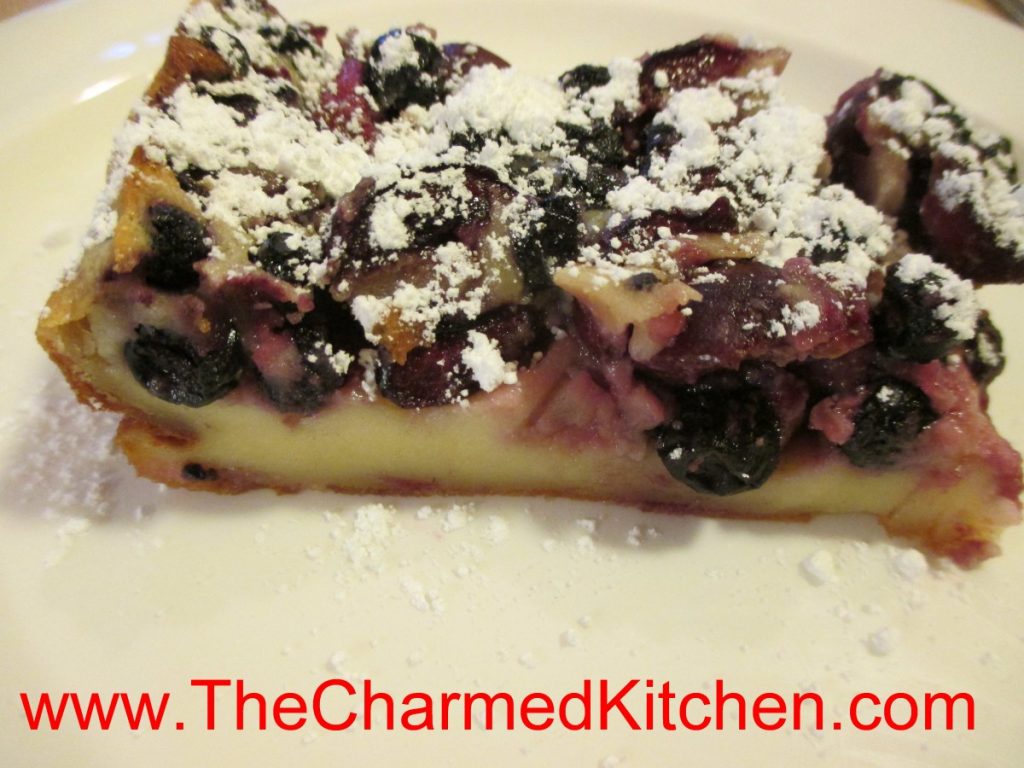
So what is clafoutis? Clafoutis is a sort of pancake, sort of custard, sort of quiche. It is a lovely dessert for fresh fruit, for sure. You can serve clafoutis plain, or topped with powdered sugar or whipped cream. On a hot day, I like to serve it with a scoop of ice cream.
Clafoutis is really simple to make, too. You start by putting the fruit in a prepared pan. The batter is made in a blender, and takes just a couple of minutes to prepare. You pour the batter over the fruit- and bake.
I used cherries and blueberries in this one, but you can use all sorts of fruits- peaches, plums, raspberries…..
Most people enjoy it as a dessert, but it is also nice with that morning cup of tea or coffee.
I used a combination I thought would make a nice dessert for summer.
Cherry and Blueberry Clafoutis
2 c. pitted cherries, I cut them in half, but you can leave whole
1 c. blueberries
3 eggs
1 c. sugar
3 T. melted butter
½ c. flour
2 t. vanilla extract
1 t. almond extract
pinch of salt
1 c. half and half
powdered sugar, optional
Grease a 9×9-inch baking dish or pie pan. Preheat oven to 350 degrees. Place cherries and blueberries in the prepared pan. In blender, combine eggs, sugar, butter, flour, flavorings and salt.* Blend until smooth. Add half and half and blend again until smooth. Pour batter over the cherries and blueberries. Bake for 45-50 minutes or until clafoutis is browned around edges and puffed up. Allow to cool and dust with powdered sugar, if you like. It will deflate as it cools. Serves 6.
* You can whisk the ingredients together by hand, if you prefer.
Pineapple Tortilla “Blintzes”

These were the last dish we made in cooking camp this week. We actually used several fruit fillings. Pineapple was a favorite. We also had apple pie filling and peach pie filling. The kids loved them and made 40 of them!!
I often use flour tortillas in place of crepes to make blintzes. The blintzes can be a dessert, breakfast or brunch dish. Since I had a can of crushed pineapple, I made pineapple filling.
You could use any ready made pie filling, if you prefer.
I soaked the tortillas in milk. That is the secret to make this dish work. By soaking the tortillas in milk, they soften up, and can be used like a crepe. It changes their texture completely. Soak them for at least 5 minutes, or up to 20 minutes. I placed the tortillas in a shallow baking pan and made sure to drizzle each one with milk as I added them to the pan. They will stick together if softened too long, so you might want to separate the tortillas with sheets of plastic wrap or wax paper to keep them separate as they soften. You could also soak them in almond or rice milk, or even fruit juice.
For the filling, I used the can of crushed pineapple, sweetened with sugar, a little vanilla and thickened with Clear Gel. Here is the recipe for the pineapple filling along with directions on how to assemble and prepare the blintzes.
Pineapple Blintzes
Filling:
1 can ( 20 oz.) crushed pineapple, packed in juice, un-drained
½ c. sugar, or more to suit your taste
1 t. vanilla
¼ c. Clear Gel or cornstarch*
2 T. cold water
Butter for frying
12 flour tortillas- 8-inch
Powdered sugar
In sauce pan, heat together pineapple, sugar and vanilla and bring to a boil. Combine Clear Gel with cold water and stir until smooth. Slowly drizzle this mixture into the pineapple, stirring constantly. Mixture will thicken quickly. You might not need to add all of the Clear Gel mixture. Once it thickens, remove from heat and cool down a little before making the blintzes. Makes about 3 cups, enough for about 12 blintzes.
To assemble the blintzes, place a softened tortilla on your work surface and spoon a little pineapple filling in the middle. You can do this with hot filling, but easier if the filling has cooled down or is even cold. Don’t over fill them or you won’t be able to fold them up. I used 8-inch tortillas and used about 1/4 cup of filling for each one. Fold the sides in until they almost meet in the middle and then roll the tortilla up to cover the filling. Place seam side down until ready to fry them.
Heat butter in a skillet, and brown the blintzes over medium heat until lightly toasted on both sides. They will be crispy on the outside, but tender in the middle. Put on a serving plate, sprinkle with powdered sugar and serve while warm.
Note: They can be assembled ahead of time, then kept in the fridge until ready to cook. You can also cook them up ahead of time, and just warm in the oven when ready to serve. If rewarming them, cover to keep them from drying out.
I have made these before and use different fruit fillings. I’ve also made a cheese filled version a few times. It seems I usually have a package of tortillas, so it is a go-to dessert for me in a pinch. Nice brunch or breakfast dish, too. For dessert, you can also top them with ice cream or whipped cream.
* Clear Gel is modified cornstarch. It is used in commercial pie fillings and in many frozen dinners. It looks just like regular cornstarch. The big difference between Clear Gel and traditional cornstarch is that Clear gel won’t get runny when reheated. If you have ever used cornstarch to thicken a stir fry, you know that the next day, if you reheat it, the sauce thins out. Clear Gel does not do that- it stays thick. Clear Gel is available at stores in Amish communities and on-line.
Homemade Cherry Liqueur

I make a lot of homemade liqueurs, but cherry is one of my favorites. I enjoy just sipping it, or adding it to other cocktails or mixing it with soda water.
It is easy, and the reward is having this lovely liqueur to enjoy even when cherries aren’t in season. I added a couple of vanilla beans to mine, but you can leave them out, if you prefer. You could also add 1-2 tablespoons of vanilla extract.
If you like a less sweet liqueur, you can add less sugar. You could use sour cherries instead.
Cherry Liqueur
2 c. granulated sugar
4 c. vodka or brandy
1 lb. large, washed, stemmed and pitted sweet cherries
2 (6-7 inch) vanilla beans, broken into several pieces, optional
Place sugar and vodka or brandy in a large jar- I used a half gallon canning jar. Stir until sugar is mostly dissolved. Add cherries and vanilla and cover jar. Do not stir. Place in a cool, dark place for 3 months, without stirring or shaking. Strain and filter. Divine! Makes 4-6 cups.
Spiced Cherries
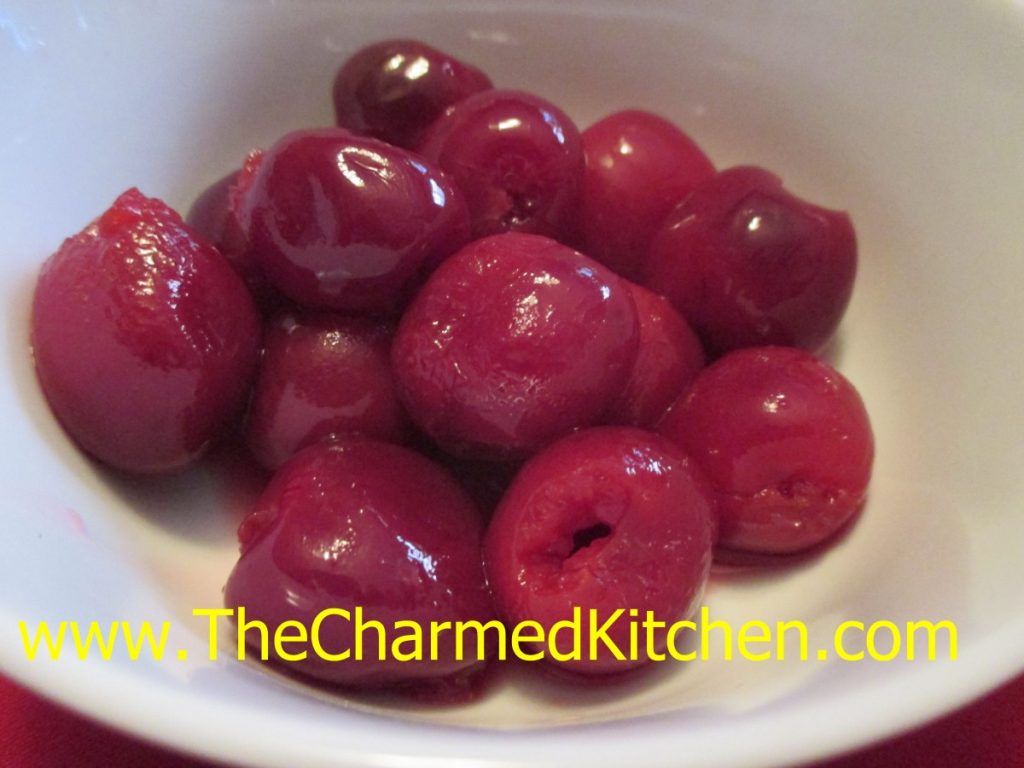
These cherries are so good, I am already wishing I had canned more of them. I was inspired by my cousin, Laurie, who needed spiced cherries for a recipe she wants to make. She’s making a cherry chocolate martini, in case you were curious.
I first thought about the spices I wanted to use. I didn’t want to overpower the cherries, but I wanted the spices to complement the flavor of the fruit. In the end I used cinnamon sticks, fennel seeds, fenugreek, cloves and some cracked black pepper. You certainly can play around with spices you use.
Once I decided which spices I wanted to use, I steeped them in boiling water. Kind of like making tea. Then I strained out the spices and used the spiced water in the syrup for the cherries. I could just have added spices to the cherries when I canned them, but I didn’t want stuff in the jars I would need to strain out later. I also knew the spices would get more intense over time, if left in the jars. By making a tea and tasting it, I knew what level of spice I would have in the final product.
The spiced cherries can just be eaten, right out of the jar. They can also be drained and added to fruit salads or used to top desserts. You can also use them to bake with. They aren’t overly sweet.
They would make nice gifts, too.
So here is my recipe for spiced cherries.
Spiced Cherries
7 (3-4 inch) cinnamon sticks
2 T. fennel seeds or 2 star anise
2 T. fenugreek seeds
1 T. whole cloves
1 T. cracked black pepper
5 c. water
11 lbs. sweet cherries, but sour cherries can be used
3¼ c. sugar
Zest of 2 limes or lemons
Juice of 2 limes or lemons
Place spices in a large pot and turn heat on to medium. Toast spices in pot for about 4-5 minutes, stirring occasionally. You should be able to smell them. Watch so they don’t burn. Add the water to the spices, bring to a boil, and simmer for at least 15 minutes. Longer cooking is fine. Fill water bath canner with water and heat up water to a simmer. In the meantime, pit the cherries. You should end up with about 4½-5 quarts of pitted fruit. You can hold pitted cherries in a bowl of water with a little ascorbic acid in it, to prevent browning. Set aside. Remove the spiced water from the heat. Strain out the spices and discard them. Measure the spiced water and add enough fresh water to equal 5 cups. Return water to pot with the cherries (drained if they were in water), sugar, zest and lime juice. Bring mixture to a boil. Fill pint jars with cherries and cooking liquid, leaving ½-inch headspace. Wipe rims and screw on lids until fingertip tight. Place jars in water bath canner. Make sure the water covers the jars by 1-2 inches. Place lid on canner, and start timing when water returns to the boil. Process for 15 minutes. Remove jars from canner and place on a cooling rack or towel, in a draft free area. Once cooled, check the lids to make sure they are sealed. Remove bands and wipe down jars. Label and store. Makes about 9 pints.
Times and procedures all used NCHFP guidelines.
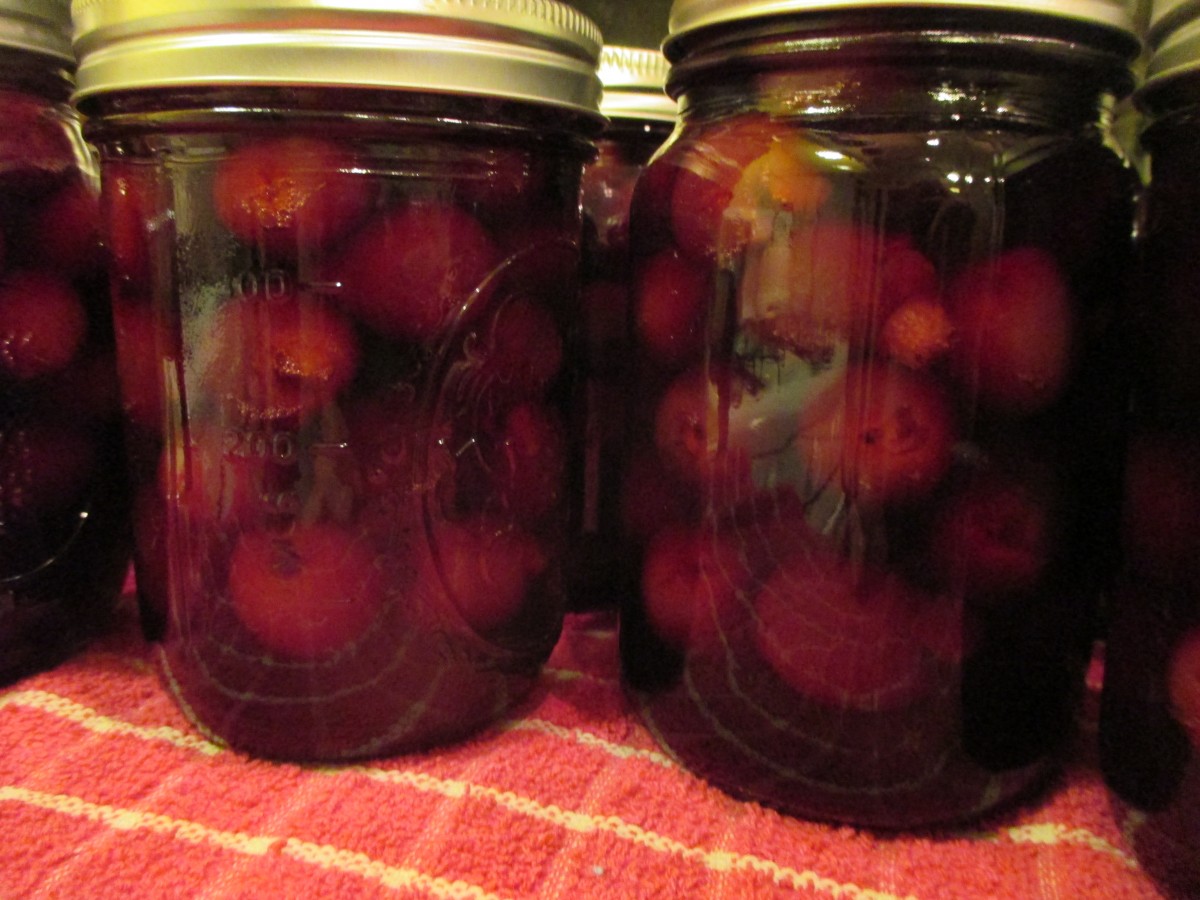
Jars cooling down
Peach Cheesecake Squares
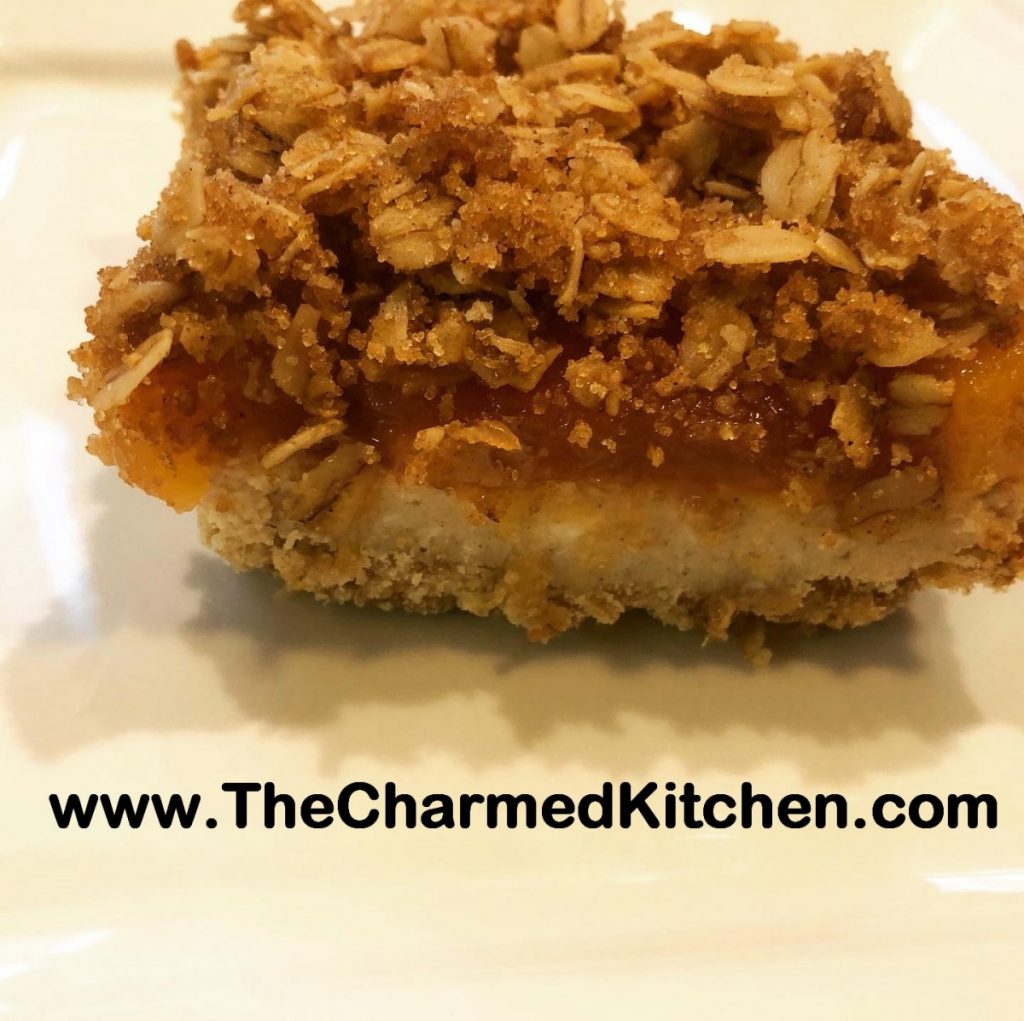
I love peaches and I love cheesecake. Never thought to combine them before. Wow, what a great dessert!! With peaches in season, it seemed like the perfect time to make it.
This recipe was inspired by a post I saw about a place that makes peach cheesecakes. I decided to make a less traditional cheesecake. I used a 9×13 baking dish instead of a springform pan. I also ended up making the cheesecake in layers. Let me explain.
I baked the crust a little, then added the cheesecake layer to bake. I was trying to figure out the best way to add the peaches. I decided to put them on after the cheesecake was baked, so I cooked them while the crust and cheesecake layers were baking. The crumb topping was an afterthought. I wanted some texture and just put that together at the end.
The result was a really good dessert. Enough peaches. Light and rich at the same time. I will most definitely make it again.
So here is the recipe. Enjoy!!!
Peach Cheesecake Squares
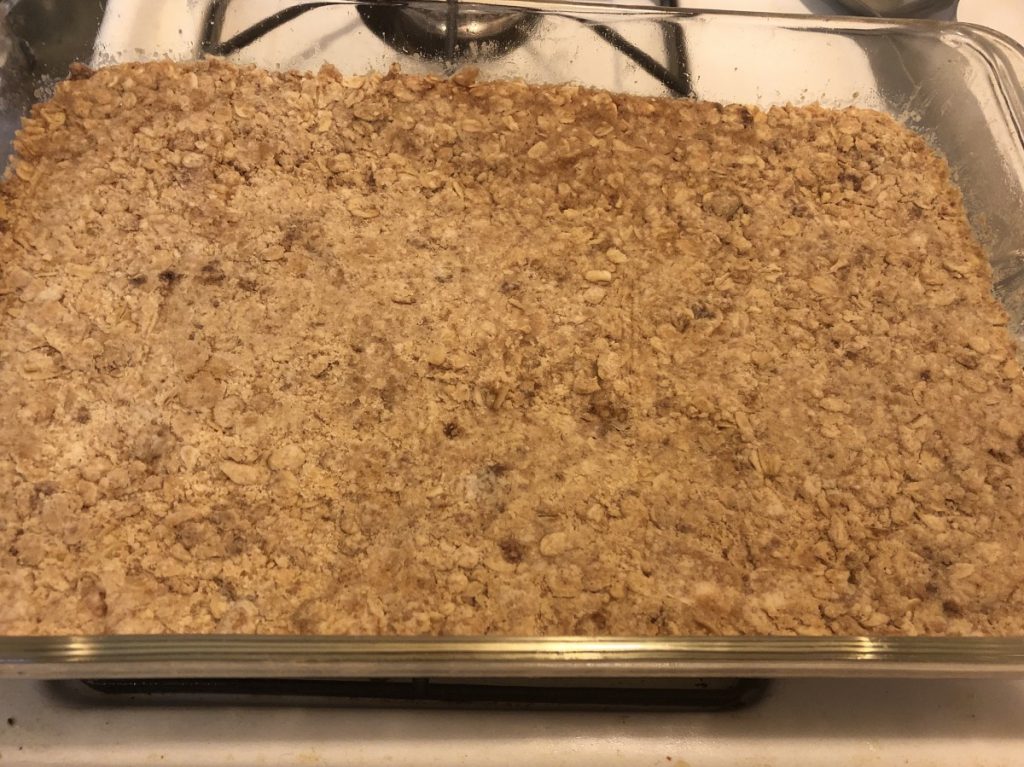
Crust
¾ c. butter
1/3 c. brown sugar
1¼ c. flour
1 c. oatmeal, old-fashioned or quick cooking
2 t. cinnamon
¼ t. salt
Cheesecake Layer
2 (8oz.) packages cream cheese, softened
¾ c. sugar
2 T. flour
2 eggs
2 T. vanilla
2 t. cinnamon
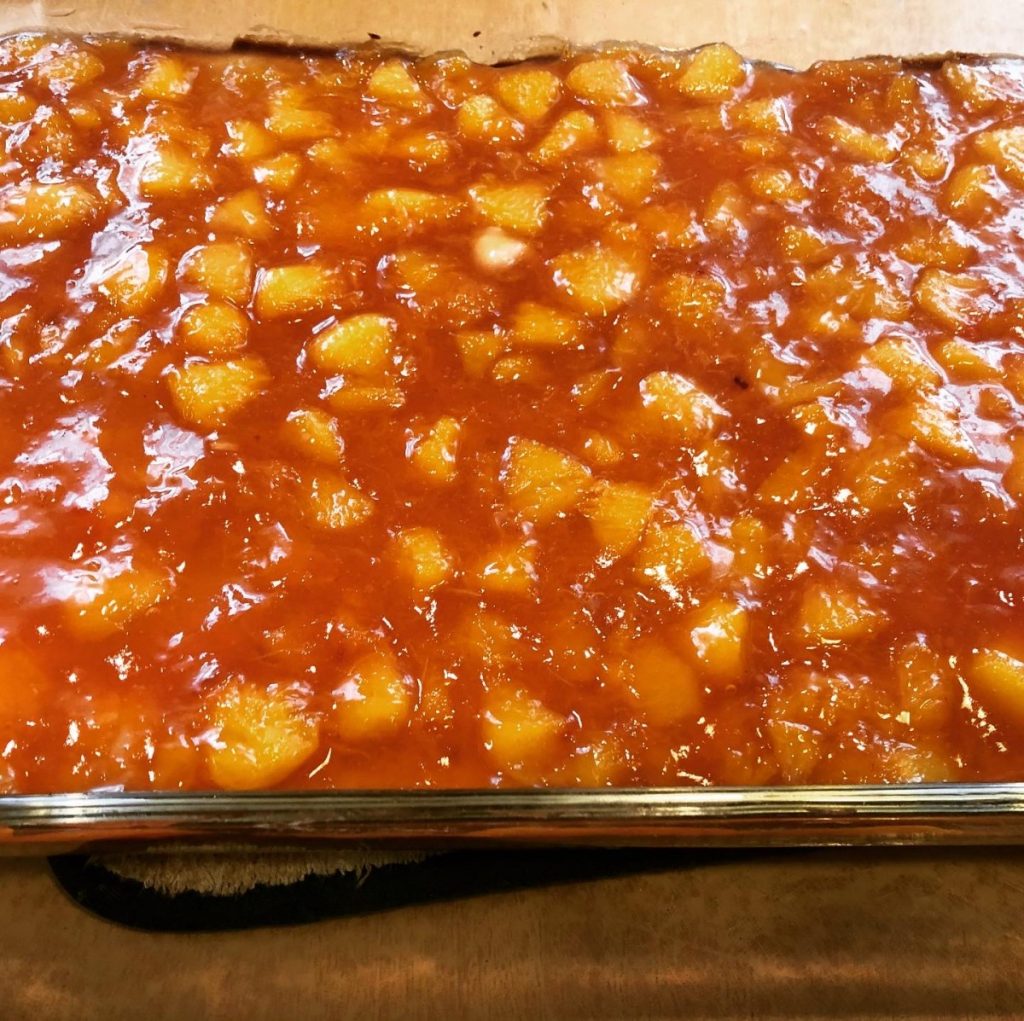
Peach Layer
5-6 peaches, peeled, pitted and chopped, about 5 cups prepared fruit
2/3 c. sugar, or a little less
2 T. lemon juice
1 t. cinnamon
4 T. cold water
2 T. cornstarch
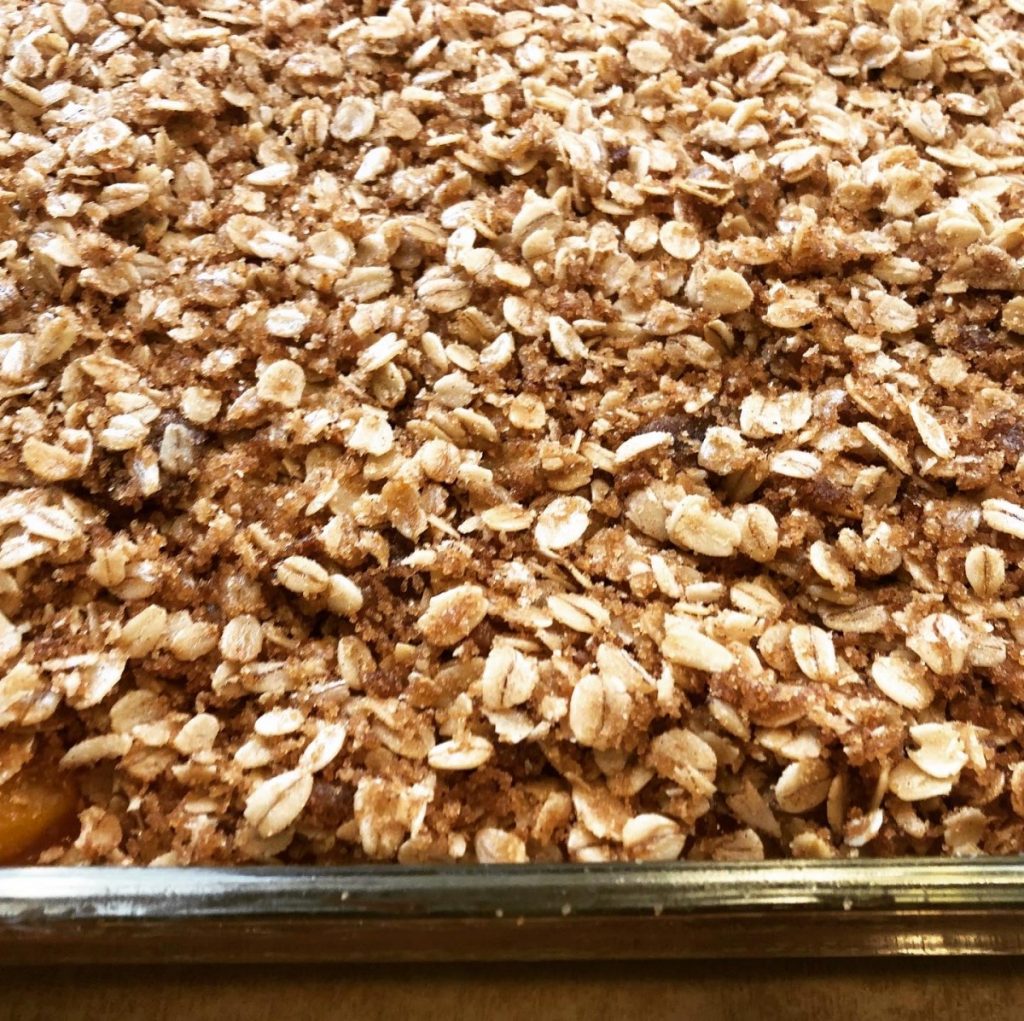
Crumble Topping
1½ c. rolled oats
½ c. butter
¼ c. brown sugar
3 T. flour
2 t. cinnamon
Heat oven to 350-degrees. Grease a 9×13-inch baking pan. Beat together butter and brown sugar, then stir in the rest of crust ingredients. Mixture will be crumbly. Press into bottom of prepared pan and bake 20 minutes. While crust is baking, prepare cheesecake layer. Beat cream cheese sugar and flour until fluffy. Beat in eggs one at a time. Stir in vanilla and cinnamon. Pour over crust and bake for 25 minutes, or until set. While filling is baking, prep peaches. Combine peaches with sugar, lemon juice and cinnamon in medium saucepan. Cook over medium heat until peaches are softened. Stir off and on to keep mixture from sticking. Combine cold water and cornstarch. Stir until smooth and pour into peach mixture. Mixture will thicken up. Stir until mixture returns to a simmer. Remove from heat and set aside. Prepare crumble topping. Mix all ingredients with your fingers until well blended. Place on a baking sheet and place in 350 degree oven for 15 minutes. You can do this while the cheesecake is baking, to save time. Let the cheesecake cool a few minutes. Then spoon over the peaches. Spread evenly and let it cool for 30 minutes. Spread the crumble mixture over the peaches. Cool then chill. Store covered in fridge. Serves 12. Can be frozen.
Fresh Peach Salsa
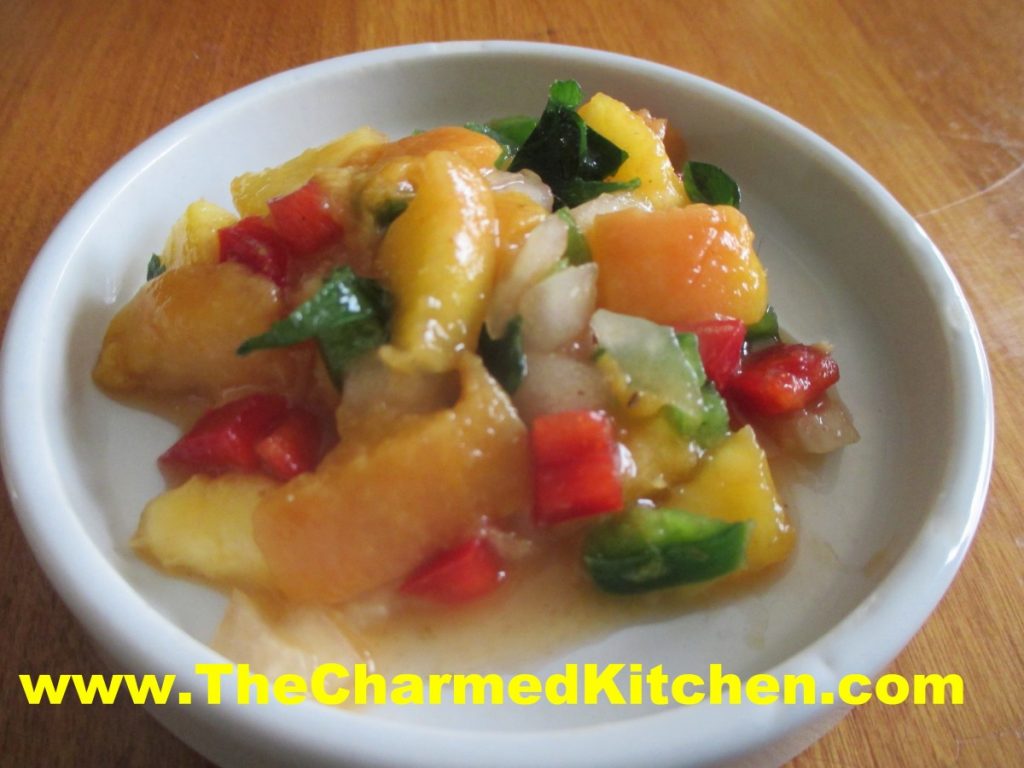
This salsa makes a great topper for grilled meats or fish. It is also fun to serve with chips. While salsa may traditionally be made with tomatoes, there are other options. The peaches give the salsa a great natural sweetness. It is so colorful.
I used really ripe peaches, which are tough to peel. To help peel them, I placed the peaches in boiling water for a minute. Then I put them in cold water. Once they were cool enough to handle, they peeled easily.
I used 5 peaches and ended up with almost 2 cups of prepared fruit. You might need more or less, depending on the size of the fruit.
You can make the salsa as spicy as you like. I added a jalapeno pepper and some hot sauce. I tasted the salsa 30 minutes after I made it and added a little more hot sauce.
Fresh Peach Salsa
4-5 ripe peaches, peeled, pitted and diced
½ c. minced sweet onion
½ c. minced sweet pepper
1 jalapeno, seeded and minced
2-3 T. chopped fresh cilantro
1t. hot sauce, or to taste
zest and juice from 1 lemon, you could use a lime instead
salt and pepper to taste, don’t be afraid to give this dish a good bit of salt
Combine all ingredients in a bowl and stir until mixed. Check seasonings. Chill for at least 30 minutes and taste again- you will likely add more seasoning. Serve over grilled meats or with chips.
Cheesy Cherry-Blueberry Coffee Cake
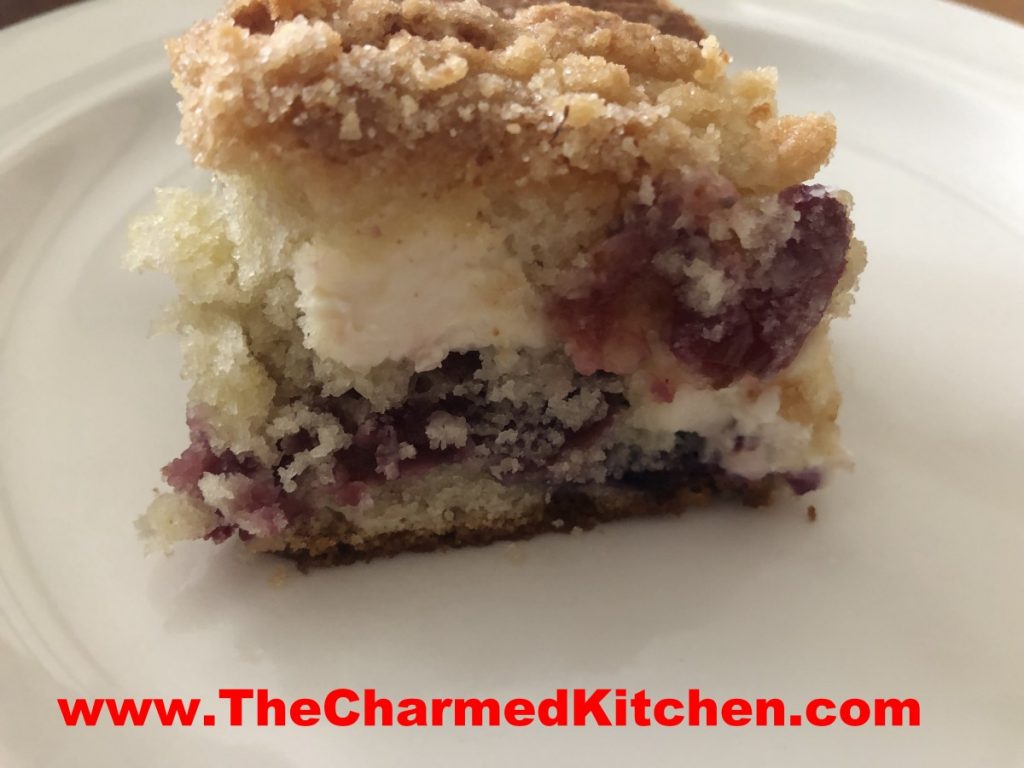
If you need a really special dessert for your next party or cookout, consider making this cheesy cherry-blueberry coffee cake. It is one of my favorite coffee cake recipes ever. The cake is not too sweet, and the combination of cream cheese, with the fruit reminds me of a cherry-blueberry blintz.
The streusal topping adds a nice little crunch.
It is fine served all on its own. You can also serve it with ice cream or whipped cream. You can also top with more blueberries and cherries.
While I think of this cake as a wonderful dessert, it can be served as a breakfast or brunch dish.
As if this weren’t enough- this cake freezes great. Who are we kidding? There won’t be any leftovers – but you could freeze them, if you had some.
So here is the recipe. Enjoy!!
Cheesy Cherry-Blueberry Coffee Cake
1 1/4 c. sugar
1/2 c. butter
2 eggs
2 1/4 c. flour
1 T. baking powder
1 t. salt
1 c. milk
1 c. fresh or frozen blueberries
1 c. pitted and coarsely chopped cherries
8 oz. cream cheese, cubed
1 t. grated lemon peel
Topping:
1/4 c. sugar
1/4 c. flour
1 t. grated lemon peel
2 T. butter
Preheat oven to 375. Grease and flour a 13×9 inch baking dish. Cream together sugar and butter until fluffy. Beat in eggs. Combine 2 cups of the flour with baking powder and salt and beat into batter alternately with the milk. Toss fruit with the remaining flour and fold into the batter along with the cheese and lemon rind. Pour batter into prepared pan. Combine sugar, flour and lemon peel for topping and cut in butter to resemble coarse crumbs. Sprinkle over batter and bake for about 45 minutes. Use toothpick to test for doneness. Serves 12.


