Fresh Raspberry Crumb Cake
Raspberry Crumb Cake
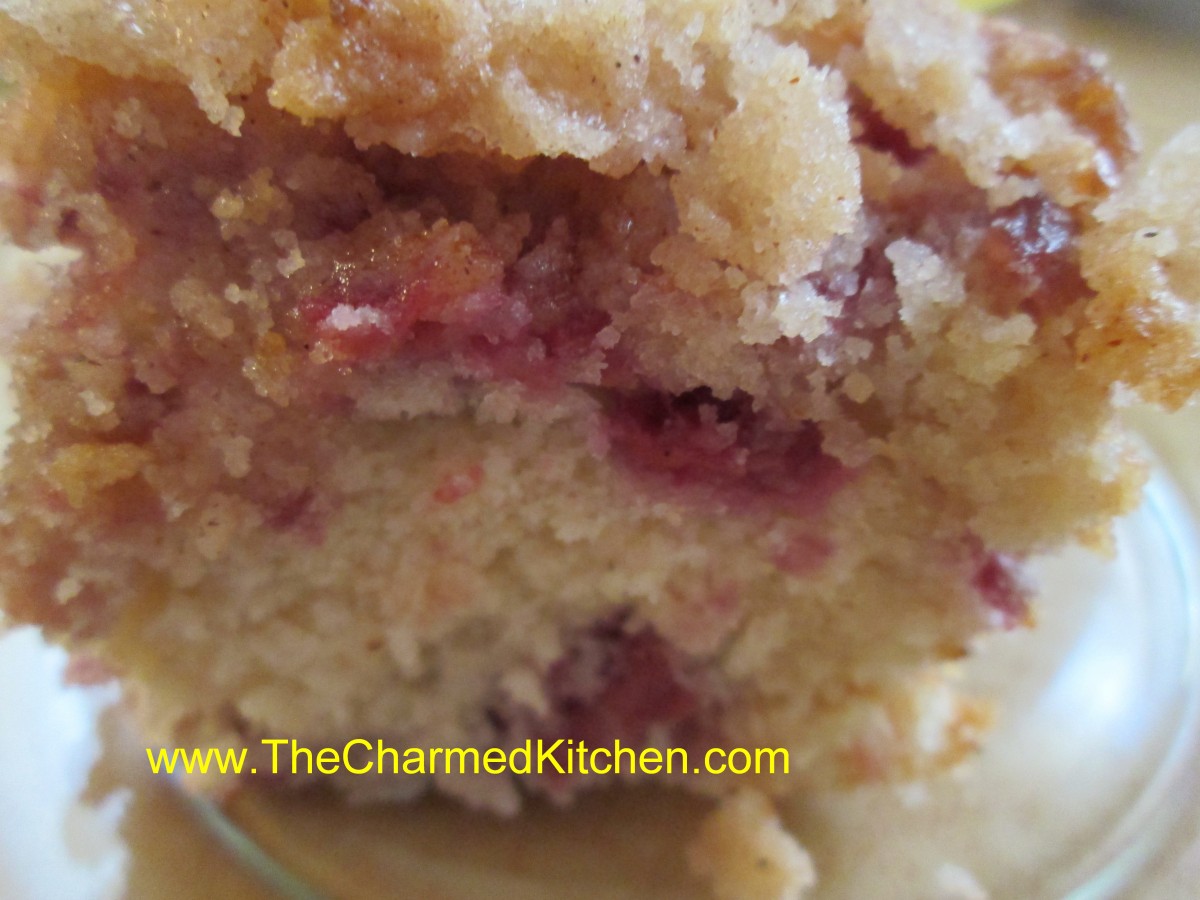
I picked up some beautiful local raspberries the other day. I love just eating them fresh, but I also wanted to do something more with them. I decided to bake this crumb cake.
The cake is delicate and not too sweet. The crumb topping really makes it special. It stands on its own, but is also good served with a drizzle of melted chocolate, some extra berries, or a scoop of ice cream. This cake always makes me think of the raspberries I grew up with.
When I was a kid, we had a patch of raspberries in the back of the yard. It was always a special treat to go out on a summer day and harvest raspberries, warm from the sun. We did lose berries to birds and squirrels and it became my Father’s mission to save as many berries as he could. When we got a new dog, my Dad was sure berry theft would go down. Oddly, we seemed to be getting even fewer berries. One day, my Mom caught the dog eating raspberries right off the plants. Mystery solved.
I have made this cake with frozen berries, too. Either works, but I give the cake a few extra minutes to bake when I use frozen berries.
Raspberry Crumb Cake
For cake batter:
2 c. flour
2 t. baking powder
½ t. salt
½ stick (¼ cup) butter, softened
¾ c. sugar
1 egg
½ c. sour cream
2 t. vanilla
2 cups raspberries – I like fresh but frozen work
For topping:
½ c. sugar
¼ c. flour
½ t. cinnamon
½ stick (¼ c. butter, chilled and cut into bits)
Combine dry ingredients and set aside. In mixing bowl with electric mixer, beat butter and sugar until light and fluffy. Beat in egg, sour cream and vanilla. Add flour mixture gradually until just mixed in. Fold in raspberries. Grease and flour an 8 or 9-inch pan and add prepared batter. Combine topping ingredients until they resemble coarse crumbs. Sprinkle over batter in pan and bake in a preheated 375-degree oven and bake for 35-45 minutes. Use toothpick to test.
Cooking with Lavender

Lavender
While the fragrance of lavender lends itself to all sorts of cosmetic uses, it is a wonderful ingredient to cook with, too. The secret is to use enough lavender to impart flavor, without having your food taste like soap. That can be a tricky balance.
Lavender is a traditional ingredient in Herbes de Provence, a French seasoning blend, often used with meats like lamb or pork. Lavender can be used for so much more. I love using lavender is sweet dishes, like shortbread and in syrups that can be added to cocktails. All the recipes are using lavender blossoms that have been harvested and then allowed to dry. You can use fresh blossoms, too.
Harvest blossoms before they are fully open, if you can. Cut them with at least a few inches of their stems attached. I tie them together in small bunches, hang them up. and allow them to air dry. Once dry, I strip the blossoms off the stems and store in an airtight jar. Store in a reasonable cool location.
So here is a compilation of some of my favorite lavender recipes. I hope you enjoy them as much as I do.
-
- Strawberry Sorbet
-

- Martha Merrick’s Shortbread
-
- Strawberry and Lavender Ice Cream
Strawberry and Lavender Ice Cream
2 c. chopped strawberries
1 c. sugar
1 T. lavender blossoms
1 T. vanilla
2 c. cream or half and half or a combination. You can also use some milk or even almond or rice milk.
Additional sugar to taste
Place strawberries, lavender, vanilla and sugar in saucepan and bring to a simmer, stirring occasionally. Remove from heat and chill. Combine chilled berry mixture with cream. Add additional sugar if you like. Remember that once it is frozen the ice cream will not taste as sweet so make this mixture a little sweeter than you want the final product to be. How much sugar you add varies with personal taste and how sweet the berries are. Place in an ice cream maker and process according to manufacturer’s directions. Once finished put in an sir- tight container and place in freezer. Makes about 1 quart.
Strawberry- Lavender Sorbet
1 1/2 lbs strawberries
1/2 c. sugar, or to taste – you could also sweeten with honey, if you prefer, or use no sweetener
2-3 T. lavender syrup- recipe follows
Wash and stem berries. Place in food processor and blend until smooth. Sweeten to taste, stirring until sugar is dissolved. Place in a container with a lid and freeze. Once frozen, remove strawberry mix from freezer and sit it on the counter to soften a little bit. This is really the important part. You don’t want it to thaw, but you do want it soft just enough to break into chunks. Place chunks in food processor and blend it again, adding lavender syrup to taste. The liquid of the syrup also helps the sorbet to blend better. It will actually start to look a little creamy and lighter in color. You can serve it right away- or put it back in the freezer to serve later. At this point the sorbet is ready- but you can repeat the soften/process step once more, if you like, for even creamier sorbet. Makes 3-4 cups.
Lavender Syrup
¾ c. water
¾ c. sugar
1 tablespoon dried lavender buds
Combine sugar and water in a small saucepan. Add lavender and cook on low heat until sugar is dissolved. Bring to a boil and cook for 2-3 minutes, just until it starts to thicken a bit. Then set to the side to cool. Strain out the lavender and refrigerate. Yields just under a cup of syrup. Will keep in the fridge for weeks and weeks.
Another recipe using lavender syrup
Lemon Lavender Cocktail
2 oz. gin
1 ½ oz. lemon juice
1 ½ oz. lavender syrup (recipe follows)
splash of club soda
some ice
one lemon slice, for garnish
Pour gin, lemon juice and lavender syrup into a glass and stir. Top with club soda, add some ice and garnish with a lemon slice.
Lavender and Vanilla Shortbread
1 c. vanilla sugar, plus extra for sprinkling*
2 c. butter
4 c. flour
2-3 T. lavender blossoms
Cream together the one-cup of sugar and butter. Stir in the flour and lavender blossoms. Press mixture in to a greased 9×13 inch-baking dish. Cut or score into small squares, or on the diagonal for diamond shapes. Sprinkle with extra sugar and bake in a preheated 300-degree oven for 50-55 minutes or until lightly browned around the edges. Re-cut the squares as soon as you remove the shortbread from the oven. Cool before removing from pan. Make about 100 small squares.
* If you don’t have vanilla sugar just use granulated sugar and add 2 teaspoons of vanilla extract to the dough.
Making Vanilla Sugar
Some specialty stores sell vanilla sugar and it is expensive. I find it easy to just make my own. Vanilla sugar can be used in baking or to top desserts, in tea, and other drinks. I love to sprinkle vanilla sugar on sugar cookies and on muffins, too.
I buy vanilla beans by the pound online and use them in cooking and to make my own vanilla extract.
To make vanilla sugar just cut vanilla beans in half lengthwise and then into 1 inch pieces. Place granulated sugar in a jar and add the vanilla beans. Cover jar and shake once in awhile. The sugar is fragrant in about a week but will get stronger the longer it sits. I use one vanilla bean per cup of sugar. You can add more sugar to the jar as you use it. The beans will continue to flavor new sugar added to the jar for some time.
Herbes de Provence
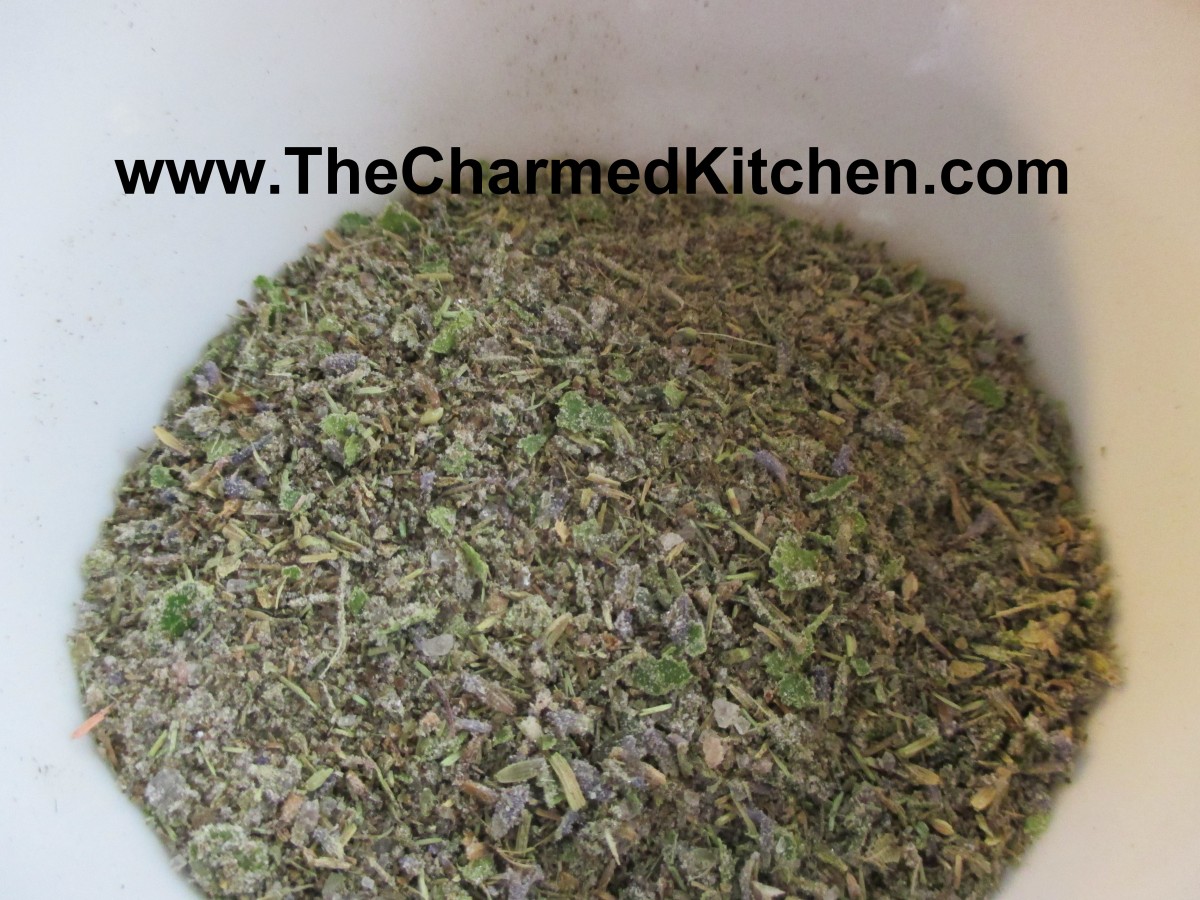
Herbes de Provence
I make my own herb and spice blends often, because it gives me control over what I put in it. I also grow a lot of herbs, so it just makes sense. You can use dried or fresh herbs in this recipe. If you are using any fresh herbs, then store your mix in the freezer.
1 T. thyme, or 2 T. fresh
1 T. rosemary or 2 T. fresh
1 T. savory or 2 T. fresh
2 t. basil or 2 T. fresh
1 t. lavender or 1 T. fresh
2 bay leaves
Blend fresh or dried herbs until bay leaves are powdered. Rub this mixture on grilled meats, roasts, chicken, or fish. If using fresh herbs, make small amounts and freeze what is unused.
Lavender Liqueur

Lavender Liqueur
I started by combining 2 cups of lavender blossoms with about 4 cups of vodka in a large Mason jar. These were dried blossoms from last year’s harvest. I put the lid on the jar and let it steep together for a few weeks. After a few weeks I strained out the blossoms. Then I poured the mixture through a strainer lined with a coffee filter to get out any fine particles so my end product would be clear. I had expected the mixture to be a lavender color. It ended up a pretty honey brown color instead. It also had a very strong fragrance and flavor of lavender. Quite pleasant.
After tasting the lavender vodka I decided to add sugar to the mixture. I made a cup of sugar syrup by combining one cup of sugar with 1/2 cup of water in a small pot and brought it to a boil. This gave me a cup of sugar syrup. Once the sugar syrup cooled to room temp I added it to the lavender vodka and allowed this to mellow for another week.
The odd thing was that at first the sugar syrup and lavender vodka would not blend. The sugar syrup settled to the bottom of the bottle. No amount of stirring and shaking seemed to matter. I’d all but given up when a friend was over and tipped the bottle a few times. Amazingly it finally combined. On the advice of another friend I decided to add a couple of vanilla beans as well. The flavor is pretty interesting.
Lavender Vinegar
It’s easy to make. Just add 2 cups of vinegar for every cup of blossoms. If you are using dried flowers use 1/3 cup for every 2 cups of vinegar. Store in a cool, dark place in a container with a tight-fitting lid.Steep for at least 2 weeks- or longer.
Be sure to use vinegar that is 5% acidity- it will say that on the label. I like to use white wine vinegar, red wine vinegar or cider vinegar.
Blueberry and Red Grape Sorbet
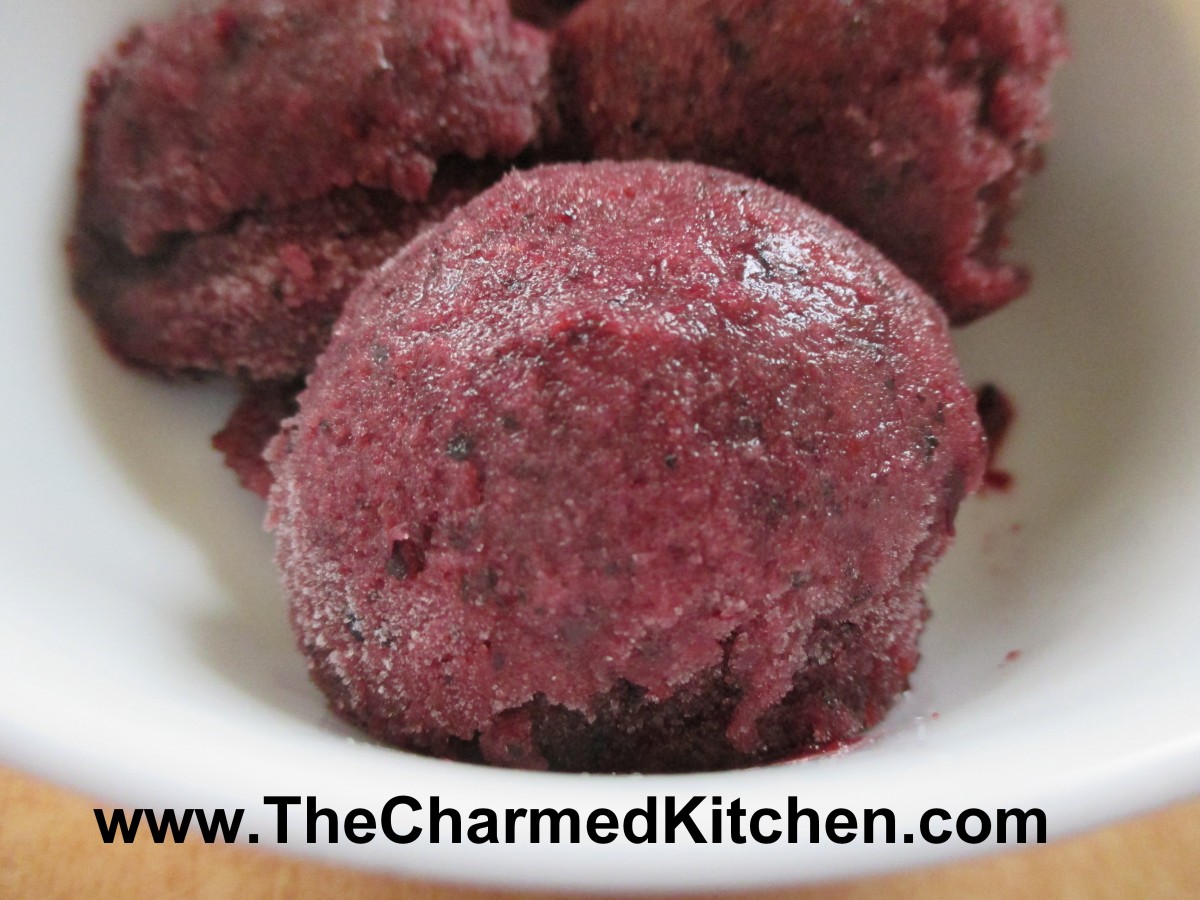
Blueberry-Red Grape Sorbet
Sometimes accidents are a good thing. I was planning on making a sorbet from frozen blueberries. I had already made a strawberry sorbet and a coconut sorbet. I wanted something “blue” for a red, white and blue dessert.
I grabbed a few containers of blueberries out of the freezer and put them on the counter to soften for a few minutes. Well, instead of three containers of blueberries I had grabbed one of blueberries and two of red grapes.
I decided to use them together. It really worked out well, because the grapes added a lot of natural sweetness to the blueberries. I added a couple of tablespoons of sugar to the fruit, but in hindsight, I think the sorbet would be sweet enough without any added sugar. I also added a little fresh mint. It really is a light, refreshing dessert. I only wish I had more. With company over the weekend, and hot weather, it is sure to go fast.
Blueberry-Red Grape Sorbet
4 c. red grapes, fresh or frozen
2 c. blueberries, fresh or frozen
sugar to taste- I used a couple of tablespoons
a few sprigs of fresh mint, optional
Combine all ingredients in a food processor and blend until smooth. You might have to do this in a couple of batches. Place in a container and freeze until solid. Remove from freezer and allow to soften for about 20 minutes, or even a little less. Mixture should still be frozen, but soft enough to break into chunks. Place in processor and mix again. Mixture will get smoother and softer. You can also do this step in a stand mixer or even with a hand mixer. Return sorbet to freezer, until ready to eat it.
A Trio of Potato Salads
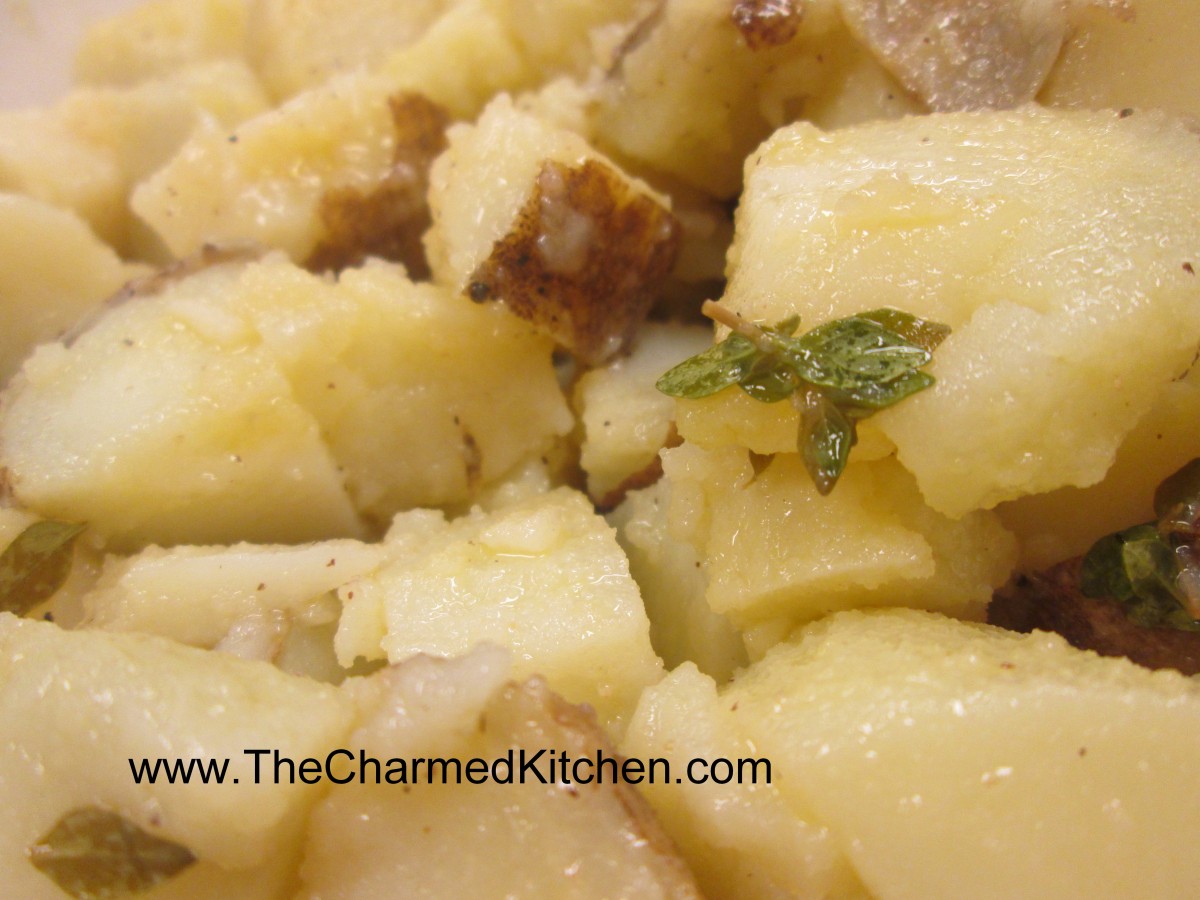
Just in Thyme Potato Salad
If you are looking for a side dish for the 4th, why not bring a potato salad? Everybody loves potato salad. I love potato salad.
Actually, I love potatoes pretty much any way they are prepared. With so many cookouts and picnics, you can never have enough potato salad recipes, right? I am sharing three of my favorite potato salad recipes. The first one is really simple, enhanced with fresh thyme leaves. Thyme really pairs well with the potatoes. The second one uses some of my fresh basil in a pesto sauce that is tossed with the potatoes. Who says pesto is just for pasta? The third salad is the way I remember my Mom making potato salad. She never wrote down her recipe, but I think I got it right.
Just in Thyme Potato Salad
With my herb garden growing like crazy right now I thought this was the perfect dish to make. This salad can be served warm or cold and goes well with so many dishes. I find when I have leftovers, I’ll even brown it in a skillet and serve it like hash browns with eggs for breakfast.
2 lbs. boiling potatoes, cut into bite sized pieces*
½ c. olive oil
¼ c. red wine vinegar
1 T. fresh lemon juice
2 t. fresh thyme leaves
Salt and pepper to taste
Cook potatoes until tender. Drain and toss with the rest of the ingredients and serve right away or chill to serve later. Serves 6-8.
* You can really use any potato you like. I often bake the potatoes whole and then peel and cut up. Cook them any way you prefer.
Pesto Potato Salad
This salad always makes me think of a warm summer day. I think it’s because of the basil. During the summer, my driveway is lined with pots of basil. I cook with it almost every day. Pesto can be used in a lot of different dishes beyond pasta. Here I’ve paired it up with potatoes. The combination works great together. I always freeze extra basil so I can enjoy it year round.
2 lbs. Boiling potatoes, cut into bite sized pieces
1 c. basil leaves
3 T. pine nuts
3 T. olive oil
2 garlic cloves, minced
1/3 c. Parmesan cheese
Salt to taste
Cook potatoes until tender. Cool. In blender combine remaining ingredients, except 1 tablespoon of the pine nuts. Pour blended mixture over potatoes and sprinkle with the reserved nuts. Chill. Serves 6-8.
Mom’s Mustard Potato Salad
When I was a kid I did not like the taste of mustard- except in this recipe. It adds such a wonderful flavor.
4 lbs. potatoes- I used Klondike Rose and I did not peel them
4 hard cooked eggs, peeled and chopped
1 sweet pepper, seeded and chopped, optional
1 c. mayo- maybe a little less
1/4 c. prepared mustard- I like a grainy brown mustard
salt and pepper to taste
dash of hot sauce
Bake whole potatoes until tender and allow to cool. Cube potatoes into large bowl and combine with remaining ingredients. Chill until ready to serve. Serves 8.

Pesto Potato Salad
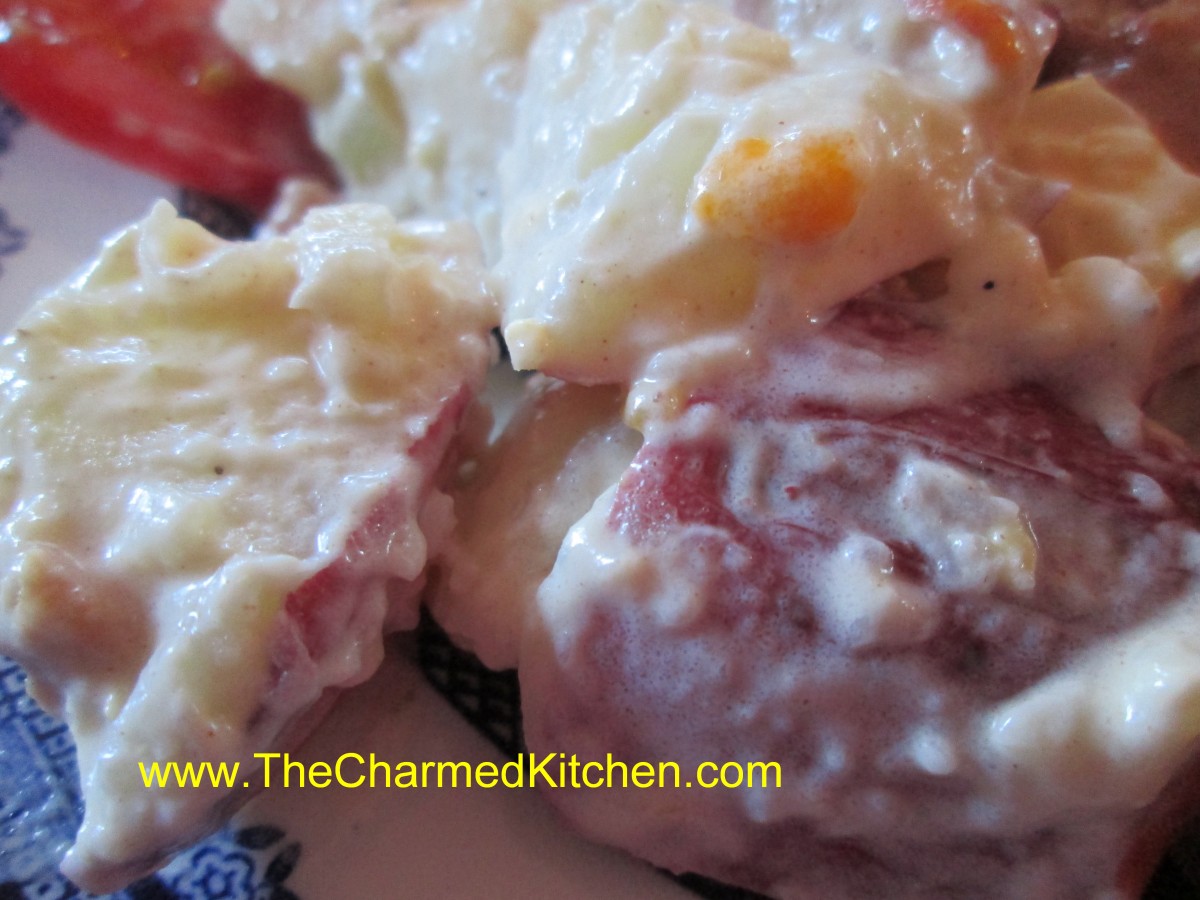
Mustard Potato Salad
The 4th of July
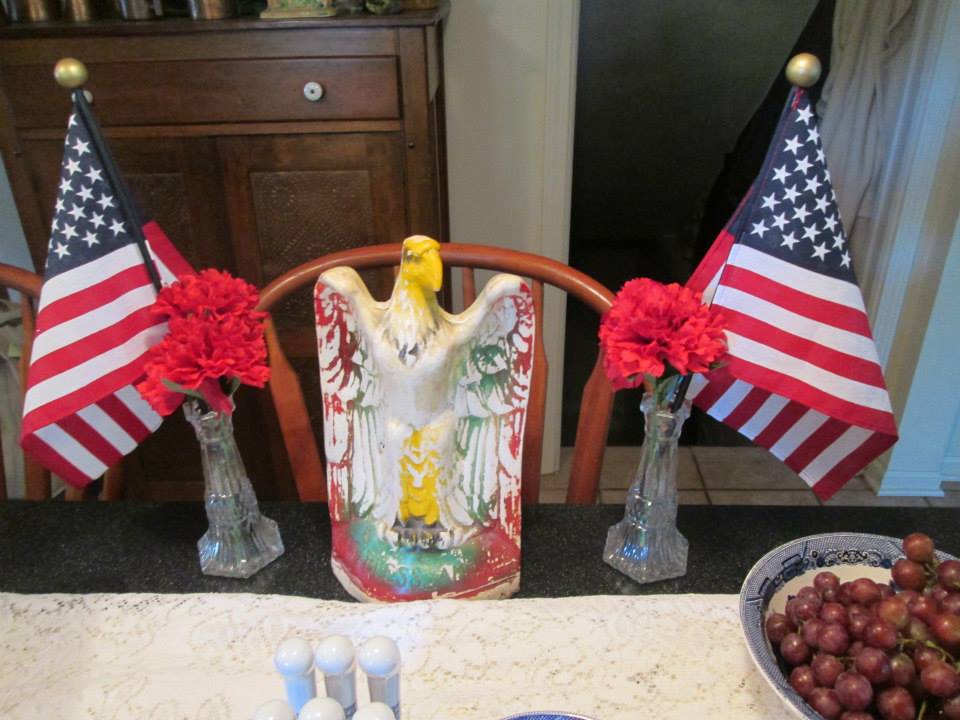 So what is the 4th of July about? Cookouts and noisy celebrations abound, but what is it we are celebrating? We are celebrating revolution, protestors and people who fought their government.
We were a colony, ruled by a monarchy. Had it not been for those who saw injustice, and tried to fix it, we would be bowing to the queen today. They were brave and very forward thinking.
Had the Revolutionary War gone the other way, they certainly would have been hung as traitors. I’m not sure how many of us today would be that brave.
So in your daily life, remember and honor the rebel. If you see an injustice, speak up. Do something to make this country better.
There is always room for improvement, after all. Think about the people who risked death to fight for the freedom we enjoy today. Life, liberty and the pursuit of happiness. Don’t ever take that for granted.
Firecracker Chicken Appetizer

Firecracker Chicken
Sometimes the best recipes happen when you don’t have time to plan. This is one of those recipes. Even better because it only uses 4 ingredients. Fun for the 4th of July, too.
I needed an appetizer, but didn’t have extra time for prep. I also did not have time to go to the store, so used what I had on hand. I had some boneless chicken breasts. I could also have used boneless thighs or even chicken wings. I used what I had.
I cut them into strips and poured a bunch of hot sauce over them. Put them in the fridge to marinade overnight. The next day I just tossed the chicken strips in breadcrumbs and fried them in a little oil. Served with extra hot sauce on the side, they were a big hit.
Firecracker Chicken
2 lbs. boneless chicken, I used breasts, but thighs would be good, or wings
3/4 c. hot sauce, plus extra when serving
2 c. bread crumbs
2 c. oil, for pan frying
Cut chicken into strips and place in a bowl. Pour over the hot sauce and stir to coat evenly. Cover and chill overnight, or even for a couple of days. Place bread crumbs in a plastic bag. Place a small handful of chicken in the bag and shake to coat. Place on a plate and continue with the rest of the chicken. Heat oil in skillet to 350- 375 degrees. fry chicken in several batches- you don’t want to crowd them in the skillet- that will make the oil col down too much. Fry for a minute or two per side. Remove to platter lined with paper towels and cook the rest of the chicken. Keep chicken warm until ready to serve. serve with extra hot sauce on the side. Serves 8 or more as an appetizer, but can be served as a main dish, too.
Cherry Bombs
Cherry Bombs
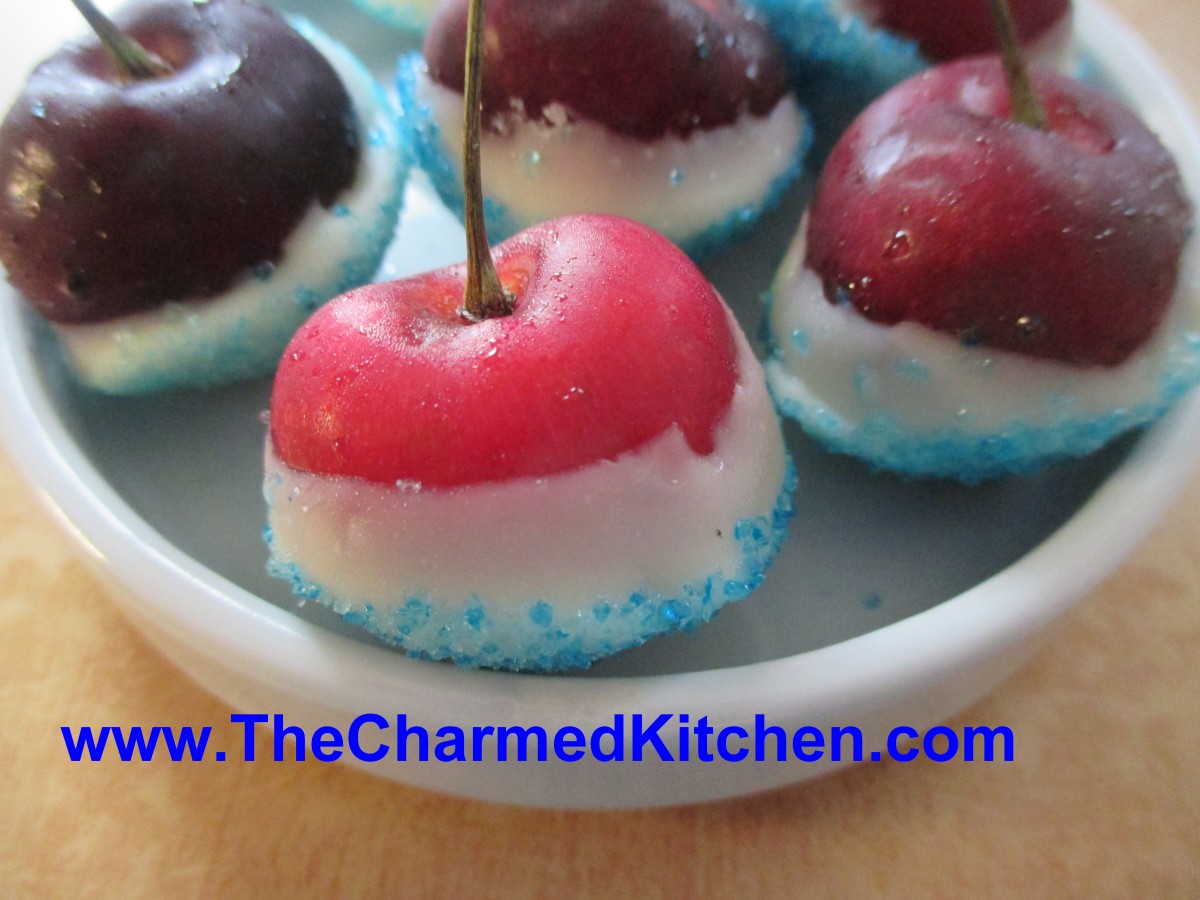
These little treats make a great addition to your 4th of July party. They are simple to make, with only three ingredients. You can make them in no time at all. It is a fun treat for kids to make, too.
Think of the cherry bombs as a type of candy. A simple, sweet treat that can be served just as they are. They can also be used to top a cake or other dessert. You can even garnish a cocktail with them. I did the same thing with strawberries, but “strawberry bombs” did not have the same ring to it.
To make the cherry bombs, you will need cherries, white chocolate and blue sugar. If you don’t have blue sugar, you can put granulated sugar in a bag, add a few drops of blue food coloring, seal the bag and shake it up. The sugar will turn blue. You could also use blue sprinkles.
Wash and dry off some large, sweet cherries. Melt white chocolate, stirring until smooth. Dip the cherries in the white chocolate, then the blue sugar. Place on wax paper to firm up. Store in fridge.
Cherry Vanilla Liqueur
Cherry Vanilla Liqueur
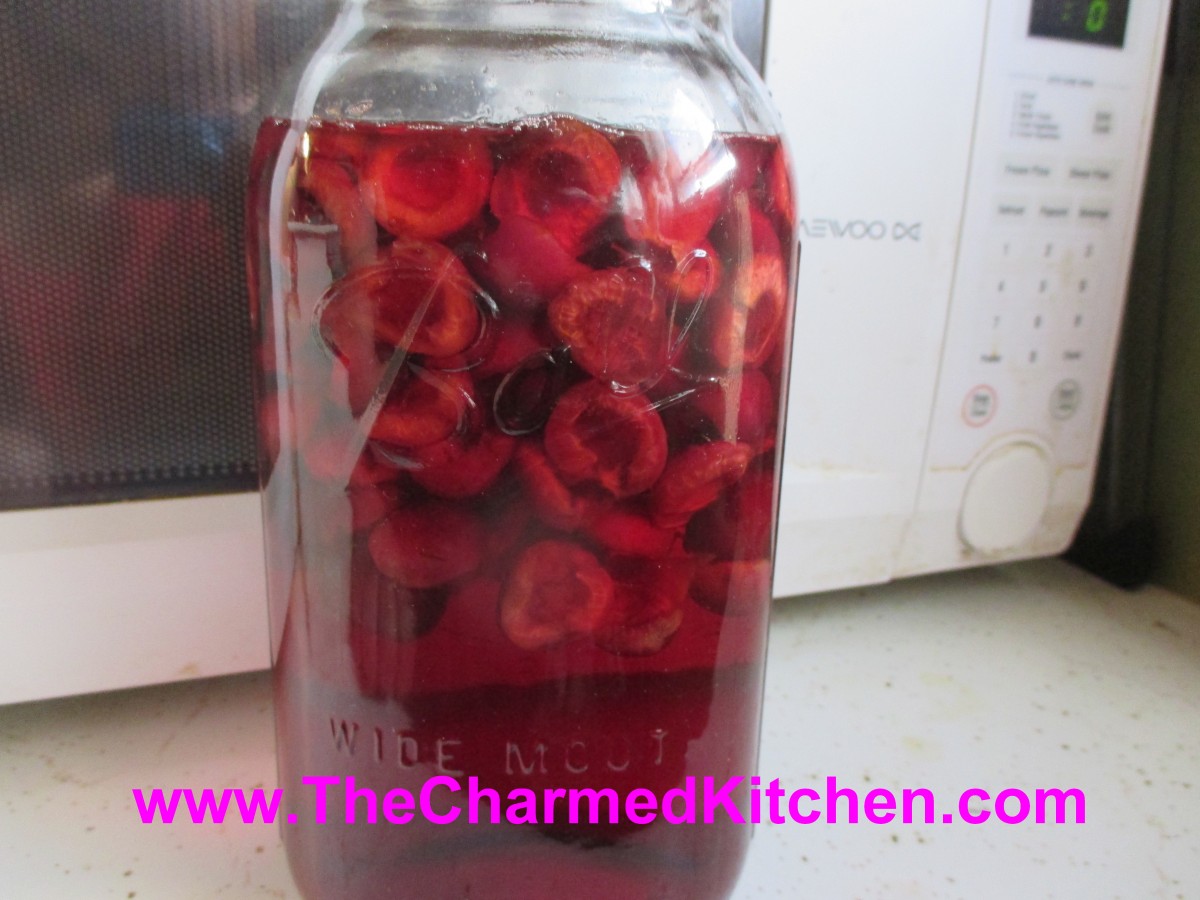
I bought a lot of cherries, with plans to make jam and to dehydrate some. Maybe even make pie filling. But it is really hot here today, so I decided to use some of the cherries to make cherry liqueur, instead.
I make a lot of homemade liqueurs, but cherry is one of my favorites. I enjoy just sipping it, or adding it to other cocktails or mixing it with soda water.
It is easy, and the reward is having this lovely liqueur to enjoy even when cherries aren’t in season. I added a couple of vanilla beans to mine, but you can leave them out, if you prefer. You could also add 1-2 tablespoons of vanilla extract.
If you like a less sweet liqueur, you can add less sugar. You could also use sour cherries instead.
Cherry Vanilla Liqueur
2 c. granulated sugar
4 c. vodka or brandy
1 lb. large, washed, stemmed and pitted sweet cherries
2 (6-7 inch) vanilla beans, broken into several pieces
Place sugar and vodka or brandy in a large jar- I used a half gallon canning jar. Stir until sugar is mostly dissolved. Add cherries and vanilla and cover jar. Do not stir. Place in a cool, dark place for 3 months, without stirring or shaking. Strain and filter. Divine! Makes 4-6 cups.
Berry White Cake
Berry White Cake
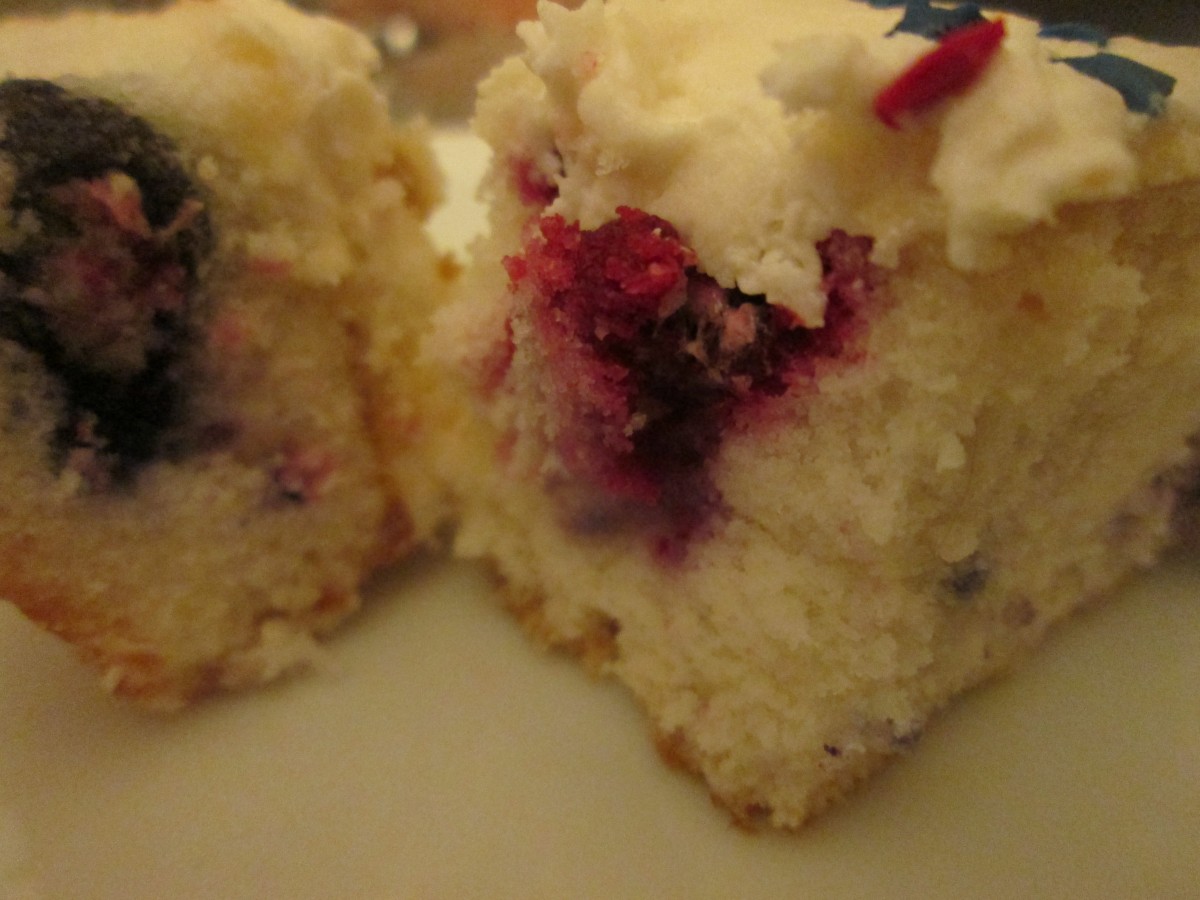
What else would you call a white cake, studded with berries, but Berry White? While this red, white and blue cake would be lovely for a 4th of July party, it would be great anytime. You can use fresh, or even frozen berries. They really make a simple white cake special.
I topped it off with a lemon butter cream frosting and since it was for the 4th of July I added a few star sprinkles.
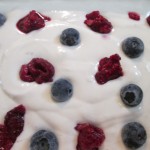
To make the cake, start by making a white cake batter. I used homemade -recipe follows- but you could use a box mix if that is what you prefer. After you pour the batter into your pan, or pans, sprinkle with some blueberries and raspberries- or whatever berries you happen to have. Don’t fold the berries into the batter. Fresh or frozen berries could be used. I used about 2 cups of berries in all. Once cooled, frost the cake. I used a lemon butter cream- recipe follows.
Classic White Cake
2 c. sugar
1 c. butter
4 egg whites or whole eggs
4 teaspoons vanilla extract
3 c. all-purpose flour
3 ½ teaspoons baking powder
1 c. milk
Preheat oven to 350 degrees. Lightly grease a 13×9-inch pan. In a medium bowl, cream together the sugar and butter. Beat in the eggs, one at a time, then stir in the vanilla. Combine flour and baking powder, add to the creamed mixture and mix well. Finally stir in the milk until batter is smooth. Pour or spoon batter into the prepared pan. Sprinkle berries over the surface of the cake. Bake 35-40 minutes. Cake is done when it springs back to the touch. Makes 1.
Note: I actually made 3 smaller cakes from this recipe- reduced baking time to 20- 25 minutes.
Lemon Butter Cream
½ cup butter
4 1/2 cups sifted confectioners’ sugar
3 T. milk
1 T. lemon juice
1 1/2 teaspoons vanilla extract
In a bowl beat butter until fluffy. Gradually add 2 cups of the confectioners’ sugar, beating well. Slowly beat in the milk, juice and vanilla. Slowly beat in remaining sugar. Beat in additional milk, if needed, to make of spreading consistency.
Ready for the oven
 Freshly baked
Cherry Jam

Sweet Cherry Jam
I taught a jam and jelly making class in Mentor last night. We made this sweet cherry jam. It came out great. The recipe calls for both vanilla and cinnamon, but you can leave them out, if you like. In class, they opted to add the vanilla, but not the cinnamon.
This must be a great year for cherries. They seem bigger than usual, and very sweet.
While I normally make jam from sour cherries, I knew the sweet ones would work. Besides the cherries, sugar and pectin, this jam also contains lemon juice, vanilla and cinnamon. Those extra ingredients give the jam a more complex flavor and a little bit of a tang.
This may be one of my favorite jams ever!!! I was worried it would be too sweet, but it isn’t. The flavor of the cherries comes through as well at the flavor of the vanilla and cinnamon. Thinking I made need to buy more cherries and make another batch….
Here is the recipe. Enjoy.
Sweet Cherry Jam
4 c. chopped pitted sweet cherries, about 2 lbs.
6 T. powdered pectin
6 T. lemon juice
2 T. pure vanilla extract
1 t. cinnamon
4½ c. sugar
Wash jelly jars and lids and keep warm until ready to use. Place a large pot of water, with a rack, on to boil for the water bath. In large saucepan combine cherries with pectin, lemon juice, vanilla and cinnamon. Bring to a rolling boil, stirring often. Add the sugar and bring mixture back to a rolling boil, stirring often. Once the mixture gets to a full, rolling boil, cook for one minute longer, stirring constantly. Remove jam from heat and skim off any foam. Ladle hot jam into hot jars, filling to about 1/4 inch from the top. Wipe off rim and screw on the lids. Repeat with remaining jam. Process in a hot water bath for 10 minutes. Turn off heat and let jar sit in canner 5 minutes before removing. Remove from water bath and allow jars to cool. Yield: about 6 half pint jars of jam.
Adapted from The Ball Blue Book


