Beet and Carrot Salad

Beet and Carrot Salad
I enjoy the sweetness of both beets and carrots. This simple and tasty dish combines the earthy flavors of both vegetables in a simple, raw salad. It’s a great side dish and nice to make on a day when it is too hot to cook.
Beet and Carrot Salad
1 large- or 2 medium- beets
2 large carrots
4 T. olive oil
4 T. cider vinegar
2 T. honey, or to taste
1 t. fresh dill weed or about 1/2 t. dried
dash of hot sauce
salt and pepper to taste
Peel beets and shred or grate them using a hand grater or food processor. Place in a mixing bowl and set aside. Peel and shred the carrots and add to the beets. Combine remaining ingredients and pour over the beet mixture. Stir to coat and chill until ready to serve. Makes about 3 cups.
Strawberry Ice Cream

Strawberry Ice Cream
We had this for dessert last Saturday and Amy said I need to post the recipe. Studded with plenty of berries this ice cream will put anything store-bought to shame. Feel free to add blueberries or raspberries, too.
Strawberry Ice Cream
2 c. chopped strawberries
1 c. sugar
1 T. vanilla
2 c. cream or half and half or a combination. You can also use some milk or even almond or rice milk.
Additional sugar to taste
Place strawberries, vanilla and sugar in saucepan and bring to a simmer, stirring occasionally. Remove from heat and chill. Combine chilled berry mixture with cream. Add additional sugar if you like. Remember that once it is frozen the ice cream will not taste as sweet so make this mixture a little sweeter than you want the final product to be. How much sugar you add varies with personal taste and how sweet the berries are. Place in an ice cream maker and process according to manufacturer’s directions. Once finished put in an air- tight container and place in freezer. Makes about 1 quart.
Grilled Quesadillas

Grilled Quesadillas
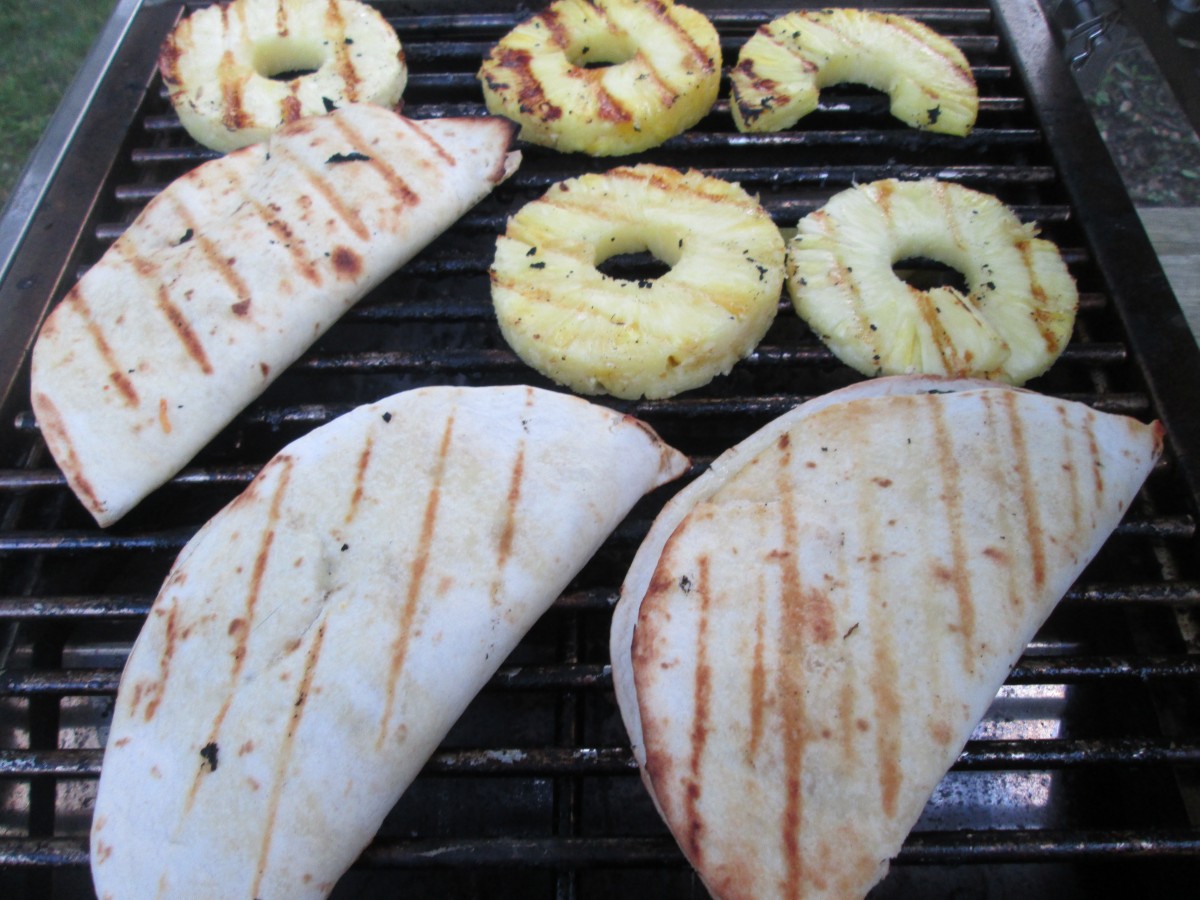
We’ve been cooking out more and decided to cook quesadillas on the grill the other night. They were super easy and fast to cook. The nice thing is that you can really fill them with almost anything. We started with flour tortillas and shredded cheese. After that we used what we had on hand. You can set out ingredients and let everyone make their own. Just place some cheese on one half of a tortilla. Top with some other fillings and then a little more cheese. Fold the tortilla over to cover the fillings and press down. If the tortillas are not staying closed you can use a toothpick to secure them. The melting cheese will help the tortillas to stay closed once cooked , but you can make them without cheese. Brush the quesadillas with a little oil and grill until both sides are browned and the fillings have heated through. Depending on the heat of the grill this will take from 5-7 minutes per side- maybe less. You can brush them with extra oil once they are on the grill to make them ever crisper.
Some filling ideas: various cooked meats- we had bacon, pulled pork, corned beef and chicken, cooked and raw veggies- sweet peppers could be raw or sweet onion- we had cooking onions so I sauteed them in oil first, sliced olives, beans- we had kidney and black beans, diced tomatoes, sliced hot peppers, mushrooms- best if cooked first to get out some of the water in them, cooked spinach, summer squash, sliced. You get the idea here. See what you have and set out the fillings. Let guests make their own combinations. Serve them with salsa on the side. We also served our with guacamole and sour cream.
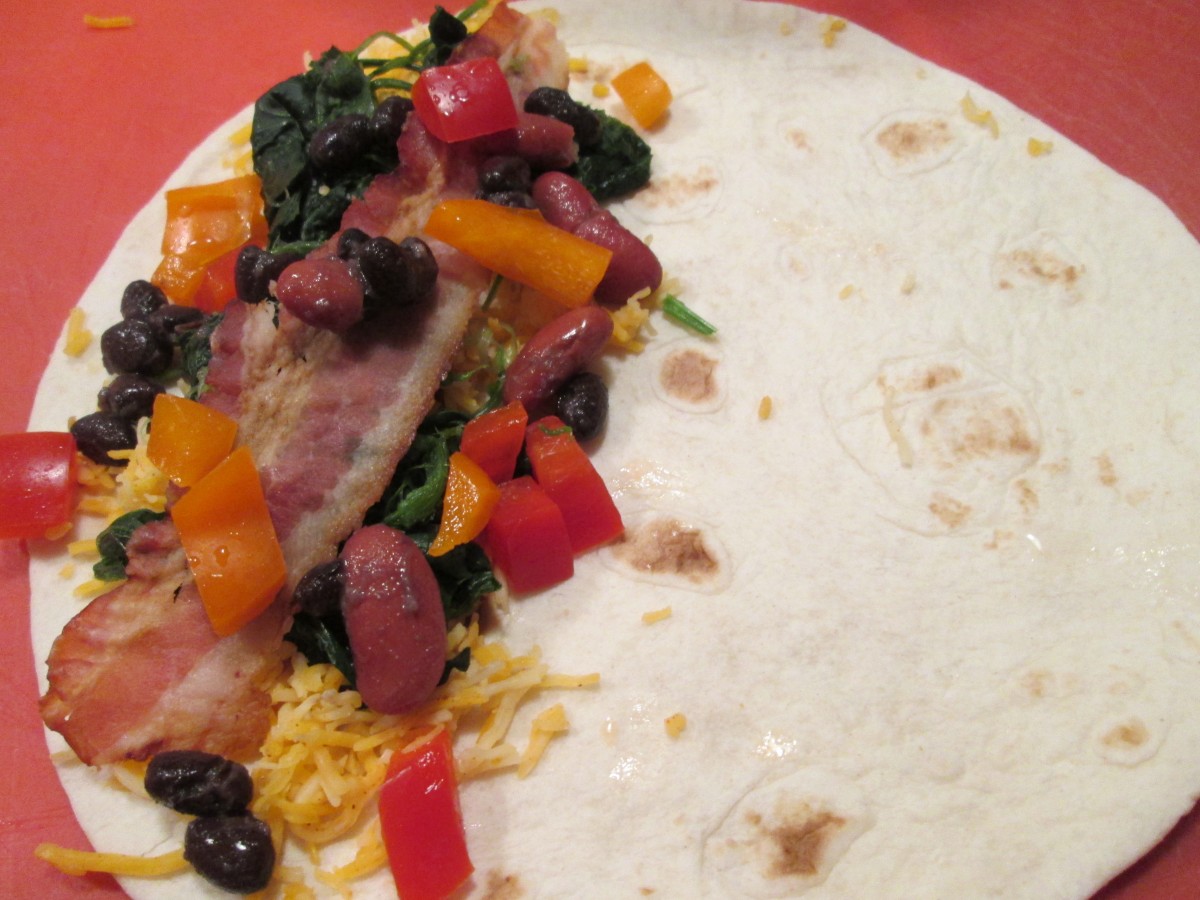
Place fillings on one half of the tortilla

Grill until toasted on both sides
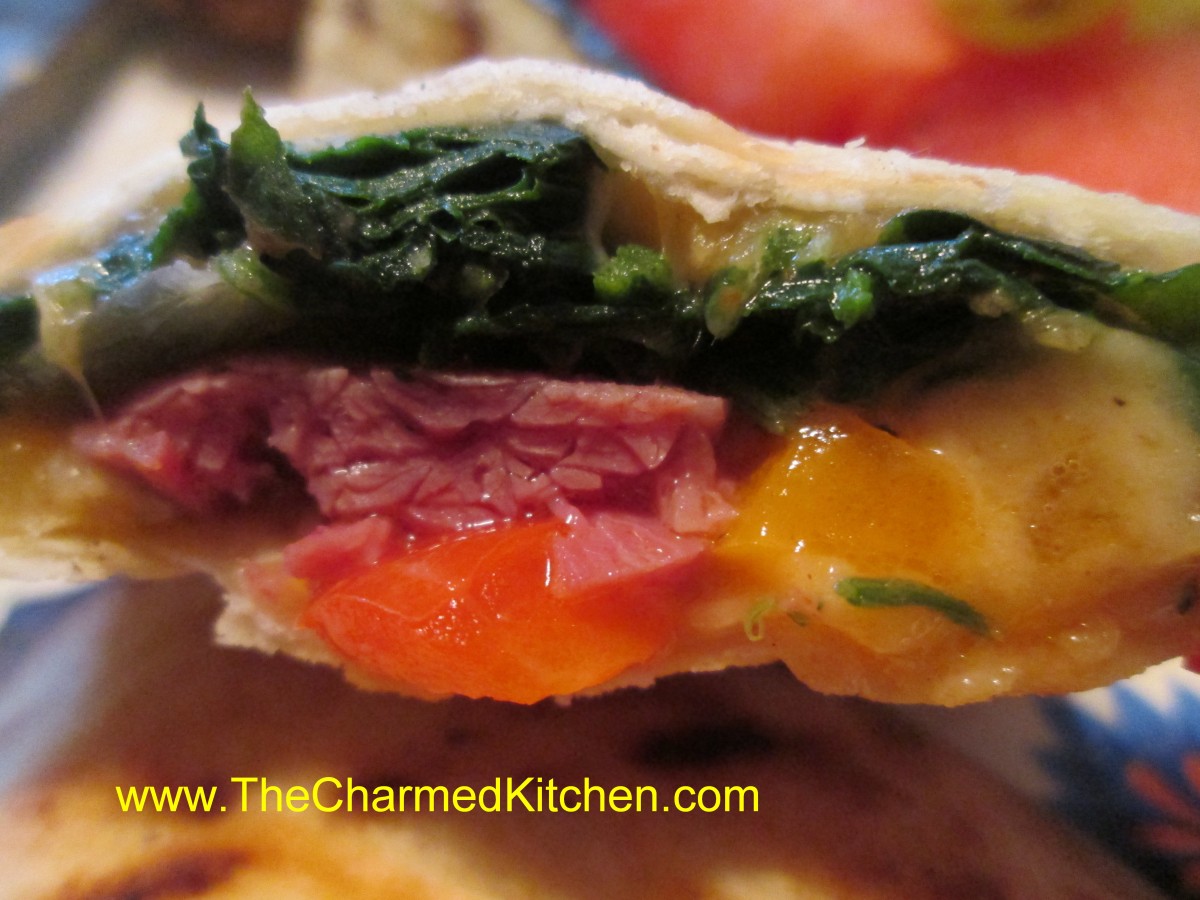
Spinach and corned beef quesadilla
Picnic Safety Tips
 Common Picnic Problems
Besides the obvious ants, the biggest concern at a picnic should be food safety. While most of us know to keep cold foods cold and warm food warm (well, hot actually), there are some basic things we should all do to insure a safe, happy day.
Bring plenty of ice and coolers for all perishable food. Keep stuff cold until you are ready to cook or eat it. Get stuff back into coolers as soon as everyone has finished eating.
Package raw meats extra carefully, meat juices spilling on salads will make them inedible. Pack raw meats separately if you can, or on the bottom of the cooler in a leak-proof container. You might also consider bringing meats like burgers frozen to thaw on the grill or in the cooler. Smoked meats are safer than their non-smoked counterparts but both types can spoil.
Don’t make burgers on site. Outdoor prep is always tricky. Better to form burgers at home and wash all surfaces, as well as your hands thoroughly.
Never use ice for drinks that have been in contact with raw food or even if any foods have been stored in it. Keep beverage ice in its own cooler or keep it bagged to insure it is safe.
Solid blocks of ice melt more slowly than cubes and make good cooler inserts for long, hot summer days. Also keep coolers in the shade to offset the power of the sun.
Meat should be cooked thoroughly and ground meat is always more at risk for contamination. Make sure your fire is hot enough and allow for chilly, windy days and pack extra coals or other fuel to keep the fire hot throughout the cooking process.
You can also precook meats (like chicken pieces or ribs), cool and chill until ready for dinner. Then just heat them up over the coals. This way you don’t have the worry of bringing along raw meats and you’ll spend less time cooking and more time having fun.
Mayo is not automatically the evil purveyor of bacteria. Then again it can be. Mayo from a fresh jar can actually retard the growth of bacteria. Still, if you are using the dregs from the bottom of the jar and your kids tend to lick knives and re-dip you may be bringing bacteria along. Use common sense.
While 2 hours is the maximum for food to be left out before being refrigerated again, use common sense. Obviously, on a 95 degree day that time is much shorter. Rather than one big bowl of pasta salad bring several smaller ones that you can switch out. That way you always have cold salad that is safe. Try to stay in the shade, too. Bringing some sort of canopy can keep food cooler than sitting in direct sunlight.
Cucumbers and Sour Cream
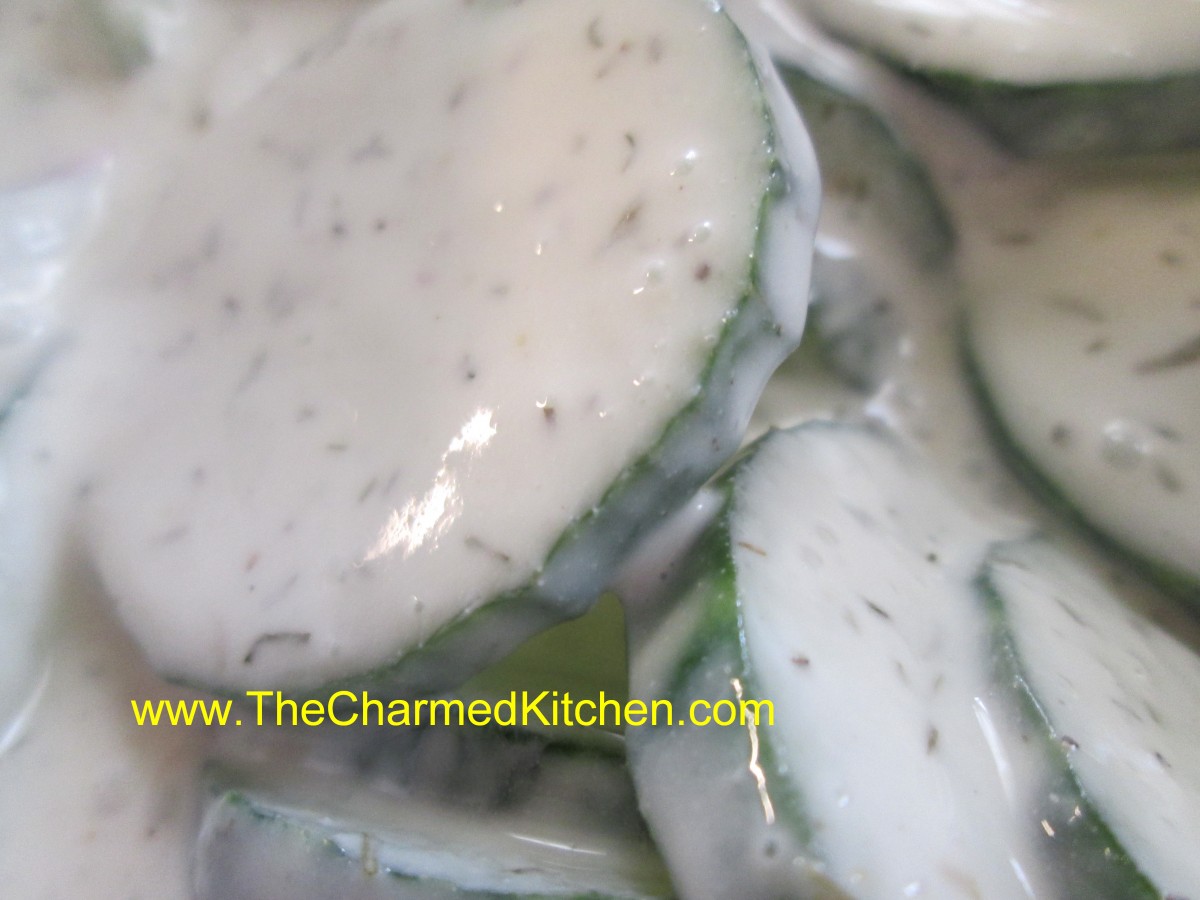
Cucumbers and Sour Cream
Feeling nostalgic today. I was looking for a cool salad for dinner. I had a couple of cucumbers and an open container of sour cream. Seemed like the best solution. Later we will have it with grilled quesadillas. The coolness of the salad will go well with the rest of the meal.It made me think of childhood summers. It was one of the first dishes I can remember helping my Mother make. She let me slice the cucumbers and mix the dressing. It seemed we often had it on the weekends when my Father was grilling.I can’t make this salad without thinking of the wonderful smells wafting into the kitchen from that grill. I’d pop the salad into the fridge and then run out to check on what my dad was doing. Sometimes he needed a platter to bring the food in on, or maybe just a cold drink. I would watch in fascination at his skill in cooking over the hot coals. Nothing tastes as good at something off the grill. It’s funny how certain foods bring on certain memories.
Cucumbers and Sour Cream
2-3 medium cukes, sliced
1 c. sour cream or strained yogurt
¼ c. sugar
¼ c. vinegar
2 green onions, chopped
1 –2 T. chopped fresh dill or 1-2 t. dried
Combine all ingredients and chill at least 10 minutes. Serves 4-6.
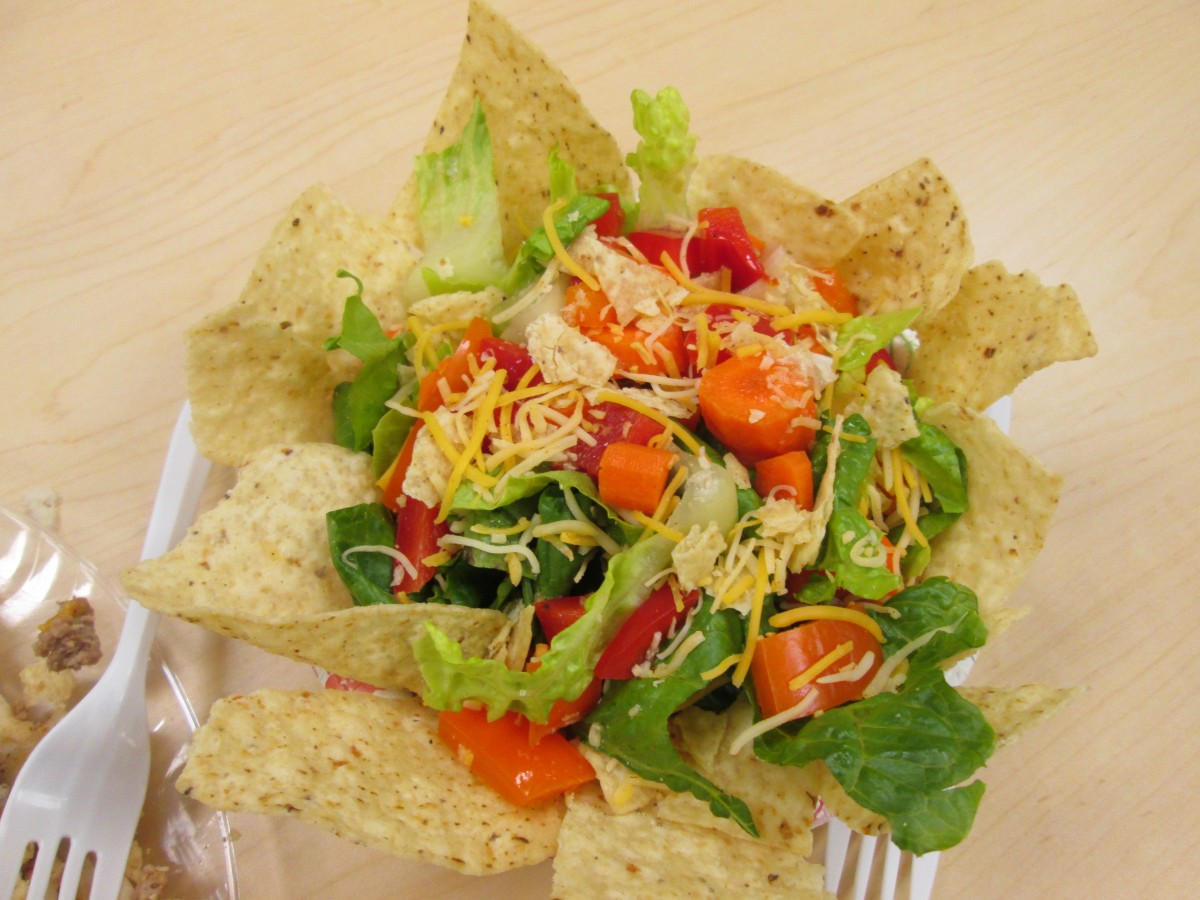
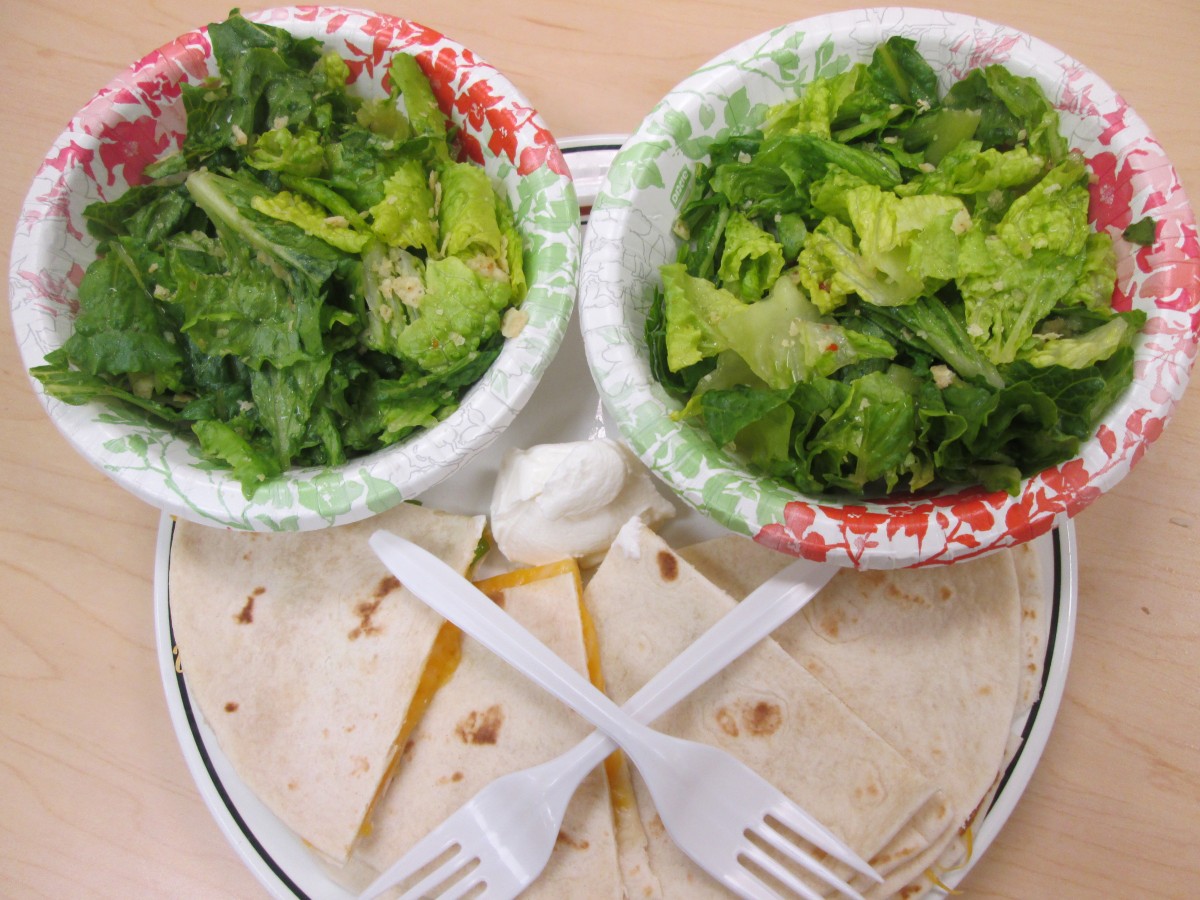
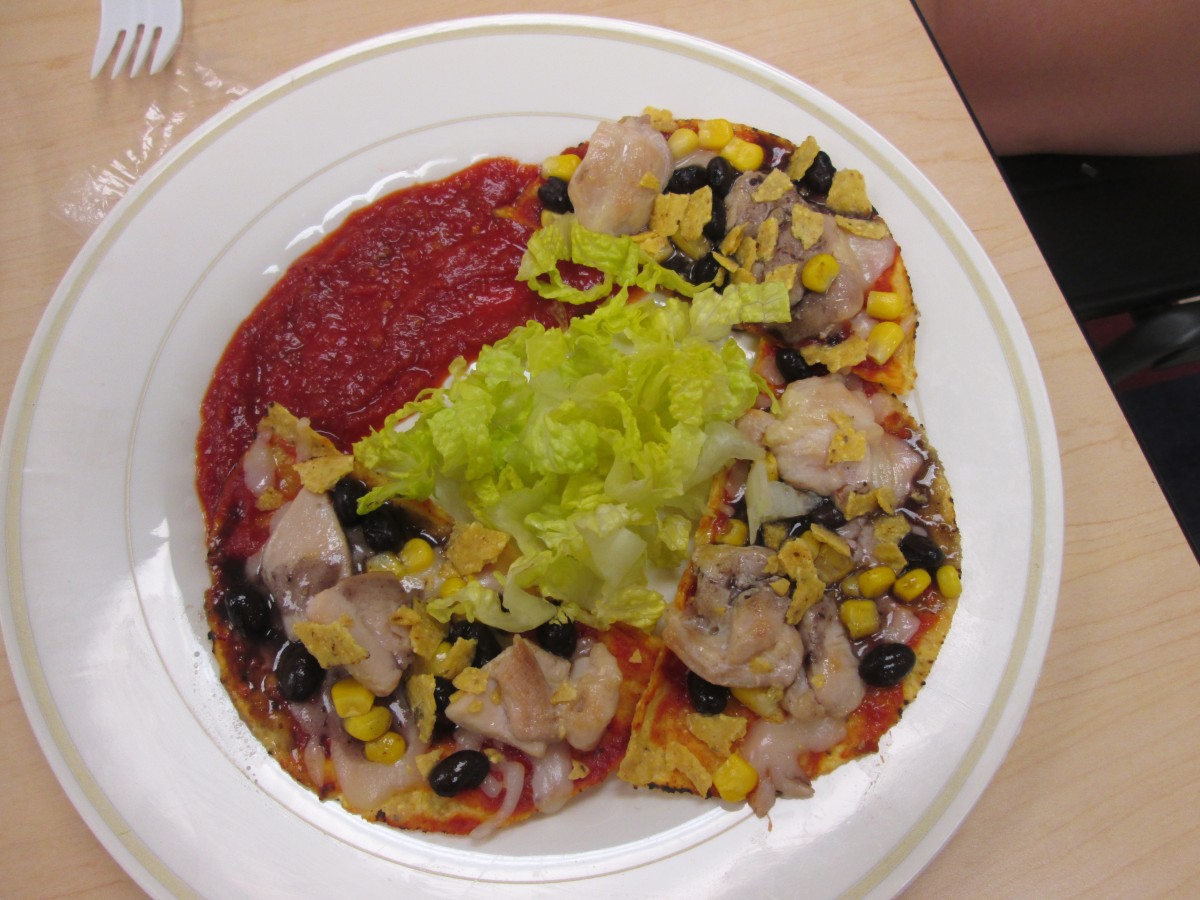
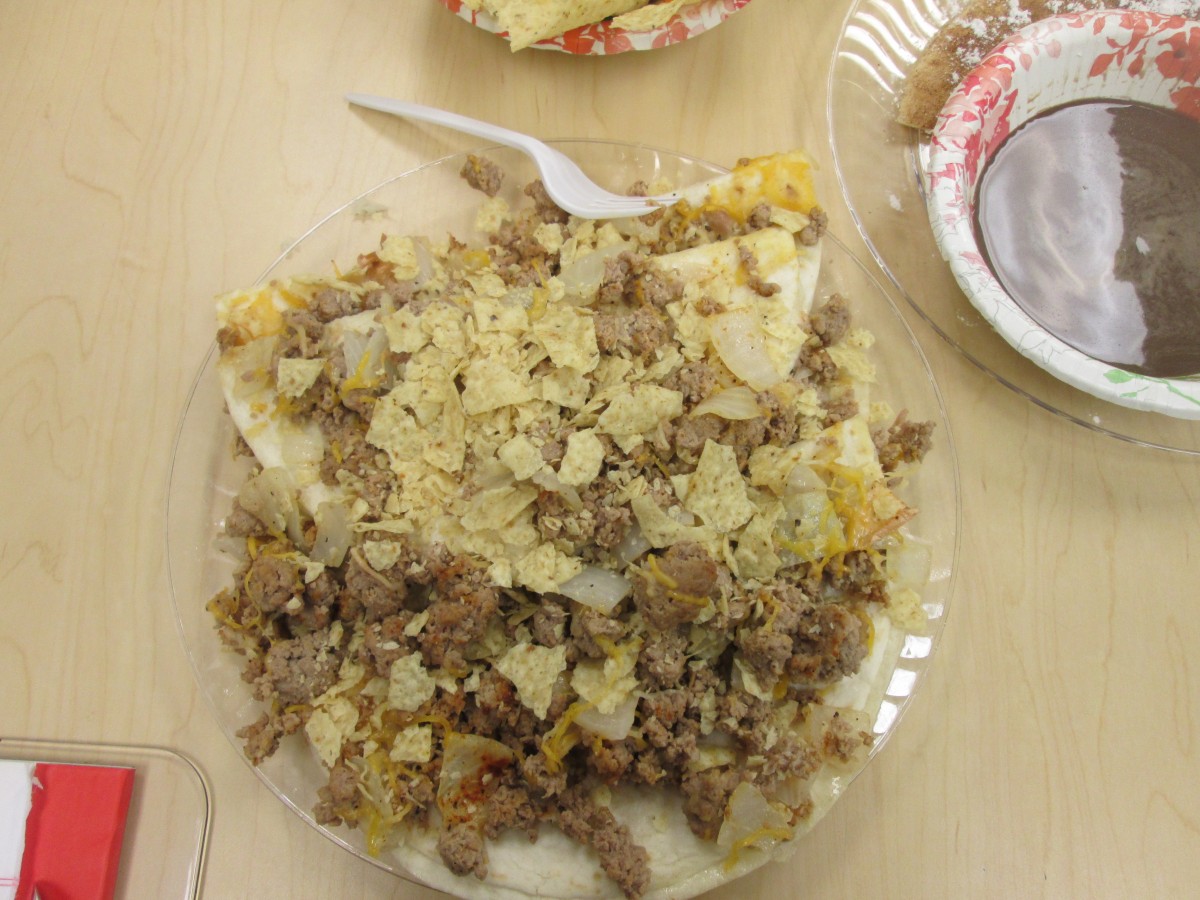
Beachwood Teen Adventure Camp
I had the joy of working with 50 teens in Beachwood today. We had a cooking competition that was a little Cutthroat Kitchen and a little Iron Chef. The kids did a great job, even with some pretty tough sabotages. Here are pics of their work.


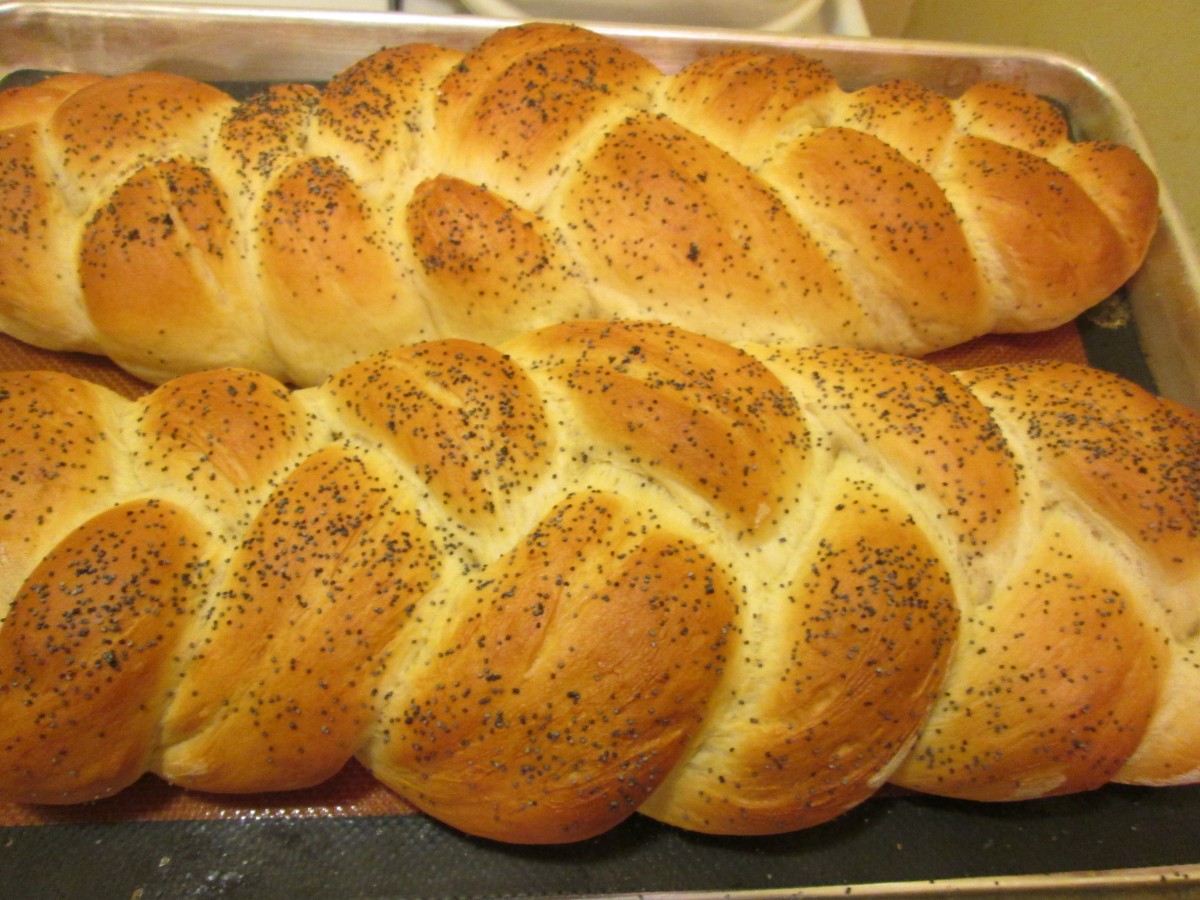
Challah Bread
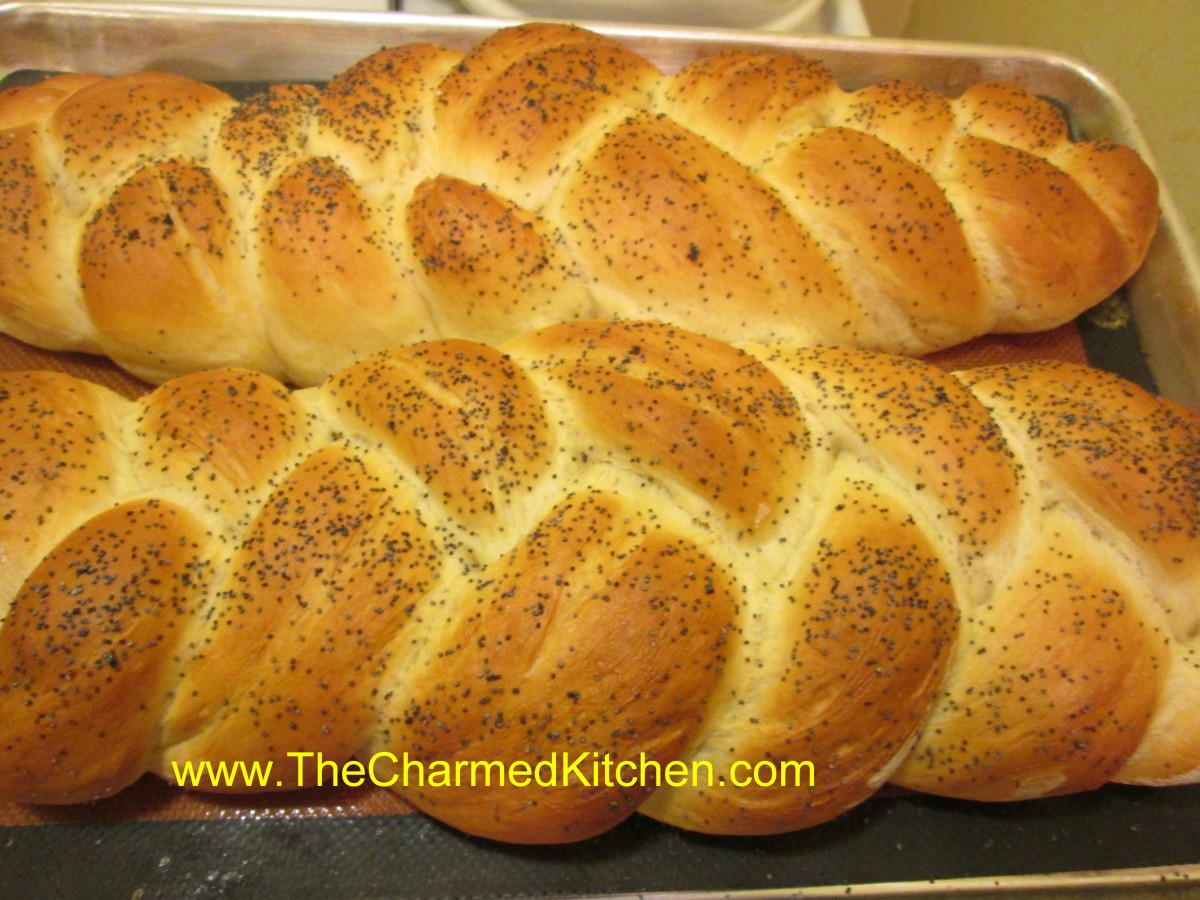
Challah Bread
This is one of the first breads I learned to make when I was a kid. After the hundreds of other breads I have made, this is still a sentimental favorite. I baked the braided loaves on a baking sheet this time, but you can also bake them in 9×5 inch loaf pans.
Challah
2 c. hot water
1 T. each sugar, salt and oil
1 package active dry yeast
¼ c. warm water
About 8 cups flour
2 beaten eggs
Poppy or sesame seeds, optional
In large bowl combine hot water, salt, sugar and oil. Dissolve yeast in warm water in small bowl and add to oil/water mix. Stir in 1 cup of the flour and eggs, reserving 2 tablespoons of the eggs for later. Gradually stir in enough of the flour to make soft dough. When dough pulls away from sides of bowl remove to floured surface. Knead dough, adding flour as necessary about 8-10 minutes. Dough should be smooth and elastic. Place dough in a lightly greased bowl, turning to grease top, cover with a towel and allow to rise in a warm, draft free place until doubled, about 1 hour.
Punch dough down and divide into 6 equal pieces. Roll three of the pieces into 12- inch ropes. Place on a greased baking sheet or in a greased 9×5-inch loaf pan. Repeat with remaining dough and cover. Allow to rise until doubled in bulk, about 1 hour. Preheat oven to 400 degrees. Brush loaves with reserved eggs and sprinkle with sesame or poppy seeds, if desired. Bake for 40-45 minutes in loaf pans, a little less time on baking sheets. When done, loaves will be nicely browned and sound hollow when tapped. Makes 2 loaves.
Farm Market
 I will be at the Blue Pike Farm market today from 4-7. New this week Rose Petal Jelly. I also made some Challah bread. I will have pumpkin bread, zucchini bread, chocolate beet cake and my herb seasoning packets. There will be food for sampling. Blue Pike Farm is located at 900 E. 72 st.- 1/2 mile south of the Shoreway. Stop on by and say “Hello.”
Chicken with Weed Sauce

Chicken with Weed Sauce
I know- not the most appetizing name for a dish- but it’s true. I harvested lambsquarters and oxalis from my yard to make the sauce for my chicken. I was tempted to just call it Chicken Florentine but that is made with spinach. I used a plant that tastes just like spinach when cooked so I was tempted. The nice thing is that lambsquarters are growing all over the place in my yard. It’s too hot for spinach but lambsquarters grow all summer long, giving me a free veggie whenever I want. The oxalis adds a lovely lemony flavor to the dish. It looks like clover and has yellow flowers. Oxalis is also called Wood Sorrel.
Chicken with Weed Sauce
6 boneless chicken thighs- you could use breasts
1 egg
salt and pepper to taste
cornstarch
oil
1 onion, sliced
4 T. flour
1-2 c. chicken stock
6-8 cups fresh lambsquarters, leaves and small stems
1 c. oxalis
In bowl combine egg, salt and pepper. Dip chicken pieces in egg wash and then dredge in the cornstarch. Heat oil in skillet and cook the chicken over high heat to brown. When chicken is browned place in baking dish and place in 350 degree oven to finish cooking. Remove all but a couple of tablespoons of the oil from the skillet. Cook onion until tender. Stir in flour until mixed well. Add chicken stock and lambsquarters and cook over medium heat, stirring often until lambsquarters are cooked and mixture is thickened and bubbly. Add oxalis and heat through. Place chicken in the skillet, cover, and let it cook another couple of minutes. Add salt and pepper if needed. Serve over pasta or rice. Serves 4-6.
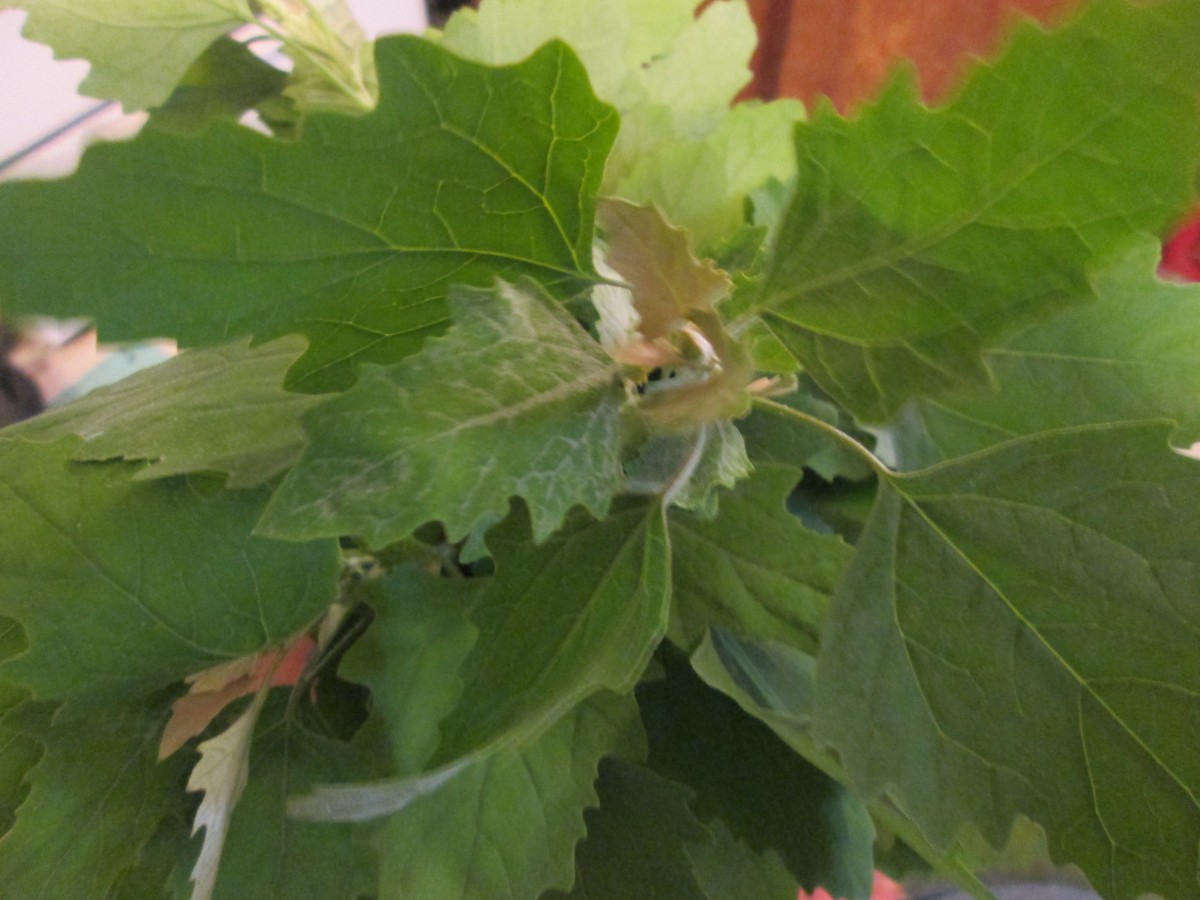
Lambsquarters
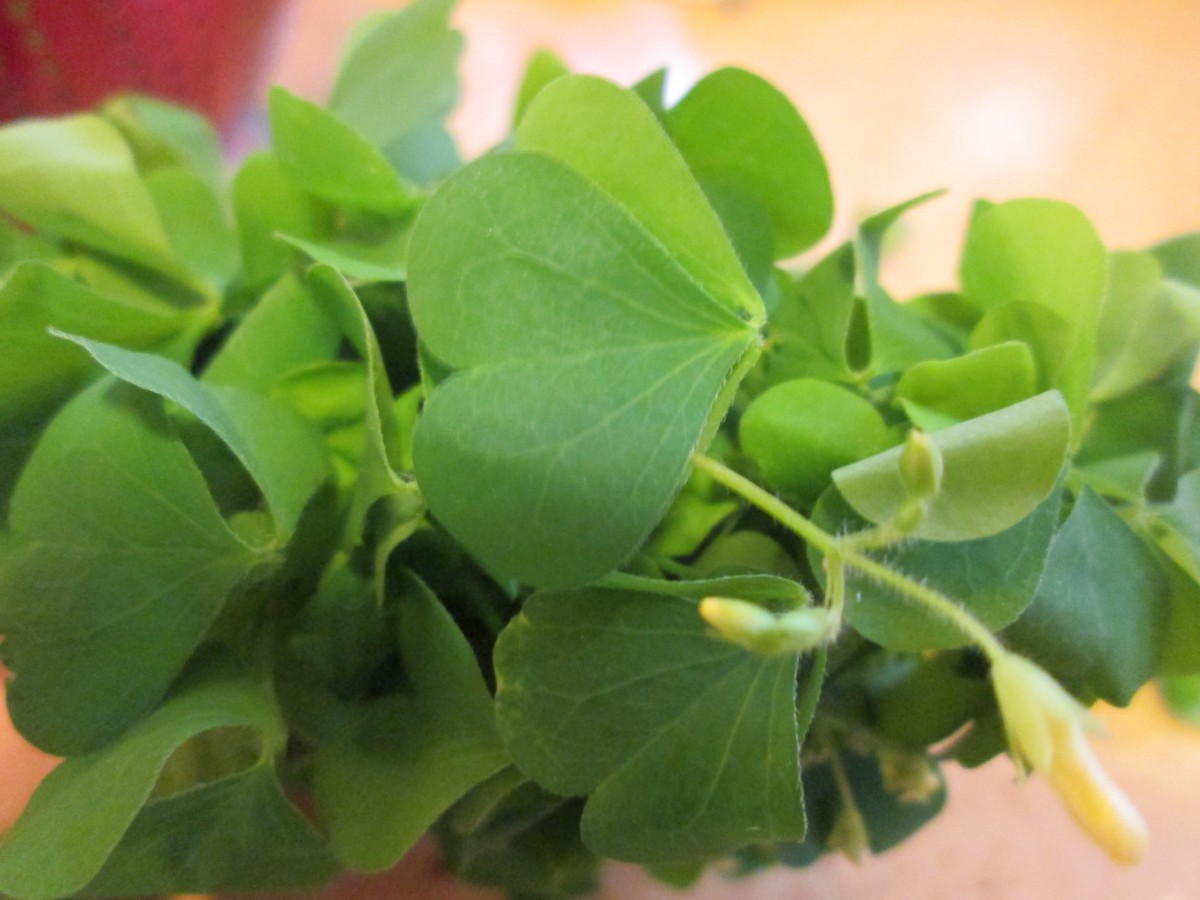
Oxalis

Simmer together a few minutes before serving
Mango Salsa
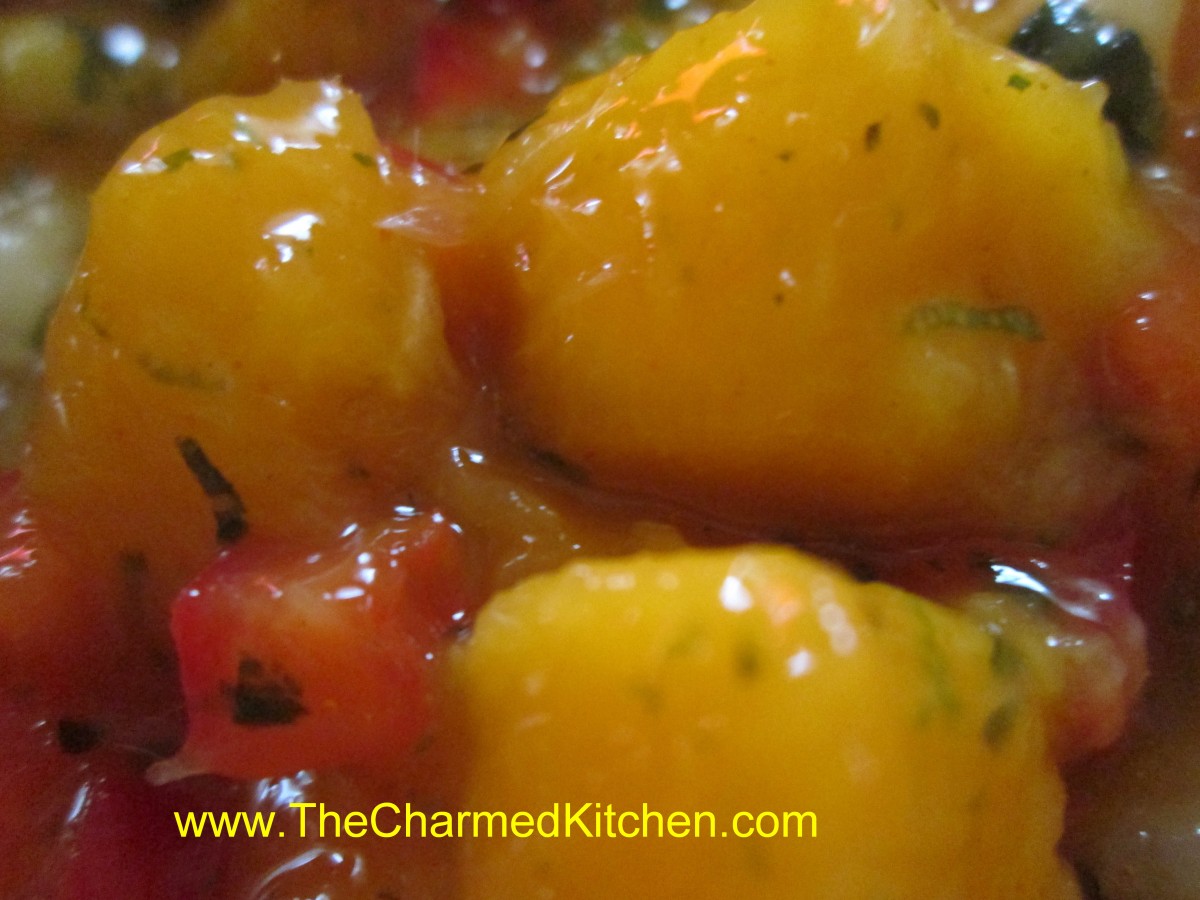
Mango Salsa
For as much as I love mangoes I don’t cook with them that much. Usually I just eat them fresh. I had several ripe mangoes and decided I wanted to do something more with them. Since we’ve been grilling more lately I went with this mango salsa. Like any salsa you can enjoy it with chips, but I love it as a topper for grilled meats, especially poultry or pork. Really good on grilled duck breast. I have also added it to cold rice for a mango salsa rice salad.
Mango Salsa
2 ripe mangoes, peeled, pitted and diced
1/2 c. minced sweet onion
1/2 c, minced sweet pepper
2-3 T. chopped fresh cilantro
1 T. hot sauce, or to taste
zest and juice from 1 lime
salt and pepper to taste, don’t be afraid to give this dish a good bit of salt
Combine all ingredients in a bowl and stir until mixed. Check seasonings. Chill for at least 30 minutes and taste again- you will likely add more seasoning. Serve over grilled meats or with chips.


