Asparagus and Ramp Frittata
Asparagus and Ramp Frittata
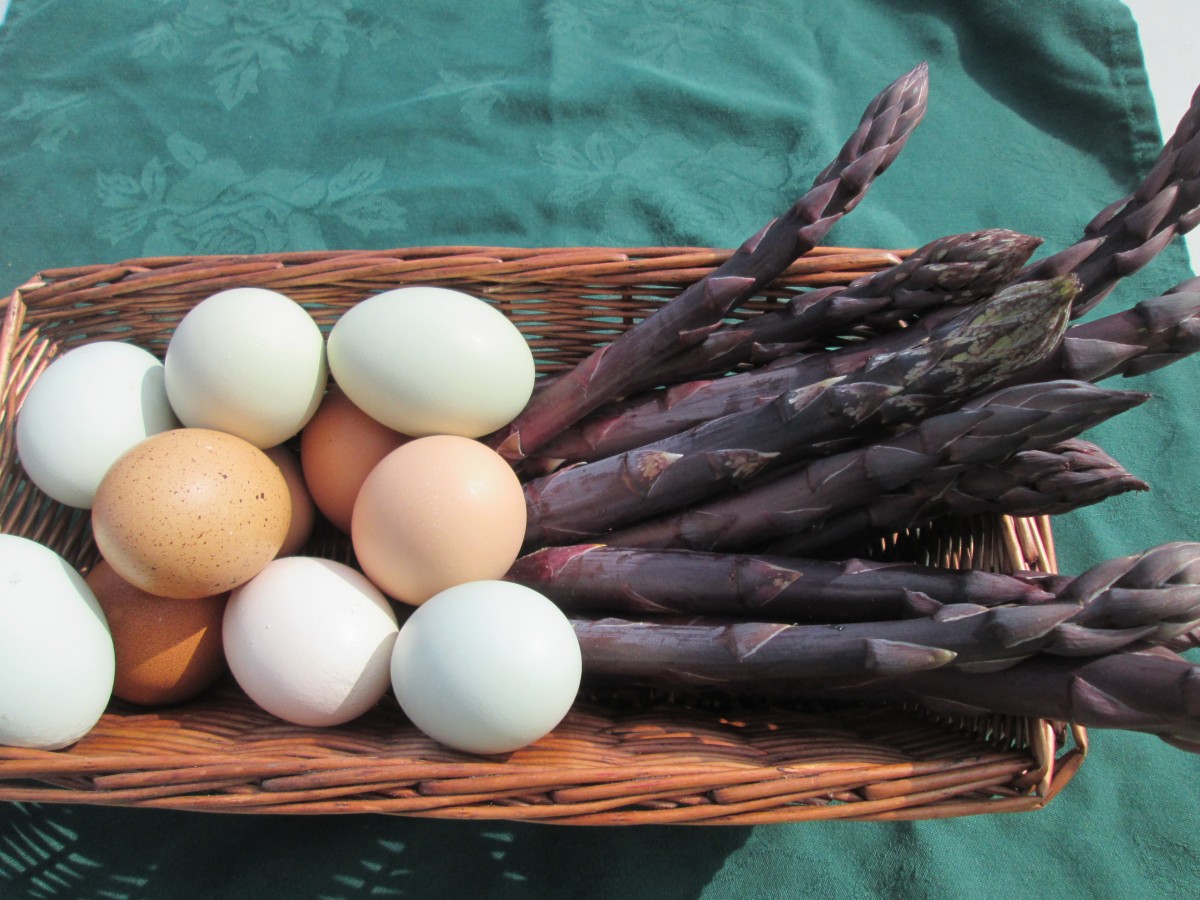
There is something about having really fresh, seasonal ingredients that makes cooking more fun. I got some beautiful purple asparagus and fresh eggs from my friend Carl at Blue Pike Farm. I decided to pair them with some fresh ramps and had a great dinner last night. I also added some home canned tomatoes and some cheese to finish the dish. I started by chopping the asparagus into 1/2-inch pieces and cooking the asparagus in butter until tender. Then I tossed in about a cup of chopped ramps and half a cup of parsley. I had an open jar of home canned tomatoes so I added about a cup of the tomatoes to the pan. I cooked the mixture until most of the liquid was gone. I added a sprinkle of salt and some fresh ground pepper and hot sauce the to mixture in the skillet. I then beat together 4 eggs and poured them in the pan over the veggies. I turned the heat down and put a lid on the skillet. Once the eggs were set- about 10 minutes later- I topped the eggs with some cheese and replaced the lid for a few more minutes so the cheese would melt. My friend Sue stopped over and we had a great and simple dinner.

Asparagus and ramps cooking
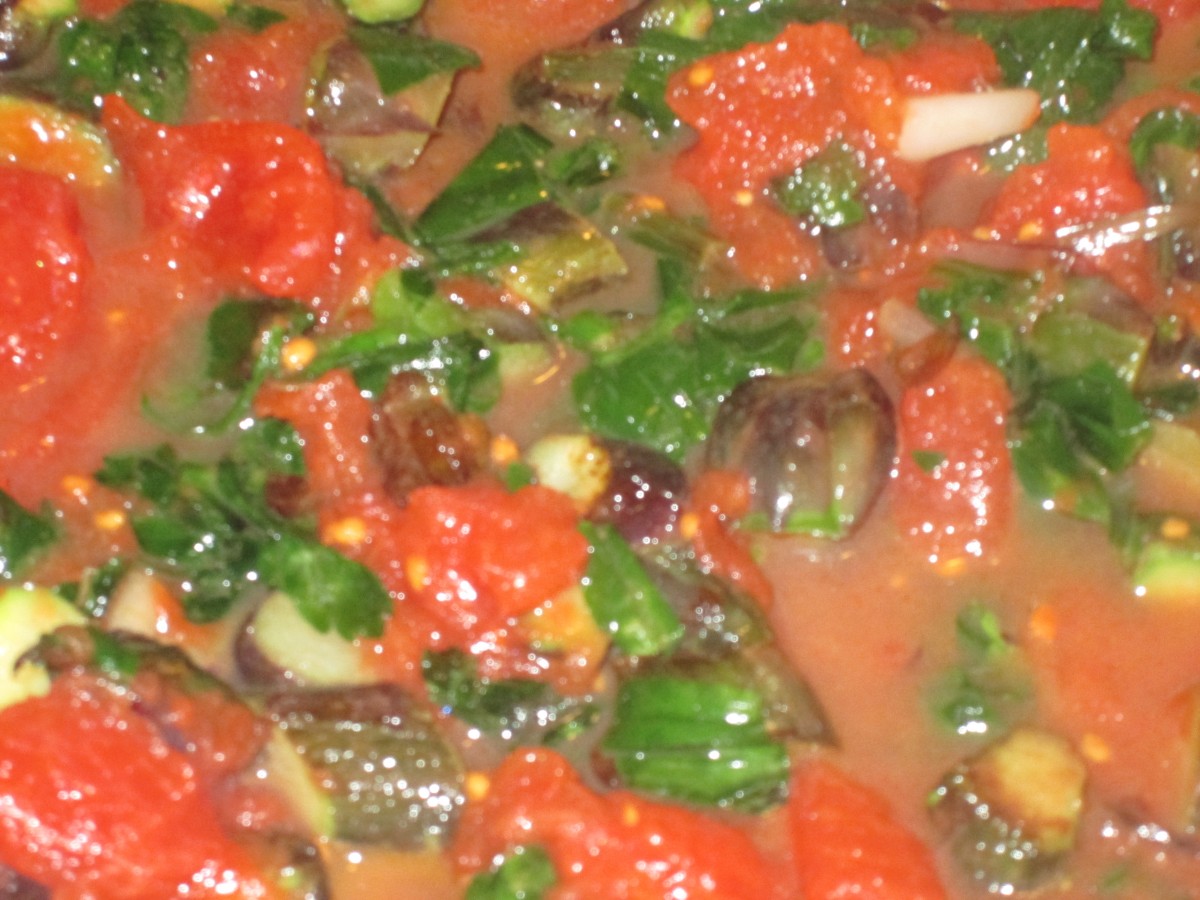
Simmering the veggies
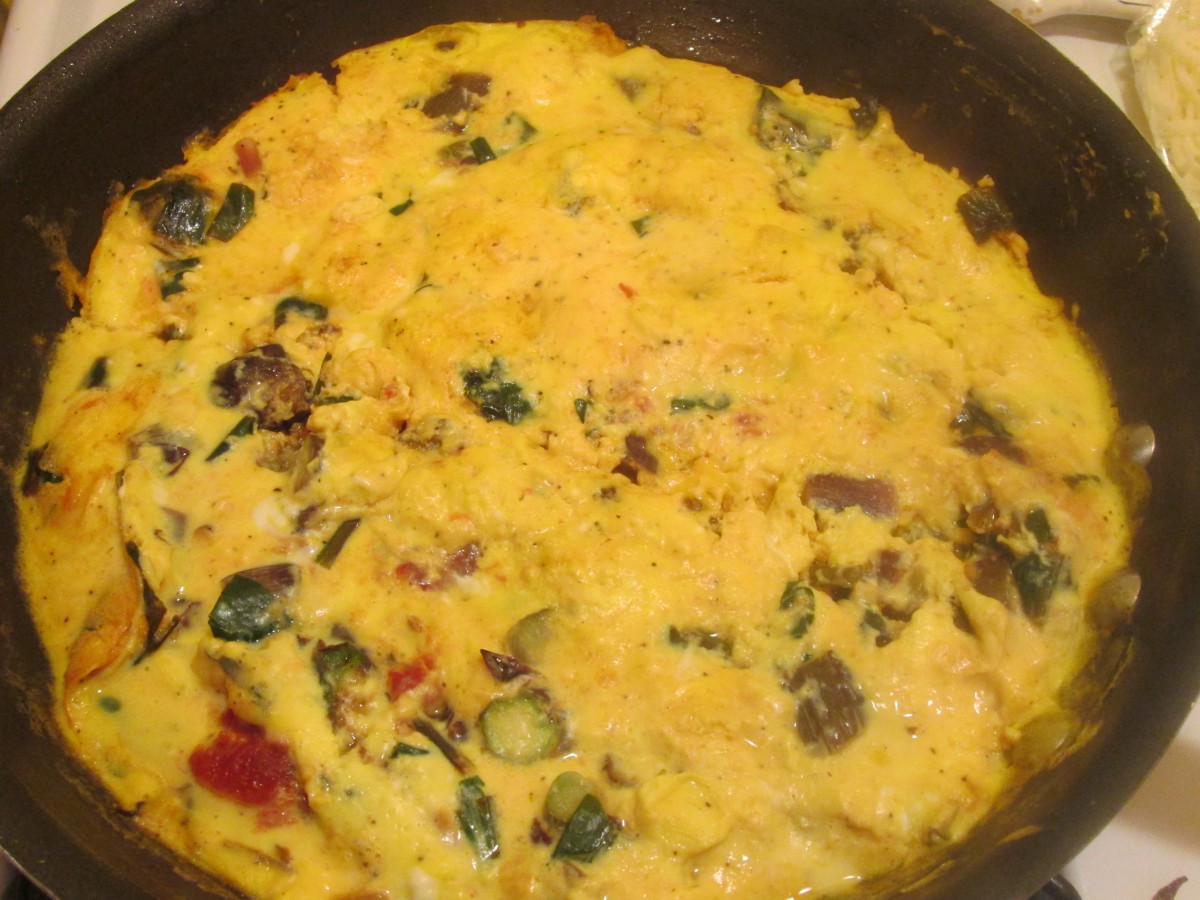
Ready for the cheese!!
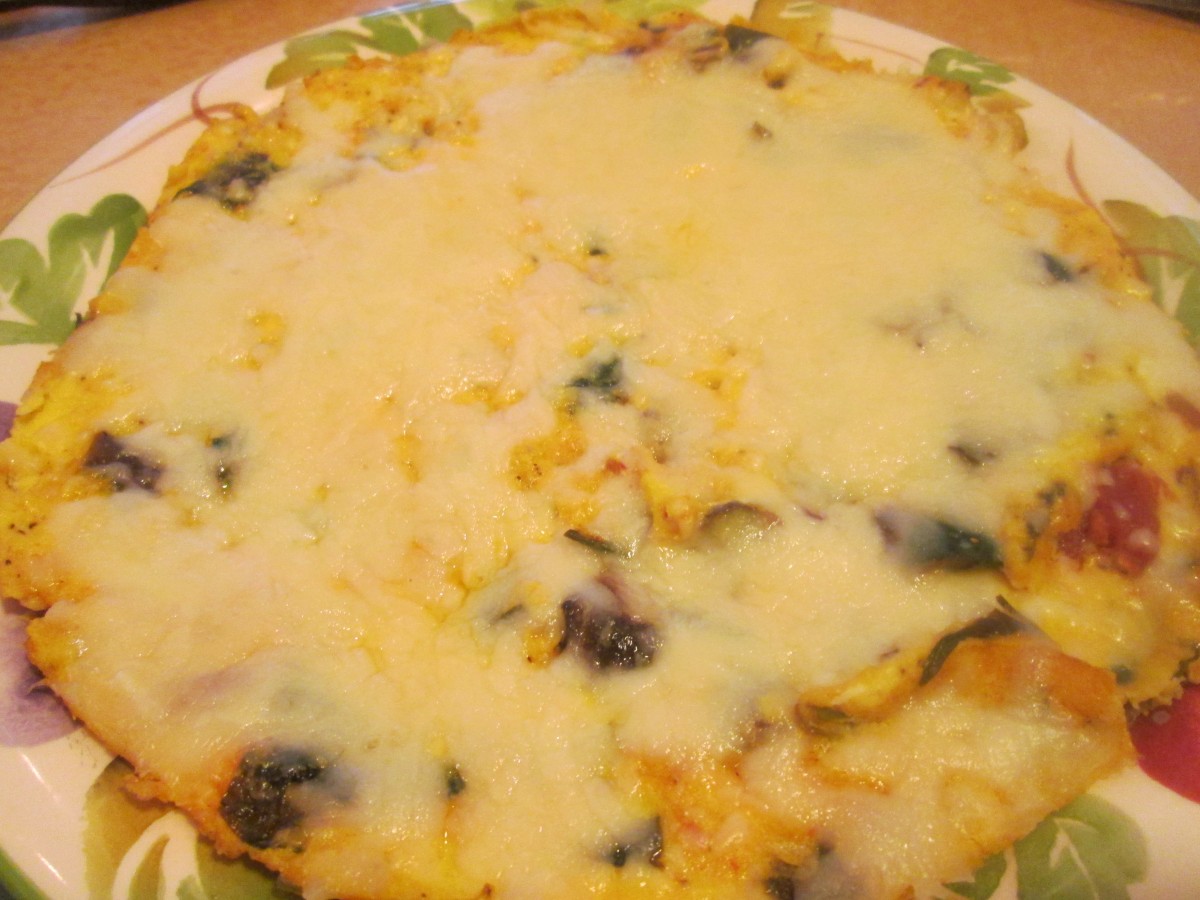
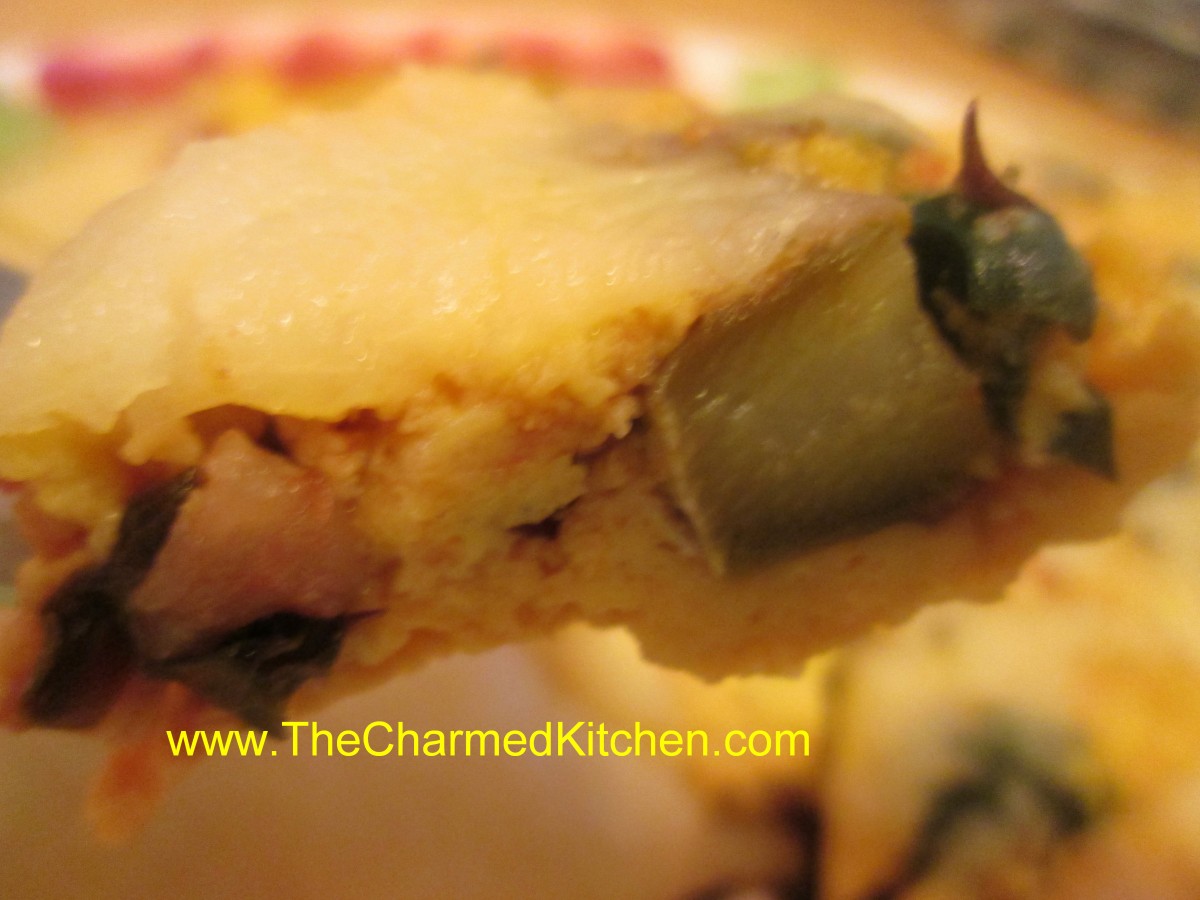
Slide onto a plate before cutting and serving
Candied Violets
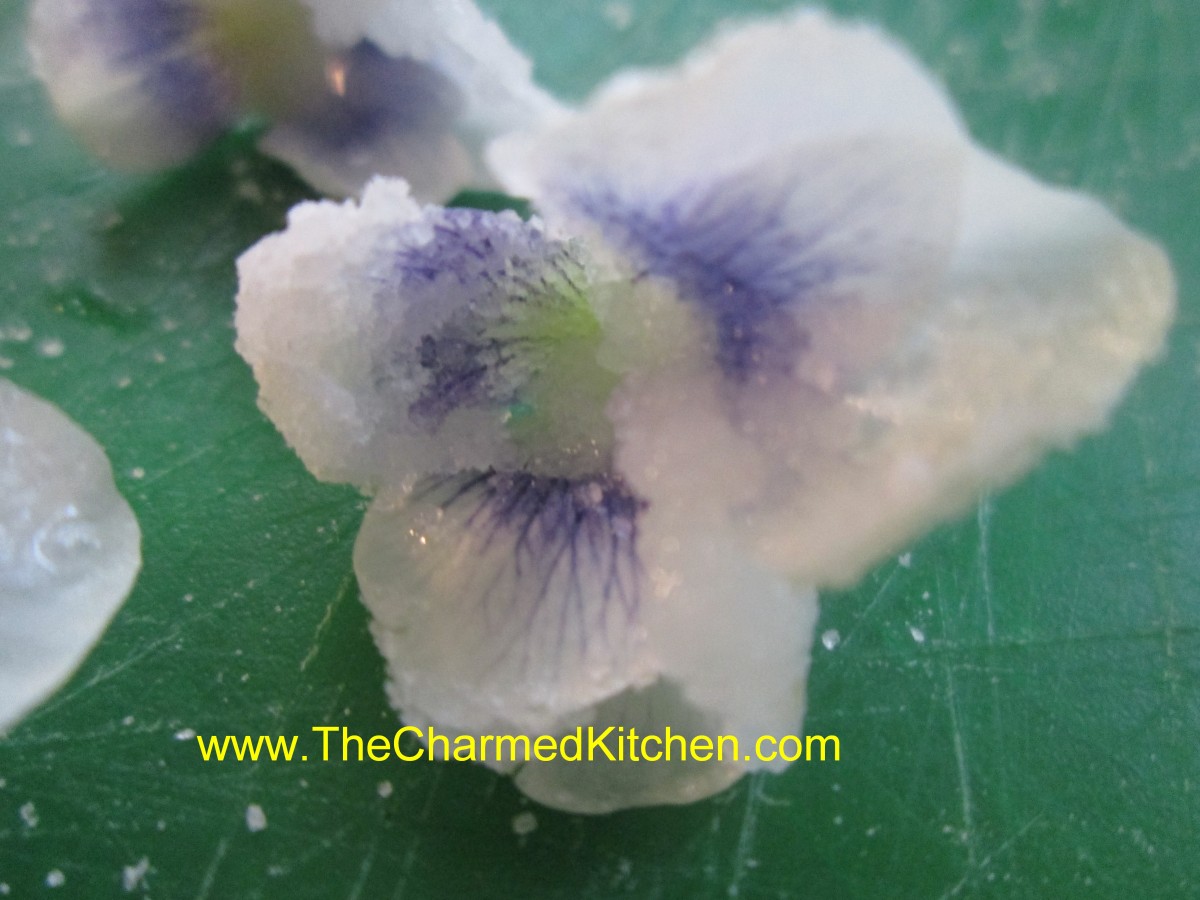
Candied Violets
I love to make candied violets. It’s an easy way to enjoy these delicate flowers throughout the year. I recently posted a lemon cake decorated with candied violets. Several people asked me how to make them so I thought I would share the directions. I like to use them to decorate baked goods. Lovely on a cake they also add a sweet touch to cupcakes.
Candied Violets
Powdered egg whites (see note)
Water
Superfine sugar (see note)
Fresh violet flowers, rinsed and drained on paper toweling- Not African violets
Following package directions reconstitute egg whites to the equivalent of one or two egg whites. You can dilute them a little to make them easier to brush on. Place sugar in a shallow bowl. With a food-grade fine brush coat a violet with the egg white and press into the sugar. Place on wax paper and repeat with remaining flowers. Allow to dry for about a week. Store in a container with a tight fitting lid in a cool place. I like to store them in the freezer.
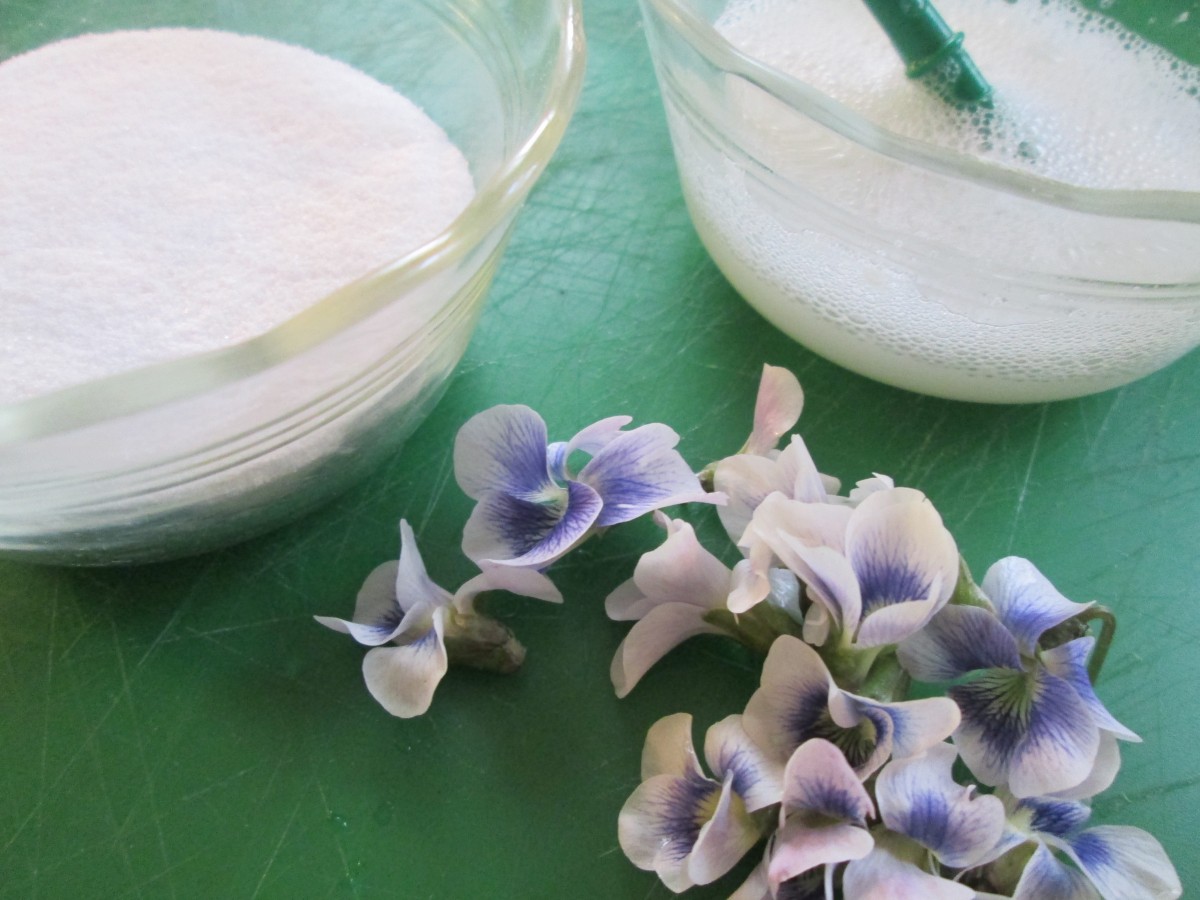
Superfine sugar, egg whites and violets
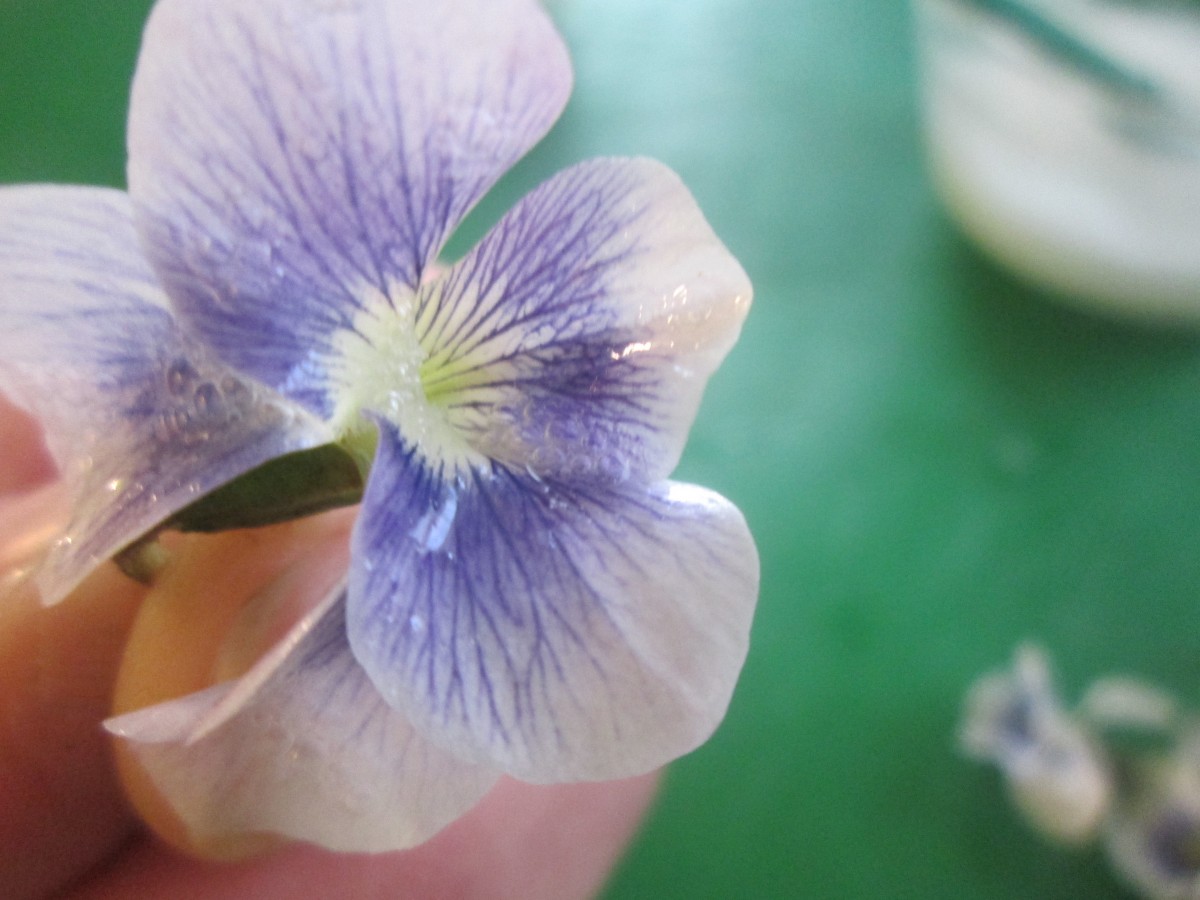
Violet brushed with egg white

Dip in superfine sugar
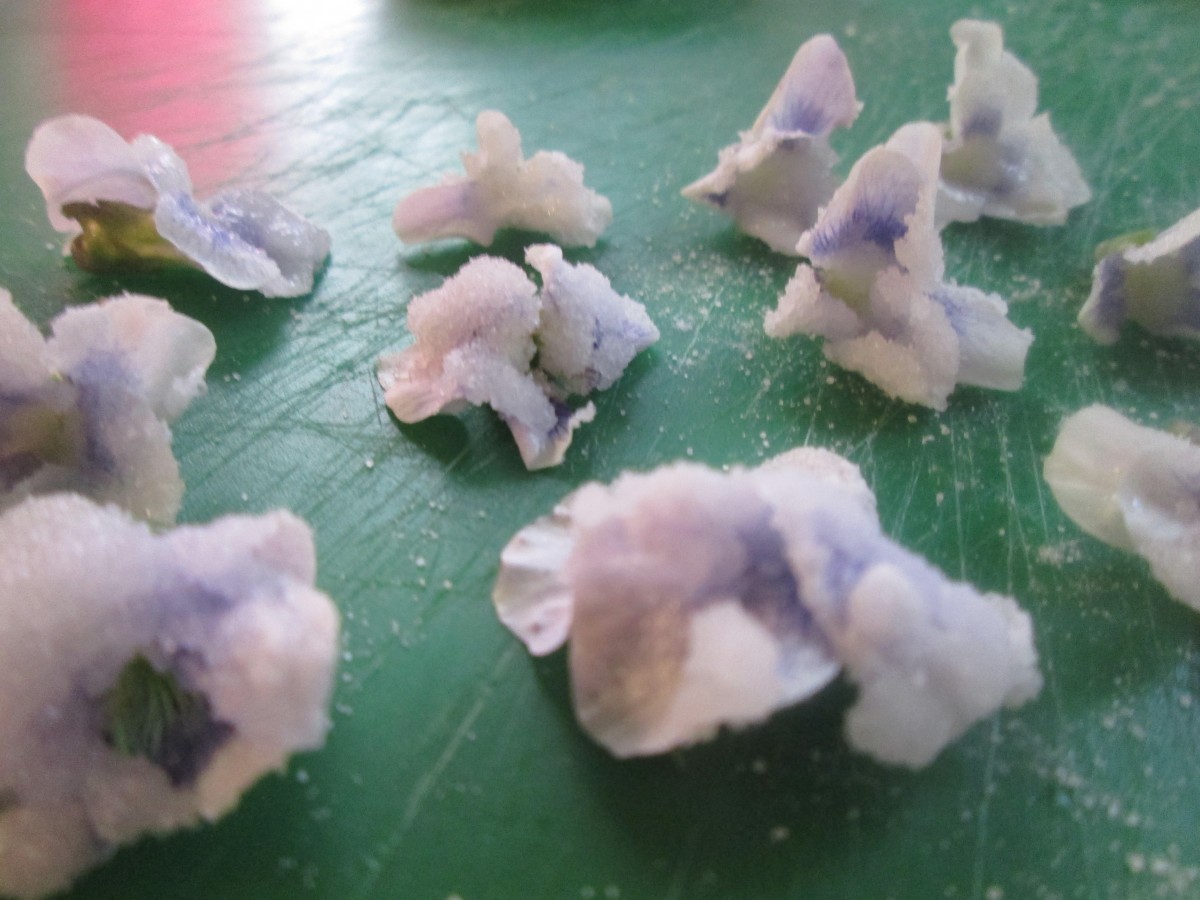
Let violets dry about a week before storing
Note: While some people use raw egg whites in these it is a better idea to use powdered egg whites which will have been pasteurized and therefore not a risk for salmonella.
Note: You can use regular granulated sugar if you do not have superfine or you can pulse granulated sugar in a processor a few times to make superfine sugar. Don’t over process or you will end up with powdered sugar.
Lavender Liqueur

Lavender Liqueur
I enjoy making homemade liqueurs and cooking with flowers so I decided to combine the two in lavender liqueur. I often bake with lavender and use it in savory cooking, too. I thought I’d try to use the lavender in a different way and see what happened.
I started by combining 2 cups of lavender blossoms with about 4 cups of vodka in a large Mason jar. These were dried blossoms from last year’s harvest. I put the lid on the jar and let it steep together for a few weeks. After a few weeks I strained out the blossoms. Then I poured the mixture through a strainer lined with a coffee filter to get out any fine particles so my end product would be clear. I had expected the mixture to be a lavender color. It ended up a pretty honey brown color instead. It also had a very strong fragrance and flavor of lavender. Quite pleasant.
After tasting the lavender vodka I decided to add sugar to the mixture. I made a cup of sugar syrup by combining one cup of sugar with 1/2 cup of water in a small pot and brought it to a boil. This gave me a cup of sugar syrup. Once the sugar syrup cooled to room temp I added it to the lavender vodka and allowed this to mellow for another week.
The odd thing was that at first the sugar syrup and lavender vodka would not blend. The sugar syrup settled to the bottom of the bottle. No amount of stirring and shaking seemed to matter. I’d all but given up when a friend was over and tipped the bottle a few times. Amazingly it finally combined. On the advice of another friend I decided to add a couple of vanilla beans as well. The flavor is pretty interesting. Not quite sure what I will do with it yet. Perhaps a lavender martini. I am open to suggestions.
Easy Onion-Pepper Relish
Easy onion and pepper relish
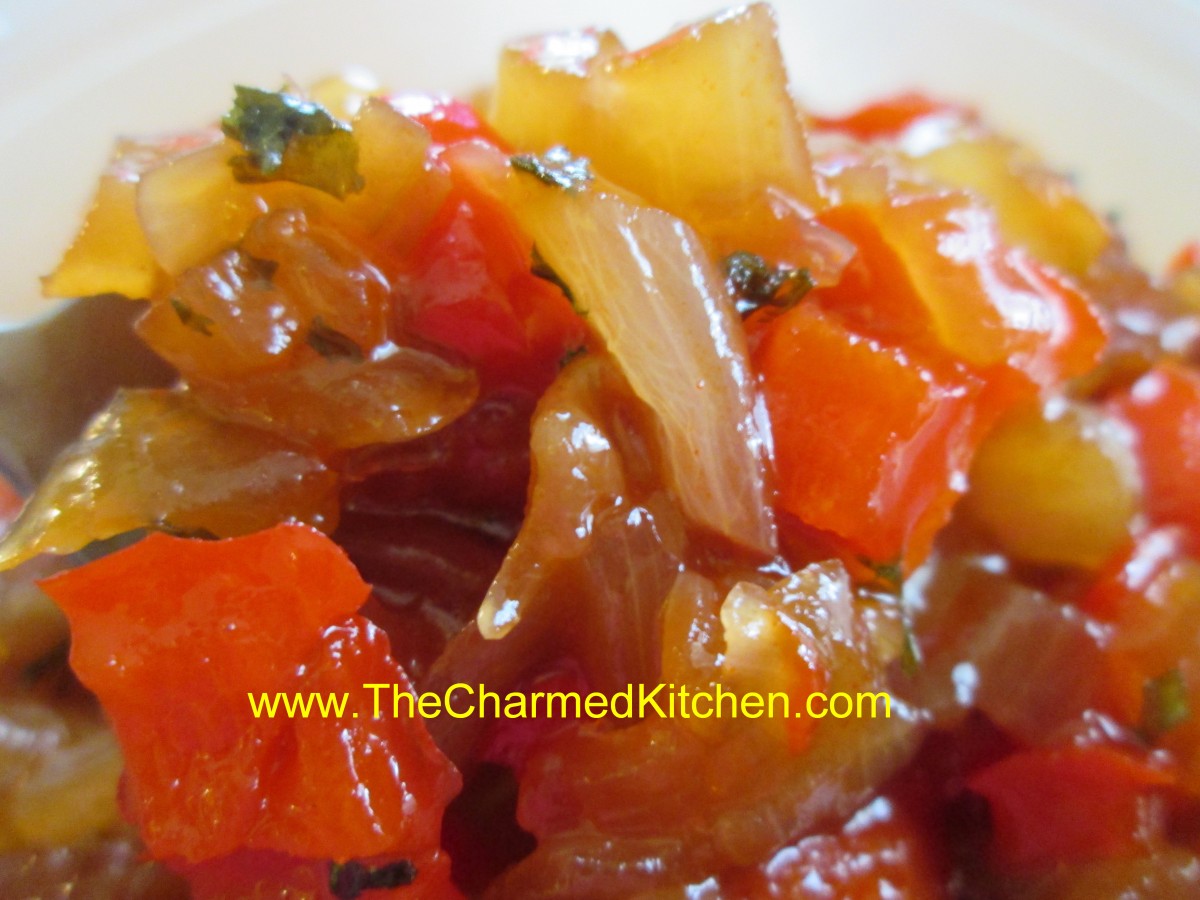
Tasty doesn’t have to be difficult. I was attending a friend’s birthday party and wanted to take along something to add the the appetizer table. I looked at what I had and came up with a simple fresh relish. I started with onions and sweet peppers and rounded it out with apple cider vinegar, a little brown sugar, smoked paprika and hot sauce. It went very well with the crackers, cheeses and smoked meats that were being served. Everyone liked it and I promised to post the recipe-so here it is. Happy Birthday, Tom!!!
Tom’s Birthday Onion-Pepper Relish
oil
1 sweet onion, diced
1 sweet pepper, seeded and diced
2/3 c. apple cider vinegar
1/3 c. brown sugar
2 t. hot sauce
2 t. dried parsley
1/2 t. smoked paprika
salt and pepper to taste
Heat oil in skillet and cook onion over medium heat until tender. Add peppers and cook another couple of minutes. Add vinegar, sugar and seasonings and cook over medium heat until most of the liquid has cooked off. This will take about 10-15 minutes. Adjust seasonings, if needed. Serve with bread or crackers, cheeses and smoked meats. Makes about 2 cups.
Cranberry Buttermilk Scones

Cranberry Buttermilk Scones
I love scones fresh out of the oven. Don’t get me wrong- I’ll eat them even after a couple of days but there is nothing quite like the taste of fresh baked scones. These scones are actually baked in cake pans so this recipe is easy and tasty. If you don’t have buttermilk just add a little lemon juice to regular milk. Perfect breakfast for this weekend.
Cranberry-Buttermilk Scones
3 c. flour
¼ c. plus 2 T. sugar
2 t. baking powder
¼ t. salt
1 ¼ sticks (10 tablespoons) chilled butter, cubed
3/4 c. dried cranberries
½ c. buttermilk
3 large eggs
1 t. water
Preheat oven to 375 degrees. Combine flour with ¼ c. sugar, baking powder, and salt. Rub in butter with finger tips until mixture resembles coarse meal. Stir in cranberries. Combine milk with 2 of the eggs and beat together. Stir egg mixture into flour mixture and stir until dough begins to form into a ball. Turn dough onto a lightly floured surface and knead about 10 stokes until dough holds together. Grease 2 nine inch cake pans. divide dough in half and place one piece in each cake pan. Press dough out evenly. Combine remaining egg with 2 teaspoons water and beat until well mixed. Score top of loaves with sharp knife into 8 wedges each. Brush with egg mixture and sprinkle with reserved sugar. Bake until golden, about 30 minutes. Cool 5 minutes, turn onto plates and cool right side up. Cut along score marks. Serve warm. Makes 16.
Crumpets
Crumpets
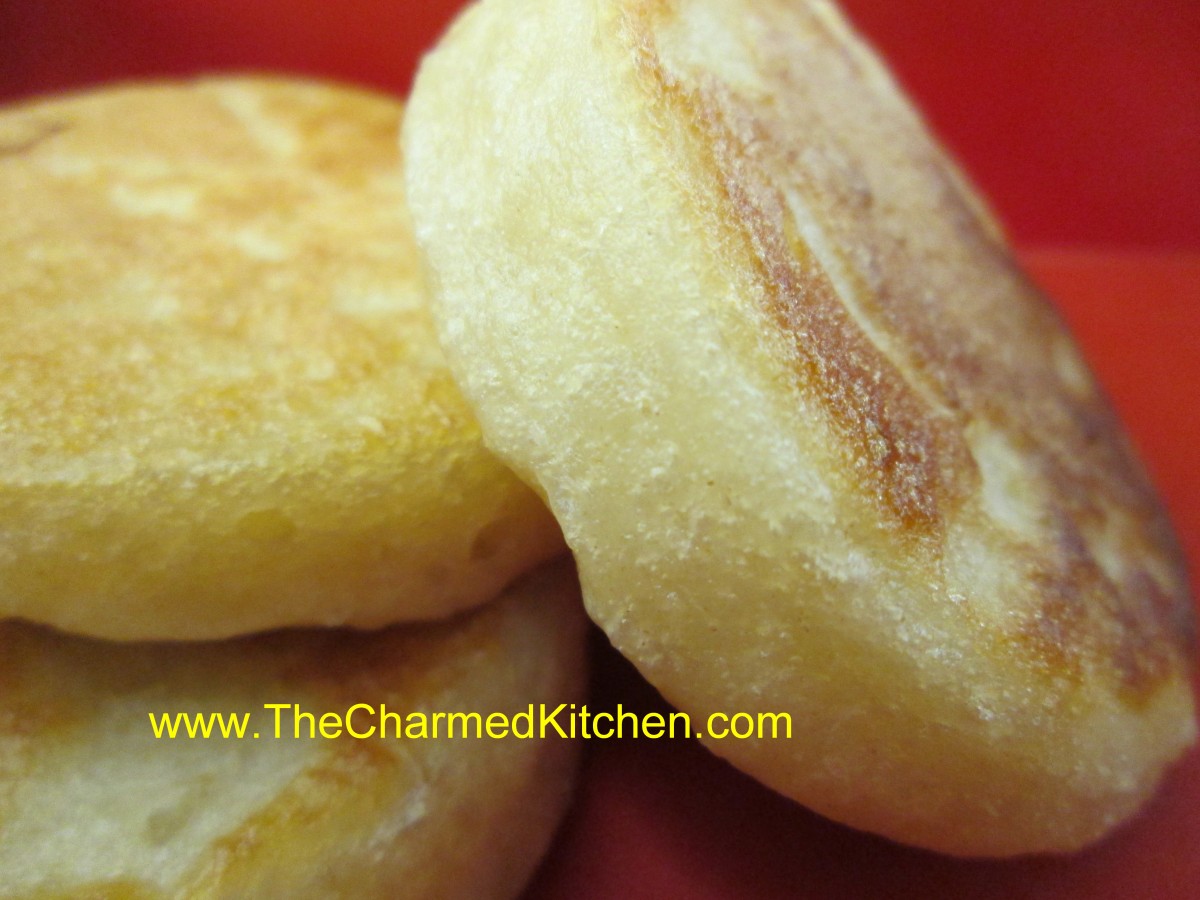
If the only crumpets you ever tried are the ones sometimes sold in grocery stores you probably don’t like them. I love crumpets when I make them myself. They are a cross between a pancake and an English muffin. Crumpets should be moist, soft and light. We had them in a Tea Party class the other evening and paired them with raspberry jam and mock clotted cream. Several people in class said they had never liked them until they tasted these. You do need crumpet rings to cook them in but you can make your own. Many years ago my father made some for me from cans. We saved cans from things like canned tomatoes or corn. He cut off the lids on both sides and then cut the cans to about 1 1/2 inches in size. There is a rough edge so I am always very careful when handling them.
Crumpets
2 c. skim milk, scalded
3 c. flour
1 t. salt
1 package active dry yeast
¼ c. warm water
¼ c. butter, melted
Cool milk to lukewarm, then stir in flour and salt, beating until smooth. In small bowl place water and sprinkle over with the yeast. Let stand 5 minutes until bubbly. Stir in butter then add this to the flour mixture, beating well. Cover and let rise in a warm place until doubled in bulk, about 1 hour. Grease 2 ½ inch muffin rings, or use 3 ½ oz. tuna fish cans and place in a hot, lightly greased skillet. Spoon 2 tablespoonfuls of batter into each ring, reduce heat to low and cook crumpets 12 minutes per side. Remove from rings and set aside to cool. Repeat procedure with remaining batter. Makes about 32 crumpets. Serve split and topped with jam or preserves and Devonshire clotted cream. You can make a mock version of clotted cream- recipe follows.
Mock Clotted Cream
1 c. whipping cream
¼ c. sour cream
Just beat together whipping cream and sour cream until soft peaks form.
Lemon Tea Cake
Lemon Tea Cake
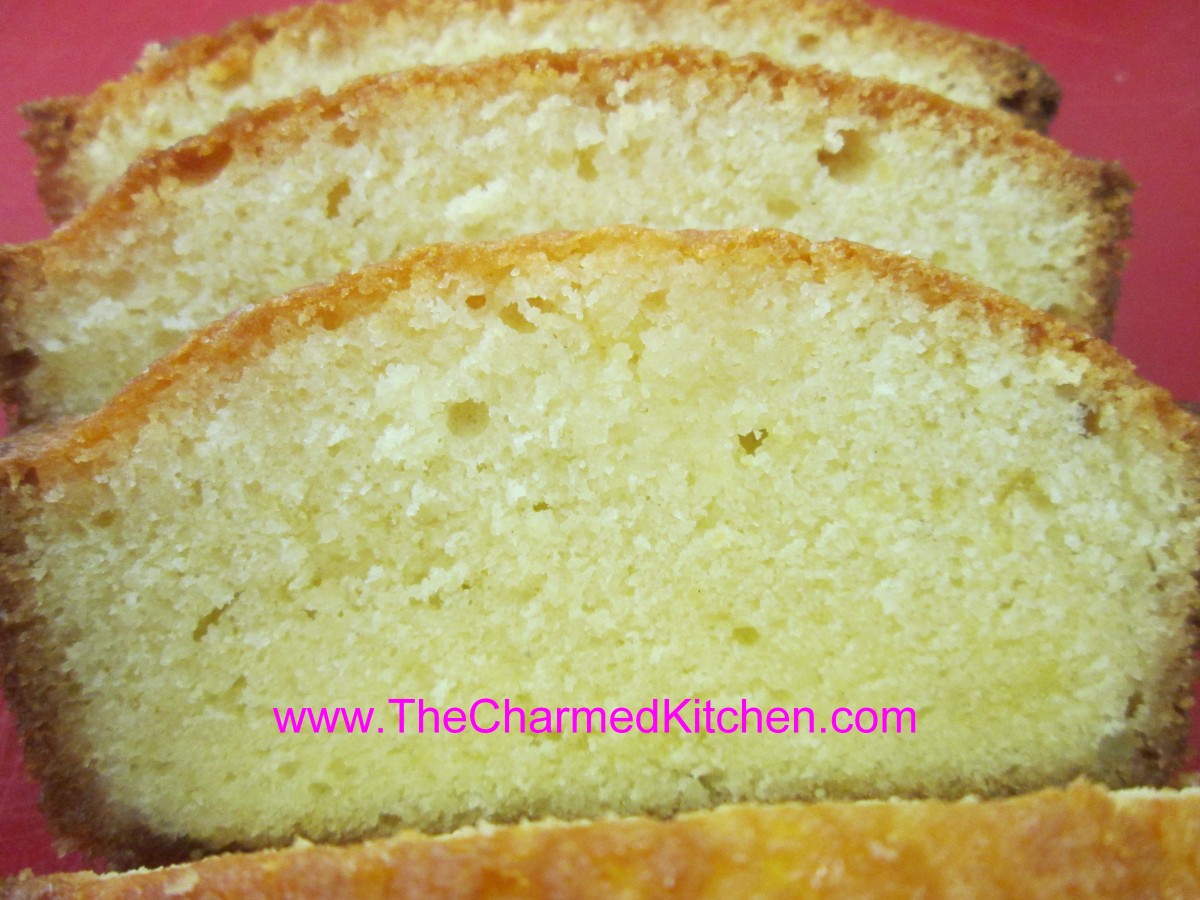
This is one of my favorite cakes of all time. It is a simple cake enhanced with lemon zest. Once out of the oven you poke the hot cake with a large fork or a skewer and pour a lemon syrup over it. Moist, tangy and fragrant it is a great addition to afternoon tea. Great all on its own this cake is also wonderful served with fresh berries and whipped cream for a light dessert.
Lemon Tea Cake
2 lemons
3 T. sugar for topping
½ c. butter, softened
¾ c. sugar
2 eggs, beaten
3/4 c. flour
6 T. milk or half and half
Preheat oven to 375 degrees. Grease an 8- inch loaf pan and line with wax or parchment paper. Grate the lemon rinds and set aside. Combine the juice of 1 of the lemons with the 3 tablespoons of sugar, stirring to dissolve sugar. Set aside.
Cream together the butter with the rest of the sugar and beat until fluffy. Beat in the eggs, a little at a time until well mixed. Stir in the flour and lemon peel and beat well. Add the milk and beat well. Pour batter into prepared pan and bake at least an hour. The cake should spring back when touched lightly. As soon as you remove the cake from the oven pierce it all over with a long tined fork or a skewer. Pour over the reserved lemon juice mixture. Cool cake in pan before serving. Cake will be moist and tangy.
A Trio of Hummus
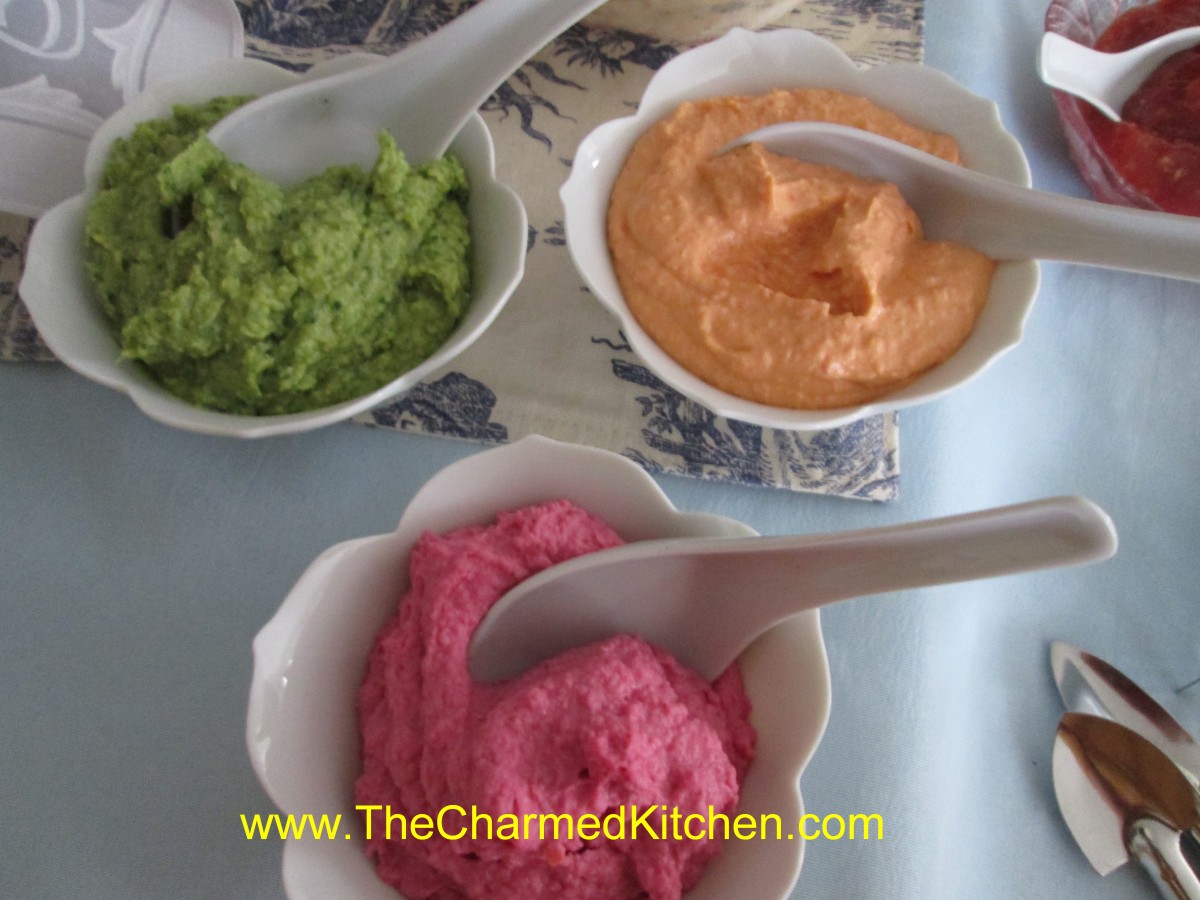
Trio of Hummus
Hummus is always a favorite at parties around here. I’ve made basic hummus and have added roasted peppers and made some with black olives, too. For a recent dinner my friend, Amy, made hummus 3 ways. She made the basic hummus recipe I use. She also changed things up by making a green hummus using spinach and cilantro and a pretty pink hummus with beets. Here are the directions for making them.
Hummus
1 can garbanzo beans, drained, or about 2 cups cooked garbanzos
1/4 c. olive oil
2 T. lemon juice
2 T. tahini (sesame seed paste)
2 cloves garlic
salt and hot pepper sauce to taste
Combine all ingredients in a blender or food processor until smooth. Adjust seasonings. Chill. Serve with pita bread, crackers or fresh vegetables. Also nice spread in a pita bread with sliced tomatoes, cucumbers and lettuce. Freezes well.
Green Hummus
Make the original hummus recipe from above but add 2 c. fresh spinach and ½ c. chopped cilantro.
Pink Hummus
Make the original hummus recipe from above but add 2-3 small cooked beets.
Note: You might want a little more salt in either of these recipes or a bit more lemon juice.
Goldenrod
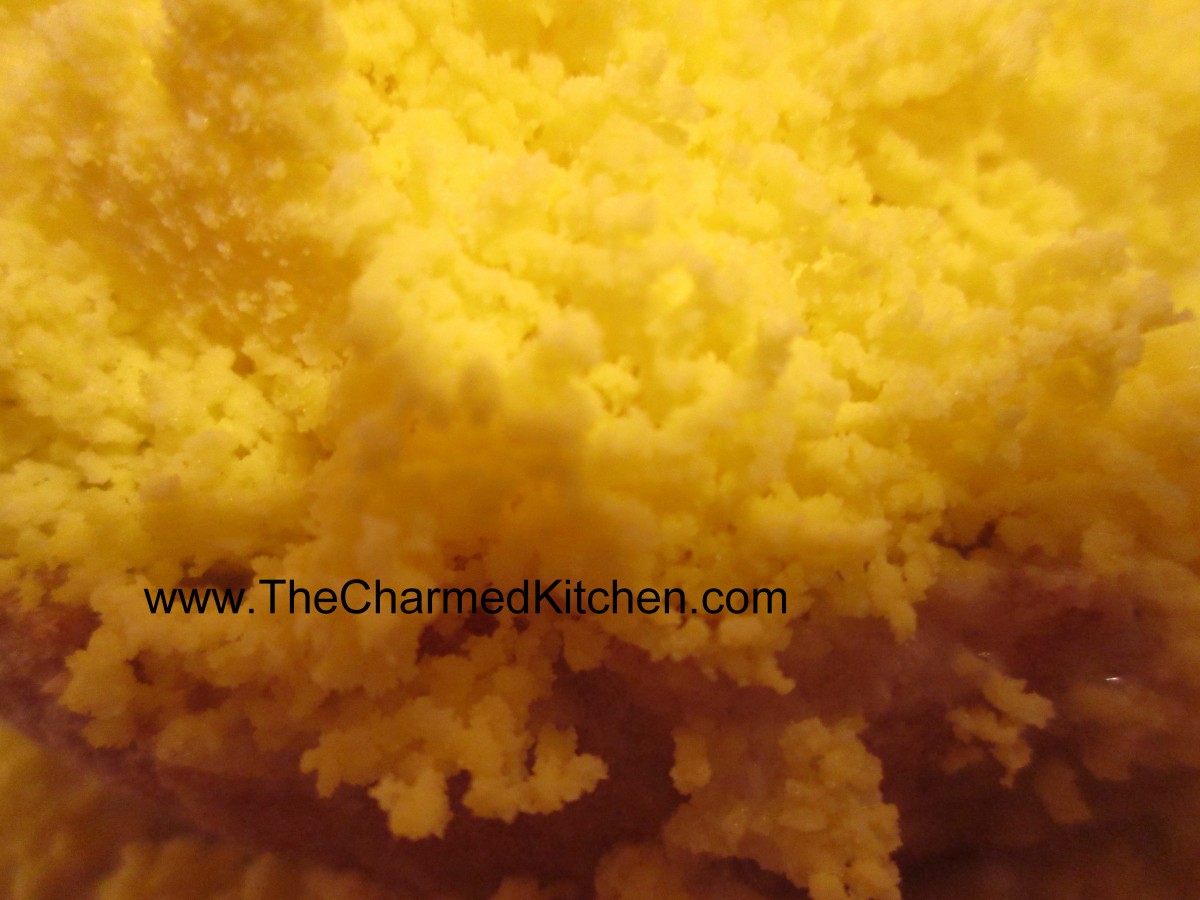
Goldenrod
If you have hard-cooked eggs and want a tasty way to serve them you might like Goldenrod. It’s a recipe my grandmother and mother used to make every year after Easter when we had a lot of of hard cooked eggs around. You make a white sauce and add the chopped up egg whites. Season with salt and pepper. When ready to serve pour the hot egg white mixture over toast and then put the egg yolks in a small strainer and press them through the strainer over the egg whites. The yolks turn into a powder and the end result looks quite pretty. I like it served over English muffins but you can serve it over toast, biscuits or bagels.
Goldenrod
4-6 hard cooked eggs
2 T. flour
2 T. butter
1-1 1/2 c. milk
salt and pepper to taste
2-4 slices bread, toasted
Peel eggs and separate whites from yolks. Chop egg whites and set aside. In saucepan cook flour and butter together until smooth. Stir in milk and cook until thickened and bubbly. Be careful not to burn the sauce. Season to taste and add reserved egg whites, heating through. Arrange toast on serving dishes and cover with the sauce. Place reserves egg yolks in a fine sieve and press through over sauce, dusting as evenly as possible. Serves 2-4.
Cherry-Vanilla Won Tons
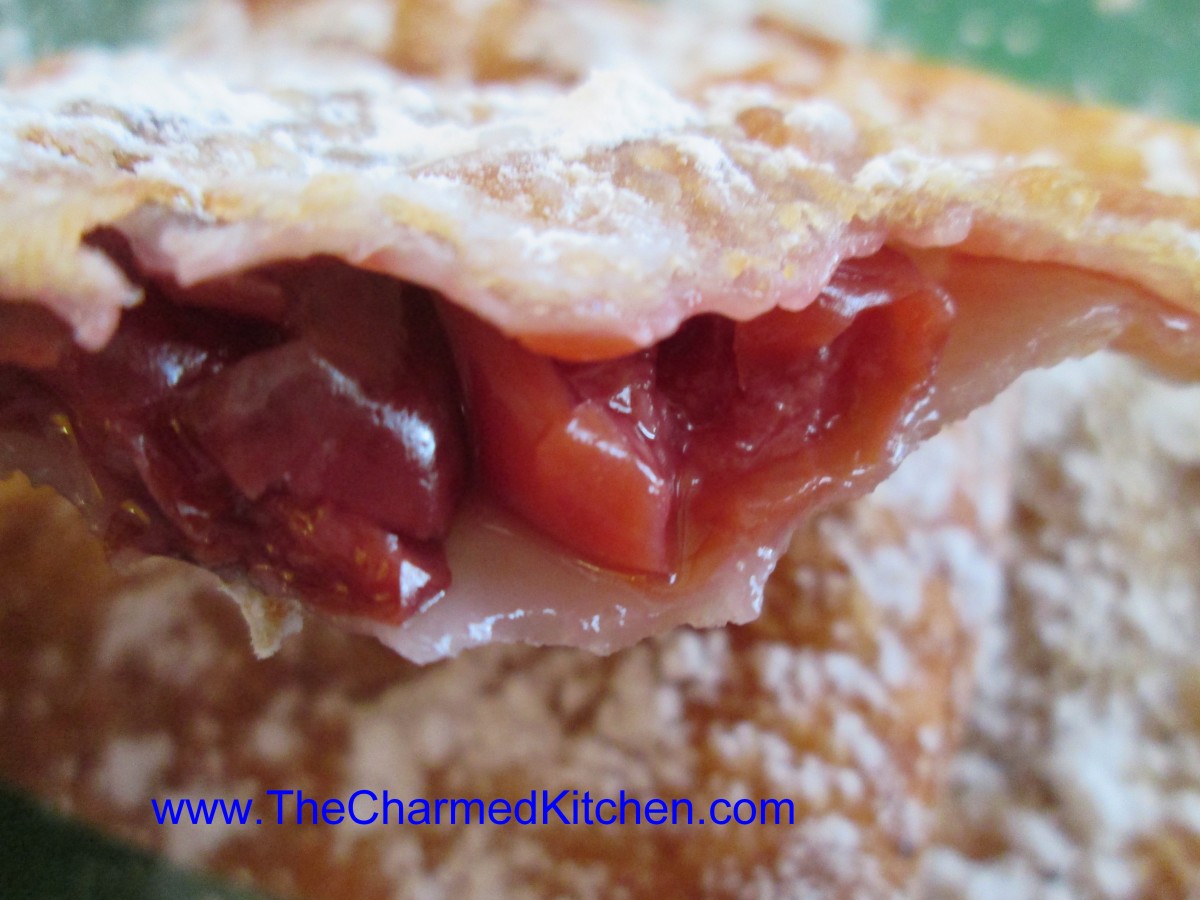
Cherry Vanilla Won Tons
I had an open package of won tons and needed a quick dessert the other night so I made these cherry won tons. I started with a can of tart cherries I had gotten from King Orchards. They are just cherries so I sweetened them and added vanilla, thickened them a little a made what amounts to cherry pie filling. The nice thing about starting with plain cherries is that I was able to control the amount of sugar I added. I am not a fan of overly sweet desserts. I placed a small amount of filling in a wonton and moistened the edges of the wonton with water so it would seal. Some I rolled up like little egg rolls. I also made some more like ravioli, placing filling in the middle and pressing a second wonton on top of the first. I fried them in a minimum amount of oil in a small pan and dusted them with powdered sugar before serving. It was a great last minute dessert.
Cherry Vanilla Filling
1 can (15 oz.) plain tart cherries
3 T. cornstarch
1/2 c. sugar
2 t. vanilla
Combine all ingredients in saucepan and cook over medium heat, stirring constantly until mixture is thickened and bubbly. Allow to cool before using in wontons.
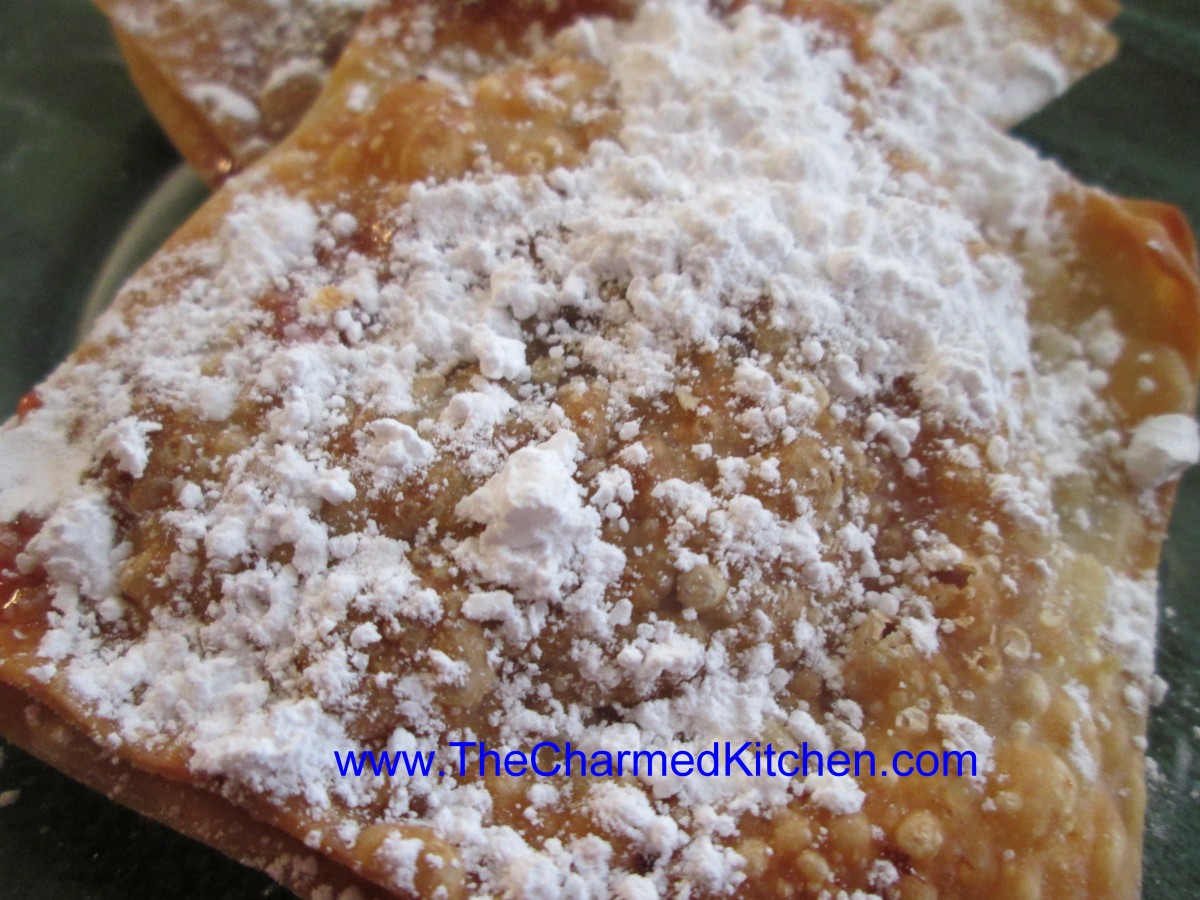
Cherry Vanilla Won Tons

Cherry Vanilla Won Tons


