Cold Blueberry Soup
Cold Blueberry Soup
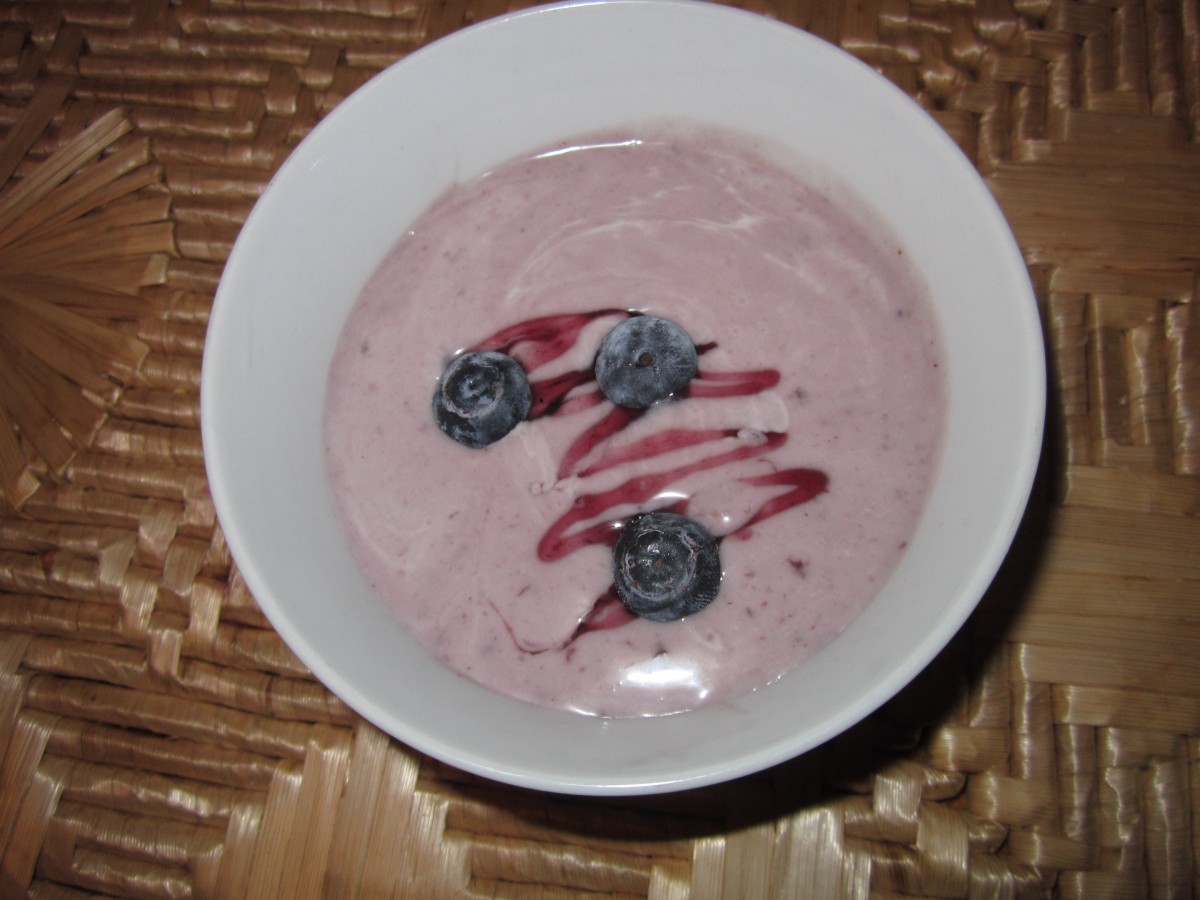
If you want something different to do with blueberries consider making a cold soup. It is a fun first course and very refreshing on a hot day. I garnished mine with a little blueberry syrup and a couple of fresh berries.
Cold Blueberry Soup
1 pint blueberries
1 1/2 c. water
1/4 c. sugar
1 (3-inch) strip lemon peel
1 (3-inch) cinnamon stick
1 c. sour cream or Greek yogurt
In saucepan combine all ingredients, except for the sour cream or yogurt and simmer for 15 minutes. Cool for a few minutes then remove peel and cinnamon. Puree mixture and chill for at least 4 hours. Combine with sour cream before serving. Serves 4-6.
Red, White and Blue Fruit Salad
Red, White and Blue Fruit Salad
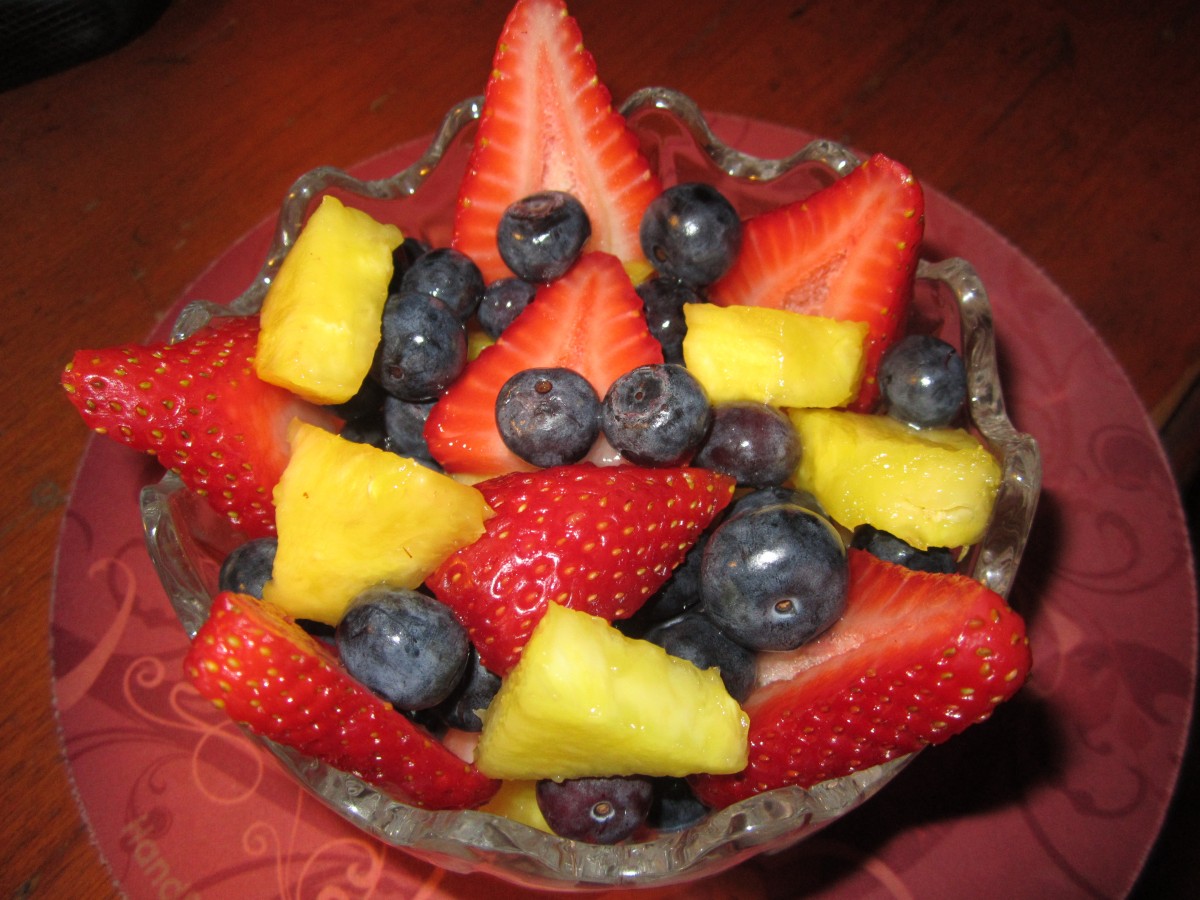
It’s a bit of a stretch to call pineapples “white” but there aren’t a lot of white fruits out there. Bananas don’t hold up well in fruit salad although green grapes could also be used. For that matter blueberries are more purple in color. But with all sorts of cookouts on the horizon fruit salad is always a good side dish to have around. It also can be a light dessert. This one takes a only few minutes to put together and will keep for several days.
Red, White and Blue Fruit Salad
1 large pineapple, peeled, cored, and cut into cubes
1 qt. strawberries, washed and hulled
2 pts. blueberries, washed
Toss all together and chill about 1 hour before serving. Makes 8-10 servings.
Blueberry Ice Cream

Blueberry Ice Cream
I have been promising to post this recipe for a few days now. Once I remembered to put the bowl for the ice cream machine in the freezer the odds got better. Whipped up a batch this morning. Super creamy and good. Note: If you are lactose intolerant you can use almond, rice or coconut milk in this recipe. Also feel free to add flavorings. I added some vanilla extract to mine. While it is easier to make with an ice cream maker- you don’t have to have one for this recipe. Enjoy!!
Blueberry Ice Cream
3 c. blueberries
1 c. sugar
1/4 c. water
2 T. fresh lemon juice
1 c. heavy whipping cream
1 c. half and half
Combine berries with sugar and water in saucepan and bring to a boil. Cook, stirring often, for 5 minutes. Puree mixture and stir in lemon juice. Refrigerate until completely cool. Stir in the whipping cream and half and half and freeze in an ice cream maker according to the manufacturer’s instructions. Makes 6 cups.
Note: If you don’t have an ice cream maker, freeze in shallow trays and thaw a little before whipping with a hand mixer. Better if you re-freeze and whip again later.
Fresh Blueberry Jam

Fresh Blueberry Jam
It’s that time of year again. Berries are starting to show up at local markets. I enjoy eating them fresh by the handful. I always put some fruit up to enjoy year round. I’ll dehydrate, freeze and bake with them. I also like to make jams, jellies and preserves. Today I made blueberry jam. Lots and lots of blueberry jam. It will make me think of summer some snowy days many months from now. It’s an easy recipe. Just 2 ingredients and some time. You can use other berries in this recipe- either alone or in combination with the blueberries.
Blueberry Jam
9 c. crushed fruit
6 c. sugar
Pick over berries getting any stems. rinse , drain and crush. Place berries and sugar in a large saucepan and heat slowly until sugar had melted. Bring up heat and cook over high heat, stirring often. Stir more as mixture thickens. It will take 20-30 minutes to get to the gel stage. To check for gel stage dip a metal spoon in blueberry mixture and hold it up sideways. Allow mixture to drip off and when two drops come together to form one larger drop- you are at gel stage. Ladle hot jam into clean, hot jelly jars. Fill to within 1/4 inch of the top. Wipe rims and place on lids prepared according to directions on box. Screw lids comfortably tight. Place jars in boiling water bath with water at least 1-2 inches over the tops of the jars. Cover pot and start timing when water returns to the boil. Process 15 minutes. Remove jars to towel, cutting board or cooling rack in a draft-free location. Check seals once jars are cooled. Makes 8-10 jelly jars.
Blueberry and Cheese Coffeecake
Blueberry and Cheese Coffeecake
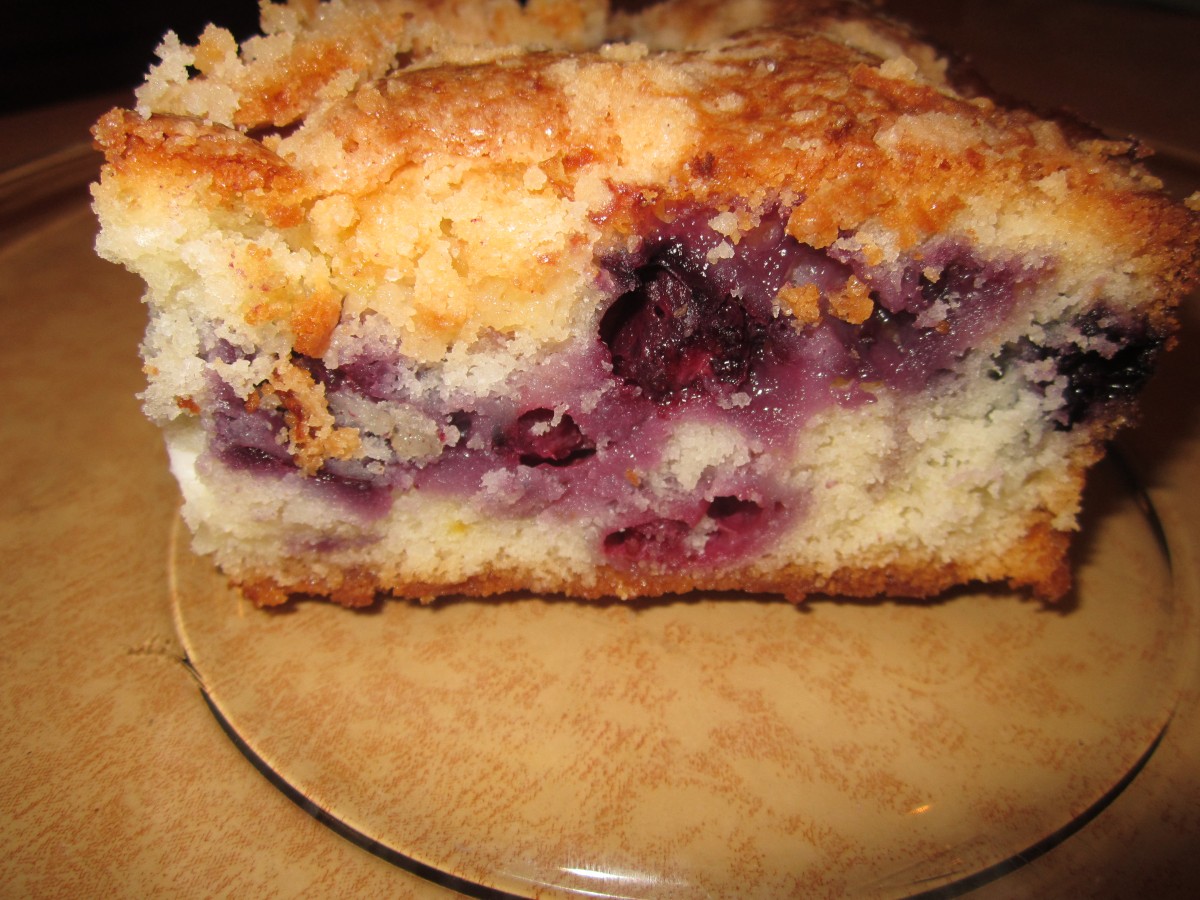
With blueberries in season this seemed like the perfect time to bake this wonderful coffeecake and share the recipe with you. Its not too sweet and the addition of cream cheese with the blueberries makes it super moist. Its a cake but it always reminds me of a blueberry blintz. I hope you’ll try it. I am sure it will be a hit.
Blueberries and Cheese Coffeecake
1 1/4 c. sugar
1/2 c. butter
2 eggs
2 1/4 c. flour
1 T. baking powder
1 t. salt
1 c. milk
2 c. fresh blueberries
8 oz. cream cheese, cubed
1 t. grated lemon peel
Topping:
1/4 c. sugar
1/4 c. flour
1 t. grated lemon peel
2 T. butter
Preheat oven to 375. Grease and flour a 13×9 inch baking dish. Cream together sugar and butter until fluffy. Beat in eggs. Combine 2 cups of the flour with baking powder and salt and beat into batter alternately with the milk. Toss berries with the remaining flour and fold into the batter along with the cheese and lemon rind. Pour batter into prepared pan. Combine sugar, flour and lemon peel for topping and cut in butter to resemble coarse crumbs. Sprinkle over batter and bake for about 45 minutes. Use toothpick to test for doneness. Serves 12.
Zucchini and Cheese Tartlets
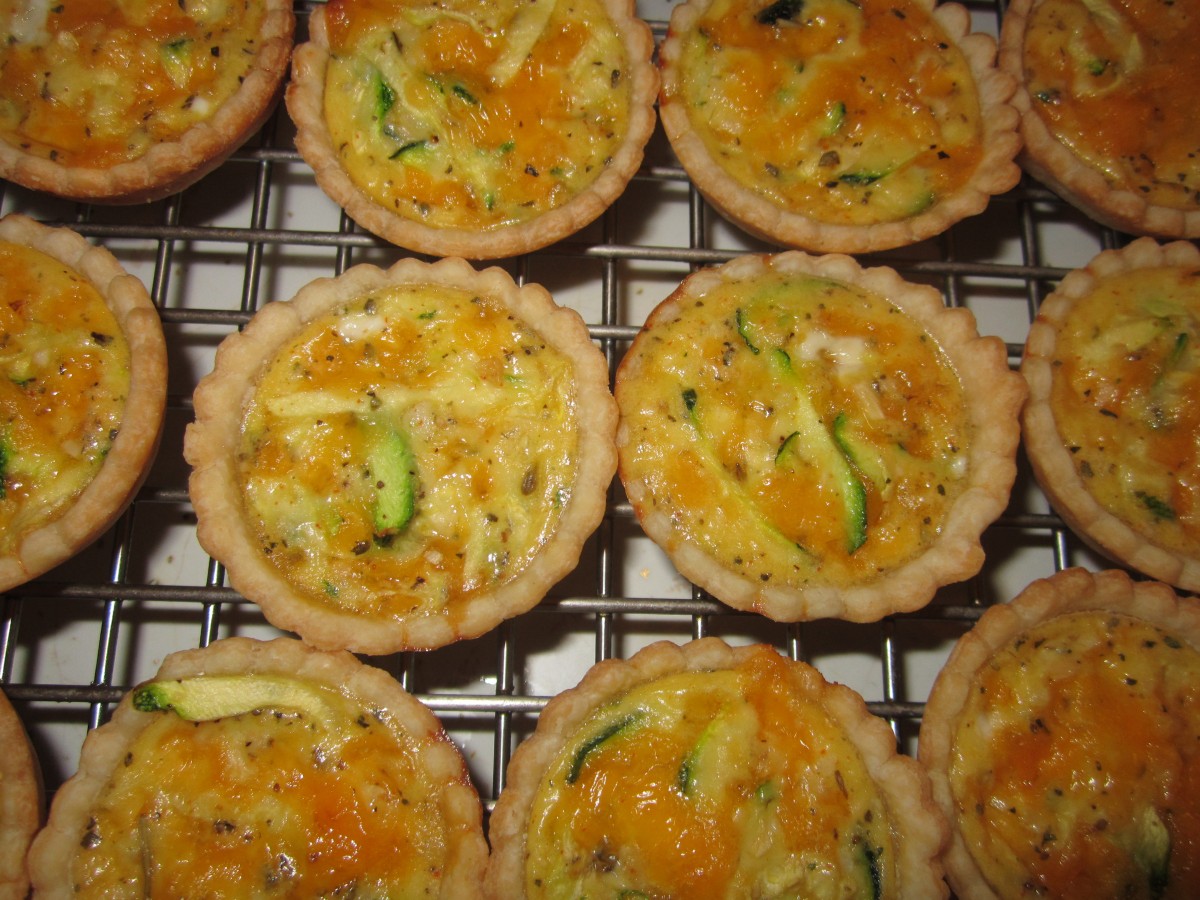
Zucchini and Cheese Tartlets
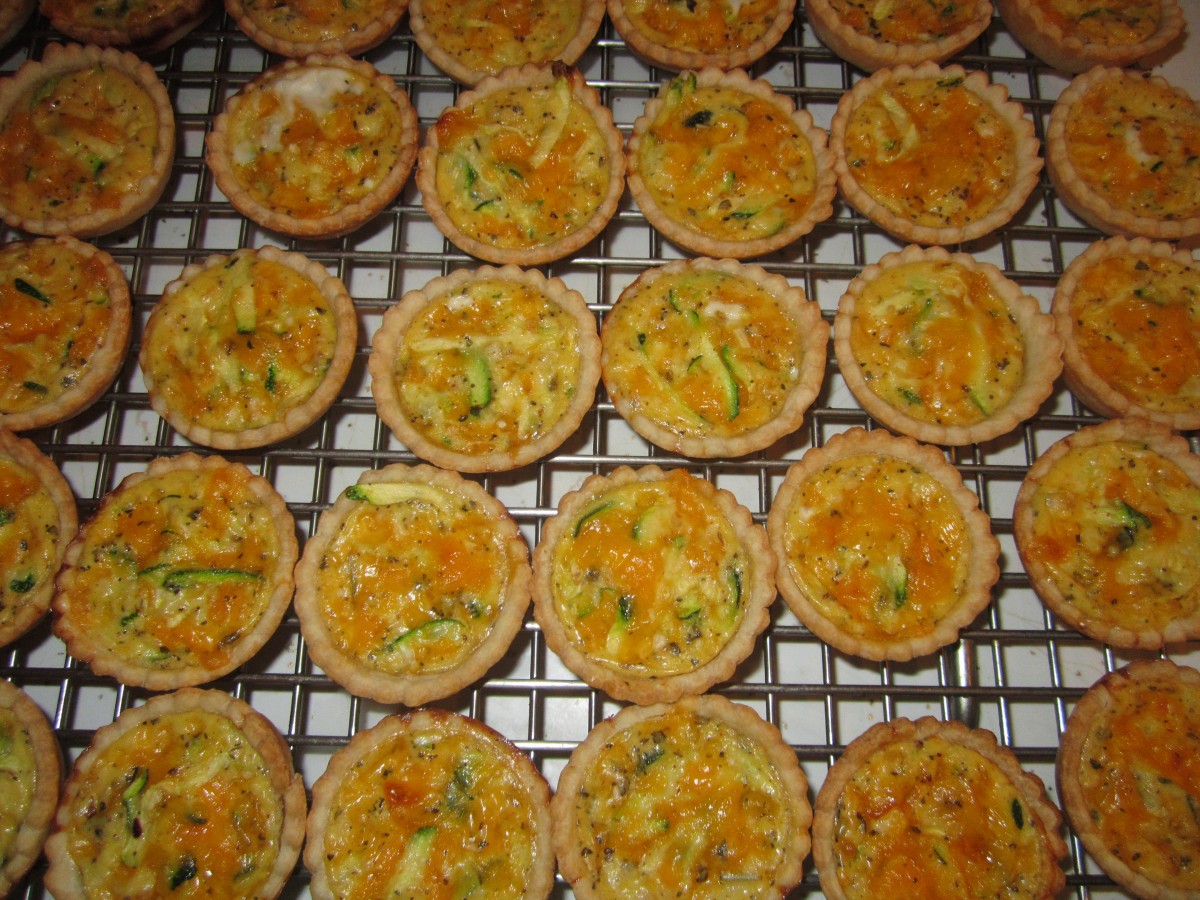
Since zucchini are so prolific there never seem to be enough recipes for them. I like this one as an appetizer. You can bake up a big batch, bake and then freeze some for whenever you need them.
Zucchini and Cheese Tartlets
1 recipe of pie crust dough, enough for 2 pies, home made or store bought
1 medium zucchini shredded, about 1 1/2 cups
1 T. flour
1 c. shredded cheese- any kind you like. I like cheddar.
2 eggs, beaten
1/2 c. minced onion
1 t. Italian seasoning
salt and pepper to taste
hot pepper sauce to taste
Preheat oven to 375 degrees. Roll out dough to 1/8-inch thick. Use a 2 1/2-inch biscuit cutter to cut out circles of dough. Place dough circles in mini muffin pans. Press them in gently being careful not to tear them. Repeat with remaining dough and re-roll scraps. You’ll end up with about 3 dozen in all. If you don’t have enough pans, keep the extra dough circles under a towel or plastic wrap so they don’t dry out until you are ready to use them. In mixing bowl combine zucchini and toss in the flour. Add remaining ingredients and mix well. Adjust seasonings to your taste. Place a rounded teaspoonful of zucchini mixture into each of the tartlet shells in the prepared pans. Don’t over fill. Bake for 12-15 minutes or until golden brown on top. They will puff up while baking but flatten when cooling. Can be served hot, warm or at room temperature. Makes about 3 dozen.
Zucchini and Cheese Tartlets
Can be frozen. To reheat take straight from the freezer and place on a baking sheet. Bake in a preheated 325 degree oven and bake for about 20 minutes, but check after 15 minutes.
Blueberry Syrup
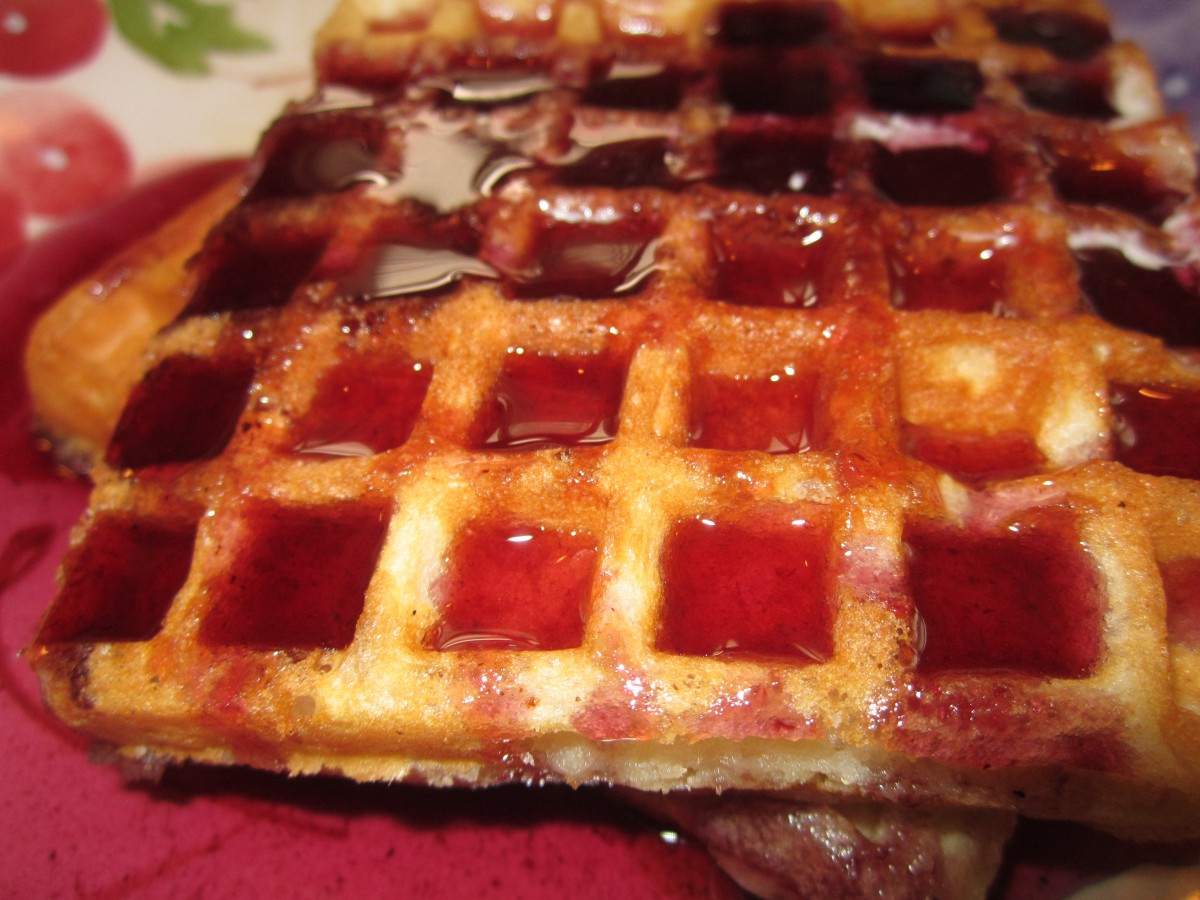
Blueberry Syrup on Waffles
Blueberry syrup is one of life’s perfect joys. Sweet and full of the flavor of fresh blueberries it is the perfect topping for waffles, pancakes and French toast. It’s easy to make and while it keeps for weeks it is probably not going to last that long.
Blueberry Syrup
4 c. blueberries
1 c. water
1 1/2 c. sugar
In saucepan heat berries and water to a boil and boil 2 minutes. Crush berries with a potato masher as they cook. Pour mixture through a fine mesh strainer and press to extract all the juices. Return to pan and add sugar. Boil 2 minutes and strain mixture again. Cool, then refrigerate. Keeps a couple of weeks. Makes about 3 1/2 cups.
Herbes de Provence
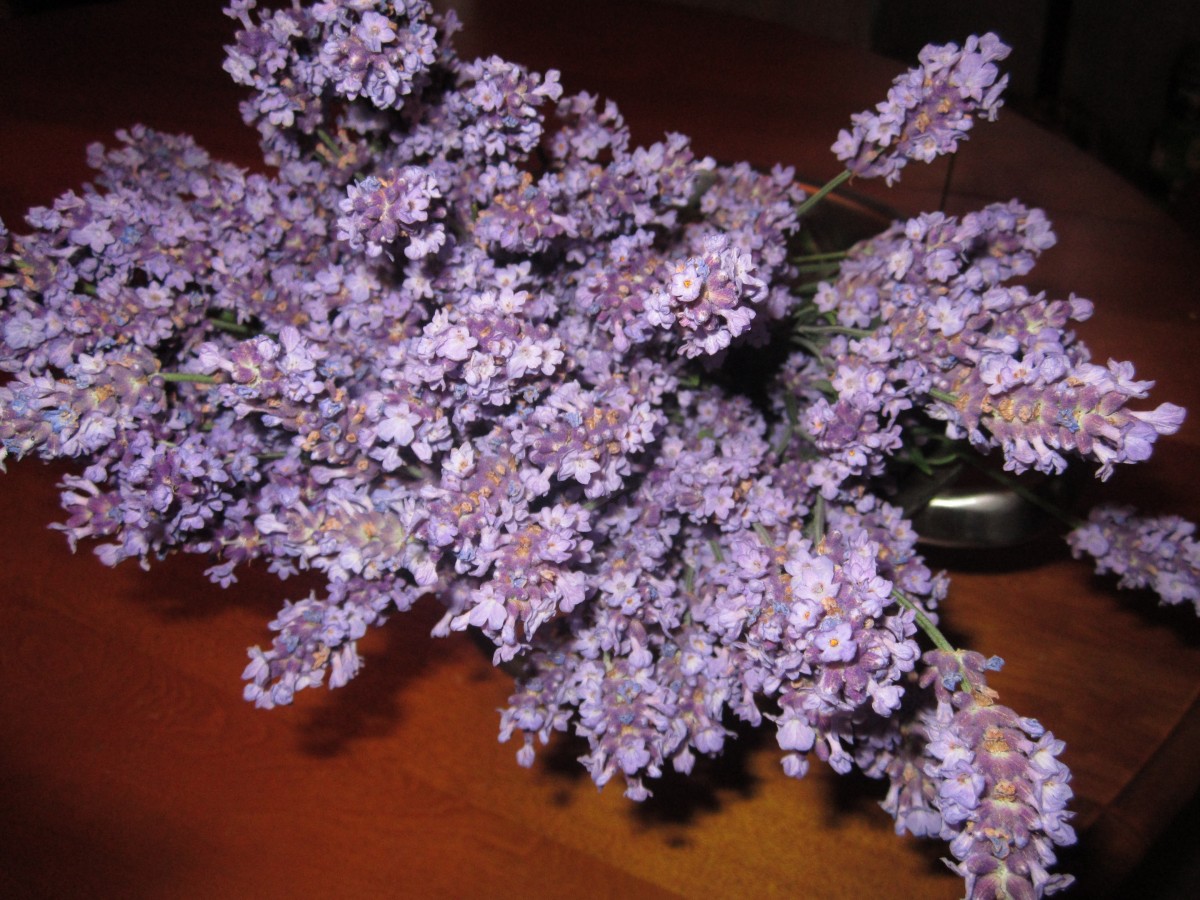
fresh lavender
I love lavender. I love the color, the fragrance and the flavor. I just came in from harvesting lavender in my yard and it made me think of the ways I cook with it. I’ve posted my recipe for lavender shortbread before and I admit to adding lavender to sweet dishes more often than savory ones. But I do love the taste with meat dishes, too. Lavender is one of the ingredients in Herbs De Provence. I thought I would make some and share my recipe with you. Try rubbing it on lamb before roasting or grilling. You can also make a marinade with Herbes de Provence and a little sherry and oil and add chicken breasts or pork chops and leave in the fridge for several hours or overnight before cooking. Really a wonderful way to make even an ordinary dish a little special.
Herbes de Provence
1 T. thyme
1 T. rosemary
1 T. savory
2 t. basil
1 t. lavender
2 bay leaves
Blend fresh or dried herbs until bay leaves are powdered. Rub this mixture on lamb, pork, beef, poultry, or fish. If using fresh herbs, make small amounts and freeze what is unused.
Judi’s Herb/Spice Rub
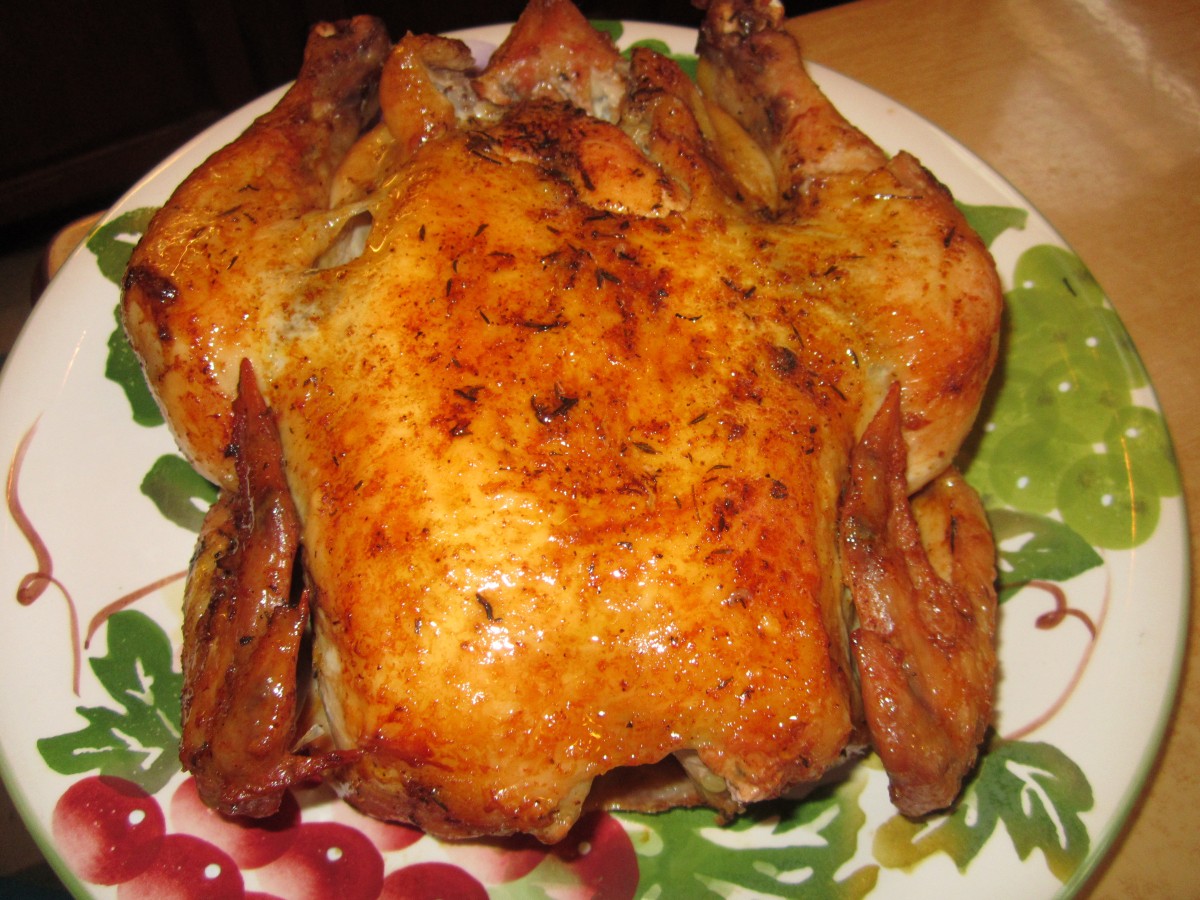
Roasted Chicken with Judi’s Herb/Spice Rub
With more outdoor cooking I thought I’d share a recipe for a rub I made the other day. I used it on a chicken I was roasting but the flavors would go well on pork, lamb, duck and even on veggies. I actually want to use it next on grilled eggplant and mushrooms. I hope you will try it.
Judi’s Herb/Spice Rub
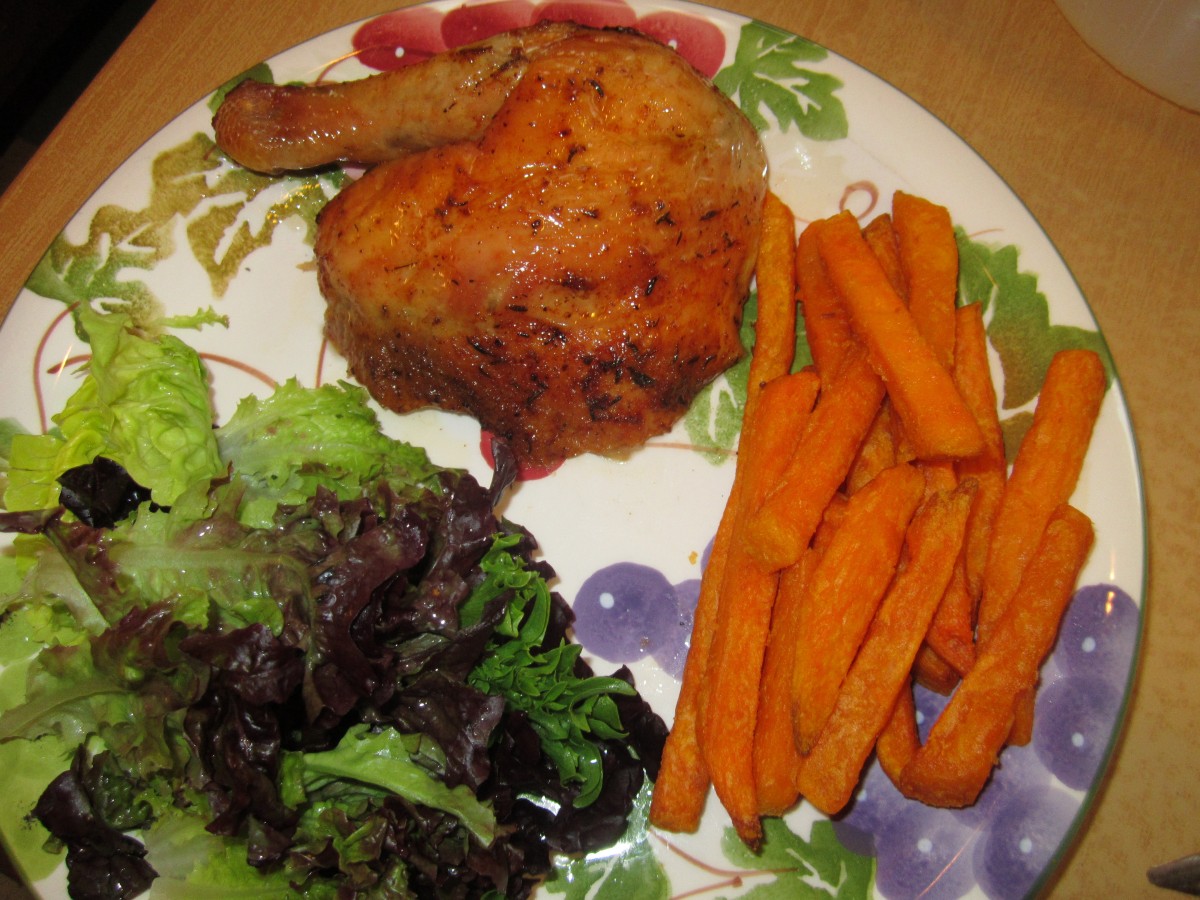
Rub roasted chicken with sweet potato fries and salad
Spicy Bread and Butter Pickles
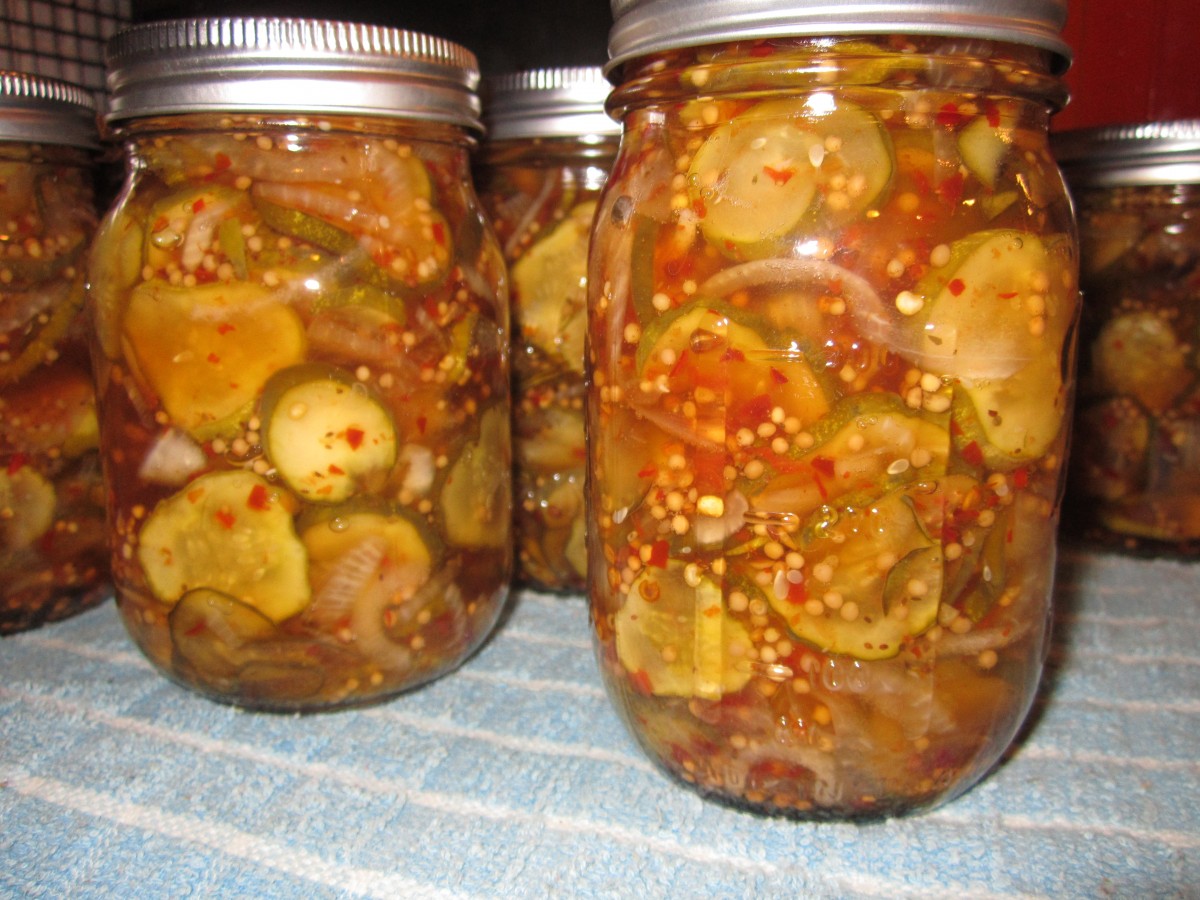
Spicy Bread and Butter Pickles
Bread and butter pickles are one of my favorites. I make several batches every year. For a nice twist try spicing them up a little. In this recipe red pepper flakes add a nice kick to the sweet pickles. Of course, you can omit the pepper flakes for a traditional bread and butter pickle, if you prefer.
Spicy Bread and Butter Pickles
6 quarts thinly sliced pickling cucumbers
6 medium onions, peeled and sliced thin
½ c. pickling salt
1½ quarts vinegar
4½ c. sugar
½ c. whole mustard seed
1/2 c. red pepper flakes
1 T. Pickling spice
1 T. celery seeds
Wash cucumbers and trim off ends before slicing. Place in non-reactive bowl (stainless steel, enamel, plastic) add the onions and then salt and stir. Allow cucumbers and onions to sit in the salt for 3 hours. After 3 hours drain well, but do not rinse. Meanwhile combine remaining ingredients and bring to a boil. Add cucumbers and onions and return to the boil. As soon as the mixture is boiling ladle into clean, hot pints jars, leaving a good ½ -inch of headspace. Wipe rims and screw on lids firmly. Place in simmering water bath and process at 185-degrees F for 10 minutes. Remove to counter and allow to cool naturally. Makes 12 pints.
Note: these need a couple of weeks for the flavors to develop. They can also be made with firm, small zucchini.


