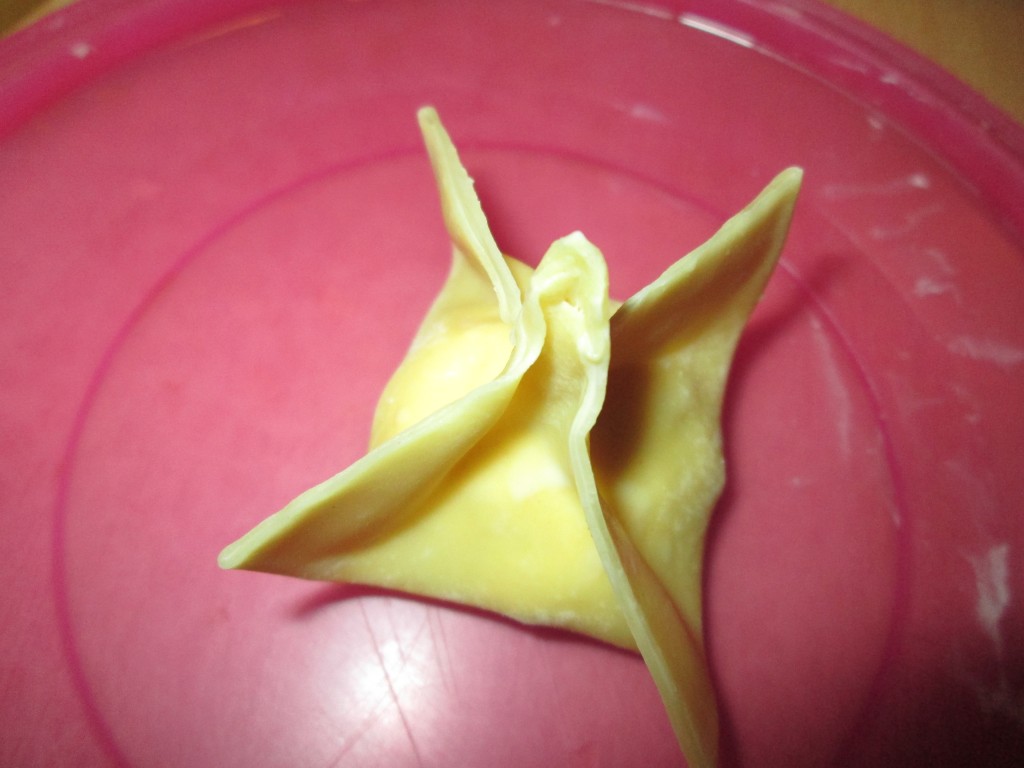
Crab Rangoons


These tasty bundles of crabby/ cheesy goodness are so simple to make. Because they are small- I don’t use a lot of oil to deep fry them. Just a couple of cups of oil in a small saucepan- fry a few at a time and you are done in no time at all. Of course, if you have a big crowd over, you might want to use a bigger pot, with more oil. A wok works well for frying them, too.
There are two ways you can go with the filling- real crab or surimi, the faux crab. That is not my call to make. It is up to you. I had friends over to make dumplings the other day. I had surimi in my freezer and had not planned on using it that day. However, when I mentioned I had it- the idea of making crab rangoons was obviously well received. I have baked them. We fried them.
You have some options with folding them. We used pre-made wrappers I bought at the local Asian market. You can fold them into triangles, like the picture above, or into little bundles like the picture at the end of this post. They taste wonderful no matter how you shape them.
So here is the recipe I like to use
Crab Rangoons
1 can (6 oz.) crab meat,drained well
1 (8 oz.) package cream cheese
1 t. horseradish
dash of hot sauce
wonton wrappers
oil for frying
Combine crab meat with cream cheese, horseradish and hot sauce. Place a wonton wrapper on work surface and place a teaspoonful of the crab filling in the middle. Fold 2 corners in to just touch. Take one of the remaining corners and roll up into a tiny roll. Dampen edge with a little water to affix. Repeat with remaining filling. You should get a several dozen. Pour 1-inch of oil into a small saucepan and heat to 350 degrees. Fry rangoons a few at a time until golden and drain on paper toweling. Keep warm in 300-degree oven until ready to serve- but best served right after you make them. Serve with Sweet and Sour Sauce.
Catfish Dumplings

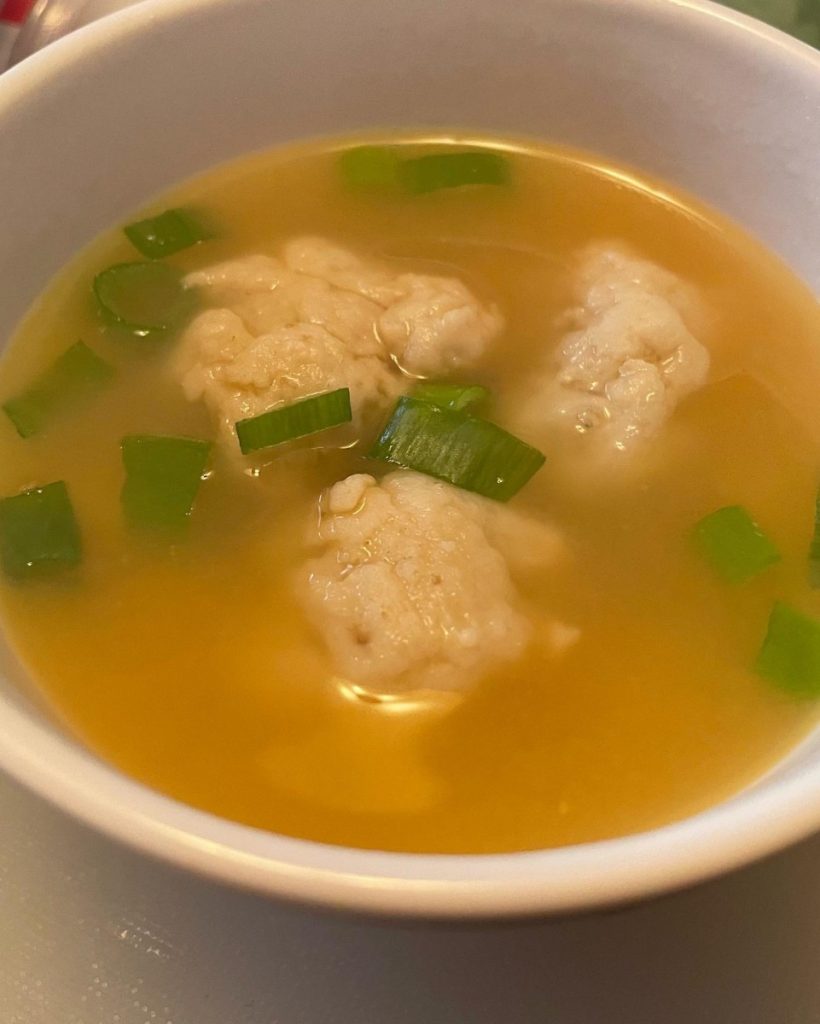
Fish dumplings are kind of like meat balls, but made with fish. Still, they are different, and it is the texture that makes them so special. I had eaten fish balls at Asian restaurants and always loved them. I was curious as to how they were made. I made them and because of the tender final product, thought of them as more of a dumpling. Since I was making other dumplings with friends yesterday, I made these, too.
We added them to simmering stock and served with dipping sauces.
The big difference in making fish dumplings, as opposed to a traditional meat ball, is that the fish is pureed into a smooth paste. Combined with a few other ingredients, the mixture is very soft. More like a batter or dough in feeling and appearance. The fish batter is also mixed for a long time. It helps to give you the smooth final product you want.
Once you make the base, the balls are shaped and simmered until done. The final texture should be smooth and light. Mine are pretty basic, but you can add all sorts of seasonings for different flavors. Different fish will also give you different flavors.
When you read the recipe, it sounds like a lot of work. There is some time in prep, but a lot of that is just letting the mixer do its job. I thought they were well worth the effort. I had plenty for a party, and extra to freeze.
I used catfish and I really loved the flavor.
Catfish Dumplings
2½ lbs. of raw fish – I used catfish
1¾ c. ice water, divided
4 T. sugar
2 T. dry sherry – not cooking sherry
3 t. salt
4 eggs whites
4 T. cornstarch
Place the fish in a blender add ¾ cup ice water and puree until smooth. Remove fish puree to a stand mixer and add the sugar, sherry and salt. Use the paddle attachment and blend the fish mixture on high for 12-15 minutes. Add the egg whites, one at a time, while the mixer is running, during the 15 minute blending time. Now, with the mixer still running add ½ cup of the ice water, then 2 tablespoons of the cornstarch, blending well each time. Add the rest of the water, then the rest of the cornstarch. This should take about 5 minutes. The mixture should look really smooth and kind of silky. Turn off the mixer and place a small spoonful of the mixture in water- to be sure it floats. Now, you are supposed to squeeze small amounts of the mixture through your hand as you make a fist to form into 1- inch balls. I just used a tablespoon to spoon out the mixture, then used wet hands to form into balls. They aren’t going to be perfectly smooth and round, but that is fine. Have a big bowl of cold water standing by. As you make the balls drop them in the water. They will keep their shape and not stick together- they are soft, but should hold together. Once you have all the dough in balls, get a big pot of water just barely simmering. You don’t want the water to boil. Drop about half of the dumplings into the water at a time. Cook until they float, 2-3 minutes. Remove with a slotted spoon and set aside to cool. Now you are ready to go. It makes a big batch, so feel free to freeze some. You can add your fish dumplings to soup, sauté in oil until crisp or warm in broth and serve with dipping sauces.
Green Tomato Pickles

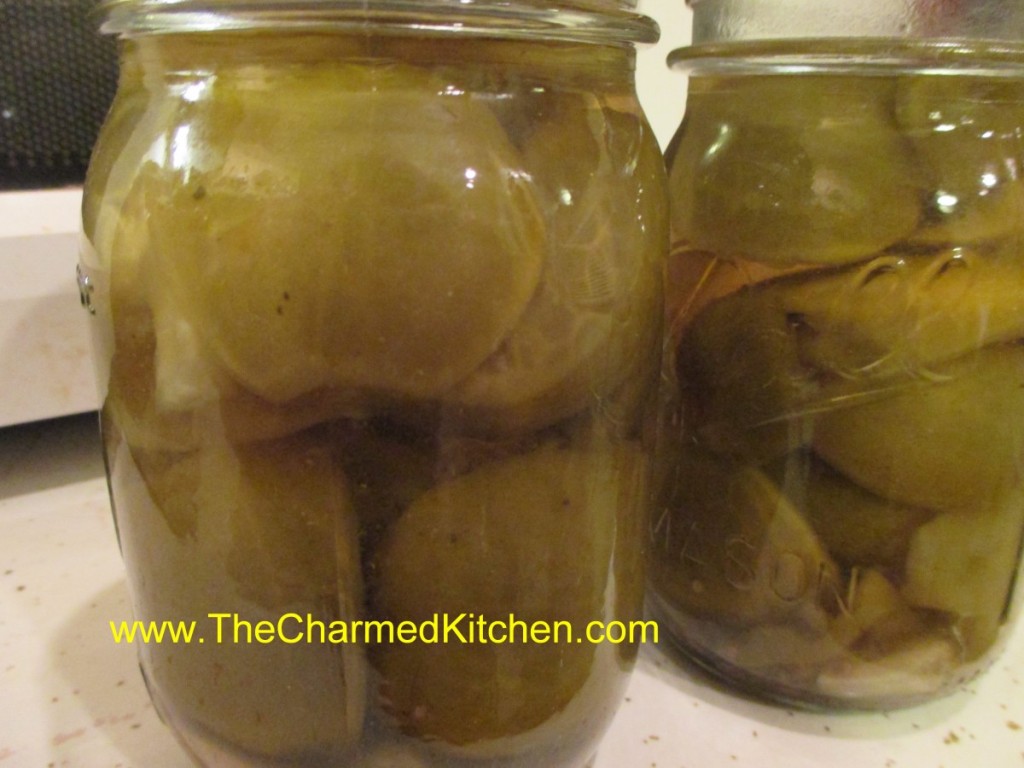
The garden season is winding down around here. A number of friends have posted pictures of their last ripe tomatoes of the year. That is a sad time. But, don’t forget about those green tomatoes. You can make fried green tomatoes, which are great. You can also make these pickles. That way, you can enjoy those home grown tomatoes a little longer.
The recipe is pretty simple. I sometimes add a teaspoon of red pepper flakes to each jar for a spicy version. The hardest part is waiting. Once the tomatoes are canned, you have to give them 4-6 weeks for the pickling to finish. Trust me, it is worth the wait. While the recipe calls for using quart jars, you can use pints. Process for the same time as the quart jars. I like to use pints for the green cherry tomatoes.
Just because your ripe tomatoes are done for the year, harvest those green ones and get a little something more from your garden.
Green Tomato Dill Pickles – Kosher Style
Green tomatoes
6 ribs celery, cut in 2-inch pieces
6 Sweet green peppers
6 cloves Garlic, peeled
2 quarts water
1 quart vinegar- 5% acidity- you can use white or cider vinegar
1 cup canning or pickling salt
Dill, optional
Use small firm green tomatoes. Pack into hot, clean canning jars. Add to each quart jar a clove of garlic, 1 piece of celery, and 1 green pepper cut into fourths. Make a brine of the water, vinegar, and the salt. Boil with the dill for 5 minutes. Pour the hot brine over the pickles to within 1/2 inch of the top of the jar. Put on cap, screw band firmly tight. Process in a boiling water bath for 15 minutes. These pickles will be ready for use in 4- 6 weeks. Yield: About 6 quarts. Source: NCHFP
Cinnamon Coffee Scones

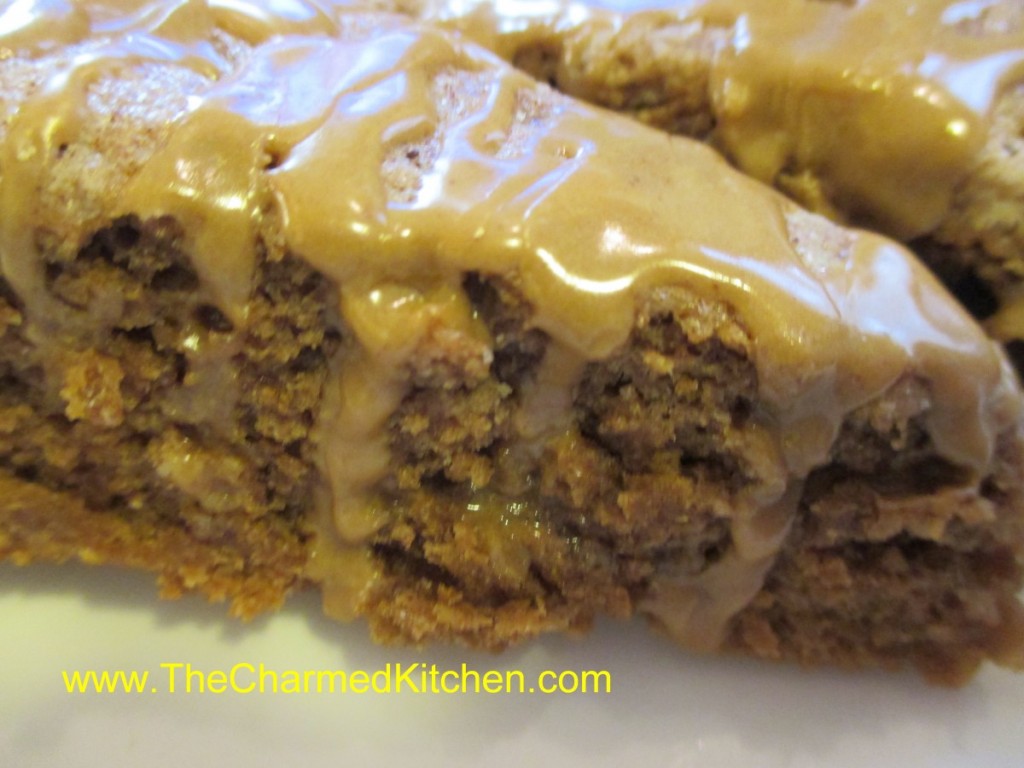
Scones should be tender, a little crumbly, and still moist in the middle. These scones are delicate, full of coffee flavor, and not too sweet. You might think of only serving scones with tea, but these are wonderful with a cup of coffee.
As with any scone, the secret is not to over work the dough. You can eat these plain or with a bit of butter or jam. I’m having mine with a cup of coffee. They really make a tasty start to the day.
When someone tells me they don’t like scones, I am sure it is because they haven’t had good scones. In a cooking class, one of the students said she only had scones once, and they were heavy and dry. I encouraged her to seek out better scones. I think these would win her over.
Cinnamon Coffee Scones
2/3 c. half and half
2 T. instant coffee powder or espresso powder
1 t. vanilla
1 egg
2 1/4 c. flour
1/2 c. sugar
1 T. baking powder
1 t. cinnamon
1 t. salt
1/2 c. cold butter
1 T. half and half, for brushing the scones
2 T. cinnamon sugar, for sprinkling on the scones
Coffee Cinnamon Glaze- recipe follows
In microwave safe container combine half and half with the coffee powder and heat 30 seconds or so. Stir to dissolve coffee and cool down before using. Heat oven to 400 degrees. Add vanilla and egg to cooled coffee mixture and beat until smooth. Set aside. Combine dry ingredients in a mixing bowl and cut in butter until mixture resembles coarse crumbs. Some small pieces of butter can still be visible. Stir in coffee mixture and mix gently until a soft dough forms. At this point you are supposed to press the dough into an 8-inch circle on a baking sheet. To get a really neat circle use an 8-inch cake pan. Sprinkle the pan with a little flour and put the dough in the pan. Press the dough into the pan. Turn the cake pan over onto an ungreased baking sheet. Do this part fast. Slam it down and then remove the cake pan. You will have a perfect 8-inch circle of dough. Use a sharp knife to cut the dough in half. If the dough is too sticky sprinkle the top with a little more flour. Cut in half again and then 2 more times. You will have eight wedges of dough forming 8 scones. Pull dough apart slightly using a spatula. They grow a lot when baking and this will give them more room to expand. Brush with the extra half and half and sprinkle with the cinnamon sugar. Bake for 20 minutes or until they spring back when touched lightly. Make glaze and drizzle over the warm scones. Makes 8.
Coffee Cinnamon Glaze
2 T. half and half
2 t. instant coffee powder or espresso powder
1 t. cinnamon
1 c. powdered sugar
Heat half and half and coffee powder together in microwave safe container for 10 seconds. Stir until smooth. Stir in cinnamon and powdered sugar until smooth and drizzle over the scones.
Spelt Waffles

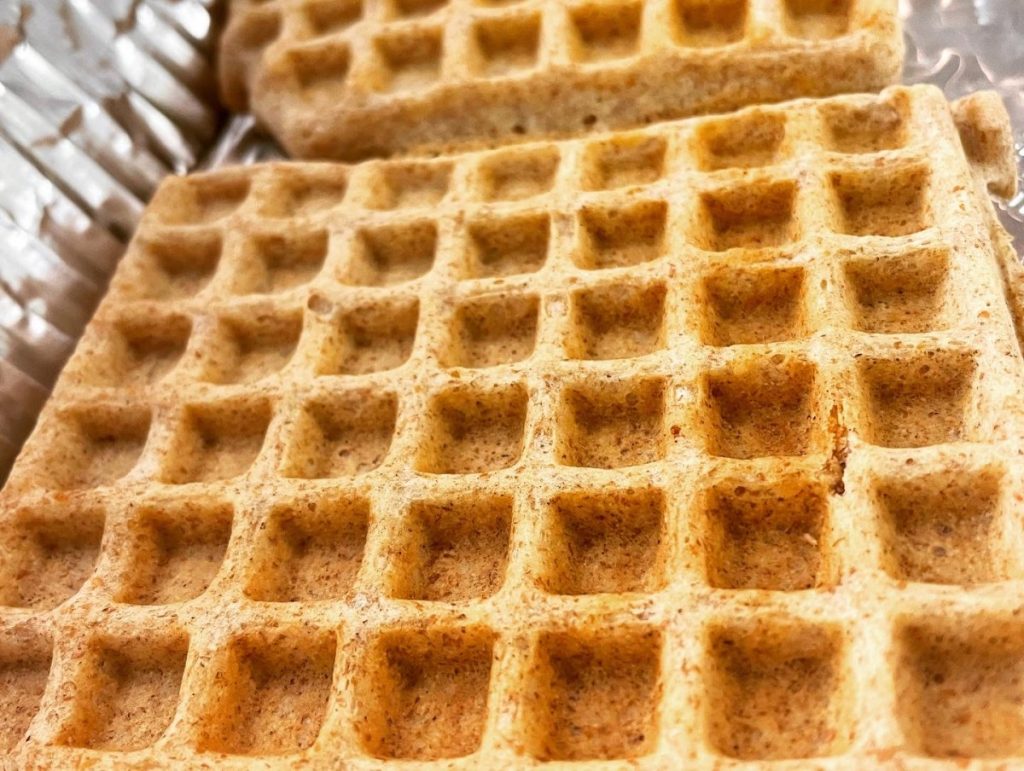
In class last week we were making waffles. One of the waffles we made were spelt waffles. Spelt is a whole grain that has an almost nutty flavor. They were a big favorite in class that night. They work great for breakfast and brunch. They would also be a nice base for chicken and waffles. If you haven’t cooked with spelt flour before, I think you will be pleasantly surprised. While it is a whole grain, it has a lighter texture and flavor that whole wheat. Spelt is a close relative of wheat flour. It has a soft texture when baked making a great choice when you want a whole- grain product with a tender “white flour” texture to it.
Spelt Waffles
2 1/4 cups spelt flour
1 tablespoon baking powder
1/4 teaspoon salt
2 eggs
1 cup milk
3/4 cup club soda – we used hard seltzer in class.
1/4 cup oil
Preheat your waffle iron. Mix the dry ingredients on a large bowl. Then whisk in all the wet ingredients until smooth. Scoop the batter onto the waffle iron and close. Cook for 2-5 minutes, than repeat. Make 12- 4 inch waffles.
Chocolate Beet Cake


When I say beet cake, a lot of people give me a funny look. First, there are the beet haters, and you know who you are. The people who just don’t like the taste of beets. I get that, beets are an acquired taste.
Then there are the people who like beets, but could never picture them in a cake. I bake cakes with carrots in them, zucchini and even parsnips. Adding beets to a cake is not so far off. The beets add a subtle red color to the cake, but they also add moistness. The end result is a cake that is full of flavor and has a wonderful, moist texture.
Truth is, I don’t really taste the beets in the cake much at all. I taste the chocolate. So here is the chocolate beet cake recipe. I hope you enjoy it.
Chocolate Beet Cake
2 cups all-purpose flour
1½ teaspoons soda
1/2 teaspoon salt
1 1/2 cups sugar
1/2 cup cocoa powder
3 large eggs, beaten
1 cup plus 2 tablespoons oil
1½ cups grated cooked beets
2 teaspoons vanilla
Powdered sugar, optional, or cream cheese frosting- recipe below
Preheat oven to 350°. Combine flour, soda, salt, sugar and cocoa in a bowl; set aside. In a mixing bowl, combine the eggs and oil. Beat in vanilla and continue beating until well blended. Slowly beat in dry ingredients until well mixed; stir in beets. Pour into a greased and floured 9×13-inch baking pan. Bake at 350° for 25 to 35 minutes, or until cake bounces back when touched lightly with finger. Cool in pan on a rack. Frost cooled cake, or dust with powdered sugar.
Frosting recipe:
8 oz. Cream cheese, softened
3/4 c. powdered sugar- or more to taste
1 stick butter, room temperature
Beat all together until fluffy. Frost cake and refrigerate until ready to eat.
Blueberry Waffles


I recently posted a recipe for blueberry pancakes and it got me to thinking- why didn’t I ever make blueberry waffles? I gave it a try and loved the way they came out. I just added some berries to one of my favorite waffle recipes. They are light and crispy, but still tender in the middle. I served them with butter and maple syrup. They would also be great with powdered sugar.
The blueberries made them special. Makes for a special breakfast. They could also be used as the base for a shortcake. Topped with ice cream or whipped cream, they would make a wonderful dessert.
Blueberry Waffles
1 1/3 cups flour
4 t. baking powder
1 t. salt
2 t. sugar
2 eggs, separated
½ c. butter, melted
1¾ c. milk
2 t. vanilla
1 c. blueberries, fresh or frozen
In a large mixing bowl, whisk together all dry ingredients. Separate the eggs, adding the yolks to the dry ingredient mixture, and placing the whites in a small mixing bowl. Beat whites until moderately stiff; set aside. Add milk, melted butter and vanilla to dry ingredient mixture and blend. Fold stiff egg whites into mixture. Fold in blueberries. Ladle mixture into hot waffle iron and bake. Makes about 6 waffles.
Belgian Waffles

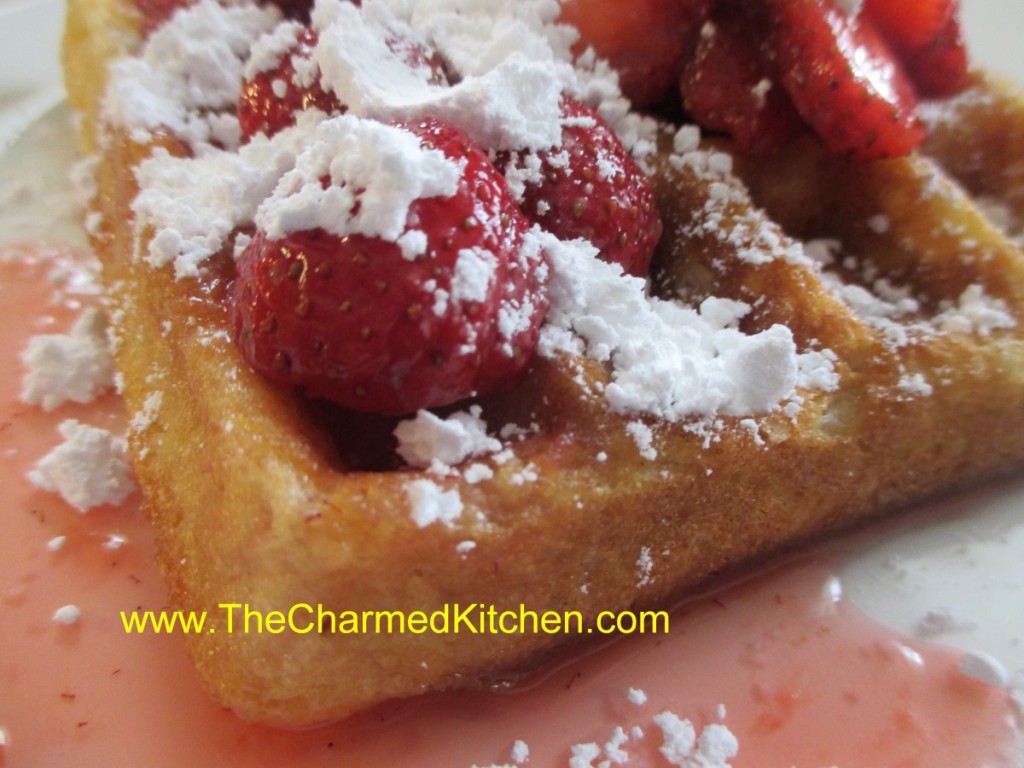
When I want a special breakfast, I make waffles. No one ever complains when you make waffles for breakfast. Or if you make waffles for lunch or dinner, for that matter.
The response is even better when you make Belgian waffles. At least that has been my experience. My theory is, that because Belgian waffles are bigger, people love them even more.
These waffles are light and rich at the same time.
Belgian waffles can be used as a dessert, too. For dessert, just top them with ice cream, chocolate sauce or whipped cream – or all three.
You can even freeze any extras. Oh, who are we kidding? There aren’t going to be leftovers. But if there were, you could freeze them.
Cinnamon-Vanilla Belgian Waffles
2 c. all-purpose flour
3/4 cup sugar
3-1/2 teaspoons baking powder
2 t. cinnamon
2 eggs, separated
1-1/2 cups half and half- or milk
1 cup butter, melted
2 t. vanilla extract
Sliced fresh strawberries, powdered sugar or syrup
In a bowl, combine dry ingredients. In another bowl, lightly beat egg yolks. Add milk, butter and vanilla; mix well. Stir into dry ingredients just until combined. Beat egg whites until stiff peaks form; fold into batter. Bake in a preheated waffle iron according to manufacturer’s directions until golden brown. Serve with strawberries, powdered sugar or syrup. Yield: 10 waffles (about 4-1/2 inches).
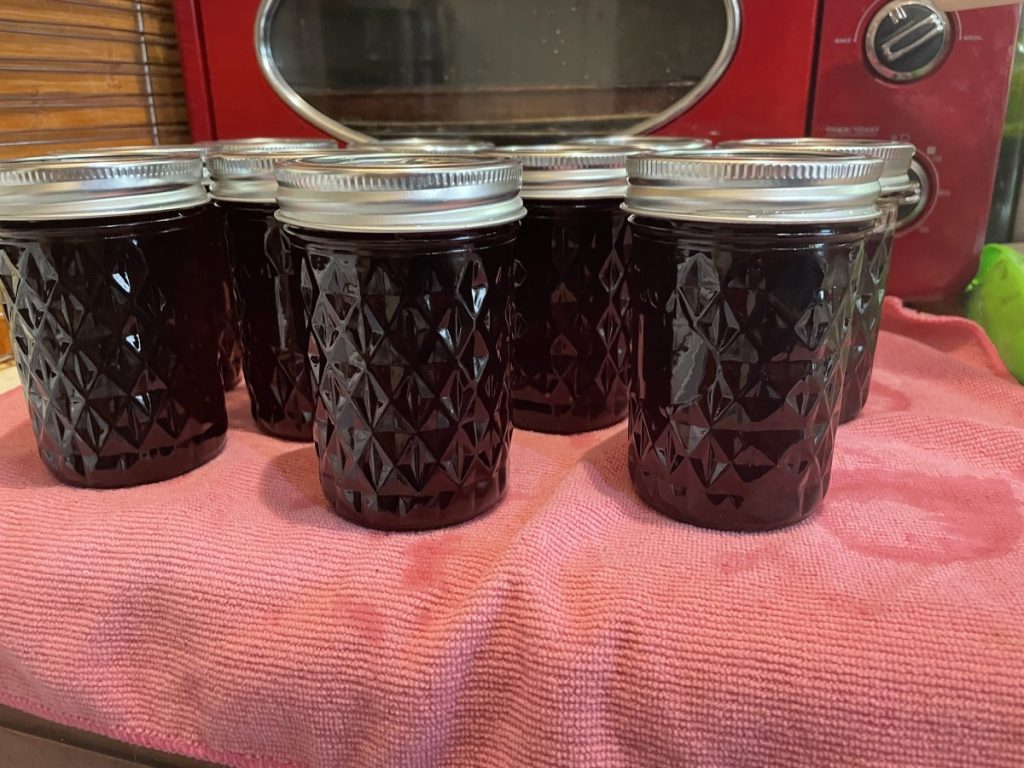
Homemade Grape Jelly

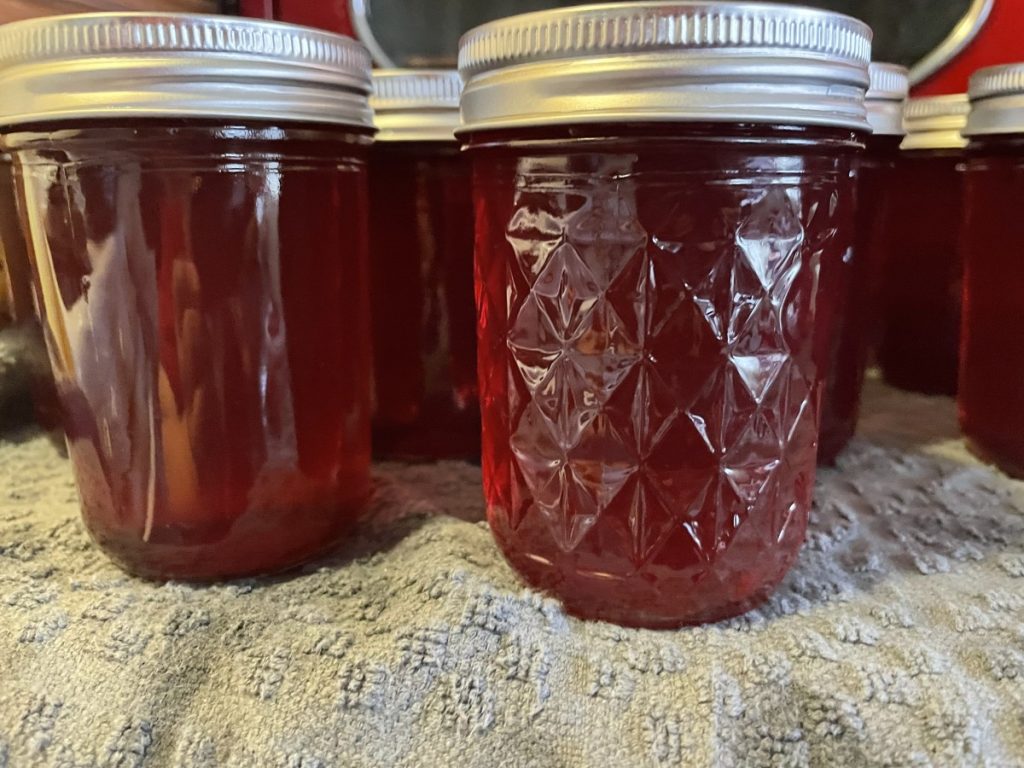
You might think it isn’t worth your time to make grape jelly. Homemade grape jelly is nothing like what you can find in your local grocery store. The flavor is so much better.
A friend was looking for someone to make grape jelly out of her grapes and I volunteered. I love making jelly and I hadn’t made grape jelly in some time. Her grapes were a dark pink color and they made the prettiest jelly. A dark pink, almost like a rose wine. I had so much fun and suddenly it seemed everyone I know was saying how much they like homemade grape jelly. I decided to grab some concord grapes at my local produce market and make a second batch. The Concord grapes gave me the dark purple color you probably think of when you picture grape jelly. The flavor was just as good as that first batch.
Making grape jelly is a two day process. Don’t let that throw you off. You just want to cook the grapes and extract the juice the first day. Then chill the juice overnight. Little crystals will often form in the juice and this way you can strain them out the next day and not get them in your jelly.
As an added bonus, your house smells really good when you make grape jelly.
Grape Jelly
5 cups grape juice (about 3½ pounds Concord grapes and 1 cup water)
1 package powdered pectin- 6 Tablespoons
7 cups sugar
Yield: About 8 or 9 half-pint jars
This is a two day project. You make the juice on the first day, then let it sit in the fridge overnight.
To prepare juice. Sort, wash, and remove stems from fully ripe grapes. Crush grapes, add water, cover, bring to boil on high heat. Reduce heat and simmer for 10 minutes. Extract juice. I strain through a fine strainer. Place in a bowl, cover and place in the fridge.
Note: To prevent formation of tartrate crystals in the jelly, let juice stand in a cool place overnight, then strain through two thicknesses of damp cheesecloth to remove crystals that have formed. I always put in the fridge.
To get ready to make the jelly, put water in a water bath canner and turn on medium heat. Water should be deep enough to cover jars by an inch or two when they are placed in the canner. Keep water at a simmer until ready to can. Wash your jars and lids. I fill the jars with hot water.
Measure juice into a kettle. Add pectin and stir well. Place on high heat and, stirring constantly, bring quickly to a full rolling boil that cannot be stirred down. Add sugar, continue stirring, and heat again to a full rolling boil. Boil hard for 1 minute. Remove from heat; skim off foam quickly.
Empty water out of jars. Pour hot jelly immediately into hot jars, leaving ¼ inch headspace. Wipe rims of jars with a dampened clean paper towel; adjust two-piece metal canning lids. Place jars in the canner, put on the lid and turn up the heat and bring water to a boil. When water boils start processing time. Process pints or half pints for 10 minutes. Turn off heat and leave jars in the canner 5-10 minutes. Remove to cooling rack or towel. Check seals once jars have cooled down. Makes 8-9 half pint jars.
Recipe adapted from NCHFP.
Curry Cauliflower Salad


Long before cauliflower became trendy, I was a fan. I love it steamed, served with a little butter and salt or pan fried and mixed with garlic and a bit of Parmesan cheese. I have enjoyed cauliflower in any number of salads as well.
I picked up a huge cauliflower from a local produce market. I decided to turn it into a salad. I was not disappointed.
Here is the recipe I made with a head of cauliflower.
I used curry powder- I make my own- but you can use a store bought one. The recipe for curry powder is at the end of the recipe. I also added some green onions and peanuts for crunch. It came out quite nice.
I have used curry powder in hot cauliflower dishes before, but the salad was a pleasant change of pace.
Curry Cauliflower Salad
1 head cauliflower, cooked
½ c. chopped green onions
¾ c. mayo – or less or more depending in the size of the head of cauliflower
1 T. curry powder- or to taste
1 t. hot sauce, or to taste
Salt and pepper to taste
1 c. peanuts
First break the cauliflower into florets. Cook the cauliflower any way you like. I steamed mine for about 5 minutes. You could roast it, or sauté it in a little oil. You want it tender, but still a little crisp. Don’t cook it to mush. I would also advise against boiling it, as it gets too wet. Once the cauliflower is cooked, let it cool down before proceeding. Combine the cauliflower with the green onions, the mayo and seasonings. It was hard to be exact because your head of cauliflower might be bigger or smaller than mine. I could have said 5 cups of cooked cauliflower- but would that really help? Then you’d have leftover cooked cauliflower. Or perhaps not enough. So add a little more mayo, if needed, and adjust the seasonings to suit your taste and the amount of cauliflower you have. Chill and toss the peanuts in closer to serving time. If you add the peanuts at the end, they stay crunchier.
Curry Powder
2 t. ground cumin
2 t. ground coriander
2 t. ground turmeric
1 t. nutmeg
1 t. salt
½ t. cinnamon
¼ t. cayenne pepper
¼ t. ground black pepper
Combine all ingredients and store in a cool, dry place.


