Blueberry Pie Filling

Blueberry Pie Filling
I recently came across a wonderful price on blueberries. A really wonderful price. Being the thrifty person that I am, I stocked up. I put some in the freezer and placed some in vodka for liqueur. I made cupcakes and syrup, muffins and pancakes. I have been eating plenty of them, too. I decided to use some of them to make pie filling.
There is something very satisfying in making your own pie filling. It is so much better than anything you would find in a can. It is a convenient ingredient to have on hand, too. A good quality pie filling can be turned into any number of desserts in no time- even pie!!
You do need to have Clear Gel to can pie filling. It is modified cornstarch. You can’t use regular cornstarch and you can’t use other thickeners. You could just can the berries, then thicken them later, but the Clear Gel makes it so much more convenient to use. I just order mine online, but it is available in some stores- primarily in Amish communities.
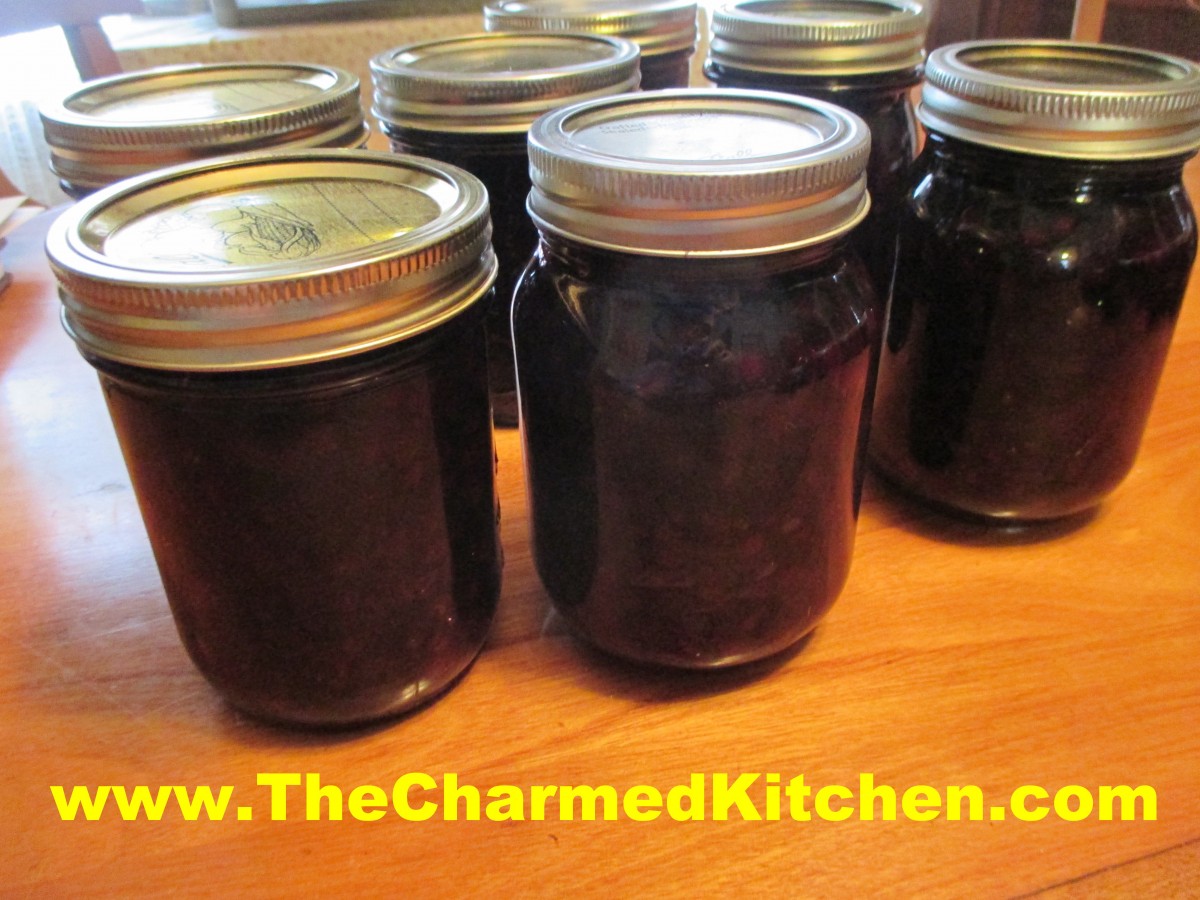
I opted to can my filling in pints. I find that size more convenient for me. Let the jars stay in the canner 5 or 10 minutes after they finish processing. It will reduce siphoning. Some foods, hot in the jars- will leak out of removed from the heat too quickly. Pie fillings are known for issues with siphoning.
Blueberry Pie Filling
6 qts. Blueberries
6 c. sugar
2 1/4 c. Clear Gel (modified cornstarch, not regular cornstarch)
7 c. water
1/2 c. lemon juice
Wash and drain berries. In large sauce pot combine sugar and Clear Gel. Stir in water and cook on high heat until mixtures bubbles and thickens. It is going to be really thick- don’t panic, just keep stirring so it won’t stick. Add lemon juice and boil 1 minute, stirring constantly. Fold in berries and ladle in hot, clean canning jars immediately. Leave 1/2 -inch headspace and remove any air bubbles with a knife. Wipe rims clean and put on lids. Place jars in boiling water bath and process for 30 minutes. Start timing when water returns to the boil. Turn off heat and let jars sit in the water bath 5-10 minutes before removing to counter to cool. Cool jars on counter on rack or towel, free from drafts. Check seals next day. remove rings and wipe down jars with a soft, damp cloth before storing. Makes 14 pints or 7 quarts.
Source NCHFP
Giant Zucchini Bread


Zucchini Bread
Let me be clear. The bread is normal size- the zucchini are giant. Even the most diligent of gardeners will have a few zucchini get away from them.
Zucchini seem to go from too small to gigantic in the blink of an eye. A friend just brought me a bag of really big zucchini.
This time of year I get a lot of questions about overgrown zucchini. People seem to think there is nothing you can do with them. That’s not true. Even older squash can be eaten in all sorts of ways.
You can determine if the skin is too tough to eat by trying to pierce it with a fingernail. If you can easily poke the skin- it is tender enough to eat. If it isn’t, just peel before using.
Cut the zucchini in half lengthwise and look at the seed cavity. If the middle looks spongy, hollow or if the seeds are developing scoop out the middle and discard. The remaining zucchini can be cubed or sliced and added to stews, soups, stir fries and all sorts of dishes.
One of my favorite things to make with the bigger zucchini, is zucchini bread. I shred up a whole zucchini and portion it out in amounts I will need for my bread. I freeze what I won’t be using that day. It is really nice in the dead of winter to be able to make zucchini bread. Here is the recipe I use. It is a favorite and makes 2 loaves, which is a bonus.
Zucchini Bread
3 c. flour
3 eggs
2 c. sugar, I use less
2 c. shredded zucchini
1 c. oil
1 c. chopped nuts or raisins, optional
½ c. sour cream or Greek yogurt
1 t. each vanilla, cinnamon, salt and baking soda
Preheat oven to 350 degrees and grease 2 (9×5 inch) loaf pans. Set aside. Place flour in large bowl. Beat eggs and add with remaining ingredients to flour, mixing well and scraping bowl. Pour batter into prepared pans and bake 1 hour , or until browned and toothpick in center emerges clean. Cool in pans on wire rack. Freezes well. Makes 2 .
Corn and Barley Salad with Basil

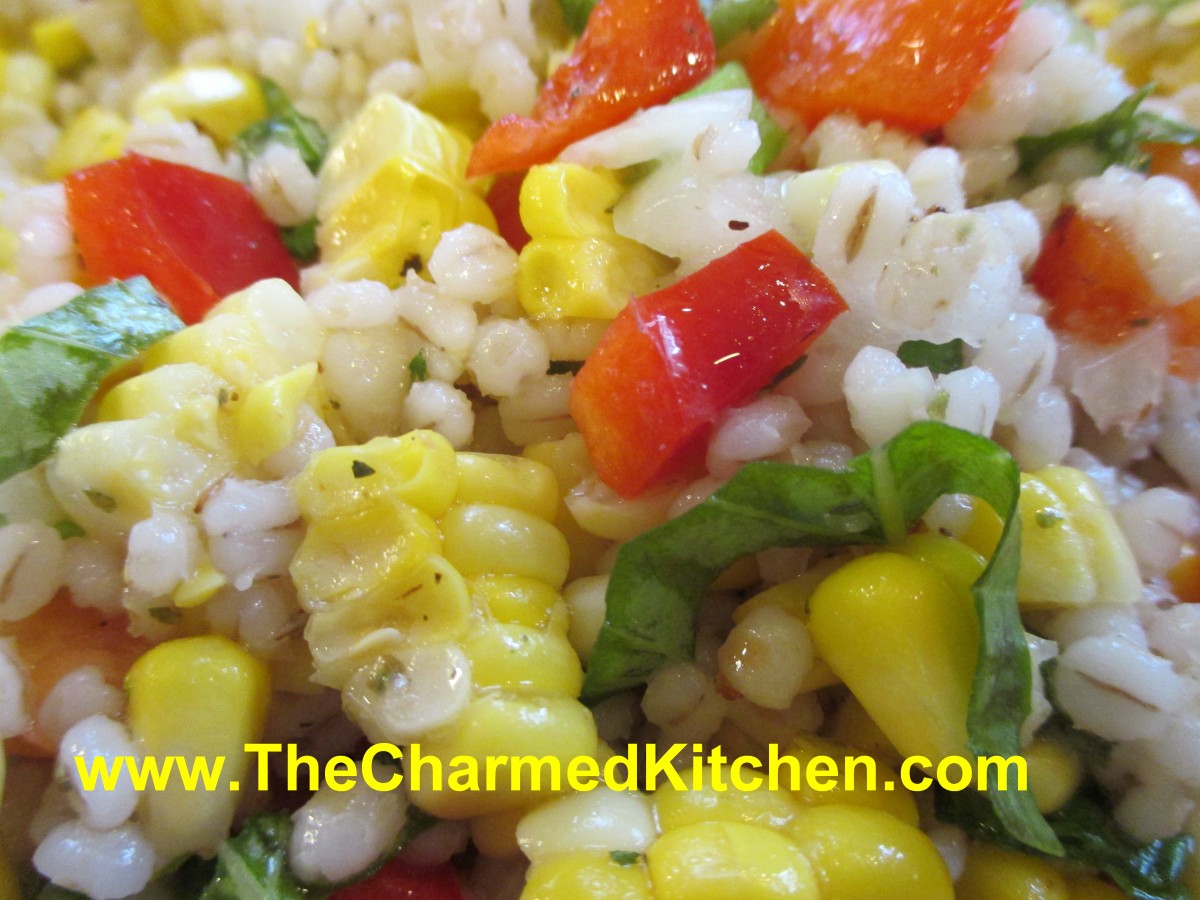
Corn and Barley Salad with Basil
Local sweet corn is at the markets now, and I am loving it. I always stock up, and freeze some to use throughout the year. This salad is a great way to use some of that wonderful corn on a hot day.
I also used barley in this salad. I think most people think of soup, when they think of barley. This versatile grain can also be a nice ingredient in a salad.
This salad can be served as a side dish, but I also enjoy it for lunch or dinner all on it’s own. The combination of corn and barley makes it pretty hearty, but still not heavy. Nice on a hot day, when you want a lighter meal.
I had grilled some corn and had some leftover, so that is what I used. I think the smokiness of the grilled corn added a nice touch. I had some fresh basil so I used that, too.
Corn and Barley Salad with Basil
½ c. pearl barley
salt
3 T. cider or white wine vinegar
1 t. Dijon mustard
fresh ground pepper
3 T. olive oil
3 T. fresh basil, cut into thin strips
3 c. cooked corn, from six ears
1 c. diced sweet onion
1 c. diced sweet pepper, any color
¼ c. sliced green onions
Combine barley, 2 cups water and ½ t. salt in saucepan and simmer, covered until barley is tender, about 50 minutes. Drain and rinse under cold water. Combine remaining ingredients in medium bowl. Add barley and stir to combine well. Chill until ready to serve. Serves 6.
Can You Can Yellow and Orange Tomatoes?


Crushed Orange Tomatoes
I have been asked several times in canning classes, if it is safe to can yellow or orange tomatoes. We have all heard that yellow and orange tomatoes are lower in acid, so are they still safe to can? The answer is yes, they are safe to can.
Why?
In spite of you might have been told, orange and yellow tomatoes are not acid free or low acid.
Truth is, that yellow and orange tomatoes have just as much acid as red tomatoes.
Well, for the most part at least. In terms of acidity or Ph, yellow and orange tomatoes are about average. Some cultivars have more, some less. Bottom line is that all tomatoes are safe to can- as long as you acidify them.
Adding salt is optional, and is for flavor only. Use canning/pickling salt or non-iodized salt when canning.
Here are some popular canning recipes to get you started.
All follow the NCHFP (National Center for Home Food Preservation) recommended procedures.
Crushed Tomatoes
Peel and core tomatoes , trim off any bad spots and quarter. Place about 1/4 of your prepared tomatoes in the kettle and cook, stirring constantly over high heat. Use a potato masher to crush tomatoes and extract juices. Once they are boiling add remaining tomatoes, stirring constantly. You don’t need to crush these tomatoes. Bring to a boil and boil for 5 minutes. In clean, hot jars add needed acidity listed below. You can also add 1 teaspoon of canning salt per quart if desired. Ladle in hot tomatoes, leaving 1/2-inch headspace. Wipe jar rims clean and adjust lids. Process in boiling water bath. Pints 35 minutes, quarts, 45 minutes. 1,000-3000 ft over sea level add 5 minutes. Twenty-two pounds of tomatoes will yield about 7 quarts of tomatoes.
Whole Tomatoes in Juice
Use any extra tomatoes to make juice. I use tomatoes that are too big to can whole, or those that have blemishes that need to be trimmed. Cut up clean, unpeeled tomatoes in a kettle and cook, stirring often until tomatoes are mushy. Strain mixture, pressing on solids or run through a food mill or tomato juice extractor. Set aside,. Place peeled, whole tomatoes in kettle and add enough tomato juice to cover them. Heat to a simmer and simmer gently 5 minutes. Add lemon juice or citric acid to jars, using amounts listed below. Add salt, if desired. Add tomatoes and cover with hot juice, leaving 1/2 -inch headspace. Wipe rims and adjust lids. Process both pints and quarts 85 minutes in a boiling water bath.
Tomato Juice
Wash, stem and trim bruises off tomatoes. Cut into chunks. Add about 1 pound of tomatoes to kettle and bring to a boil while crushing. Continue to add additional cut up tomatoes slowly, keeping mixture boiling. This will keep the juice from separating later. Simmer an additional 5 minutes once the tomatoes have all been added. Press mixture through a strainer , sieve or food mill to remove seeds and skins. Add lemon juice or citric acid to jars according to directions listed below. Add salt if desired. Return juice to boil and add to prepared jars leaving 1/2-inch headspace. Wipe rims and adjust lids. Process n a boiling water bath pints 35 minutes and quarts 40 minutes. Add 5 minutes processing time at elevations between 1,001 and 3,000 ft.
Tomato Sauce
Prepare as for juice. After juice is made return to pot and start cooking down to desired thickness. You’ll lose about 1/3 of the volume for thin sauce and 1/2 of the volume for thick. Add lemon juice or citric acid to prepared jars as described below. Add salt if desired. Add boiling sauce leaving 1/4 -inch headspace. Wipe rims and adjust lids. Process in a boiling water bath 35 minutes for pints and 40 minutes for quarts. Add five minutes at 1,001-3,000 ft. elevation.
Acidity and Tomatoes
Tomatoes must be acidified before canning. When canning either whole, crushed or juiced tomatoes you must add either 2 T. bottled lemon juice per quart or 1/2 t. citric acid . For pint use 1 T. lemon juice or 1/4 t. citric acid. You can also use 4 T. (5%) vinegar per quart, but it will alter the flavor and is not recommended. You can add a little sugar to offset the flavor, if you like.
Spiced Chocolate Zucchini Cupcakes


Spiced Chococlate Zucchini Cupcakes
It’s that time of year. Zucchini time. Maybe I should call it, “What do I do with all my zucchini time?” Zucchini and other summer squash are in abundance right now. This recipe is another, tasty way, to use them.
These are wonderfully spiced, moist cupcakes. Instead of frosting them, I decided to top them with melted butter and cinnamon sugar. It’s something I’ve done with muffins, in the past. I didn’t see why I couldn’t do the same thing with cupcakes.
It was a really good idea. The cupcakes were baked for a picnic, and in the heat, frosting would have melted. Besides, not everyone likes frosting.
As an added bonus- it is a another recipe using zucchini, and that is never a bad thing.
Spiced Chocolate Zucchini Cupcakes
2 cups all-purpose flour
1 t. baking soda
½ t. salt
1 t. cinnamon
½ t. nutmeg
Pinch of cloves
¼ c. unsweetened cocoa
½ cup butter, softened
½ cup olive oil
1½ c. sugar
2 eggs
½ c. buttermilk
1½ t. vanilla
2½ c. grated zucchini
1 cup chocolate chips
Topping:
½ c. butter, melted
½ c. sugar
2 t. cinnamon
Preheat oven to 325 degrees. Grease and flour 24 muffin cups or use paper liners. Mix together the dry ingredients. Set aside. In a large bowl, cream together the butter, olive oil and sugar until light and fluffy. Beat in the eggs one at a time, then stir in the buttermilk and vanilla. Beat in the flour mixture, just until incorporated. Stir in the grated zucchini and chocolate chips. Pour batter into prepared pans. Bake for 25 to 30 minutes, or until the top of the cupcakes spring back when lightly pressed. Cool in pans over a wire rack for at least 10 minutes or until cool enough to handle. Dip top of cupcakes in melted butter, then dip in the cinnamon sugar. Place on rack to finish cooling off. Makes 24.
Beet Relish

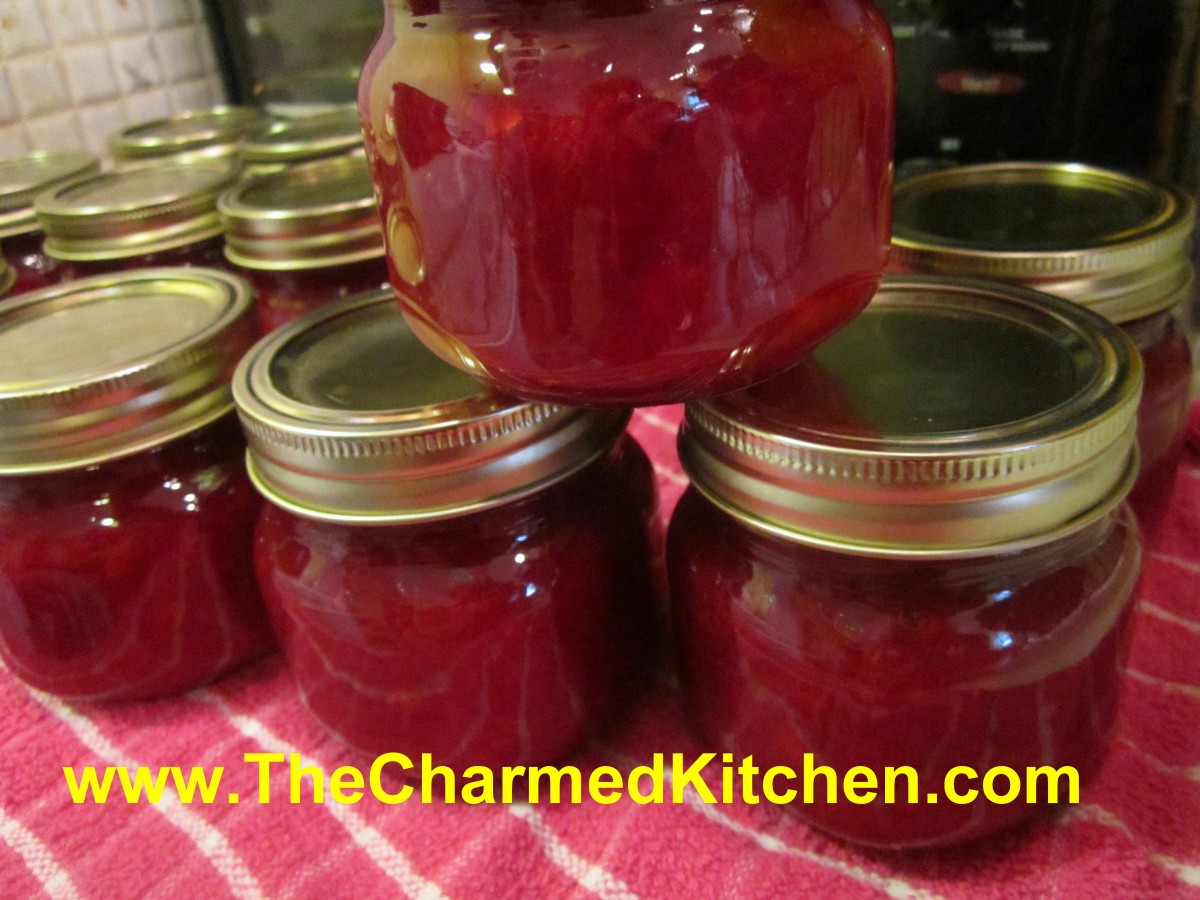
Beet Relish
Beets are one of those foods that people either love- or hate. I love beets, and enjoy them in all sorts of dishes. One of my favorite beet recipes is this relish.
It is a great way to preserve beets to enjoy all year long. Beets are in season, and I thought I would share this recipe. I love this relish, and make several batches every year.
Beet relish is like a sweet pickle relish, only made with beets. You can add it to sandwiches or salads, and if you put some in your chicken or pasta salads, it turns them the nicest shade of pink. Yummy on a hot dog or hamburger, too.
I like to serve beet relish with cheeses and crusty bread as an appetizer. If you love beets like I do, you might want to try it.
While I have always made this relish with traditional, red beets, you can also make it with golden beets, if you prefer.
Beet Relish
1 qt. chopped cooked beets, about 12 medium
1 quart chopped cabbage, about 1 small head
1 c. chopped onion
1 c. chopped red sweet pepper
1 1/2 c. sugar
1 T. prepared horseradish
1 T. canning salt ( non-iodized)
3 c. vinegar, white or cider- I prefer cider vinegar
Combine all ingredients in a pot and bring to a boil. Simmer 10 minutes. Bring mixture to a boil. Pack hot relish into hot jars leaving 1/4 -inch head space. Seal jars and process in a boiling water bath 15 minutes. Yield about 10 half-pint jars.
Source: Ball Blue Book
My Favorite Cream of Tomato Soup


Cream of Fresh Tomato Soup
Tomatoes are in season and I am loving it. I have been enjoying tomato sandwiches, tomato salad and fresh tomato sauce.
This is a great recipe for some of those fresh tomatoes. A simple soup, with lots of flavor, it is a favorite of mine. So much better than the canned tomato soup of my childhood.
I enjoy it served hot, but I also eat this soup cold. On a hot day, this soup, served chilled, is a wonderful change from a salad with dinner.
I prefer to use fresh tomatoes, but I have used my home canned tomatoes, in a pinch. If you want a stronger tomato flavor- use a couple extra tomatoes.
Cream of Fresh Tomato Soup
3 medium-sized ripe tomatoes
1 small onion, chopped fine
1 rib celery, chopped fine
3 whole cloves
1 small bay leaf
3 T. butter
3 T. flour
1 t. salt
3 c. milk or half and half
Peel and chop tomatoes. Place tomatoes in saucepan with onion, celery, cloves and bay leaf. Bring mixture to a boil; reduce heat and cover, simmering 15 minutes. Melt butter in a large saucepan then stir in flour and salt. Cook mixture until bubbly. Add milk and cook until thickened, stirring constantly. Puree tomato mixture through a strainer, food mill or in a blender or processor. Add to milk mixture and heat through. Serves 6.
Homemade Blackberry Jelly

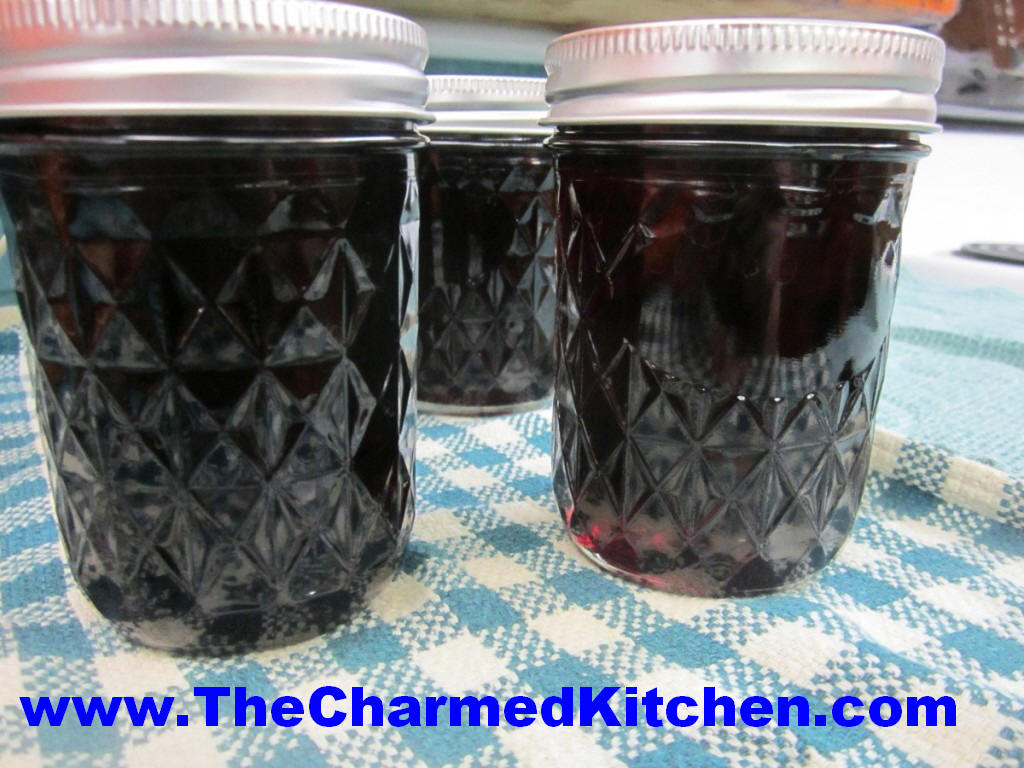
Blackberry Jelly
I was recently gifted some beautiful blackberries. I was busy, so a lot of them ended up in the freezer to use and enjoy later.
I decided to use some of them to make blackberry jelly. These were smallish berries, and I knew they had a lot of seeds in them. I could make seedless jam, but if I were going to the bother of getting out the seeds, I figured I could also make jelly.
It came out perfect. Sweet and tart, and full of the flavor of summer. Jelly was a little more work than jam, but worth every bit of effort.
I first cooked the berries to extract the juice, then used that juice to make the jelly. While it was a hot day to be making jelly- the aroma in the house made it all worth it.
I also saved the seeds and solids. I placed them in a jar and covered them with vodka. I can strain it in a few weeks, sweeten it a little, and I’ll have some blackberry liqueur as a bonus.
Blackberry Jelly
3 quarts blackberries*
1/2 c. water
1 box powdered pectin
5 c. sugar
Place the berries in a pot and use a potato masher to crush the berries. Add the water and simmer until the berries are soft. Strain out the solids and then pour the juice through several layers of cheesecloth to clarify. You should end up with about 4-5 cups of juice. Place juice in a pot and add the pectin. Bring mixture to a boil stirring constantly. Add the sugar and return mixture to the boil, again stirring constantly. Boil for 1 minute. Remove from heat and skim off any foam. Ladle mixture into clean, hot jelly jars and fill to 1/4 inch from the top. Seal and repeat with remaining jelly. Place in a boiling water bath and process 10 minutes. Makes 6-7 half pints.
* Best if some of the berries are a little under ripe. Under ripe fruit is higher in natural pectin.
Blueberry Cupcakes


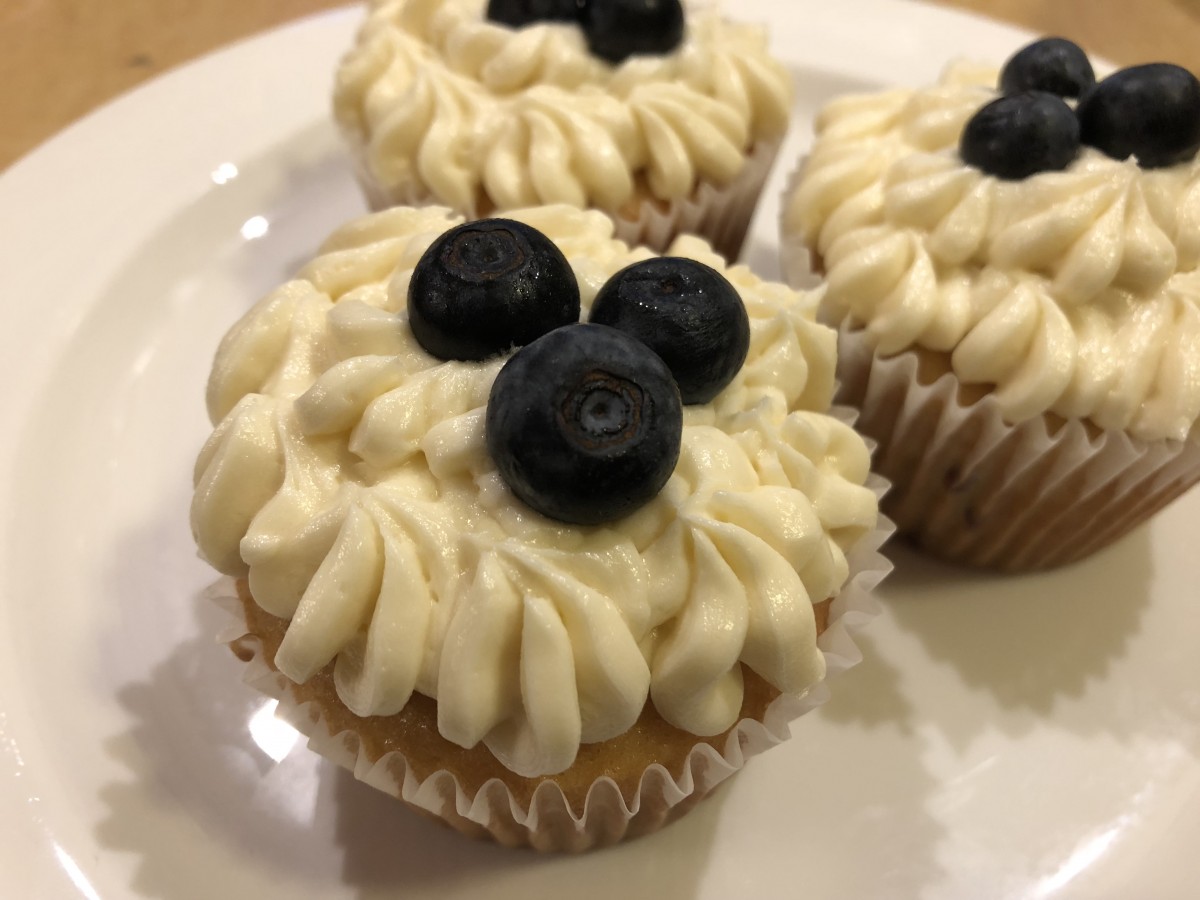
Blueberry Cupcakes
I wanted to make dessert for a lunch I had planned with friends. Since they both love blueberries, I thought I might try making blueberry cupcakes. I started by making my classic vanilla cupcakes, then topping them with blueberries just before baking. The berries fell into the batter during baking, just as I had hoped.
The result was moist, tender cupcakes with a pop of fresh blueberries. I also used a simple vanilla buttercream and dressed them up with a few berries on top. I was really pleased at how they came out. My guests were, too.
Blueberry Cupcakes
1 cup sugar
1/2 cup butter
2 eggs
2 teaspoons vanilla extract
1 1/2 cups all-purpose flour
1 3/4 teaspoons baking powder
1/2 cup milk
About 1 cup of blueberries
Preheat oven to 350 degrees. Line a muffin pan with 12paper liners. In a medium bowl, cream together the sugar and butter. Beat in the eggs, one at a time, then stir in the vanilla. Combine flour and baking powder, add to the creamed mixture and mix well. Finally stir in the milk until batter is smooth. Pour or spoon batter into the prepared pan. Top each cupcake with 5 blueberries. Fewer if the berries are really big. Bake 20 to 25 minutes. Cupcakes are done when they springs back to the touch. Cool before frosting. Frost with the buttercream- recipe follows- and top with a few extra fresh blueberries. Makes 12.
Vanilla Butter Cream
½ c. butter
4 1/2 cups sifted confectioners’ sugar
1 T. vanilla extract
In a bowl beat butter until fluffy. Gradually add 2 cups of the confectioners’ sugar, beating well. Slowly beat in the vanilla. Slowly beat in remaining sugar. Beat in a little milk, if needed, to make of spreading consistency. Tint with food color, if desired.
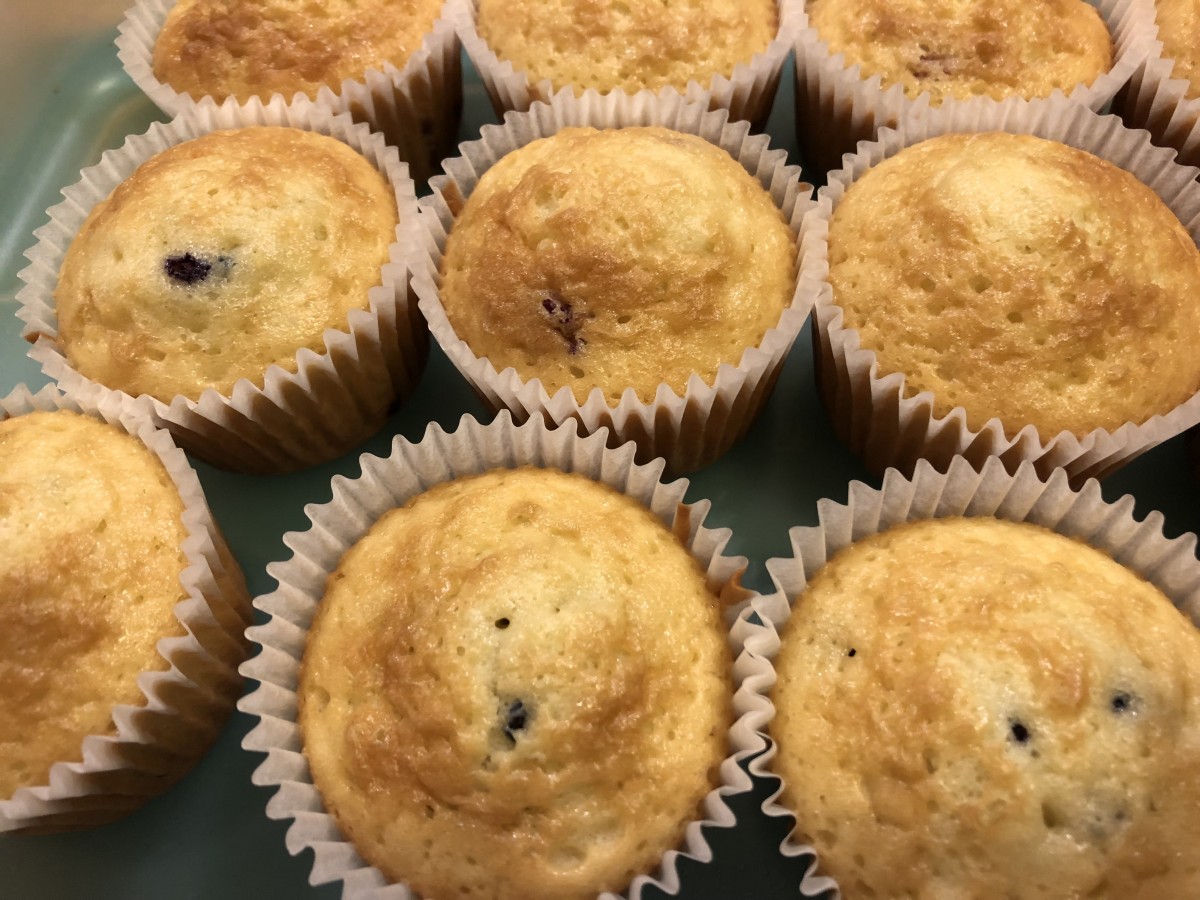
Fresh out of the oven
Corn and Garbanzo Bean Salad


Fresh Corn and Garbanzo Salad
I picked up some beautiful sweet corn recently. It is coming into season here. Fresh, local sweet corn is one of life’s perfect foods. I am content to boil, steam or grill an ear of corn and just add some salt and butter.
Today, I decided to make a salad with some of the corn I got. As much as I love eating corn right off the cob, it can be messy. A salad makes it easier for me to serve corn to guests.
I added stuff I already had, and what I thought would work with the fresh corn. I had been out of town for a few days and wanted to use some things up, too.
After cooking the corn and cutting it off the cob, I added roasted red peppers and garbanzo beans. I used red peppers that were actually a medium hot pepper. I think they added a nice heat to the salad. You could use sweet peppers, instead. Cilantro, sweet onions and a simple dressing and I was done.
It really is good. It makes a nice side salad, or could even be a vegetarian main dish.
Fresh Corn Salad with Garbanzo Beans
6 ears of corn
1 can garbanzo beans, rinsed and drained
2 red peppers, roasted, skinned and seeded, chopped*
1 medium sweet onion, diced
1/4 c. chopped fresh cilantro
Dressing:
1/2 c. oil
1/2 c. cider vinegar
2 T. sugar- or 1 T. honey
1 T. hot sauce
2 t. cumin
1 t. paprika
salt and pepper to taste
Cook corn, cool and cut off the cob. Place corn kernels in a bowl and combine with the remaining veggies and cilantro. Combine dressing ingredients and pour over the corn mixture. Stir to combine well and chill before serving. Serves 6-8.
*Here is the information on how to roast peppers. I used medium hot red peppers for this recipe, but sweet peppers would be fine, too. I just placed the peppers on the open flame on my gas stove, turning them until blackened all over. Once the peppers are charred, remove the peppers from the flame and wrap in paper towels or place in a small paper bag to cool. When cooled the skins will slip off easily. Then just remove the seeds and chop. If you don’t have a gas stove you can also roast peppers on a grill or under the broiler.


