Spiced Blackberry Muffins


Spiced Blackberry Muffins
Sometimes, little things can just improve your day. For me, it was starting the day with a mug of raspberry/hibiscus tea and a warm blackberry muffin. I had some beautiful fresh blackberries, and decided to make muffins with some of them. So happy that I did.
I used a recipe I had made before, but decided to add cinnamon and nutmeg to the batter. I also dipped the tops of the warm muffins in melted butter and a spiced sugar mixture to finish them off. So good. So very, very good.
I used fresh blackberries, but frozen would work, too. Don’t thaw frozen berries before add ing them to the batter- and give the muffins a few extra minutes in the oven.
Spiced Blackberry Muffins
1 c. milk
1 egg
¼ c. oil
2 c. flour
1/3 c. sugar
1 T. Baking powder
¾ t. salt
½ t. each cinnamon and nutmeg
1 c. blackberries, I used fresh but frozen would work, too.
Topping:
1/2 c. sugar
1 t. each cinnamon and nutmeg
4 T. butter, melted
Beat together milk, egg and oil. Combine dry ingredients and add to milk mixture, stirring to just moisten flour. Fold in blackberries. Fill 12 paper lined muffin cups to 3/4 full. Bake in preheated 400-degree oven for 20 minutes or until golden brown. Combine sugar and spices in a small bowl. Place melted butter in another bowl. When muffins are removed from the oven carefully dip the top of a muffin in the melted butter and then in the spiced sugar. If muffins are too hot to hold wait a few minutes before dipping. Repeat with remaining muffins. Serve warm. Makes 12.
Spicy Pickled Beets


Spicy Pickled Beets
Beets are just one of those foods. People seem to love them, or hate them. I am a beet lover. I enjoy them in all sorts of dishes. The nice thing about making a batch of pickled beets is being able to open up a jar whenever you want.
This recipe is a pretty classic way to preserve beets. The brine is a sweet and sour mixture with pickling spice, salt and red pepper flakes for added flavor. You could play around with the seasonings a little. Maybe adding more heat.
Pickled beets are great served as a side dish with all sorts of foods. I like them served with cheeses, crackers and other pickled foods as an appetizer. If you don’t want to can them- you can store them in the fridge for up to a couple of months.
Spicy Pickled Beets
4 lbs. beets, smaller sizes preferred
3 c. thin sliced onions
2 c. sugar
2 T. Pickling spice
1 T. canning salt
2 t. red pepper flakes
2½ c. cider vinegar- 5% acidity
1½ c. water
Wash and trim beets, leaving a couple inches of stem attached. Cook in boiling water until tender. Cool beets down so you can handle them. Peel beets and cut into 1½- 2-inch diameter pieces, if beets are large. Leave whole if beets are small. Set aside. Combine the rest of the ingredients in a pot and bring to a boil. Reduce to simmer and simmer 5 more minutes. Add beets and cook a few minutes, until beets are warmed through. Ladle hot beets into clean pint jars, leaving ½ inch headspace. Ladle in hot liquid, leaving ½-inch headspace. Remove air bubbles, wipe off rim, screw on lid to finger-tip tightness. Repeat with remaining beets and liquid. You should fill about 5 pint jars. Process in a boiling water bath for 30 minutes. Turn off the heat and leave jars in water bath 5 minutes before removing to counter to cool. Yield: 5 pints.
Adapted from The Ball Blue Book
Kale Fried Rice


Kale Fried Rice
Among the planters I am growing this summer, are big pots of kale and other greens. I was watering my garden, when I decided I wanted some fresh greens for lunch.
The chard tempted me, for a moment, but the kale won, in the end. I made fried rice, adding the kale and some scrambled egg. It was simple, but very satisfying.
You could make it this way, or add other greens. That’s the thing about fried rice, it is so versatile. All sorts of veggies and proteins can be tossed into fried rice.
One important thing to keep in mind: You only want to use cold rice in fried rice. The rice is even better if it is a little dry. I will lay my rice out on a baking sheet to dry it out when cooling it down, if it is on the wet side. I often make fried rice when I have leftover rice in the fridge.
Kale Fried Rice
2 T. oil
1 egg, beaten
1 onion, sliced
4 c. chopped kale
3 c. cooked rice
1 c. diced cooked chicken– you could use shrimp, pork, etc., optional
Chopped green onions
Dash of hot sauce
Soy sauce
Heat 1 tablespoon of oil and cook the egg- making it a sort of flat pancake. Cool and cut into strips. Set aside. Heat remaining oil in pan and cook onion until tender. Add kale and cook until wilted and tender. Add rice and chicken or other protein, if adding, and cook until heated through. Add onions, season and serve. Serves 4.
Corned Beef On Rye Salad

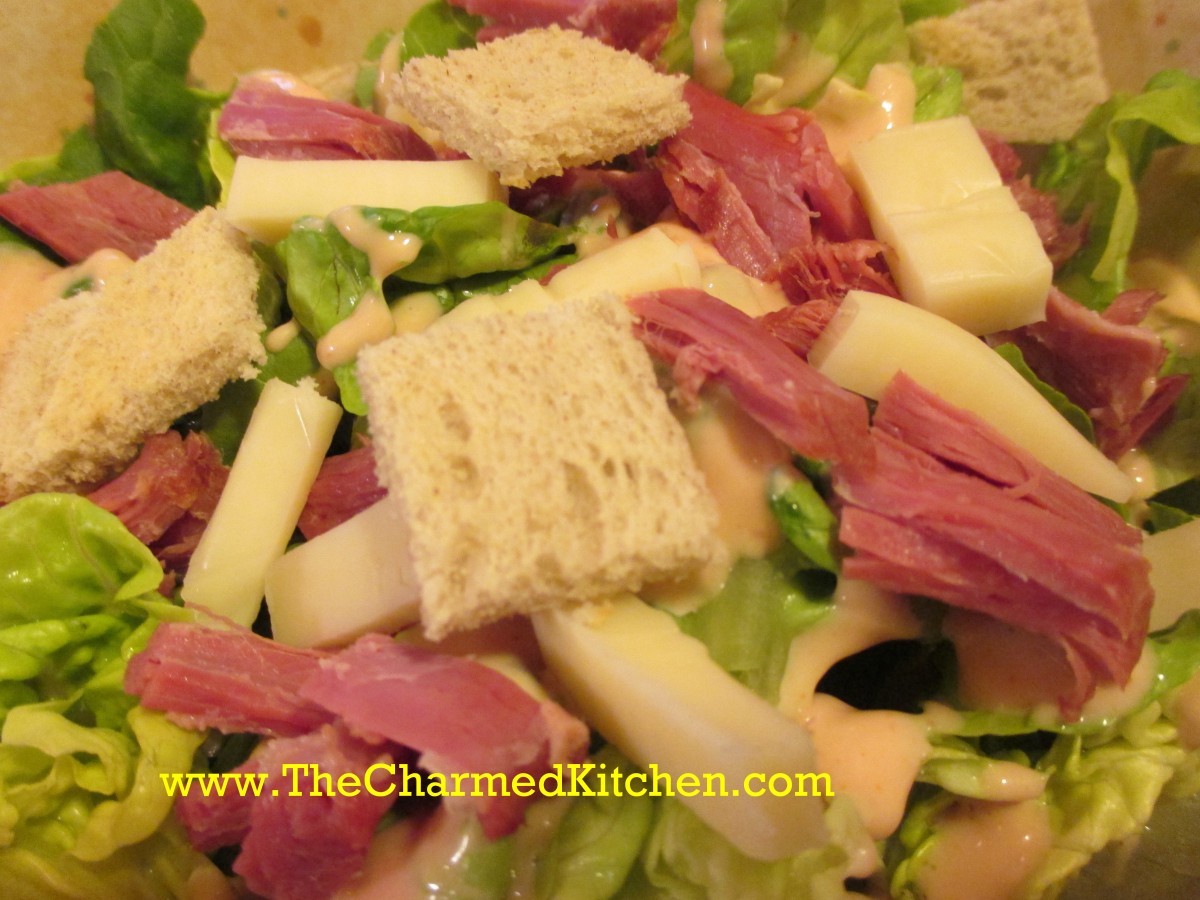
Corned Beef on Rye Salad
I had some corned beef and was planning to make a sandwich with it for lunch. But it is warm today, and I was more in the mood for a salad. Since I also had some lovely salad greens, I decided to combine them in one dish.
The end result was very tasty.
I prepped my greens, then topped them with the corned beef and Swiss cheese. I made croutons out of the rye bread and dressed the salad with homemade thousand island dressing. A nice Russian dressing would have worked, too. Perhaps, even a simple oil and vinegar dressing. The thousand island dressing made it like a Reuben sandwich, minus the sauerkraut.
Corned Beef on Rye Salad
4 c. mixed salad greens, washed and dried off
3 oz. corned beef, cut in bite sized pieces
2 oz. cubed Swiss cheese
1 slice rye bread, toasted and cubed
2 T. Thousand island dressing- recipe follows
Place greens in a bowl. Top with the meat, cheese, rye bread and drizzle with the dressing. Serves 1.
Homemade Thousand Island Dressing
Combine equal amounts of mayo, ketchup and sweet pickle relish. Stir to combine. I like to add capers sometimes, too. Store unused portion in the fridge.
Martha Merrick’s Shortbread


Martha Merrick’s Shortbread
I have wonderful memories of the first time I had these cookies. I was with my friend, Martha and she had just made a batch of them. We were in her little apartment near Cleveland State University. Martha rarely baked, so they were even more of a surprise.
Shortbread cookies have always been a favorite of mine. Martha explained that her grandmother gave her the recipe. They were perfect shortbread cookies.
There is a dark side to the story, though. I published the recipe and gave Martha’s grandmother credit. Martha was named after her grandmother, so they were both named Martha Merrick. The problem was, that after the recipe was out there, Martha told me the actual recipe had come from a friend of her grandmother. There it was. I had shared the recipe but didn’t credit the person who originally made them.
I felt bad, but it was too late at that point. She had never mentioned this other woman before. I would give her credit now, but I don’t remember her name.
So there it is. The dirty secret I have carried for years. I have learned to forgive myself. And I still make the cookies. They really are wonderful.
Martha Merrick’s Shortbread
1 c. sugar, plus extra for sprinkling
2 c. butter
4 c. flour
Cream together sugar and butter. Stir in flour and press into 9×13-inch baking dish. Sprinkle with extra sugar and cut into squares. Bake in a 300 degree oven for an hour or until light brown around edges. Re-cut while warm. Makes 4 dozen.
Rest in peace, Martha. I will love you forever.
Homemade Elderberry Liqueur


Elderberry Liqueur
I love my elderberries and look forward to harvest time every year. I always wish I had just a few more. Elderberries are used for pies and jelly. They are often used to make a medicinal syrup. Lots of people, including me, rave about the healing power of elderberries.
One of my favorite uses for elderberries is to make liqueur. The process is pretty simple. You just combine the berries with some alcohol- vodka, brandy or a combination of the two. The mixture has to steep for a few months to get as much flavor from the berries as possible. After that, it is strained, sweetened and allowed to mellow out a little longer before drinking. The hardest part is just waiting for it to be finished.
It is worth the wait. Elderberries have a slight bitter undertone and unique flavor. I love it.
I gifted a bottle of it last year to a dear friend who loves elderberries even more that I do. She was so pleased and she would call me every time she was drinking it, just to thank me again.
So here is the recipe. If you don’t grow your own elderberries, you can check out local farm markets.
Elderberry Liqueur
4-c. fresh elderberries
Peel from 1 lemon, optional- yellow part only
4-c. vodka or 2 c. vodka and 2 c. brandy
1 c. simple syrup- recipe follows
Stem berries, rinse and place in a large jar. Combine with peel, if using, and alcohol of choice. Close jar and store in a dark place. I just keep mine in a cabinet. I write the date on the jar, so I know when it has steeped long enough. Steep 3 months. Strain and filter and add sugar syrup. Mature 4-6 weeks.
Simple syrup is made from 1 cup of sugar and ½ cup of water. Bring to a boil, then cool. You will have 1 cup of syrup. You can sweeten with honey, if you prefer. Watch when you substitute honey for sugar, as it is sweeter and stronger flavored. Better to use orange or clover honey. Add a small amount, stir well and taste in a few days. You can always add more sweetener later on.
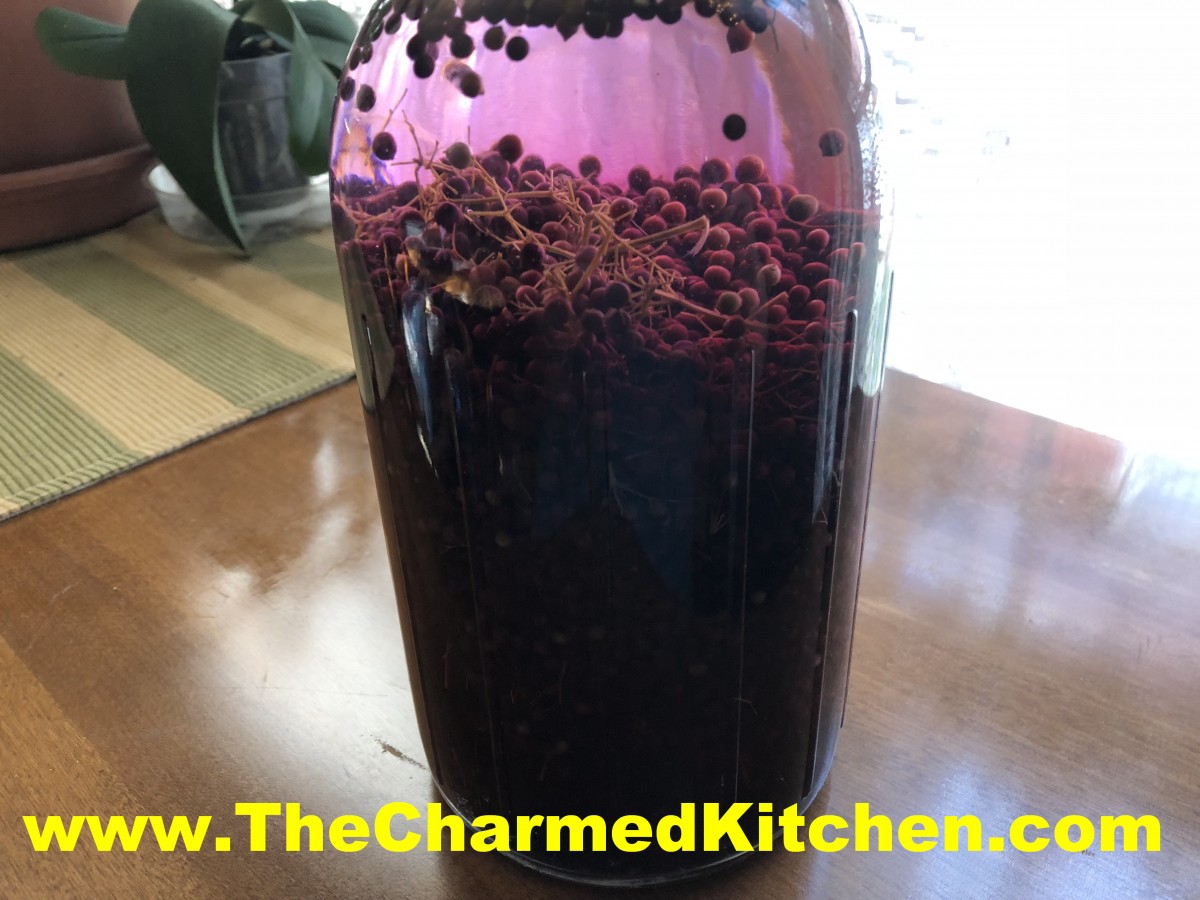
This year’s crop. The liquid will darken with time.
Tomato Lover’s Pasta Salad


Tomato Lover’s Pasta Salad
I have been enjoying plenty of fresh, local tomatoes and I am always looking for new ways to enjoy them. This salad really celebrates the tomato.
I used tomatoes three different ways in this one salad. I started with a homemade tomato pasta, added fresh diced tomatoes and finished it with a tomato salad dressing.
The salad has fresh mozzarella cheese added to it, along with some hard cooked eggs. You could easily add cooked chicken or shrimp, if you prefer.
Here is the recipe for the salad and the dressing. I posted the recipe for the homemade tomato pasta before. The link for the pasta recipe is at the bottom of this post. You can, of course, use store bought pasta, if you prefer.
Tomato Lover’s Pasta Salad
8 oz. tomato pasta or tri-color pasta, I used homemade
12 oz. diced tomatoes
2 sweet peppers, seeded and chopped
½ c. sliced green onions
4 oz. mozzarella cheese, cubed or shredded
3-4 hard cooked eggs
Tomato herb dressing- recipe follows- or use the vinaigrette of your choice.
Cook pasta according to package directions. Drain. Combine with remaining ingredients and toss. Serve immediately or chill. Serves 4.
Tomato and Herb Dressing
1 c. tomatoes, peeled and seeded, fresh or canned
½ c. chopped parsley
2 green onions, chopped
2 T. fresh celery or lovage leaves
2 T. fresh basil leaves or 2 t. dried
½ t. each salt and garlic powder
½ c. olive oil
Dash hot pepper sauce
Combine all ingredients in blender until smooth. Makes 1 ½ c.
Purslane Salsa


Purslane Salsa
This time of year, a lot of gardeners are talking about weeds. Tired of pulling them, tired of fighting them. You might not know it, but you can eat some of them.
Purslane is a very edible “weed” and is growing like crazy right now. It is tolerant of hot, dry weather. The thick, fleshy leaves and stems are pretty hard to miss.
Purslane tastes good raw or cooked. The flavor is a little lemony. Quite pleasant. I like to use the leaves raw, in a type of salsa or relish.
So if you are tired of pulling weeds, look and see if you have purslane. Then you can think of it as harvesting, not weeding.
Purslane Salsa
2-3 cups purslane leaves and small stems, broken or cut into bite-sized pieces
½ c. chopped sweet onion
½ c. chopped sweet pepper
½ c. cider vinegar
½ c. oil
¼ c. chopped cilantro or parsley, optional
Salt and hot pepper sauce to taste
Wash purslane and place in a medium bowl. Add vegetables and stir. Combine vinegar, oil and seasonings in a jar with a tight-fitting lid and shake well. Pour over purslane mixture and mix well. Cover and chill. Serve with tortilla chips or with grilled meats or veggies.
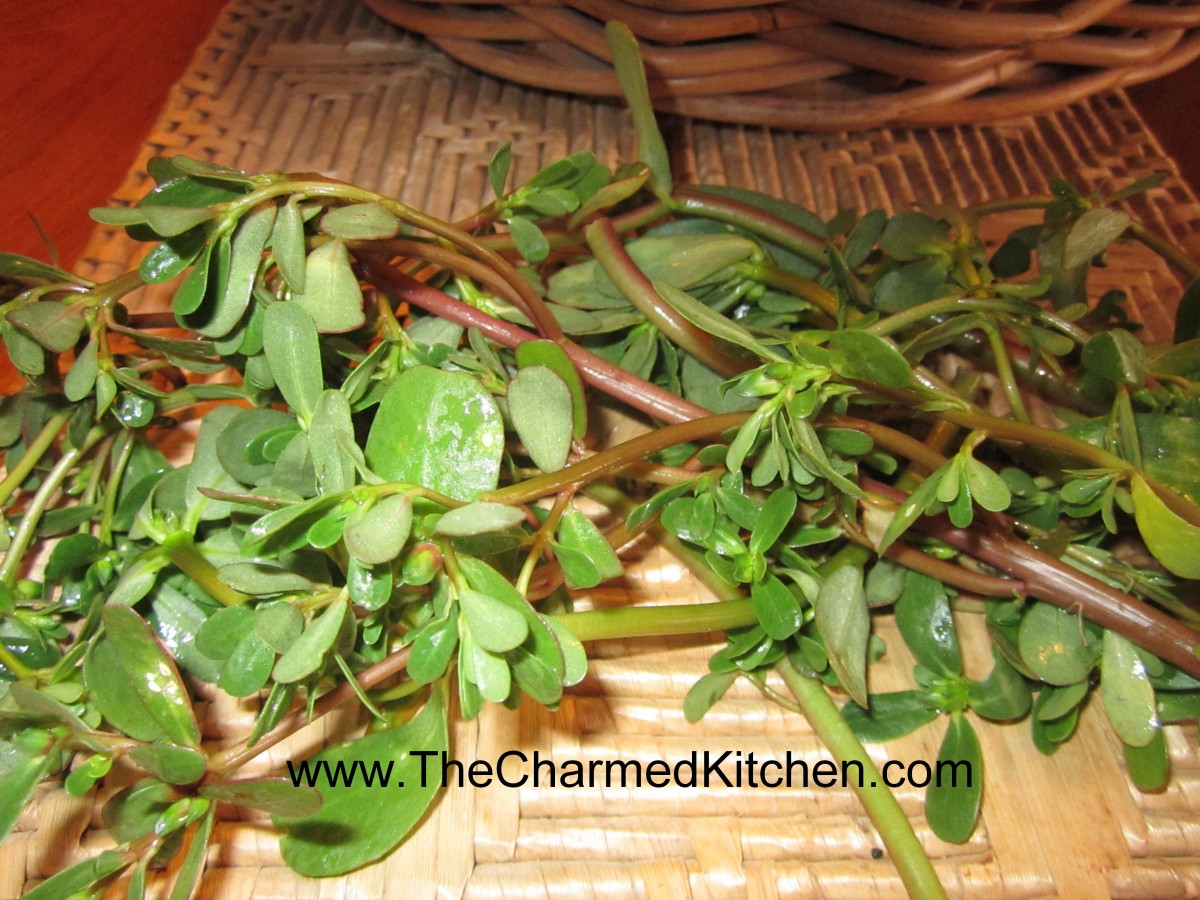
purslane
Homemade Play Dough

Play Dough
I just finished a week- long craft camp with kids. One of their favorites was making our own play dough. It really is simple to make and provides kids with hours of fun. This can even be an activity at a child’s birthday party, where each child gets to make their own color.
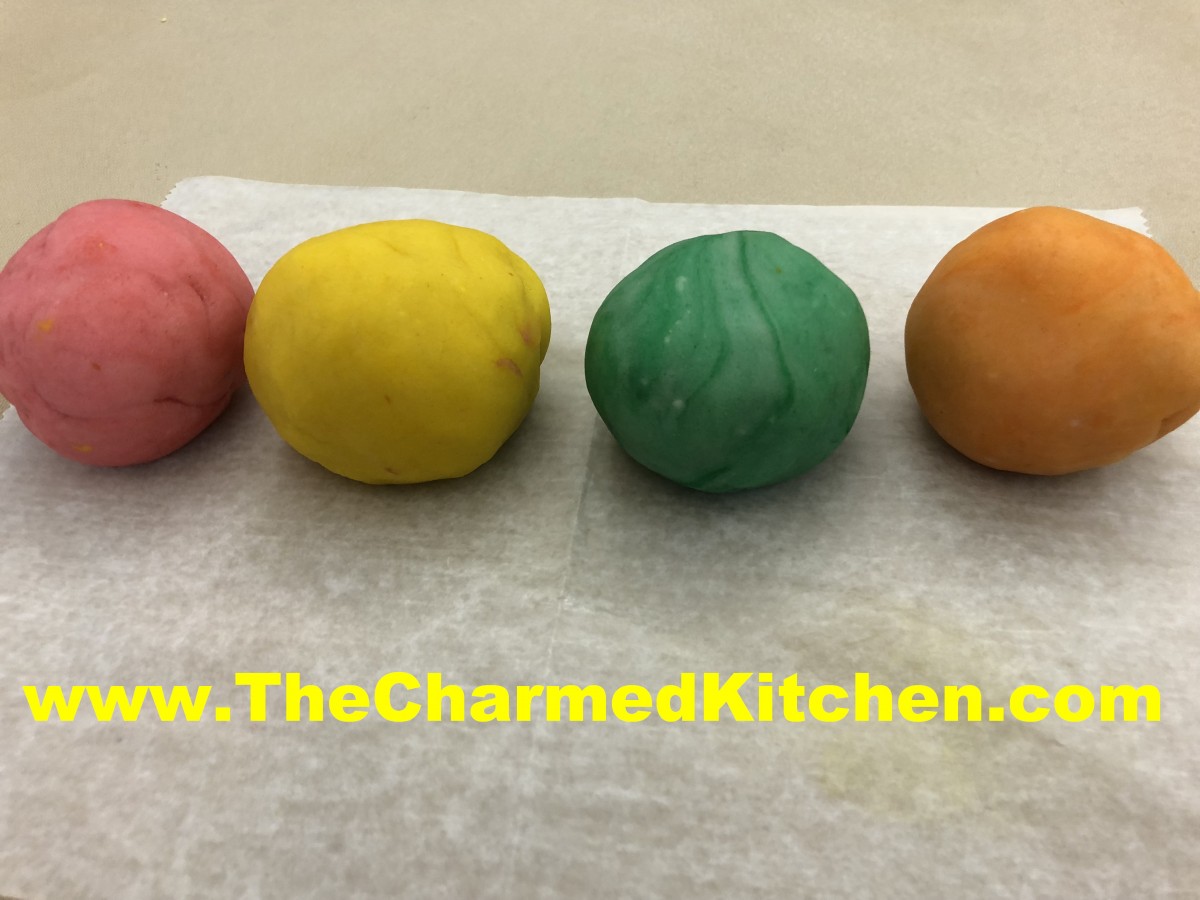
For camp, I had a great assortment of food coloring to choose from. I used paste type food coloring I got at a local craft store. These are food grade dyes. To use them, each child would grab a handful of the plain dough. I provided the kids with disposable gloves to wear for this. Once they picked a color, I would dip a toothpick in the dye and spread it across the surface of thew dough. Then the fun begins. The kids kneaded the dough to mix the color in. If it wasn’t bright enough, I would add more color. Or they mixed colors to get something just their own.
Make sure that kids, and adults, who are kneading dough are wearing gloves. Trust me on this.
Once the dough was all colorful, I provided the kids with plastic containers with lids that they could store their play dough in. They were also encouraged to trade and share.
I explained to the kids that the dough was non toxic. That didn’t mean they should eat it, but there was nothing in the dough that would harm them, if they did. Then I told them again not to eat it. 🙂
So here is the recipe.
Play Dough
1 c. flour
1 c. water
1/2 c. salt
2 t. cream of tartar
1 T. salad oil
food coloring
Combine all ingredients, except the coloring in a saucepan and cook, stirring often until mixture pulls away from the side of the pan. Cool slightly, then knead in food coloring. I actually made several batches the day before and the kids were still able to knead in the food coloring. I just stored the dough in an air tight container overnight. Recipe can be doubled. Store in airtight container.
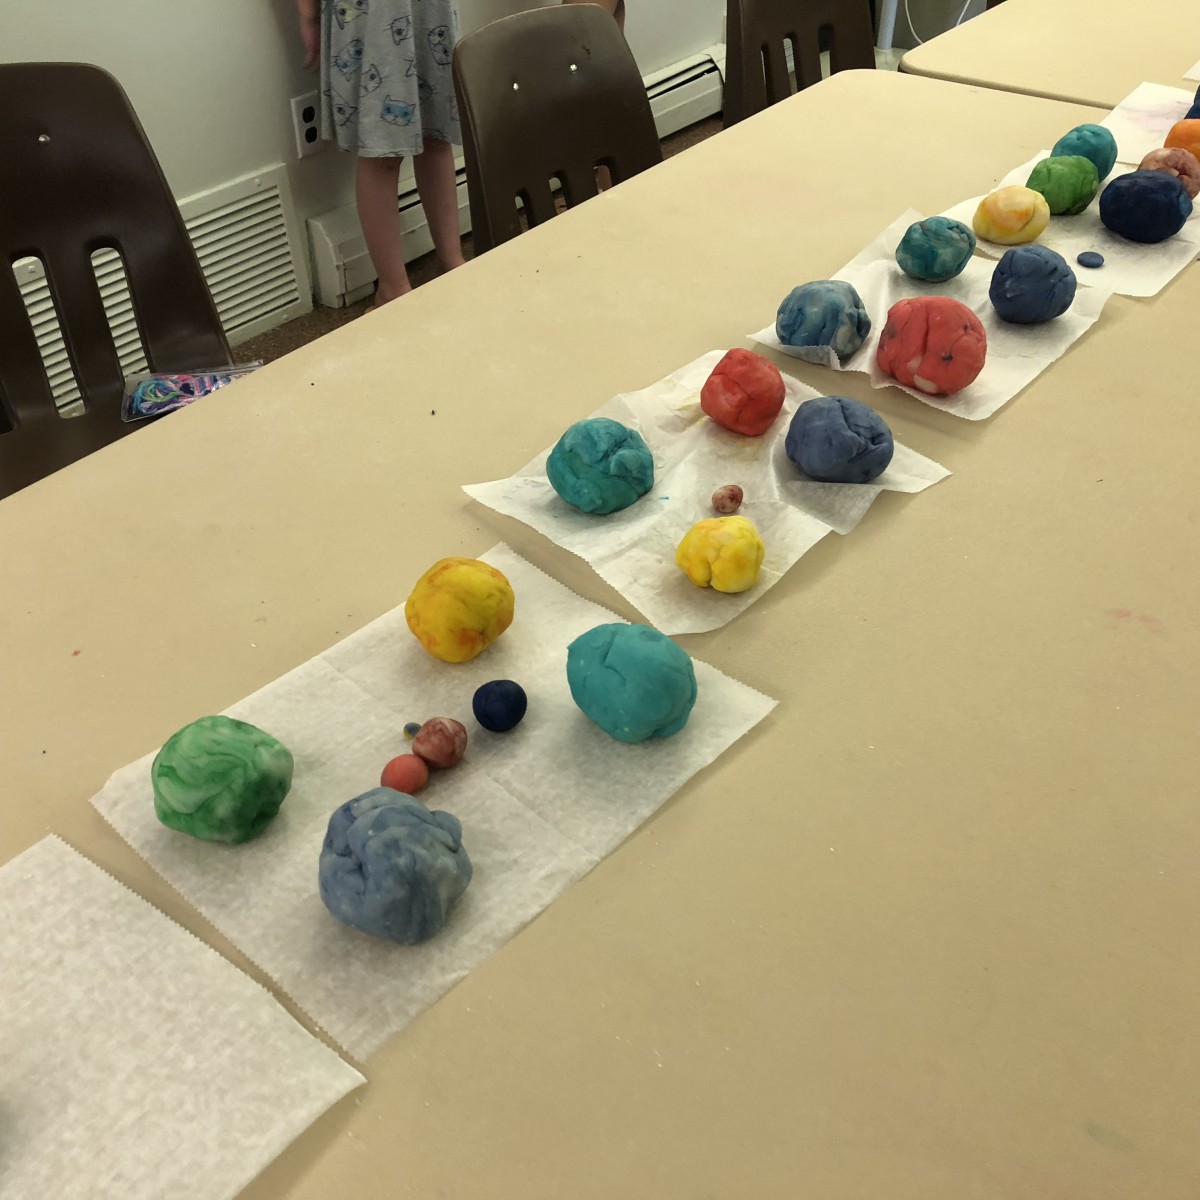
A Rainbow of Dough

Daisies made with Play Dough
Here is another craft we made with some of our play dough.
Q-tip Daisies
Q-tips
Yellow Play Dough
Green pipe cleaners
Cut q-tips in half. Roll a piece of play dough into a ball shape. Flatten to form the middle of the daisy. Stick q-tips all around to form the petals. Shape a pipe cleaner for look like a leaf. Wrap around another pipe cleaner- to form the stem and stick in the play dough.
How to Preserve Basil

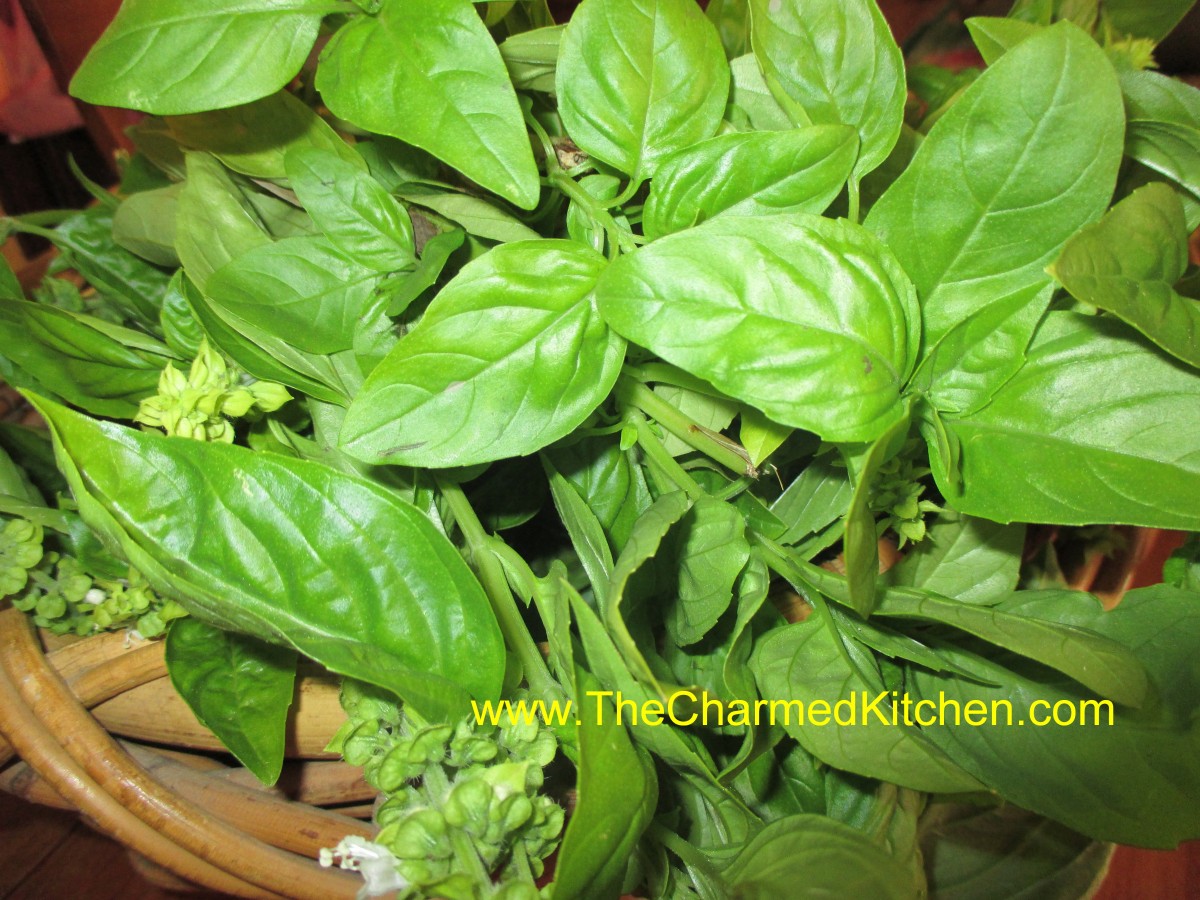
Fresh Basil
This time of year, I am looking to preserve as many herbs as I can, to enjoy year round. Basil is one of my favorites. I grow, and use, a lot of it. I am doing a major harvest of basil today. Some will be frozen in olive oil, some dried, and some added to vinegar.
None of the preservation methods is difficult. Basil can be tricky to dry, though. Unlike a lot of herbs, basil does not air dry well. I have a dehydrator, but if you don’t have one, you can still dry your basil successfully. Believe it or not, you can dry basil, and other herbs, in a microwave. Directions follow.
So I am off to harvest my basil. One thing is sure- my house will smell really good today.
Freezing in Oil
To use basil in pesto sauce, dried just won’t do. You can easily freeze your basil in olive oil and have it ready whenever you want it. Just place clean basil leaves in a blender or food processor and add olive oil. It is important that you use olive oil because it freezes solid. While the machine is running pour in oil until basil is blended. I use very little oil for two reasons. It takes up less room in the freezer and I don’t need so much oil. I can add more oil when I use it, but this way if I am doing a big batch i don’t go through all my oil. Once the mixture is blended pour or spoon it into ice cube trays and freeze. Once frozen solid pop out the basil cubes and put in freezer bags and return to the freezer.You can also freeze chopped basil without the oil. I like it better in the oil, but I freeze other herbs by just chopping them up and freezing them.
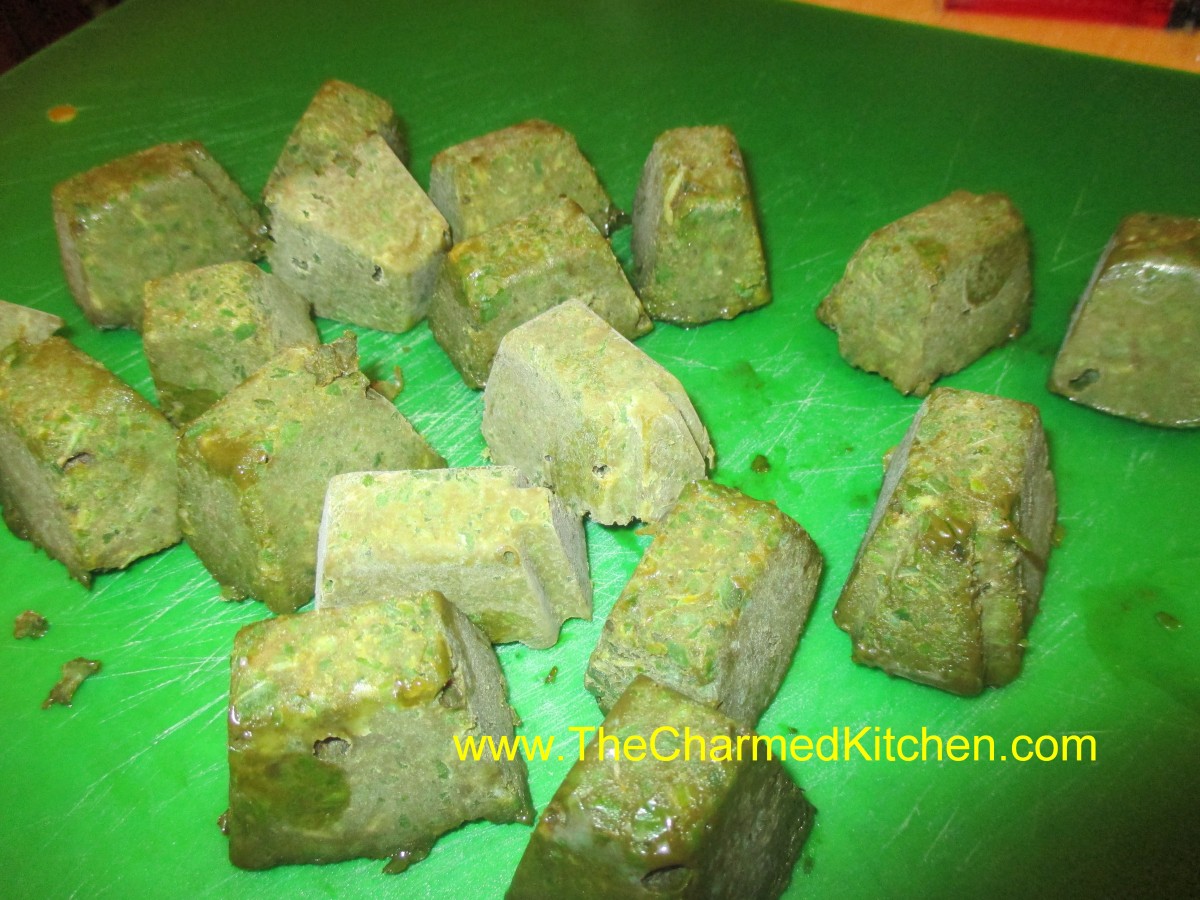
Frozen Basil Cubes
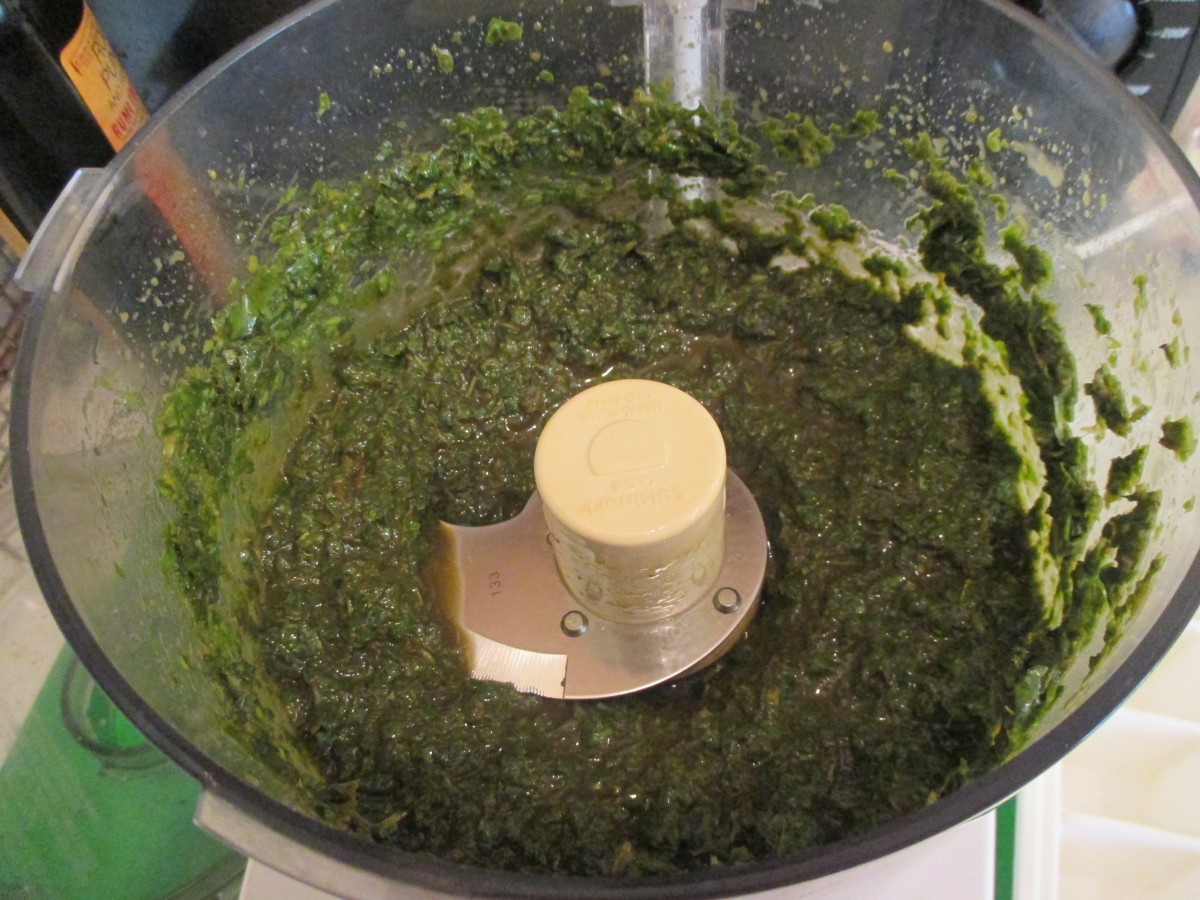
Process basil and olive oil until smooth
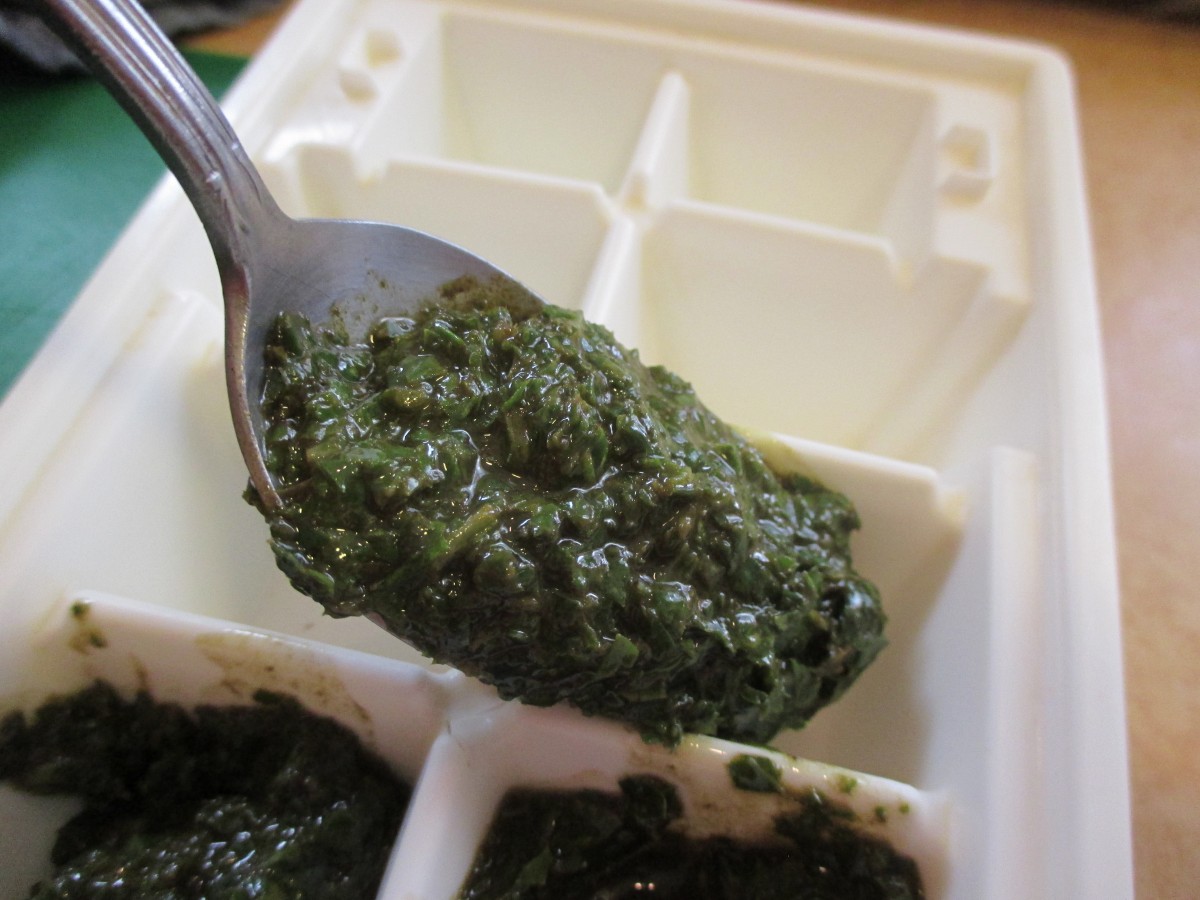
Spoon mixture into ice cube trays and freeze
Microwave Drying
If you don’t have a dehydrator you can dry herbs in your microwave. It only takes a couple of minutes per batch. Just place a handful of fresh, clean basil leaves in a linen-type kitchen towel. Fold the towel over the herbs and place in the microwave. Be sure to put a raw potato in with the herbs in the oven. If you only put the herbs in, it is like running the oven empty and can damage the microwave. Just put the potato off to the side. If you do several batches you will have a baked potato. ? If you have a turntable, just cook on high for 2 minutes. Check and see if they are dry- you might need a little more time. I need about 2 1/2 minutes in my microwave. Better to put them in for 15 more seconds at a time than to over dry them. If you don’t have a turntable microwave on high for a minute. After the first minute turn the herbs 1/4 turn and cook 15 seconds, turn again and cook another 15 seconds. Repeat four times in all. You can dry other herbs in the microwave. Small leaved herbs like thyme are done even faster. Remove the herbs from the oven and allow them to cool. check if they are dry enough and return, wrapped to cook longer if needed. Store in containers in a cool place.
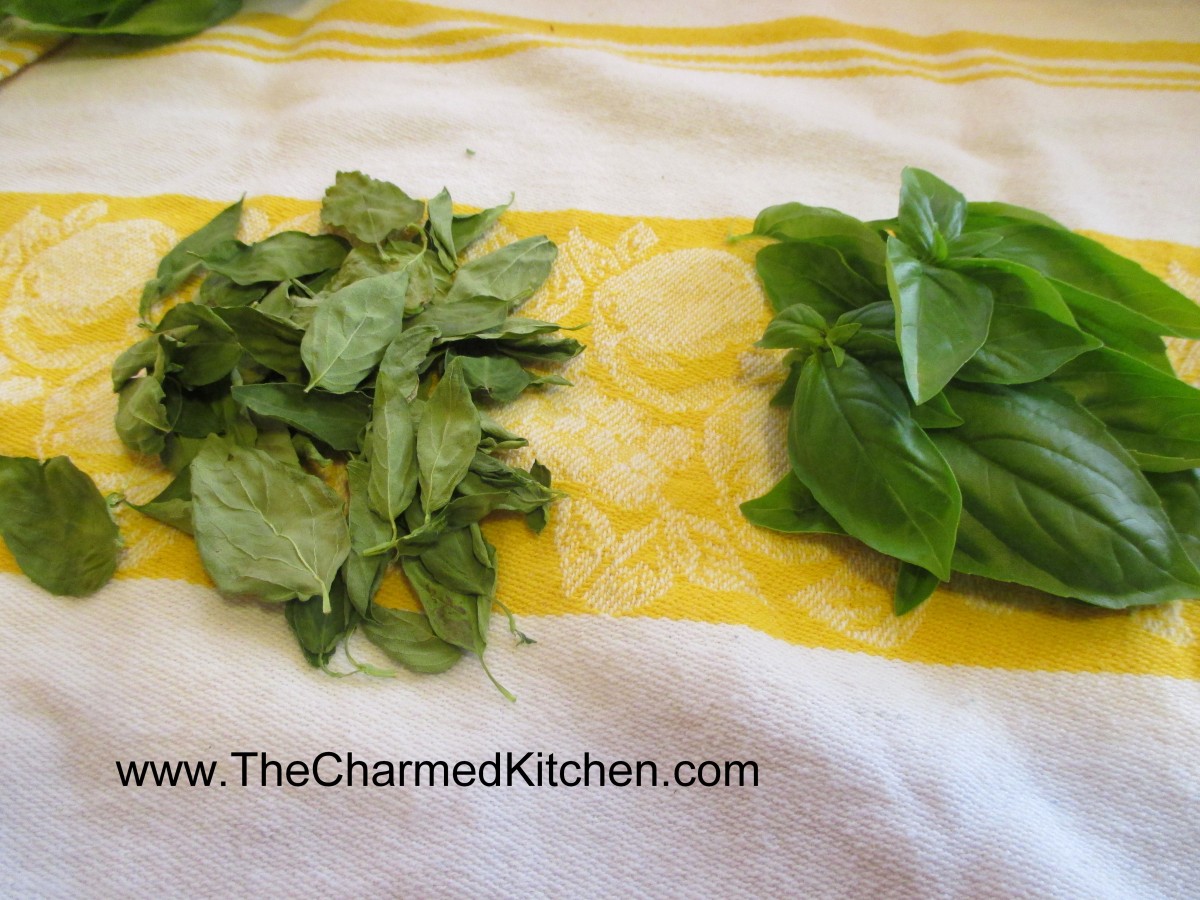
Microwave dried basil on the left and fresh basil on the right
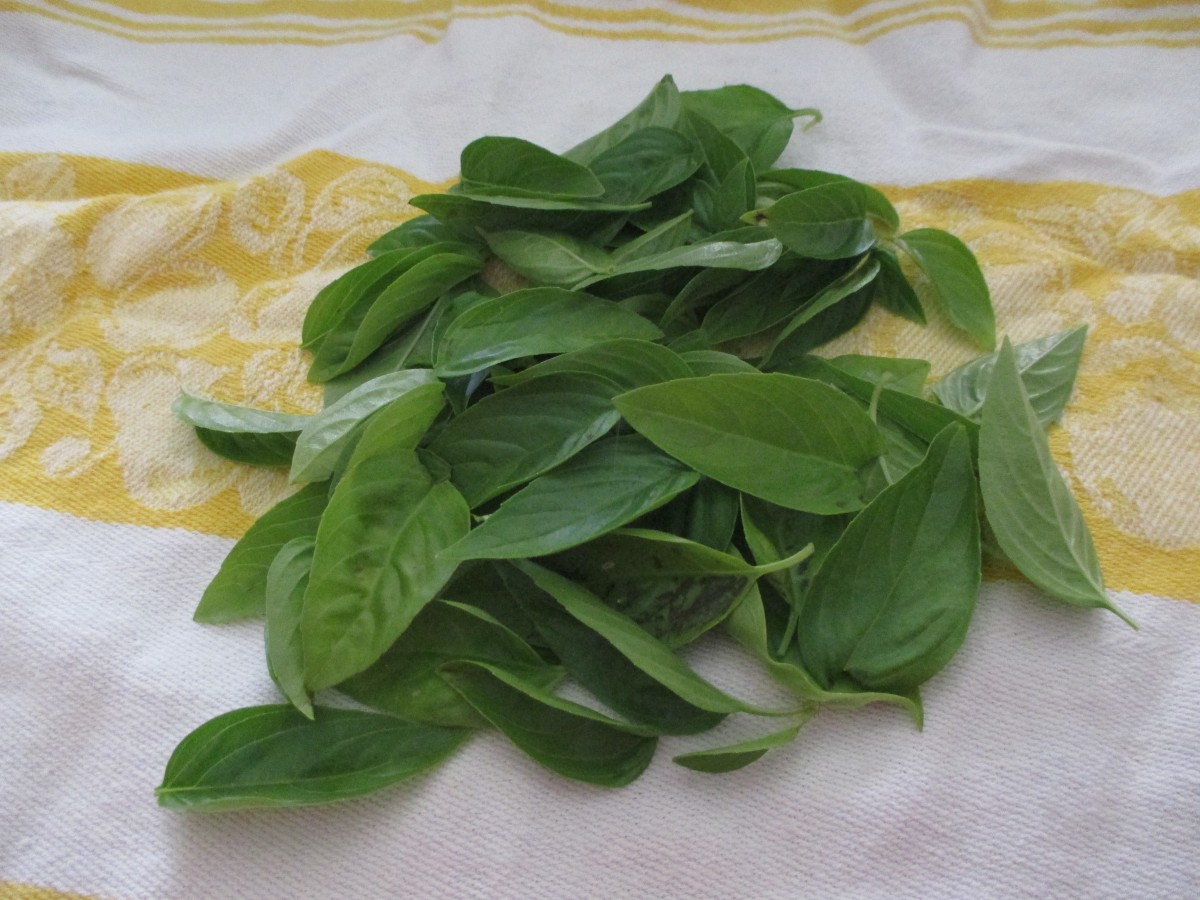
Place fresh basil on a towel and fold towel over the herbs
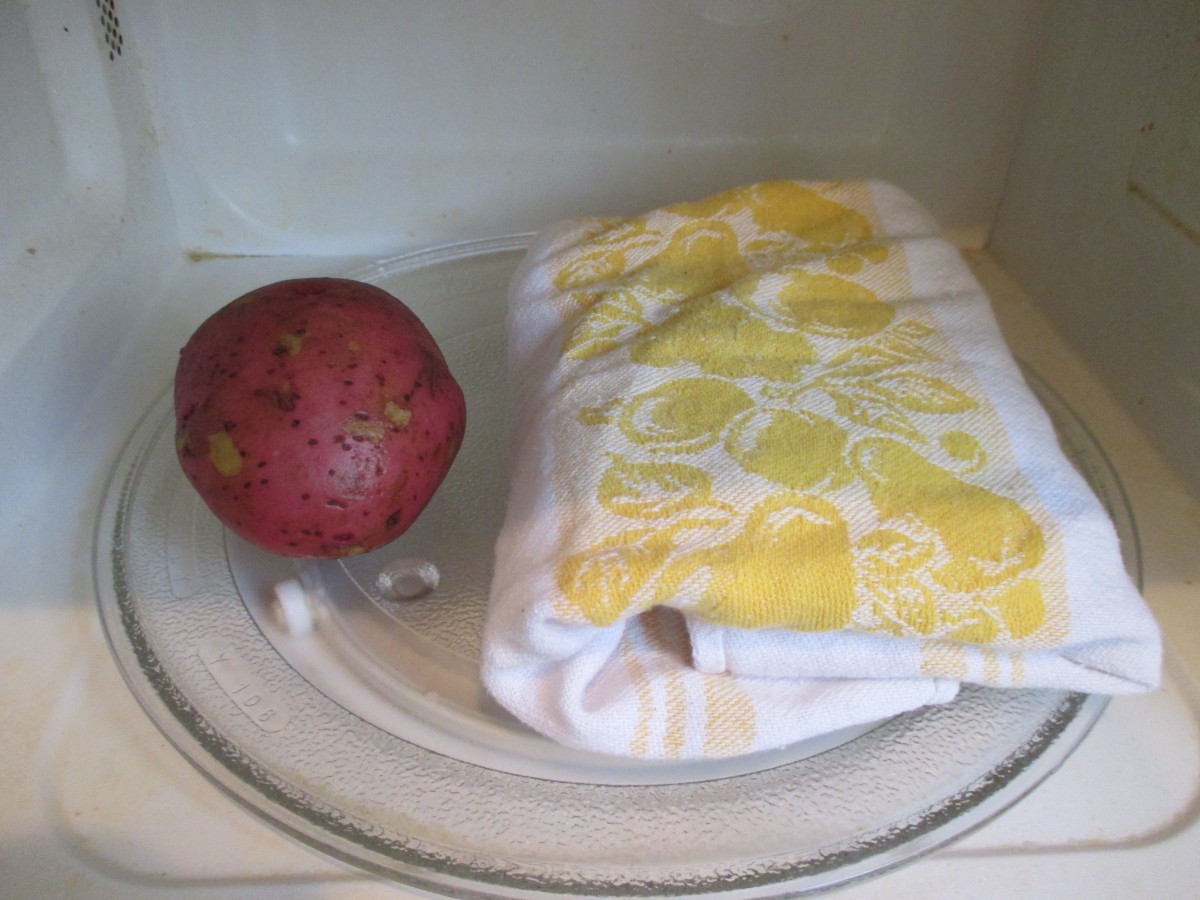
Place in microwave with a potato
All microwaves are different. Some will take longer and some even less time. Watch your herbs carefully. While I have never seen it happen I was told once that theoretically, they could catch on fire if left in too long. Urban legend perhaps, but just be careful.
Herb Vinegar
When I grow basil, I try to keep the blossoms pinched off. Better for leaf production. But by this time of year some are blooming. Rather than dumping the blossoms you can use them to flavor vinegar. Just snip off the blossoms and place them in a sterilized bottle or jar. Use several sprigs of basil flowers for every 2 cups of vinegar. Make sure the vinegar is at least 5% acidity. I like to use different vinegars for different herbs. I often use cider vinegar, red wine vinegar (for purple basil) and white wine vinegar. Leaves can be used, too. Vinegar should be heated up to 190 degrees- or just below the boiling point. Close up the jar and store in a cool place (50-70 degrees) for a couple of weeks. Before using strain out the herbs and filter- I use coffee filters or you could use cheese cloth. Store in a pretty bottle, if you have one. They can be kept for up to a year when stored in the fridge.
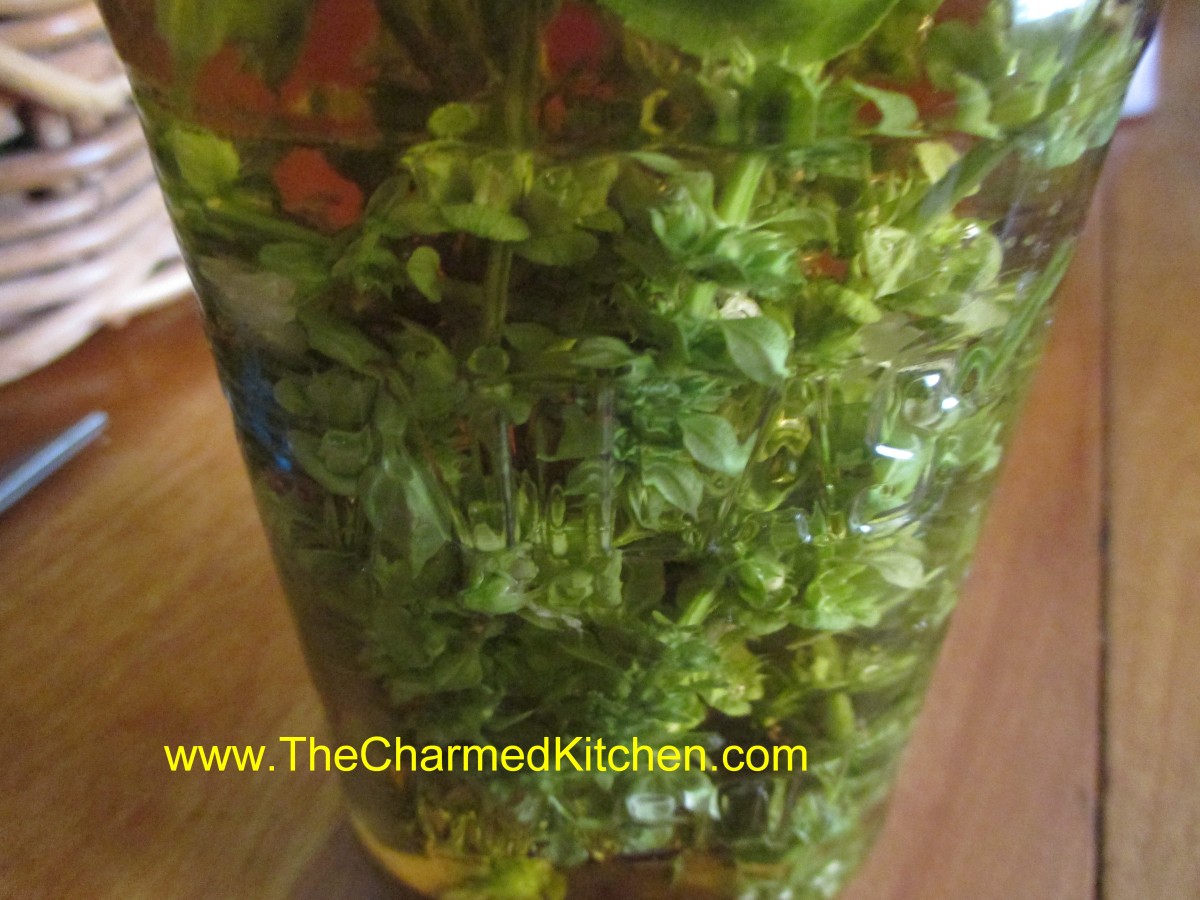
Basil blossoms in vinegar
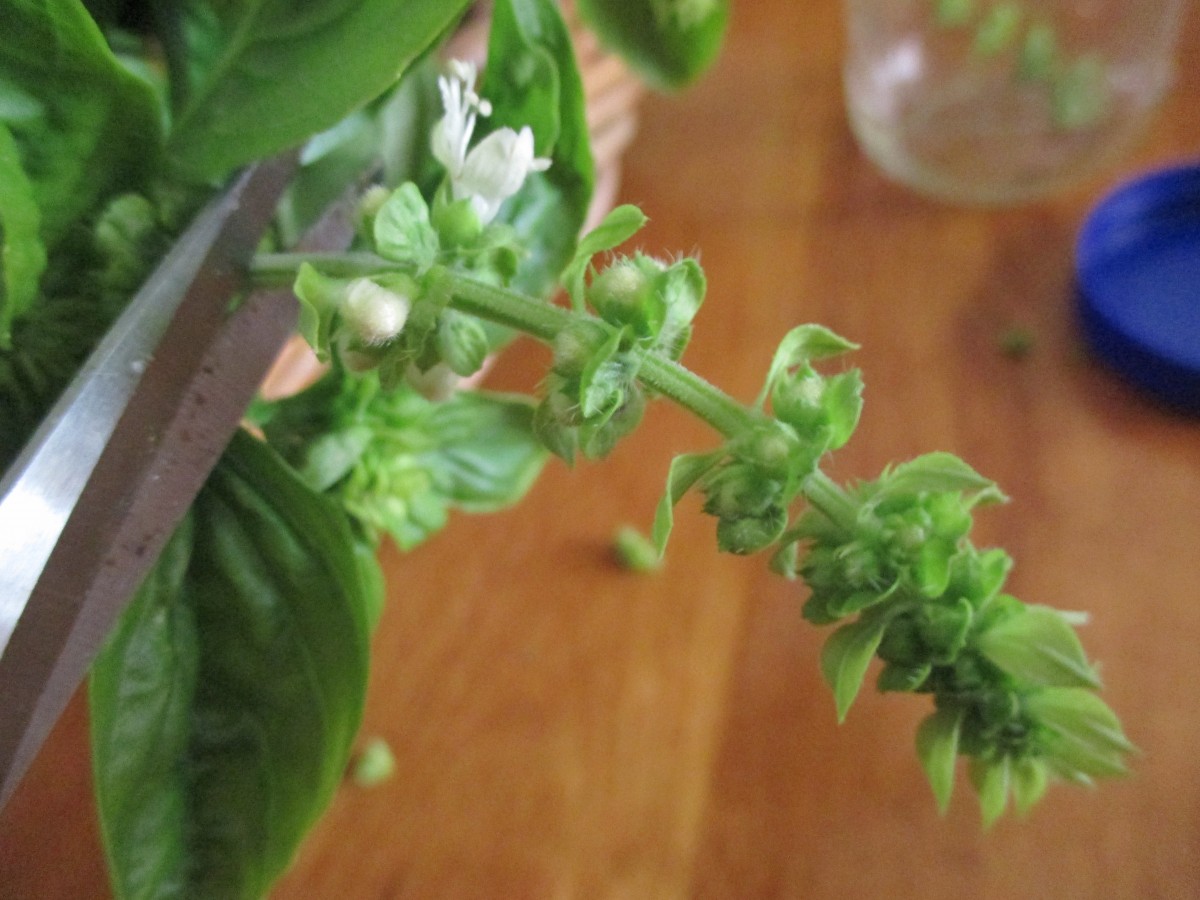
Snip off basil blossoms
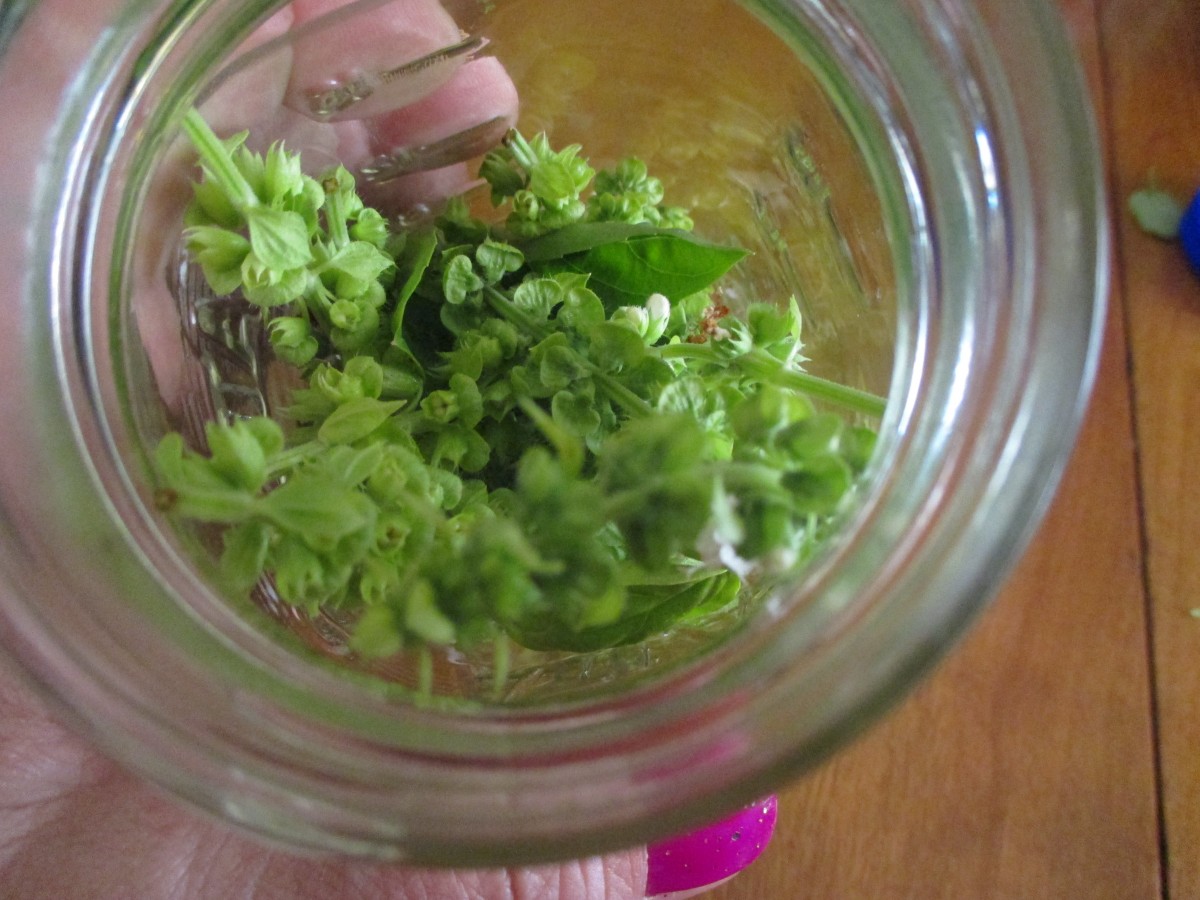
Place blossoms in a jar or bottle


