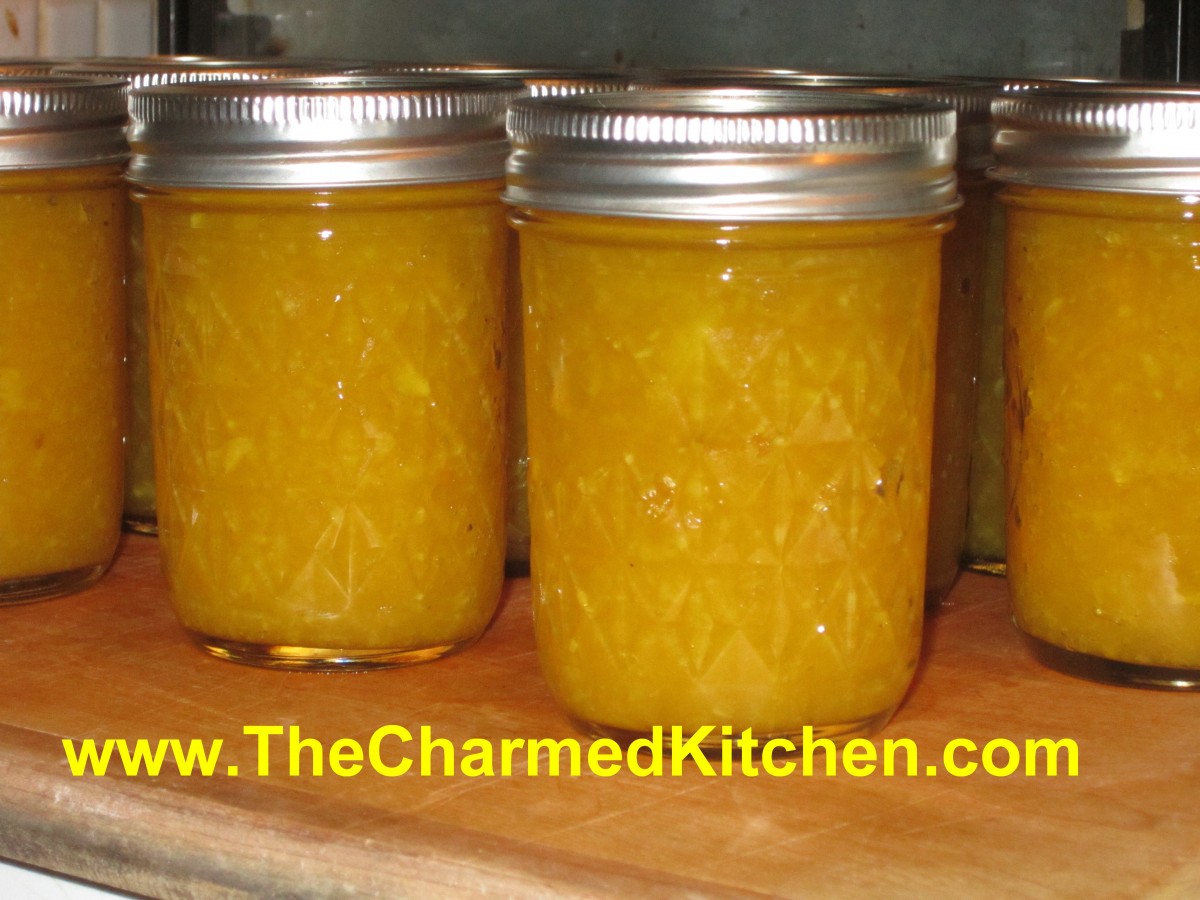
Cherry Jam


Sweet Cherry Jam
I taught a jam and jelly making class in Mentor last night. We made this sweet cherry jam. It came out great. The recipe calls for both vanilla and cinnamon, but you can leave them out, if you like. In class, they opted to add the vanilla, but not the cinnamon.
This must be a great year for cherries. They seem bigger than usual, and very sweet.
While I normally make jam from sour cherries, I knew the sweet ones would work. Besides the cherries, sugar and pectin, this jam also contains lemon juice, vanilla and cinnamon. Those extra ingredients give the jam a more complex flavor and a little bit of a tang.
This may be one of my favorite jams ever!!! I was worried it would be too sweet, but it isn’t. The flavor of the cherries comes through as well at the flavor of the vanilla and cinnamon. Thinking I made need to buy more cherries and make another batch….
Here is the recipe. Enjoy.
Sweet Cherry Jam
4 c. chopped pitted sweet cherries, about 2 lbs.
6 T. powdered pectin
6 T. lemon juice
2 T. pure vanilla extract
1 t. cinnamon
4½ c. sugar
Wash jelly jars and lids and keep warm until ready to use. Place a large pot of water, with a rack, on to boil for the water bath. In large saucepan combine cherries with pectin, lemon juice, vanilla and cinnamon. Bring to a rolling boil, stirring often. Add the sugar and bring mixture back to a rolling boil, stirring often. Once the mixture gets to a full, rolling boil, cook for one minute longer, stirring constantly. Remove jam from heat and skim off any foam. Ladle hot jam into hot jars, filling to about 1/4 inch from the top. Wipe off rim and screw on the lids. Repeat with remaining jam. Process in a hot water bath for 10 minutes. Turn off heat and let jar sit in canner 5 minutes before removing. Remove from water bath and allow jars to cool. Yield: about 6 half pint jars of jam.
Adapted from The Ball Blue Book
Cherry and Almond Sorbet

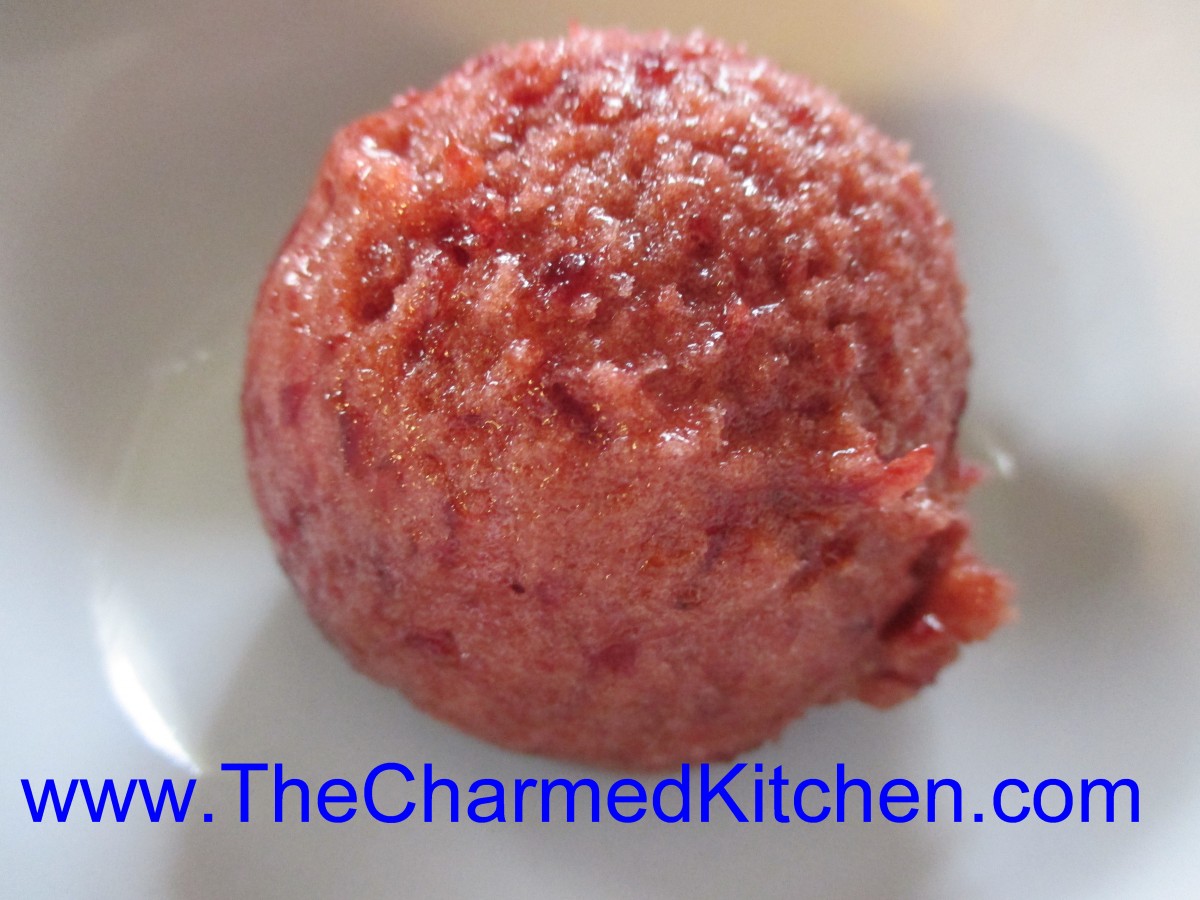
Cherry and Almond Sorbet
I love all sorts of sorbets. I make them all year long, but I seem to make more when summer arrives. The basic recipe is simple – just pureed fruit, some sweetener and usually, some flavoring or herb, to add interest. They are so light and refreshing. The perfect dessert for summer.
So far I have make sorbet from pineapples, mangoes, strawberries, blueberries (with red grapes), peaches, cranberries and coconut. I am sure I have forgotten some of them.
I picked up fresh cherries at the market, so I could make cherry sorbet.
Fresh cherries are one of my favorite fruits of all time. I love both sweet and sour cherries. For the sorbet, I just pitted a pound of cherries, added sugar and some lemon juice. It needed a little something more- so I added almond extract. Really worked well with the cherries.
So here is the recipe. Simple and sweet.
Cherry Almond Sorbet
1 lb. cherries, pitted
3/4 c. sugar, or to taste*
3 T. lemon juice – it helps the cherries retain their color
1 t. almond extract
Place cherries in blender or food processor, with the sugar and extract. Blend until smooth. Adjust sweetener to suit your taste. Place in a container with a lid and freeze. Once mixture is frozen, remove from the freezer, break into chunks and place in food processor. Process until mixture looks creamy and smooth. You might have to do this in batches, depending on the size of your food processor. Eat or return to freezer until ready to use. Makes just over a quart of sorbet.
*Feel free to use other sweeteners you like in place of the sugar. Honey or maple syrup would both work nicely.
The Science of Creamy Mac and Cheese


Gouda Mac and Cheese
I knew about sodium citrate and its effects on cheese sauces. It took me awhile to try it myself. The end result was the creamiest cheese sauce ever. I made Gouda mac and cheese last night and it was wonderful.
Sodium citrate is the natural salt of citric acid. It has a natural sour taste, and is used as a preservative and food additive.
For a lot of us, making a cheese sauce involves making a classic white sauce, or béchamel. Flour and butter are combined in a saucepan, then heated together until the butter melts and the mixture is smooth. Then you add milk, cream or half and half. Once the mixture thickens, you add the cheese and end up with a cheese sauce. Wonderful and classic, but some cheeses don’t melt that well. You end up with a tasty, but somewhat un-creamy end product.
There is a way to make the creamiest cheese sauce ever and it involves a little science. When you make a cheese sauce, the cheese will melt, but sometimes has a grainy texture. That is because of the way the proteins bond with calcium in the cheese. When you combine warmed liquid with a little sodium citrate, then add the cheese, the sodium substitutes for some of the calcium and the cheese breaks down better. The end result is a really creamy sauce.
The liquid you use can be water or milk. I like half and half. I found several recipes on line. I played around, and ended up with the recipe below. Some directions said you have to use an immersion blender to get a creamy result. I did that the first time and the sauce was very creamy. I used a whisk the next time. I found whisking worked just fine.
You want to be sure to use food grade sodium citrate.
Super Creamy Mac and Cheese
12 oz. dry pasta
2 T. butter
1¼ c. half and half
2½ t. sodium citrate
12 oz. finely shredded cheese- I used Gouda, but cheddar, Muenster or any cheese that melts well, will work
Salt and pepper to taste
Cook pasta according to package directions. Drain, place in bowl and toss with the butter. Set aside. Heat half and half in a saucepan, over medium heat. Stir in the sodium citrate and bring to a simmer. Add the cheese slowly, about ¼ cup at a time, whisking well until melted before adding more. Sauce will become thick and creamy. Once all the cheese has been added, stir in the prepared pasta, adjust seasonings and serve. If you like, you can place mac and cheese in a casserole, top with buttered bread crumbs and bake until bread crumbs are toasted, about 20 minutes at 350 degrees. Serves 4.
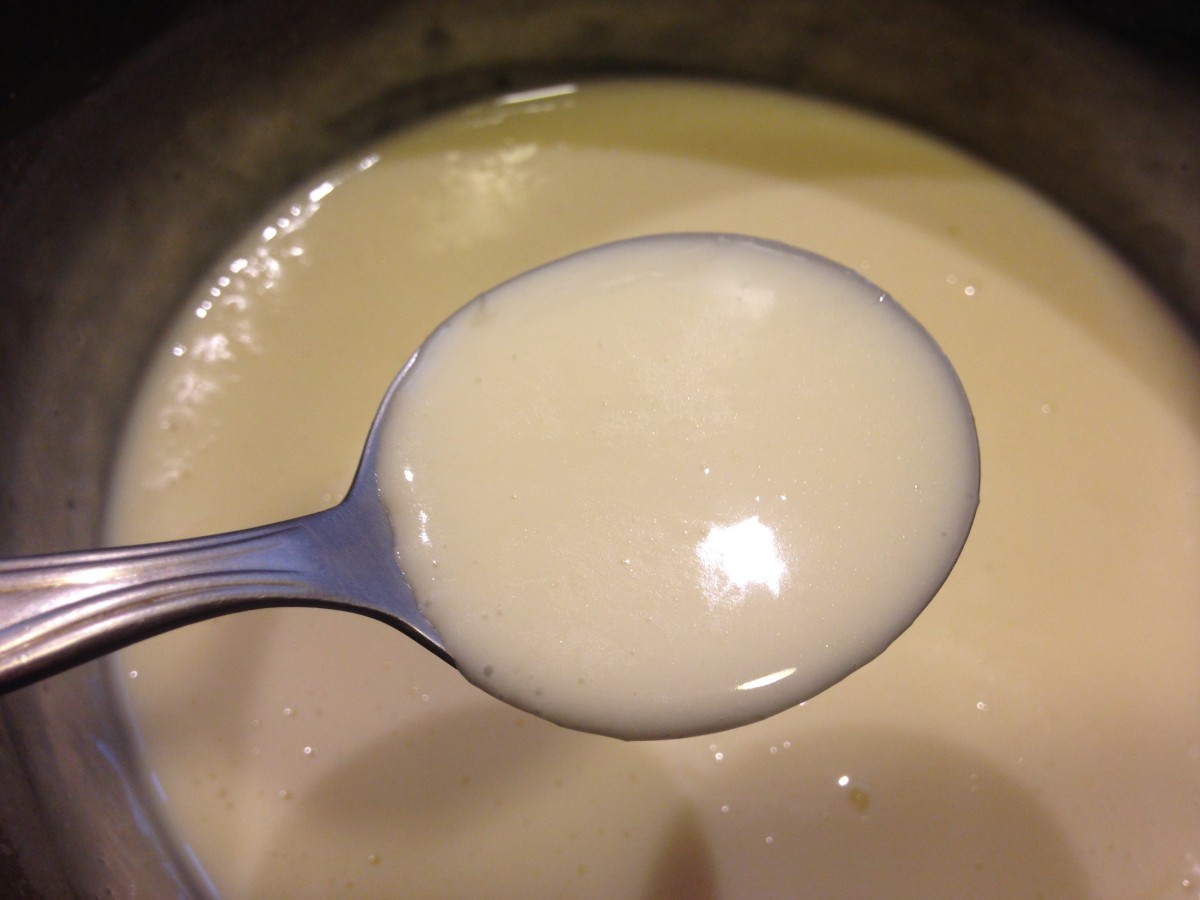
The cheese sauce
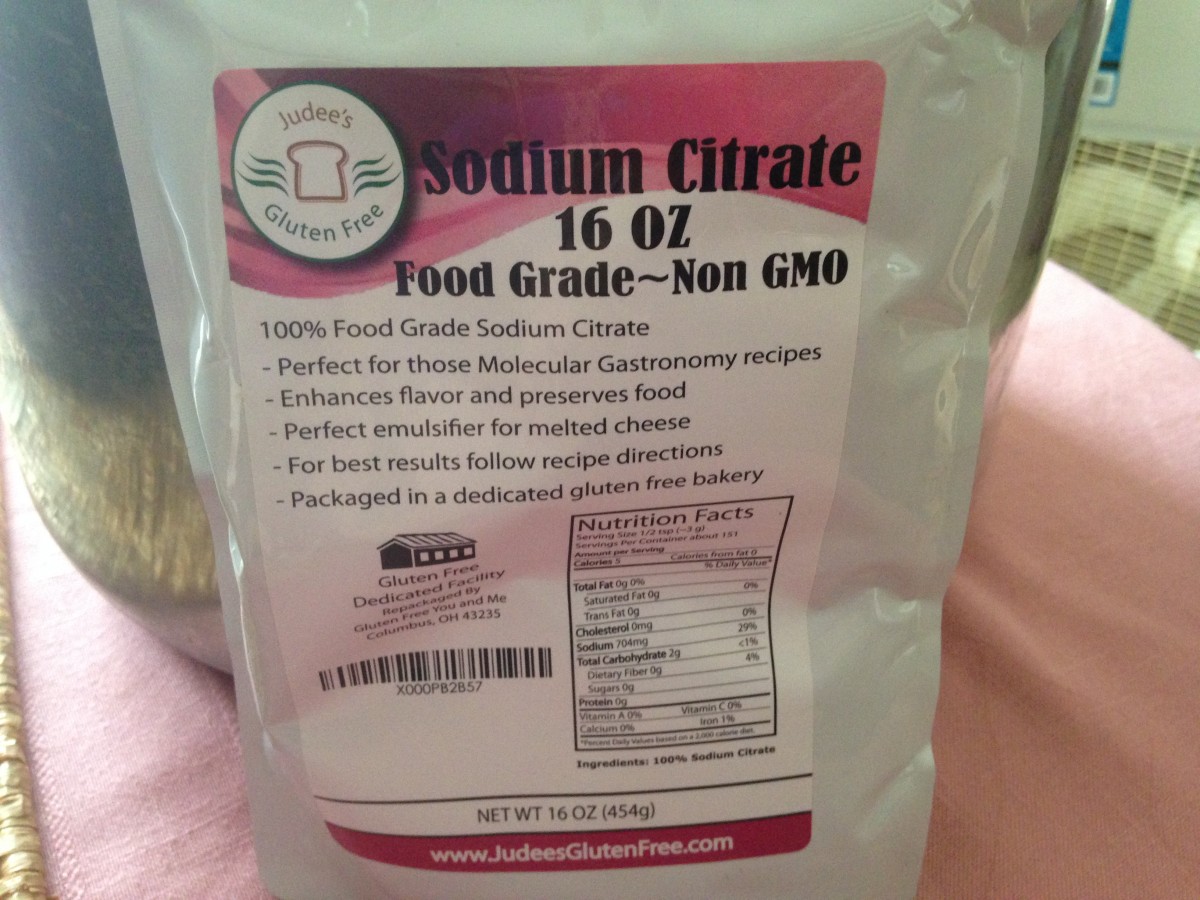
I bought mine on line
Garlic Scapes Hummus


Garlic Scapes Hummus
Around here, garlic scapes are in season and being eaten a lot. I find myself cooking with them in everything I can. Everyone seems to be talking about scapes and looking for new ways to use them. There is even a word for it – scorpacciata.
Scorpacciata is an Italian word that means consuming large amounts of a particular local ingredient while it’s in season.
Scapes, if you didn’t know, are the tops of hard-neck variety garlic. They are cut off this time to year- to help the plants produce larger heads. They curl as they grow. You should be able to find them at your local farm market. They can be eaten raw or cooked. They can be a little woody when raw.
This time, I steamed the scapes, and added them to my hummus. The end result was really good. The scapes replaced the garlic cloves, adding their own personality to the dish. I switched the dish up a little more, by using avocado oil, instead of the traditional olive oil.
So here is one more recipe to use those lovely, seasonal garlic scapes.
Garlic Scapes Hummus
1 can garbanzo beans, drained- I used a one pint jar of home canned
½ c. chopped garlic scapes- 1 or 2 garlic scapes- steamed 5 minutes and chopped
¼ c. olive oil or avocado oil
2 T. lemon juice – about 1 lemon
2 T. tahini (sesame seed paste)
salt and hot pepper sauce to taste
Combine all ingredients in a blender or food processor until smooth. Adjust seasonings. Chill. Serve with pita bread, crackers or fresh vegetables. Also nice spread in a pita bread with sliced tomatoes, cucumbers and lettuce. Freezes well.
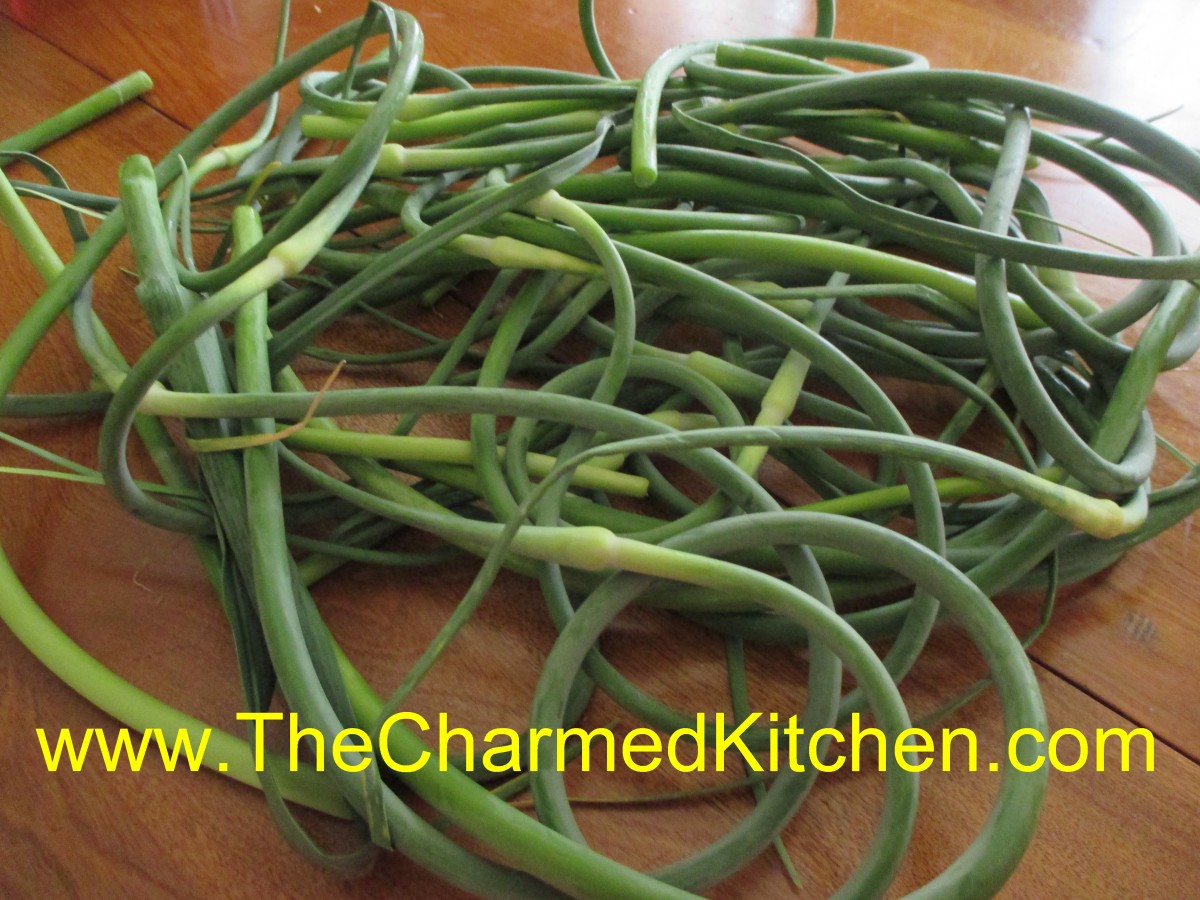
Garlic Scapes
Red “Chimichurri” Salsa


Red “Chimichurri” Salsa
I have to admit, I wasn’t sure what to call this dish. I decided to call it a salsa, rather than a chimichurri.
Chimichurri sauce is a lovely marinade for meats or it can be spooned over cooked meats or seafood. I like to spoon some over grilled foods.
Chimichurri is a mix of herbs, spices, garlic and vinegar. It can be red or green. I like both, but really love the red version.
Red versions often contain red peppers, but not tomatoes. I took a little liberty with the original recipe. I added a ripe tomato. So, salsa it is, with inspiration from chimichurri.
Whatever you call it- it is really good. I nice balance of flavors and a great topper for all sorts of dishes.
Red Chimichurri Salsa
1 chopped sweet red pepper
1 chopped, skinned and seeded tomato
1 chopped onion
2 peeled and chopped garlic cloves
2 bay leaves
2 tablespoons chopped parsley
1/2 cup oil- I like avocado oil
1 cup vinegar- red wine vinegar preferred
1 teaspoon salt
1 teaspoon cracked black peppercorns
1 teaspoon oregano
red pepper flakes to taste
Combine all ingredients and mix thoroughly. Cover and chill for 12 hours before using. It will keep for a for a week or two in the refrigerator. Remove bay leaves before serving. Use as a marinade for meats, poultry and seafood, or serve as a sauce with cooked meats. I like to spoon some over scrambled eggs, too.
Hudson Cooking Camp- A Very Fun Week


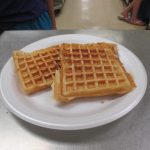
Making pancakes is serious business
I have spent the last week cooking with about 20 kids. I look forward to cooking camps every summer. I love working with kids. During the week, the kids made pizza- from scratch. They all participated in making the dough, rolling it out, and adding toppings.
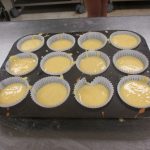
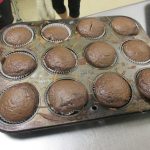
We also cooked with tortillas, made our own soda, made breakfast foods like pancakes and waffles, baked and decorated 152 cupcakes, and played around with molecular gastronomy.
In case you are curious, for the molecular gastronomy, we made a classic bechamel sauce and added cheese to it, for classic mac and cheese. We also made a batch of cheese sauce using sodium citrate, for a smoother sauce. The kids got to try both, to see which they preferred. The vote was split. Most of the kids preferred the creamier sauce made with sodium citrate, but plenty still liked the classic version a little more.
The kids really were a joy to work with.
Here are a few pics from the week.


-

- Making pancakes is serious businesss


Garlic Scapes Recipes

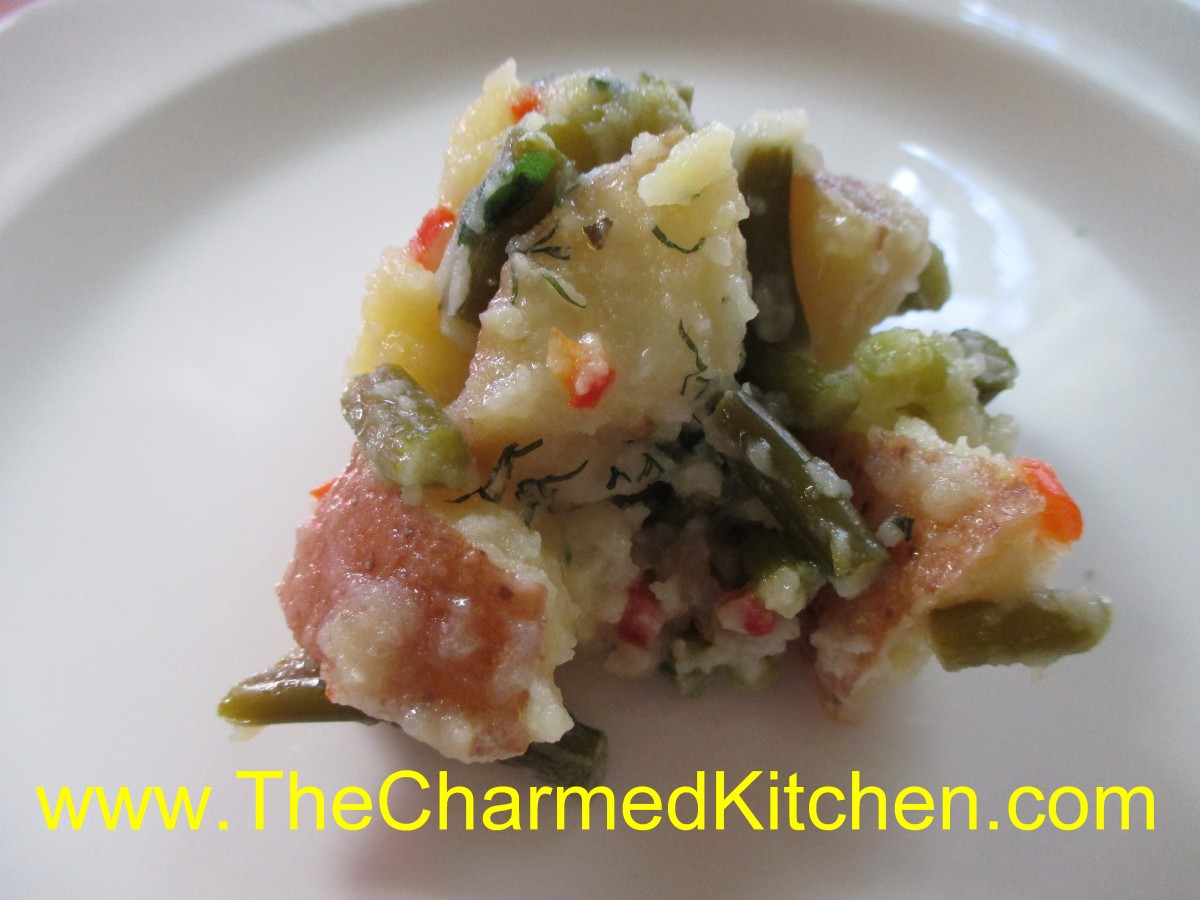
Garlic Scapes Potato Salad
If you have never had garlic scapes, you don’t know what you are missing. Garlic scapes are the green shoots removed from hard-neck varieties of garlic. By removing the shoots, the bulbs will get bigger. So farmers remove them. They curl as they grow, and are good served raw, or barely cooked. They are showing up at farm markets around here right now.
When cooked, the flavor mellows a lot. I love to steam garlic scapes for about 5 minutes, then just eat like fresh green beans, with butter and salt. I steamed a bunch of scapes the other day- then chopped them up and added to potato salad. So tasty!!
They have a rich, garlic flavor that is all the sweeter because of the short time they are around. Enjoy them when you can- they will be gone soon.
I sometimes use scapes in place of basil, in my pesto recipe, or combine them with parsley in a garlic scape-parsley pesto. You can also combine the garlic scapes with cottage cheese in the blender- add a little lemon juice and hot sauce for a tasty dip. Here are some more recipes for cooking with garlic scapes.
Garlic Scapes Potato Salad
4-5 garlic scapes
2 lbs. red skinned potatoes*
½ cup minced sweet pepper
½ c. olive oil
½ c. apple cider vinegar
2 T. sugar
2 T. chopped parsley
2 t. fresh dill weed
Salt and pepper to taste
Hot sauce to taste
Steam the scapes for 5 minutes. Cool a little, and cut into ¾ -inch slices. You should end up with about 1½ of sliced scapes when done. Place in a medium bowl. Cook potatoes until tender. I baked mine in a microwave until tender and then cut into cubes. Baking them is also a nice way to cook the potatoes. You can also opt to cut into cubes first and boil the potatoes. Whatever method to cook the potatoes is fine with me. Take the potatoes, while still warm, and place in the bowl with the scapes. Mix the rest of the ingredients together in a small bowl and stir until sugar dissolves. Pour over warm potato mix, tossing to coat evenly. Adjust seasonings. Chill and serve. Serves 6-8.
* You can really use any potato you like.
Garlic Scape Pesto Sauce
1 c. chopped scapes – you can also use half scapes, half parsley
1/4 c. olive oil
3-4 cloves garlic
Salt to taste
1/2 c. pine nuts, sunflower seeds, pecans or walnuts
1 c. fresh grated Parmesan cheese
Combine all ingredients, except the cheese, in a blender and mix until smooth. Stir in the cheese and toss over hot, cooked pasta or use as a sauce on meat and poultry. Sauce will keep a few days in the fridge and makes about 1 1/2 cups, enough for 1 lb. of cooked pasta.
Lebanese Garlic Sauce
1/2 c. chopped garlic scapes
1 cup lemon juice
1 teaspoon salt
3 cups olive oil
In the container of a blender, combine the garlic scapes, lemon juice and salt. Blend at medium speed until smooth. Continue blending while pouring olive oil into the blender in a thin stream. The mixture should become thick and white almost like mayo. Store refrigerated in a glass container. Nice on hot pasta, cooked rice or grains or brushed on meats while cooking. It also is a great salad dressing.
Garlic Scapes with Broccoli
1 c. chopped garlic scapes
1 1/2 teaspoons salt
1 bunch broccoli, cut into florets, steamed 5 minutes, cooled
1/3 cup olive oil
1/4 cup red wine vinegar
1 tablespoon Dijon mustard
1/2 cup grated Parmesan cheese, or to taste
Place garlic scapes in a food processor with the salt and blend into a paste. Add olive oil, vinegar, and mustard. Pulse until smooth. Place garlic scapes mixture in a bowl and add the broccoli. Stir to coat. Chill for 3 hours to marinate, stirring occasionally. Sprinkle with Parmesan cheese before serving. Tastes even better the next day!!!
Garlic Scapes
Vidalia Onion Relish

Vidalia Onion Relish
Every year I make at least a few batches of this relish recipe. I used Vidalia onions, but any sweet onion will work. I just prefer the flavor of Vidalia onions.
The relish itself has a nice balance of sour and sweet, with plenty of onion flavor. I use it on sandwiches, in potato and pasta salads and as an appetizer with cheese and crusty breads. It also makes a great gift.
As you cook it down, the onions get quite tender, but actually crisp back up a little as the liquid cooks off. Don’t shortcut on the cooking time.
Vidalia Onion Relish
6 qts. ground Vidalia sweet onions (14 to 16 med. onions)
1/2 c. canning salt
1 qt. cider vinegar
2 t. turmeric
1T. pickling spice
2 T. minced sweet pepper, any color
4 1/2 c. sugar
Grind enough Vidalia onions to yield 6 quarts. Add 1/2 c. salt and let stand thirty minutes. Squeeze juice from onion‑salt mixture and discard juice. Sterilize canning jars. To onions, add vinegar, sugar, spices, and pepper. Bring to boil and cook for thirty minutes, stirring often. Pack both onions and cooking liquid to cover in hot jars, leaving 1/2 inch head space. Remove air bubbles. Wipe jar rims. Adjust lids. Process 10 minutes in a boiling water bath. Yield: About 8 pints or 16 half-pints.
Source: So Easy To Preserve
Strawberry Cupcakes

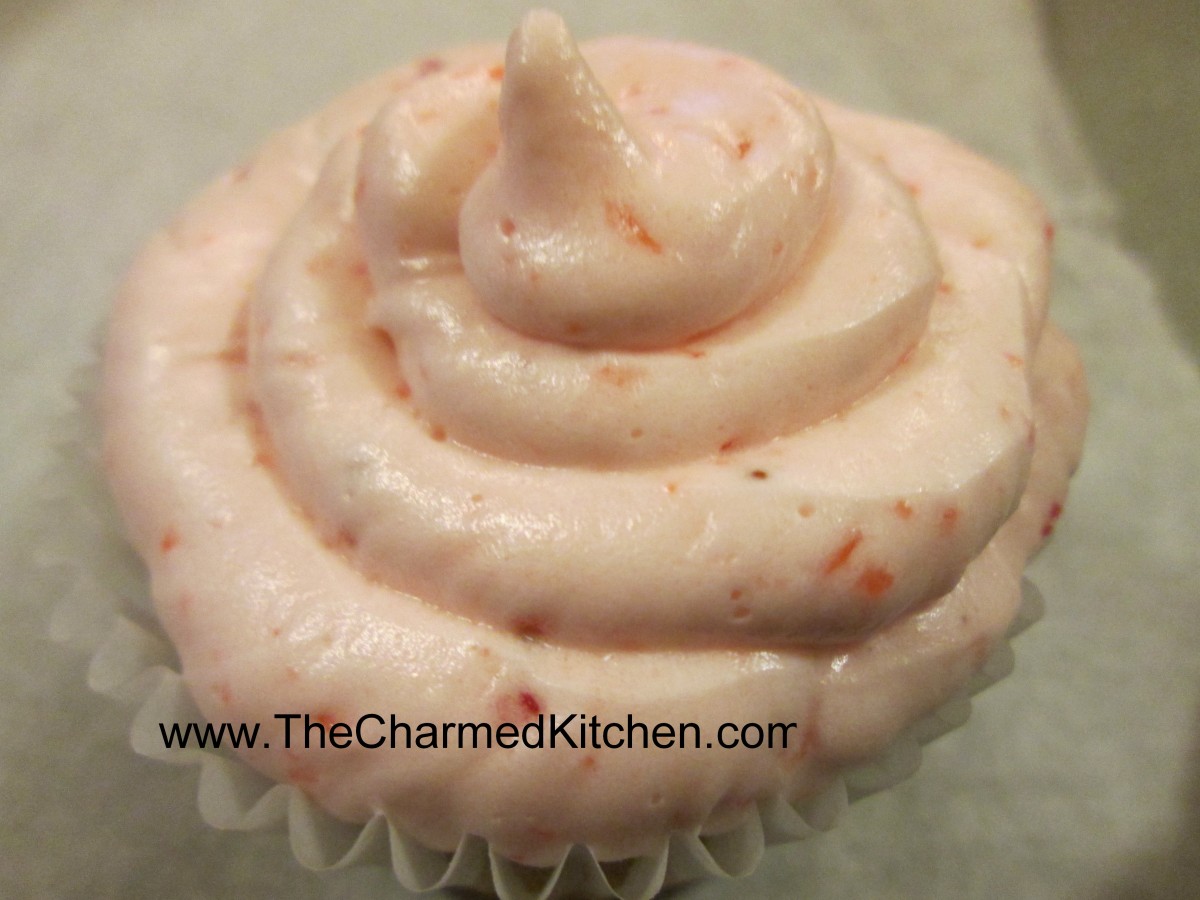
Fresh Strawberry Cupcake
I just don’t get tired of strawberries. Maybe because the season for local berries is so short- and sweet. Local strawberries are at all the markets now- and they are fabulous. The season for local berries is short and I try to use them as much as I can. I also will freeze some for use throughout the year.
I was making cupcakes for some friends and decided to make some with strawberries. As you might expect, they were a big hit. The berries add sweetness and color in a delicate, natural way. You could also make these with frozen berries. I like to get extra strawberries and freeze some, so I will have them, even when the season is over.
Strawberry Cupcakes
2/3 cup whole fresh strawberries
1 1/2 cups all-purpose flour, sifted
1 teaspoon baking powder
1/4 teaspoon coarse salt
1/4 cup whole milk, room temperature
1 teaspoon pure vanilla extract
1/2 cup (1 stick) unsalted butter, room temperature
1 cup sugar
1 large egg, room temperature
2 large egg whites, room temperature
Preheat oven to 350 degrees. Line a 12-cup muffin tin with cupcake liners; set aside. Place strawberries in a small food processor; process until pureed. You should have about 1/3 cup of puree, add a few more strawberries if necessary or save any extra puree for frosting; set aside. In a medium bowl, whisk together flour, baking powder, and salt; set aside. In a small bowl, mix together milk, vanilla, and strawberry puree; set aside. In the bowl of an electric mixer fitted with the paddle attachment, cream butter on medium-high speed, until light and fluffy. Gradually add sugar and continue to beat until well combined and fluffy. Reduce the mixer speed to medium and slowly add egg and egg whites until just blended.
With the mixer on low, slowly add half the flour mixture; mix until just blended. Add the milk mixture; mix until just blended. Slowly add remaining flour mixture, scraping down sides of the bowl with a spatula, as necessary, until just blended.
Divide batter evenly among prepared muffin cups. Transfer muffin tin to oven and bake until tops are just dry to the touch, 22 to 25 minutes. Transfer muffin tin to a wire rack and let cupcakes cool completely in tin before icing. Makes 12.
Strawberry Frosting
1/2 cup whole fresh strawberries or frozen strawberries, thawed
1 cup (2 sticks) unsalted butter, firm and slightly cold
Pinch of coarse salt
3 1/2 cups confectioners’ sugar, sifted
1/2 teaspoon pure vanilla extract
Place strawberries in the bowl of a small food processor; process until pureed. In the bowl of an electric mixer fitted with the paddle attachment, beat together butter and salt on medium speed until light and fluffy. Reduce mixer speed and slowly add confectioners’ sugar; beat until well combined. Add vanilla and 3 tablespoons strawberry puree (save any remaining strawberry puree for another use); mix until just blended. Do not over-mix or frosting will incorporate too much air. Frosting consistency should be dense and creamy, like ice cream. Makes enough for 1 dozen cupcakes.
Peach Chef Salad


Peach Chef Salad
When you think about cooking with peaches, don’t limit yourself to desserts and jam. Peaches can pair well with savory dishes, too. I often use peaches for glazes and sauces for meats.
In this dish, I paired peaches with traditional chef salad ingredients. I tossed the peaches in a homemade honey French dressing, then spooned them over the salad. The result was wonderful- and a great lunch or dinner option for hot weather.
You can top the salad with cheese, meats or both. I like to add some nuts, too. I made it for lunch yesterday and topped the salad with sharp cheddar cheese and bacon. I really liked the combination of the sweet fruit with the smoky bacon. Use what you like- and what you have on hand.
A chef salad is a great way to use up that leftover grilled chicken or that open package of cheese. Add extra veggies, too, if you like. It also makes a wonderful meal when you don’t want to cook. Lovely, cool meal for a hot day.
Peach Chef Salad
Honey French Dressing:
1/3 c. honey
1/4 c. white wine vinegar or cider vinegar
1 t. paprika
1 t. dry mustard
1/4 t. salt
1/2 c. olive oil
3 cups chopped peaches
Salad:
6 c. torn salad greens
12 oz. cooked chicken, turkey, ham etc, cut into strips
1 c. cubed cheese
1/2 c. cashews, optional
To make the dressing, in blender, combine first five ingredients and start running machine on high. Add oil in a slow stream until mixture becomes thickened. Pour into bowl and stir in peaches and chill, several hours if you can. When ready to serve arrange greens on one large platter or on smaller salad plates. Arrange meat and cheese on platter or plates. Spoon over the peach/dressing mixture, add cashews, then serve. Serves 4-6.
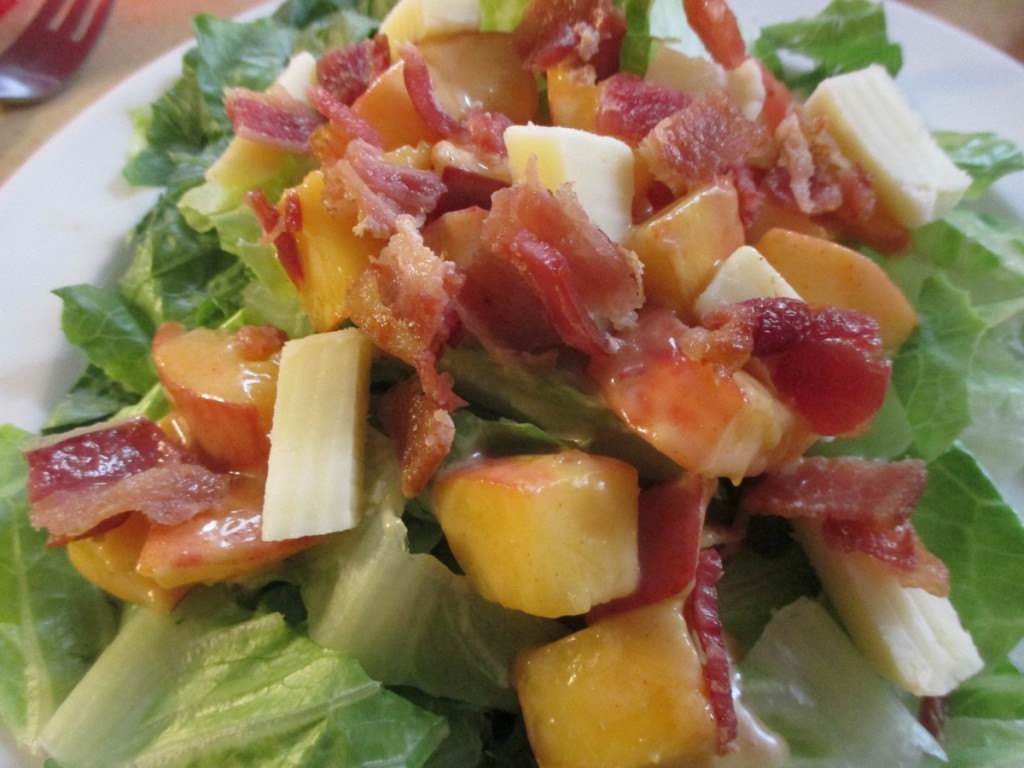
Salad topped with bacon and cheese


