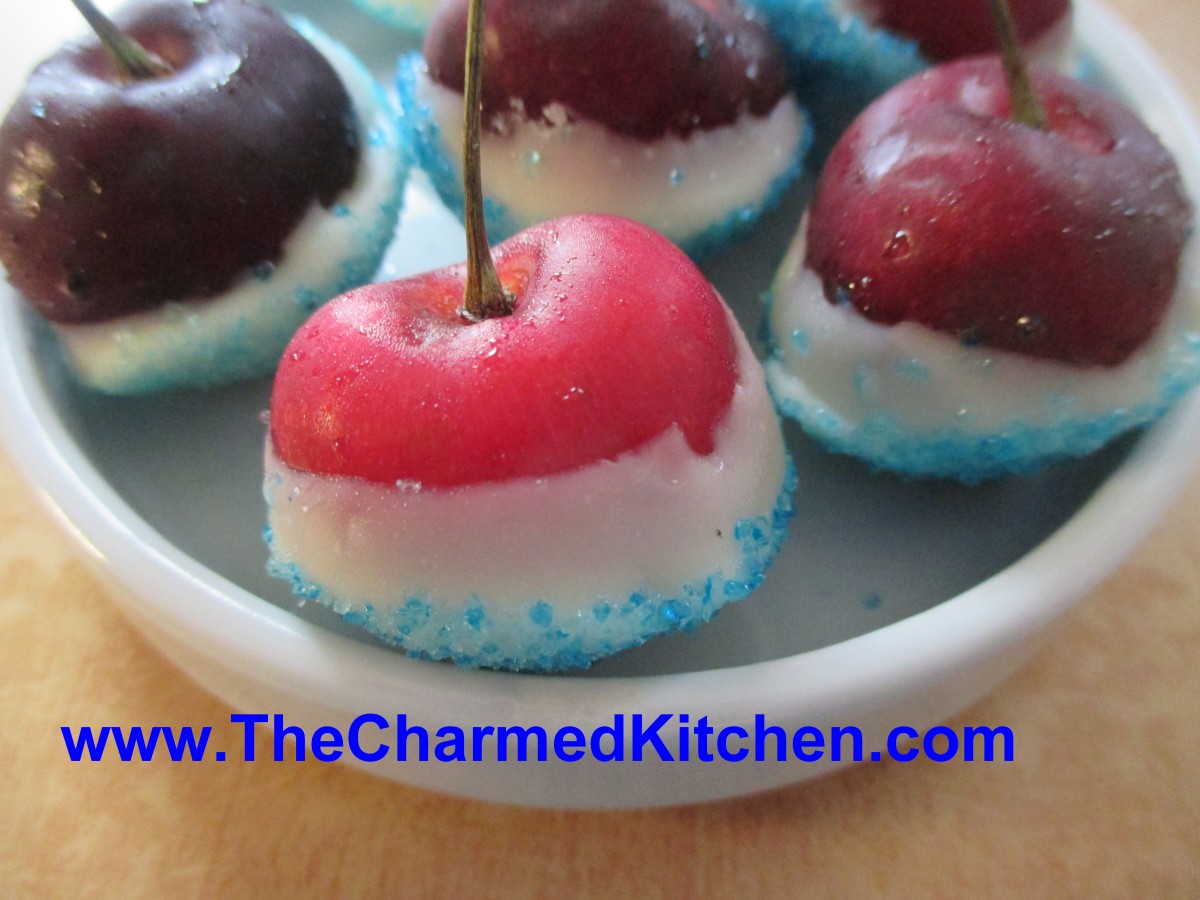
Cherry Bombs

These little treats make a great addition to your 4th of July party. They are simple to make, with only three ingredients. You can make them in no time at all. It is a fun treat for kids to make, too.
Think of the cherry bombs as a type of candy. A simple, sweet treat that can be served just as they are. They can also be used to top a cake or other dessert. You can even garnish a cocktail with them. I did the same thing with strawberries, but “strawberry bombs” did not have the same ring to it.
To make the cherry bombs, you will need cherries, white chocolate and blue sugar. If you don’t have blue sugar, you can put granulated sugar in a bag, add a few drops of blue food coloring, seal the bag and shake it up. The sugar will turn blue. You could also use blue sprinkles.
Wash and dry off some large, sweet cherries. Melt white chocolate, stirring until smooth. Dip the cherries in the white chocolate, then the blue sugar. Place on wax paper to firm up. Store in fridge.
Minty Cocoa Love Hearts
Minty Cocoa Hearts
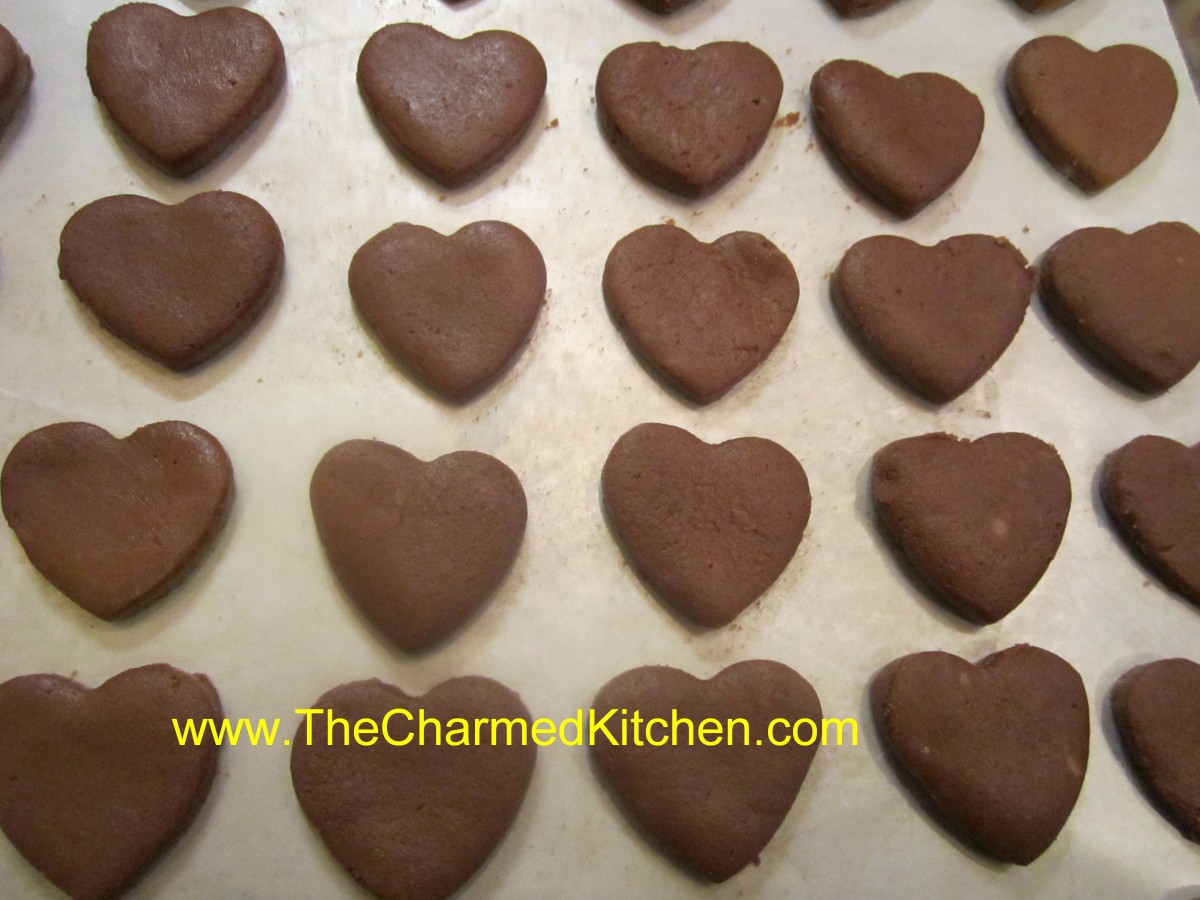
If you are looking for a simple chocolate treat- that requires no cooking – try Minty Cocoa Love Hearts. They are tiny, but pack a lot of flavor.
This easy to make candy is made with just a few ingredients. The “dough” is mixed and rolled out. Then you just cut them out into little hearts.
They taste great and they are also a nice project for kids. There is no special equipment needed other than a tiny heart-shaped cookie cutter.
Once they have time to set up- they can be boxed up- or wrapped in individual foils.
So if time is short, and you really want to make something homemade this Valentine’s Day- these could be the answer.
Minty Cocoa Hearts
9 c. powdered sugar
1 c. cocoa
1/2 c. butter, softened
1/2 c. water
2 t. peppermint extract
In large bowl combine ingredients until well blended. You can add more water, if needed, 1 teaspoon at a time. Divide mixture into 2 pieces and shape in balls. Place each between sheets of wax paper and roll out to 1/4 -inch thickness. Cut out with tiny cutters and place on foil-lined tray. Chill several hours, then wrap up in colored foil or place in tiny candy bags. Makes 80 (1-inch) candies.
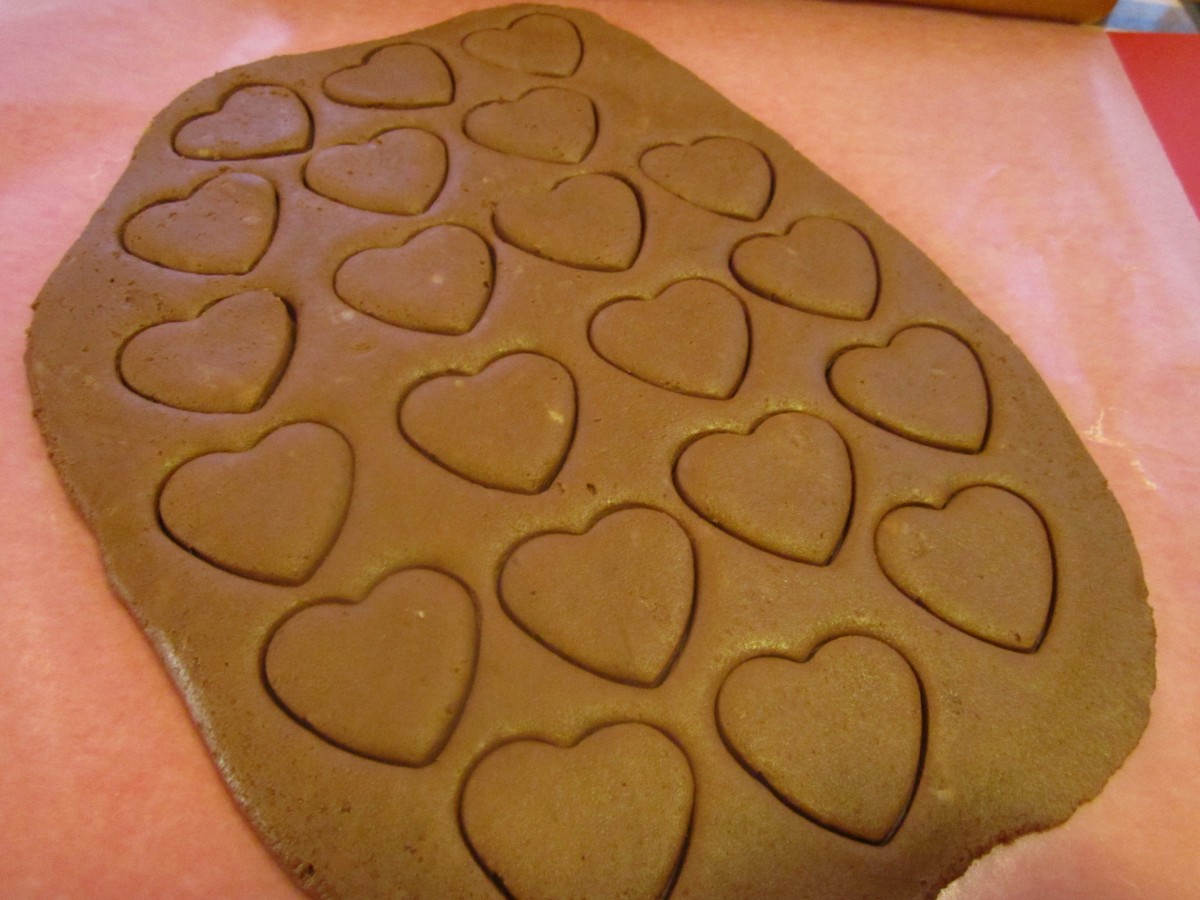
Cut out hearts
Easy Homemade Cashew Brittle
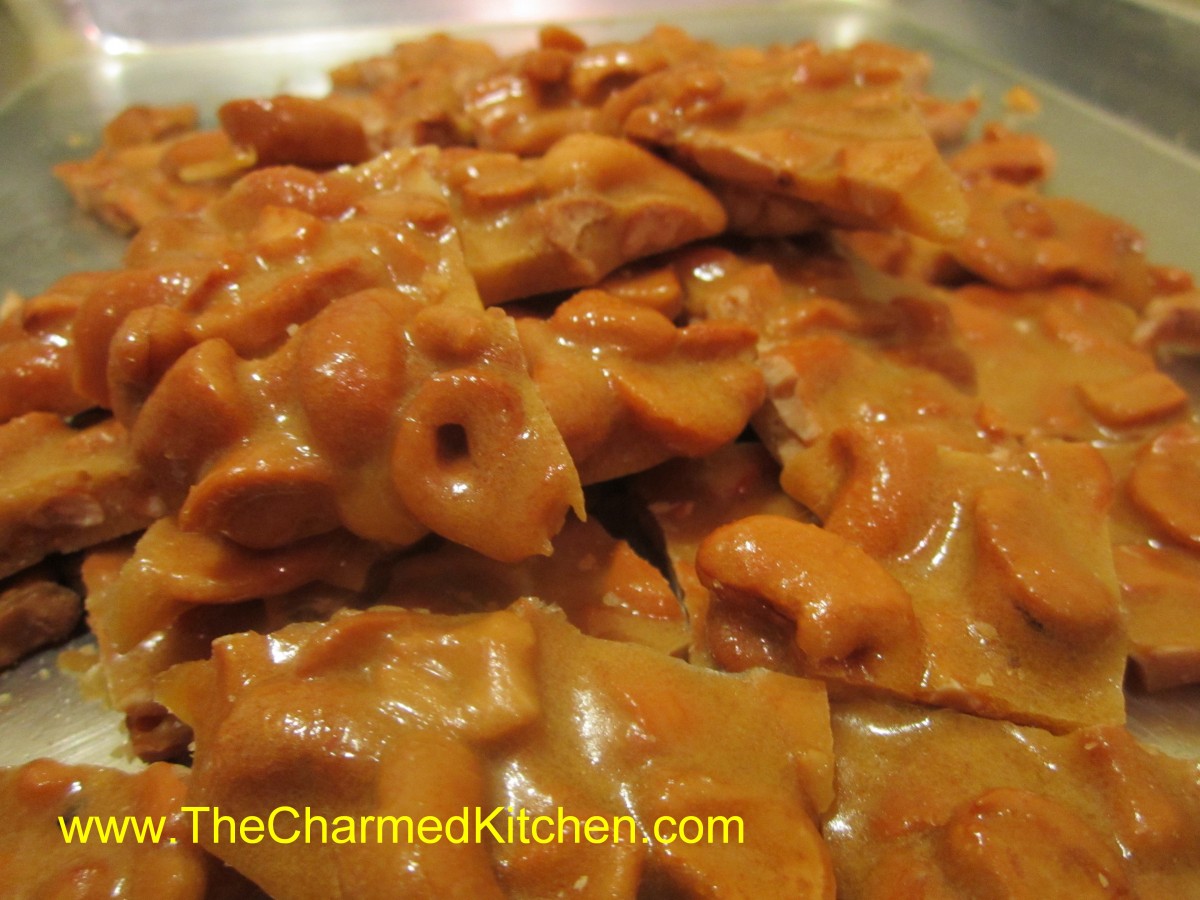
Homemade Cashew Brittle
If you need a great food gift- perhaps something to bring to a holiday party- this brittle might just be the answer. This is also a great option when you just don’t have a lot of time. It is fast and easy to make.
I was given this recipe at a craft show a few years ago. The brittle is cooked in the microwave. No special thermometers or equipment required. Just a glass bowl and a few minutes of your time. It could not be simpler. It is really good, too.
You can use other nuts, if you prefer, or peanuts. You can add a little cayenne pepper, if you want a spicy version. You can also dress it up with a drizzle of chocolate, once cooled. So many ways to enjoy it.
Stored in a covered container, in a cool, dry place, the brittle will stay crunchy for weeks.
Homemade Cashew Brittle
2 c. cashews*
1 c. sugar
1/2 c. corn syrup
1/8 t. salt
1 t. butter
1 t. vanilla
1 t. baking soda
Butter or oil a large baking sheet and set aside. In a 3-4 quart glass bowl combine the nuts, sugar, corn syrup and salt. Microwave on high for 3 minutes. Remove from microwave, stir well and return to microwave. Cook 3 more minutes in microwave. Remove and stir in butter and vanilla, stirring until butter has melted. Return to microwave and cook for 2 more minutes. Remove from microwave and stir in baking soda. Stir until well blended and pour mixture onto prepared baking sheet. Spread out quickly, then allow to cool. Once cool, break into pieces. Store in a cool, dry place. I normally store it in a tin or plastic container with a tight-fitting lid.
* I used salted cashews but feel free to experiment with other nuts
Note: Use high power setting on microwave.
Sugared Nuts
Sugared Nuts
If you are looking for a quick, homemade food gift, make these nuts!!!! Or forget the gift giving- just make a batch for yourself.
Many years ago, my sister Cindy gave me the recipe for making these nuts. I make at least a few batches every year.
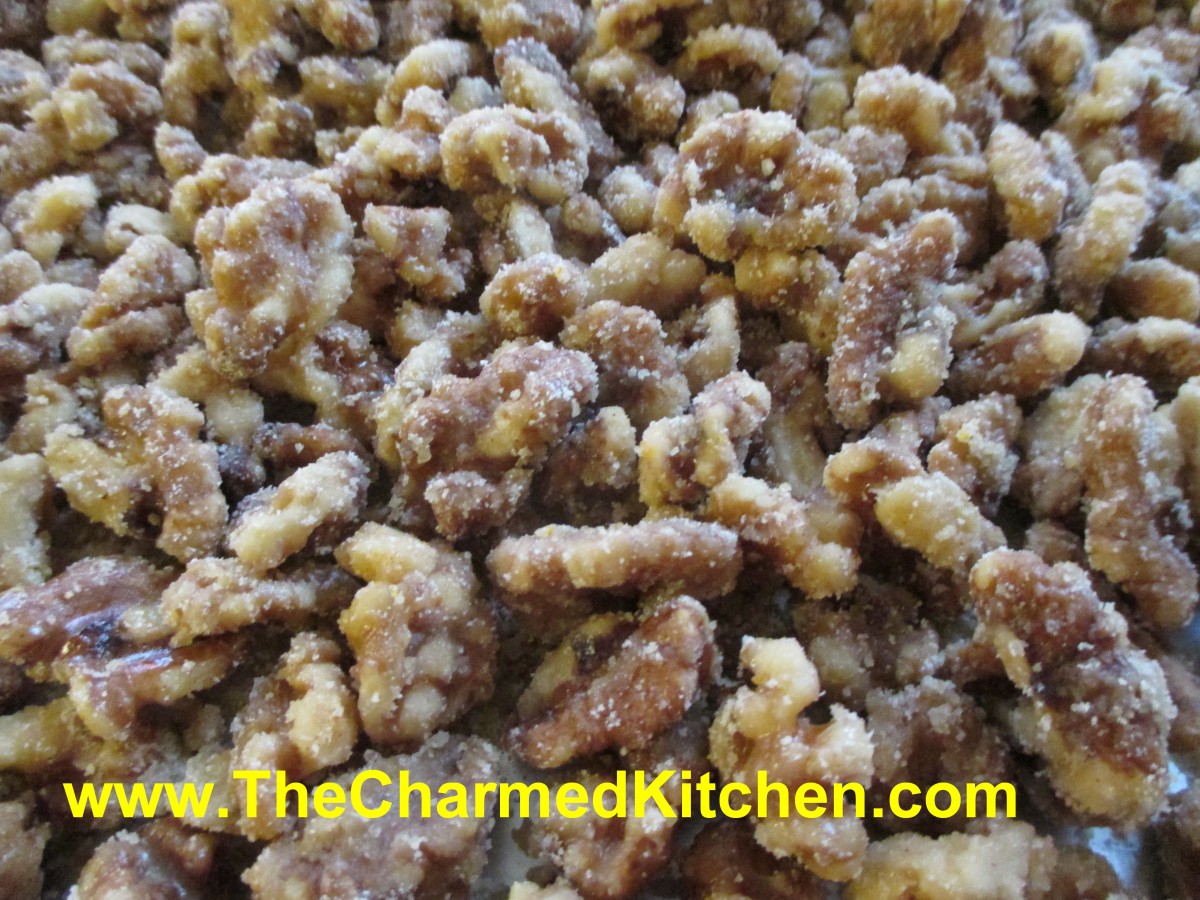
I will admit to tweaking the recipe a little over time, but the basics are still the same. Nuts are placed in a heavy skillet with sugar, water and seasonings. The mixture is then brought to a boil and cooked until most of the liquid cooks off.
This takes about 10 minutes, give or take. You dump the nuts onto a cookie sheet, and start stirring immediately. If you don’t stir them, they will stick together.
This is where the magic happens. The nuts look wet when you pour them out and start stirring, but in a few minutes, they cool and dry, and the sugar crystallizes on the nuts.
Once cooled, the nuts are crunchy and sweet and very tasty. You can use them as a snack, or in all sorts of recipes. This is a really fast confection to make, and is a nice gift, too.
Sugared Nuts
4-5 c. nuts, I like walnuts or pecans
2 c. sugar
1 c. water
1 t. cinnamon
1 t. orange peel
1 t. salt, optional
Place all ingredients in heavy skillet and cook over medium heat, stirring often, until all the water disappears. Whatever liquid in the pan will be clinging to the nuts and syrupy. Dump nuts onto a large cookie sheet and break apart with a wooden spoon to prevent clumping. As nuts cool, stir once or twice to remove any remaining clumps, and to cool faster. Nuts will lose their glossy appearance and attain a sugary crust. If it looks like nut soup, you didn’t cook them long enough, and you must return all to the skillet and cook longer. As the nuts start to get drier during cooking, you can turn down the heat a little to prevent burning. Once you’ve made a few batches, though, you will get good at judging when to stop cooking. You can also make a spicy version by adding a teaspoon of cayenne pepper along with the other ingredients. Store in cool, dry place to keep nuts fresh longer.
Halloween Candy Mini Cheesecakes
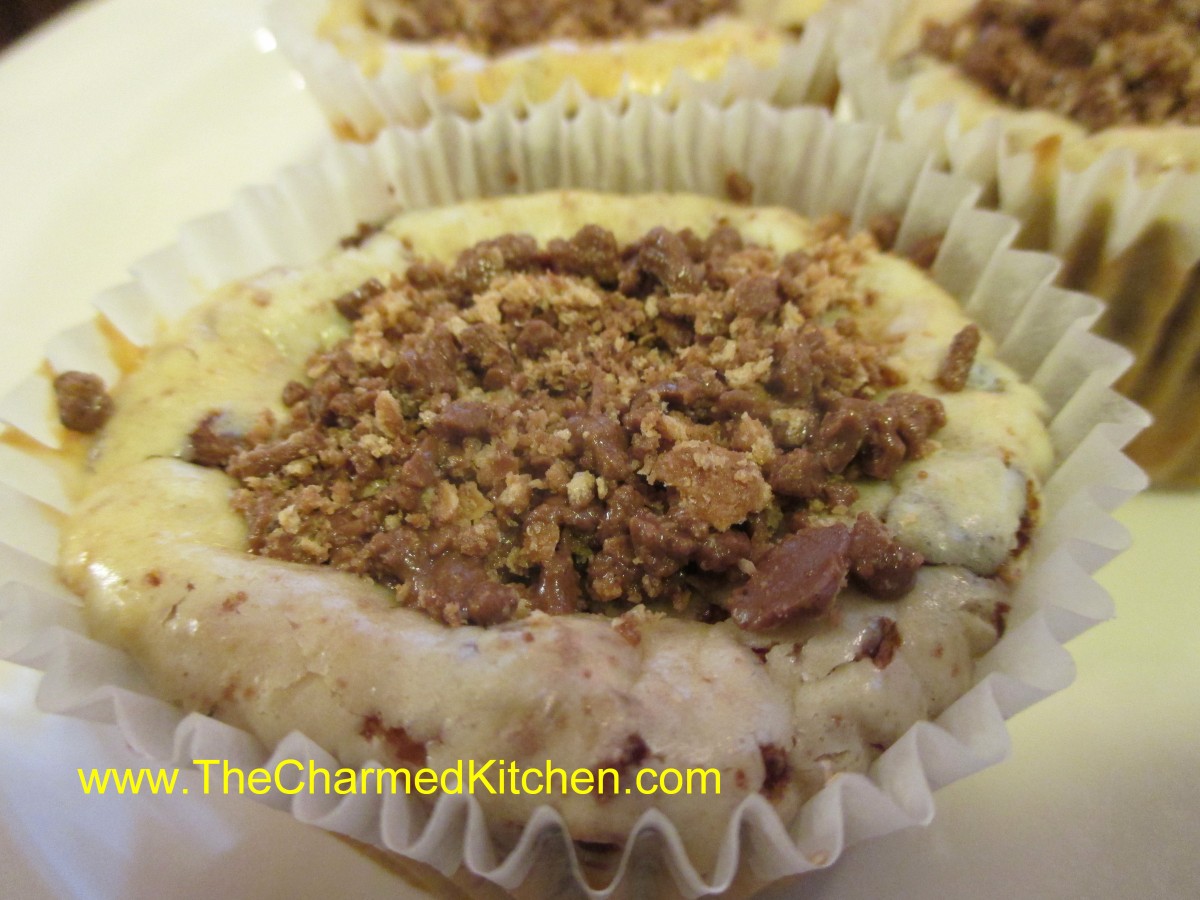
Kit Kat Mini Cheesecake
Sometimes you end up with leftover Halloween candy. It’s very cold here today, so I doubt there will be as many kids out as usual. I am sure some of you will have leftover candy.
You could just eat the candy- or you can transform it into a dessert.
The idea I came up with was mini cheesecakes. I’ve made them before, so I used my recipe, and just folded in crushed candy bars. Once the cheesecakes cool they deflate a little, so I also added some crushed candy bars to the top to make them look nice.
Only change from the original recipe was a slight decrease in sugar to compensate for the extra sweetness of the candy. I used what I had, but I am sure a lot of different candy bars would work. I used a small food processor to really crush up the candy bars. I made 2 batches, one with cookies and cream candy bars and the other with Kit Kat bars.
Halloween Candy Mini Cheesecakes
12 vanilla wafers
2 (8 oz.) cream cheese, softened
1/3 c. sugar
2 t. vanilla
2 eggs
2/3 c. crushed candy bars plus 1/4 c. crushed candy bar, for topping
Line 12 muffin tins with paper liners. Place 1 wafer in each. Beat together remaining ingredients (except candy) for 1 minute with electric mixer. Fold in candy. Divide this mixture in the muffin tins, filling each 3/4 full. Bake 25 minutes at 325 degrees. Cool and decorate with extra crushed candy. Makes 12. These can be frozen.
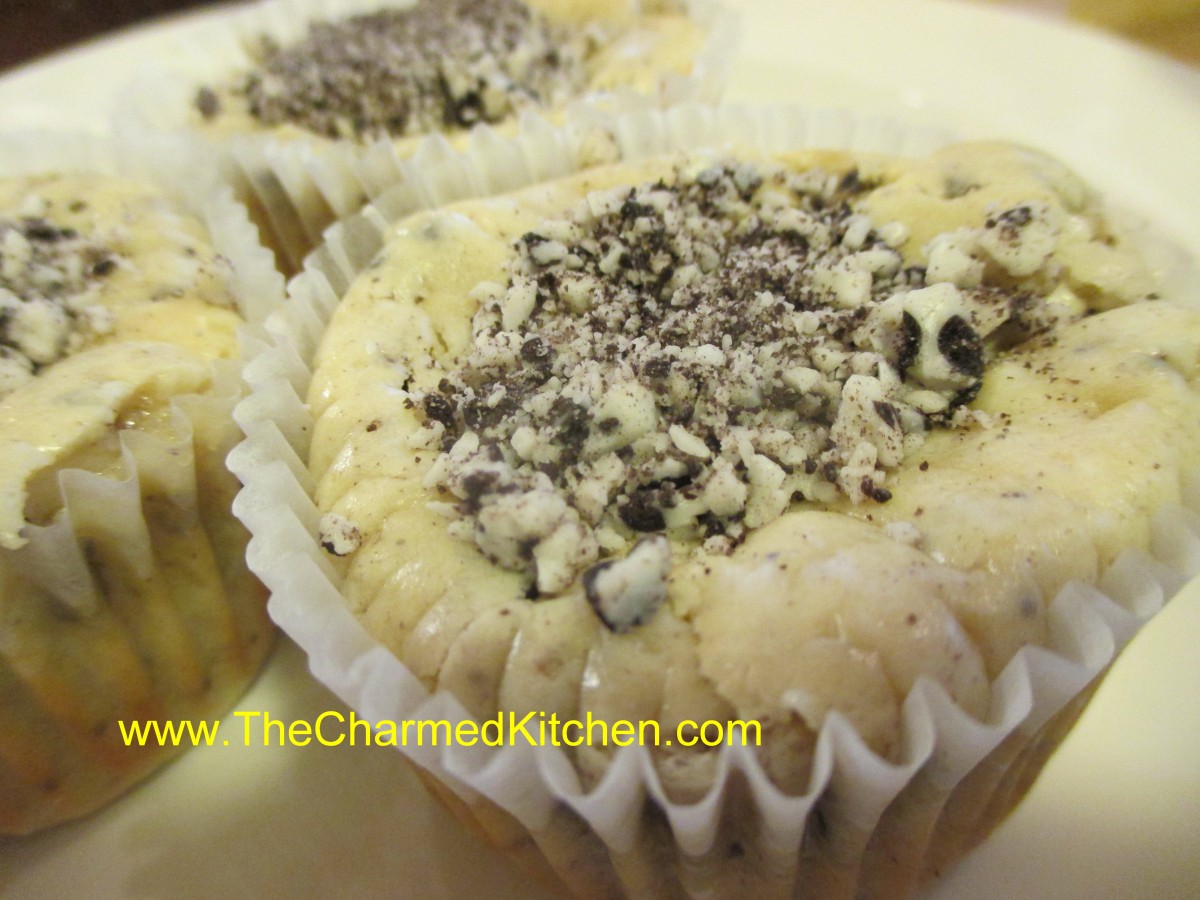
Cookies and Cream Mini Cheesecakes

Leftovers
Spooky Candy Spiders
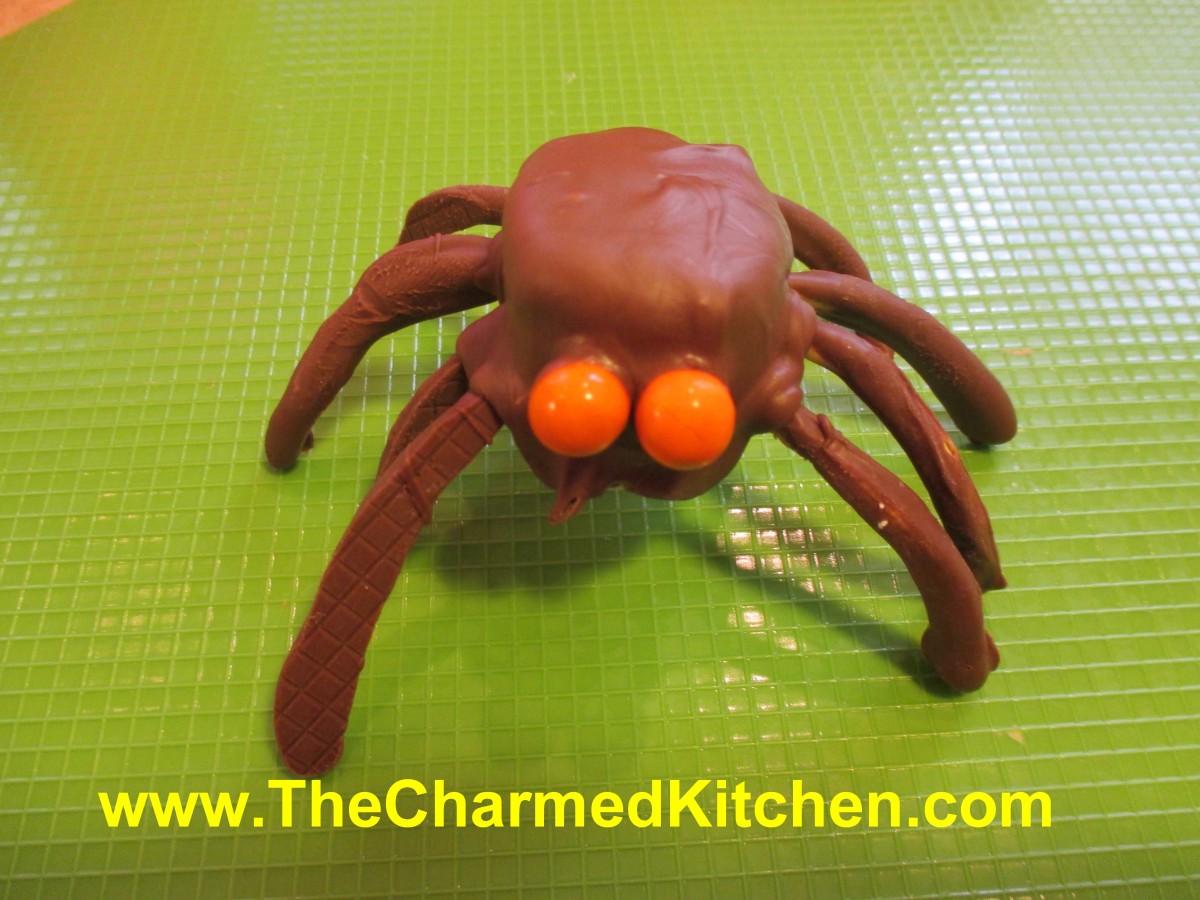
Candy Spider
This is the only kind of spider I want in my house. If you are looking for a quick spooky decoration/treat idea, you might want to make some candy spiders. These are about the size of a tarantula. Super simple and kids can make them, too. You only need a few ingredients. The body is made from marshmallows, the legs are chow mein noodles and the eyes are small candies. I used melting chocolate, but you can use any kind of chocolate you like.
To start, melt some chocolate. Dip the chow mein noodles in the chocolate and tap gently to remove excess. I leave one end un-dipped to make it easier to stick in the marshmallow later. Allow to harden up before going to the next step. I set them on a flexible cutting board, but wax paper is good, too. You have to peel them off later, a flexible surface is best. You’ll need 8 for each spider- so be sure to make enough. Allow for breakage. Set a marshmallow flat side down and poke 4 holes in each side, 8 total. I used a bamboo skewer. Stick a noodle “leg” in each hole. Spoon chocolate over the marshmallow until coated. Whatever drips off can be re-melted and used again. While the chocolate is still soft, press 2 candy eyes into place. Hold them for a minute to be sure they are secure. Now, you can decorate cakes with them, use them on a dessert tray- or just eat them.
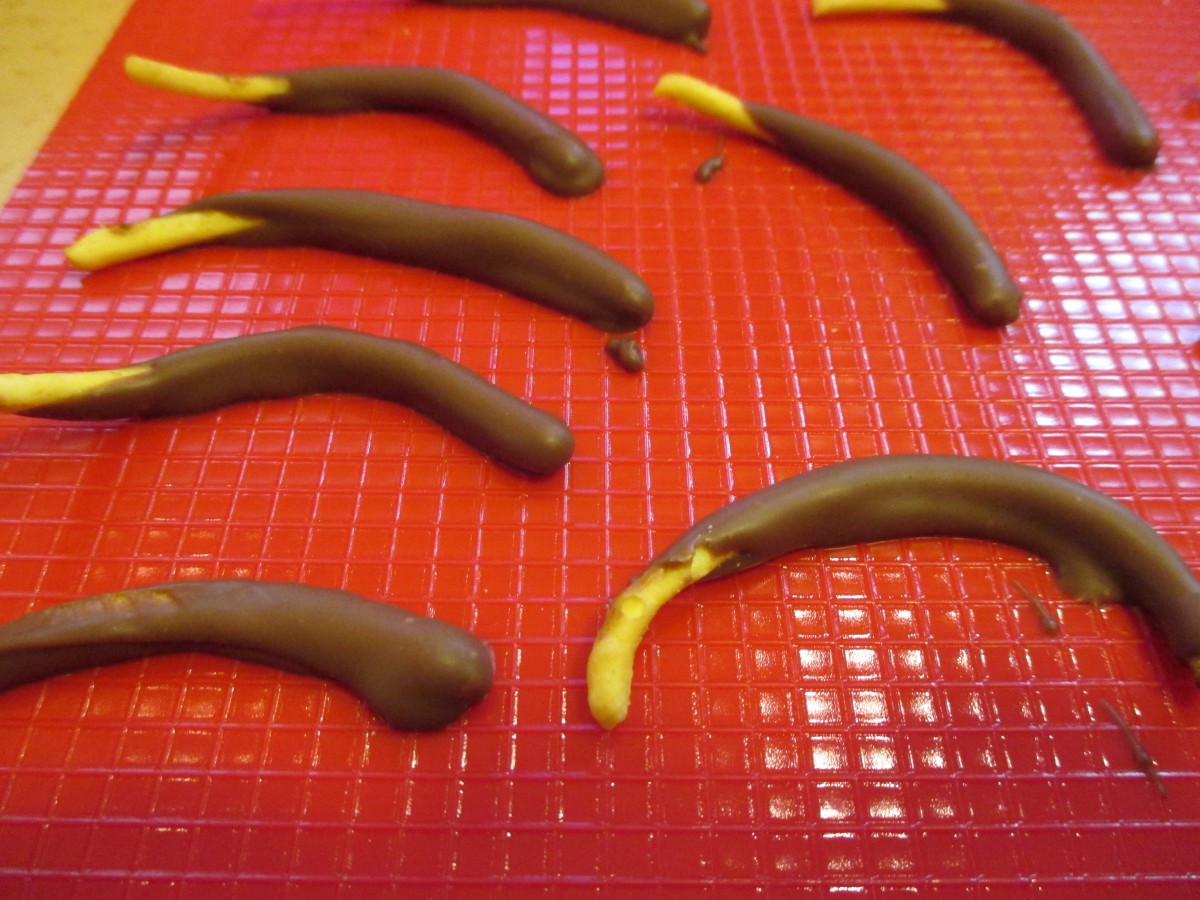
Chow mein noodle legs

Insert legs into marshmallow
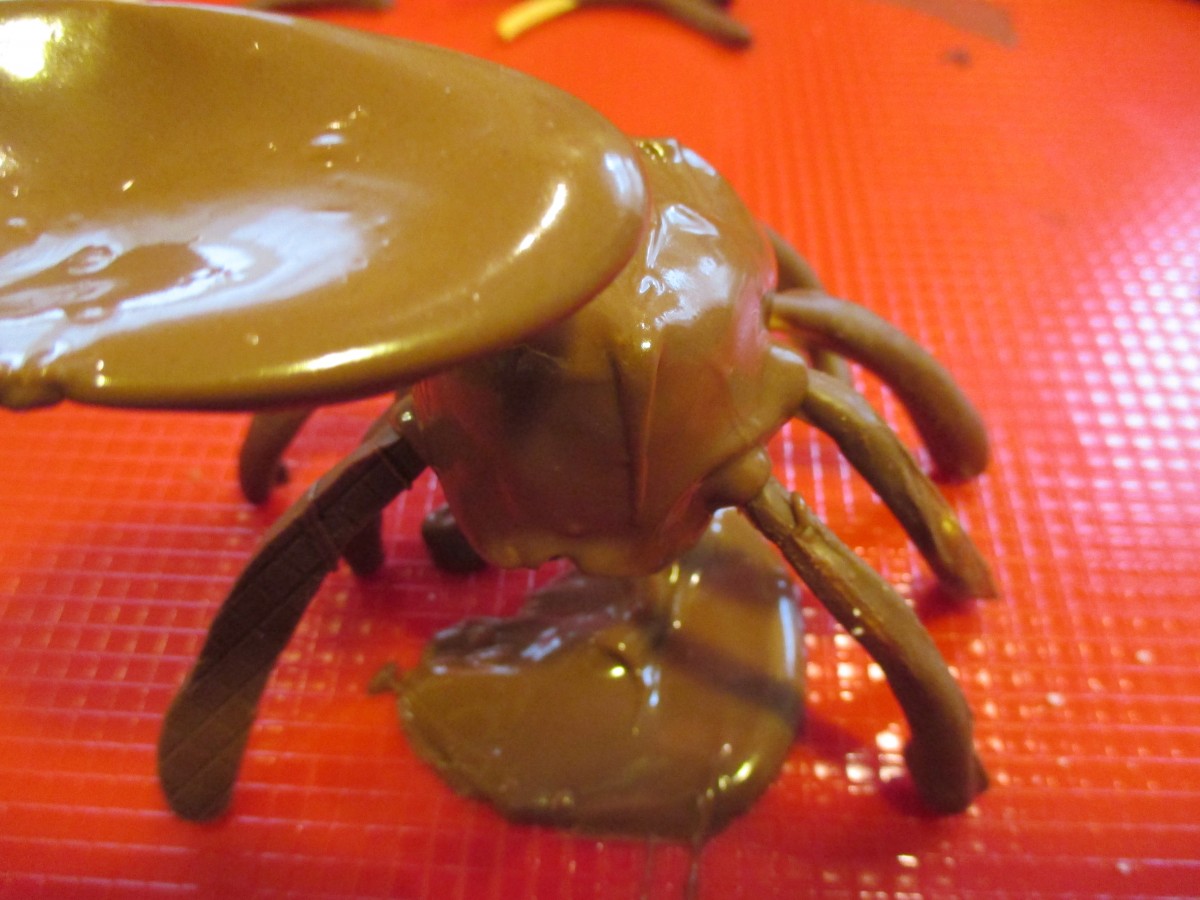
Spoon chocolate over the marshmallow to cover it.
Marshmallows
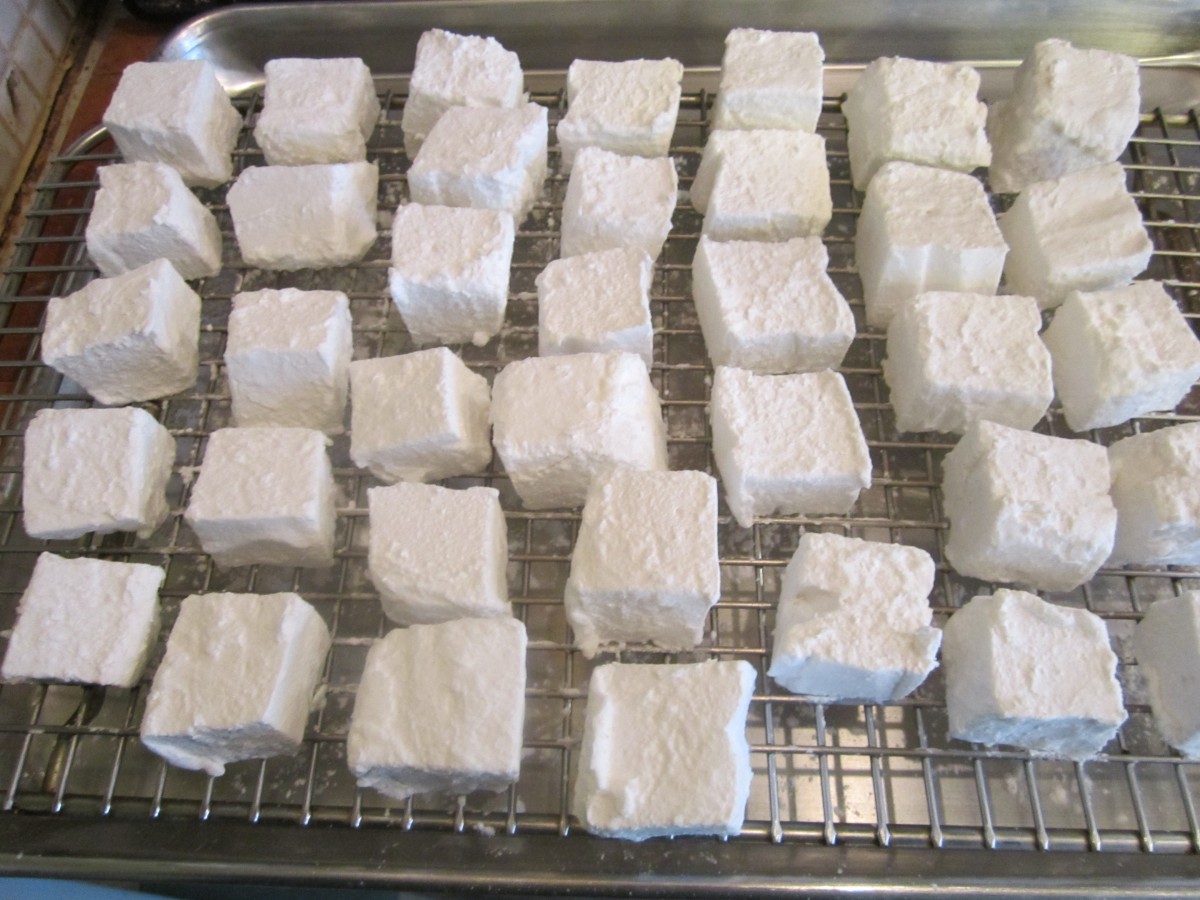
Freshly rolled marshmallows
Homemade marshmallows were a big hit in cooking camp. The kids were fascinated that this little bowl of ingredients would whip up so light and creamy- and sticky. I think that was part of the fun.
They all took turns holding the mixer. It does take 15 minutes of mixing to get the result you want. Use a stand mixer, if you can.
We made classic vanilla marshmallows today, but you can add different flavors and even colors, if you like. How fun to enjoy a S’mores made with homemade marshmallows.
As promised, here is the recipe for making marshmallows. I’ve used this recipe for ages. I like that it is super easy, and still gives you quality marshmallows. I’ve seen more complicated versions- but why make life harder than it already is?
Marshmallows
1/2 c. cornstarch
1/2 c. powdered sugar
small amount of butter
2 envelopes unflavored gelatin, or 6 sheets of gelatin*
1/2 c. granulated sugar
1/3 c. water
2/3 c. corn syrup
1/2 t. vanilla
Combine cornstarch and powdered sugar in a small bowl. Butter an 8x8x2 inch-baking pan. Sprinkle with some of the cornstarch mixture. Reserve the rest of the mixture for use later on. Combine the gelatin, granulated sugar and water in a small saucepan and cook over low heat, stirring constantly until gelatin is dissolved.** Pour gelatin mixture into a large bowl, adding the corn syrup and vanilla. Beat with an electric mixer on high speed for 15 minutes. Be precise on the timing. The mixture will be thick and fluffy, marshmallow cream, actually. Pour mixture into the prepared pan, spread evenly and refrigerate overnight. The next day, sift some of the reserved cornstarch mixture over the marshmallows. Sprinkle some more of the coating mixture on a work surface and turn the marshmallow out onto the prepared surface. Cut the marshmallows into 1-inch squares, coating as you go. The marshmallows are very sticky until completely coated. Allow to dry on a rack. Store in an airtight container for up to 3 weeks. Makes about 4 dozen candies.
You can swap out flavorings- using maybe mint or lemon in place of the vanilla. You can also add a few drops of food coloring, if you like. Oh, and when you are at the rolling the pieces around in the cornstarch and powdered sugar stage of the process- don’t wear black. You’ll thank me later for that.
* Note: 3 sheets of sheet gelatin= one packet (1 tablespoon) of powdered gelatin.
** Note: If you are using sheet gelatin place it in the pan with COLD water and stir until dissolved. Then add the sugar and just cook, over medium-low heat until just warm, stirring often. Don’t let the mixture get too hot or the gelatin will not work.

Dissolve gelatin in water

Cook with water and sugar until warm
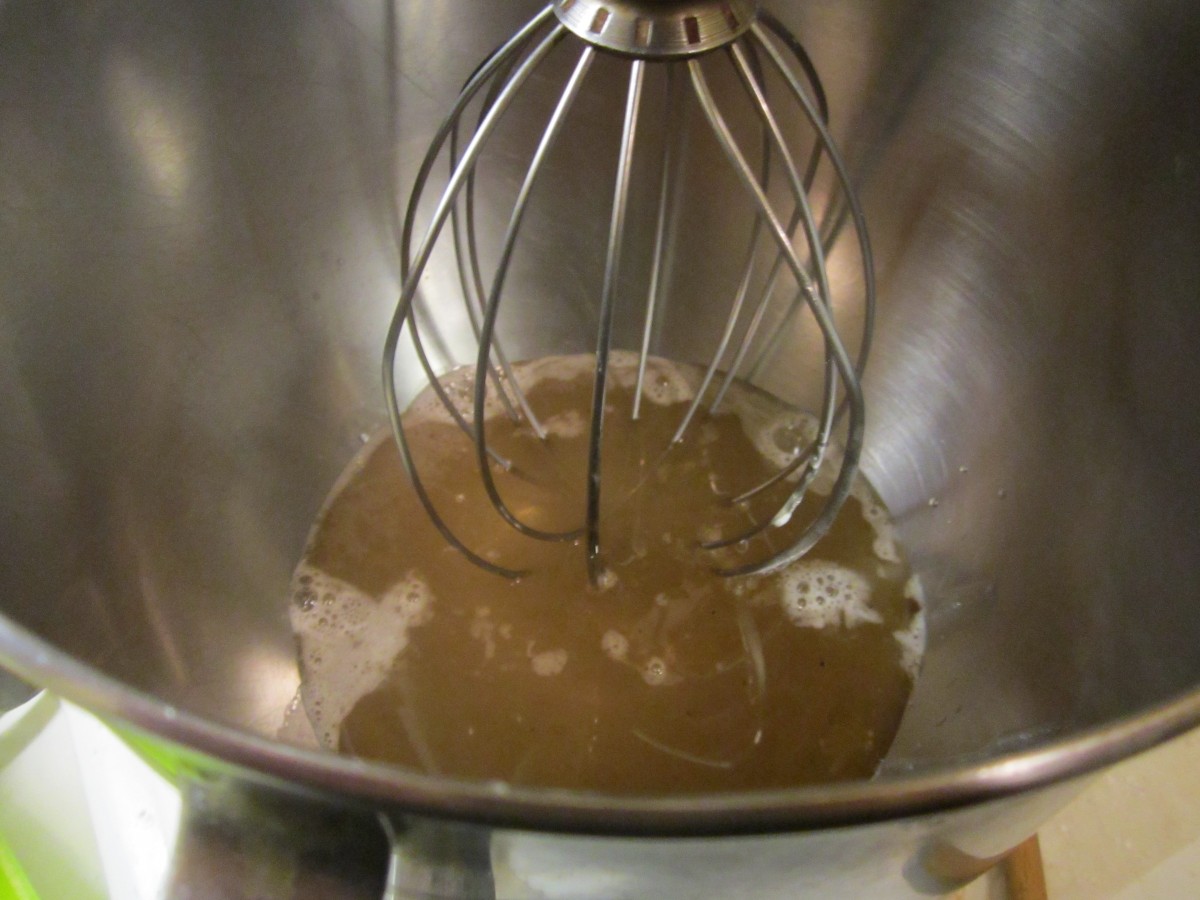
Combine with remaining ingredients in mixer
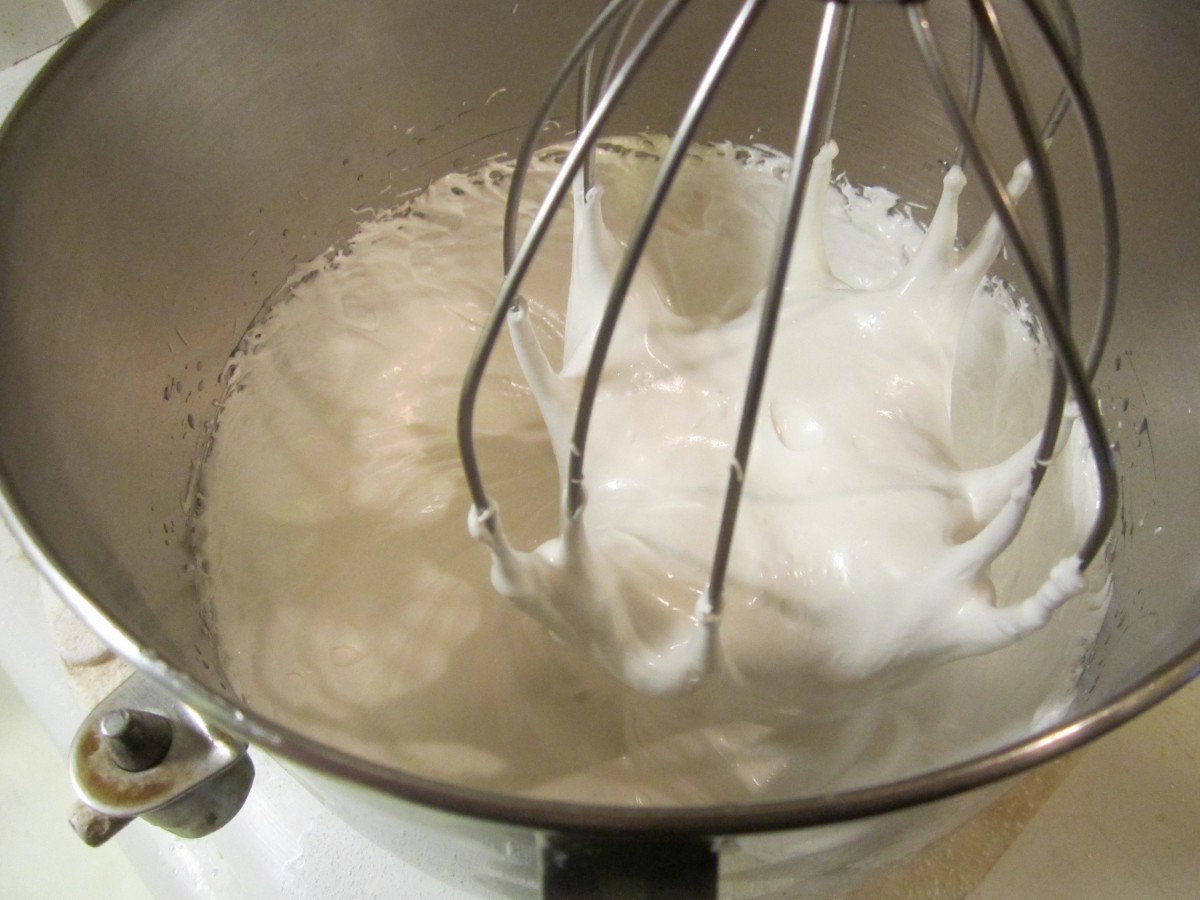
Mixture after 15 minutes of whipping

Spread in prepared pan and chill

Cut into squares

Roll in cornstarch/powdered sugar mixture
Cherry Bombs
Cherry Bombs
These little treats make a great addition to your 4th of July party. They are simple to make, with only three ingredients. You can make them in no time at all. It is a fun treat for kids to make, too.
Think of the cherry bombs as a type of candy. A simple, sweet treat that can be served just as they are. They can also be used to top a cake or other dessert. You can even garnish a cocktail with them. I did the same thing with strawberries, but “strawberry bombs” did not have the same ring to it.
To make the cherry bombs, you will need cherries, white chocolate and blue sugar. If you don’t have blue sugar, you can put granulated sugar in a bag, add a few drops of blue food coloring, seal the bag and shake it up. The sugar will turn blue.
Wash and dry off some large, sweet cherries. Melt white chocolate, stirring until smooth. Dip the cherries in the white chocolate, then the blue sugar. Place on wax paper to firm up. Store in fridge.


