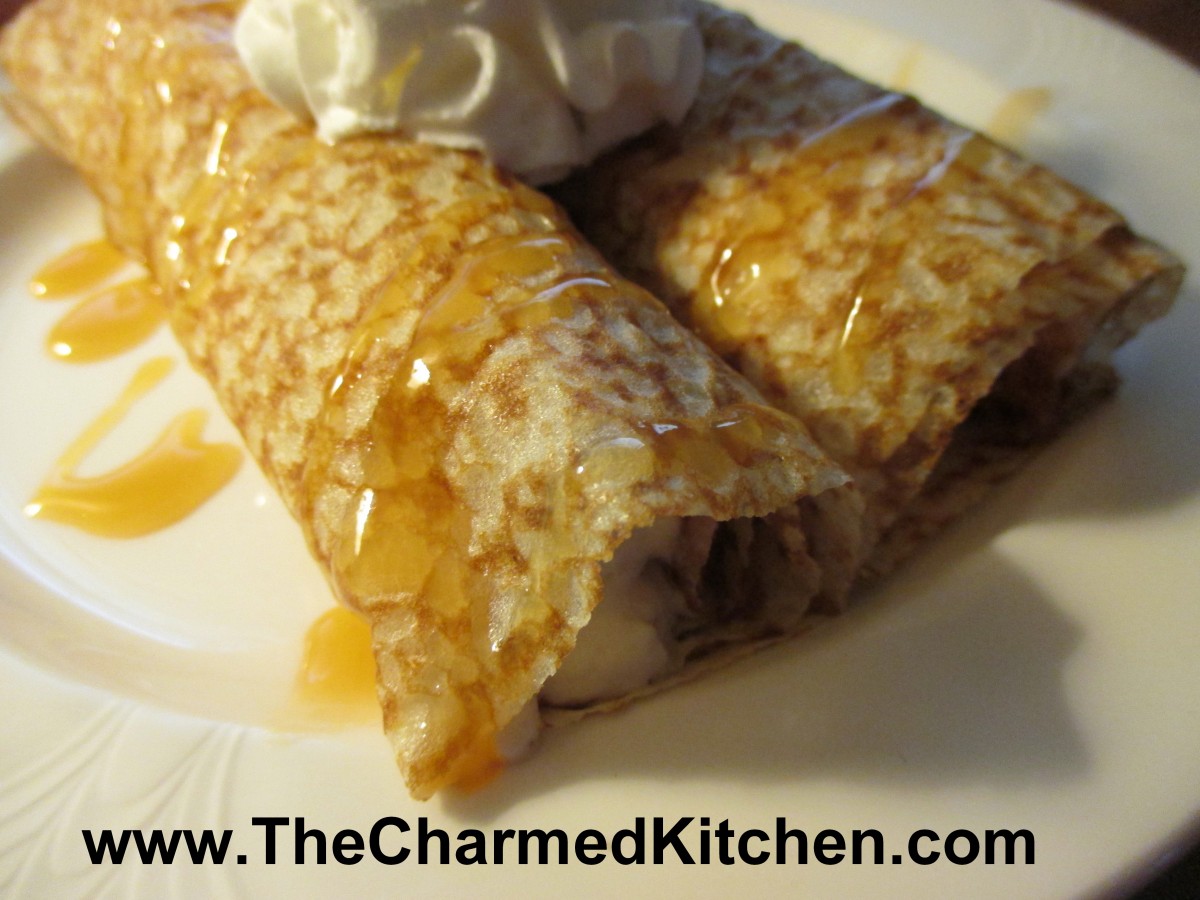
Caramel Crepes with Honey Ice Cream
Caramel Crepes with Honey Ice Cream
I had made dessert crepes last week and still had some in the freezer. It had been hot around here so I wanted something cold to serve for dessert.
I had made honey ice cream, so that part was covered. I made a simple caramel sauce to top the crepes and finished them with a little whipped cream. It really was an easy dessert, but looked special. Tasted pretty good, too. The thing is, you can get all the components made, then just put them together when you are ready to serve them.
When I make crepes, I often have extra and freeze them for later use. I was happy that I did. Of course, use any ice cream flavor you have. I will say, the honey ice cream is worth the effort. I just spooned some ice cream along one edge of the crepes, and rolled them up. I kept them in the freezer until ready to serve. Then I drizzled with the caramel sauce. Much easier than you might think.
Dessert Crepes
1 c. flour
4 eggs
1 1/2 c. milk
1 T. sugar
2-T. orange-flavored liqueur or orange juice concentrate
1/4 c. butter, melted and cooled
Mix all ingredients in blender (except butter) until smooth, scraping sides often. Add butter and blend well. Let stand for 30 minutes before using, or can be refrigerated, covered, overnight. Beat again, just before using.
Heat 6 or 7 inch skillet. Brush with butter or oil and pour in about 2 teaspoons of batter, tipping pan to cover bottom of pan completely with batter. Cook until edges start to brown, turn over and cook until lightly browned (about 2 minutes per side.)
Crepes can be made day ahead or even frozen between sheets of waxed paper and frozen. Makes 20.
Here is another variation that would be great with chocolate or strawberry ice cream.
Chocolate Crepes
Add 2-3 T. cocoa to flour and mix well before blending. You will probably need to add 1-2 T. extra milk, but mix first.
Honey Ice Cream
1 ½ c. whipping cream
1 ½ c. half and half
2/3 c. honey
6 large egg yolks
Heat together cream and half-and-half to simmer . Whisk honey and yolks in a medium bowl. Gradually whisk in hot cream mixture. Return to pan and heat until mixture thickens (about 170 degrees) but do not boil. Strain into large bowl. Chill until cold. Process in ice cream maker. Makes 4 ½ c.
Easy Caramel Sauce
1 packed cup brown sugar
1/2 cup half-and-half
4 tablespoons butter
Pinch salt
4 t. vanilla extract
Mix the brown sugar, half-and-half, butter and salt in a saucepan over medium-low heat. Cook while whisking gently for 5 to 7 minutes, until it gets thicker. Add the vanilla and cook another minute to thicken further. Turn off the heat, cool slightly and pour the sauce into a jar. Refrigerate until ready to use. You can serve it cold, or warm a little before using.
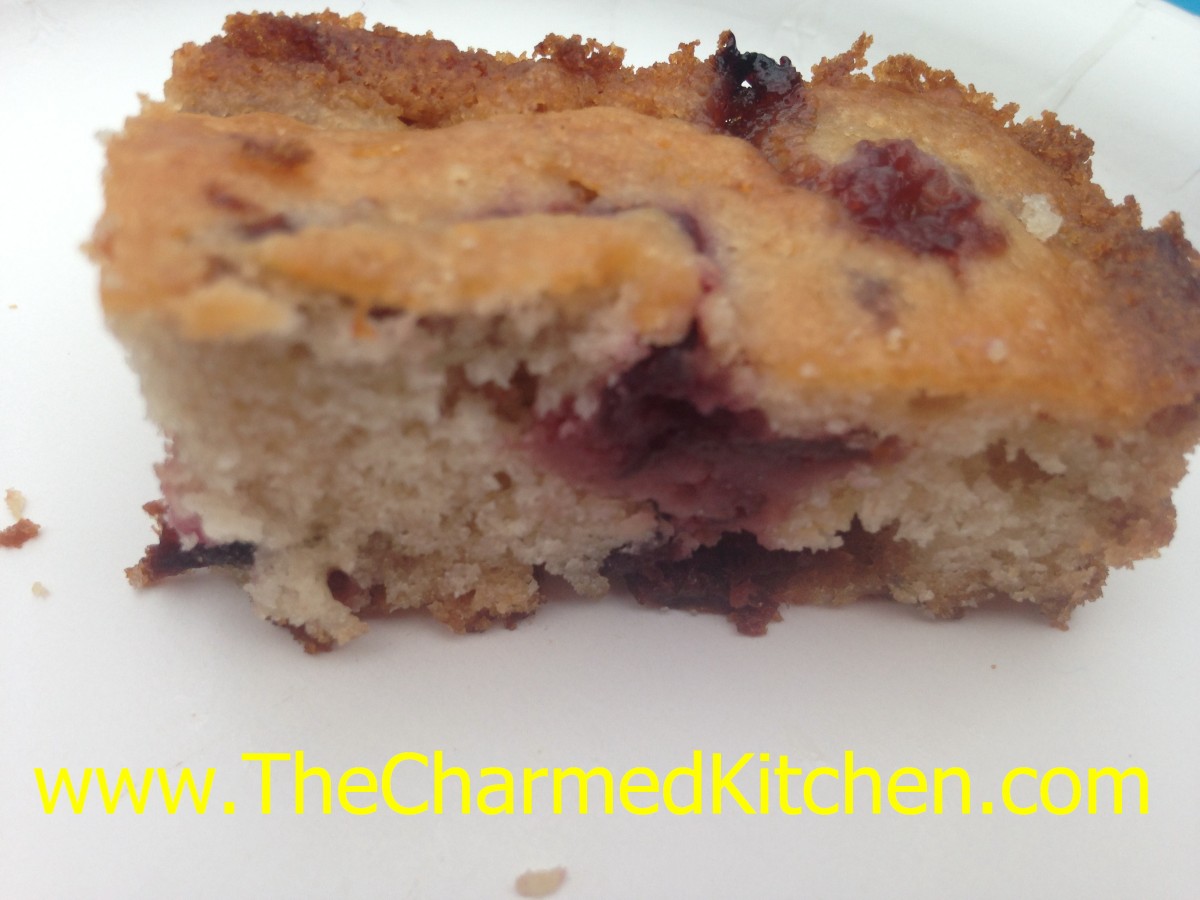
Fresh Cherry Cake
Fresh Cherry Cake
This cherry cake is the perfect summer dessert. It is full of fresh cherries and not too sweet. I love to serve it warm from the oven, but even at room temp, it is a crowd pleaser.
The cake is great, just as it is, but can also be dressed up with a scoop of ice cream, whipped cream or a drizzle of melted chocolate.
While fresh cherries are in season, I try to use them in as many dishes as I can. I also pit and freeze some to enjoy later. I used fresh, pitted cherries, but you could use frozen, if you prefer.
The recipe calls for biscuit mix- like Bisquick. You can use store bought, or even make your own. I included a recipe for homemade biscuit mix at the bottom of this post.
So here is the recipe. Enjoy!!
Fresh Cherry Cake
2 c. biscuit mix*
1/2 c. sugar
1/3 c. milk
2 T. oil
1 egg
1½ c. pitted cherries- sweet or sour
Preheat oven to 350. Grease and flour a 9×9-inch pan. Beat all ingredients together, except cherries, for about 30 seconds. Fold in cherries and pour into prepared pan. Bake for about 35 minutes. Cake should be golden brown on top and test clean with a toothpick. Serve warm, if you can.
*You can use Bisquick or Jiffy Mix, or use homemade. Recipe follows.
Pastry Mix/ Biscuit Mix
8 cups sifted, all-purpose flour
1 c. powdered milk
1 c. powdered buttermilk
¼ c. baking powder
1 T. salt
2 c. shortening**
Sift dry ingredients together 3 times. Cut in shortening to resemble cornmeal. Keep in an airtight container. Store in a cool dry place and use within six months.
**You can use coconut oil, if you prefer. If you do, chill coconut oil before making the mix, and store mix in fridge.
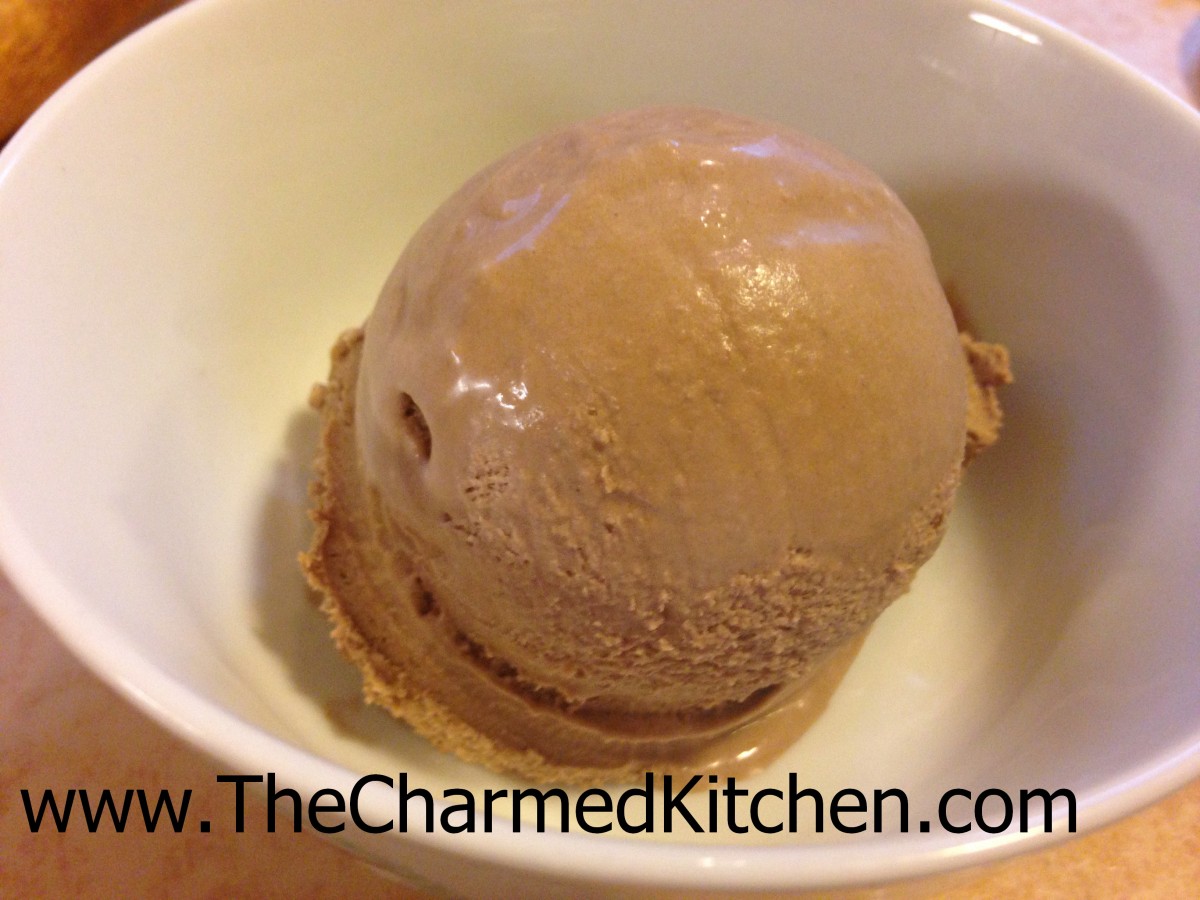
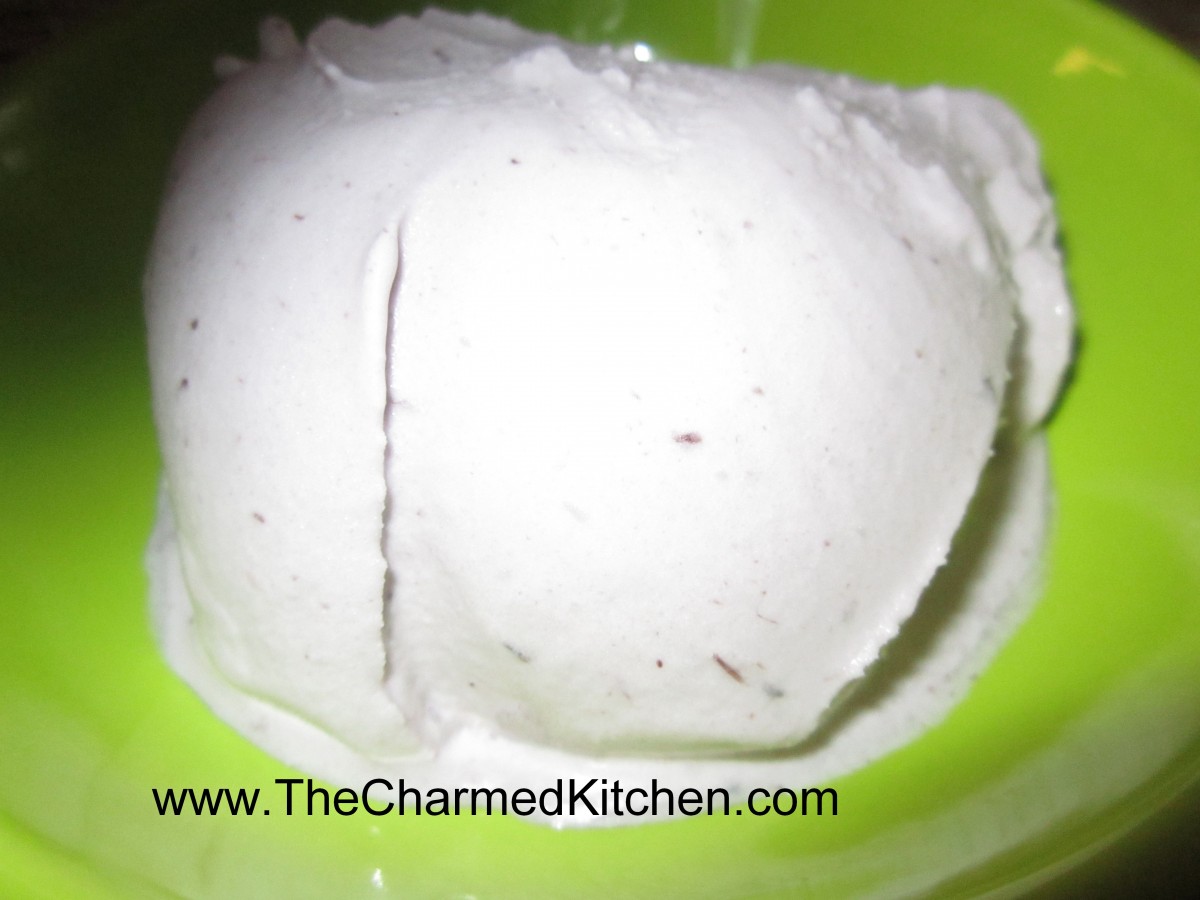
Homemade Chocolate Ice Cream
Homemade Chocolate Ice Cream
I love this ice cream. Smooth, creamy and full of chocolate flavor. What’s not to love? This is also the simplest ice cream recipe I have ever made. Seriously – the easiest.
For starters, you don’t need an ice cream maker. And the recipe is only two ingredients. You really can’t get easier than that.
This recipe came about because I hate to waste anything. I had a carton of heavy whipping cream that was getting close to it’s expiration date. I didn’t need it for anything, but didn’t want to waste it. I decided I could use it to make ice cream.
It was late and I was tired, so I wanted a quick fix. I put the whipping cream in my mixer and whipped it up. Once it got to stiff peaks, I started adding chocolate syrup. With the mixer still running, I kept adding syrup until the mixture was the color I wanted. I figured when it was the color of chocolate ice cream, I had added enough.
I put the mixture in a quart container, put on the lid and popped it in the freezer. It was a couple of days before I remembered it was in there. I gave it a taste. I was so pleased. It was very creamy and smooth.
So here is the recipe, although I guess I sort of already told you what to do.
Super Easy Homemade Chocolate Ice Cream
1 pint whipping cream
chocolate syrup to taste – I used around a half a cup- I think
Place whipping cream in a bowl and whip until stiff peaks form. With mixer running, add the syrup. Add until mixture is the color of chocolate ice cream. You can also give it a taste, to be sure. Place mixture in a container with a tight fitting lid and place in freezer. Freeze several hours before trying it. Makes 1 quart.
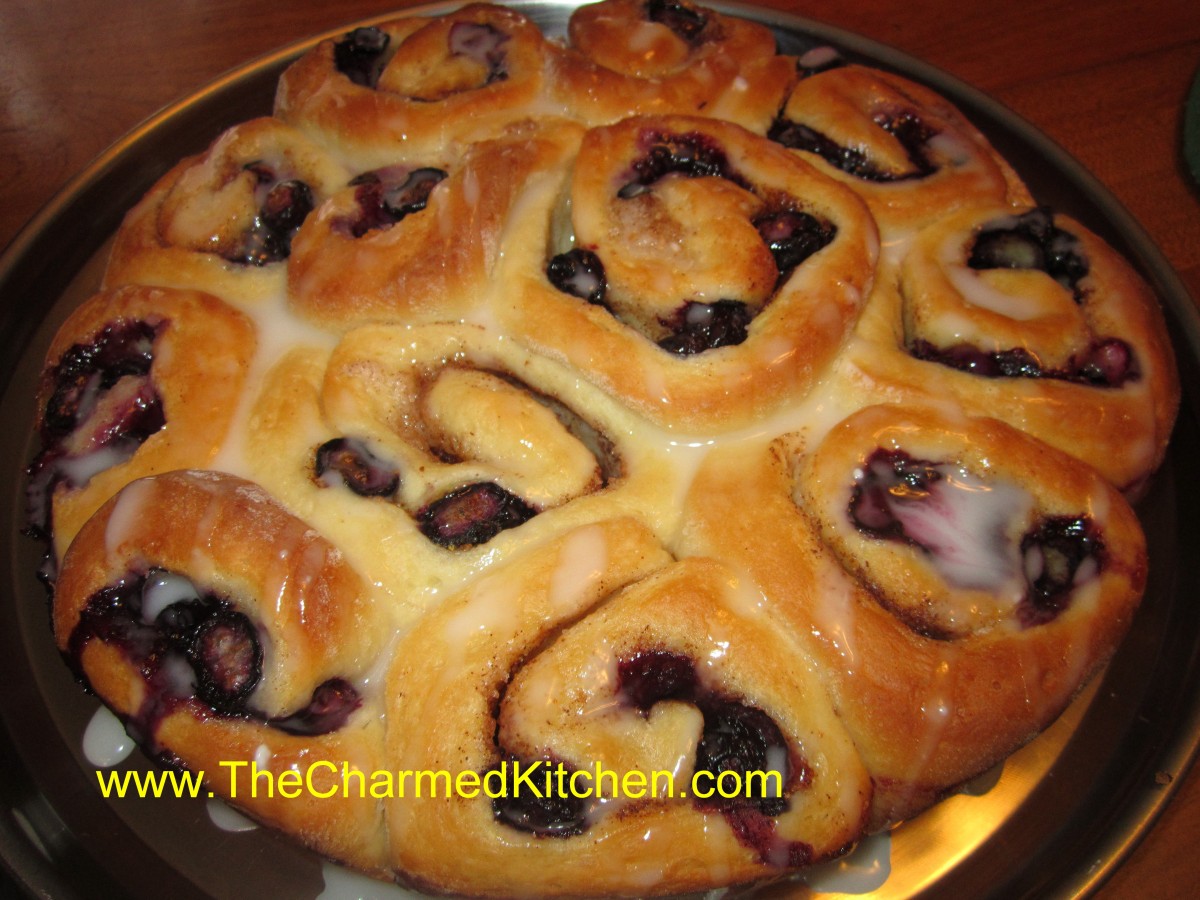
Fresh Blueberry Sweet Rolls
Blueberry Sweet Rolls
With blueberry season here, I had to make these rolls. These are a favorite recipe of mine. You know they have to be good, if I was willing to bake on such a hot day. One perk of working with yeast dough on warm, humid days, is that the dough loves this weather. They rose quicker than ever.
These rolls are great for breakfast, but I think they make a pretty good dessert. Sweet, but not too sweet. Studded with plenty of berries, too. For dessert, I serve them with a scoop of ice cream or whipped cream.
Invited a neighbor over this morning for a cup of coffee- and surprised her with these. These rolls were just what we both needed. I sent her home with the rest.
Blueberry Sweet Rolls
3-3 1/2 c. bread flour
1 package active dry yeast
1 1/3 c. evaporated milk
6 T. butter
1/4 c. sugar
1 t. salt
1 egg
6 T. butter, melted
1/2 c. sugar
2 t. cinnamon
1 t. grated lemon or orange peel
2 c. fresh or frozen blueberries
In bowl combine 1 1/2 c. of the flour with the yeast, sugar and salt. Heat together the milk and 2T. of the butter until warm and add to the flour mixture, beating 2 minutes. Add egg and beat 2 minutes longer. By hand stir in enough of the remaining flour to make a soft dough. Turn dough onto a lightly floured surface and knead, adding flour as needed until dough becomes moderately stiff. Place in greased bowl, turning once to coat and cover. Allow to double in bulk, about 1 1/2 hours. Punch dough down, cover, and let rest 10 minutes. Divide dough in half. Roll each half into a 14×8 inch rectangle. Brush dough with the melted butter. Combine the remaining sugar, peel and cinnamon and sprinkle over the dough. Top with the blueberries and press the berries into the dough. Starting at the long side roll up dough jelly roll fashion and seal edge by pinching. Repeat with second roll. Cut each roll into 12 slices and place 12 rolls in greased 9 inch round pans. Cover pans and allow to rise until doubled, about 30 minutes. Bake in a 375 degree oven for 20-25 minutes. While rolls are warm, you can top with a powder sugar glaze, if desired. Makes 24.
Marshmallows
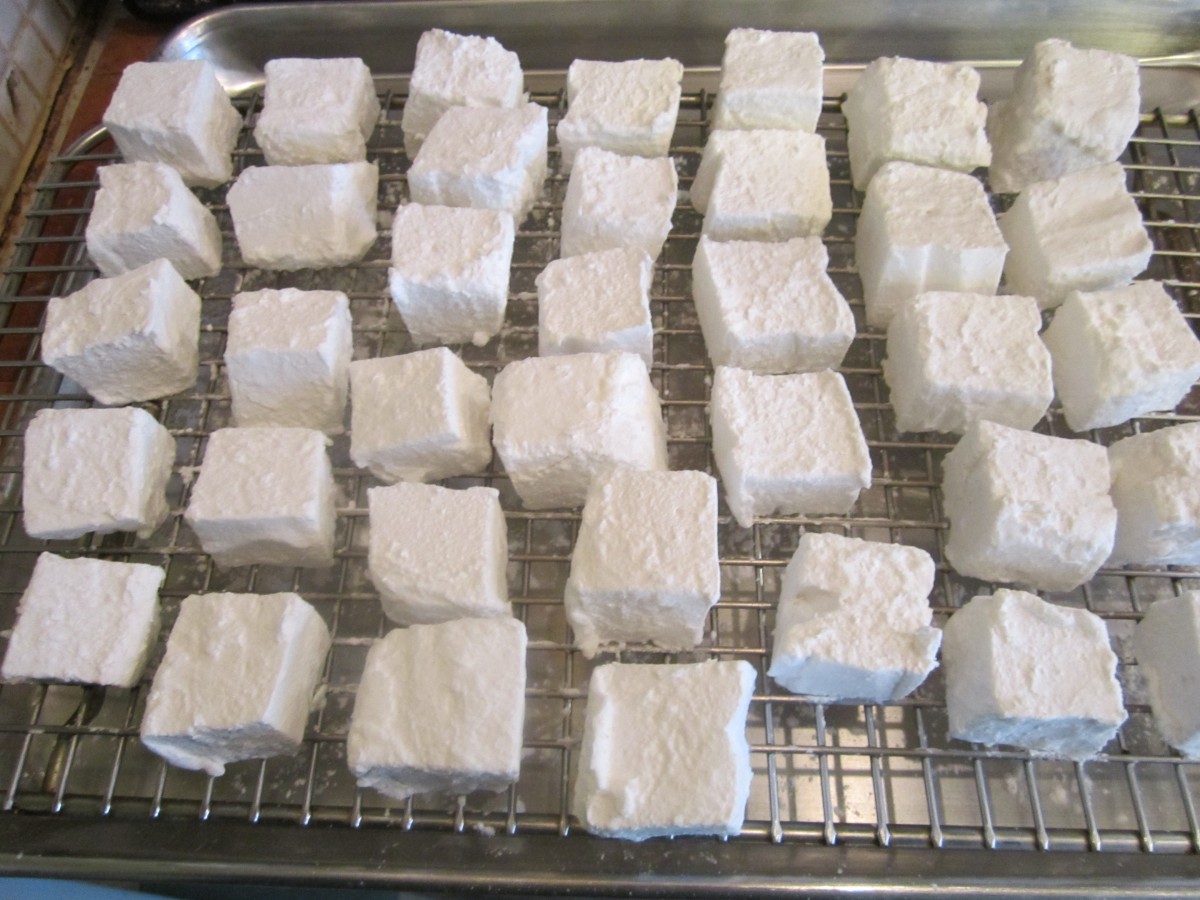
Freshly rolled marshmallows
Homemade marshmallows were a big hit in cooking camp. The kids were fascinated that this little bowl of ingredients would whip up so light and creamy- and sticky. I think that was part of the fun.
They all took turns holding the mixer. It does take 15 minutes of mixing to get the result you want. Use a stand mixer, if you can.
We made classic vanilla marshmallows today, but you can add different flavors and even colors, if you like. How fun to enjoy a S’mores made with homemade marshmallows.
As promised, here is the recipe for making marshmallows. I’ve used this recipe for ages. I like that it is super easy, and still gives you quality marshmallows. I’ve seen more complicated versions- but why make life harder than it already is?
Marshmallows
1/2 c. cornstarch
1/2 c. powdered sugar
small amount of butter
2 envelopes unflavored gelatin, or 6 sheets of gelatin*
1/2 c. granulated sugar
1/3 c. water
2/3 c. corn syrup
1/2 t. vanilla
Combine cornstarch and powdered sugar in a small bowl. Butter an 8x8x2 inch-baking pan. Sprinkle with some of the cornstarch mixture. Reserve the rest of the mixture for use later on. Combine the gelatin, granulated sugar and water in a small saucepan and cook over low heat, stirring constantly until gelatin is dissolved.** Pour gelatin mixture into a large bowl, adding the corn syrup and vanilla. Beat with an electric mixer on high speed for 15 minutes. Be precise on the timing. The mixture will be thick and fluffy, marshmallow cream, actually. Pour mixture into the prepared pan, spread evenly and refrigerate overnight. The next day, sift some of the reserved cornstarch mixture over the marshmallows. Sprinkle some more of the coating mixture on a work surface and turn the marshmallow out onto the prepared surface. Cut the marshmallows into 1-inch squares, coating as you go. The marshmallows are very sticky until completely coated. Allow to dry on a rack. Store in an airtight container for up to 3 weeks. Makes about 4 dozen candies.
You can swap out flavorings- using maybe mint or lemon in place of the vanilla. You can also add a few drops of food coloring, if you like. Oh, and when you are at the rolling the pieces around in the cornstarch and powdered sugar stage of the process- don’t wear black. You’ll thank me later for that.
* Note: 3 sheets of sheet gelatin= one packet (1 tablespoon) of powdered gelatin.
** Note: If you are using sheet gelatin place it in the pan with COLD water and stir until dissolved. Then add the sugar and just cook, over medium-low heat until just warm, stirring often. Don’t let the mixture get too hot or the gelatin will not work.

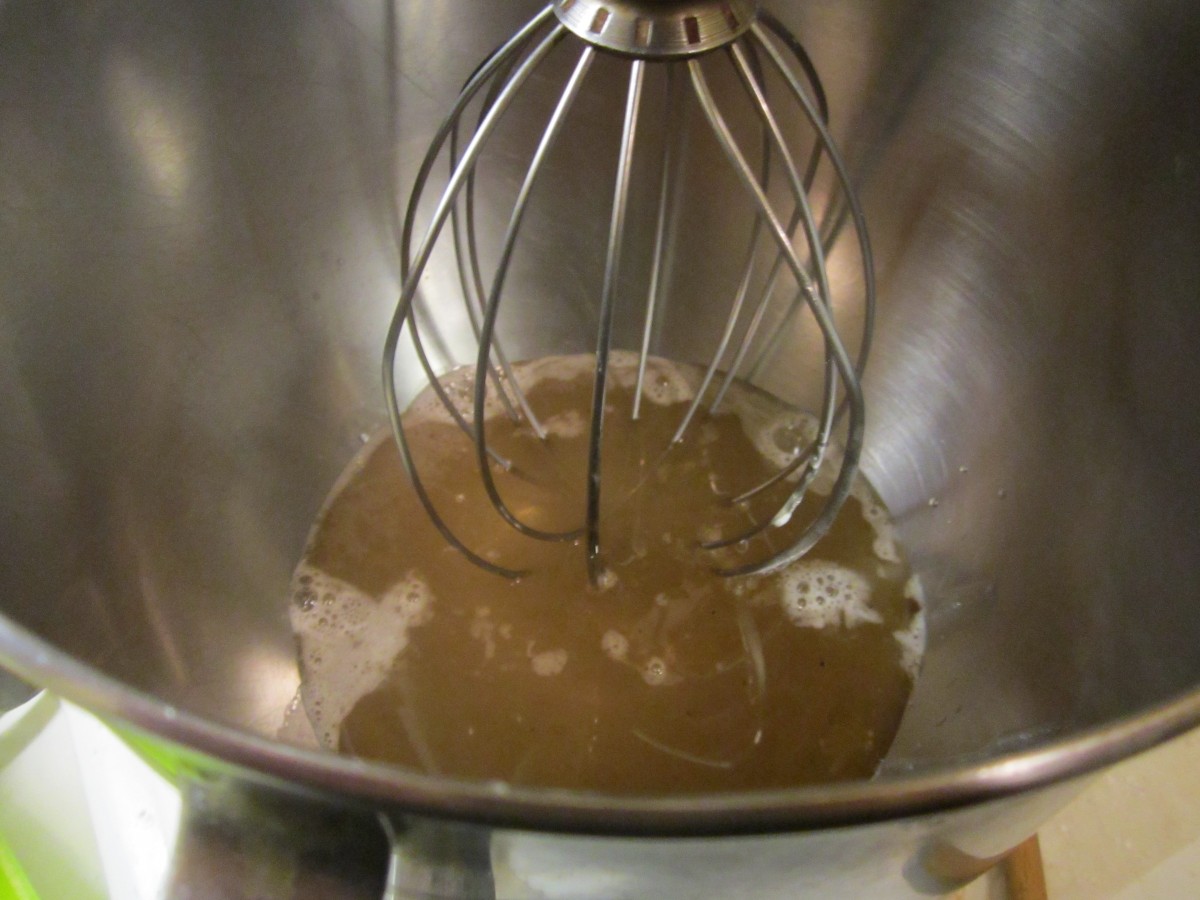
Dissolve gelatin in water

Cook with water and sugar until warm
Combine with remaining ingredients in mixer
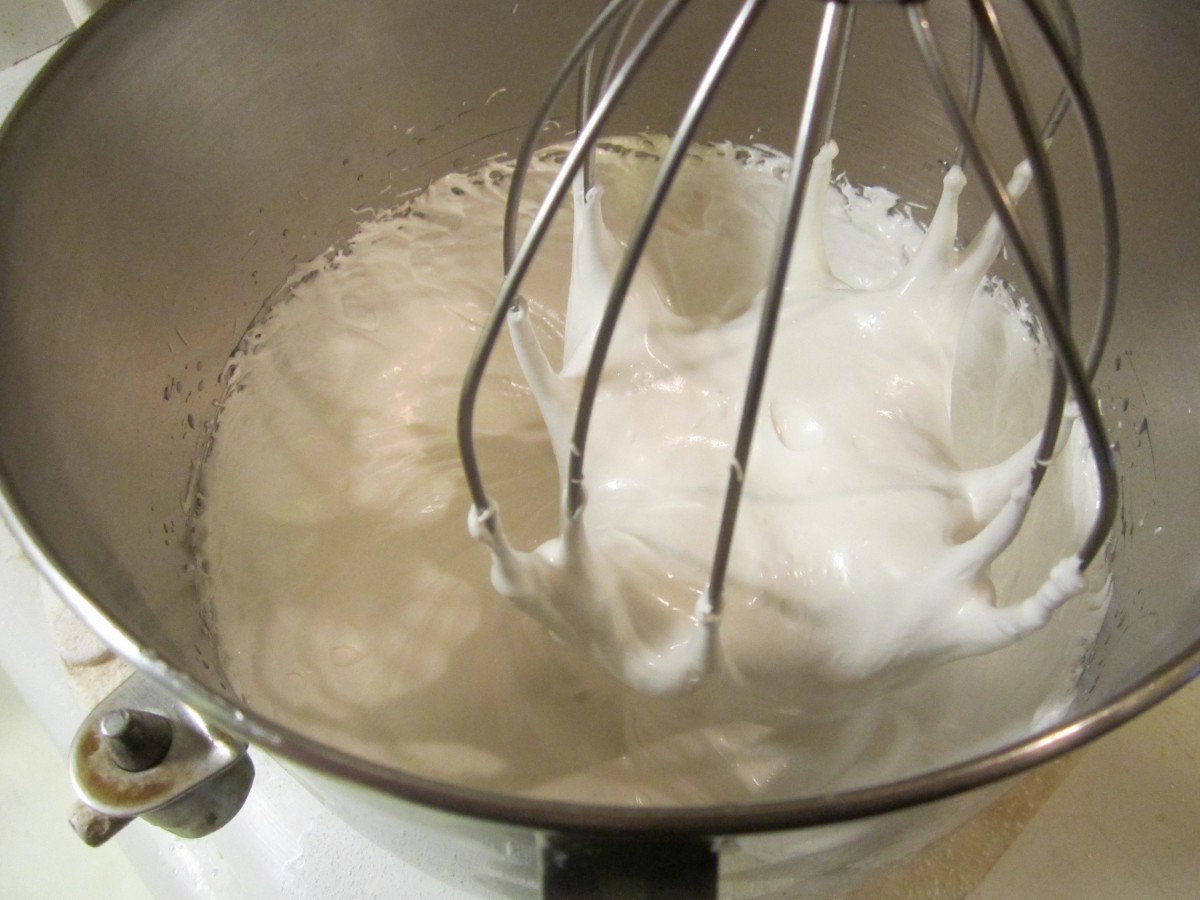
Mixture after 15 minutes of whipping

Spread in prepared pan and chill

Cut into squares

Roll in cornstarch/powdered sugar mixture
Homemade Peach Ice Cream

Homemade Peach Ice Cream
I love peaches. For me, peaches always mean summer. My peaches aren’t ripe yet, but I found some at a produce market recently. They were nearly ripe, so I put them in a brown paper bag to help them finish ripening. A few days later, I have a bunch of super tasty, juicy peaches.
Since it is going to be unseasonably warm for the next week, I decided to use some to make ice cream. I added some vanilla and orange zest for some extra flavor- but mostly just plenty of peaches.
Homemade Peach Ice Cream
3-4 ripe peaches
2 c. half and half
1 c. sugar, or to taste
1 T. vanilla
1 T. orange zest
Peel and dice peaches. Cook in a small amount of water and a little sugar until tender. If you don’t precook the peaches they will be icy and hard in the ice cream. Cool and drain. In bowl combine half and half and sugar and stir until sugar is dissolved. Add remaining ingredients and stir well. Place in ice cream machine and process according to manufacturer’s directions. If you don’t have an ice cream maker place mixture in a shallow pan and freeze solid. Remove from freezer and allow to soften a little at room temperature then break up into chunks and place in a mixing bowl. Beat with a mixer until smooth and return to freezer. Makes 1 quart.
Blueberry-Vanilla Ice Cream
Blueberry Vanilla Ice Cream
With a warm day ahead, I decided to make some blueberry ice cream. Whipped up a batch this morning. I look forward to having it for dessert later on. Heck, I just might have blueberry ice cream for dinner. While it is easier to make with an ice cream machine – you don’t have to have one for this recipe.
I had hoped to use my own berries in this ice cream. I planted some blueberry bushes a few years ago. Trying to actually harvest my blueberries has been a challenge.
The bushes had a lot of flowers on them this year. I’ve gotten enough to have a handful for breakfast a few times. The birds have enjoyed them, too. And did I mention the chipmunks? Chip and Dale really like blueberries. I’ve added netting to some and used a deterrent spray. Still, when I check them out in the morning and the chipmunks are still hanging around.
I can live with the critters eating some of my berries – but they are NOT getting any of my ice cream.
So here is the recipe. Enjoy!!
Blueberry-Vanilla Ice Cream
3 c. blueberries
1 c. sugar
1/4 c. water
2 T. fresh lemon juice
1 T. vanilla
1 c. heavy whipping cream
1 c. half and half
Combine berries with sugar and water in saucepan and bring to a boil. Cook, stirring often, for 5 minutes. Puree mixture and stir in lemon juice. Refrigerate until completely cool. Stir in the whipping cream and half and half and freeze in an ice cream maker according to the manufacturer’s instructions. Makes 6 cups.
Note: If you don’t have an ice cream maker, freeze in shallow trays and thaw a little before whipping with a hand mixer. Better if you re-freeze and whip again later. If you are lactose intolerant, you can use almond, rice or coconut milk in this recipe. Also feel free to add flavorings.
Blueberry and Red Grape Sorbet
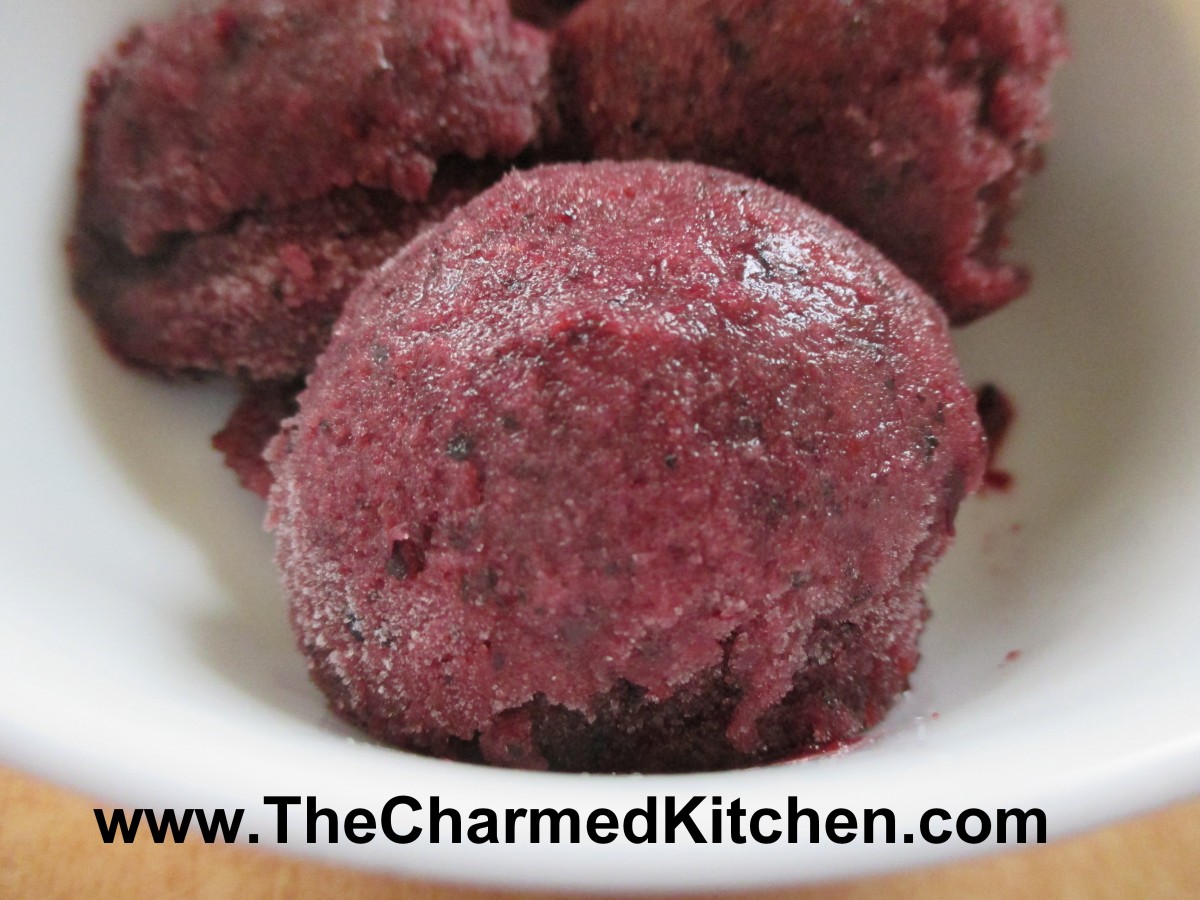
Blueberry-Red Grape Sorbet
Sometimes accidents are a good thing. I was planning on making a sorbet from frozen blueberries. I had already made a strawberry sorbet and a coconut sorbet. I wanted something “blue” for a red, white and blue dessert.
I grabbed a few containers of blueberries out of the freezer and put them on the counter to soften for a few minutes. Well, instead of three containers of blueberries I had grabbed one of blueberries and two of red grapes.
I decided to use them together. It really worked out well, because the grapes added a lot of natural sweetness to the blueberries. I added a couple of tablespoons of sugar to the fruit, but in hindsight, I think the sorbet would be sweet enough without any added sugar. I also added a little fresh mint. It really is a light, refreshing dessert. I only wish I had more. With company over the weekend, and hot weather, it is sure to go fast.
Blueberry-Red Grape Sorbet
4 c. red grapes, fresh or frozen
2 c. blueberries, fresh or frozen
sugar to taste- I used a couple of tablespoons
a few sprigs of fresh mint, optional
Combine all ingredients in a food processor and blend until smooth. You might have to do this in a couple of batches. Place in a container and freeze until solid. Remove from freezer and allow to soften for about 20 minutes, or even a little less. Mixture should still be frozen, but soft enough to break into chunks. Place in processor and mix again. Mixture will get smoother and softer. You can also do this step in a stand mixer or even with a hand mixer. Return sorbet to freezer, until ready to eat it.
Homemade Mint Chocolate Chip Ice Cream

Mint Chocolate Chip Ice Cream
Mint chocolate chip ice cream is a favorite of mine. I have tried a lot of mint chocolate chip ice cream, but was not always happy.
The tricky part is getting chips that aren’t hard chunks, but rather, little flecks of chocolate, that melt on your tongue when you eat the ice cream. In the past, for chocolate chip ice cream, I have brushed melted chocolate in thin sheets, chilled it, and then broken it into tiny pieces. It worked, but kind of a pain to do.
I tried something different this time, and with a few adjustments, it worked out great. A couple of weeks ago, I posted a recipe for homemade chocolate magic shell. You remember magic shell, the chocolate syrup that hardens when you drizzle it on ice cream. The recipe is quite simple. Chocolate, coconut oil and powdered sugar, melted together. It remains a liquid at room temperature. So, to create the “chips”, I just added some of the magic shell to the ice cream as it froze in the ice cream maker.
After a little playing around, I got the knack of drizzling it slowly. The end result, little flecks of chocolate through the ice cream that were tender and melted as you ate the ice cream. We had the ice cream served on a homemade brownie, then topped with more magic shell and some whipped cream. You will note that my “mint” ice cream is not green. I opted to omit food coloring, but feel free to add some, if you prefer.
Mint Chocolate Chip Ice Cream
2 c. half and half
1 c. whipping cream
½ c. sugar, or to taste*
2 t. mint extract
1 t. vanilla extract
About ½ c. magic shell- recipe follows
Combine half and half, cream, sugar and flavorings. Stir until sugar dissolves. Add more sugar, if needed, to suit your taste. Place mixture in an ice cream maker and start freezing it. Once it starts to thicken, drizzle the magic shell in slowly as the machine is running, to create little flecks of chocolate throughout the ice cream. I have to guess that I used about ½ a cup. Add until you have the amount of chips you like. Once ice cream forms, place in freezer until ready to serve. Makes about a quart.
*The mixture might taste a little sweet to you, but when you freeze it, it will taste less sweet. When making ice cream, the base should be a little”too” sweet to allow for the taste change after freezing.
Homemade Chocolate Shell
1 c. chocolate chips- I used dark chocolate chips
3/4 c. coconut oil- I used the unrefined
1/2 c. powdered sugar
Heat all together until melted. I melted mine in a microwave for 1 minute, but you could also melt over a double boiler. Stir until smooth. Store at room temp. To use, drizzle over ice cream, wait about 10-20 seconds- and it will harden.
Peaches and Herb Sorbet
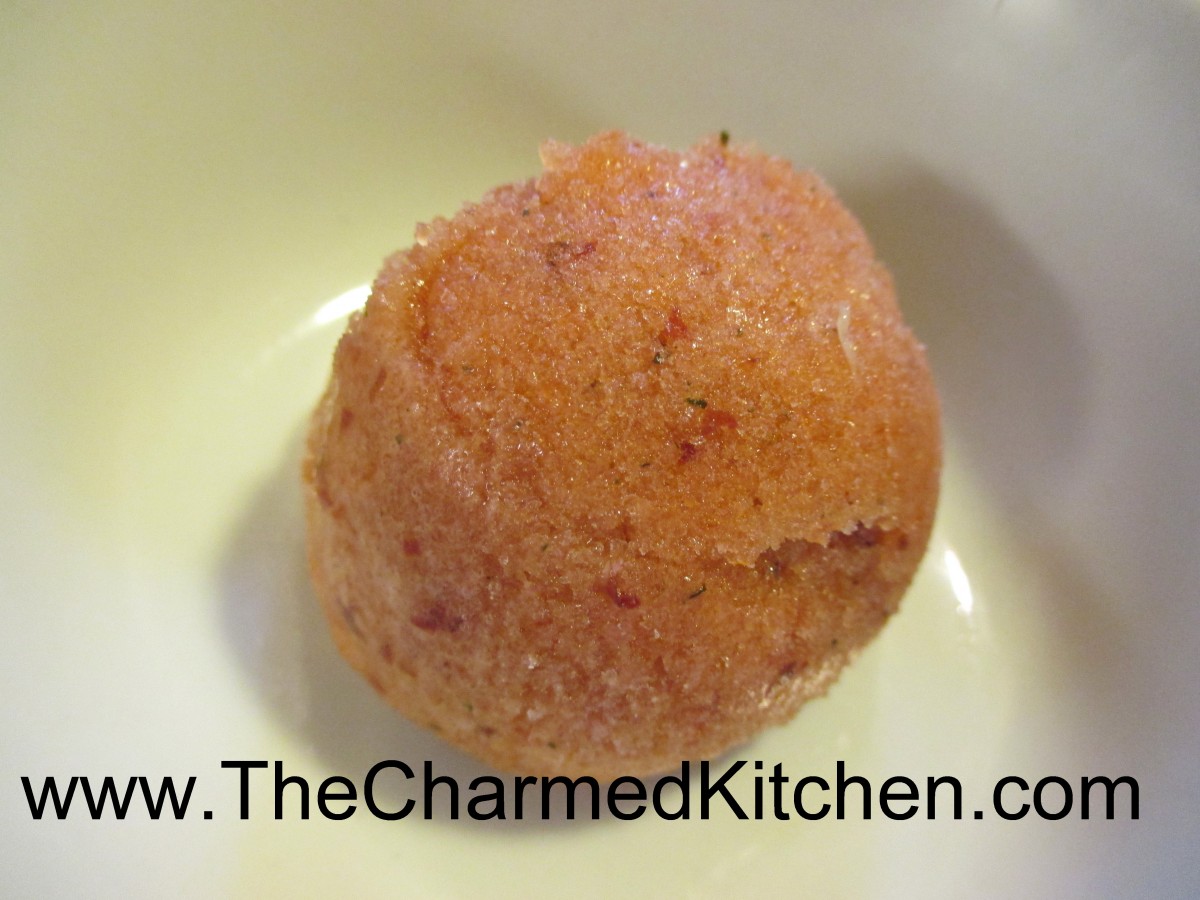
Peaches and Herb Sorbet
Sorbet is such a nice dessert for summer. Light, fruity and fresh. I try to keep a few different kinds on hand. So many fruits are abundant this time of year. They are the perfect start for a great sorbet.
This peach sorbet combines ripe peaches with both basil and mint from my garden. The combination worked well together. Adding herbs and other flavorings can make sorbet even more fun to eat.
You don’t need an ice cream machine to make it, either. You just puree the fruit with the other ingredients and freeze. The secret to a smooth sorbet is to puree the frozen mixture a time or two. I place the frozen sorbet in my food processor and run it until the sorbet looks creamy. Then I put it in the freezer again. For extra creamy sorbet , repeat this process a third time. Easy to make, but there is wait time for the sorbet to freeze.
Here is the recipe for the peach sorbet. I thought the herbs added a really nice touch to the final product. Feel free to experiment with the flavors you like.
Peaches and Herb Sorbet
5-6 medium peaches, pitted. You can peel, if you like
honey to taste – I used 1/4 cup, but depends on how sweet the fruit it
3-4 basil leaves
2 sprigs of fresh mint
Puree all ingredients together until smooth. Adjust sweetener and seasonings. Mixture will taste less sweet after it freezes. Freeze until solid. Remove from freezer and break into chunks. Process in a food processor until mixture looks creamy. Depending on how cold your freezer is, you might have to let the sorbet soften a few minutes before processing it. Place back in freezer until ready to serve. Makes about 1 quart.
Note: For even creamier sorbet- process a another time or two- refreezing after each time.


