Minty Butter Cookies

These cookies can be made with fresh or dried mint. You could use frozen mint as well. They have a delicate, almost cake-like texture. The mint adds a subtle flavor. I used a little lemon extract- mint extract would give them a more intense mint flavor.
We made these in an herb cooking class recently. Everyone enjoyed the cookies. It is also a great way to use mint. If you grow mint, you know it can be a bit invasive.
Minty Butter Cookies
1 c. butter
½ c. sugar
½ c. brown sugar
1 egg
1-t. almond or lemon extract – you could also use mint
2 ¼ c. flour
¼ c. dried mint leaves or ¾ c. loosely packed fresh mint leaves, chopped fine
1 t. baking powder
1 t. cream of tartar
¼ t. salt
Cream together butter and sugar. Beat in egg and extract. Stir in dry ingredients until well mixed. Chill dough 30 minutes. Drop by rounded teaspoonfuls on ungreased baking sheet 2- inches apart. Bake at 375 for 7-9 minutes. Makes about 6 dozen.
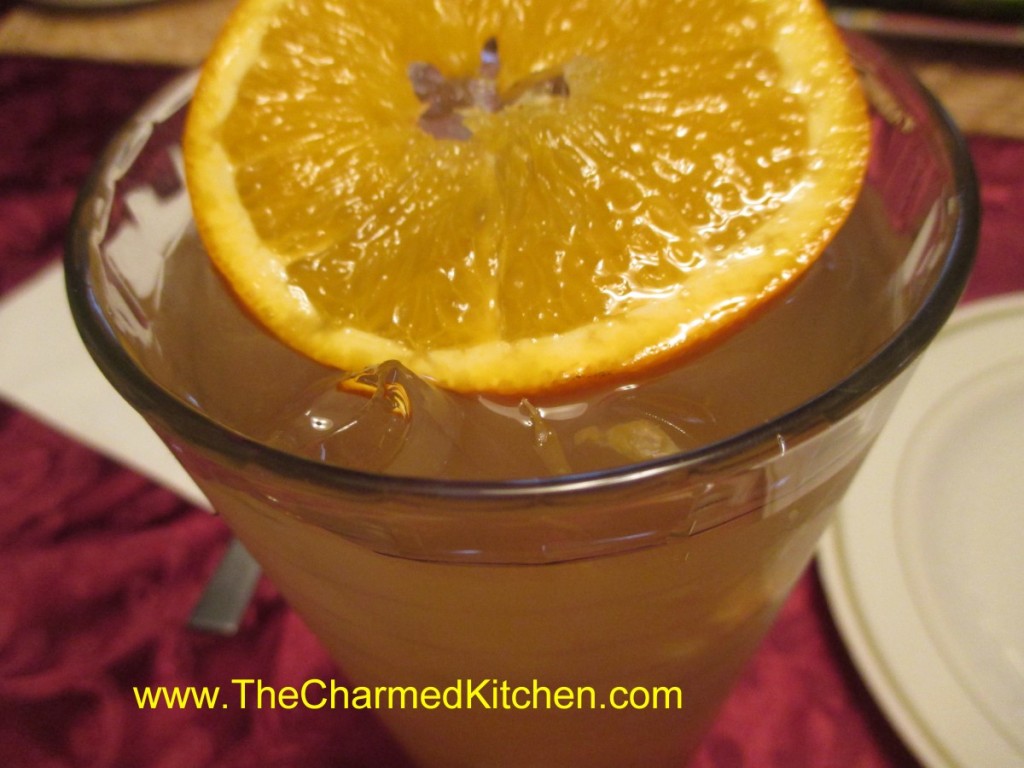
Tequila and Wine Punch
I would never have thought that combining tequila and wine would taste so good, but it really is a great drink for parties. I had a request for this recipe, and I am going to share it with you, the best that I can.
I normally am pretty good about measuring ingredients and writing things down, but a friend actually made it.
My friend Sue is a very good cook. She has great instincts when it comes to flavors. She is also lovingly known as the Queen of Substitutions. She will start with a recipe and then just add what she has on hand. Often things work out, sometimes, not.
This is one of those times when things worked out very well, indeed. She was watching TV and saw a recipe for a tequila and wine punch. She had the tequila and wine, but not quite all of the other ingredients, so she kind of made it up as she went along. The end result was a drink that was not too sweet and very refreshing. She used bottled margarita mix, but I included a recipe to make your own.
So here is the recipe.
Wine and Tequila Punch
1 1/2 c. tequila
1/2 bottle of wine, use what you have on hand, we did
1 c. margarita mix*
1 c. orange juice
1 or 2 oranges, sliced thin
ice
In pitcher, combine tequila with wine, mix, juice and oranges. Add lots of ice, stir and serve.
Note: You can make your own margarita mix. Combine 1 cup of water and one cup of sugar. Bring to a boil, stirring to help dissolve the sugar. Add 2/3 cup each of lemon juice and lime juice- fresh squeezed preferred. Store in fridge until ready to use.
Easy Easter Cupcakes

These cupcakes would make a great dessert for Easter- or any time. They are also a fun dessert for kids to make.
I started out by making a double batch of my classic white cupcakes- recipe follows. To add a little color to the cupcakes, I divided the batter into three bowls and tinted each of them a different pastel color.
As I filled the pans, I just added a spoonful of each of the tinted batters in them. They came out really nice.
I made three different cupcakes: bunnies, chicks and nests.
I also made a double batch of white chocolate frosting. You could certainly make a vanilla buttercream, if you prefer.
Details on how to make each of them are listed below.
Classic White (Vanilla) Cupcakes
1 cup sugar
1/2 cup butter
2 eggs
2 teaspoons vanilla extract
1 1/2 cups all-purpose flour
1 3/4 teaspoons baking powder
1/2 cup milk
Preheat oven to 350 degrees. Line a muffin pan with 12 paper liners. In a medium bowl, cream together the sugar and butter. Beat in the eggs, one at a time, then stir in the vanilla. Combine flour and baking powder, add to the creamed mixture and mix well. Finally stir in the milk until batter is smooth. Pour or spoon batter into the prepared pan. Bake 20 to 25 minutes. Cupcakes are done when they springs back to the touch. Makes 12.
White Chocolate Frosting
6 oz. white chocolate – if using bars, chop before melting
1 stick (4 oz.) cold butter, cut into cubes
1-2 c. powdered sugar
1 t. vanilla
Melt chocolate. I just melt mine in a microwave safe dish, but you can use a double boiler. Let chocolate cool down a little. Beat butter into the melted chocolate. Beat until smooth and then beat in the powdered sugar and vanilla. Whip until frosting is smooth and fluffy. I normally beat for 5 minutes or longer. If too thick, add a few drops of water or milk. For this recipe, I made a double batch of frosting.
Bunnies
extra white chocolate
food coloring- pink or red
chocolate chips
pastel ( pink) M&M’s
Make bunny ears by melting some white chocolate and putting it in a piping bag or bottle. On wax paper, make outline of the ears in white chocolate and allow to cool/harden. Place a drop or two of pink or red food coloring in a microwave safe bowl and add some white chocolate. Melt in microwave, being careful not to burn the chocolate and stir until it turns pink. Pipe the pink chocolate into the middle of the ears. Allow to harden before peeling off of the was paper. Using a star tip, pipe frosting on cupcake. I made three layers – to add height to the cupcake. place ears on cupcake and add chips/candy for eyes and mouth.
Chicks
Frosting tinted yellow and green
mini chocolate chips
fruit roll up
Using star tip, pipe the chick’s body onto the cupcake in yellow frosting. Pipe on head and wings. Pipe green frosting around chick to form a nest. Use mini chips for eyes and cut fruit roll up for beak.
Nests
Frosting tinted green
egg shapes malted milk balls- or you could use jelly beans
Pipe green frosting on cupcakes to make nests. Add three, or more, candies in the middle for eggs.

Piping pink filling in ears
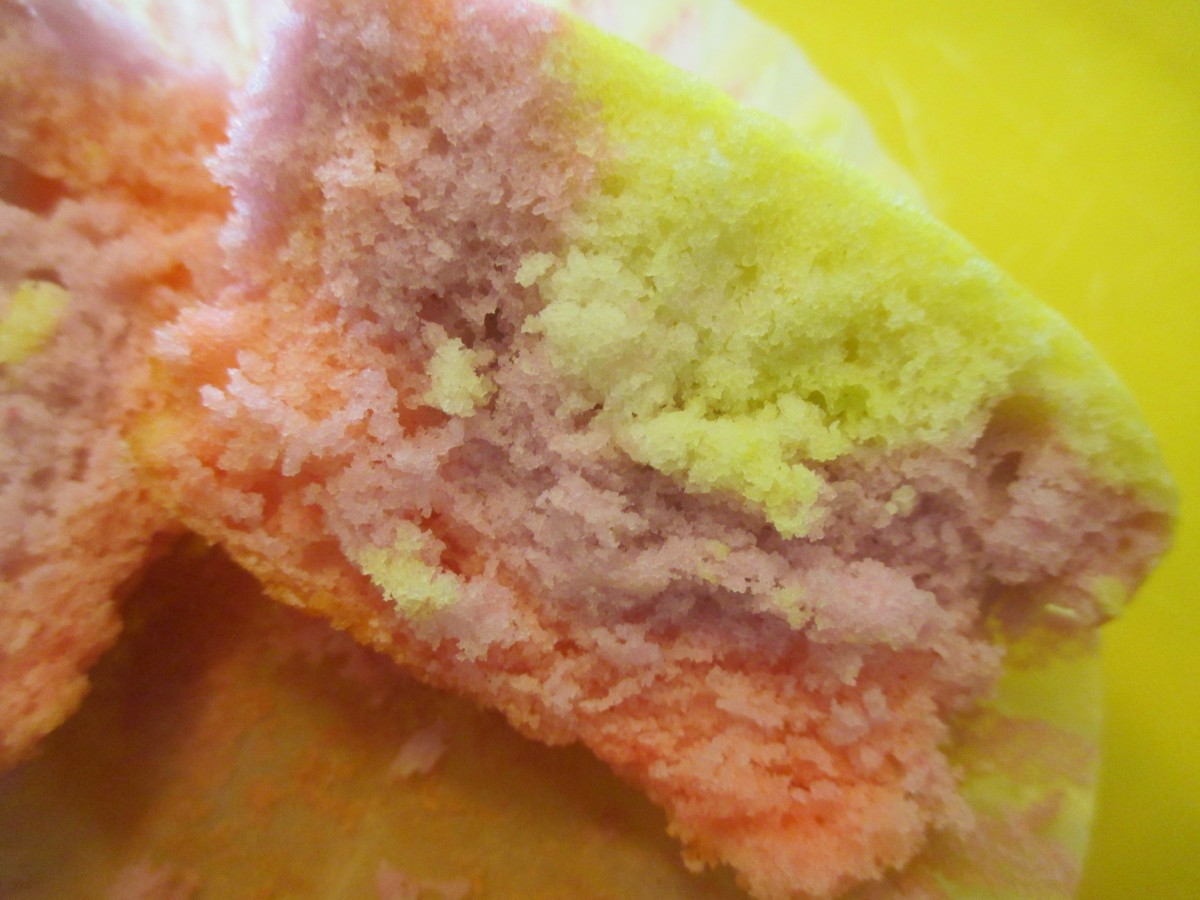
rainbow cupcake

bunnies
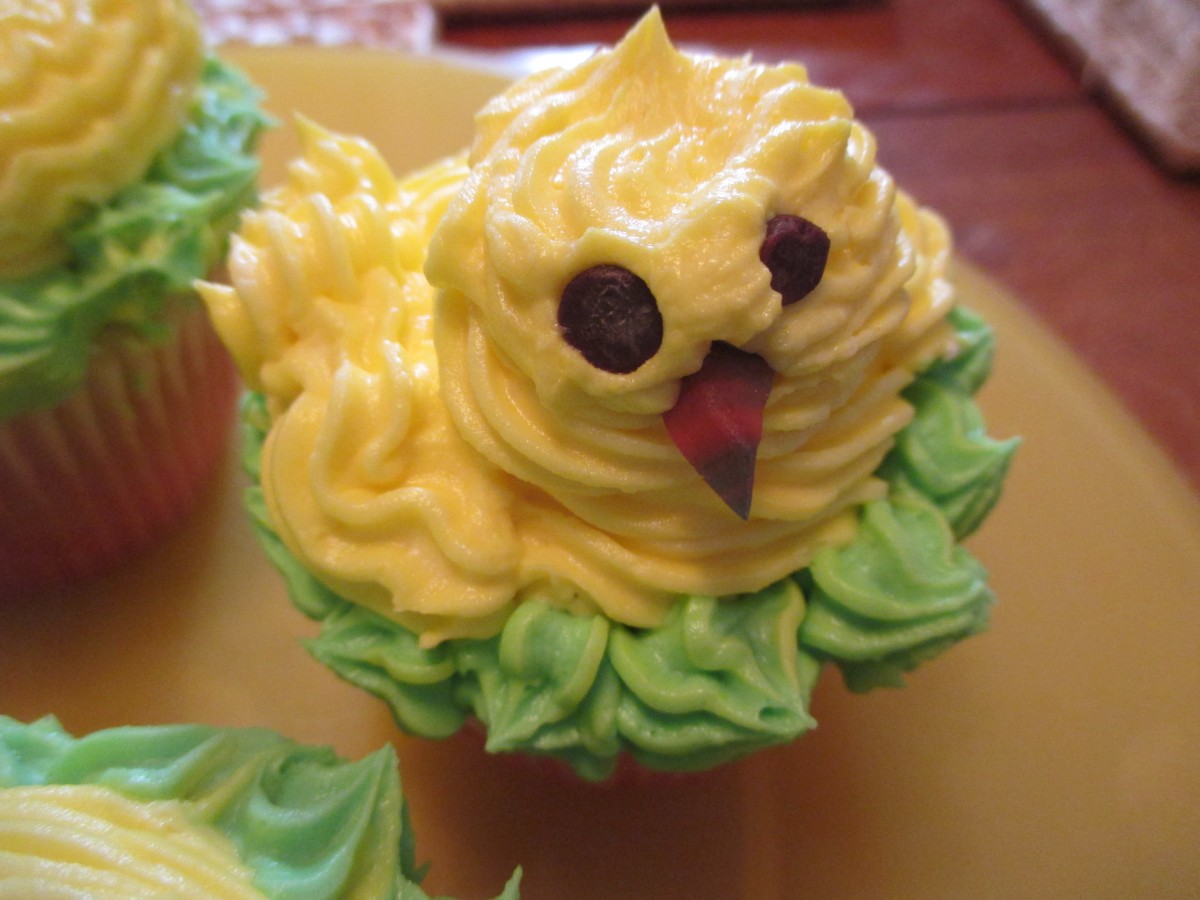
Chick cupcake
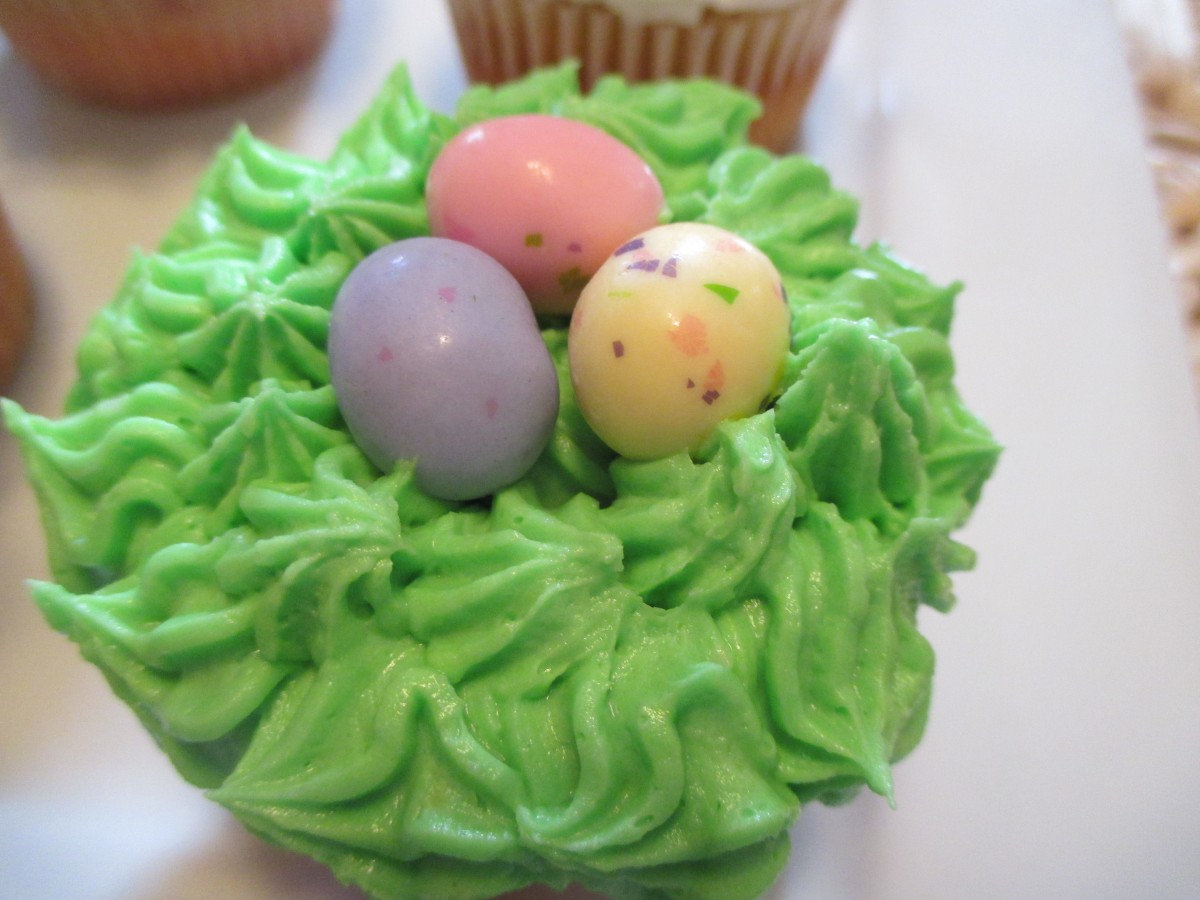
The nest cupcake
Shrimp and Grits

A fun way to celebrate almost any special occasion is with shrimp and grits. Everybody seems to love them. I made these for a friend’s birthday. As an added bonus, they are fast and easy to make. It’s all in the timing. Get your grits simmering on the stove, while you clean and season the shrimp. Once the grits are ready, keep them warm and quickly saute the shrimp. Then just serve them up.
Some folks like to add cheese to the grits. I did this time, but feel free to omit cheese, if you like. Sharp cheddar or Parmesan are good choices. Add the cheese when you add the cream and butter.
I didn’t get specific on how much of the seasonings to add. I dusted the shrimp with the seasonings and tossed to get them all coated evenly. I was generous with all but the cayenne. I used about a 1/4 teaspoon of cayenne. They still had a nice kick, but I had a guest coming who doesn’t like spicy foods. You can always serve them with hot sauce on the side, so guests who like spicier foods can add that to their shrimp.
Shrimp and Grits
1 c. grits, I used regular grits, not quick cooking
4 c. water
½ t. salt
3 T. butter
1/3 cup heavy cream
1 c. shredded sharp cheddar cheese
1 lb. large raw shrimp, shelled and deveined
Salt
Pepper
Cayenne pepper
Garlic powder
Paprika
2 T. oil
2 T. butter
In saucepan, bring water to a boil and add the grits and salt. Turn down to a simmer and cover the pan. Stir every few minutes. Cook until grits are tender and water is absorbed, about 20 minutes. While the grits are cooking, place shrimp in medium bowl and season to taste with the salt, pepper, cayenne, garlic powder and paprika. Toss shrimp to coat evenly and set aside. Once grits are done cooking, stir in the cream and butter. Adjust seasoning. Cover and remove from the heat. Heat oil and butter in skillet and cook shrimp over medium high heat, turning to cook on both sides until shrimp are cooked, about 5 minutes. They should get a nice, golden color. Larger shrimp will take longer, but be careful not to overcook them. To serve, spoon some grits on a plate or in a shallow bowl. Top with some shrimp and serve. Serves 4.
Creamy Spinach Sauce
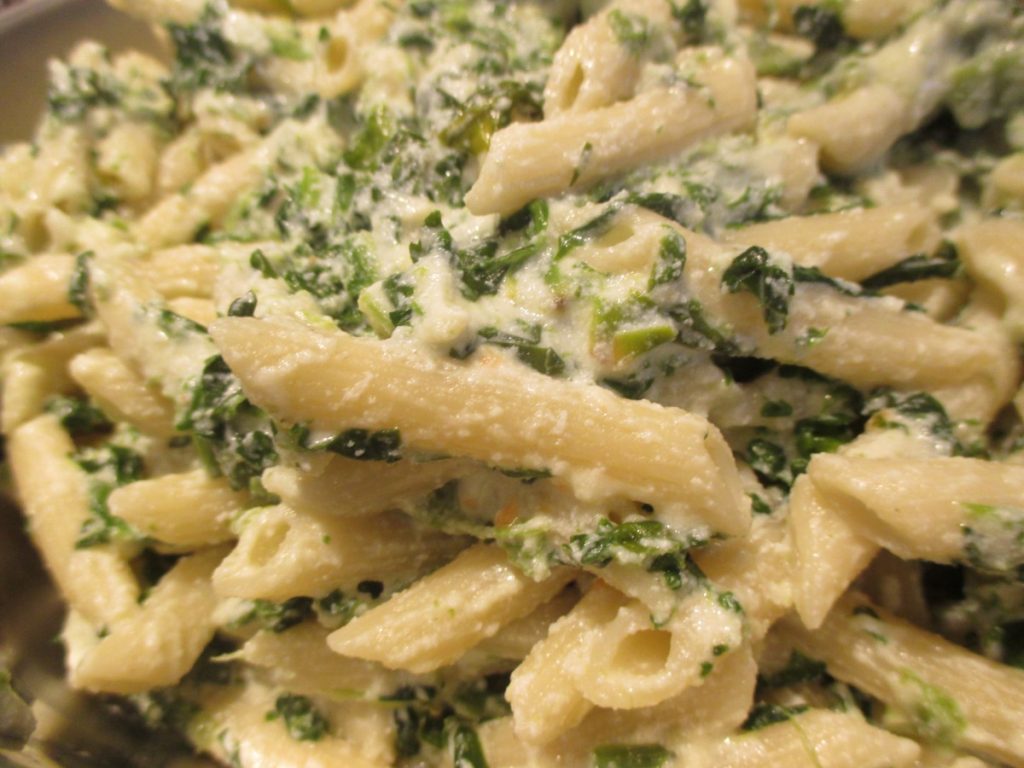
The sauce reminds me of creamed spinach, a favorite childhood dish of mine. The recipe makes enough to generously sauce a pound of pasta. It is very tasty and easy to make. Great when you need a home made meal, but don’t have a lot of time. You can also use this sauce on hot cooked rice or baked potatoes.
The recipe uses frozen spinach, but you can use fresh spinach , if you prefer. Just cook down 12-16 oz. of fresh spinach and use like the frozen spinach.
There is Parmesan cheese in the sauce. I like to serve extra on the side.
Creamy Spinach Sauce
1/4 c. butter
1 (10 oz.) package frozen spinach, thawed and drained
1 t. salt
1 c. ricotta cheese
1/4 c. grated Parmesan cheese
1/4 c. milk
Heat spinach in butter for 5 minutes. Add remaining ingredients and heat gently until warmed through. Do not boil sauce. Toss sauce over hot, cooked pasta. Makes 2 1/2 cups, enough for about a pound of pasta.
Mandarin Orange Sorbet
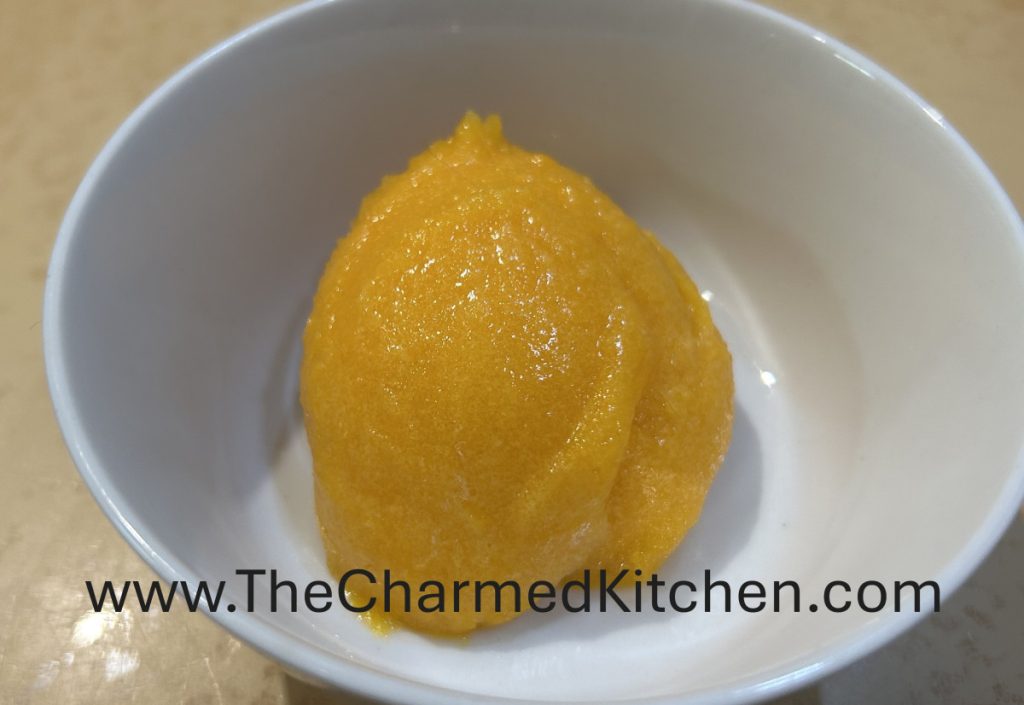
This is one of those dishes that is so simple, but so tasty. In the end, its just frozen mandarin oranges, blended up in a food processor until creamy. You can add some sugar, if you like, and a little vanilla. then finish off with a pinch of salt.
I served this sorbet to some friends after dinner the other night and they loved it. The color is beautiful and the flavor is refreshing. Served with a scoop of vanilla ice cream, it would taste like an elevated version of a creamsicle. I could see adding a scoop to a cold drink on a hot summer day. But it is good enough to serve all on its own.
I make a lot of fruit based sorbets. An abundance of mandarins were my inspiration for this one. I needed to use them in something!! I will certainly play around with adding other flavors or perhaps adding some zest next time. I already have frozen more mandarins to use later.
For now, I am very pleased with this simple and flavorful dessert. Here is how I made it.
Mandarin Orange Sorbet
10-12 mandarin oranges
1-2 T. sugar, optional or to taste
1 t. vanilla, optional
Pinch of salt
Peel and freeze the mandarins. Once frozen, place them in a food processor and process until mixture becomes smooth and creamy. Taste and see if you want to add a little sugar. Sweeten to taste and add the vanilla, also optional, and just a pinch of salt. Combine well then return to the freezer until you are ready to serve it. Makes about 1 pint.
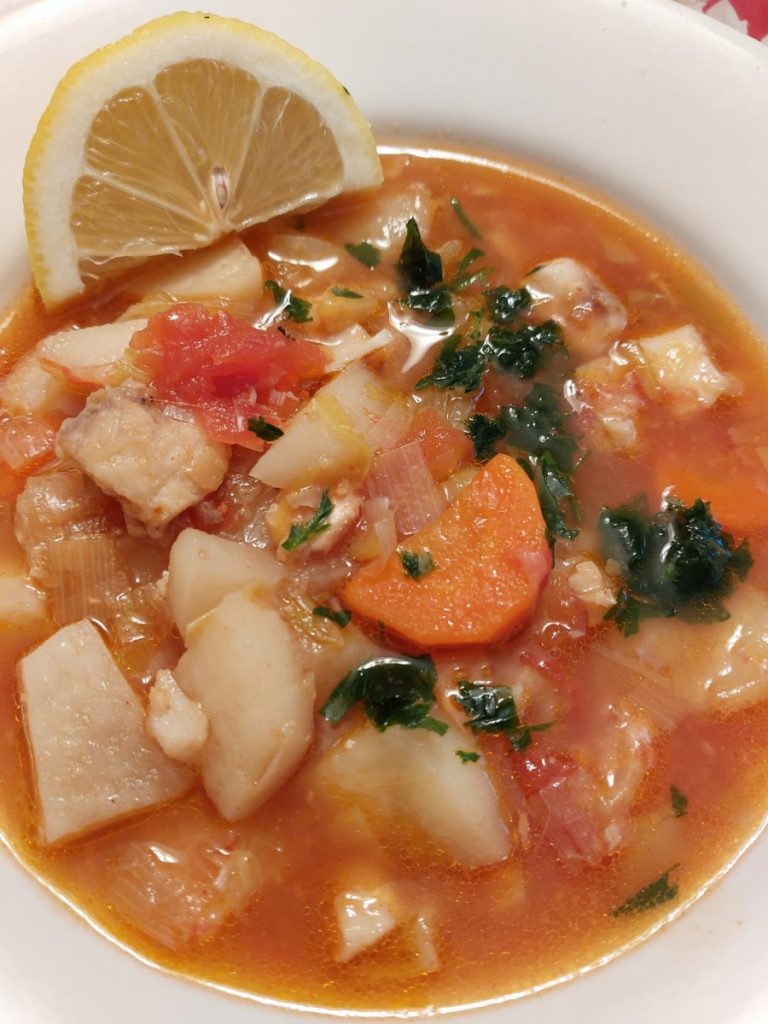
Fish and Vegetable Soup
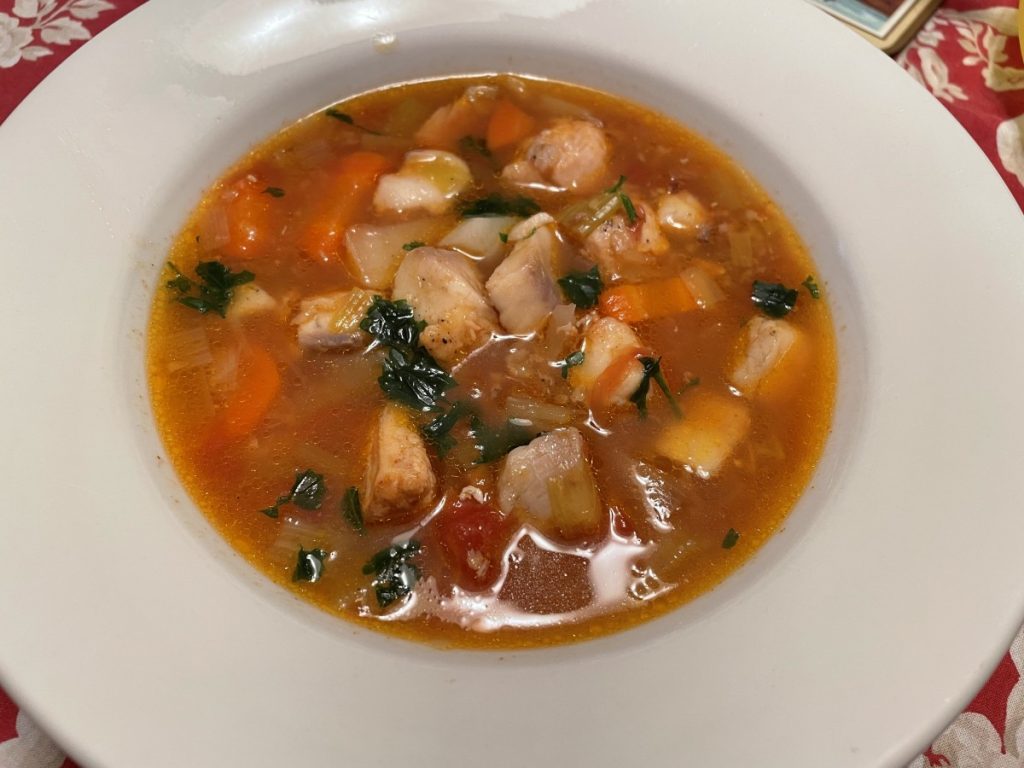
When you think of homemade soup, I am guessing you don’t think of fish. Perhaps a clam chowder, but not fish. Maybe you should. This soup is really quite wonderful. It is full of great flavors and it cooks up in no time. It is both light and satisfying. It sort of reminded me of a Manhattan style chowder, but with fish instead of clams.
You can use any mild fish you happen to like. I have used salmon, catfish, cod, perch and flounder in the past, and liked the way all of them tasted in the soup. You can also use a mix of more than one fish.
The recipe calls for canned tomatoes, but fresh tomatoes would work. I have used bottled salsa a few times. It added a nice little bit of extra flavor. You would add a pound of diced fresh tomatoes, if using fresh. I used home canned tomatoes.
So here is the recipe. Hope you give it a try.
Fish and Vegetable Soup
1 medium carrot, sliced
2 ribs celery, diced
2 medium potatoes, peeled and sliced
1 large leek, white part only, cleaned and chopped
5 c. chicken, vegetable or fish stock
1 (14 oz.) can of stewed tomatoes, I used a pint of home canned tomatoes
Salt, pepper and cayenne pepper to taste to taste
1 1/2 lb. firm white fish cut into 1/2 inch cubes
1/4 c. flour
2 t. paprika
2 T. oil 1/4 c. fresh parsley
In broth cook the carrot, celery and leeks 10 minutes. Add tomatoes and potatoes and simmer, covered, for 15 minutes longer. Season to taste. Meanwhile mix the flour and paprika together and dredge the fish in it. Heat oil in a skillet over medium high heat and cook the fish until lightly browned on both sides. Drain on paper towels. Before serving add fish pieces and parsley to the soup and simmer 5 minutes. Serve with crusty bread. Serves 6.
Vegan Banana Muffins
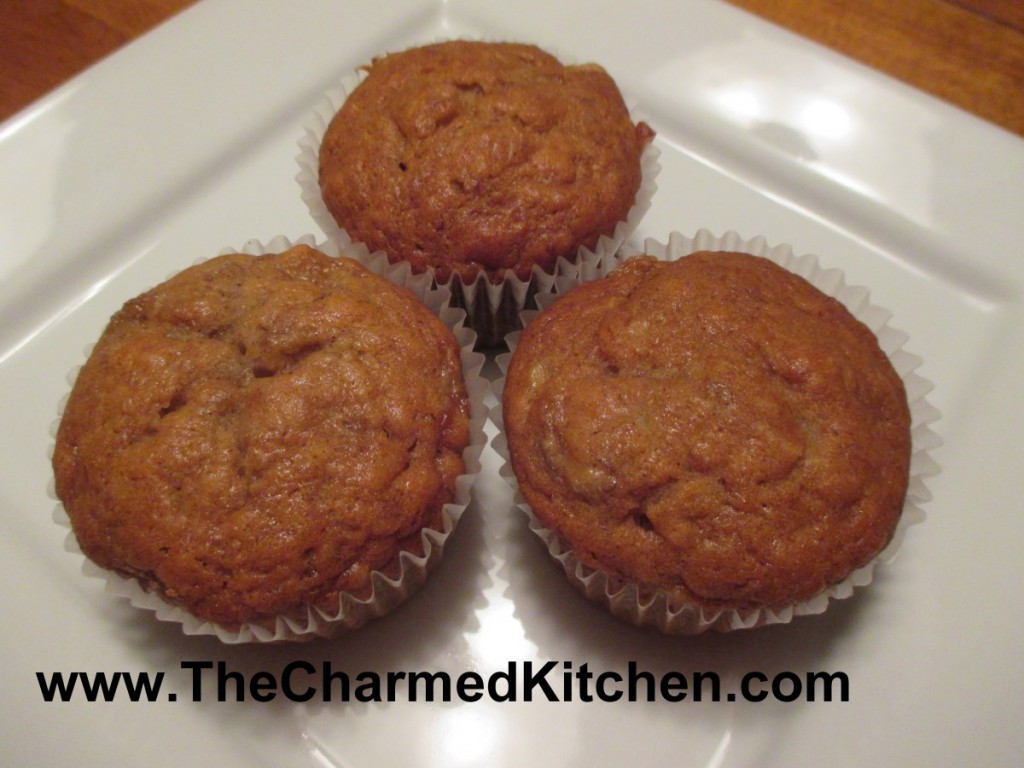
With so much talk about high egg prices I thought it was a good time to share this recipe for banana muffins that require no eggs. I first made them years ago for my vegan niece and her boyfriend. Bananas are often listed as an egg substitute in recipes. I’ve been experimenting with egg substitutes and will be posting more recipes soon. The recipe makes a lot of muffins, but you can easily cut it in half, or just plan on freezing some.
Vegan Banana Muffins
3 c. flour
1 c. brown sugar
2 t. baking powder
2 t. cinnamon
1 t. nutmeg
1 t. baking soda
1 t. salt
2 c. mashed bananas
1 c. oil
1 c. almond milk
2 t. vanilla
Preheat oven to 350 degrees. Line 24 muffin pans with paper liners, or grease lightly. Set aside. Combine dry ingredients in large bowl and set aside. In medium bowl combine bananas with oil, milk and vanilla until smooth. Make a well in dry ingredients and pour in banana mixture. Stir until smooth, but don’t over mix. Spoon batter into muffin tins, filling just over half full. Bake 28-30 minutes, or until tester comes out clean. Cool a little before serving. Makes 24. Freeze well.
Eva’s Kolachy

Over the years, I have shared many of my family recipes. This is another family recipe- but not my family. Tia Houpt found this recipe when going through her Grandmother’s recipe collection. She was kind enough to share the recipe- and gave me permission to share it with you. Her grandmother was Eva Skero- so I have named the kolachy in Eva’s honor.
There is something special in having old family recipes. We find so many recipes online these days, we sometimes forget there was a time when recipes were handwritten. Often, they were stored in a drawer or in a shoe box. There is usually a mix of handwritten recipes and recipes cut out of newspapers and magazines.
Sometimes you just find a list of ingredients. Measurements aren’t always precise. A handful of this a pinch of that. The phrase “moderately hot oven” doesn’t real help, does it? And what exactly is a number 2 can? Still, there are some real gems in those collections.
This is one of those recipes. A real gem.
I have made kolachy for years and have used the recipe for the crust that my mom used. I love my mom’s recipe. I love this recipe even more.
I was intrigued that the dough contains both baking powder and yeast. I had to make it, just to see what it was like.
The dough is tender and very easy to work with. It doesn’t get chilled. You just make the dough, then roll it out and make the cookies. I did let my butter soften a little before cutting it into the flour. I could see using cold butter instead.
The dough rolled out beautifully and baked up a perfect golden brown. I had to let them cool a bit before I could taste one. I am not kidding- they were heavenly. Tender and so flaky. Tia and I both see this as a very nice tart or pie dough, too.
So here is Eva’s recipe. I hope you will give it a try. Thanks, Tia, for sharing it.
Eva’s Kolachy
Dough:
3 c. flour
1 t. baking powder
½ t. salt
1 c. butter*
3 eggs
2 pkts. Yeast
½ c. warm milk
Filling:
Assorted pie fillings, jams, sweetened cream cheese or ricotta cheese. You will need about three cups of filling.
In mixing bowl, combine flour with baking powder and salt. Cut butter into flour until mixture looks like coarse crumbs. Set aside. Place eggs in a small bowl and beat until smooth. In small bowl, dissolve yeast in warm milk. Add to egg mixture and stir to combine. Add egg mixture to flour mixture and stir until combined. If mixture is sticky add a small amount of flour. Roll dough out on floured board. Thinner the better, as this dough will puff some when baked. Cut into squares- or whatever shape you like. I did 2-inch squares. Place a spoonful of filling into center of each cookie. Fold up two of the corners and press firmly to seal. Fold over and press seam again. These like to pop open when baking, so the second fold over and pressing helps them to stay closed. Some people like to add a bit of egg wash or milk to the tops to help them seal better. I just squeeze together and fold twice. Place cookies on an ungreased baking sheet, about an inch apart. Bake in a preheated 350 degree oven for 20 minutes, or until golden brown. Cook on a rack. Dust cooled cookies with powdered sugar or with a powdered sugar glaze. Makes about 5-6 dozen.
*The original recipe called for shortening. Tia and I both decided butter was better!! That is the only change we made to Eva’s original recipe.
Blueberry Pie Filling
3 1/2 c. blueberries
3/4 c. sugar, or to taste
1/4 c. cornstarch
1 c. water
1 T. lemon juice
In saucepan, bring blueberries and sugar to a boil, stirring often. Combine cornstarch with water and lemon juice and add to the blueberry mixture. Return to the boil and cook until thickened and bubbly. Makes 4 cups. You might not need the whole batch for the cookies.

Cooled and dusted with powdered sugar
This post is dedicated to Eva Skero and all the home cooks out there who lovingly kept their recipes for us to find.
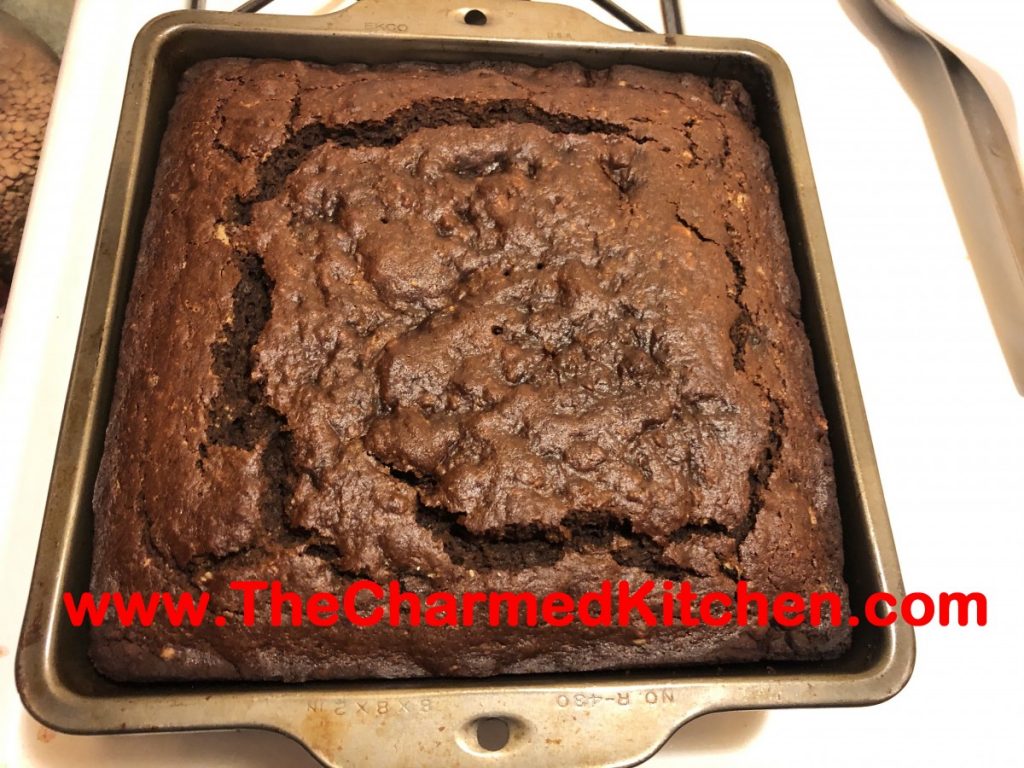
Molasses Applesauce Cake
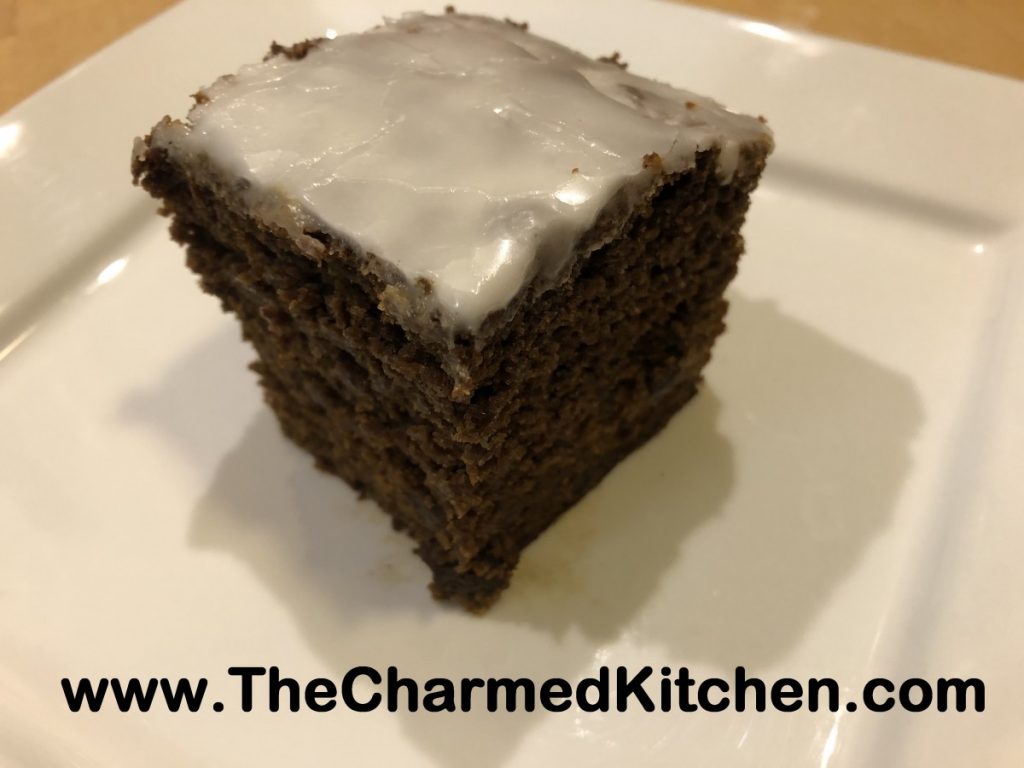
I can remember the first time I made a molasses cake. I was about 17. The recipe was in one of my Mom’s “women’s magazines”. I loved the earthy flavor that the molasses gave the cake.
I also remembered that the cake had applesauce in it. I canned a lot of applesauce last fall and have been looking for recipes using applesauce.
I found the original recipe last night and decided to make the cake. I did change a few ingredients around. The recipe I originally used had shortening in it. I swapped it out for butter. I also added more spices.
It is every bit as wonderful as before. Moist, not too sweet, with just a kiss of spices. So, if you have a jar of molasses and some applesauce, give this cake a try.
Molasses Applesauce Cake
2¼ c. flour
1 t. baking soda
1 t. cinnamon
1 t. salt
½ t. nutmeg
Pinch of cloves
4 oz. butter, softened, 1 stick
1 c. applesauce
1 c. molasses
1 egg
¾ c. raisins, plumped in warm water, then drained well, optional
Glaze:
1½ c. powdered sugar
2 T. lemon juice
Preheat oven to 350. Grease an 8-inch square baking dish. Set aside. In mixing bowl combine dry ingredients and stir to blend. Cut in butter to resemble coarse crumbs. Add remaining ingredients to flour mixture and stir until blended. Pour batter into prepared pan. Spread out evenly. Bake for 40-45 minutes, or until toothpick inserted into cake comes out clean. Cool cake then top with glaze. To make glaze, combine powdered sugar and lemon juice in small bowl, stirring until smooth. Pour over the cake. Serves 8.