If you are looking for a fast and easy new way to prepare zucchini this dish really works well. Somewhere between a quesadilla and a frittata it can be a main dish, side dish, brunch dish or even a great breakfast. The hardest part is getting it turned over once it starts to set.
Don’t worry if it isn’t perfect. Once you sandwich it between two tortillas any mistakes are covered up. All cheesy and gooey in the middle, with crisp tortillas on the top and bottom, it might even get your kids to eat their veggies. You just cut it in wedges to serve.
Zucchini Quesadilla
2-3 c. shredded zucchini 2 eggs 1 medium onion, minced or grated 1 carrot, shredded 1/2 c. flour 2 t. dried basil or 2 T. fresh 2 t. dried parsley 1/2 t. salt, or to taste 1/2 t. chili powder Oil 2 (10- inch) tortillas – I used whole wheat 1 c. shredded cheese, cheddar or Monterey Jack work well, but use what you like or have on hand. Pepper confetti (finely minced sweet peppers, mixed colors if you can) Salsa, optional
Combine first nine ingredients in bowl and set aside. Heat 10-inch skillet and add a small amount of oil. Pour in zucchini mixture and spread out evenly. Turn down heat to medium-low and cook until edges start to firm up and brown. With spatula turn over zucchini pancake and cook 3 minutes longer. It should be set. Place 1 tortilla on top of “pancake” and turn over again, so tortilla is in bottom of pan. Place cheese on top of pancake and place second tortilla on top of the cheese. Press down lightly. Cook a couple of minutes before turning again. Tortilla should be lightly browned. Cook long enough for the second tortilla to also brown. You can flip them back if to want to make them crispier. Remove to serving dish and sprinkle with the peppers. Cut into wedges and serve. Serve with salsa, if desired. You can also add a dollop or sour cream or some sliced ripe olives if you like. Makes 2 luncheon servings or 4 appetizers. You can also make them ahead of time and keep them warm or reheat them in a 350-degree oven for about 15 minutes.
Variations: You can use 1-2 cups cooked mashed beans (kidney, black, chickpeas etc. in place of the zucchini, or even use cooked lentils.
I picked up some beautiful golden beets at a local produce market. I wanted to do something fun with them. I opted to make a soup. Since a vegetarian friend was stopping by, I decided to make the soup vegan.
I added other veggies to add more flavor- and a generous amount of hot sauce. The soup has a nice kick of heat- perfect for a chilly evening. This soup can also be served chilled- so it works no matter the weather.
I used my immersion blender to puree the soup. That way, I didn’t have to remove the hot soup from the pot to puree it. Using a blender is fine, but be careful when pureeing a hot liquid. It will splash up in the blender.
To prevent a mess and possible burns, remove the center piece of the blender lid. Place lid on the blender. Place a folded kitchen towel over the hole when blending. That way, when the liquid splashes up, the towel will prevent it from going everywhere. Also, don’t try to mix too much at a time. Several smaller loads are easier.
The 2 quarts of stock should be plenty, but depending on how much your soup cooks down, you might need a little more. How thick you like your soup is a personal preference. If you like a thicker soup, use less stock, or allow it to cook down more. Once the soup is pureed, you will know. You can adjust the thickness once the soup is pureed.
While this version is vegan, you can serve sour cream on the side, for those who like sour cream with beet soup.
Spicy Golden Beet Soup
4 T. oil
2 onions, chopped
5 carrots, peeled and sliced
3-4 golden beets, peeled and cubed – about 2 lbs.
1 medium cauliflower, chopped
8 c. vegetable stock – you might need a little more- if finished soup is too thick
1 c. tomato sauce
2 T. Tuscan seasoning* recipe follows
¼-⅓ c. Sriracha sauce- or to taste
handful of fresh parsley
Salt and pepper to taste
In large pot, heat oil and cook onions until tender. Add carrots and cook a few minutes longer. Add remaining vegetables, stock, and seasonings (except the parsley) and simmer, covered for an hour or longer. Add the parsley, then puree soup in a blender in batches until smooth. You can also use an immersion blender to puree the soup. Return to pot and add more stock, if needed. Adjust seasonings and serve. Makes a lot of soup – but freezes well.
*Tuscan Seasoning
½ c. dried basil
½ c. dried oregano
½ c. dried marjoram
3 T. dried minced onion
2 T. dried minced garlic
2 T. dried rosemary
2 T. dried parsley
1 t. crushed red pepper
Combine all ingredients and store in an air tight container. Use this blend in tomato sauce or other Italian dishes.
Do you ever buy a bag of potatoes, only to toss half of them away because they got mushy? Maybe your onions starting sprouting well before you could go through the whole bag? I hate when that happens. An easy solution could be to dehydrate them.
I have dehydrating on my mind this week. I found myself with some extra produce and I didn’t want it to go to waste. Dehydrating is an easy way to save it. It is a great way to preserve some of those wonderful tomatoes, too.
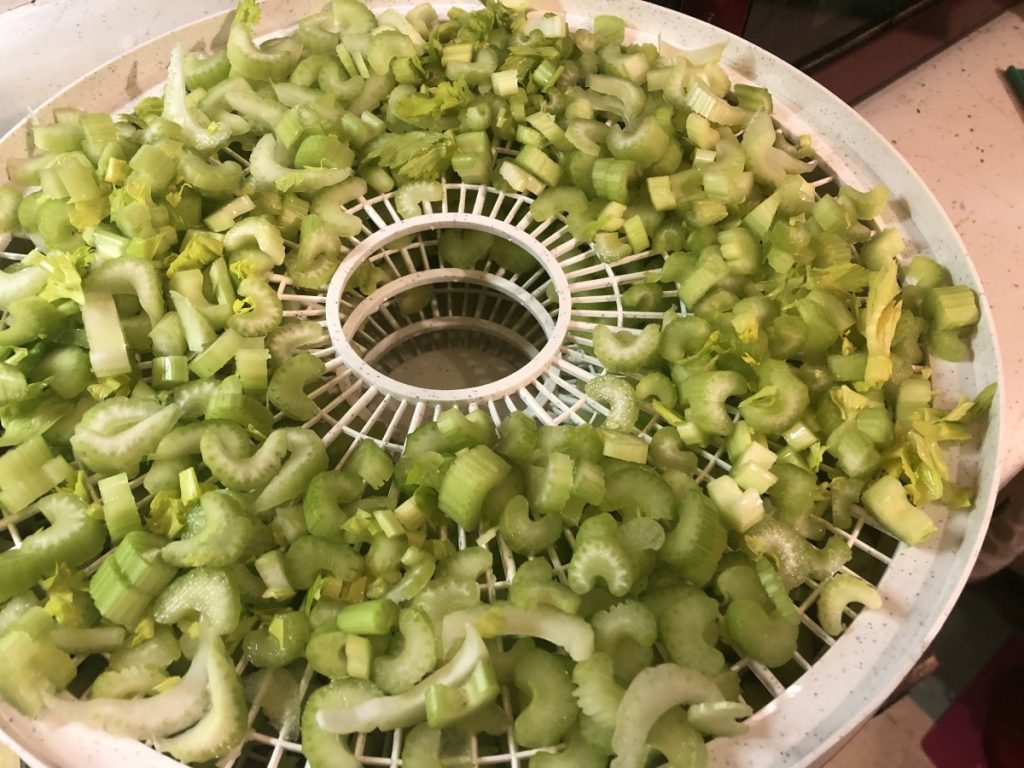
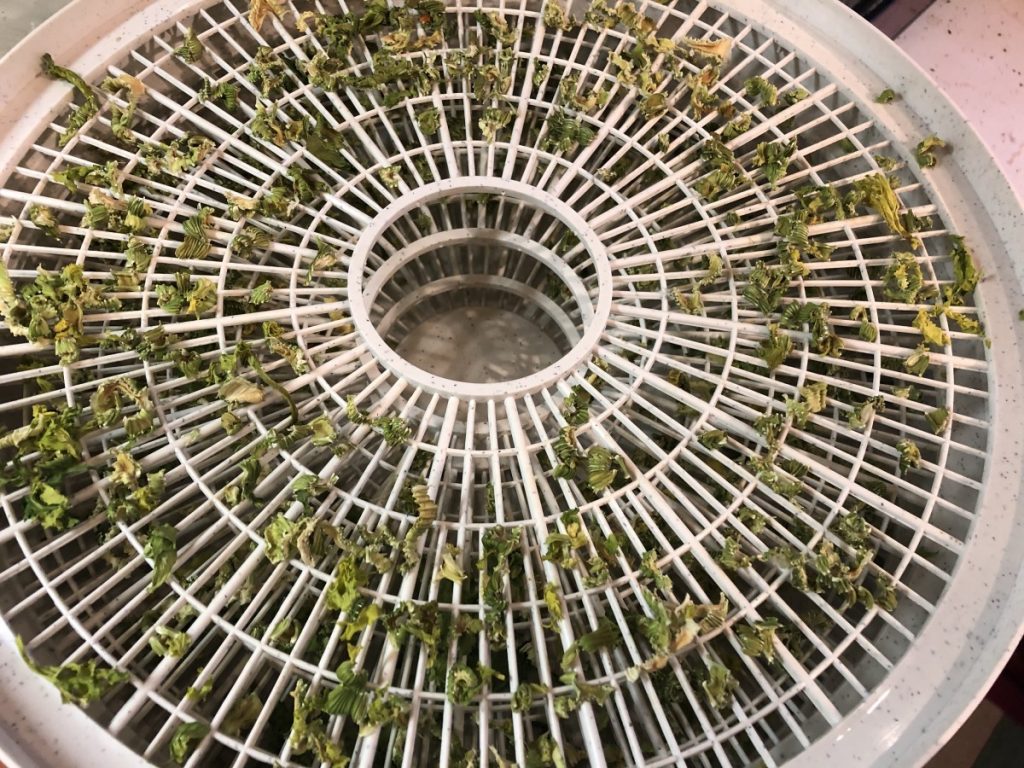
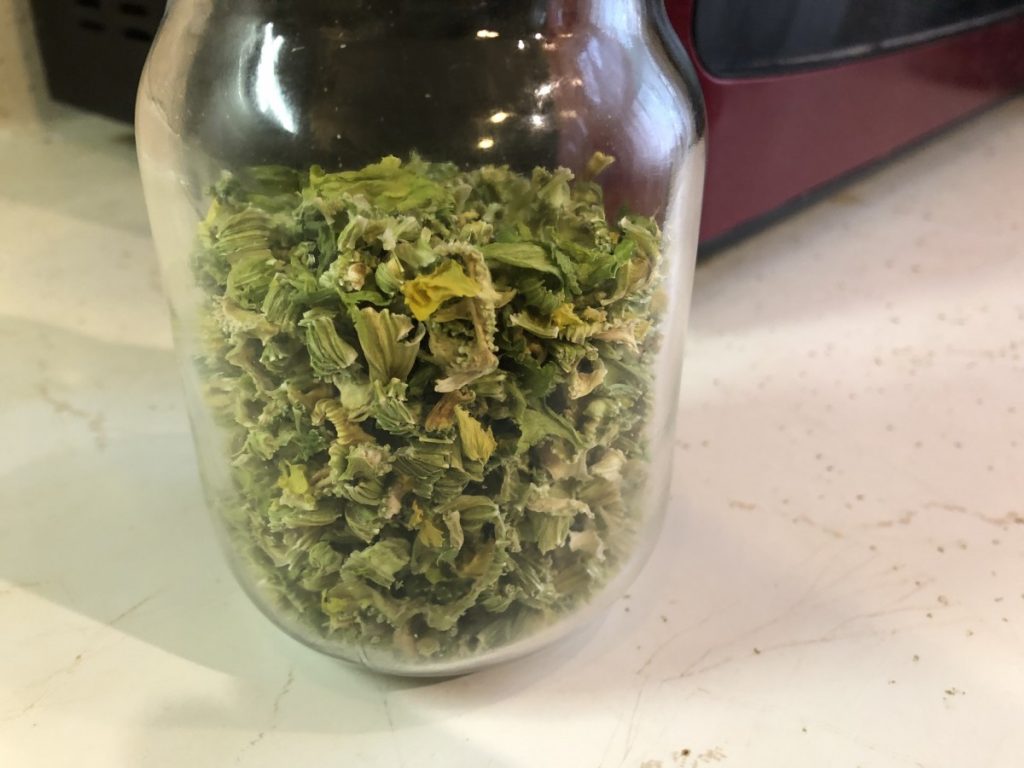
I started by dehydrating 2 large stalks of celery. I just washed them well, chopped them up, and placed them on the dehydrator trays. They filled my dehydrator, but once dried, I had little more than a cup. In case you were wondering- an entire bunch of celery is a stalk- one individual piece of celery is called a rib. I can use my celery in soups, sauces and stews. I can also powder it up and use it in salad dressings, marinades, rubs, and dips.
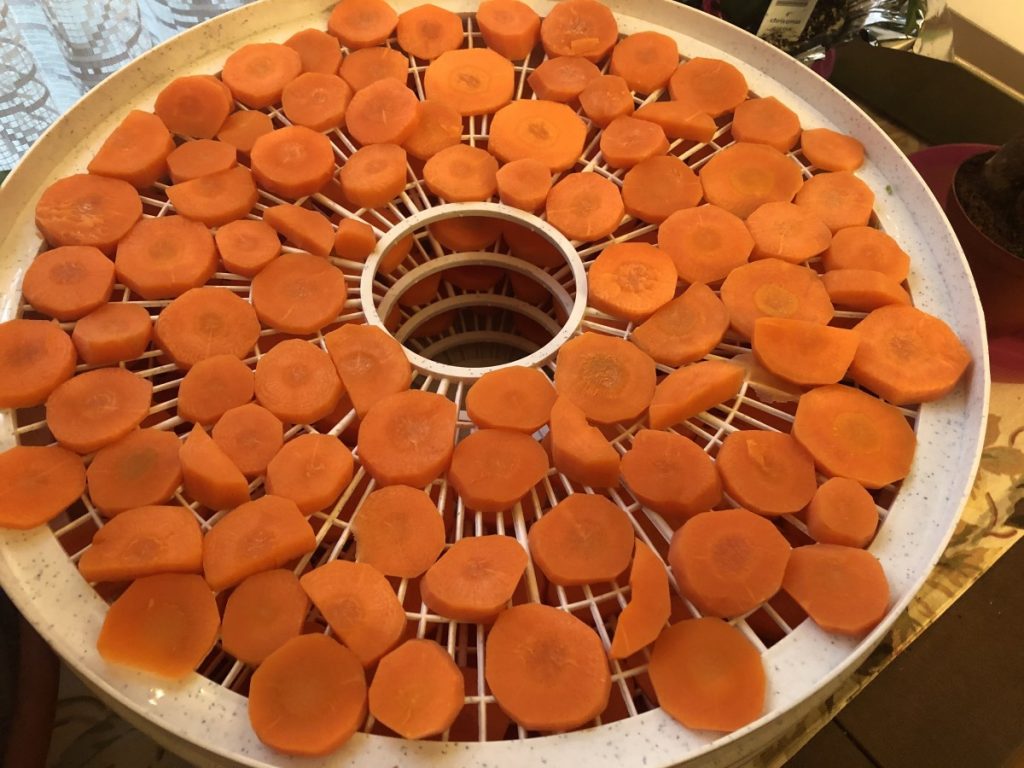
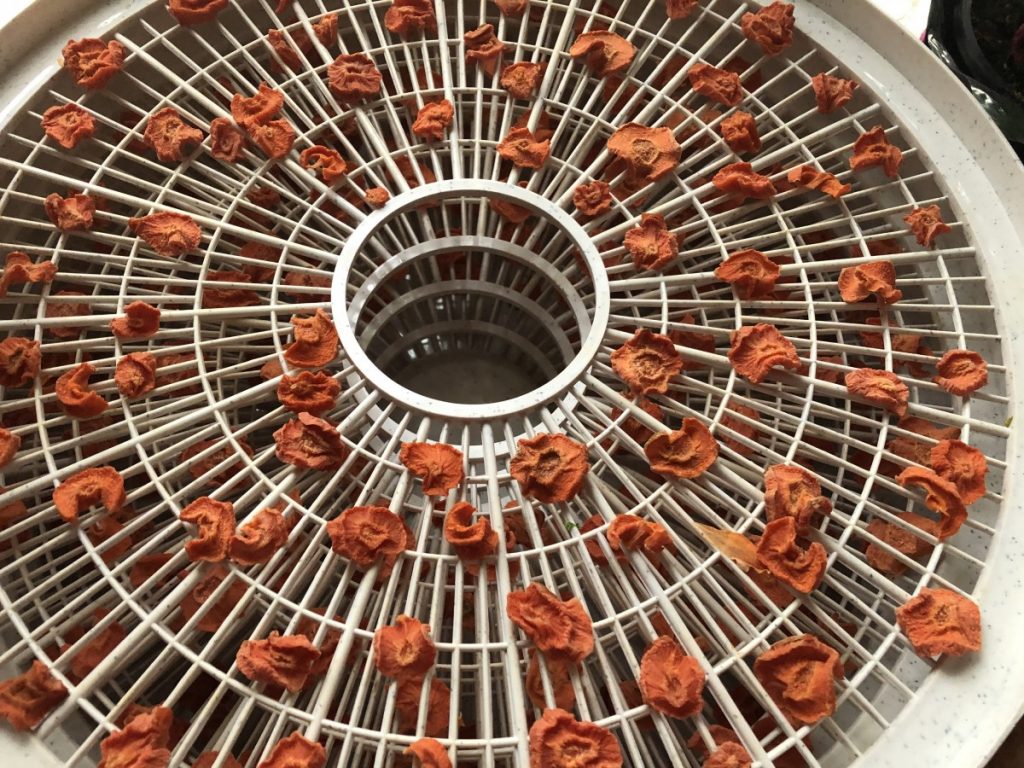
After dehydrating celery, I decided to dry some carrots. Unlike the celery, carrots need to be blanched before dehydrating. That helps the carrots to hold their color better and gives you a better finished product. I peeled and sliced the carrots. Then I steamed them for about 6 minutes. Once cool enough to handle, I placed the carrots in the dehydrator. Left them in over night and woke up to crispy carrot slices. These can also be added to soups, when making stock, stews, etc.
I preserve a lot of food by dehydrating it. Once you get over the initial investment in a dehydrator, the cost to dry food and to store dried food is pretty minimal. I got a very nice dehydrator for $30. Not a big investment at all.
Dried fruits are probably the most common home-dried foods. Apples, grapes, pineapple, strawberries and cherries are among my favorites. Because the dried vegetables are so useful and versatile, I enjoy them as much as dried fruits. I think you will, too.
Drying Vegetables
Most vegetables should be dried at the lower range if you have an adjustable thermometer on your dehydrator-around 125-degrees. Important to know with vegetables, is that some of them need to be blanched first. Blanching is just steaming or boiling the vegetables for a few minutes, before drying. Blanching kills certain enzymes, prevents browning and assures a better end product.
Vegetables that need blanching include green beans, cabbage, carrots, potatoes, greens, winter squash, corn and beets; this is not a complete list, but a good start.
Vegetables that do not require blanching include onions, celery, mushrooms, peppers, tomatoes, spinach, zucchini, cucumbers, garlic and also herbs.
Broccoli and cauliflower do not dehydrate well.
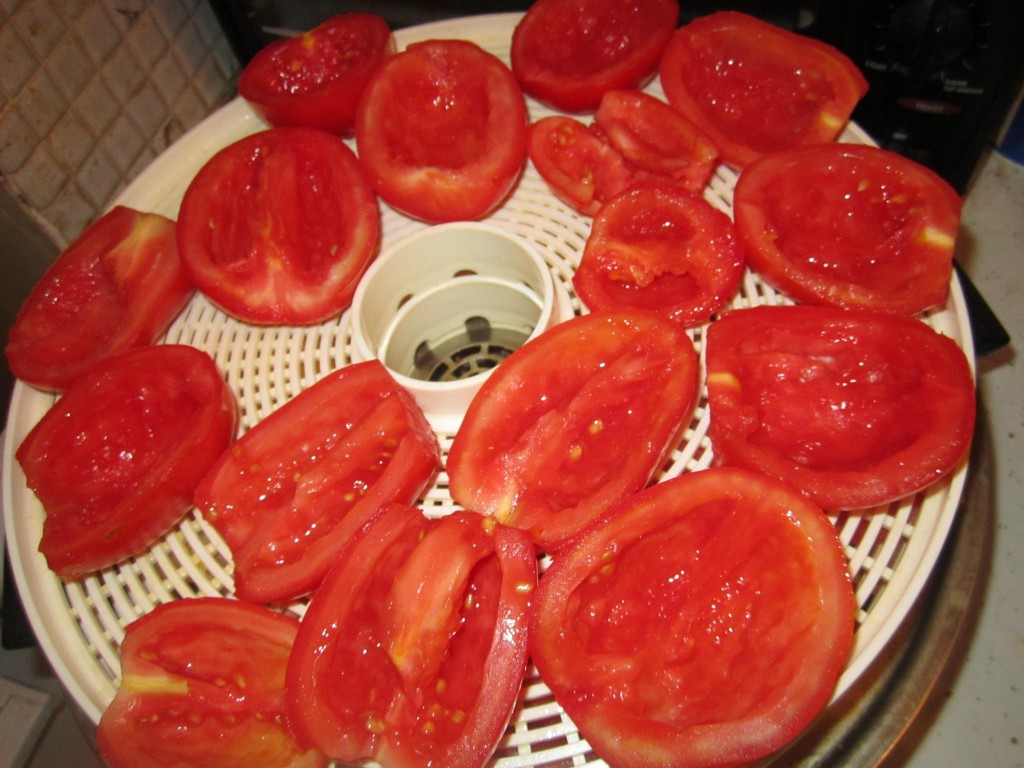
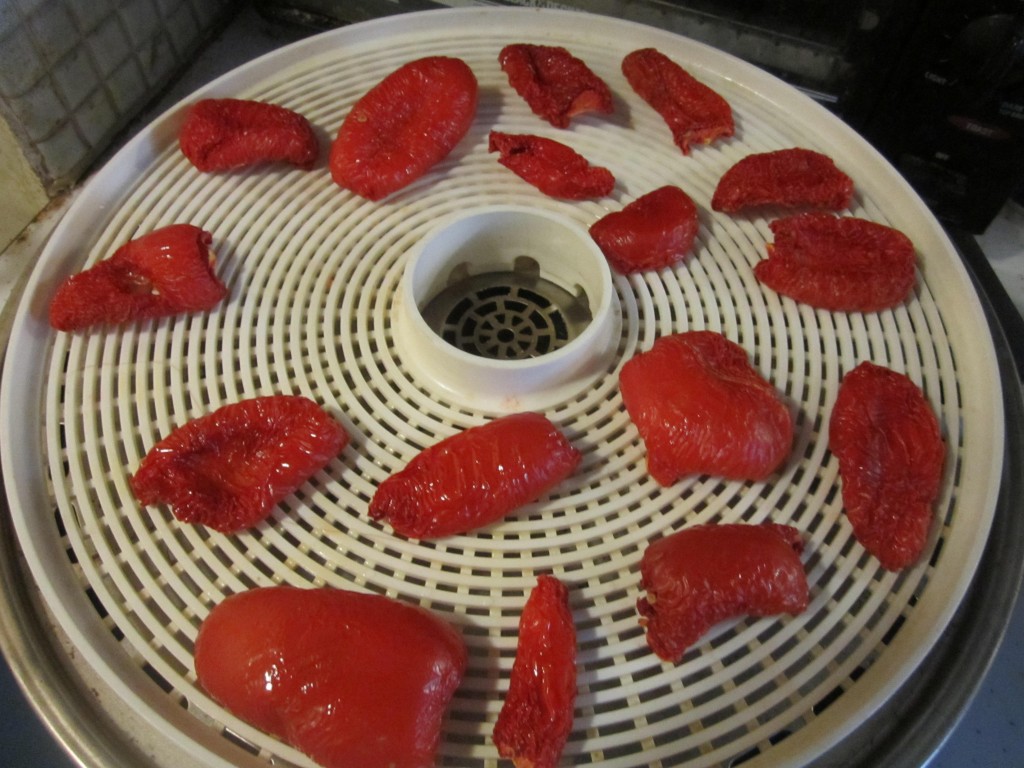
Tomatoes are probably the best vegetable to dry for the home gardener and cook. They are so easy to make and so tasty. Just cut plum tomatoes in half and scoop out the seeds. Lightly spray the trays with non-stick spray or rub with a little oil, and place the tomatoes cut side up for the first 12 hours. Turn them over after that until they are dried. I like them pretty crispy, so I dry them thoroughly. Still, just to be safe, I keep them in the freezer to keep their color and flavor longer. After a year tomatoes will darken if stored at room temperature. Larger tomatoes can also be dried. Just cut them in slices and squeeze out the seeds. Cherry tomatoes are just cut in half and squeezed to get out the seeds. With small cherry tomatoes I just make a cut large enough to get out the seeds and leave them whole.
How do you use them?
Veggie chips-zucchini and cucumber slices can be used instead of chips in dip.
Powders- Tomatoes, celery, onion, pumpkin and garlic can all be powdered and used to flavor soups, stews sauces, cheeses, dips and more. I add powdered veggies to pasta dough. Mushroom powder is one of my favorite ingredients.
Reconstituted as fresh- potatoes in casseroles are wonderful. Corn, onions, celery, and carrots all re-hydrate exceptionally well.
Dips- Peppers, onion and celery all add great flavor.
To thicken sauces- Shredded zucchini, peppers, onions, celery and tomatoes all work well this way. If you want a lower carb or gluten free alternative to thicken a sauce, dehydrated veggies, especially in powder form, work great.
Soups and Stews- almost any dried vegetable is used this way. Easy to just let them simmer together until tender and all their flavors will enrich your stock
Chowders- Corn and potatoes are great in these dishes
Dried vegetables are best stored in a cool, dry place- I often freeze or refrigerate them for best shelf life. They can also be vacuum sealed to retain freshness. Just be sure that your veggies are dry enough. Moisture leaves you open to the risk of mold and spoilage. An old test is to hit a piece of dried veggie with a hammer. It should shatter. Doesn’t really work with my dried tomatoes, but that is part of the reason I store my dried tomatoes in the freezer or fridge.
Vegetables in photo: Starting left with bright green and going clockwise: Celery, potatoes, red peppers, mushrooms, carrots, cucumbers, onions and tomatoes. In the center- mixed sweet peppers.
Tomatoes before Tomatoes after 12 hours in the dehydrator- will get even smaller before finishedcelery before dryingcelery after drying2 large bunches of celeryCarrots before dehydratingCarrots after dehydrating
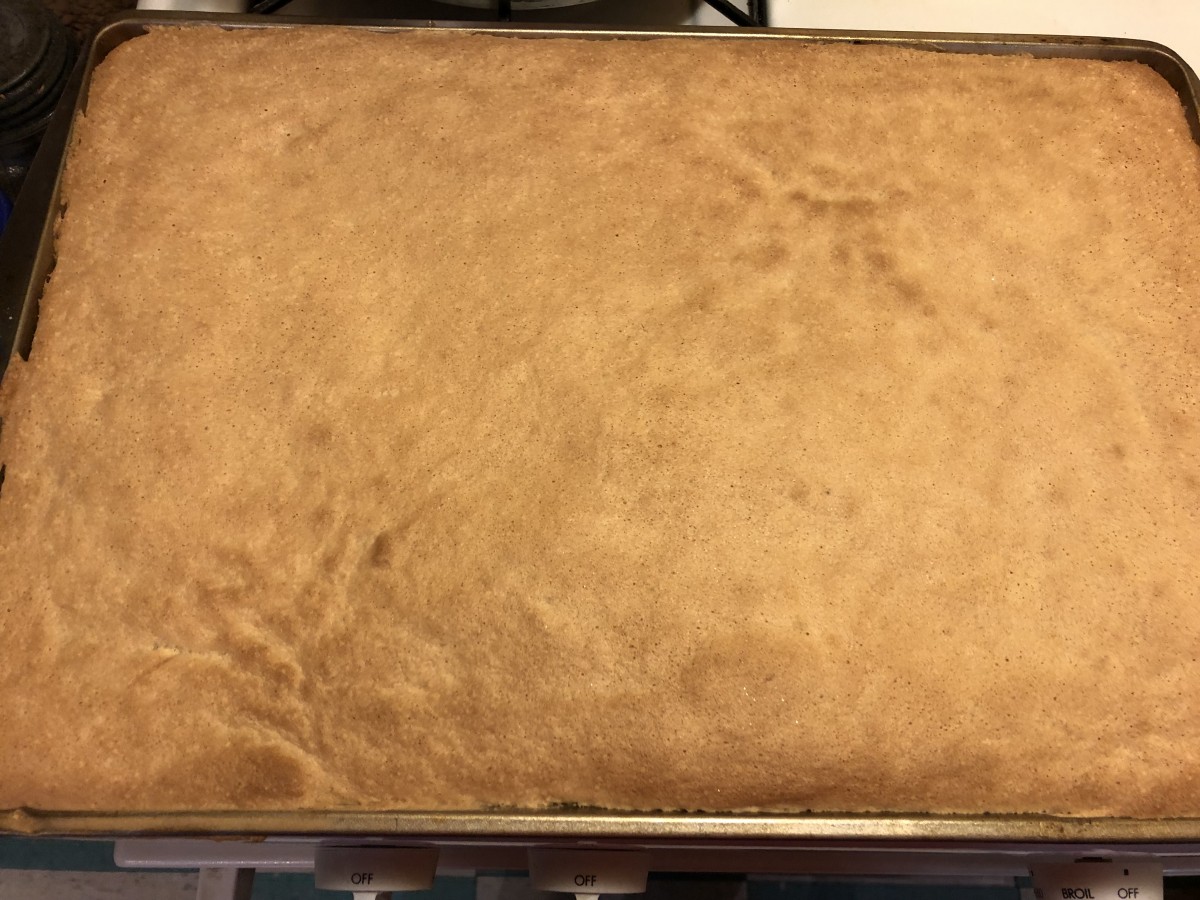
This cake roll makes a great dessert for almost any occasion. The tender sponge cake is filled with a mixture of sweetened pineapple, chopped nuts and coconut. Then it is topped with more pineapple and toasted coconut.
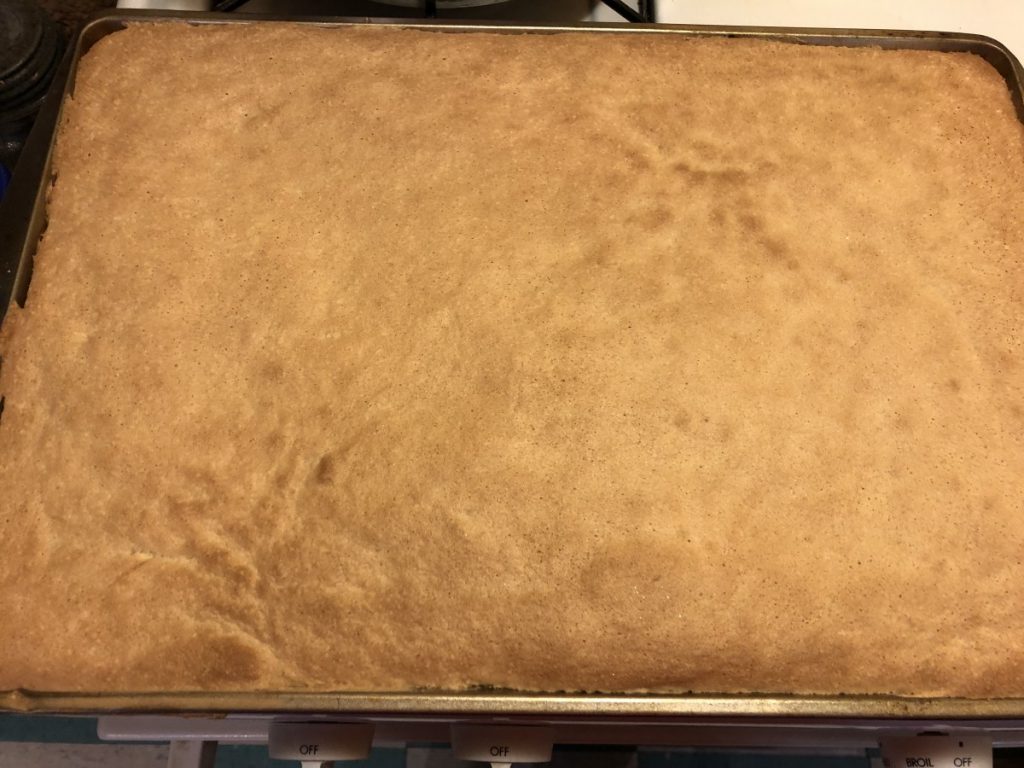
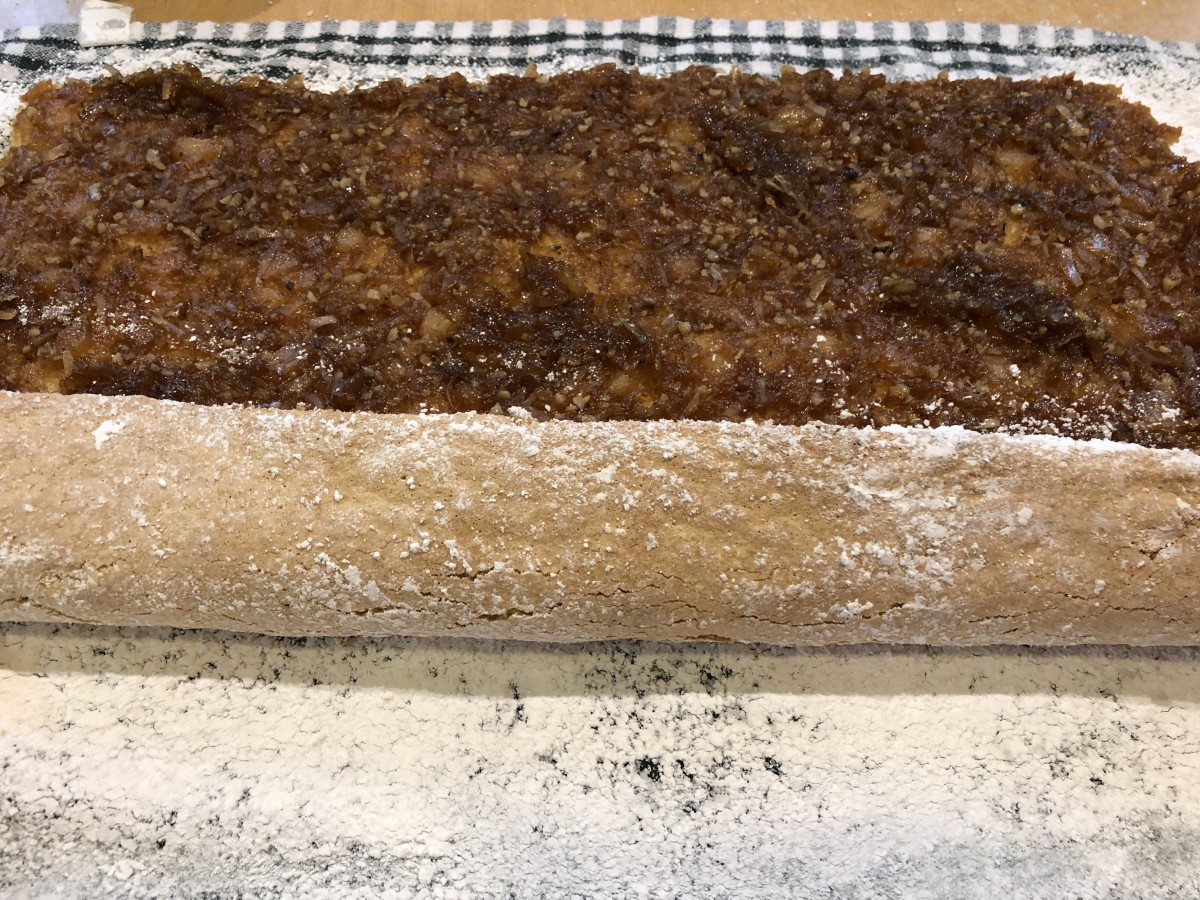
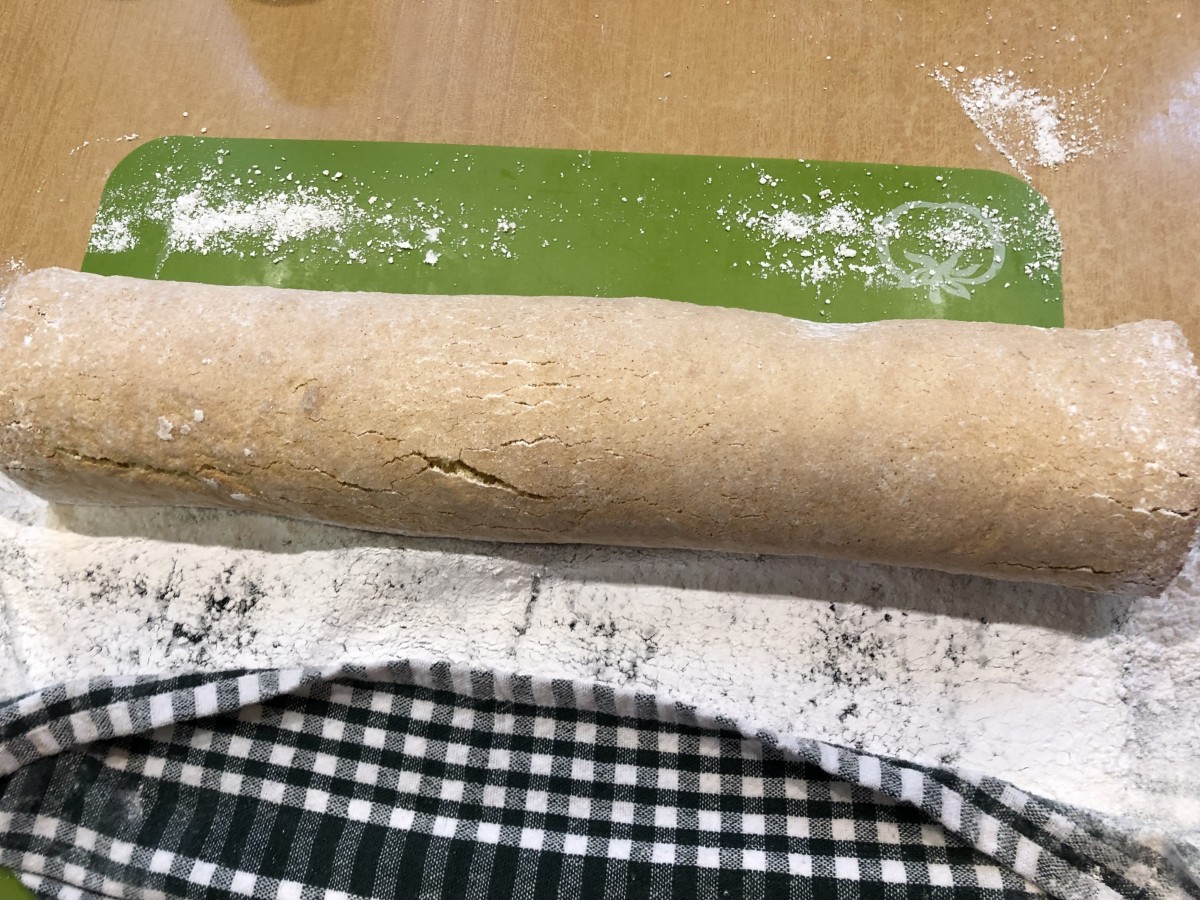
It looks difficult, but it is really easy to make. Most cake rolls are baked, then rolled, cooled and filled. In this recipe, the filling is baked in the roll. The pineapple mixture is placed in the baking pan, then the batter is spread on top, before baking. Once baked, the cake is rolled up and cooled. Once cooled, it is topped with the pineapple sauce and toasted coconut. You can make the cake a day or two ahead, wrap and pop in the fridge, then just add the toppings before serving. It also freezes well.
Here is the recipe. Hope you will give this one a try. I think you will love it as much as I do.
Pineapple Cake Roll
1 can (20 ounces) crushed pineapple, unsweetened
1 cup packed light brown sugar
1/3 cup flaked coconut
1/4 cup chopped nuts
1 1/2 teaspoons vanilla extract
3/4 teaspoon ground cinnamon
1/4 teaspoon ground cloves
4 large eggs
2/3 cup sugar
3/4 cup all-purpose flour
1 teaspoon double-acting baking powder
1/2 teaspoon salt
Powdered sugar
Topping, see below
Drain pineapple well; reserve 3/4 cup juice and 1/2 cup crushed pineapple for topping. Combine in a large mixing bowl the drained pineapple, brown sugar, coconut, nuts (your choice), 1 teaspoon vanilla extract, cinnamon and cloves. Mix well and spread over the bottom of an ungreased 15 × 10 × 1-inch jelly-roll pan. Set aside. Place egg whites in a bowl and beat until soft peaks form. Gradually add 1/3 cup sugar and beat until stiff but not dry. Set aside. In a separate bowl, beat egg yolks until thick and pale yellow; gradually beat in remaining 1/3 cup sugar and 1/2 teaspoon vanilla. Gently fold egg whites into egg yolk mixture. Sift flour with baking powder and salt. Gently fold flour mixture into egg mixture. Spread batter evenly over pineapple mixture in pan. Bake in preheated 375° oven for 20-25 minutes. Carefully loosen cake around edges. Invert cake onto kitchen towel which has been sprinkled with powdered sugar. Let stand 3-4 minutes then roll up, jelly-roll fashion. Cool cake then garnish with pineapple topping.
Topping: Combine 3/4 cup reserved pineapple juice, 2 tablespoons sugar and 1 tablespoon cornstarch in saucepan; blend well. Cook until thick and clear. Stir in reserved pineapple; cool. Spoon on cake roll and sprinkle with toasted coconut.
To toast coconut- place about a cup of coconut on a baking sheet . Bake in a 350 degree oven for about 5-8 minutes, or until coconut turns a nice golden color. Watch carefully, so you don’t burn it. I like to use large flake coconut.
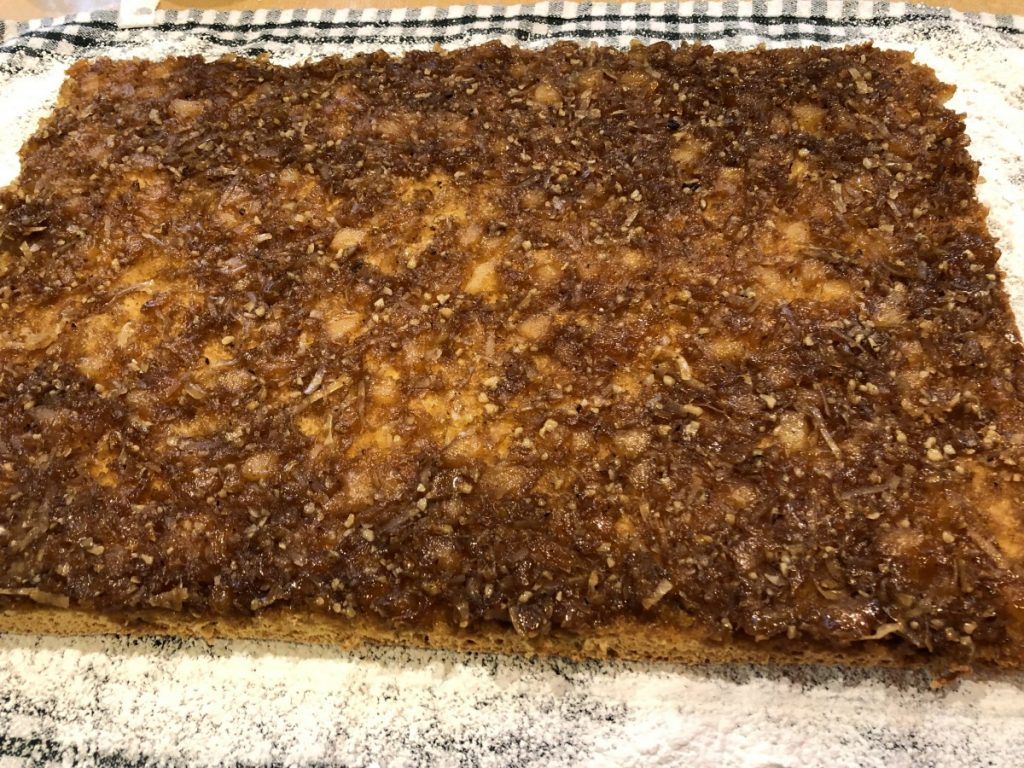
Fresh out of the ovenInverted onto powdered sugar coated towel
A lot more people are canning this year. That’s great, but maybe not so great if they are not canning safely. Following are some facts you might want to know before you can. When you follow the rules, home canning is very safe.
Canning isn’t cooking. The rules are stricter. I like to can ingredients to use in cooking later. I can get creative when I use my canned foods in cooking.
Before canning there are some basics you should know. There are general guidelines that need to be followed and some equipment that will make the job easier.
Great sources for safe canning recipes are NCHFP (National Center for Home Food Preservation) and recipes from Ball. There are a few reputable sources for information on social media. My own website has many safe, canning recipes. My friend, Debbie Seagraves, has a YouTube channel with safe canning recipes. There is also a lot of bad information out there. Be careful about who you listen to.
The USDA recommends that all jams and jellies be processed in a boiling water bath, unless it is a recipe that is frozen or unless all the preserves are to be kept refrigerated. Sealing jars with paraffin is no longer considered to be a safe way to preserve jams and jellies.
Other high acid foods, like tomatoes (when acidified), fruits and fruit products, and pickled foods can also be canned in a hot water bath.
Low acid foods, like vegetables (not pickled) and meats and seafood must always be processed in a pressure canner. Contrary to what some people might tell you, there is no safe canning time for water bathing green beans. The water will never get hot enough to kill botulism.
Just because someone didn’t get sick from incorrectly canned food does not mean they were right. They were just lucky. There was a case in Ohio a few years ago where a woman who served improperly canned potatoes, made people sick. At least one person died. Botulism has no taste or smell.
Rice, pasta, flour and most starches should not be used in home-canned foods. Clear -Gel, a modified corn starch, can be used in homemade pie fillings.
Dairy and eggs are also not recommended in home canning. No canned butter!!! However, there is an NCHFP tested recipe for canned lemon curd, using eggs and butter. It has a very short shelf-life- use in 3-4 months!! The lesson here- use a tested recipe. It has been tested over and over to be sure it is safe.
Just because it seals, it does not mean it is safe. You have to process properly, using a safe recipe. I can pour almost any boiling hot food in a jar and get it to seal. Does not mean what I did is safe. Don’t risk your family’s health.
Since the jars are sterilized in the canning process (of at least 10 minutes), there is no need to sterilize jars as a rule. They should be freshly washed in hot, soapy water, rinsed and kept warm until ready to use. You can also run them through the dishwasher and keep them in there until ready to fill. Because jams and jellies are packed when hot, cold jars might crack. Before starting make sure the jars are free of nicks and cracks, being extra careful to check the rims.
Note: the only time you must sterilize a jar is if it contained food that had spoiled. When I get jars second-hand I also sterilize them before use. To sterilize jars submerge them in boiling water for twenty minutes.
To prepare to water bath, have a canner (large kettle with a wire rack) filled with enough water to cover the jars by 1-2 inches and have it almost boiling when the jars are added. Turn up heat and cover the canner. Timing begins when the water comes to a boil (usually only a minute or two when hot jelly-filled jars are added). I get the water in the canner boiling first and turn it down to a high simmer until just before it is needed. Keep it covered to heat up faster and to prevent evaporation. If you do not have a canner, a kettle deep enough to accommodate the jars can be used. However, you must cover the bottom with a towel. Jars that touch the bottom of the pan directly can break during processing. You can also cover the bottom of the kettle with a small cooling rack. I have known people to wire canning jar rings together to make a sort of trivet for the bottom of a stock pot.
Pressure canners for use in the home were extensively redesigned beginning in the 1970’s. Models made before the 1970’s were heavy-walled kettles with clamp-on or turn-on lids. They were fitted with a dial gauge, a vent pipe in the form of a petcock or covered with a counterweight, and a safety fuse. Most modern pressure canners are lightweight, thin-walled kettles; most have turn-on lids fitted with gaskets. At least one style is still made with heavy cast aluminum, has screw-down knobs around the canner and does not have a gasket, however.
Modern pressure canners have removable racks, an automatic vent/cover lock, a vent pipe (steam vent), and a safety fuse. Use only canners that have the Underwriter’s Laboratory (UL) approval to ensure their safety.
Today’s pressure canner may have a dial gauge for indicating the pressure or a weighted gauge, for indicating and regulating the pressure. Weighted gauges are usually designed to “jiggle” several times a minute or to keep rocking gently when they are maintaining the correct pressure. Read your manufacturer’s directions to know how a particular weighted gauge should rock or jiggle to indicate that the proper pressure is reached and then maintained during processing. Dial gauge canners will usually have a counterweight or pressure regulator for sealing off the open vent pipe to pressurize the canner. This weight should not be confused with a weighted gauge and will not jiggle or rock as described for a weighted gauge canner. Pressure readings on a dial gauge canner are only registered on the dial and only the dial should be used as an indication of the pressure in the canner. One manufacturer now makes a dual-gauge canner; read the manufacturer’s user manual for information on when and how to use either the weighted gauge or the dial.
Pressure canners come deep enough for one layer of quart or smaller size jars, or deep enough for two layers of pint or smaller size jars. The USDA recommends that a canner be large enough to hold at least 4 quart jars, upright, to be considered a pressure canner for the USDA published processes. Smaller pressure cookers are NOT safe for use as pressure canners.
To prepare a pressure canner add several inches of hot water in the bottom of the canner that has a rack in the bottom. The canner will usually come with specific directions or a fill line. Some will have a specific amount of water that is added, like 3 or 4 quarts. Water will not cover your jars in pressure canning the way it does in water bath canning. After jars are added to the canner the lid is secured and the heat is turned on. Once steam starts to come out of the vent on top, the canner is vented for 10 minutes. The gauge is applied and the canner will start to increase in pressure. When proper pressure is attained timing begins.
To know when proper pressure is attained, you will just look at your gauge- if your pressure canner has a dial gauge. When using a weighted gauge, pressure is achieved when the weight begins to rock gently. Once you get up to pressure, you will be able to turn the heat down a little. Be careful not to reduce heat too much. If you go below the proper pressure, you have to get back up to pressure and start the timing over.
When the timed process is completed, turn off the heat, remove the canner from the heat (electric burner) if possible, and let the canner cool down naturally. (Lift the canner to move it; do not slide the canner. It is also okay to leave the canner in place after you have turned off the burner. It is better to do so than to let jars inside the canner tilt or tip over if the canner is too heavy to move easily.)
While the canner is cooling, it is also de-pressurizing. Do not force cool the canner. Forced cooling may result in food spoilage. Cooling the canner with cold running water or opening the vent pipe before the canner is fully depressurized are types of forced cooling. They will also cause loss of liquid from jars and seal failures. Forced cooling may also warp the canner lid. When the pressure is back down to zero, wait another few minutes before removing the lid. Always remove the lid away from you- the steam in the canner could burn you.
Prepare foods for canning in enamel, non-stick or stainless steal pans. Never use aluminum or copper, or enamel cookware that has chips.
Today, lids are two pieces consisting of the ring and a flat lid with a rubber ridge. Lids should be prepared according to the manufacturer’s instructions. Some ask you to boil them, others may just ask you to wash them and hold in warm water until ready to use. The rings can be used over and over, but the flat lids should only be used once. They may fail to seal if processed a second time. There are silicone lids, which can be used over and over. They are a little pricey, but you don’t have to replace them.
Jar-lifters are a handy tool to have. They allow you to place and remove the jars easily, with little risk of dropping them. They are available at many grocery stores and in cookware and department stores as well. A wide-mouth funnel (or canning funnel) is also handy when trying to ladle hot liquids into jars. Be sure to wipe off jar rims before putting the lid on to prevent food from causing the jars not to seal.
Screw the ring on firmly, but not too tight, or the jars will not seal properly. The term you will often hear id finger tip tight. Suggesting you tighten the ring using your fingertips only. That actually works well.
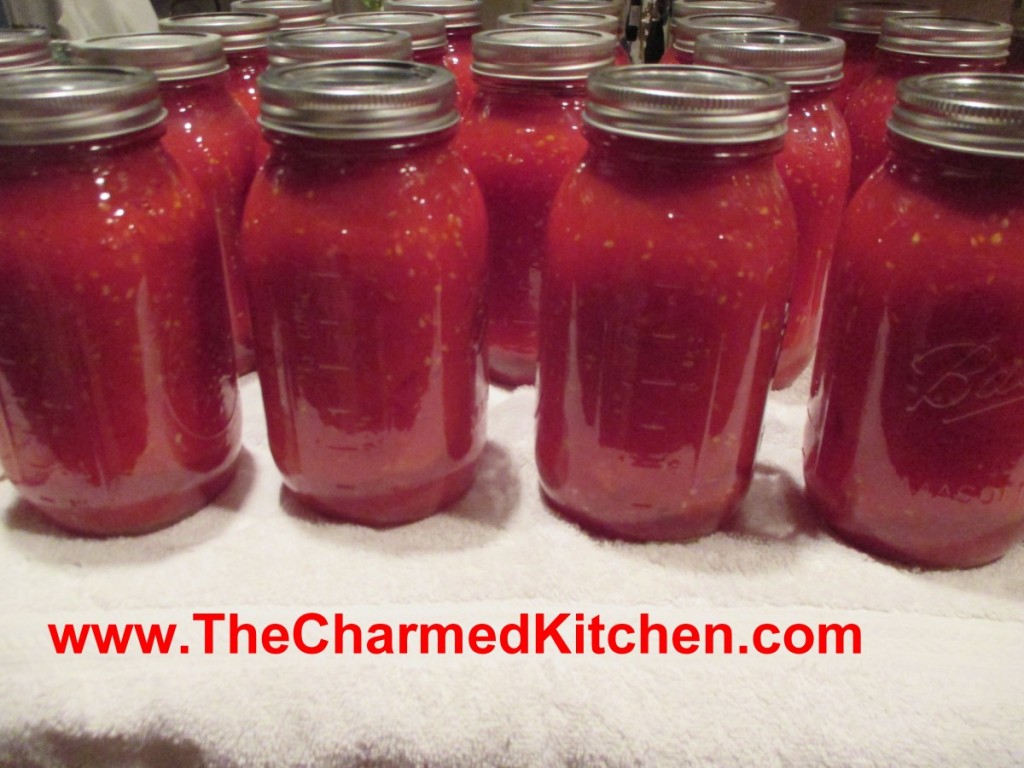
Jars removed from the water bath should be placed on a wire rack or on a towel to cool. You should hear them “plink” as the jars seal. Keep them away from drafts until cooled down. When completely cooled check to make sure that the jars have sealed. Press down on the middle. If the lid makes a “plink” noise it is not sealed. After jars have sealed and cooled remove ring, wipe with a damp cloth and store in cupboard until ready to use. I like to put dates on my jars, so I know when I canned them.
Always start with top quality produce. Bruises and blemishes will lead to spoilage. Small blemishes can be cut off, but be sure to remove all areas of spoilage.
If you are canning tomatoes and have a lot of imperfect fruit you are better off trimming off any bad spots and using this produce in recipes that will be frozen rather than canned.
When canning, always use canning salt or pickling salt. Iodized salt will cause an off-flavor in canned foods. Non-iodized salt can be used in a pinch. Sea salts contain minerals that will make liquids cloudy.
When using older canning books always check with your local Extension Office or the USDA for most current information and canning times. Periodically, times are changed or ingredients are adjusted for maximum safety. If you have old family recipes also check with your local Extension Office to find out if the recipe is still considered safe. You can also email NCHFP with questions about the safety of your recipe.
Never can in an oven. There are no safe canning times for home canning in ovens. Plus, thermal shock can cause the jars to shatter.
Nothing beats planning. When getting ready to can read the recipe all the way through and get all your equipment out. It is often easier and more fun to can with a friend or two. The extra hands always come in handy and when time is critical the extra help will make errors less likely.
In tomato-based products herbs can be added for flavor but do not randomly start adding other vegetables (like onion, peppers etc.). They will reduce the acidity and may make the product unsafe to can in a water bath.
When you do follow the proper rules, home canning is very safe and fun, too. It is a way of preserving your garden produce to enjoy all year long. Homemade jams and jellies make lovely, thoughtful gifts.
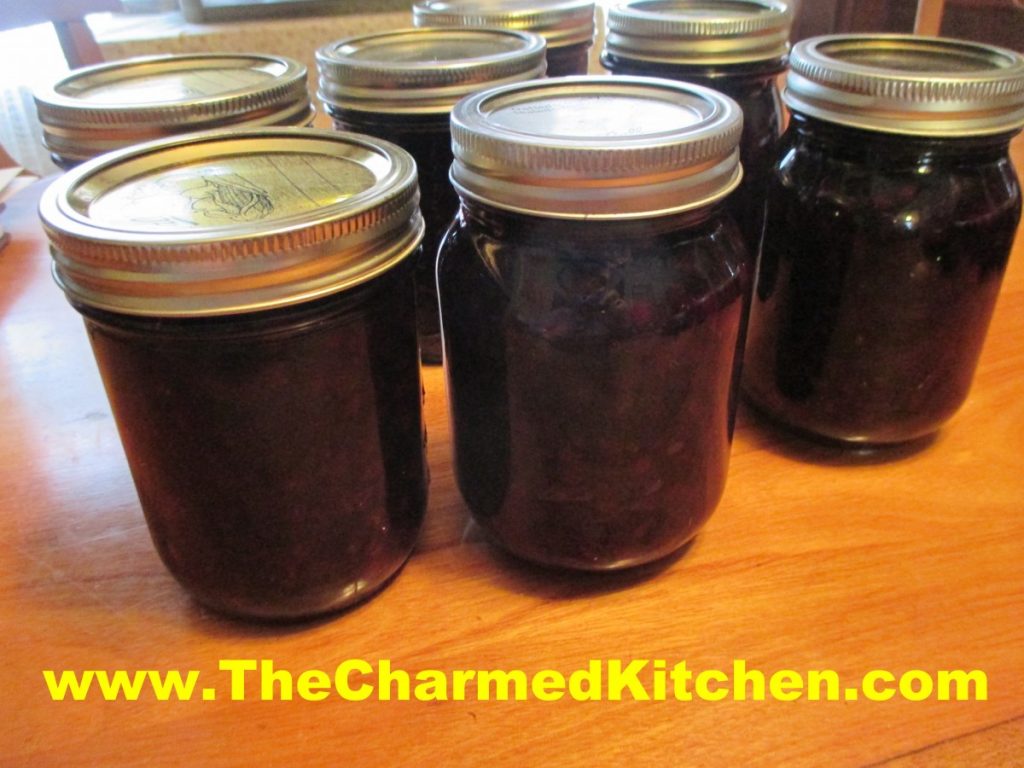
I recently came across a wonderful price on blueberries. Being the thrifty person that I am, I stocked up. I put some in the freezer and placed some in vodka for liqueur. I made cupcakes and syrup, muffins and pancakes. I have been eating plenty of them, too. I decided to use some of them to make pie filling.
There is something very satisfying in making your own pie filling. It is so much better than anything you would find in a can. It is a convenient ingredient to have on hand, too. A good quality pie filling can be turned into any number of desserts in no time- even pie!!
You do need to have Clear Gel to can pie filling. It is modified cornstarch. You can’t use regular cornstarch and you can’t use other thickeners. You could just can the berries, then thicken them later, but the Clear Gel makes it so much more convenient to use. I just order mine online, but it is available in some stores- primarily in Amish communities.
I opted to can my filling in pints. I find that size more convenient for me. Let the jars stay in the canner 5 or 10 minutes after they finish processing. It will reduce siphoning. Some foods, hot in the jars- will leak out of removed from the heat too quickly. Pie fillings are known for issues with siphoning.
Blueberry Pie Filling
6 qts. Blueberries
6 c. sugar
2 1/4 c. Clear Gel (modified cornstarch, not regular cornstarch)
7 c. water
1/2 c. lemon juice
Wash and drain berries. In large sauce pot combine sugar and Clear Gel. Stir in water and cook on high heat until mixtures bubbles and thickens. It is going to be really thick- don’t panic, just keep stirring so it won’t stick. Add lemon juice and boil 1 minute, stirring constantly. Fold in berries and ladle in hot, clean canning jars immediately. Leave 1/2 -inch headspace and remove any air bubbles with a knife. Wipe rims clean and put on lids. Place jars in boiling water bath and process for 30 minutes. Start timing when water returns to the boil. Turn off heat and let jars sit in the water bath 5-10 minutes before removing to counter to cool. Cool jars on counter on rack or towel, free from drafts. Check seals next day. Remove rings and wipe down jars with a soft, damp cloth before storing. Makes 14 pints or 7 quarts.
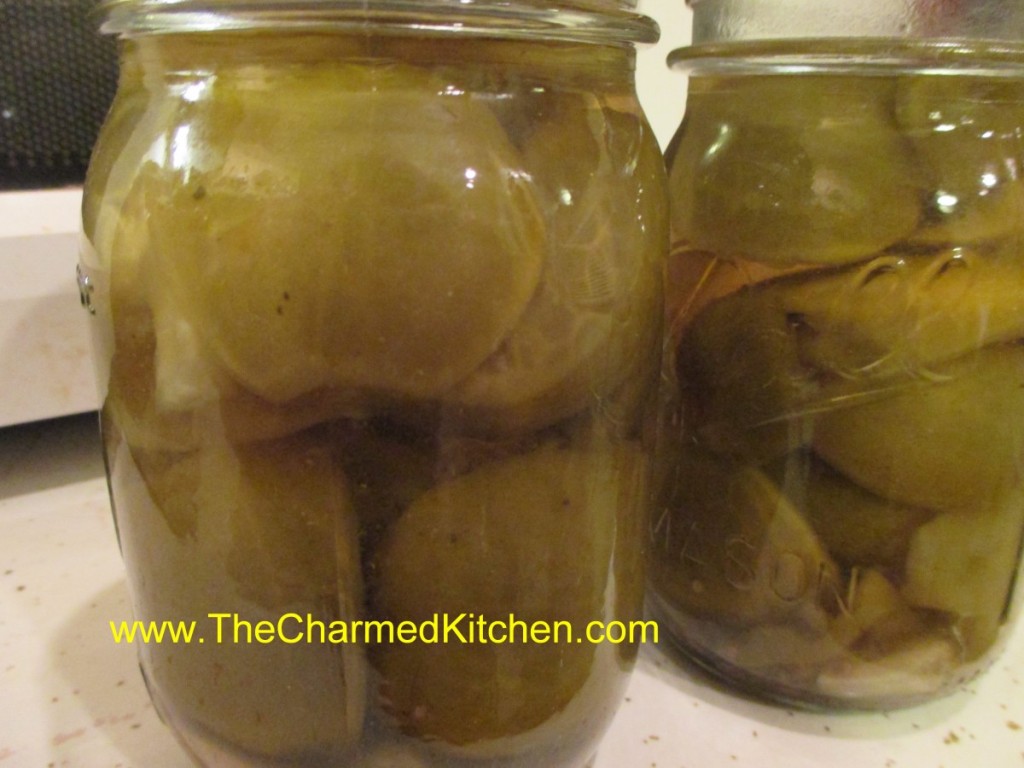
The garden season is winding down around here. A number of friends have posted pictures of their last ripe tomatoes of the year. That is a sad time. But, don’t forget about those green tomatoes. You can make fried green tomatoes, which are great. You can also make these pickles. That way, you can enjoy those home grown tomatoes a little longer.
The recipe is pretty simple. I sometimes add a teaspoon of red pepper flakes to each jar for a spicy version. The hardest part is waiting. Once the tomatoes are canned, you have to give them 4-6 weeks for the pickling to finish. Trust me, it is worth the wait. While the recipe calls for using quart jars, you can use pints. Process for the same time as the quart jars. I like to use pints for the green cherry tomatoes.
Just because your ripe tomatoes are done for the year, harvest those green ones and get a little something more from your garden.
Green Tomato Dill Pickles – Kosher Style
Green tomatoes 6 ribs celery, cut in 2-inch pieces 6 Sweet green peppers 6 cloves Garlic, peeled 2 quarts water 1 quart vinegar- 5% acidity- you can use white or cider vinegar 1 cup canning or pickling salt Dill, optional
Use small firm green tomatoes. Pack into hot, clean canning jars. Add to each quart jar a clove of garlic, 1 piece of celery, and 1 green pepper cut into fourths. Make a brine of the water, vinegar, and the salt. Boil with the dill for 5 minutes. Pour the hot brine over the pickles to within 1/2 inch of the top of the jar. Put on cap, screw band firmly tight. Process in a boiling water bath for 15 minutes. These pickles will be ready for use in 4- 6 weeks. Yield: About 6 quarts. Source: NCHFP
Tomato season is all about those firm, ripe, juicy tomatoes. For me, tomato season is also about fried green tomatoes.
Green tomatoes have a very different flavor than ripe tomatoes. It is like tomatoes and lemons had a baby. There is a distinct citrus-like tartness in green tomatoes.
Green tomatoes are pretty hard, compared to ripe tomatoes, which makes them great for frying. They soften, but don’t fall apart when fried.
There are a number of variations on exactly how to fry your tomatoes. I do a traditional breaded method, flour, egg wash and cracker crumbs. Then I pan-fry them.
I like using cracker crumbs, but you could use bread crumbs instead. I have friends that love to use cornmeal instead.
So here is my recipe. I hope you give it a try.
Fried Green Tomatoes
1 c. flour, or 1/2 c. flour and 1/2 c. cornmeal
1 t. salt
1 t. pepper
5 green tomatoes, sliced 1/2-inch thick
1-2 c. cracker crumbs, saltines preferred
2 eggs, beaten
butter or oil for pan frying
Place flour and seasonings in small bowl. Place crumbs in second bowl and eggs in a third bowl. Dip tomato slices in eggs then in flour. Dip slice in egg again and then in crumbs. Fry slices in hot oil until golden and tender in the middle, turning to cook evenly. Drain and serve warm. Serves 4-6.
Did you ever wonder when people started pressure cooking/canning? The answer might surprise you. The first known pressure cooker was invented by Denis Papin, French physicist and mathematician (1647-1712). In 1679 he made a large cast iron vessel with a tightly fitted lid that locked. His invention raised the boiling point of water and at this higher temperature, bones softened and meat cooked in quick time. It was promoted as a “digester” because it cooked food so quickly. Sadly, it was difficult to control the pressure and explosions were common. Eventually he added a valve to release extra pressure.
Canning the food in jars came somewhat later. In 1795, Napoleon Bonaparte offered a reward for whomever could develop a safe, reliable food preservation method for his constantly traveling army. Nicholas Appert took on the challenge, and about 15 years later introduced a method that involved heat-processing food in glass jars reinforced with wire and sealing them with wax.
The next breakthrough was the first true “canning” (as opposed to “bottling” or “jarring”) method. By 1810, Englishman Peter Durand had introduced a method for sealing food in “unbreakable” tin cans. Interesting fact: The can opener was not invented until 48 years later. Before that cans were opened with hammer and chisels. The first commercial canning establishment in the U.S. was started in 1912 by Thomas Kensett. One problem with these early cans was the lead solder used to seal them. Excessive eating of canned foods would result in lead poiusoning.
It wasn’t until much later that Louis Pasteur was able to demonstrate how the growth of microorganisms causes food to spoil. Prior to that, people knew that canning methods worked, but not why.
At the time of the U.S. Civil War glass food preservation jars with metal clamps and replaceable rubber rings had been invented. These jars are still available today, although they are no longer recommended for canning are are used for storing dry goods and for decorative purposes.
In 1858, John Mason invented a glass jar with a screw-on thread molded into its top, and a lid with a rubber seal. Most canning jars are still referred to as Mason jars.
Meanwhile in the late 1800’s, William Charles Ball and his brothers got into the food preservation jar business and began buying up smaller companies. They quickly became leaders in the industry. Ball jars are today one of the most widely used jars for canning.
Alexander Kerr invented the easy-to-fill widemouth canning jar in 1903 (an innovation that the Ball brothers quickly duplicated). Later, in 1915, Kerr developed the idea of a metal lid with a permanently attached gasket that a man named Julius Landsberger had invented. Kerr came up with a metal disk with a similar gasket, held in place by a threaded metal ring. The modern 2-piece canning lid was born.
We’ve come a long way since the early days of pressure cooking and canning. With the more recent introduction of Instant Pots, pressure cooking certainly seems more popular. This year, there has been a renewed interest in home canning as well. The good news is that with all the efforts that came before, both pressure cooking and pressure canning are safe and easier than ever.
If you only use bean dip as an appetizer you are really missing out. Bean dip is often served with chips and veggies and it is always a hit. But, it can be used for a lot more than that.
Certainly in other Tex-Mex dishes like burritos or enchiladas. I like to spread it on fresh tortillas and top with cheese, chopped peppers, onions and olives- then bake until hot and cheese has melted. It can also be spread inside pita bread and then the bread filled with sprouts or sliced veggies for a quick sandwich. You can also add the bean dip to hot cooked veggies like corn, green beans, or carrots, in place of, or in addition to, the butter. It also can be added to stir-fries for extra flavor or to soup as a thickener. I sometimes add it to chili, too. I often make a big batch and freeze some for later use.
Bean Dip
2 cans kidney beans, drained and rinsed – you can use other beans 1 c. salsa, store bought or homemade ¼ c. olive oil 2 T. cider vinegar 2 t. chili powder 1 t. cumin Healthy dash of hot sauce Salt and pepper to taste
In food processor blend all ingredients until smooth. I usually start the beans first for 30 seconds or so and then add everything else. If you want it thinner you can add some extra oil. Makes 3 cups. Freezes well.