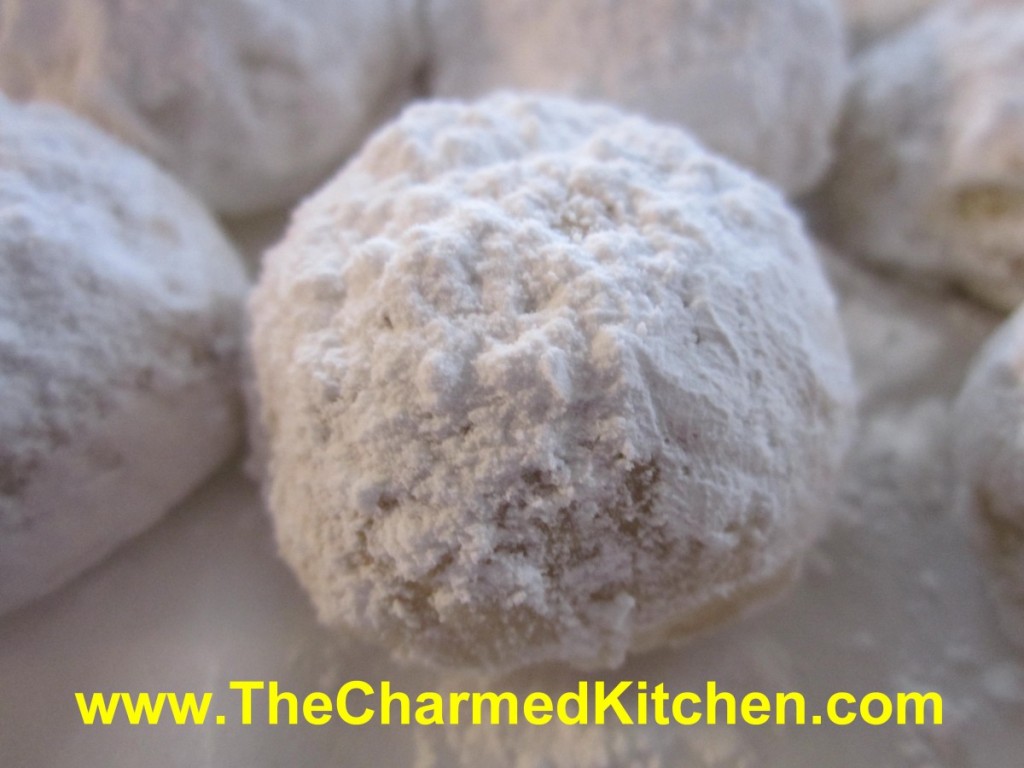
Russian Teacakes

This is the first cookie I can remember making with my Mother. She sat me down at the kitchen table with a pile of chilled dough. I think I was 7. She put a piece of wax paper on the table, then rolled out one small ball of dough. She told me to do what she had just done. Roll out the rest of the dough into little balls. I sat there and made one tiny dough ball after another, until I was done. I can’t make these cookies without thinking of her. A special memory, indeed. Wouldn’t seem like Christmas without them.
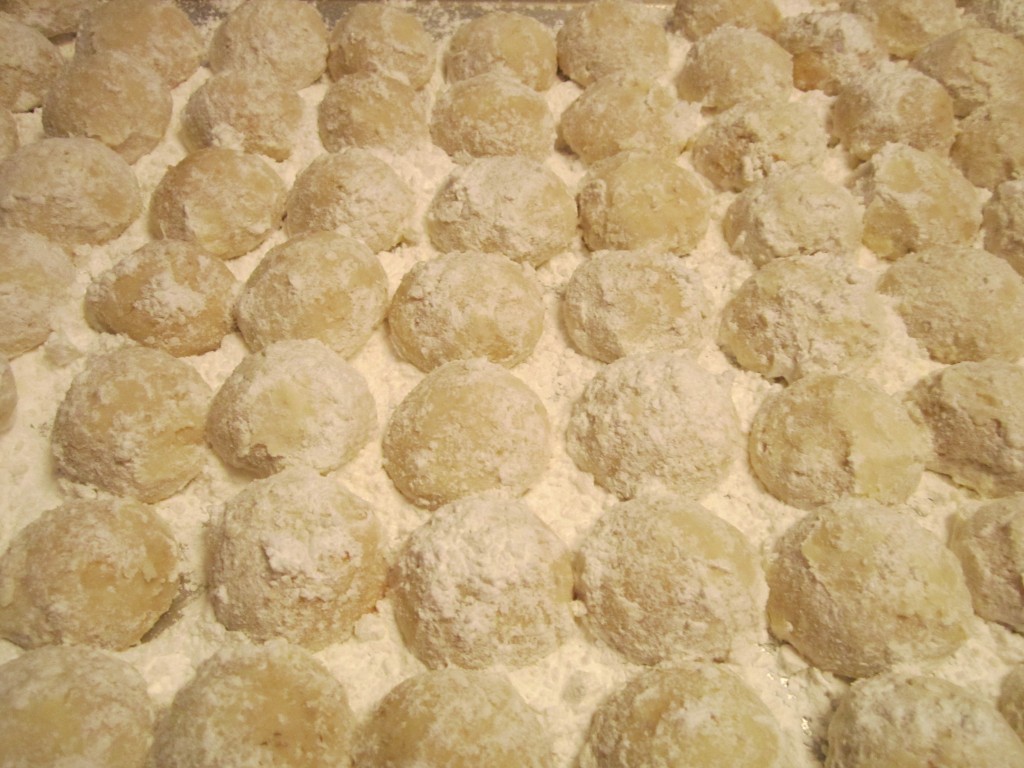
Russian Teacakes, also known as Mexican Wedding Cakes are a delicate nut-filled shortbread cookie coated in powdered sugar. The magic is created when the cookies, hot from the oven, are rolled in powdered sugar. The powdered sugar clings to the hot cookies and makes a sort of sweet coating. Once cooled, they are dusted with more powdered sugar. Whether you call them Russian Teacakes, Mexican Wedding Cakes, or as another friend always refers to them, butter balls, these cookies are a must for your holiday cookie baking.
Russian Teacakes
1 c. butter
½ c. powdered sugar, plus extra for coating
1 t. vanilla
2 ¼ c. flour
¼ t. salt
¾ c. finely chopped nuts, nearly ground
Mix butter, ½ cup sugar and vanilla well. Stir flour and salt together and then add to butter mixture. Mix well and stir in nuts. Wrap dough and chill. Heat oven to 375 degrees. Roll dough into 1-inch balls and place 1 inch apart on ungreased baking sheet. Bake 10-12 minutes. Cookies should be lightly browned on the bottom. While still warm, roll cookies in powdered sugar. Dust again with sugar once cooled. Makes about 4 dozen.
Cookie “Candies”


There are so many cookies I bake this time of year, I could never pick a favorite. There are some cookies that are a MUST bake, however.
These cookie-candies are one of them. They get their name because, once decorated, they look like little pieces of candy.
Under the sprinkles are rich and tasty oatmeal shortbread cookies. Shortbread cookies are always a favorite of mine. I think I make half a dozen varieties of shortbread.
The dough is easy to handle. You just shape small amounts into shapes like circles, squares and ovals. They hold their shape. Like most shortbread, they bake at a lower temperature than other cookies. They also bake a bit longer. They should be a little golden on the bottom when done.
After they are baked and cooled, the cookies are dipped in melted chocolate and then in assorted toppings. You can dip them in sprinkles, finely chopped nuts and coconut. Pretty and tasty.
Cookie-Candies
1 c. butter
¾ c. powdered sugar
1 T. vanilla
2 c. flour
½ c. rolled oats
½ c. chocolate chips
¼ c. milk
finely chopped nuts
assorted sprinkles
shredded coconut
Cream together butter, sugar and vanilla. Stir in flour and oats. Shape teaspoonfuls of the dough into different shapes like rounds, ovals, cones cubes etc. Try to make them look like little candies. They will hold their shape very well while baking. Bake in a 325- degree oven for 20-25 minutes on an ungreased baking sheet. Cool. In microwave safe dish combine chocolate and milk and melt. Dip tops of cookies in chocolate mixture and then in one of the toppings you have. Chocolate topping will harden up after a while. Makes about 4 dozen.
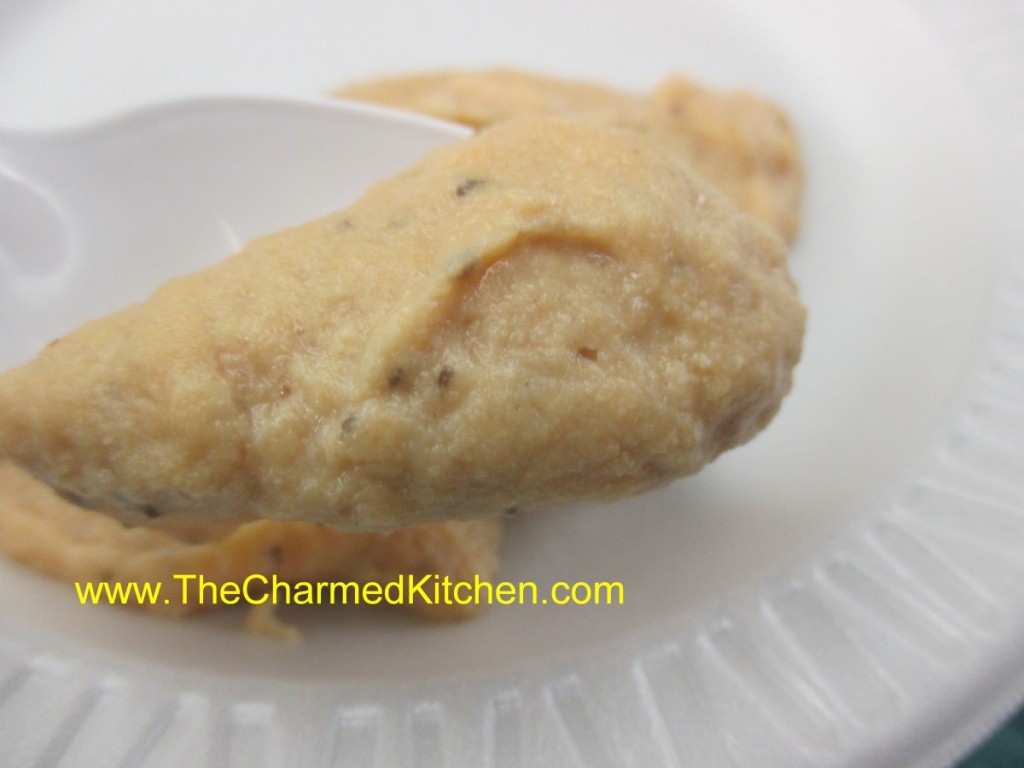
Almond Cookies

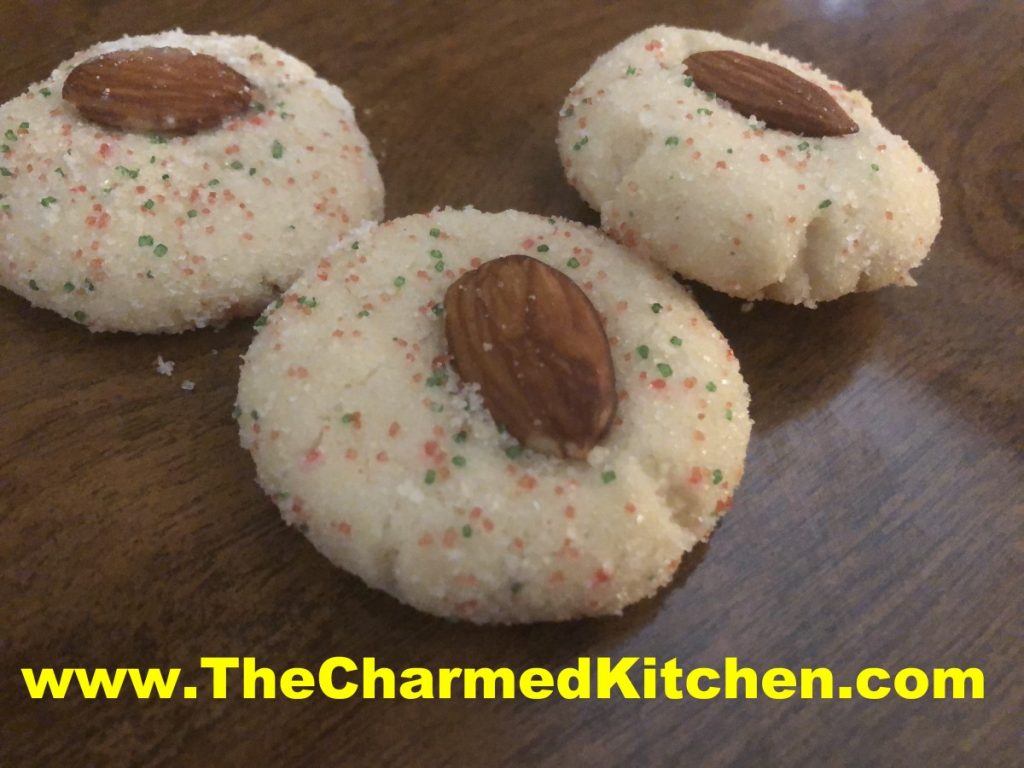
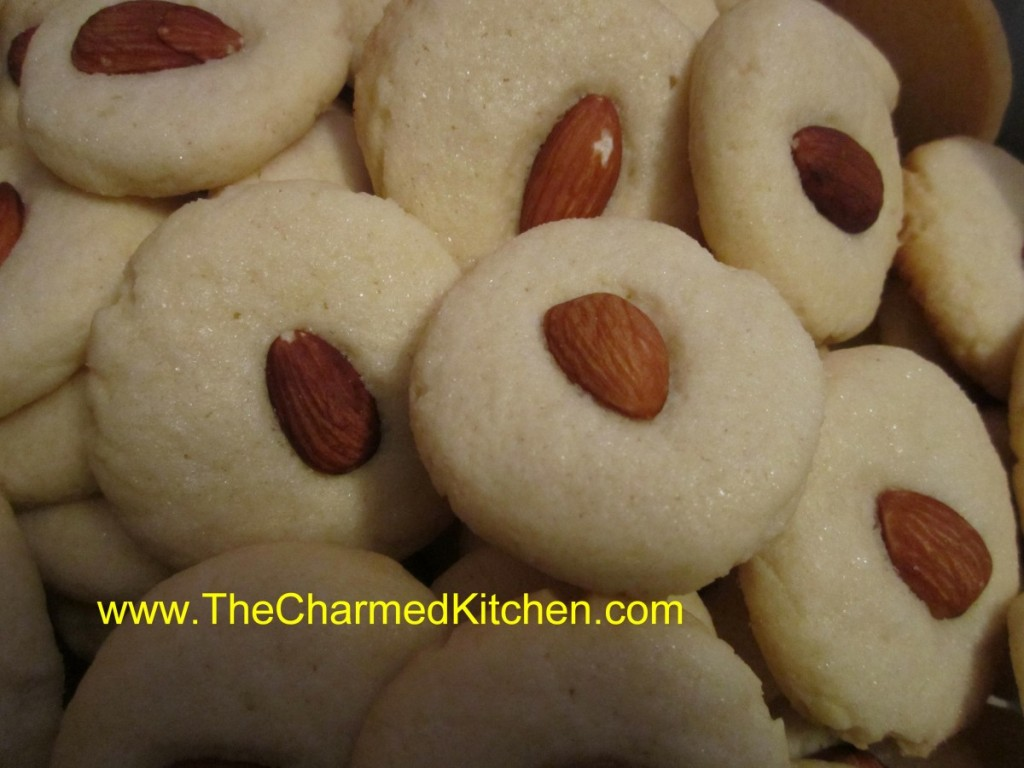
I do love these cookies. They are delicate and cake- like and the perfect finish for almost any meal. I always make them as part of my holiday cookie baking. The whole almonds toast nicely as the cookies bake. I also like that they are easy to make. If you haven’t tried them before you might want to. I think you’ll like them as much as I do.
I used a mix of white and colored sugar to top the cookies , but you can use white sugar alone.
Here is the recipe.
Almond Cookies
¾ c. sugar
¾ c. softened butter
1 egg
2 T. water
1 t. baking powder
1 t. almond extract
¼ t. salt
2 ½ c. flour
whole almonds, about 1/3 cup 3-4 T. extra sugar for topping
Combine all ingredients except flour and nuts and beat until smooth. Stir in flour. Shape dough into 1-inch balls and place 2” apart on lightly greased baking sheet. Dip bottom of buttered glass in sugar and use it to flatten cookies a little. Press an almond into the center of each. Bake in a 350-degree oven for 8-12 minutes. Cookies should be firm to the touch, but not brown. Makes 3-4 dozen.
Old Fashioned Gingersnaps

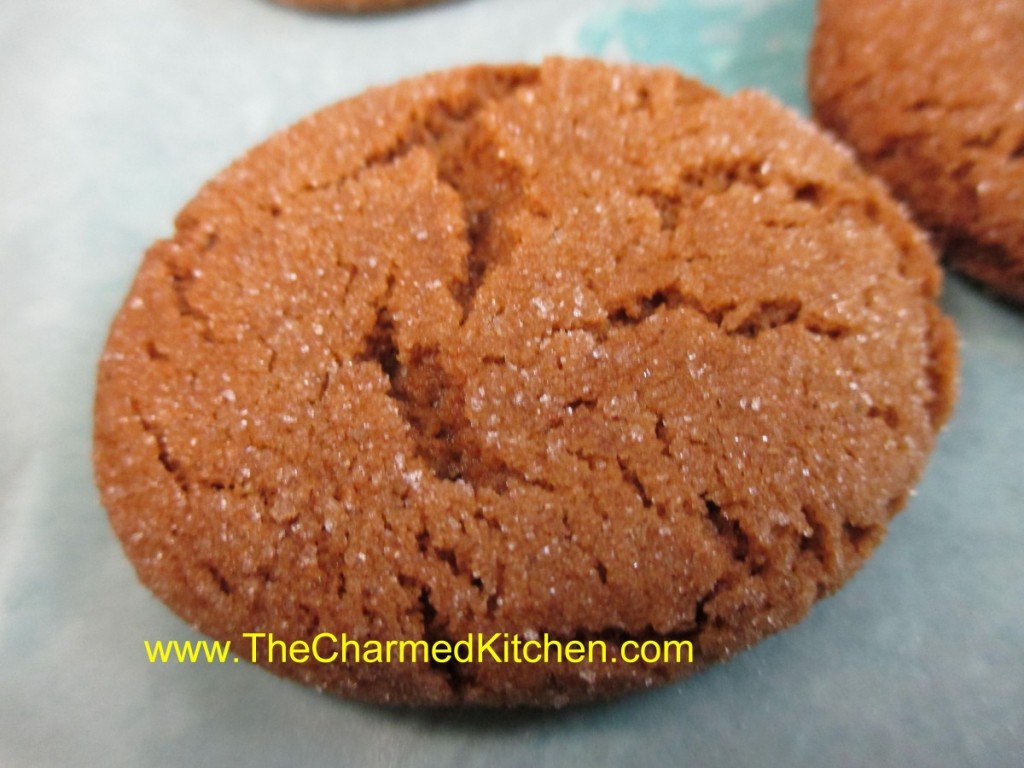
Gingersnaps are one of those cookies- the people that love them – REALLY love them. I will admit to being one of those people. The mixture of spices and crunchy texture just work together so well.
I cannot remember where I first got this recipe. This richly spiced cookie is perfect with a cup of coffee or a cup of tea. They are not too sweet, which I also like.
You can use either dried or fresh grated ginger. I really prefer fresh. I keep a piece of ginger root in my freezer, then just grate what I want, whenever needed. The ginger lasts nearly forever that way.
The original recipe called for shortening. I use butter, but chill the dough at least an hour before baking. You can use shortening, if you prefer.
So here is the recipe. Enjoy!!
Gingersnap Cookies
2 c. flour
2 t. baking soda
1 t. cinnamon
¾ t. ginger (fresh grated preferred)
½ t. cloves
¼ t. salt
1 c. sugar, plus extra for rolling
¾ c. butter
¼ c. molasses
1 egg
Mix together dry ingredients and set aside. Beat together sugar with butter, molasses and egg until light. Stir in dry ingredients and chill dough at least an hour. When ready to bake, roll dough into 1-inch balls. Roll balls in additional sugar. Place 2 inches apart on ungreased baking sheet. Bake in a preheated 350-degree oven for 10-12 minutes. Edges should look dry. Cool on sheet for a few minutes and then move to rack. Makes about 36.
Soft Butter Cookies


If you are looking for a truly tender cookie, this may be it. These cookies are so delicate, they just melt in your mouth!!
The secret ingredient might surprise you. It is oil. Yes, I know I said butter cookies – they also contain butter. But the combination of oil and butter makes them soft and delicate, even days after baking.
They also contain both granulated and powdered sugar. Not your typical cookie recipe, for sure. This just may be my “go to” butter cookie recipe from now on.
You don’t have to chill the dough and they roll very easily, without sticking to your fingers. You could chill the dough, but let it warm up a little before rolling. The dough can also be made ahead and frozen- I tested it.
In class last night we pressed the tops in colored sugars, nonpareils or sprinkles before baking. You can also bake them plain, then dip in melted chocolate and sprinkles or nuts after baking,
Soft Butter Cookies
1 c. butter
1 c. oil, I used avocado oil
1 c. sugar
1 c. powdered sugar
2 eggs
1 T. vanilla
1 t. baking soda
1 t. cream of tartar
½ t. salt
4 ½ c. flour
In mixing bowl, beat together butter, oil, sugars and vanilla. Once well blended, beat in eggs. Stir in the baking soda, cream of tartar and salt, then add the flour, mixing until well combined. Heat oven to 350 degrees. Roll dough into one inch balls and press tops of cookies in sprinkles or colored sugar, if desired. Place one inch apart on ungreased baking sheets. Bake for 12 minutes, or until light golden on bottom. Leave cookies on baking sheets 3 minutes before placing on cooling rack. Makes about 6 dozen cookies.
Mini Chocolate Chip Shortbread Cookies


It is the time of year when a lot of people are baking cookies. I thought I would share one of my favorite cookie recipes with you. It takes the chocolate chip cookie to another level. Kind of dressed up for the holidays.
These little cookies are delicate and full of flavor. I will admit to being a big fan of shortbread cookies. I make a lot of different shortbread cookies for Christmas. This one is always on my list.
These are enhanced with mini chocolate chips and just melt in your mouth. I leave them as is, but you could add a drizzle of melted chocolate if you like. The cornstarch in the dough makes them extra tender.
Other options could include using mint chocolate chips or adding mint extract, almond extract, or even orange zest. These cookies are very versatile.
Chocolate Chip Shortbread Cookies
1 c. butter (no substitutions), softened
½ c. brown sugar
1 t. vanilla extract
2 c. flour
¼ c. cornstarch
½ c. mini chocolate chips
2-3 T. granulated sugar
With electric mixer beat butter, brown sugar and vanilla until well mixed. Stir in flour and cornstarch and then stir in chips. Form into 1-inch balls and place on an ungreased baking sheet. Pour granulated sugar on a small plate and dip bottom of drinking glass into the sugar and use this to gently flatten down the cookies. Press small indent in each cookie with a teaspoon. Bake in a preheated 300-degree oven for 15-20 minutes or until the cookies start to brown on the bottom. Cool on sheets 5 minutes before removing to a cooling rack. Makes about 3 ½ dozen.
Cranberry Liqueur


You can do more with cranberries than make sauce. Not that I don’t like cranberry sauce, I do. I love cranberry season and find myself using them in all sorts of recipes.
In the next couple of weeks, I will be posting homemade gift ideas. This is one of my favorites!!
I got the recipe from my sister Cindy, many years ago. It is also called Cranberry Bounce. If you start a batch now, it will be ready to drink, and for gifting, in just a couple of weeks.
Cranberries, sugar and vodka. What a great combination. It’s simple to make and it makes a nice gift, too.
The color is absolutely beautiful. The sweet/tart finished product can be enjoyed by just sipping, on the rocks, or mixed with club soda. It can also be a nice addition to all sorts of cocktails.
Often after Thanksgiving, the price of cranberries goes down. I stock up on them, freeze some and make a batch, or two of cranberry liqueur. This year, even before Thanksgiving, I found a few bargains. .
I hope you give it a try. I am sure you will be pleased with the results.
Cranberry Liqueur
1 lb. fresh cranberries (most bags are 12 oz.)
2 c. sugar
4 c. vodka- at least 80 proof
Grind berries fine in food mill or food processor. Place in large jar and combine with the sugar. Let stand, covered until sugar is dissolved completely, several hours or overnight. Add vodka and let steep 1-3 weeks, stirring occasionally. Strain and filter. Makes 5 cups.
Note: Drained cranberries can be saved in fridge and used, sparingly, in desserts, fruit salads and on cake or ice cream. They do pack a punch.
Easiest Homemade Cashew Brittle

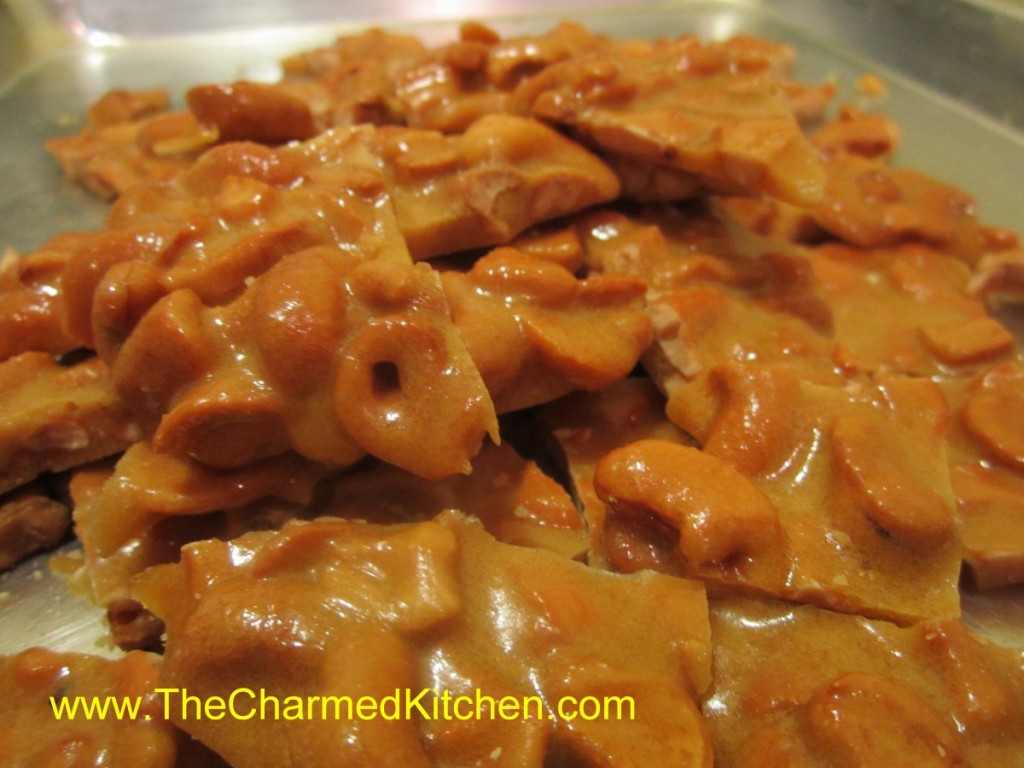
If you need a great food gift, this brittle might just be the answer. It is fast and easy to make.
I was given this recipe at a craft show a few years ago. The brittle is cooked in the microwave. No special thermometers or equipment required. Just a glass bowl and a few minutes of your time. It could not be simpler. It is really good, too.
You can use other nuts, if you prefer, or peanuts. You can add a little cayenne pepper, if you want a spicy version. You can also dress it up with a drizzle of chocolate, once cooled. So many ways to enjoy it.
Stored in a covered container, in a cool, dry place, the brittle will stay crunchy for weeks.
Homemade Cashew Brittle
2 c. cashews*
1 c. sugar
1/2 c. corn syrup
1/8 t. salt
1 t. butter
1 t. vanilla
1 t. baking soda
Butter or oil a large baking sheet and set aside. In a 3-4 quart glass bowl combine the nuts, sugar, corn syrup and salt. Microwave on high for 3 minutes. Remove from microwave, stir well and return to microwave. Cook 3 more minutes in microwave. Remove and stir in butter and vanilla, stirring until butter has melted. Return to microwave and cook for 2 more minutes. Remove from microwave and stir in baking soda. Stir until well blended and pour mixture onto prepared baking sheet. Spread out quickly, then allow to cool. Once cool, break into pieces. Store in a cool, dry place. I normally store it in a tin or plastic container with a tight-fitting lid.
* I used salted cashews but feel free to experiment with other nuts
Note: Use high power setting on microwave.
Homemade Mustard

I love making food gifts for the holidays. I often make cookies or other baked goods. But not everyone wants sweets. For those friends and family, I often make them homemade mustard. I have included recipes for 5 of my favorite mustards.
I wasn’t a big fan of mustard, when I was a kid. I am now. I enjoy using all types of mustard in all sorts of dishes, not just on hot dogs.
Mustard is great on sandwiches and sausages. It is a versatile ingredient for salads, salad dressings, marinades and all sorts of sauces. I lean towards spicy brown mustard myself.
I also enjoy making my own mustard. That way, I can tweak the seasonings.
So here are five of my favorite homemade mustard recipes. If you never made mustard before- you might want to try. It is easy, and fun. Four of them are stored in the fridge- and will keep for months. For gift-giving, look for decorative jars or crocks to put them in. The fifth recipe is canned, so 4 ounce canning jars are required, but it doesn’t have to be stored in the fridge.
Horseradish Mustard
1 c. dry mustard
3/4 c. white wine vinegar
1/3 c. dry white wine or dry sherry
1/4 c. brown sugar
1/4 c. granulated sugar
1 T. dried minced onion
2 t. caraway seeds
1 1/2 t. salt
1/4 t. coarse ground mustard
2 eggs, slightly beaten
1 T. prepared horseradish
Combine all ingredients, except eggs and horseradish in top of double boiler and let stand at room temperature for 2 hours. Whisk in eggs and cook over simmering water until mixture has thickened and eggs are cooked, about 10 minutes. Remove from heat and stir in horseradish. Pour into sterilized jar, cool and cover. Store in fridge for up to 3 months. Makes 2 cups.
Bavarian Mustard
3/4 c. beer
2/3 c. dry mustard
2 T. sugar
2 T. cider vinegar
2 t. salt
1-t. celery seeds
1/2 t. fresh grated ginger or 1/4 t. dry
1 egg, beaten
Combine all but the egg in the top of a double boiler and let stand 2 hours at room temperature. Stir in egg and cook over simmering water. stirring constantly until mixture thickens and egg is cooked, about 10 minutes. Pour into sterilized jars and cool before covering. Store in fridge for up to 2 months. Makes 2 cups.
Spicy Mustard
1 c. dry mustard
2/3 c. dry white wine
1/2 c. vinegar, flavored with herbs or garlic
1/2 c. sugar
2 t. salt
1 t. basil
1 t. chili powder
1 t. dried minced garlic
1 t. oregano
1/2 t. cracked pepper
2 eggs, slightly beaten
Mix all ingredients, except eggs, in top of double boiler and let stand 2 hours at room temperature. Add eggs and cook over simmering water, stirring constantly until mixture thickens and eggs are cooked, about 10 minutes. Pour into sterilized jars and cool down before covering and refrigerating. Keeps in fridge for up to 2-3 months. Makes 2 cups.
French Herb Mustard
1/4 c. dry mustard
1/4 c. white wine vinegar
1/4 c. white wine or dry sherry
1/4 c. brown sugar
1/2 t. salt
1/2 t. tarragon
1/4 t. dill seed
1/4 t. celery seed
1/4 t. ground cloves
3 egg yolks or 1 whole egg
Combine all ingredients, except eggs, in top of double boiler and let stand at room temperature 2 hours. Whisk in eggs and cook over simmering water, stirring constantly, until mustard thickens and eggs are cooked, about 5 minutes. Store in crock or jar in fridge for up to 1 month. Makes 1 cup, recipe can be doubled.
This recipe can be canned, so it doesn’t have to be kept in the fridge. I bit of work , but worth the effort. Makes about 6, (4 ounce) jars.
Dijon Mustard
2 cups chopped onion
2 cups Pinot Grigio or other dry white wine
1 cup white wine vinegar (5% acidity)
1 tsp. salt
6 garlic cloves, coarsely chopped
4 black peppercorns
1 rosemary sprig
1 cup yellow mustard seeds
1⁄3 cup dry mustard
2 2⁄3 cups water
Combine first 7 ingredients in a large stainless steel or enameled saucepan. Bring to a boil over high heat; reduce heat, and simmer, uncovered, 15 to 20 minutes or until onion is very soft, stirring occasionally. Remove pan from heat; pour onion mixture through a wire-mesh strainer into a glass or stainless steel bowl. Discard solids. Stir mustard seeds and dry mustard into wine mixture. Cover and let stand at room temperature at least 24 hours, but no longer than 48 hours. Process mustard mixture in a blender or food processor, adding water until consistency of cooked oatmeal. Transfer mustard to a small saucepan. Bring to a boil, stirring often; reduce heat, and simmer, uncovered 5 minutes. Ladle hot mustard into a hot jar, leaving 1⁄4-inch headspace. Remove air bubbles. Wipe jar rim. Center lid on jar. Apply band and adjust to fingertip-tight. Place jar in boiling- water canner. Repeat until all jars are filled. Process jars 10 minutes, adjusting for altitude. Turn off heat; remove lid, and let jars stand 5 minutes. Remove jars and let cool.
Source Ball Book
Cookies- and More- For Sale!!!

I will be selling boxes of cookies again this year. The boxes weigh more than 2 pounds and contain at least 10 different kinds of cookies. Contact me if you are interested. They are $25 ( $22 per box if you order 3 or more) and will be available for pick-up at my house starting December 21th.
But there’s more……
I will have other holiday treats.
Pumpkin bread, cranberry bread, or applesauce bread. Large (4×8) $8 Small (3×6) $5
Pumpkin Cake Rolls- $20
Chocolate Beet Cake (Red Velvet) (6×8 in)or Pumpkin Squares (6×8 in.) $8
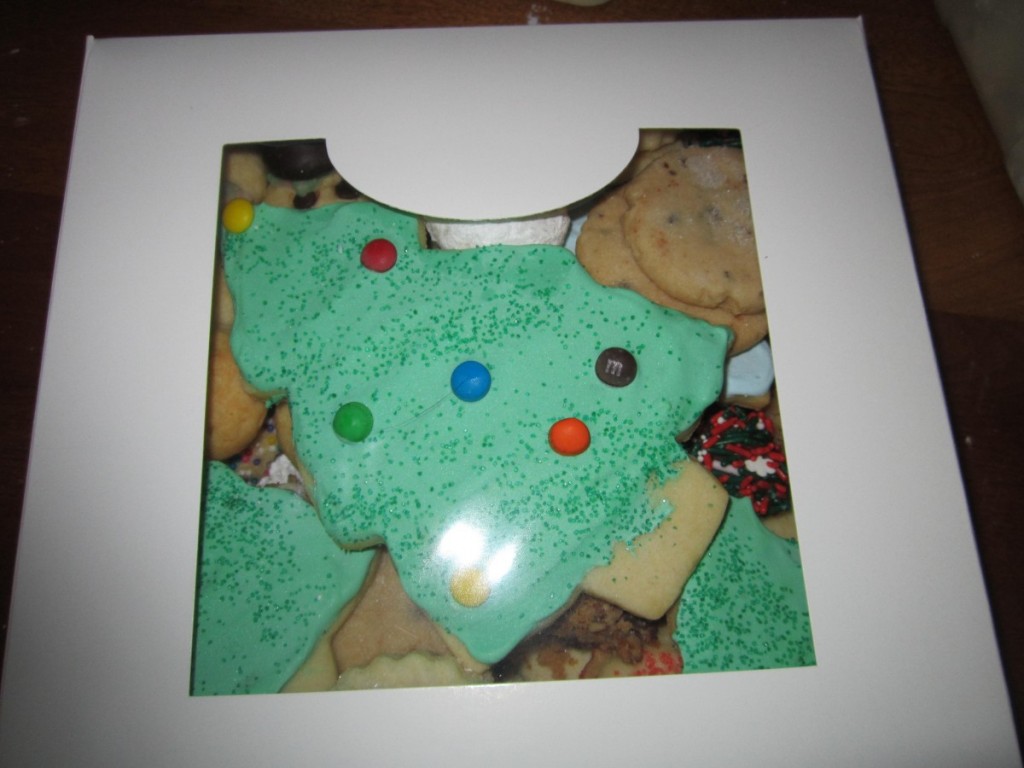
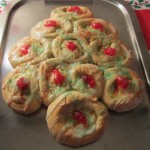
I will also be making the Christmas tree coffee cakes, pictured below. Eleven rich pineapple and cream cheese rolls- in the shape of a Christmas tree. Adorable. $25
Contact me: Judi_strauss@att.net
or text at 216 501 2905


