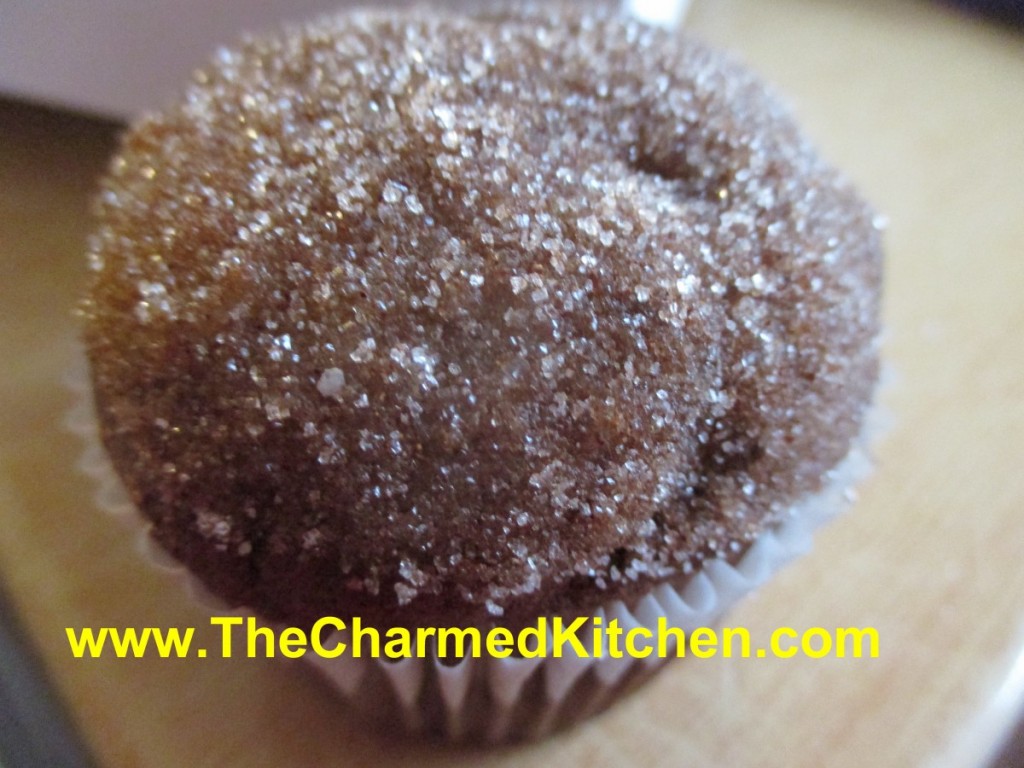
Spiced Chocolate Zucchini Cupcakes

It’s that time of year. Zucchini time. Maybe I should call it, “What do I do with all my zucchini time?” Zucchini and other summer squash are in abundance right now. This recipe is another, tasty way, to use them.
These are wonderfully spiced, moist cupcakes. Instead of frosting them, I decided to top them with melted butter and cinnamon sugar. It’s something I’ve done with muffins, in the past. I didn’t see why I couldn’t do the same thing with cupcakes.
It was a really good idea. The cupcakes stand up well in summer heat. Besides, not everyone likes frosting.
As an added bonus- it is a another recipe using zucchini, and that is never a bad thing.
Spiced Chocolate Zucchini Cupcakes
2 cups all-purpose flour
1 t. baking soda
½ t. salt
1 t. cinnamon
½ t. nutmeg
Pinch of cloves
¼ c. unsweetened cocoa
½ cup butter, softened
½ cup olive oil
1½ c. sugar
2 eggs
½ c. buttermilk
1½ t. vanilla
2½ c. grated zucchini
1 cup chocolate chips
Topping:
½ c. butter, melted
½ c. sugar
2 t. cinnamon
Preheat oven to 325 degrees. Grease and flour 24 muffin cups or use paper liners. Mix together the dry ingredients. Set aside. In a large bowl, cream together the butter, olive oil and sugar until light and fluffy. Beat in the eggs one at a time, then stir in the buttermilk and vanilla. Beat in the flour mixture, just until incorporated. Stir in the grated zucchini and chocolate chips. Pour batter into prepared pans. Bake for 25 to 30 minutes, or until the top of the cupcakes spring back when lightly pressed. Cool in pans over a wire rack for at least 10 minutes or until cool enough to handle. Dip top of cupcakes in melted butter, then dip in the cinnamon sugar. Place on rack to finish cooling off. Makes 24.
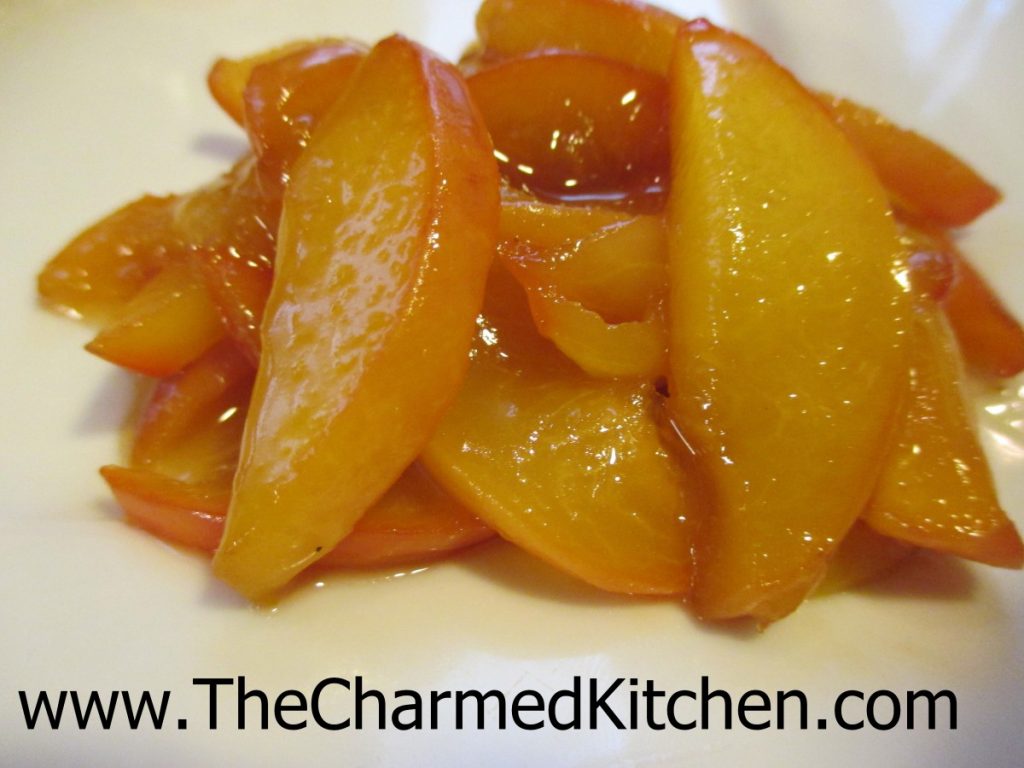
Honey Ginger Glazed Peaches

I am always looking for new ways to cook with old favorites. Peaches are a great example. When they are in season, I can’t get enough of them.
I have made peach ice cream, peach pie, peach pancakes, peach preserves, peach liqueur….. you get the idea. I wanted to enjoy peaches with dinner the other night. I decided, rather than just slicing them up and adding them to a salad, I would do a little more to transform them.
So I glazed them, the way you might glaze carrots. So simple. Why had I never thought of it before? The peaches were soft, slightly sweet, and a perfect side dish for the broiled chicken. I want to try these with lamb, pork or maybe duck next time.
I kept it pretty simple- peaches, butter, honey, ginger, salt and a dash of sriracha. I could see adding other herbs and spices. Might have to do a little experimenting. For now, here is the recipe for glazed peaches. I did not have any leftovers, so a hit, for sure. I did not peel my peaches, but feel free to, if you like.
Honey Ginger Glazed Peaches
4 medium peaches, pitted and sliced thin
2 T. butter
4 T. honey
1/2 t. fresh grated ginger
pinch of salt
Hot sauce to taste
Place peach slices in a small skillet. Add butter and remaining ingredients. Cook over medium heat until peaches start to get tender. This will take about 5 minutes. Stir once in a while to prevent sticking. Be gentle so you don’t mash the peach slices. Reduce heat to low and continue cooking a few more minutes. Peaches should be soft and the sauce thickened. Adjust seasonings.
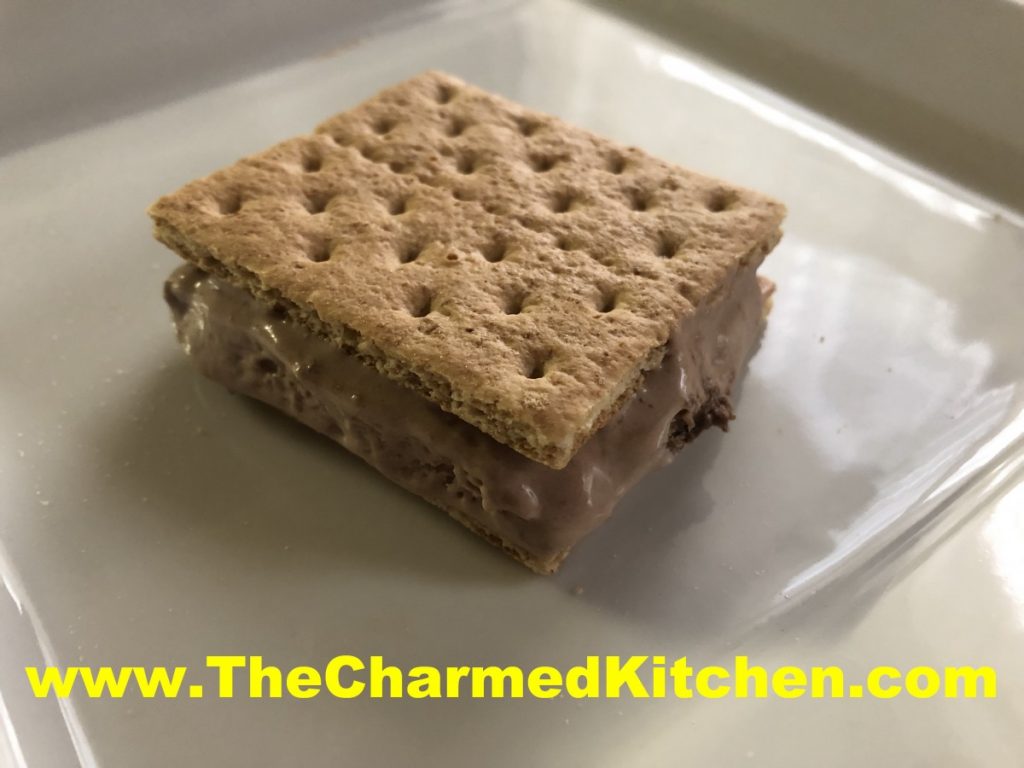
S’Mores Ice Cream Sandwiches

Summer is the time for picnics, campfires and S’mores. Summer is also the time of year to eat lots of ice cream and other frozen treats.
This dessert combines the ingredients of S’mores in a frozen treat. How fun is that?
They aren’t hard to make, but you need to allow time for ingredients to freeze. The mixture is frozen, then cut into squares and sandwiched between Graham crackers. They get returned to the freezer to harden up. It is a nice treat to have on hand.
We make these in cooking camp every year. The kids love them!!
So here is the recipe.
S’mores Ice Cream Sandwiches
1 (14 oz.) can sweetened condensed milk
2/3 c. chocolate syrup
1 c. coarsely crushed graham crackers
1 c. mini marshmallows
2 c. whipping cream, whipped
72 graham cracker square halves
In large mixing bowl combine sweetened condensed milk and syrup. Fold in crackers, marshmallows and whipping cream. Pour in foil lined 9×5-inch loaf pan and freeze until firm, about 6 hours, or longer. Remove from pan and peel off foil. Slice loaf in half lengthwise and then each half into 18 (½ inch) slices. Place one slice between two crackers and repeat with rest. Wrap and freeze until ready to eat. Makes 36. Note: You can slice the filling thicker. You’ll have fewer “sandwiches”, but they will have more filling. I usually get about 2 dozen.
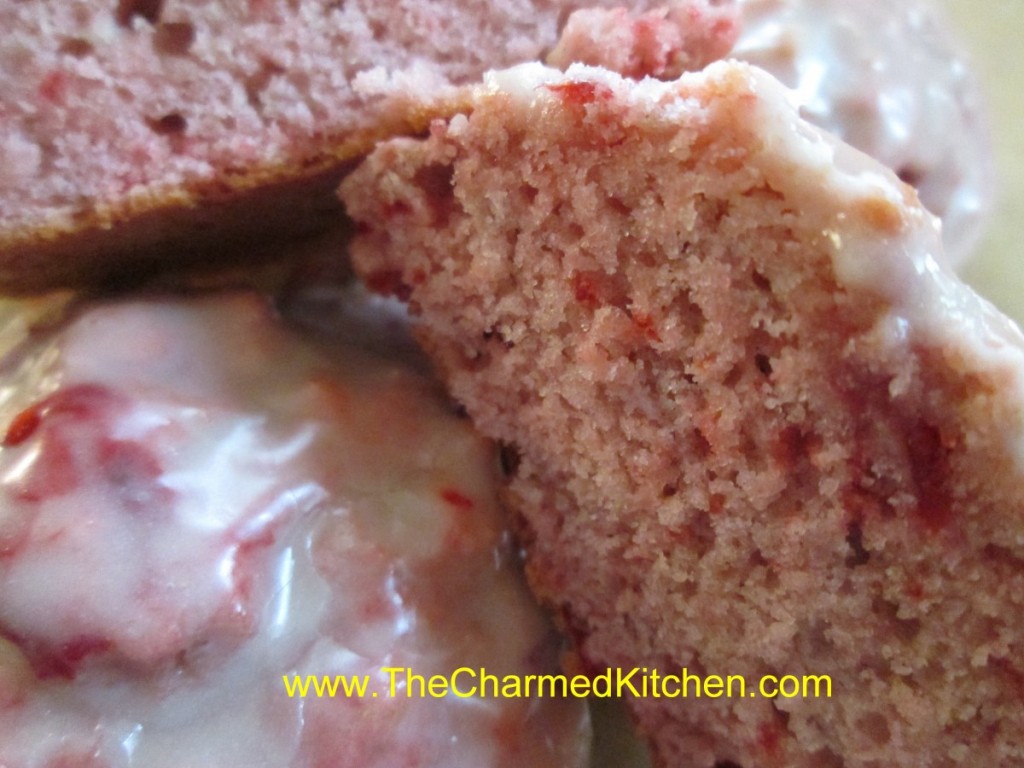
Cherry Pie Scones

Who doesn’t love cherry pie? I know I do. After making cherry pie blintzes I found myself with some leftover cherry pie filling. I decided to use it in these scones.
My pie filling was homemade. Store bought cherry pie filling would work fine, too. They were just sweet enough and came out this beautiful pink color. They did remind me a little of cherry pie. Nothing bad about that.
The scones were great just as they were- but would also make a wonderful base for shortcake. I think with a scoop of ice cream or a bit of whipped cream, these scones would also make a nice dessert. Maybe a few blueberries, too.
Cherry Pie Scones
3 c. flour
1/4 c. sugar
1 T. baking powder
1 t. salt
1/2 c. cold butter
1 1/3 c. cherry pie filling
2 eggs
2 t. vanilla
Glaze:
2 c. powdered sugar
2 T. vanilla
water
Preheat oven to 400 degrees. Line 2 baking sheets with parchment paper or grease lightly. I have silicone baking mats so that is what I use. Set aside. In mixing bowl combine dry ingredients and cut in butter to resemble coarse crumbs. Combine pie filling with eggs and vanilla and stir to blend well. Add to dry ingredients and stir until mixed well. Mixture will be a stiff batter. Scoop 1/4 cup portions of batter onto the baking sheets- leaving a couple of inches between them. You will need both baking sheets. I used a 2 oz. ice cream scoop and got 22 scones. Bake for 15-17 minutes or until golden brown on the bottom. I switched my baking sheets about halfway through the baking. Remove to a cooling rack and make the glaze.
Combine the powdered sugar and vanilla in a small bowl and add enough water so the glaze is about the thickness of maple syrup, probably a couple of tablespoons. Dip the tops of each of the warm scones in the glaze and return to the cooling rack.
Cherry Pie “Blintzes”


In cooking camp a couple of weeks ago, we made these as our last dish of the week. One of the girls said it was her favorite thing from the whole week. These are not traditional blintzes. The secret is that the blintzes are made with flour tortillas instead of traditional crepes. I love the texture flour tortillas take on when softened in milk. They really work well, and with a fraction of the work of making crepes. They make a great dessert. The kids dusted them with powdered sugar, but you can also top them with ice cream or whipped cream. They remind me a warm cherry pie.
In camp we made some with apple pie filling, too. Those were topped with a drizzle of caramel sauce or cinnamon sugar.
Blintzes also make a great breakfast or brunch dish.
I didn’t use a lot of sugar in my pie filling because I was using sweet cherries. I also think with the powdered sugar on top, they are sweet enough. Adjust the sugar in the recipe to suit your own taste. If using tart cherries, you might want to add a little more sugar. You can certainly use store bought pie fillings, too.
So here is the recipe. I think you will love them as much as I do.
Cherry Pie Blintzes
Cherry Pie Filling
4 c. pitted sweet or sour cherries
1½ c. water
½ c. sugar- use a little more if using tart cherries
Pinch of salt
¼ c. cornstarch
Place cherries in a saucepan with 1 cup of the water, sugar and the salt. Bring to a simmer. Mix cornstarch with the ½ cup of water and add to the cherry mixture, cooking until just thickened. Cool. Makes about 4 cups.
Blintzes
8-10 Flour tortillas
½ c. Milk
4 T. Butter
Powdered sugar
Make the pie filling ahead of time, so it is cooled down. Place the tortillas in a shallow pan and pour milk over them. Turn them to make sure they all get covered in the milk. Let the tortillas soften for 5 minutes. Place a tortilla on a flat surface and spoon about ½ cup of the pie filling in the middle. Fold sides in until they almost touch in the middle. Roll up from the bottom to form a little bundle. Repeat with remaining tortillas and filling. Heat butter in saucepan over medium heat and brown the blintzes, turning over as needed to brown on both sides. Start them off seam side down, to keep them from popping open. Place on serving dish and dust with powdered sugar. Serve warm. Makes 8-10.

Browning in the skillet
Corn and Zucchini Saute

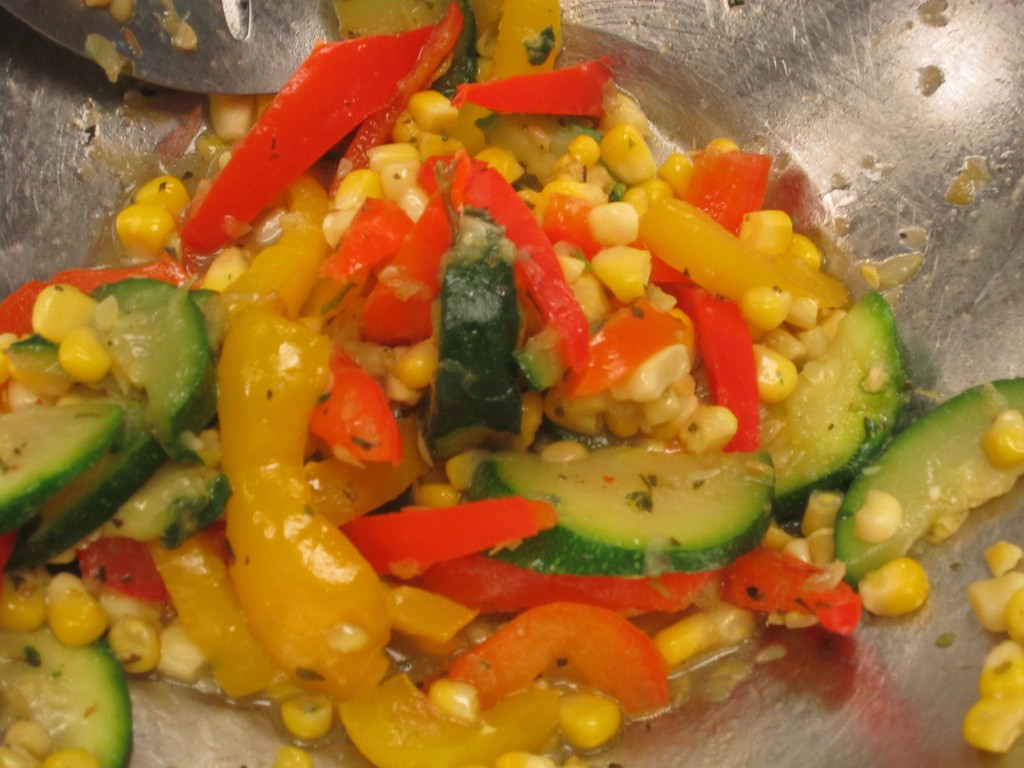
For those of you looking for another way to use some of those zucchini, this dish is really fun and easy. The flavors of the zucchini, corn and peppers work really well together and makes a tasty side dish in just a few minutes. Nice to use local. fresh sweet corn in this dish. I sometimes add a little cheese.
Quick Corn and Zucchini Sauté
2 sweet peppers, seeded and cut into strips
2 medium zucchini, sliced
Oil
2 c. corn kernels cut from cobs, about 3 ears
2-3 cloves garlic, minced
1 t. salt
2 t. Italian seasoning
In oil, cook peppers and zucchini until crisp tender, about 5 minutes. Add remaining ingredients and cook 4 more minutes, or until heated through. Serves 6-8.
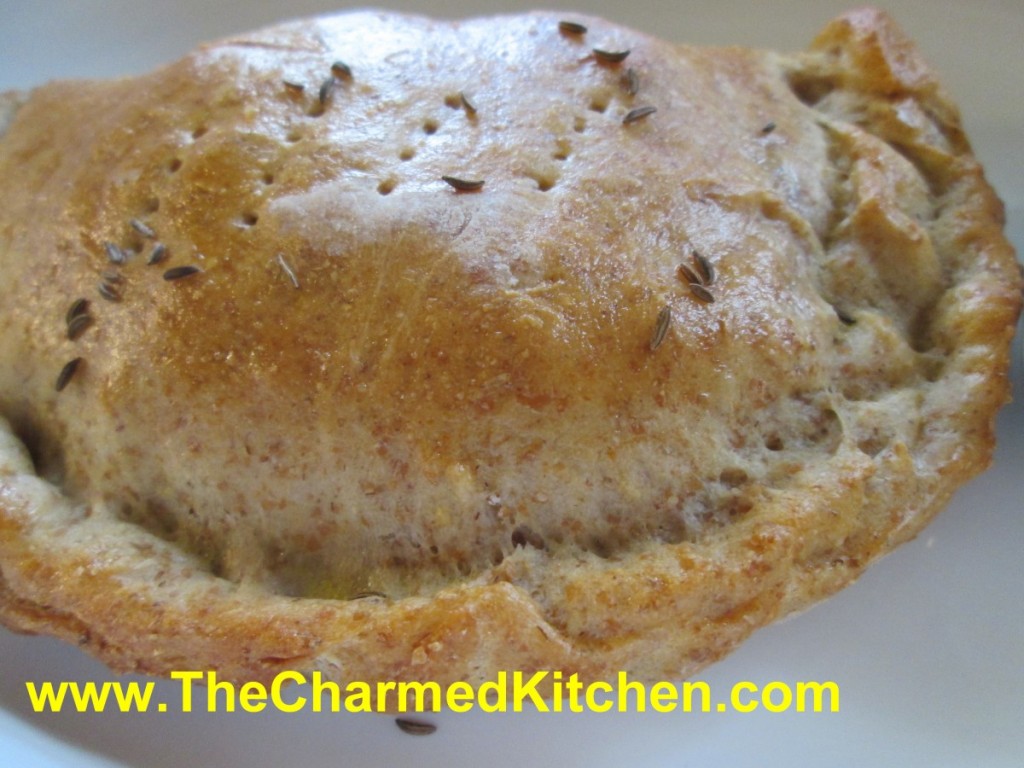
Homemade Calzones

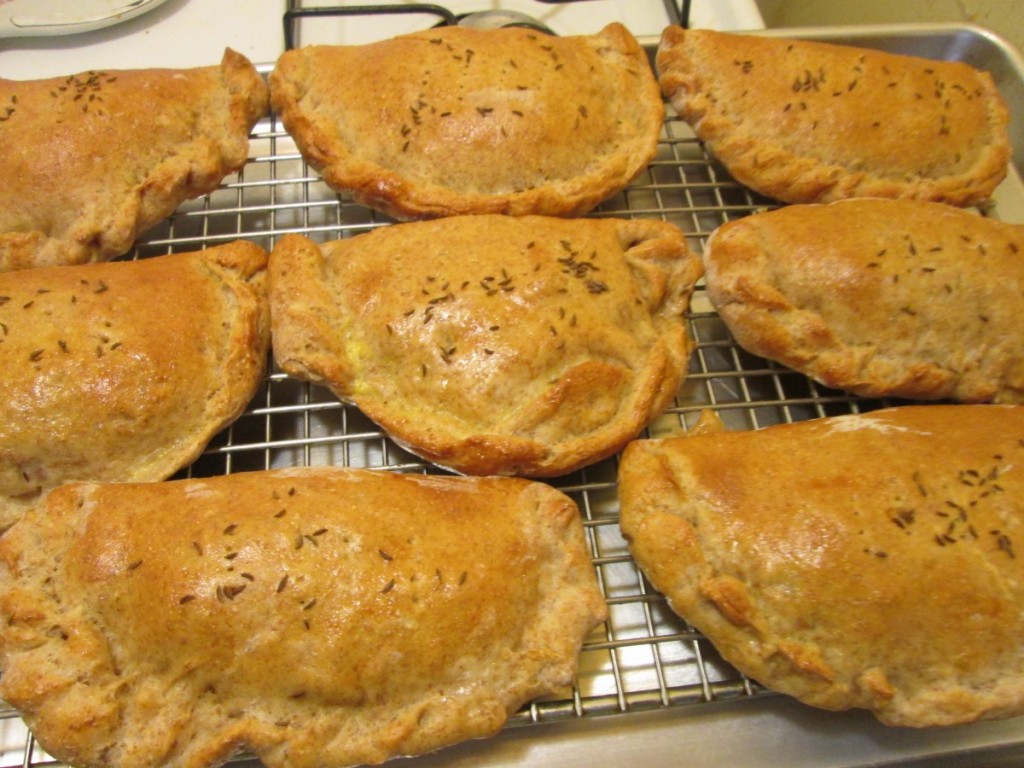
In cooking camp this week the kids made calzones. We had the traditional fillings you might expect. Mozzarella cheese, sausage, marinara sauce, pepperoni, meatballs, peppers. You get the idea. Calzones are traditionally made with Italian/pizza type fillings, but you can fill them with all sorts of other ingredients. The kids had options of different cheeses, proteins, etc.
I like to get creative when making calzones. I often use what I have on hand. I think about what ingredients would go well together.
Calzones are wonderfully portable, and great to pack for lunch. They are also a fun food to serve at parties.
I like to make a batch and freeze some of them. I use one of three recipes for dough, listed below, then swap out fillings depending on what I am in the mood for. Get creative and have fun.
Basic Homemade Dough
This recipe is enough for 8 large calzones, more if you make them smaller.
1 packet active dry yeast
1 t. sugar
1 2/3 c. warm water
4-4½ c. flour
2 t. salt
In mixing bowl combine yeast with 3 cups of flour, sugar and the salt. Add the warm water and stir together, mixing well. Gradually add more flour until soft dough forms. Place dough on floured surface and knead until stretchy and smooth, about 10 minutes. Allow dough to rest 3 minutes and knead a few more times. Place in bowl and cover. Let rise until doubled in bulk, about 45 minutes. Punch dough down.
Assembly: Divide into 8 or more pieces. Cover pieces until ready to roll out. Roll out a piece of dough into an 8-inch circle. Add fillings to half of the dough and wet edges with water. Fold over and press edges firmly to seal. Cut a couple of slits in top of calzone to allow steam to vent. Repeat with remaining dough.
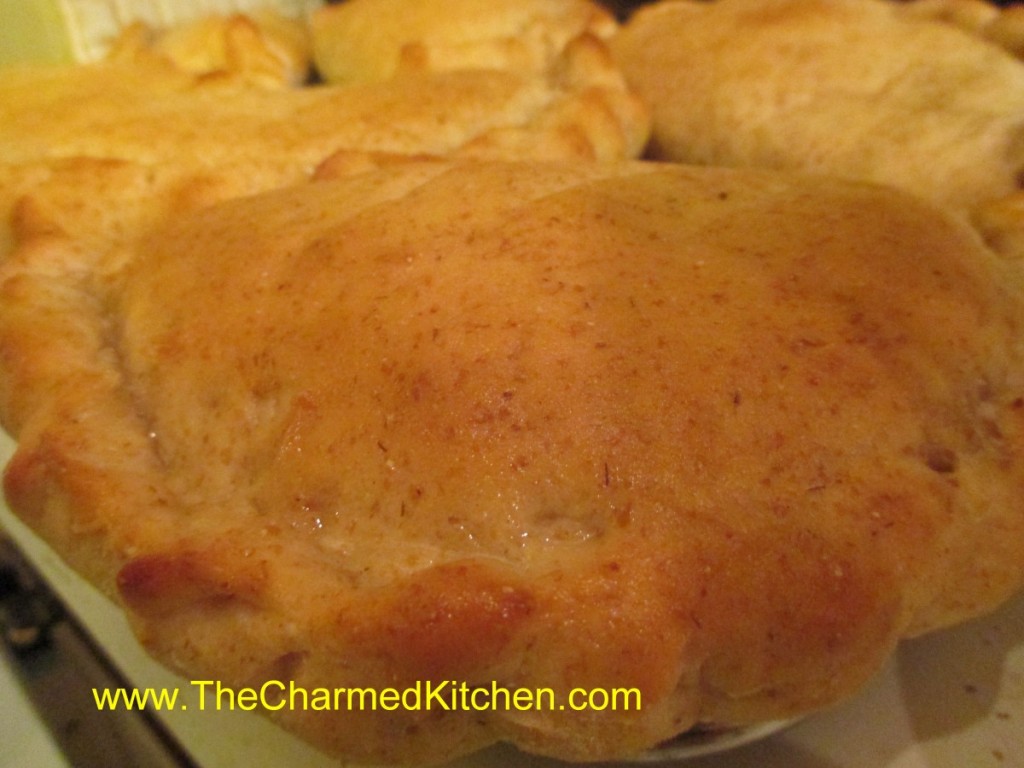
Finishing /Baking: Place calzones on greased baking sheets. Cover calzones and allow to rise 30 minutes or so. Bake in a 400-degree oven for 20-25 minutes or until golden brown.
Variations:
Whole Wheat: You can add 1-2 cups whole wheat or spelt flour to replace the same amount of white flour for a whole grain calzone.
Rye: Add 1-2 cups of rye flour to replace the same amount of white flour. This is great for the Reuben calzones.
Fillings: Traditional fillings could include shredded mozzarella cheese, mushrooms, pepperoni, cooked sausage, chopped onions or peppers, pizza sauce (some prefer to serve sauce on the side) olives or anything you might top a pizza with.
Note: For any filling, use ingredients that are cold or at room temperature. Meats should be cooked as they won’t cook in the baking process. Vegetables should be cooked as raw veggies will give off water and may make your calzone soggy. If using a sauce, make sure it is on the thick side. Sometimes I brush the dough with a little oil first to keep the dough from getting soggy.
Toppings: You can brush the top of the calzones with an egg wash if you like for a shinier top. Apply just before baking. If you want, you can also sprinkle the tops with seeds- but use an egg wash to make sure the seeds will stick.
Ham and Swiss Calzones
1 recipe calzone dough, rye variation preferred
1 1/2 -2 lb. thin sliced ham- more or less
3/4 lb. sliced Swiss cheese
Thousand island dressing- recipe follows
1 egg , beaten
In the middle of the dough place 1 1/2 ounces of the Swiss cheese, a spoonful of the dressing and 2-3 ounces of the ham. Brush the edge of the dough with water. Fold over the dough in half and press the edges to seal. Brush the edge again with water and roll the edge over again. It will give you a prettier look and seal the calzone better. Repeat with remaining dough and fillings. Place calzones on greased baking sheets- or on a baking sheet with a silicone liner or parchment paper liner. You will end up with 8 calzones in all. Only put 4 on one baking sheet. Cover and let rest 15 minutes while preheating the oven to 400 degrees. Before placing calzones in the oven brush with beaten egg and make a few slashes with a knife to help steam to escape while baking. I put 2 baking sheets in the oven at the same time and switch them halfway through baking. Bake in a preheated 400-degree for 20-25 minutes or until golden brown. If baking 2 at once switch them after 10 minutes or so. Cool slightly before eating. Serve warm and refrigerate leftovers. Makes 8.
Thousand Island Dressing
Combine equal parts of ketchup, mayo and sweet pickle relish. You likely need at least a cup for this recipe. I made extra so the sandwiches could be dipped in extra dressing, if desired.
Reuben Calzones
1 recipe homemade dough, rye version
1½ -2 lbs. sliced corned beef
½ lb. sliced Swiss cheese
2 c. rinsed and drained sauerkraut
Thousand Island dressing
Caraway seeds, optional
Make dough and assemble 8 calzones dividing the ingredients among them. Dressing can be added in the calzones or served on the side. Use an egg wash and sprinkle on a few caraway seeds , if desired. Makes 8.
Curried Vegetable Calzones
1 recipe calzone dough
2 T. oil
1 onion, sliced
1 c. sliced carrots
1c. chopped cauliflower
1 c. green beans, sliced
1-2 T. curry powder, or to taste
Salt and pepper to taste
Heat oil in skillet and sauté onion until tender. Add the rest of the veggies and cook until tender. Sometimes I cover the pan and turn down the heat to steam them. Once veggies are tender drain and set aside to cool. Season to taste with curry powder and salt and pepper. Divide mixture among 8 calzones. Makes 8.
Spinach and Artichoke Calzones
1 recipe calzone dough, whole wheat works well in this recipe.
1 can (about 15 oz.) artichoke hearts, drained well and chopped
1 package (10 oz.) frozen spinach, thawed, and drained well
2 c. shredded mild cheese or 1c. crumbled feta cheese
1 T. lemon juice
Salt and hot pepper sauce to taste
Combine ingredients and mix well. Divide among 8 calzones. Makes 8.
Freezing Calzones: Note: you can freeze them baked or unbaked. Just place calzones on wax paper on a baking sheet and place in the freezer until frozen. Remove from baking sheet and wrap in plastic wrap, foil or wax paper and place in freezer bags. Label and place back in the freezer.
If you freeze them unbaked- thaw in fridge overnight- unwrap but cover loosely with plastic wrap and a towel. Thaw in fridge at least 8- 12 hours. Place on greased baking sheet and place on counter at room temperature for another hour or two, covered with a towel. Bake in oven as normal.
If you freeze them baked- you can heat up in a microwave- about 3 minutes per calzone. You can also warm them in a conventional oven. Place on baking sheet and bake in a preheated 350-degree oven for 20-25 minutes. Cover with foil if it starts to get too brown.
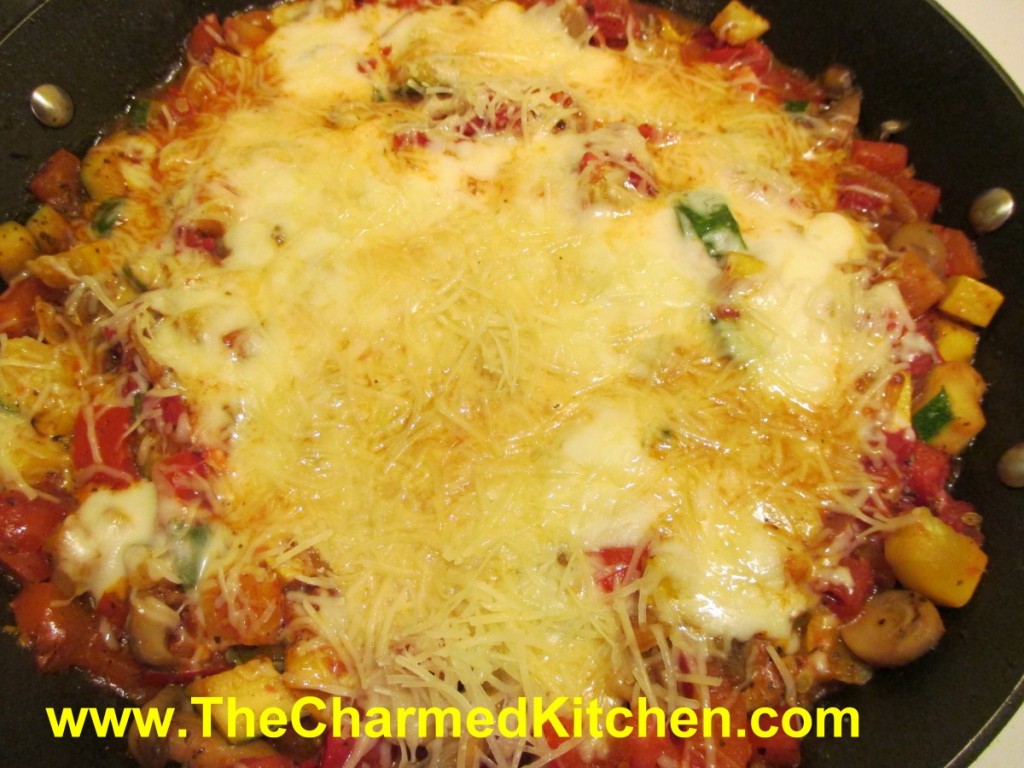
“Pizza” Zucchini


I started making this dish out of necessity. I was fresh out of college and never seemed to have much money. I did have a big garden, though. It was August and the garden was full of zucchini, tomatoes and peppers. I had to find a tasty way to combine them. Pizza Zucchini was born.
The name is a little misleading. It isn’t really a pizza at all. Rather, it is a saute of several veggies, seasoned with pizza seasoning. I top it off with cheese, and often serve it over pasta or rice or stuffed in a pita bread. Last night, I served it on a whole wheat tortilla, so it did sort of have a pizza feel to it.
Not much work, but this dish packs a lot of flavor. You can use other veggies, depending on what you have around. So if you have a few extra zucchini laying around, this is a fun and tasty way to enjoy them. You might even get your family to eat more veggies.
“Pizza” Zucchini
1 T. oil
½ c. chopped onion
1 sweet pepper, seeded and chopped
1 c. sliced mushrooms, optional
3-4 c. sliced zucchini or other summer squash, trimmed and sliced
3 c. diced fresh tomatoes, or use canned or 1 c. tomato sauce
1-2 t. pizza seasoning, or to taste*
8 oz. Mozzarella cheese
Sauté onion in oil until tender add pepper and mushrooms and sauté 2 minutes more. Add squash and cook until tender. Add tomatoes or sauce, seasonings and salt, if desired. Heat through, turn down heat and add cheese. Cover and allow to cook on low until cheese melts. Serve as is, over rice or pasta or in pita bread. Serves 3-4.
*Pizza Seasoning
3 T. dried basil
2 T. dried oregano
1-T. red pepper flakes
1 T. dried minced onion
1-T. fennel seeds
1 t. garlic powder
Combine all ingredients and store in a cool, dark, dry place.
To use: Add 1-2 teaspoons per cup of tomato sauce to make pizza sauce. Also good sprinkled on bagels with sauce and cheese or added to any tomato or pepper dish.
No-Bake Chocolate Eclair Cake

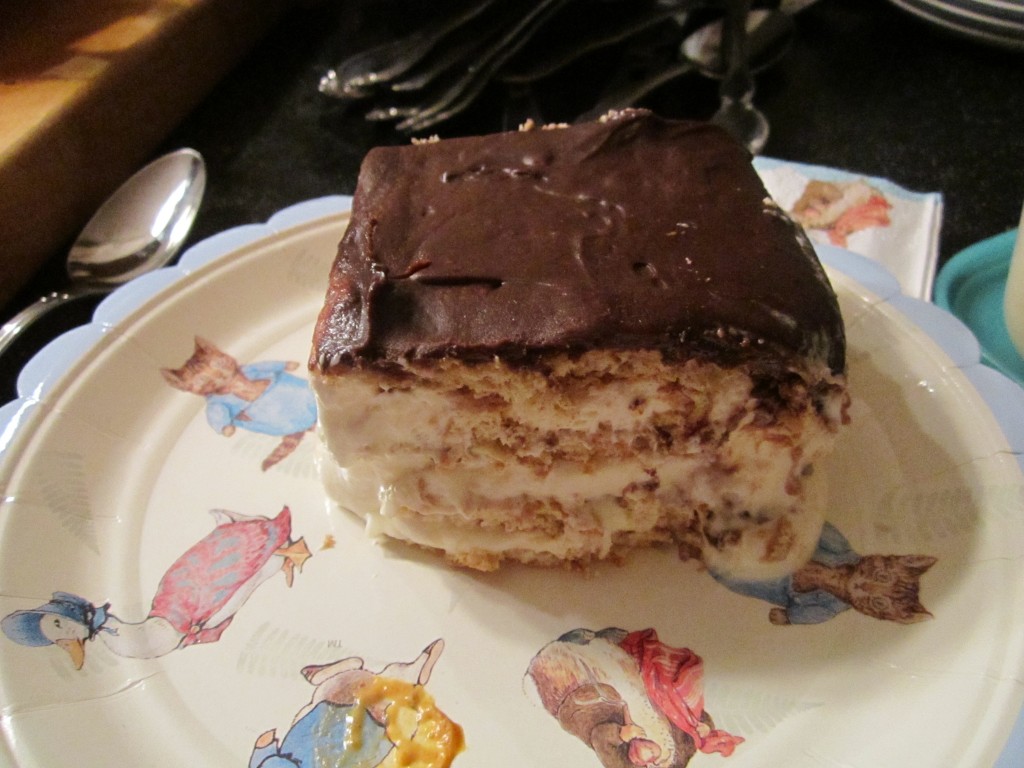
This recipe has been around a long time. It’s very tasty and deceptively simple to make. For starters there is no baking involved. Nice when it is hot and you just don’t feel like turning on the oven. We made them in cooking camp this week and the kids loved them.
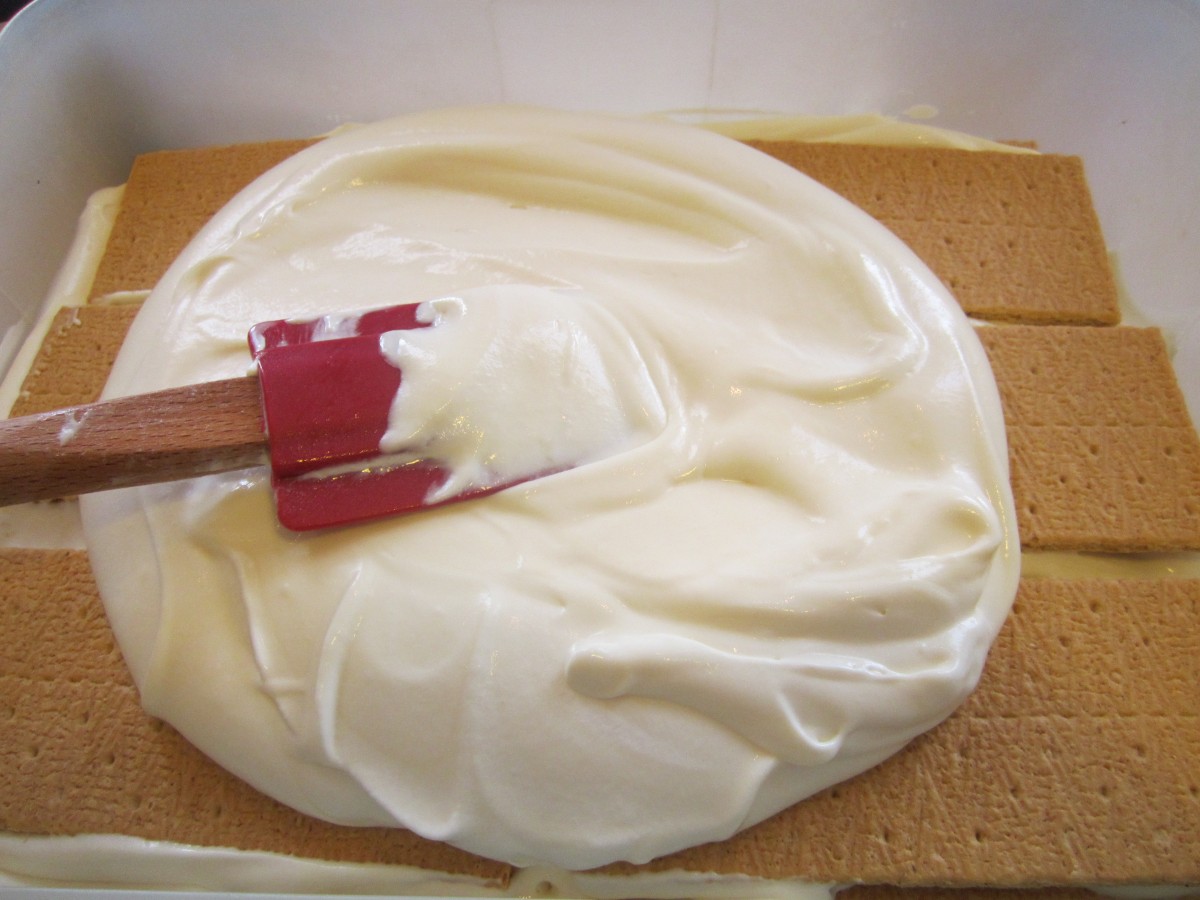
The dessert itself is layers of graham crackers and a pudding and cream mixture with chocolate frosting to finish it off. You do need to assemble it a day ahead, so there is some planning needed, but no cooking. As the mixture sits, the crackers soften. When you serve the cake it cuts beautifully. The cake is supposed to remind you of an eclair, thus it’s name.
The original recipe calls for frozen whipped topping – like Cool Whip. You can easily substitute real whipping cream.
No-Bake Chocolate Eclair Cake
4 c. vanilla pudding
1 small container non-dairy whipped topping, thawed, or 2 cups whipping cream, whipped
1 box graham crackers
1 can chocolate frosting or 1- 2 c. homemade chocolate frosting
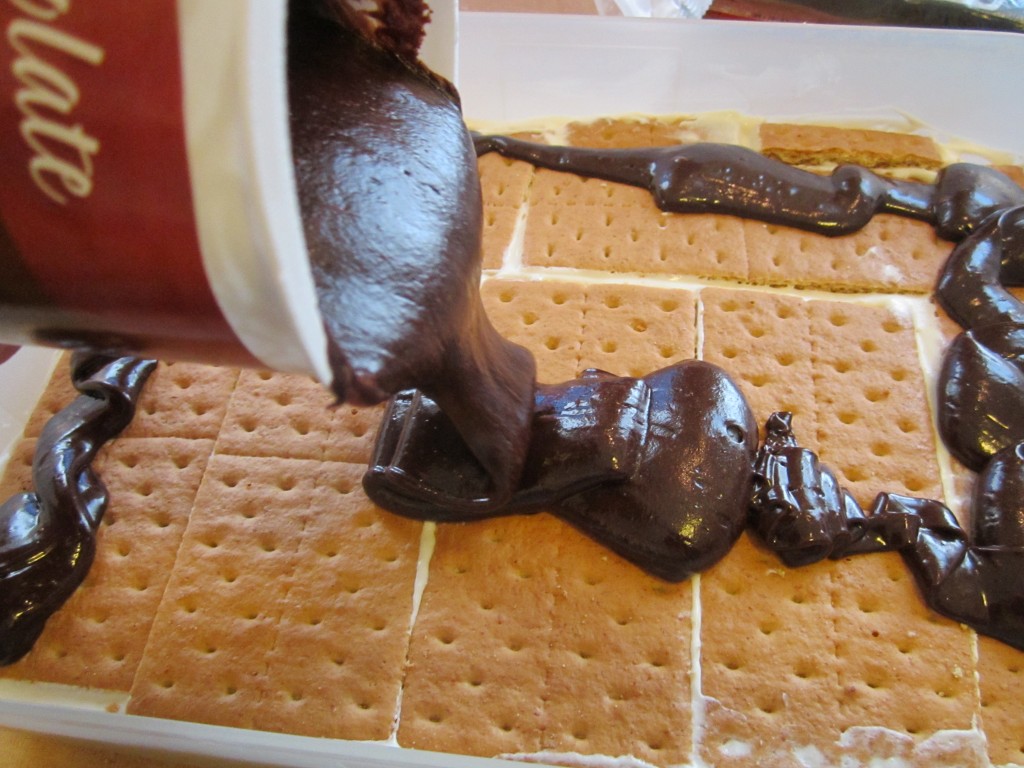
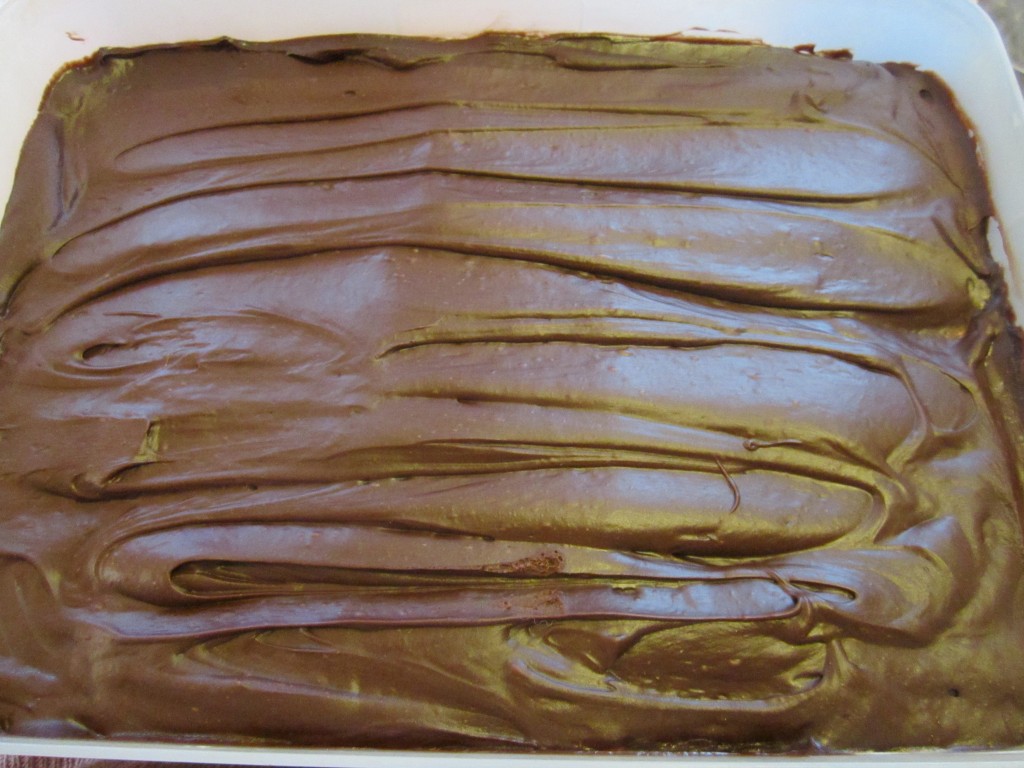
Combine pudding and whipped topping or whipped cream and set aside. In 9×13 inch cake pan place 1 layer of graham crackers. Try to cover the whole bottom of the pan with the crackers, breaking them to fill in gaps, ff needed. Spoon half of the pudding mixture over the crackers and spread out evenly. Place another layer of graham crackers over the pudding mixture and then spoon on the remaining pudding mixture, smoothing evenly. Place last layer of crackers on top. Warm frosting slightly and pour over the top. Spread out evenly. Cover and refrigerate overnight. Serves 10-12.

Homemade Peach Liqueur


I like to think of making fruit liqueurs as just one more type of food preservation. I make jams and jelly with seasonal fruit, so why not preserve some of summer’s bounty in alcohol?
Peach liqueur is one of my favorites. Pretty simple, really. Just combine peaches with vodka (or brandy) and allow the mixture to steep. After a week or two, strain it. After straining out the fruit, I also filter the liqueur through either coffee filters or cheesecloth to get it nice and clear.
Sweetening is optional. Unsweetened, it is called a Peach Eau de vie, which translates into water of life. Got to love the French!!! Sweetened, it is a liqueur.
Poured into pretty bottles, these liqueurs can make fun gifts, too.
Peach Liqueur
10 medium sized, ripe peaches
3 c. vodka or brandy
1 c. sugar syrup – optional – recipe follows*
Peel and pit peaches reserving only the fruit. You can leave the skins on, if you prefer. Place in jar with the alcohol and steep at least a week, shaking several times. You can leave the fruit in for up to two weeks. Strain, squeezing out as much juice from the fruit as possible. Filter through cheesecloth, fine mesh strainer or coffee filters for a clearer product. Add sugar syrup, if desired, and mature 4-6 weeks. Makes 4 cups.
*Sweetening– Simple syrup is made from 1 cup of sugar and ½ cup of water. Bring to a boil, then cool. You will have 1 cup of syrup. Some recipes call for plain sugar and others for honey. Watch when you substitute honey for sugar, as it is sweeter and stronger flavored.


