Homemade Apple Pie Filling

Apple Pie Filling
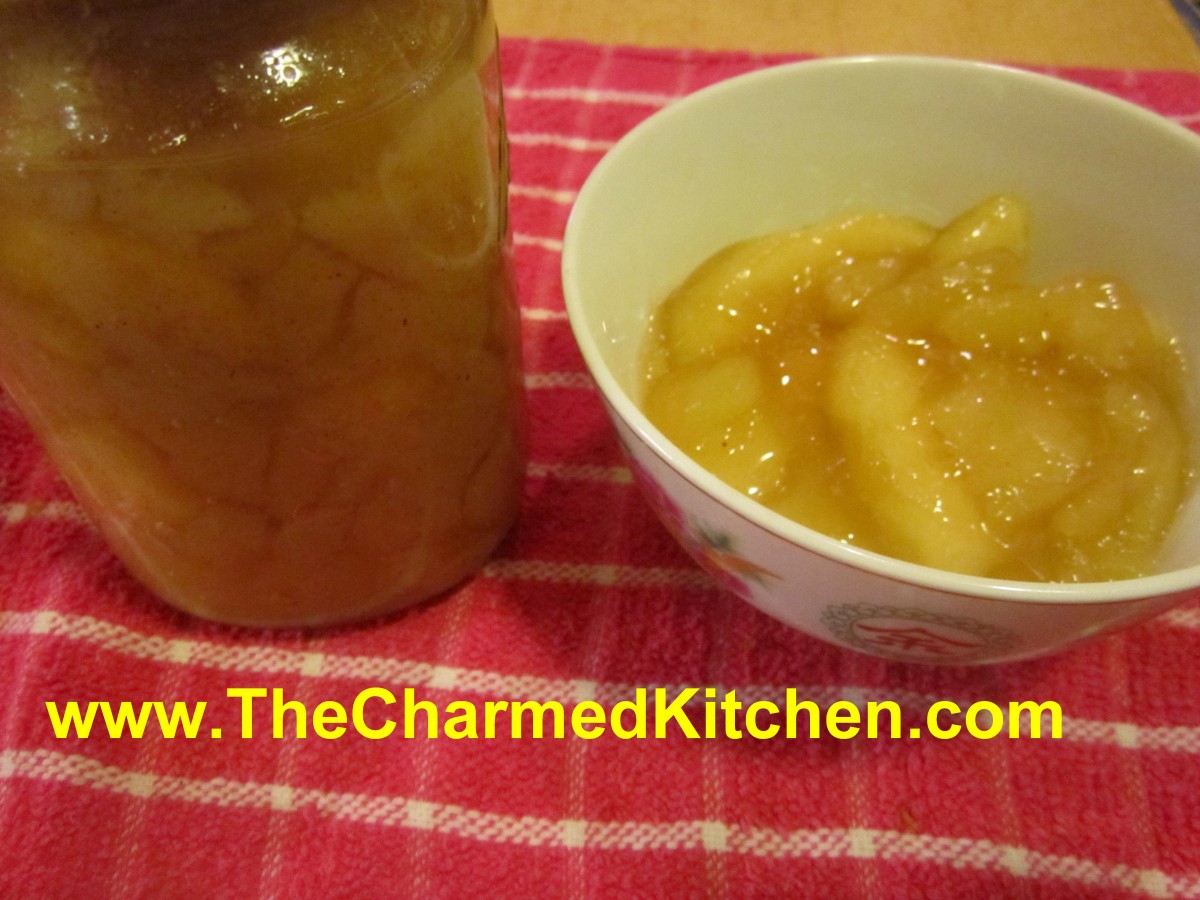
While I think the best pie is made with fresh apples, I also like making and canning my own apple pie filling. It is a handy way for me to enjoy local apples throughout the year. It is also a whole lot better than any commercial pie filling I have tried. Loaded with plenty of big chunks of apples and seasoned with cinnamon and nutmeg- I think it the next best thing to fresh apples for baking.
I use my canned filling to make pies, but I also use it for kolachy, blintzes, cakes and more.
The hard part, for some, is getting a hold of Clear Gel. It is a special type of cornstarch. I buy mine on line, but you can find it in stores where the Amish shop. Clear Gel stays thick, even if it is reheated. Regular cornstarch will not.
Here is the recipe I use. You can tweak the seasonings to suit your own taste, but keep in mind that spices sometimes get stronger when canned, so don’t go too crazy!!
Apple Pie Filling
6 qts. apples, sliced and blanched
5 1/2 c. sugar
1 1/2 c. Clear Gel- modified cornstarch available on line and in Amish stores
1 T. cinnamon
1 t. nutmeg
2 1/2 c. cold water
5 c. apple juice
3/4 c. lemon juice
If apples lack tartness use an additional 1/4 cup of lemon juice. Wash, peel and core apples and cut into 1/2 thick slices. Place in water treated with either lemon juice, citric acid or ascorbic acid to prevent darkening. Remove from solution and drain well. Blanch in boiling water- 2 quarts at a time- for 1 minute. As you finish each batch place in a bowl and cover to keep warm. In large pot combine sugar, Clear Gel, cinnamon, nutmeg, water and apple juice. Stir over medium heat until mixture begins to bubble and thicken. Add lemon juice and boil 1 minute. Add drained apples and stir gently to combine. Ladle into hot, clean jars leaving 1 1/2 inches of headspace. Remove air bubbles. Wipe rims and adjust lids. Process in a boiling water bath- pints or quarts for 25 minutes. After the time is up, turn off canner and let jars sit in water bath for 5 minutes before removing. This will reduce the chance of siphoning. Makes 7 quarts or 14 pints.
For only 1 quart
3 1/2 c.apples
3/4 plus 2 T. sugar
1/4 c. Clear Gel
1/2 t. cinnamon
1/8 t. nutmeg
1/2 c. cold water
3/4 c. apple juice
2 T. lemon juice
Apple Cake Roll

Spiced Apple Cake Roll
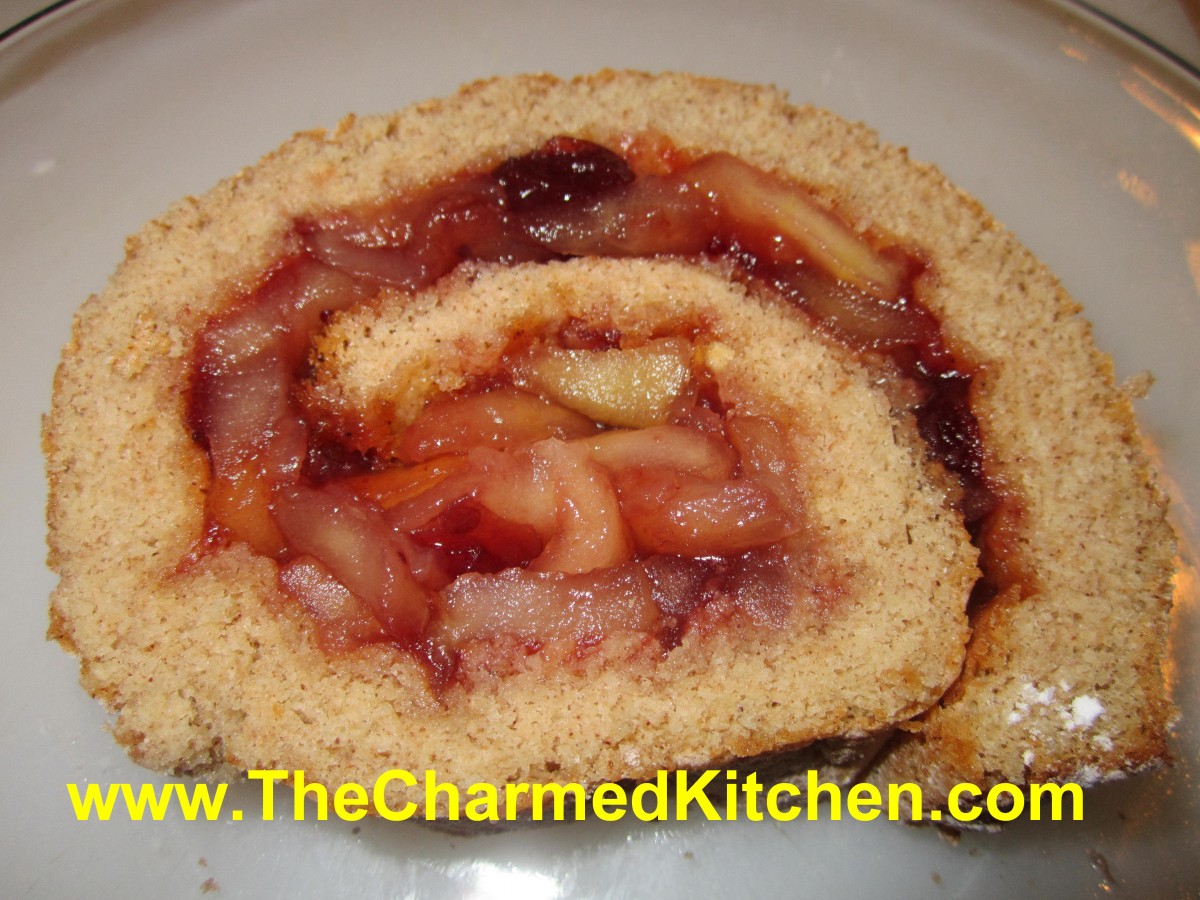
I really look forward to apple season. I enjoy eating plenty of apples fresh, but I also like cooking with them. I’ve made a lot of different cake rolls in the past, and decided to make a cake roll with apples this time. Good decision.
This is a fun dessert, and easier to make than you might think. I also added whole berry cranberry sauce. I made my own, but feel free to use canned if that is what you have.
The filling is not terribly sweet. I like it that way, but you can add more sugar. You can serve it plain, dusted with powdered sugar, or with a scoop of ice cream. A drizzle of caramel sauce would be nice, too.
The cake can also be served for breakfast or brunch.
Apple Cake Roll
4 eggs, room temp
2/3 c. sugar
¼ t. vanilla
¾ c. sifted cake flour*
1 t. cinnamon
¾ t. each baking powder and nutmeg
¼ t. each cloves and salt
Powdered sugar for sprinkling
2 lbs. apples, peeled and sliced thin- about 5 medium apples
1 c. whole berry cranberry sauce- homemade or canned**
Whipped cream, optional
Grease bottom of 15×10-inch jelly roll pan and line with wax paper. Grease wax paper. Beat eggs, sugar and vanilla 5 minutes. Sift together flour with dry ingredients and fold into eggs. Spread in prepared pan and bake in a pre-heated 400 degree oven for 13 minutes or until light golden. Meanwhile sprinkle a tea towel with the powdered sugar. Loosen hot cake from sides of pan and invert onto tea towel. Remove wax paper carefully and roll up cake from the narrow side. Cool. Meanwhile combine apples with cranberry sauce in saucepan and simmer until apples have softened, but still hold their shape. Stir occasionally. Cool to lukewarm. Carefully unroll cake and spread with the apple mixture. Re-roll cake, discarding towel. Serve with dollops of whipped cream. Serves 8.
* To make your own cake flour just measure out a cup of all purpose flour- and remove 2 tablespoons for 1 cup of cake flour- or – remove 2 tablespoons of flour and replace them with 2 tablespoons of cornstarch. I normally do the cornstarch thing with several cups of flour at a time so I have cake flour on hand when needed.
** For homemade cranberry sauce place 1 1/2 cups of cranberries in a saucepan and add a little orange juice or water- about 1/2 c.- and sugar to taste. Simmer until berries burst and mixture thickens. Yield- about 1 cup of whole berry cranberry sauce.
Braided Herb Bread

Braided Herb Bread
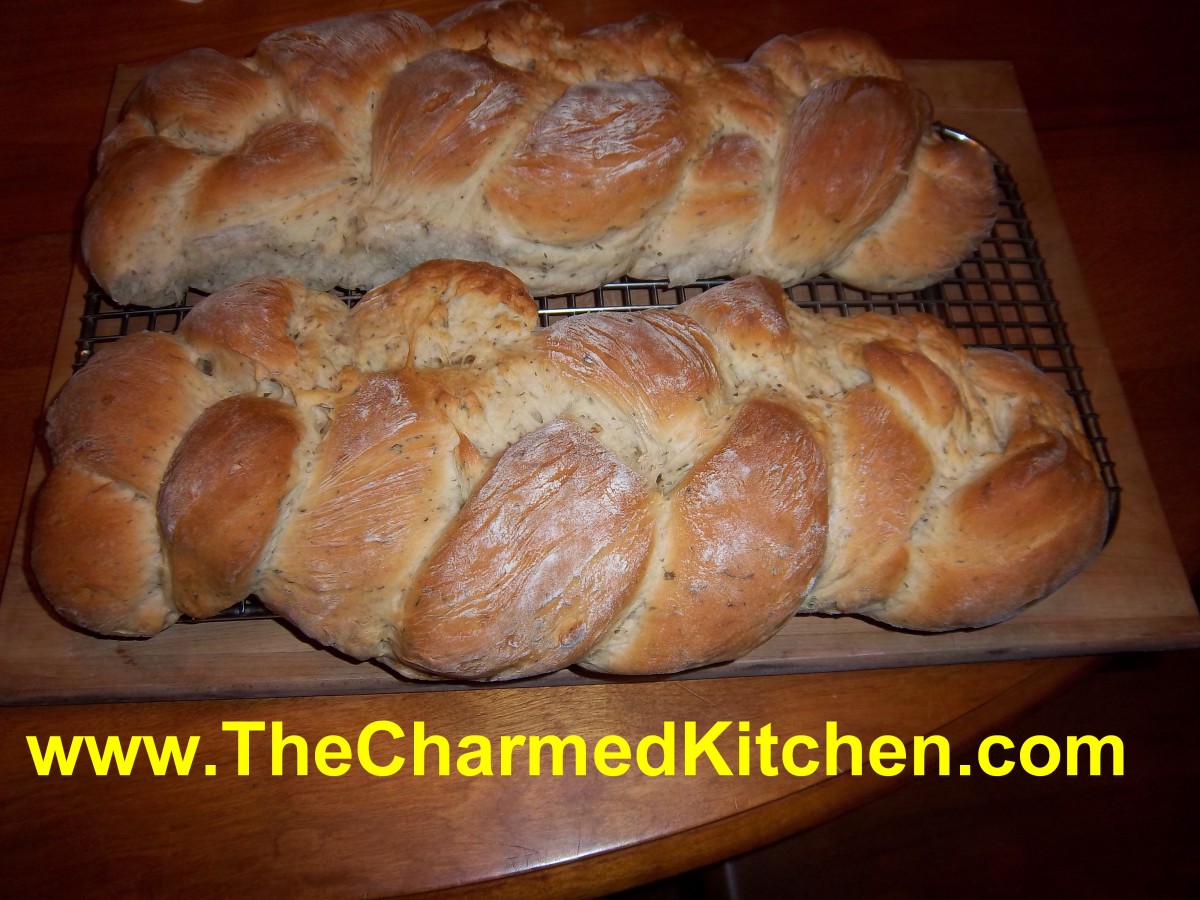
One of the benefits about baking your own bread is the aroma. The house gets filled with the most wonderful smells. In this case, the experience is even better because the breads I baked are filled with herbs and shallots, so those fragrances are also in the mix.
I like to make these loaves in braids and place them on a baking sheet- but they could just as easily be baked in bread pans for more traditional loaves. Great for sandwiches.
I like to toast some of this bread, and use as croutons or as a base for stuffing.
You can also slice the bread, brush with softened butter, then toast, for a twist on garlic bread. The garlic is already in the bread, but feel free to add more to the butter, before brushing it on the bread.
Braided Herb Bread
5 ½ -6 ½ c. flour
2 packages quick rising yeast
¼ c. sauteed shallots
2 T. each dried marjoram and parsley
1 T. each dried oregano and minced garlic
1 T. honey
2 t. dried thyme
2 t. salt
¼ c. olive oil
2 ¼ c. hot water
In a mixing bowl combine 2 c. of flour with the rest of the ingredients and mix until smooth. Beat with electric mixer 4 minutes then add 1-cup additional flour and beat 1 minute longer. Stir in flour ½ cup at a time until soft dough forms. Turn onto surface and knead, adding flour gradually until dough is smooth and elastic. Place dough in lightly greased bowl and turn to cover. Cover with a towel and let rise until doubled, about 30 minutes. Turn dough onto surface and cut in half. Cut each half into thirds. Roll each piece of dough into an 18-inch rope. Loosely braid three ropes together and repeat with the remaining dough. Place on greased baking sheet and cover until doubled in size, about 20 minutes.
Bake in a preheated 375-degree oven for 25-30 minutes, or until bread sounds hollow when tapped lightly. Makes 2.
Variation: Whole wheat: Add 2 cups of whole-wheat flour to replace 2 cups of white flour. Also try adding ¼ c. of wheat germ, oat bran or 2 tablespoons of seeds (sesame, pumpkin, sunflower, poppy, etc.)
Regular yeast can be used, but rising times will be longer and water should be warm, not hot.
Homemade Raspberry Liqueur

Homemade Raspberry Liqueur
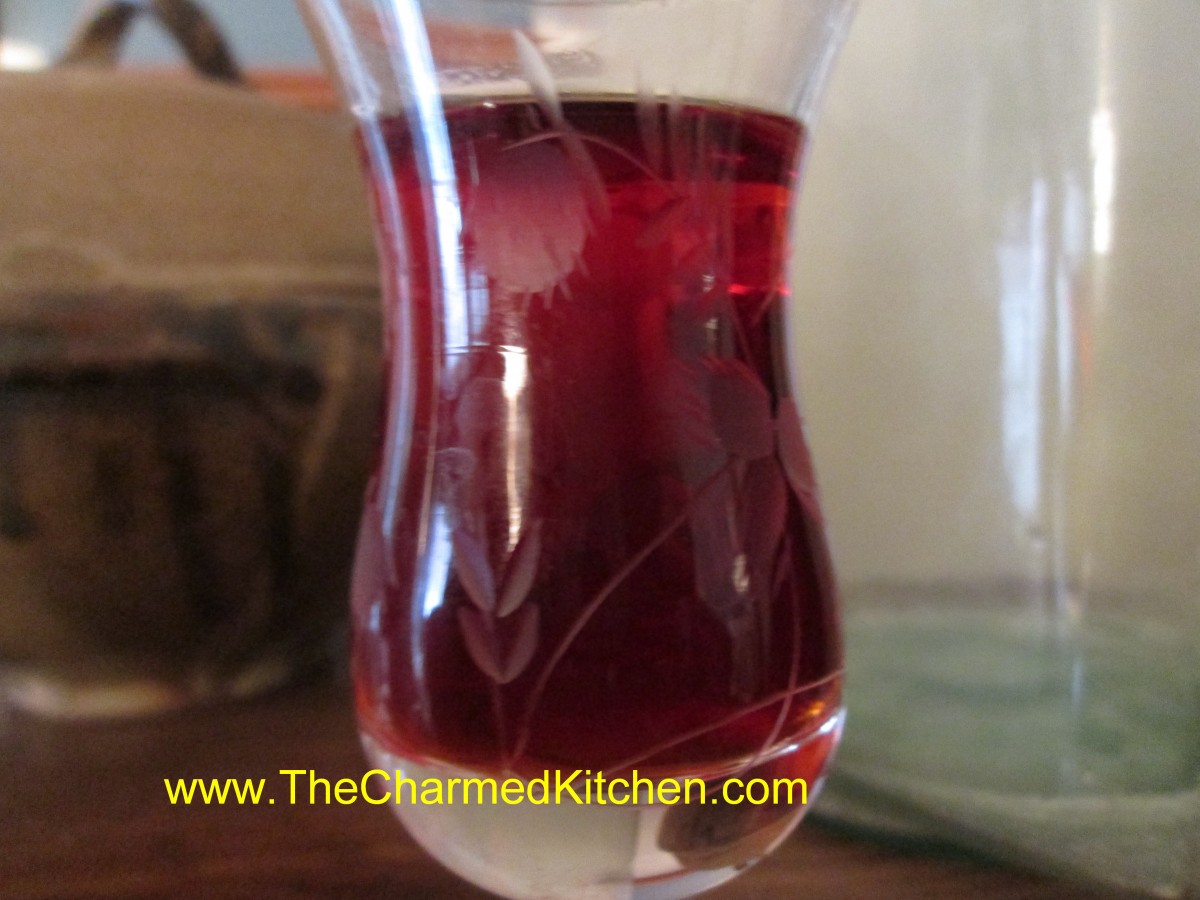
I make a lot of different liqueurs. Raspberry liqueur is probably one of my favorites. It reminds me of a warm summer afternoon.
I love raspberries. My parents had a row of raspberry bushes at the back of the yard, so I grew up enjoying them fresh. I preserve raspberries to enjoy all year long. I freeze berries, make jams and jellies and dehydrate some.
I also enjoy using some to make homemade raspberry liqueur. You just start with alcohol – I most often use vodka – then you add raspberries. I sweeten it later on, but you can leave it unsweetened, if you prefer.
Its beautiful color and great flavor make it nice for sipping, or used in mixed drinks. Think of it as just another food preservation method. Here is the recipe, in case you want to make it. Makes a great gift, too.
You can use fresh or frozen berries.
Homemade Raspberry Liqueur
1 lb. raspberries*
3 c. vodka, you could use brandy
1 ¼ c. sugar
Combine fruit and vodka and let stand 2 -4 weeks. Stir in sugar and age 3 months. Strain and filter. Makes 3-4 cups.
*You can use frozen berries, too.
Gluten-Free Zucchini Brownies

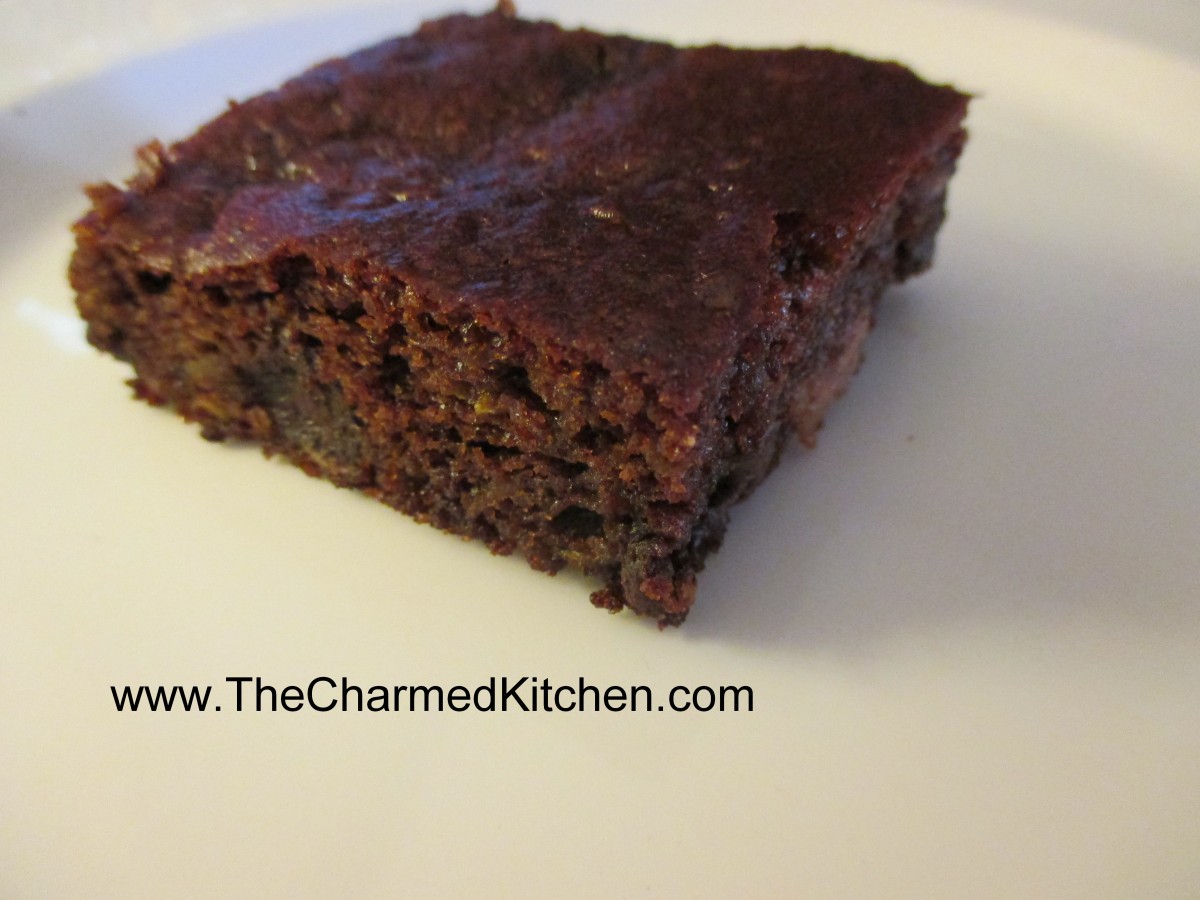
Gluten-Free Zucchini Brownies
These brownies are everything you want in a brownie. Sweet, moist and very tender. The fact they are also flour and gluten-free is a nice bonus for those who can’t have gluten.
You might think, when you read the ingredients, that I left something out. I didn’t. They baked up beautifully and had a wonderful texture.
I made them for a dinner with friends and everyone liked them, a lot. I think the next time I make them, I might also add some chopped nuts.
Gluten-Free Zucchini Brownies
1½ c. shredded zucchini
1 c. almond butter- but you could use peanut butter instead
1 c. chocolate chips
1/3 c. honey – but you can use 1/2 cup if you want a sweeter brownie
¼ c. unsweetened cocoa powder
1 egg
1 t. vanilla
1 t. baking soda
1 t. cinnamon
½ t. allspice
Preheat oven to 350 degrees. Grease a 9×9 inch pan, set aside. Combine all ingredients in a medium bowl and stir until well blended. Pour batter into pan and spread evenly. Bake 25-30 minutes, or until toothpick inserted comes out clean. Cool before cutting. Makes 16.
Pickled Rainbow Carrot Salad

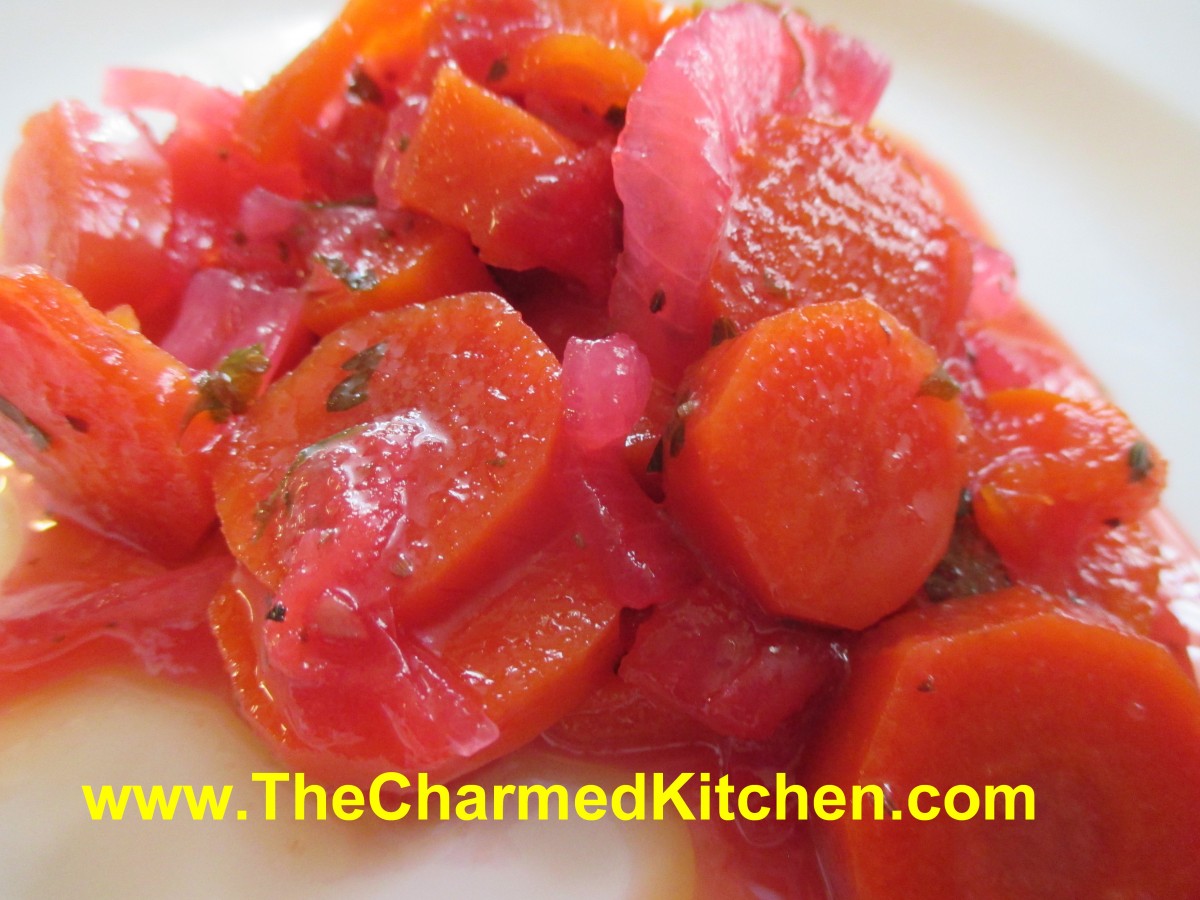
Pickled “Rainbow”Carrot Salad
This was one of those dishes where it came out great, but was not what I had planned in the beginning. Let me explain.
I had picked up some beautiful rainbow carrots at a local market. They come in colors ranging from yellow to purplish red. I wanted to make something special with them, highlighting their vibrant colors. I liked the idea of a kind of pickled carrot. Made up the recipe as I went along. I knew the flavors would go well with the rest of the dinner that was planned.
The carrot salad worked out so well. Great flavors- but there was a problem.
I had used a red wine vinegar and by the time everything was done cooking, the color of the carrots had changed. They all looked, well, like regular carrots. No one knew the difference, except me. I felt bad that I had cooked all the color out of the rainbow carrots, but the flavor was good. I guess, in the end, that is what really matters.
So here is the recipe. Feel free to use what ever color carrots you like- it won’t matter in the end!!
Pickled Rainbow Carrot Salad
2 medium onions, peeled and sliced
3-4 cloves garlic, peeled
1 c. vinegar- red wine or cider vinegar preferred
1 c. water
1 ½ lbs. carrots, peeled and sliced
1 sweet pepper, seeded and chopped
2 small tomatoes, seeded and chopped
½ c. sugar
1/4 c. chopped fresh parsley
2 t. salt, or to taste
Fresh ground pepper to taste
1 t. ground ginger
Hot sauce to taste
1 bay leaf
In saucepan, combine onions and garlic with the water and vinegar and bring to a boil. Prepare other veggies while onions simmer for 10 minutes. Add remaining ingredients and simmer, covered about 20 minutes. Adjust seasonings. Let salad cool down, then store in fridge until ready to serve. Best served the next day. Remove bay leaf and garlic cloves before serving.
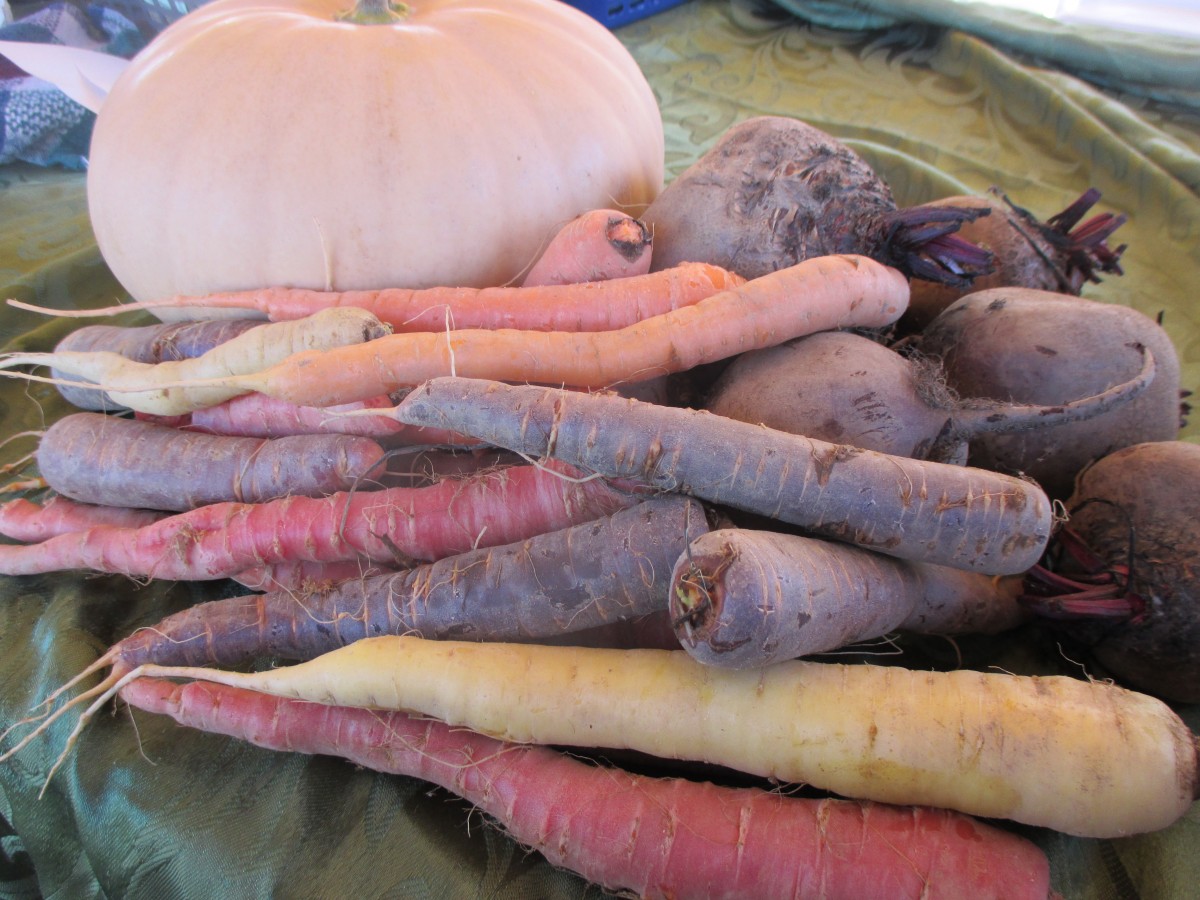
Rainbow Carrots
Homemade Apple Fritters

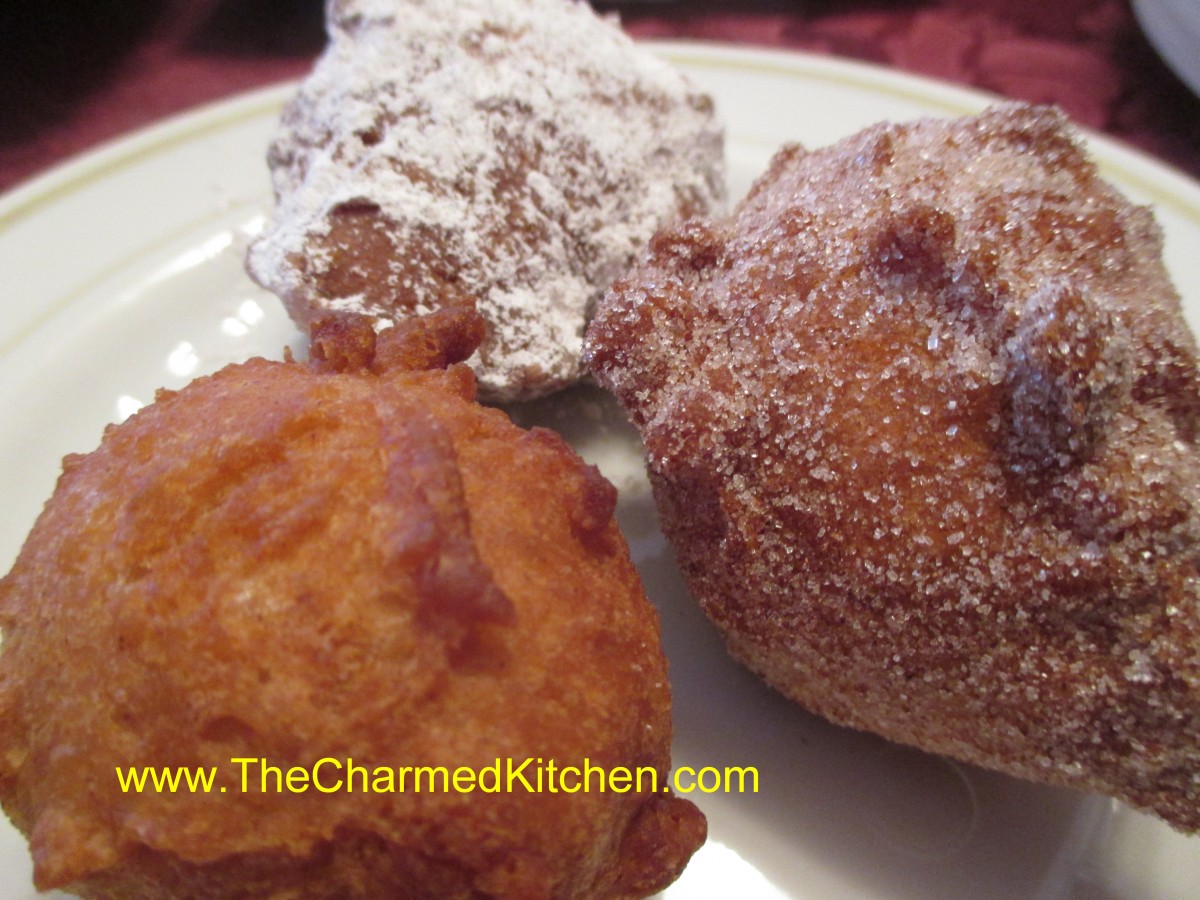
Apple Fritters
I love apple season. Besides eating them fresh, I enjoy cooking with fresh apples. One of my favorite apple dishes is apple fritters.
Fritters are similar to doughnuts. Rather than being made from a dough that is rolled and cut, like doughnuts, fritters are made from a batter. The fritter batter is spooned into oil for frying. They are actually very easy to make.
Good fritters are light and airy inside, with a crisp outside.
These are very good fritters. These fritters have diced apples and cinnamon and cook up tender and light. You could play around by adding other fruits, like pears, peaches or even berries. They are good plain, but can be rolled in powdered sugar, cinnamon sugar or drizzled with a powdered sugar glaze.
So enjoy one of the best recipes of the season, and make yourself some fritters.
Apple Fritters
2 c. flour
2 T. sugar
2 T. baking powder
1 T. cinnamon
1/2 t. salt
1 c. milk
2 eggs, beaten
2 T. melted butter
1 c. diced apples
oil for frying- I used coconut oil
Combine dry ingredients and set aside. Mix together milk with the eggs and butter. Stir in dry ingredients until just moistened and add the apples. Heat oil to 375. If using gluten free flour heat oil to 350. Drop dough by tablespoonfuls into the hot oil and fry until golden brown. Don’t do more than 4-5 at a time. It will take about 4 minutes in total but you need to turn them to brown evenly so 2 minute per side. Drain on paper towels. While warm roll in powdered sugar, cinnamon sugar or drizzle with a powdered sugar glaze. Makes about 32.
Chocolate Beet Cake

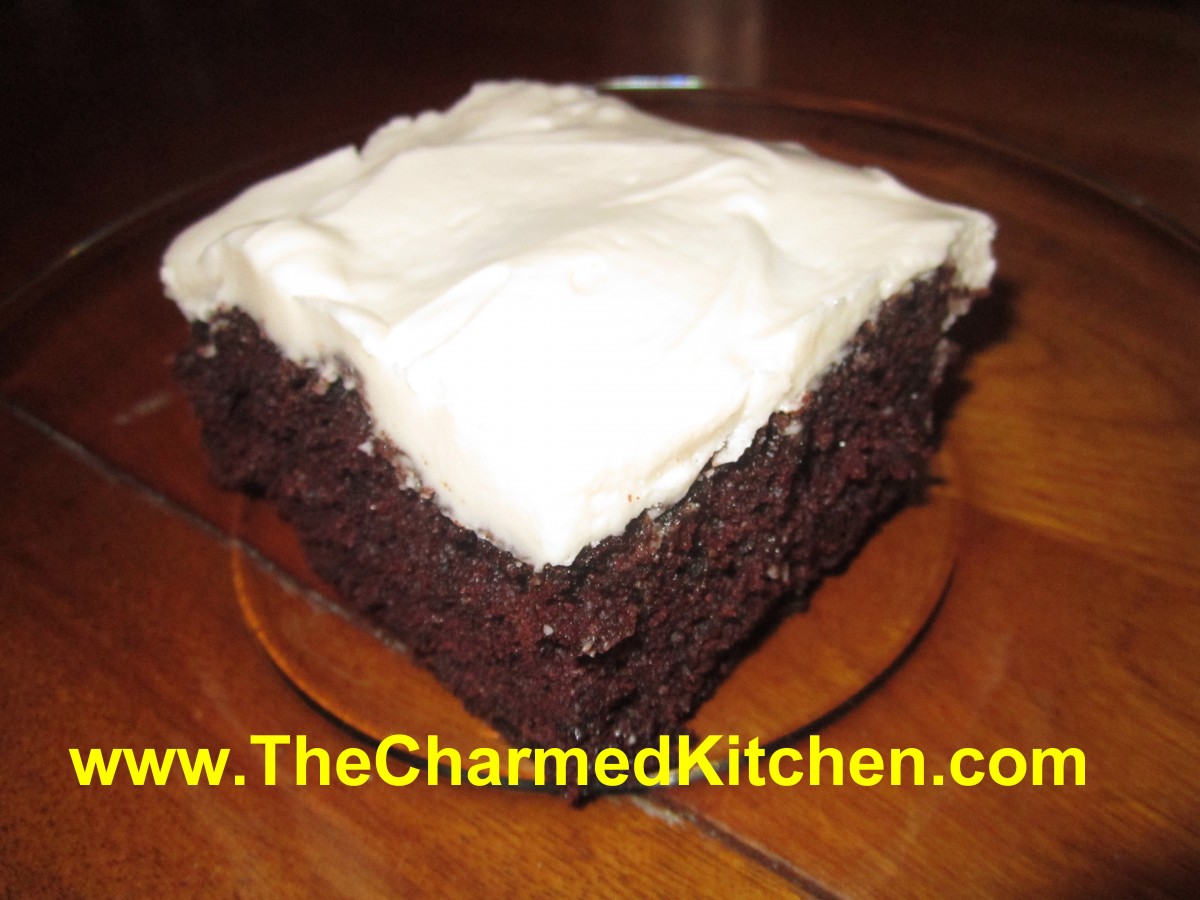
Chocolate Beet Cake
I made this cake as part of a class on cooking with root vegetables. I have posted it before, but thought I would post the recipe again. The cake was so enjoyed in class- I wanted to share the recipe.
When I say beet cake, a lot of people give me a funny look. First, there are the beet haters, and you know who you are. The people who just don’t like the taste of beets. I get that, beets are an acquired taste.
Then there are the people who like beets, but could never picture them in a cake. I bake cakes with carrots in them, zucchini and even parsnips. Adding beets to a cake is not so far off. The beets add a subtle red color to the cake, but they also add moistness. The end result is a cake that is full of flavor and has a wonderful, moist texture.
Truth is, I don’t really taste the beets in the cake much at all. I taste the chocolate. So here is the chocolate beet cake recipe. I hope you enjoy it.
Chocolate Beet Cake
2 cups all-purpose flour
1½ teaspoons soda
1/2 teaspoon salt
1 1/2 cups sugar
1/2 cup cocoa powder
3 large eggs, beaten
1 cup plus 2 tablespoons oil
1½ cups grated cooked beets
2 teaspoons vanilla
Powdered sugar, optional, or cream cheese frosting- recipe below
Preheat oven to 350°. Combine flour, soda, salt, sugar and cocoa in a bowl; set aside. In a mixing bowl, combine the eggs and oil. Beat in vanilla and continue beating until well blended. Slowly beat in dry ingredients until well mixed; stir in beets. Pour into a greased and floured 9×13-inch baking pan. Bake at 350° for 25 to 35 minutes, or until cake bounces back when touched lightly with finger. Cool in pan on a rack. Frost cooled cake, or dust with powdered sugar.
Frosting recipe:
8 oz. Cream cheese, softened
3/4 c. powdered sugar- or more to taste
1 stick butter, room temperature
Beat all together until fluffy. Frost cake and refrigerate until ready to eat.
Carrot Pasta Sauce

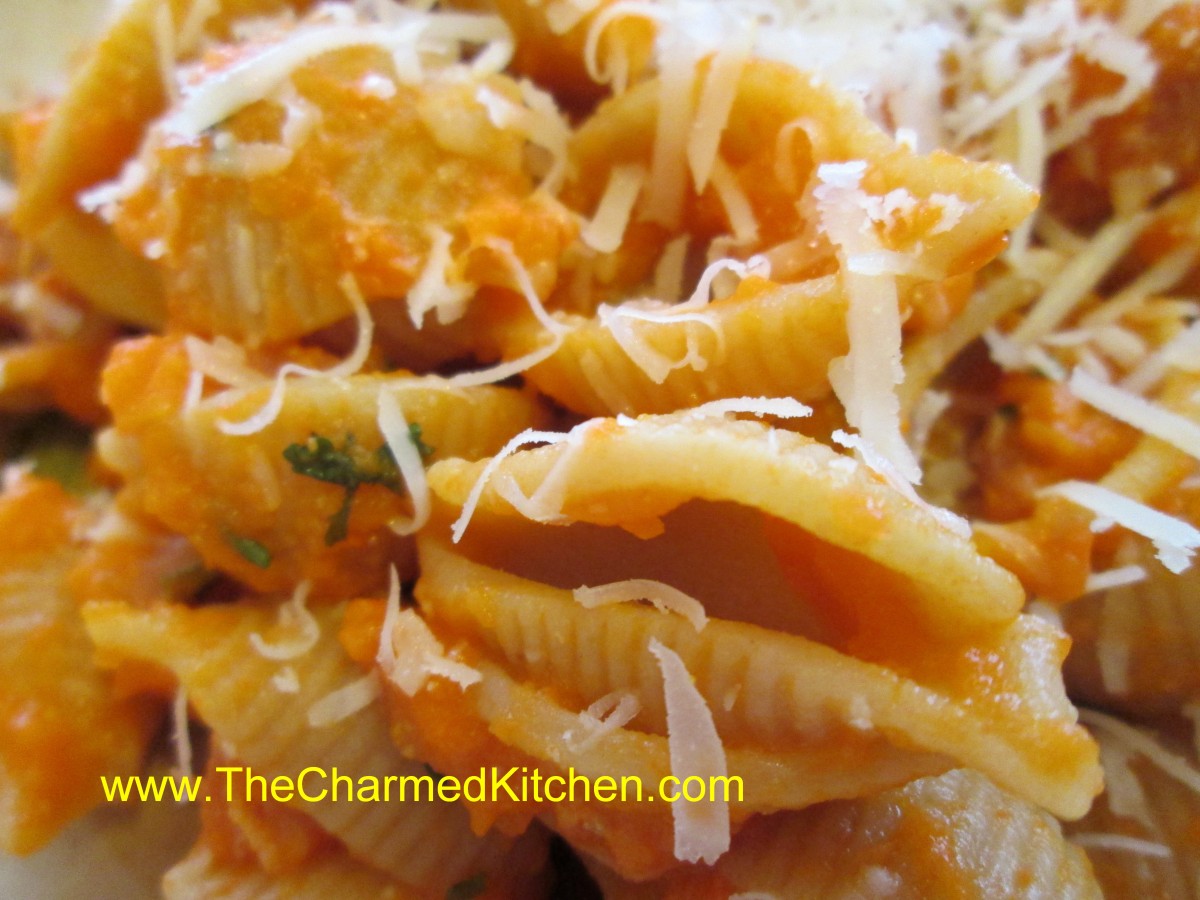
Carrot Pasta Sauce
This pasta sauce is one of my favorites. Most people don’t think of carrots when they think of pasta sauce, but maybe they should.
It’s a simple sauce that packs a lot of flavor.
The process is easy. Just cook carrots, and few other ingredients in stock, until the carrots are really tender. Most of the liquid cooks off. Puree, then toss the sauce with pasta, rice, or even with veggies or meats.
It is a pretty color, too. You might even get kids to eat carrots, this way.
Here is the recipe.
Carrot Pasta Sauce
1 T. oil
1 onion, chopped
1 garlic clove, minced
1 lb. carrots, peeled and sliced
2 c. chicken or vegetable stock
Salt and pepper to taste
1/2 c. cream, half and half or evaporated milk
1T. fresh dill or 1 t. dried
Hot cooked pasta
Sauté onion in oil until tender. Add garlic, carrots and stack and cook until carrots are very tender. Much of the liquid should have evaporated by then. Place mixture in blender and add cream or milk, mixing until smooth. Add dill and adjust seasonings, tossing over hot pasta to serve. I sometimes top with some shredded Parmesan cheese, too.
Variations: Use sweet potatoes, pumpkin, winter squash or even peas for different tastes.
Martha’s Beets

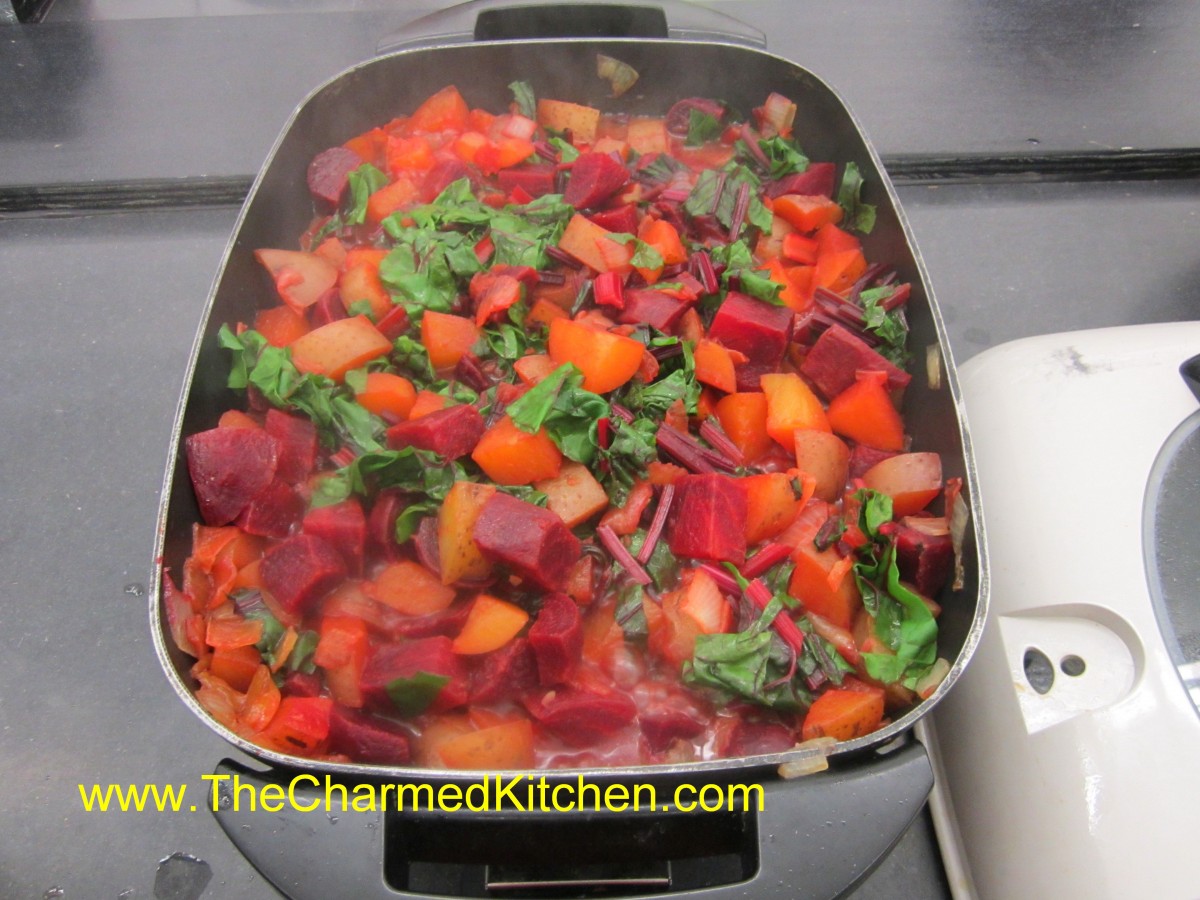
Martha’s Beets
I had picked up some beets from a local farmer the other day. I have made this dish many times and it seemed like a good time to make it again.
This is a recipe that my friend, Martha, made for us one chilly autumn afternoon. The amounts are random for a reason. Just use what you have- more or less – and let the flavors blend together gently. It is perfect for warming you up on a chilly day.
Full of earthiness and great fresh flavors it is always a favorite of mine. I always think of her, with great affection, when I make it. Love you, Martha. So glad we got together over the weekend.
Martha’s Beets
Oil
2 Onions, chopped
Potatoes, cut in big chunks, peeled, if desired
1 bunch beets, with greens*
Chicken or vegetable stock
Parsley
Salt and pepper
Cook beets in boiling water for 20 minutes. Cool and slip off skins. Cut up larger beets, if desired. In large pot cook onions in oil until tender. Add potatoes and prepared beets with just enough stock to keep them from sticking. Cover and cook over medium-low heat until vegetables are tender. Meanwhile chop up the beet greens. Add them to the pot and stir in. Cover and continue cooking until greens are tender. Toss in fresh parsley and cook 5 minutes longer.
* If you can’t find beets with greens, or if you like more greens, you can also add red Swiss chard in place of the beet greens.


