Fun with Fruit in Cooking Camp

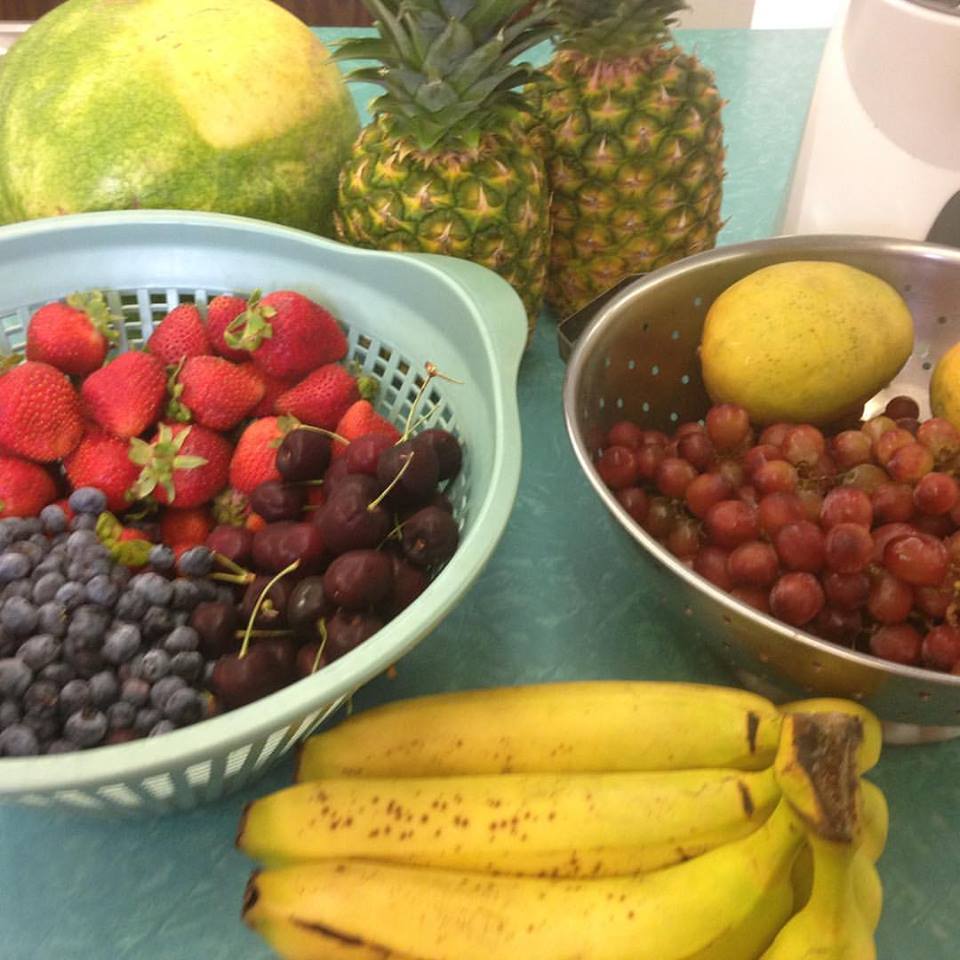 Today was all about fruit in cooking camp. The kids made smoothies and several fruit sorbets. They also worked in two teams to make a fruit tray using strawberries, blueberries, mango, watermelon, pineapple, red grapes and cherries.They also had knives and cherry pitters to help them.
They were to make a display that looked like something. The idea was for them to create the fruit tray- and then see if I knew what they had created. One team created a fruit volcano, the other team a day at the beach. I thought they were all very creative. Below are some of the pics from class- and some fun recipes using fruit.
Pink Lemonade
2 qts. prepared lemonade
1 pint strawberries, washed and hulled
Place berries in blender and add about 2 cups of the lemonade. Process until strawberries are pureed. Add strawberry mixture to the remaining lemonade. Serve over ice, garnishing with whole berries, if desired. Watch as seeds will accumulate on the bottom of the pitcher.
Red, White and Blue Fruit Salad
1 large pineapple, peeled, cored, and cut into cubes
1 qt. strawberries, washed and hulled
2 pts. blueberries, washed
Toss all together and chill about 1 hour before serving. Makes 8-10 servings.
Strawberry Sorbet
2 c. fresh or frozen strawberries (allow frozen berries to thaw a little first)
1/4 c. sugar, or to taste
3 T. fresh lemon juice
Place ingredients in food processor and process until smooth. Place in shallow pan and freeze. If you are using frozen berries re-freezing will take only about 1 hour. Up to 30 minutes before serving remove sorbet from freezer and allow to soften enough to break into chunks. Place in processor and blend again until very smooth. Serve immediately. Serves 4.
Fruit Smoothie
1 can (6 oz.) frozen orange juice concentrate
1 large ripe banana, sliced or 1 1/2 c. sliced fresh of frozen strawberries, or 1 1/2 c. sliced fresh, frozen or canned peaches
1 1/2 c. milk
1/2 c. water
2 T. honey
4-6 ice cubes
Combine all ingredients in blender, except the ice cubes and blend until smooth, about 1 minute. Add ice cubes and blend 1 minute more until thick and frothy. Serves 5.
Sun Fruit Salad
2 medium bananas, peeled and sliced
1 8oz. carton lemon yogurt
2 T. sugar
2 t. lemon juice
lettuce leaves
8 c. cut up fruit, using what is seasonal
1/4 c. toasted nuts
For dressing in blender combine bananas with yogurt, sugar, lemon juice and blend until smooth. To serve arrange lettuce on serving plates. Divide fruit among plates and drizzle with dressing. Makes 8 servings.
Grapescicles
Freeze green or red seedless grapes. Eat right out of the freezer. Great snack in hot weather.
Watermelon Pops
2 c. seeded chopped watermelon
1 c. apple juice
1/2 c. chocolate chips or raisins
Combine watermelon and juice in blender until smooth. Pour into a shallow pan and freeze until thickened. Fold in chips or raisins and pour into Dixie cups. Cover with foil and insert sticks. Freeze until firm, makes 6-8.
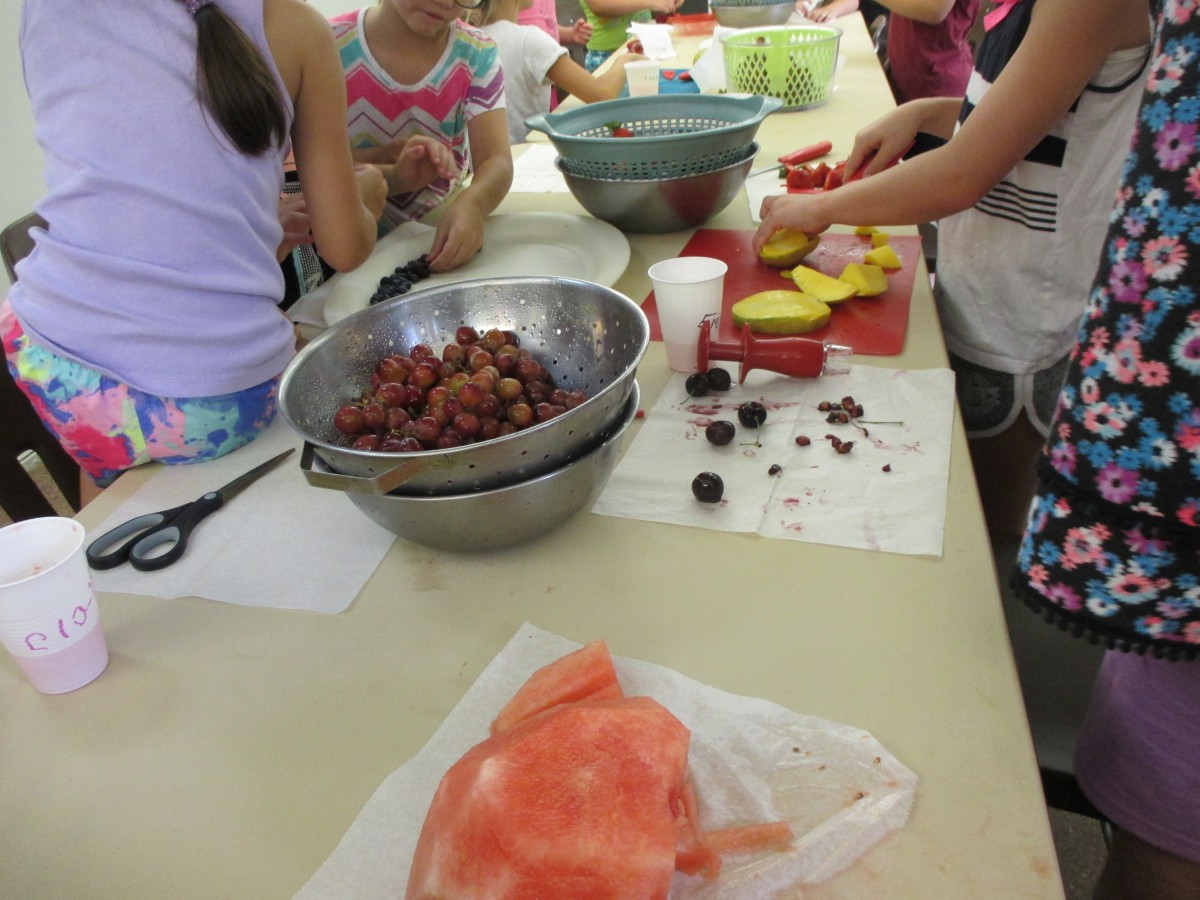
Making their fruit trays

Fruit volcano
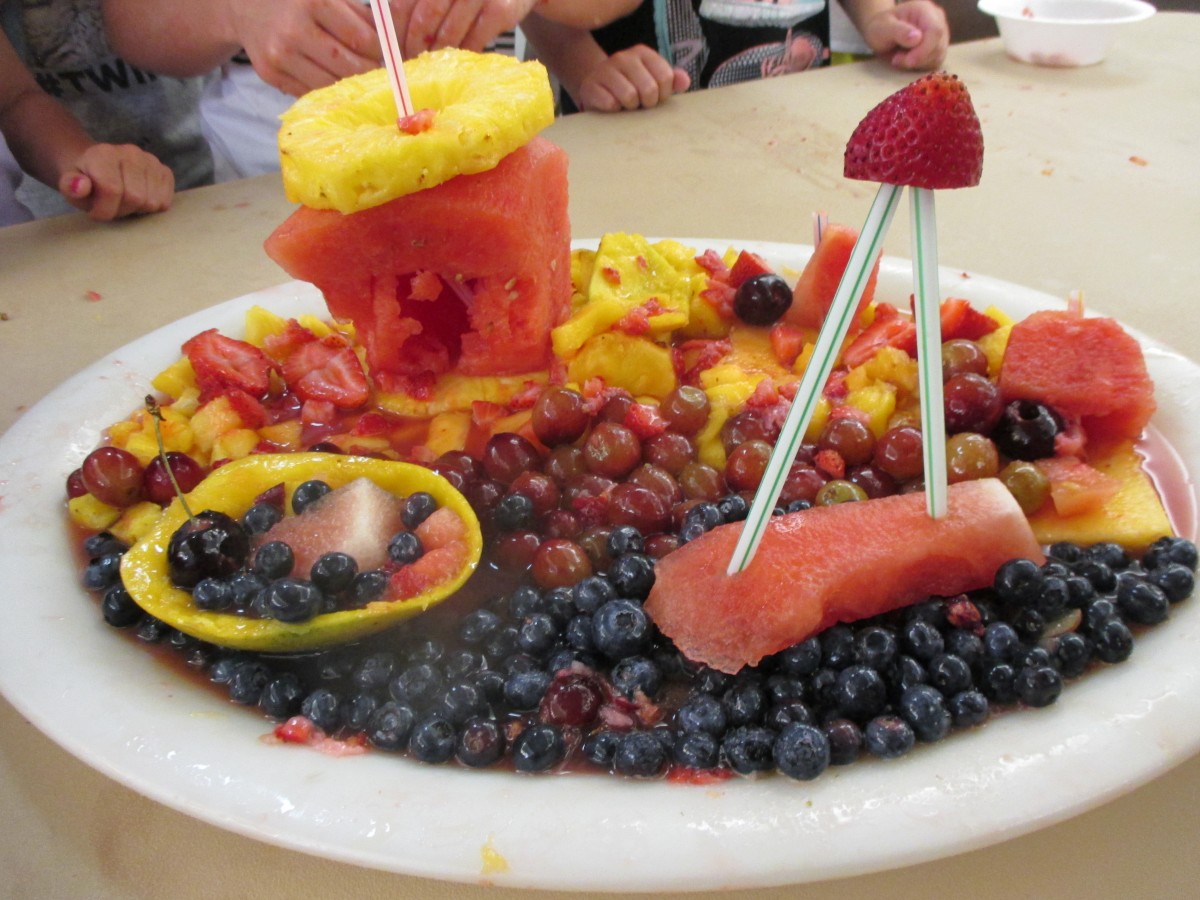
A Day at the Beach
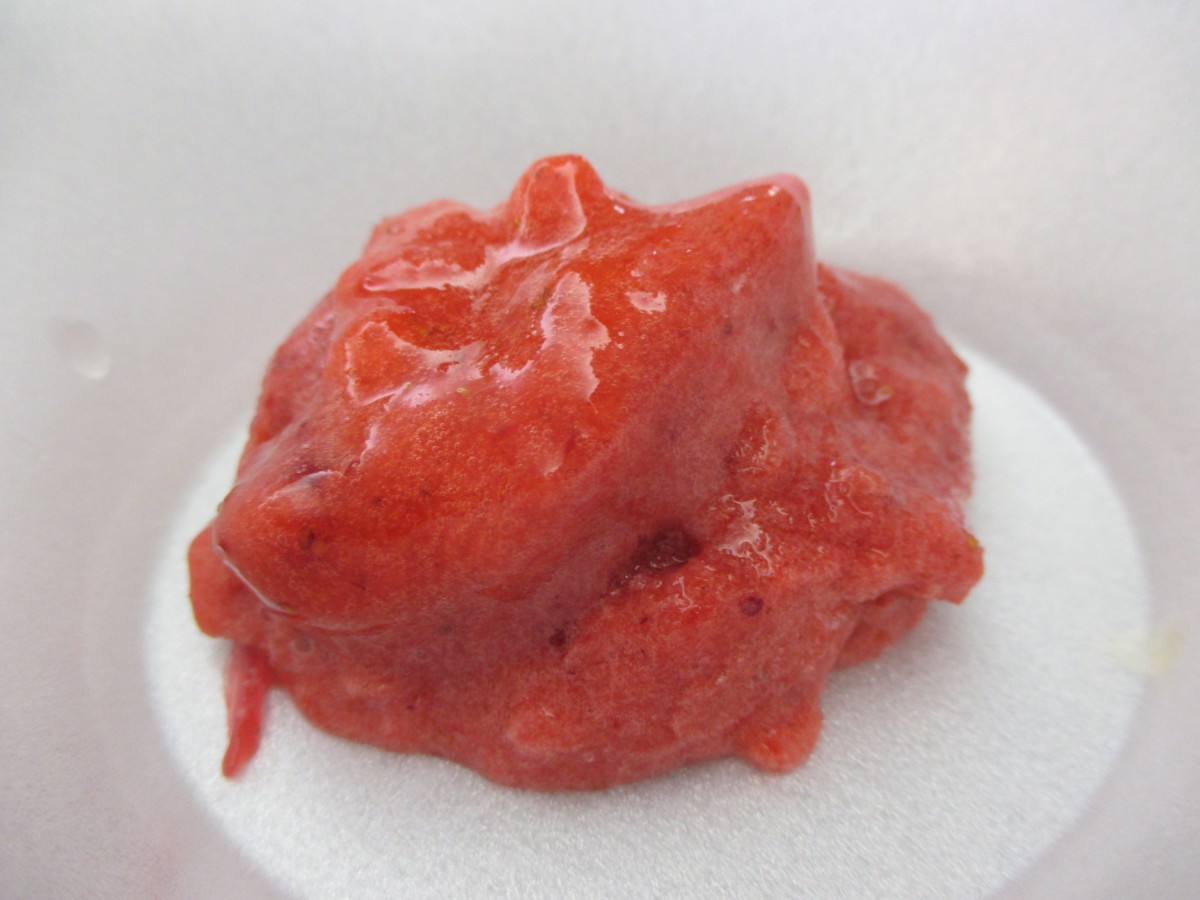
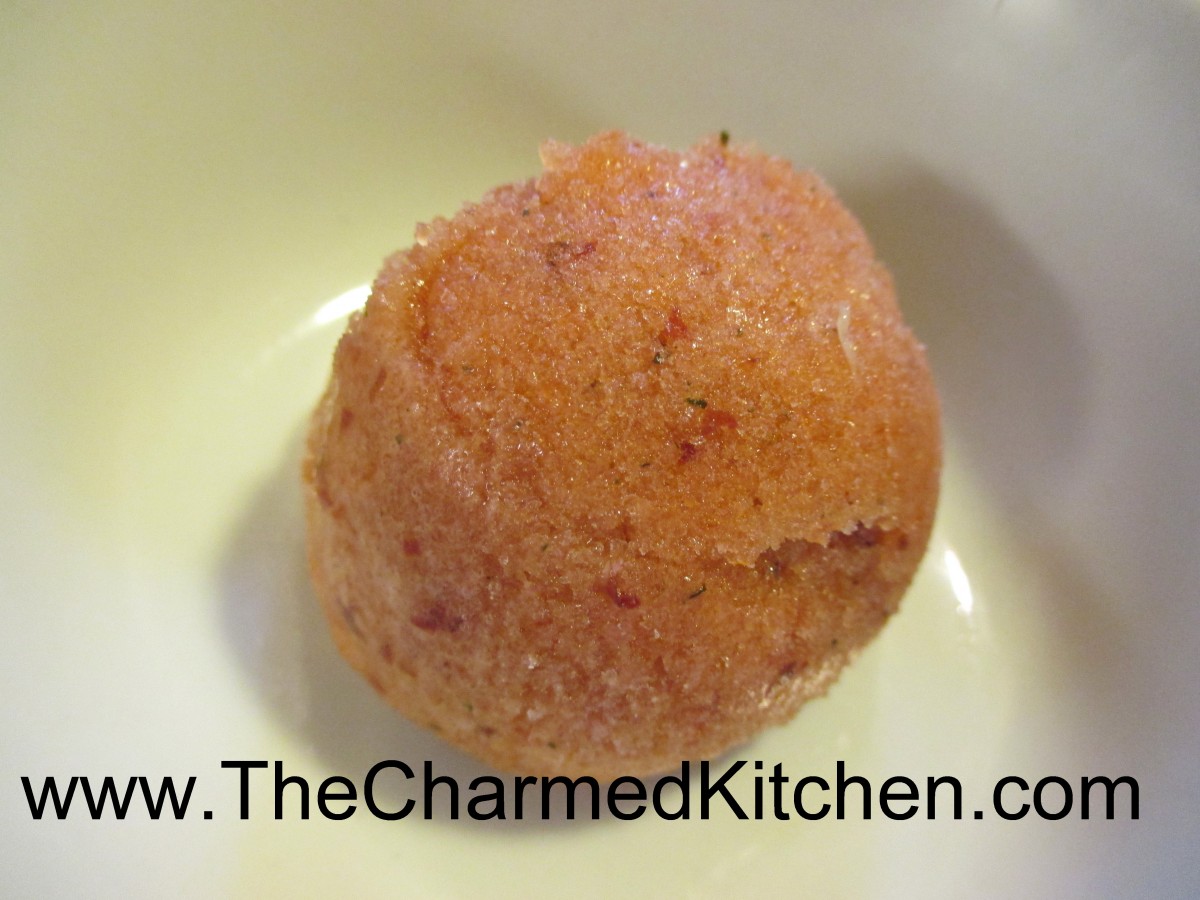
Strawberry, cherry, cranberry sorbet
Cookie Baking Day in Camp

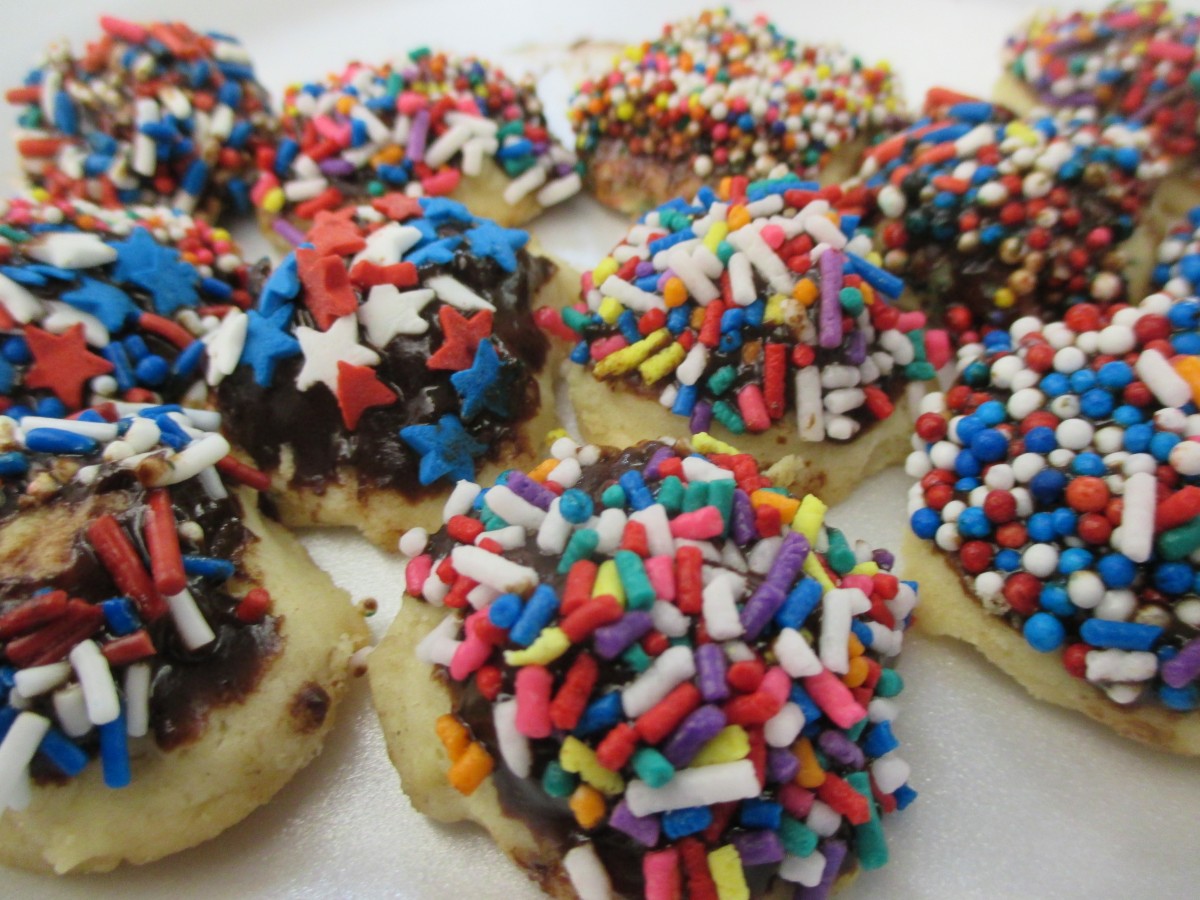
Cookie Candies
This is always a favorite day in cooking camp. A hot day, and a kitchen with no air conditioning, did not deter the kids from baking cookies- a lot of cookies. They did such a great job. Here are the recipes for the cookies we made and some pictures I took of their creations.
Versatile Butter Cookies
1 c. butter
1 c. sugar
1 egg
1 t. vanilla
2 ¼ c. flour
1 t. baking powder
¼ t. salt
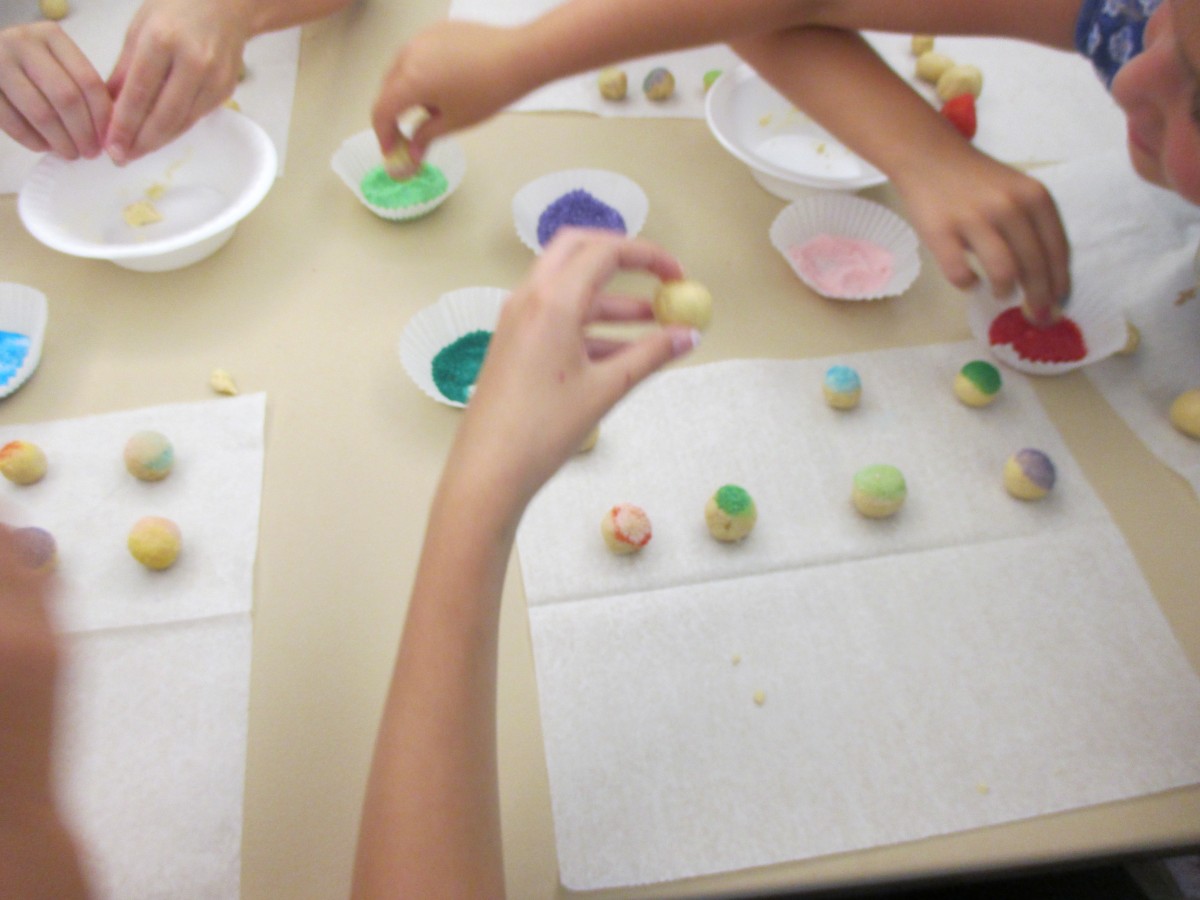
Beat sugar and butter together until fluffy and then beat in egg and vanilla. Combine dry ingredients and stir into butter mixture. Chill dough at least a couple of hours. Roll dough into ¾-1 inch balls and roll in sugar, sprinkles or nuts. Place 2 inches apart on ungreased baking sheet and bake in a preheated 375 –degree oven for 8-10 minutes. Cookies will flatten somewhat. Makes about 6 dozen cookies.
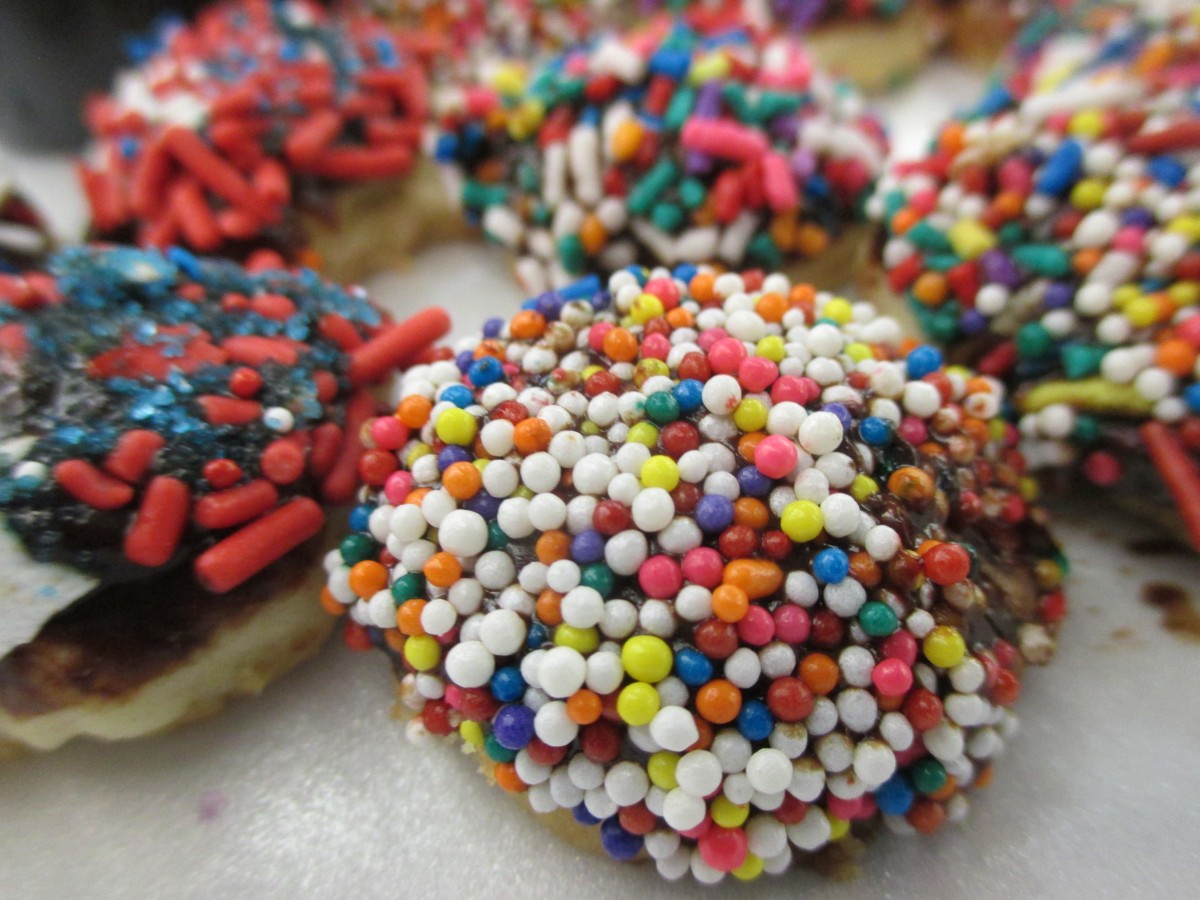
Variations: You can bake plain cookies and then dip cooled cookies in melted chocolate and then in chopped nuts or sprinkles.
Form into balls and place on baking sheet then press a nutmeat into the center of each. When cool you can drizzle with a small amount of melted chocolate or glaze.
Cookie-Candies
1 c. butter or margarine
¾ c. powdered sugar
1 T. vanilla
2 c. flour
½ c. rolled oats
½ c. chocolate chips
¼ c. milk
finely chopped nuts
assorted sprinkles
shredded coconut
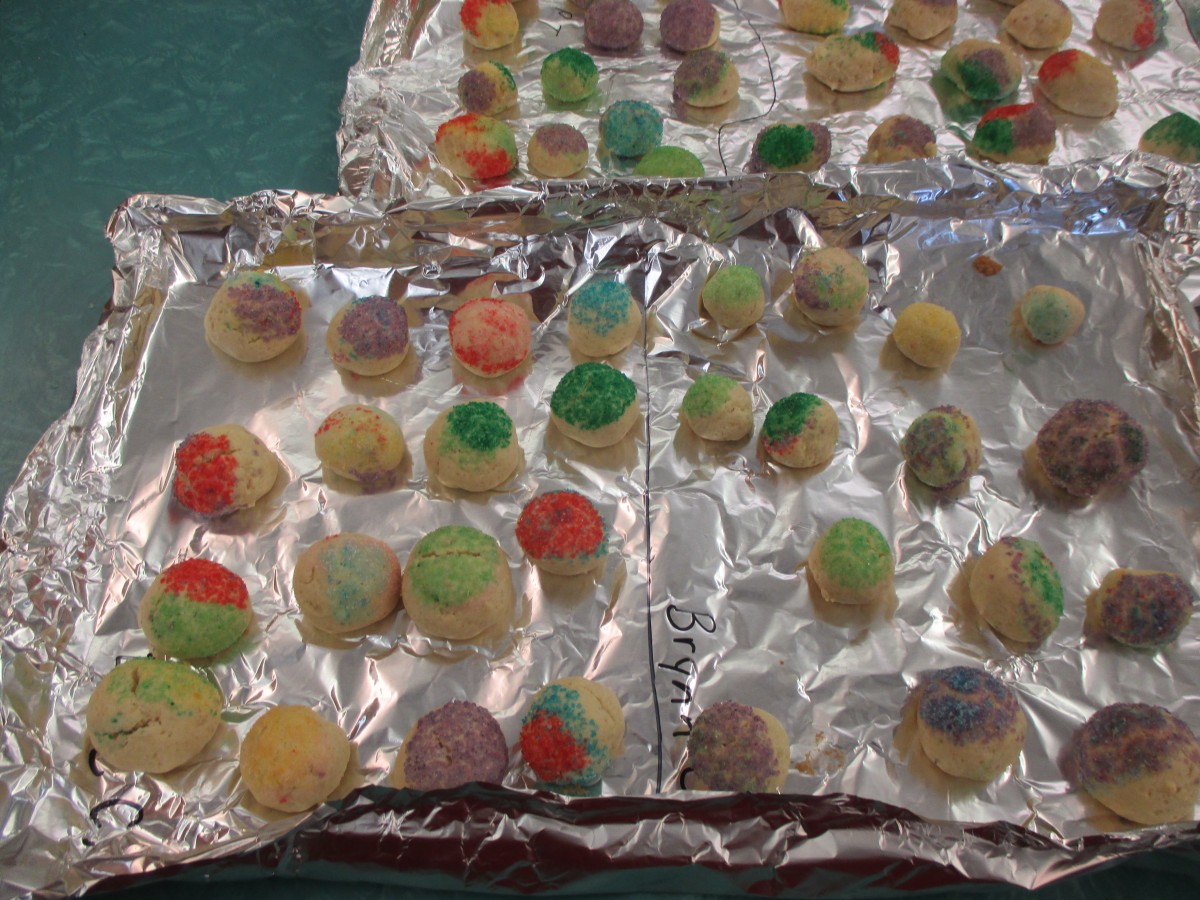
Cream together butter, sugar and vanilla. Stir in flour and oats. Shape teaspoonfuls of the dough into different shapes like rounds, ovals, cones cubes etc. Try to make them look like little candies. They will hold their shape very well while baking. Bake in a 325- degree oven for 20-25 minutes on an ungreased baking sheet. Cool. In microwave safe dish combine chocolate and milk and melt. Dip tops of cookies in chocolate mixture and then in one of the toppings you have. Chocolate topping will harden up after a while. Makes about 4 dozen.
Chocolate Sparkles
1 c. butter or margarine, softened
1 ¼ c. sugar
2 eggs
2 oz. unsweetened chocolate, melted
½ t. vanilla
2 2/3 c. flour
2 t. cream of tartar
1 t. baking soda
½ t. salt
¼ c. sugar
Cream together butter and sugar. Beat in eggs, chocolate and vanilla. Stir in next four ingredients. Chill dough. Shape dough into 1” balls and roll in ¼ cup sugar. Place about 2 inches apart on ungreased baking sheet. Bake in a preheated 400- degree oven for 8-10 minutes. Makes 5-6 dozen.

Breaded Eggplant


Breaded Eggplant
Even though I love eggplant prepared in a lot of different ways, this dish is one of my favorites. I think it is because it reminds me of my parents. My mother used to make eggplant this way. My dad loved it- and he was not a big eggplant fan. I guess pretty much anything tastes better when breaded. She would top the eggplant with some cheese and sometimes with some marinara sauce.
I cut the eggplant in slices, but you could also cut them in strips and serve like French fries, if you prefer.
One of the problems with eggplant is about how much oil it will absorb when cooking. If you fry these slices in a skillet- they will soak up the oil like a sponge. I prefer to bake the eggplant, with a drizzle of oil. They come out crispy, but not greasy.
They make a nice side dish or even main dish. I topped mine with Asiago cheese, but a lot of other cheeses would be good, too. Mozzarella was what my mom used. I often use Parmesan cheese or a Pecorino Romano.
Breaded Eggplant
1 large eggplant or 2 medium
salt
1 egg
1/2 c. milk or half and half
pepper
1 T. Tuscan seasoning* recipe follows or use another blend of Italian herbs
1 t. garlic powder
about 1 cup of bread crumbs
1/2 c. oil
1/2 c. Asiago cheese, or more
Peel and slice eggplant. Place in a large bowl and sprinkle generously with salt. Let sit for 20 minutes. Drain, rinse and pat dry. Prepare egg wash by mixing the egg with the milk or half and half, pepper, a little more salt, Tuscan seasoning and garlic powder. Place in a shallow bowl. Place bread crumbs in another shallow bowl. Preheat oven to 400 degrees. One slice at a time, dip eggplant in egg wash, then in the bread crumbs, turning to coat evenly. Place on a baking sheet. Repeat with remaining eggplant. Drizzle with the oil and bake for about 25 minutes. Turn slices after 15 minutes and continue baking until eggplant slices are golden brown and tender. Sprinkle with cheese and return to oven for 5 minutes longer. Serve as is, or with a marinara sauce. Serves 3-4.
*Tuscan Seasoning
½ c. dried basil
½ c. dried oregano
½ c. dried marjoram
3 T. dried minced onion
2 T. dried minced garlic
2 T. dried rosemary
2 T. dried parsley
1 t. crushed red pepper
Blueberry and Red Grape Sorbet

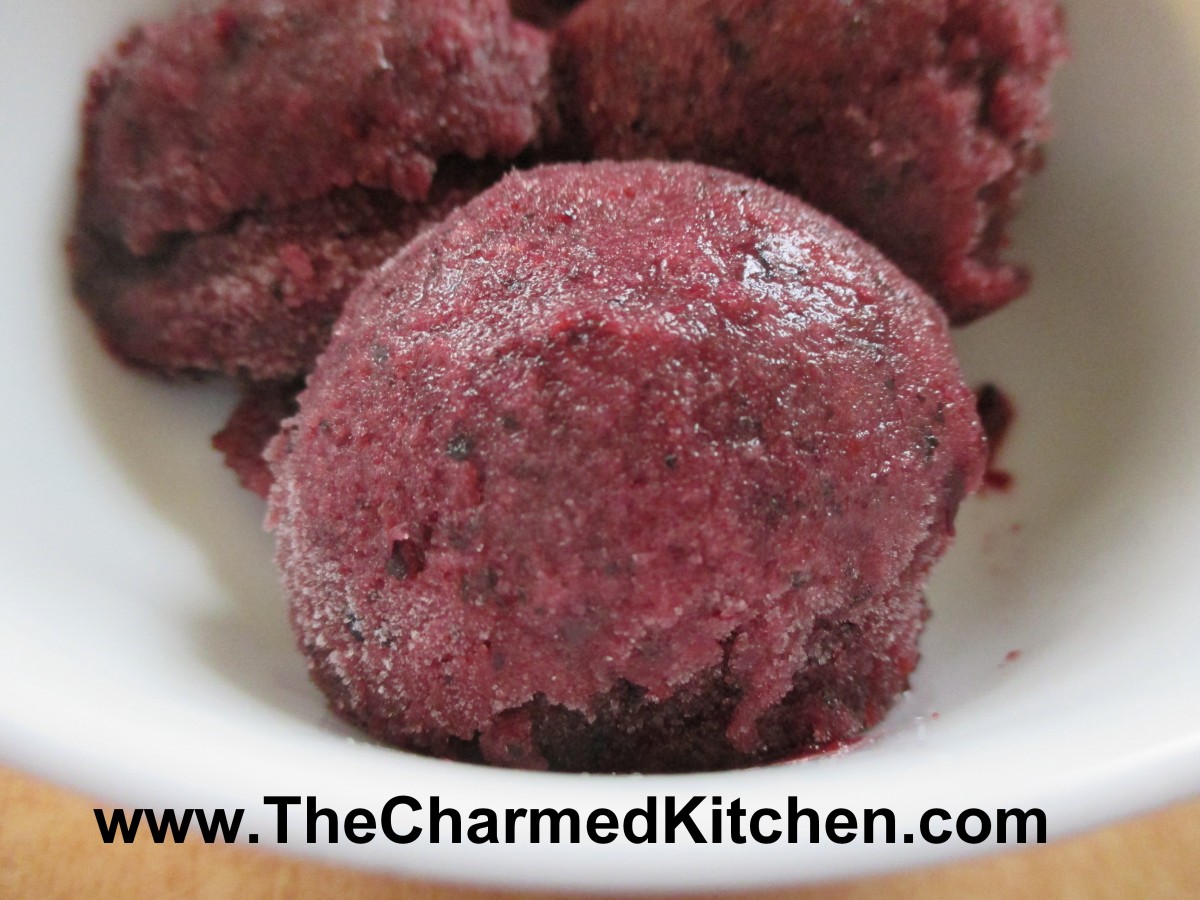
Blueberry-Red Grape Sorbet
Sometimes accidents are a good thing. I was planning on making a sorbet from frozen blueberries. I had already made a strawberry sorbet and a coconut sorbet. I wanted something “blue” for a red, white and blue dessert.
I grabbed a few containers of blueberries out of the freezer and put them on the counter to soften for a few minutes. Well, instead of three containers of blueberries I had grabbed one of blueberries and two of red grapes.
I decided to use them together. It really worked out well, because the grapes added a lot of natural sweetness to the blueberries. I added a couple of tablespoons of sugar to the fruit, but in hindsight, I think the sorbet would be sweet enough without any added sugar. I also added a little fresh mint. It really is a light, refreshing dessert. I only wish I had more. With company over the weekend, and hot weather, it is sure to go fast.
Blueberry-Red Grape Sorbet
4 c. red grapes, fresh or frozen
2 c. blueberries, fresh or frozen
sugar to taste- I used a couple of tablespoons
a few sprigs of fresh mint, optional
Combine all ingredients in a food processor and blend until smooth. You might have to do this in a couple of batches. Place in a container and freeze until solid. Remove from freezer and allow to soften for about 20 minutes, or even a little less. Mixture should still be frozen, but soft enough to break into chunks. Place in processor and mix again. Mixture will get smoother and softer. You can also do this step in a stand mixer or even with a hand mixer. Return sorbet to freezer, until ready to eat it.
Swedish Limpa Bread


Swedish Limpa Bread
There is nothing better than the smell of fresh baked bread. This rye bread is a favorite of mine. It has a soft texture and makes great sandwiches. It also makes the house smell wonderful as it bakes.
The flavor in enhanced by a combination of caraway seeds and a little orange zest. It even makes wonderful French toast. My brother-in-law says it is just like the bread his Swedish mother made.
It is not like rye breads you might traditionally think of. Limpa is lighter in color and texture. I baked mine in two round loaves, but you can also bake this bread in loaf pans, if you prefer. You can also shape the dough into dinner rolls, if you like.
Swedish Limpa
6 ½ c. flour
2 c. rye flour
¼ c. brown sugar
2 t. salt
2-t. caraway seeds
2 t. grated orange peel
2 pkt. Active dry yeast
2 T. butter, softened
2 2/3 c. hot water (125-130 degrees)
Set aside 1-cup flour. Mix remaining flours and other dry ingredients in a large bowl. Add butter and water to flour mixture and stir to blend. Mix in enough additional flour to make a soft dough. Knead on a floured surface until smooth about 8-10 minutes. Place dough in oiled bowl turning to oil top. Cover and let rest in a draft free area until doubled, about 30 –40 minutes. Punch down. Divide dough in half and form into 2 balls. Place on greased baking sheet and cover until doubled in bulk, about 30 –40 minutes. Bake in a preheated 400-degree oven for 30 minutes or until bread sounds hollow when tapped lightly. Makes 2 loaves.
Note: you can also divide the dough and place in 2 (9×5-inch) greased loaf pans.
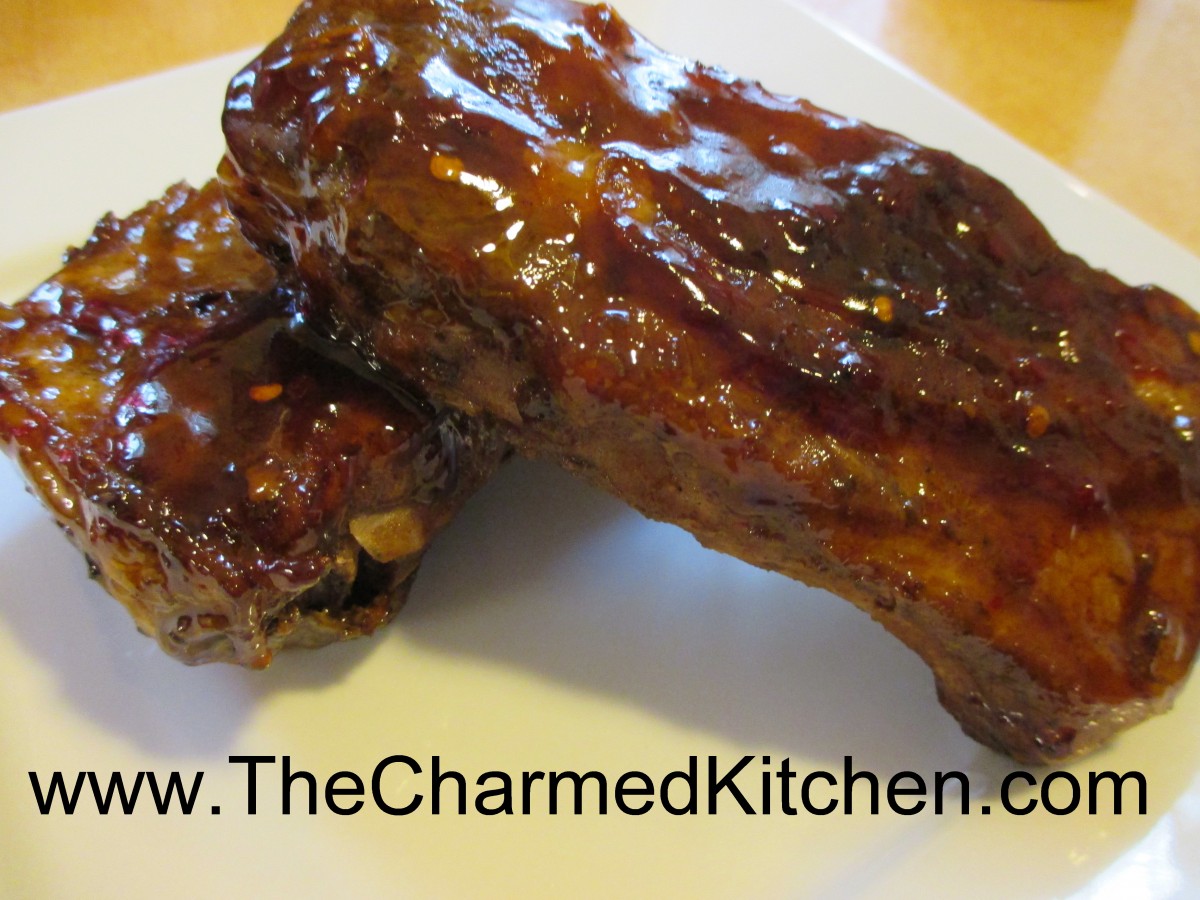
Sous Vide Ribs

 I have this fun kitchen machine called an immersion circulator, also known as a sous vide immersion circulator. They are used to cook food at very exact temperatures. It is a kitchen tool that is becoming more popular, but still unknown to a lot of people. They can be expensive, although prices seem to be coming down as more models hit the market. The one I have costs around $200, but you can find them for a lot less these days.
So why would you want to use/invest in one and how exactly is the food cooked?
Sous vide involves cooking your food in a bag, submerged in water. I know that doesn’t initially sound all that appealing, but it is pretty cool and has some advantages.
Have you ever fretted about overcooking a really expensive cut of meat? Or do you have trouble with the ends getting too done before the middle is cooked?
In an immersion circulator, you set the temperature that the water will be. If you like medium rare beef, you would set the temp at around 135 degrees F (57 Celsius). That means the water would maintain a temp of 135 degrees. When you put the meat in the circulator it can’t overcook. It will only get to a max of 135 degrees, or whatever temperature you like. The meat can’t overcook, even if you leave it in for several hours. It also will be cooked the same from one end the the other. This gives you the opportunity to cook less expensive cuts of meats for long periods, making them tender, but still rare. The leg of lamb we had for Easter was wonderful. When a guest was delayed, I didn’t have to worry about it getting overdone, either.
The sous vide machine is attached to a pot that is filled with water. Once you set it to the temperature you want, you place the bag with the meat in it, in the water. Set the timer and let the circulator do its job. You can also buy machines that are self contained. Check water levels once in awhile, but they don’t go down very much, even after long cooks.
One disadvantage is that the meat will not get that nice sear on the outside that comes from more traditional methods of cooking. To remedy that, you remove the meat from the bag, once it has cooked, and brown it then. I like to use a smoking hot skillet for this. You brown the meat over high heat, turning it until it looks the way you want it to look. This actually worked great for the ribs. You could also place the meat under the boiler for a few minutes or even on a hot grill.
Another slight disadvantage, is not smelling the meat cook. Because everything is sealed up in bags, there are no yummy aromas in the house. At least, not until you open the bags to brown the meat. I have confused guests, who arrived for dinner, but smelled nothing cooking.
It is a nice way to cook in hot weather. Sous vide does not nearly generate the heat that an oven would.
Cooking the Ribs
So for my spare ribs, I wanted them to be very tender, but not mushy. I set the pork to cook at 145 degrees Fahrenheit or 60 degrees Celsius. That is the minimum safe temperature for pork. You can cook it at a slightly higher temperature- but not lower. I seasoned the meat with salt and my Ethiopian seasoning. I used a freezer Ziploc bag. I made sure I got as much air out of the bag as I could, and made sure it was sealed. I then double bagged the ribs, to be safe. Using a vacuum sealer or pump will help remove more air. Nice, but not a must.
I cooked my ribs for 12 hours the first time I made them. I have cooked them for as long as 24 hours. There is a lot of leeway for how long you have to sous vide meat. Tougher cuts should be cooked longer, to make them more tender. The 12 hour ribs were very tender, but the 24 hour ribs were better. Once the time was up, I took the ribs out, heated up my skillet, and browned the ribs on both sides. This is when you can add sauce, if you like. I added a sweet and sour sauce to this batch. They were tender and very juicy.
Unlike poaching, the meat is never in contact with the water, so all the flavor stays in the meat. Because you have such precise control, you don’t end up with overcooked meat, either.
There are videos all over the internet that discuss and share sous vide cooking as well as groups on Facebook. I am still learning and don’t consider myself an expert. I just wanted to try cooking my ribs this way. I was very happy with the result. I can’t say whether an immersion circulator is a good investment for you or not. I will say that I love mine and am using it several times a week.
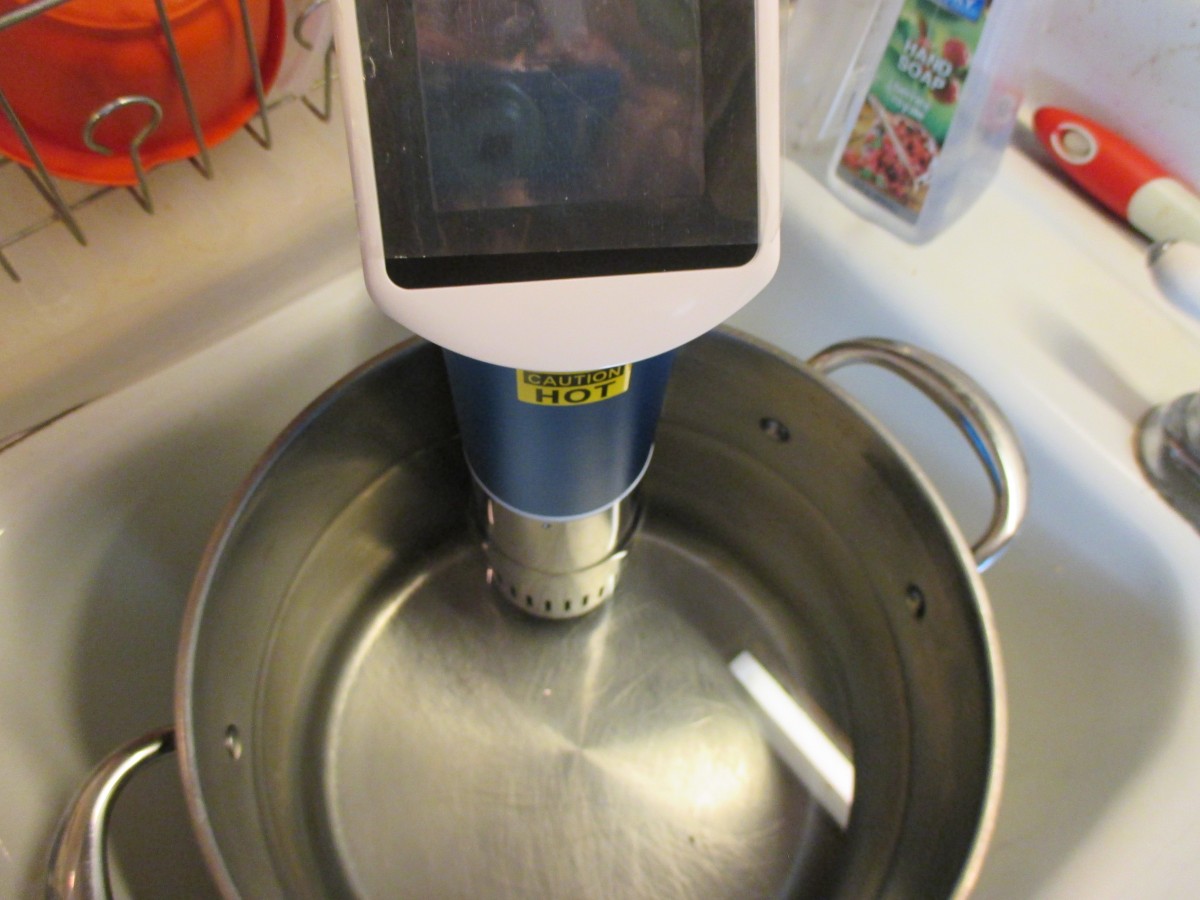
Circulator in a pot of water- ready to use. I kept mine in the sink.
Homemade Mint Chocolate Chip Ice Cream


Mint Chocolate Chip Ice Cream
Mint chocolate chip ice cream is a favorite of mine. I have tried a lot of mint chocolate chip ice cream, but was not always happy.
The tricky part is getting chips that aren’t hard chunks, but rather, little flecks of chocolate, that melt on your tongue when you eat the ice cream. In the past, for chocolate chip ice cream, I have brushed melted chocolate in thin sheets, chilled it, and then broken it into tiny pieces. It worked, but kind of a pain to do.
I tried something different this time, and with a few adjustments, it worked out great. A couple of weeks ago, I posted a recipe for homemade chocolate magic shell. You remember magic shell, the chocolate syrup that hardens when you drizzle it on ice cream. The recipe is quite simple. Chocolate, coconut oil and powdered sugar, melted together. It remains a liquid at room temperature. So, to create the “chips”, I just added some of the magic shell to the ice cream as it froze in the ice cream maker.
After a little playing around, I got the knack of drizzling it slowly. The end result, little flecks of chocolate through the ice cream that were tender and melted as you ate the ice cream. We had the ice cream served on a homemade brownie, then topped with more magic shell and some whipped cream. You will note that my “mint” ice cream is not green. I opted to omit food coloring, but feel free to add some, if you prefer.
Mint Chocolate Chip Ice Cream
2 c. half and half
1 c. whipping cream
½ c. sugar, or to taste*
2 t. mint extract
1 t. vanilla extract
About ½ c. magic shell- recipe follows
Combine half and half, cream, sugar and flavorings. Stir until sugar dissolves. Add more sugar, if needed, to suit your taste. Place mixture in an ice cream maker and start freezing it. Once it starts to thicken, drizzle the magic shell in slowly as the machine is running, to create little flecks of chocolate throughout the ice cream. I have to guess that I used about ½ a cup. Add until you have the amount of chips you like. Once ice cream forms, place in freezer until ready to serve. Makes about a quart.
*The mixture might taste a little sweet to you, but when you freeze it, it will taste less sweet. When making ice cream, the base should be a little”too” sweet to allow for the taste change after freezing.
Homemade Chocolate Shell
1 c. chocolate chips- I used dark chocolate chips
3/4 c. coconut oil- I used the unrefined
1/2 c. powdered sugar
Heat all together until melted. I melted mine in a microwave for 1 minute, but you could also melt over a double boiler. Stir until smooth. Store at room temp. To use, drizzle over ice cream, wait about 10-20 seconds- and it will harden.
Peaches and Herb Sorbet

Peaches and Herb Sorbet
Sorbet is such a nice dessert for summer. Light, fruity and fresh. I try to keep a few different kinds on hand. So many fruits are abundant this time of year. They are the perfect start for a great sorbet.
This peach sorbet combines ripe peaches with both basil and mint from my garden. The combination worked well together. Adding herbs and other flavorings can make sorbet even more fun to eat.
You don’t need an ice cream machine to make it, either. You just puree the fruit with the other ingredients and freeze. The secret to a smooth sorbet is to puree the frozen mixture a time or two. I place the frozen sorbet in my food processor and run it until the sorbet looks creamy. Then I put it in the freezer again. For extra creamy sorbet , repeat this process a third time. Easy to make, but there is wait time for the sorbet to freeze.
Here is the recipe for the peach sorbet. I thought the herbs added a really nice touch to the final product. Feel free to experiment with the flavors you like.
Peaches and Herb Sorbet
5-6 medium peaches, pitted. You can peel, if you like
honey to taste – I used 1/4 cup, but depends on how sweet the fruit it
3-4 basil leaves
2 sprigs of fresh mint
Puree all ingredients together until smooth. Adjust sweetener and seasonings. Mixture will taste less sweet after it freezes. Freeze until solid. Remove from freezer and break into chunks. Process in a food processor until mixture looks creamy. Depending on how cold your freezer is, you might have to let the sorbet soften a few minutes before processing it. Place back in freezer until ready to serve. Makes about 1 quart.
Note: For even creamier sorbet- process a another time or two- refreezing after each time.
Blueberry Lime Cheesecake


Blueberry Lime Cheesecake
This recipe combines limes and blueberries for a cheesecake that is perfect for summer. The citrus pairs well with the berries. I had made this cheesecake before, with the blueberry puree swirled into it, but without the lime. I have often used lemons and blueberries together, but not limes so much.
I had a few extra limes in the fridge that needed to be used soon, so I decided to try them out in this cheesecake. I thought the limes would be a nice addition this time.
I must say, I really like the flavor the lime zest and juice adds to this dessert. Adds a nice zippy flavor. Leftovers can be frozen. But let’s be honest, there aren’t going to be any leftovers!!!
Blueberry Lime Cheesecake
Blueberry Puree
1 ½ c. blueberries
¼ c. sugar
2 t. cornstarch
1T. fresh lime juice
Crust
1c. graham cracker crumbs
2 T. sugar
2 T. melted butter
Filling
3 (8oz.) packages cream cheese, softened
1 c. sugar
8 oz. sour cream
Zest from 2 limes
Juice from 1 lime
2 t. vanilla
4 eggs, at room temperature
2 T. flour
For puree, combine berries, sugar and cornstarch in saucepan and bring to a boil. Cook 5 minutes, stirring constantly. Puree in blender with lime juice and cool completely. For crust, combine crumbs, sugar and butter and set aside. Preheat oven to 350-degrees. Press crumb mixture firmly into bottom of 9 or 10-inch springform pan and bake 10 minutes. For filling, beat cream cheese until fluffy and beat in sugar until smooth. Beat in sour cream and vanilla, zest and lime juice. Beat in eggs, one at a time. Stir in flour and pour batter into springform pan. Drizzle blueberry puree over batter and use a knife to swirl it around. Place a roasting pan on lower rack of oven and fill with one inch of boiling water. Place springform pan on upper oven rack. Bake 1¼ hour or until just set. Turn oven off and let cake stand in oven 1 hour more. Remove pan from oven. Cool down and refrigerate overnight. Remove pan side before serving. Serves 12.
4th of July

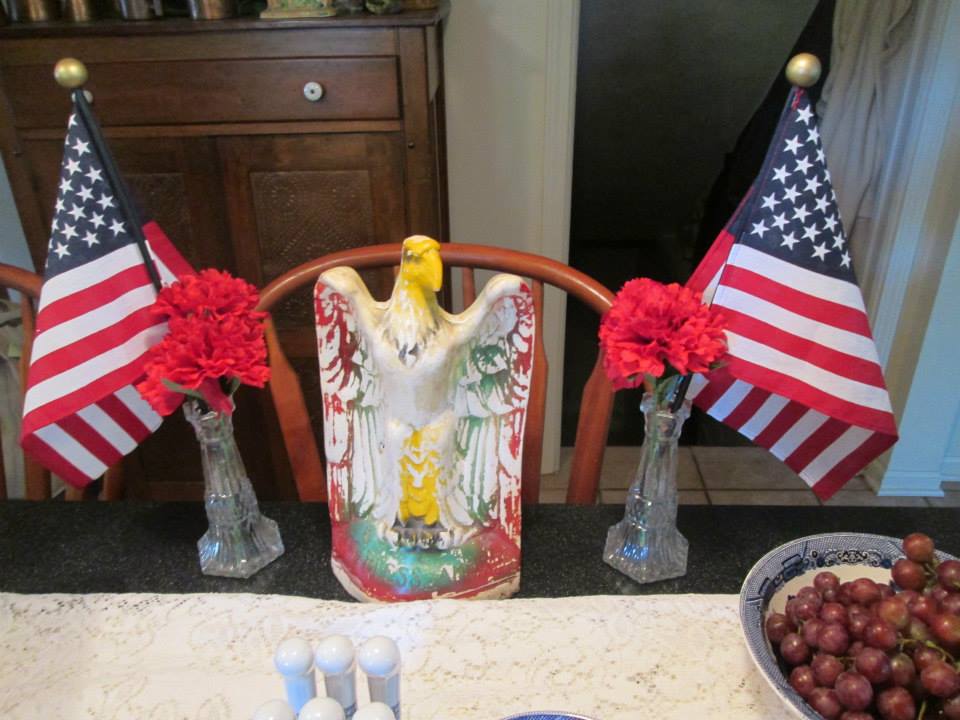 So what is the 4th of July about? Cookouts and noisy celebrations abound, but what is it we are celebrating? We are celebrating revolution, protestors and people who fought their government.
We were a colony, ruled by a monarchy. Had it not been for those who saw injustice, and tried to fix it, we would be bowing to the queen today. They were brave and very forward thinking.
Had the Revolutionary War gone the other way, they certainly would have been hung as traitors. I’m not sure how many of us today would be that brave.
So in your daily life, remember and honor the rebel. If you see an injustice, speak up. Do something to make this country better.
There is always room for improvement, after all. Think about the people who risked death to fight for the freedom we enjoy today. Life, liberty and the pursuit of happiness. Don’t ever take that for granted.


