Cherry Jam

Sweet Cherry Jam
I taught a jam and jelly making class in Mentor last night. We made this sweet cherry jam. It came out great. The recipe calls for both vanilla and cinnamon, but you can leave them out, if you like. In class, they opted to add the vanilla, but not the cinnamon.
This must be a great year for cherries. They seem bigger than usual, and very sweet.
While I normally make jam from sour cherries, I knew the sweet ones would work. Besides the cherries, sugar and pectin, this jam also contains lemon juice, vanilla and cinnamon. Those extra ingredients give the jam a more complex flavor and a little bit of a tang.
This may be one of my favorite jams ever!!! I was worried it would be too sweet, but it isn’t. The flavor of the cherries comes through as well at the flavor of the vanilla and cinnamon. Thinking I made need to buy more cherries and make another batch….
Here is the recipe. Enjoy.
Sweet Cherry Jam
4 c. chopped pitted sweet cherries, about 2 lbs.
6 T. powdered pectin
6 T. lemon juice
2 T. pure vanilla extract
1 t. cinnamon
4½ c. sugar
Wash jelly jars and lids and keep warm until ready to use. Place a large pot of water, with a rack, on to boil for the water bath. In large saucepan combine cherries with pectin, lemon juice, vanilla and cinnamon. Bring to a rolling boil, stirring often. Add the sugar and bring mixture back to a rolling boil, stirring often. Once the mixture gets to a full, rolling boil, cook for one minute longer, stirring constantly. Remove jam from heat and skim off any foam. Ladle hot jam into hot jars, filling to about 1/4 inch from the top. Wipe off rim and screw on the lids. Repeat with remaining jam. Process in a hot water bath for 10 minutes. Turn off heat and let jar sit in canner 5 minutes before removing. Remove from water bath and allow jars to cool. Yield: about 6 half pint jars of jam.
Adapted from The Ball Blue Book
Vidalia Onion Relish
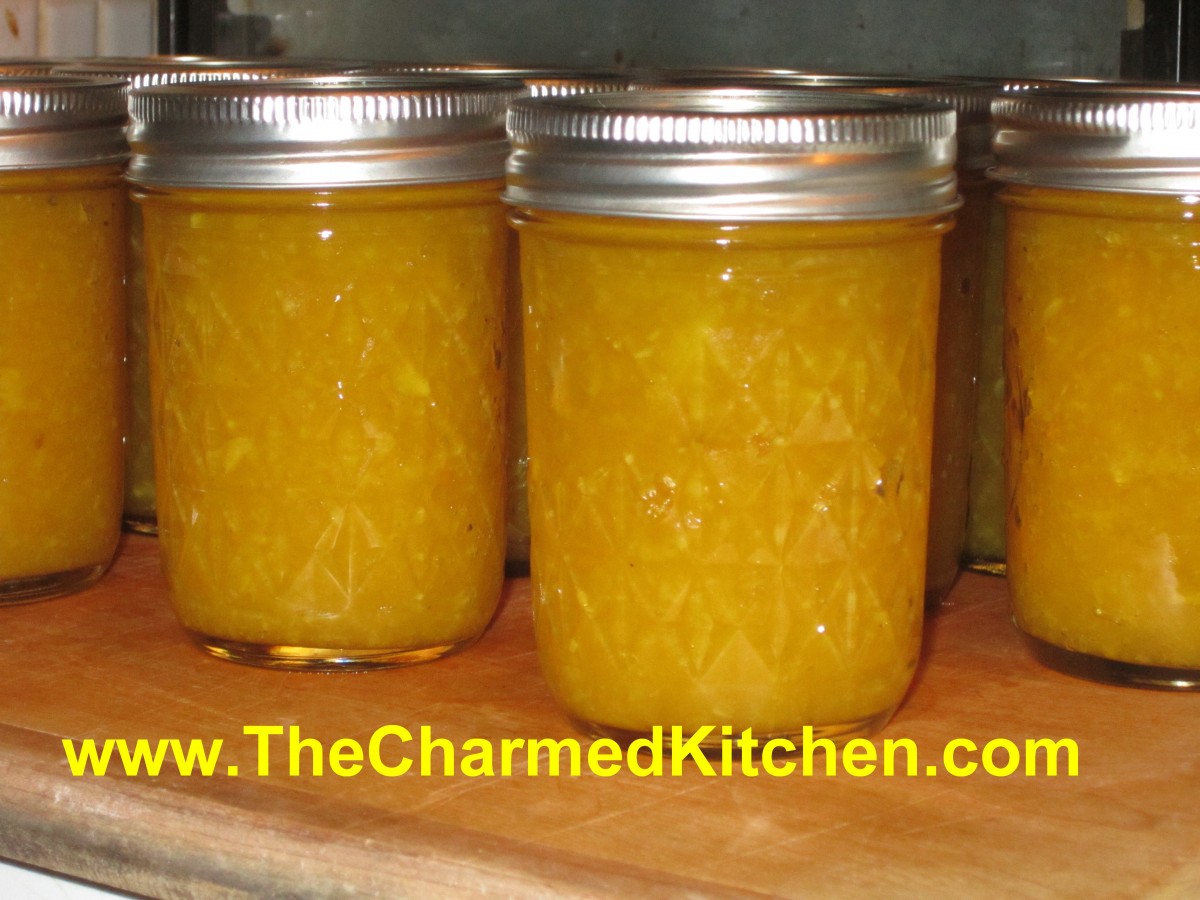
Vidalia Onion Relish
Every year I make at least a few batches of this relish recipe. I used Vidalia onions, but any sweet onion will work. I just prefer the flavor of Vidalia onions.
The relish itself has a nice balance of sour and sweet, with plenty of onion flavor. I use it on sandwiches, in potato and pasta salads and as an appetizer with cheese and crusty breads. It also makes a great gift.
As you cook it down, the onions get quite tender, but actually crisp back up a little as the liquid cooks off. Don’t shortcut on the cooking time.
Vidalia Onion Relish
6 qts. ground Vidalia sweet onions (14 to 16 med. onions)
1/2 c. canning salt
1 qt. cider vinegar
2 t. turmeric
1T. pickling spice
2 T. minced sweet pepper, any color
4 1/2 c. sugar
Grind enough Vidalia onions to yield 6 quarts. Add 1/2 c. salt and let stand thirty minutes. Squeeze juice from onion‑salt mixture and discard juice. Sterilize canning jars. To onions, add vinegar, sugar, spices, and pepper. Bring to boil and cook for thirty minutes, stirring often. Pack both onions and cooking liquid to cover in hot jars, leaving 1/2 inch head space. Remove air bubbles. Wipe jar rims. Adjust lids. Process 10 minutes in a boiling water bath. Yield: About 8 pints or 16 half-pints.
Source: So Easy To Preserve
Canning Chickpeas
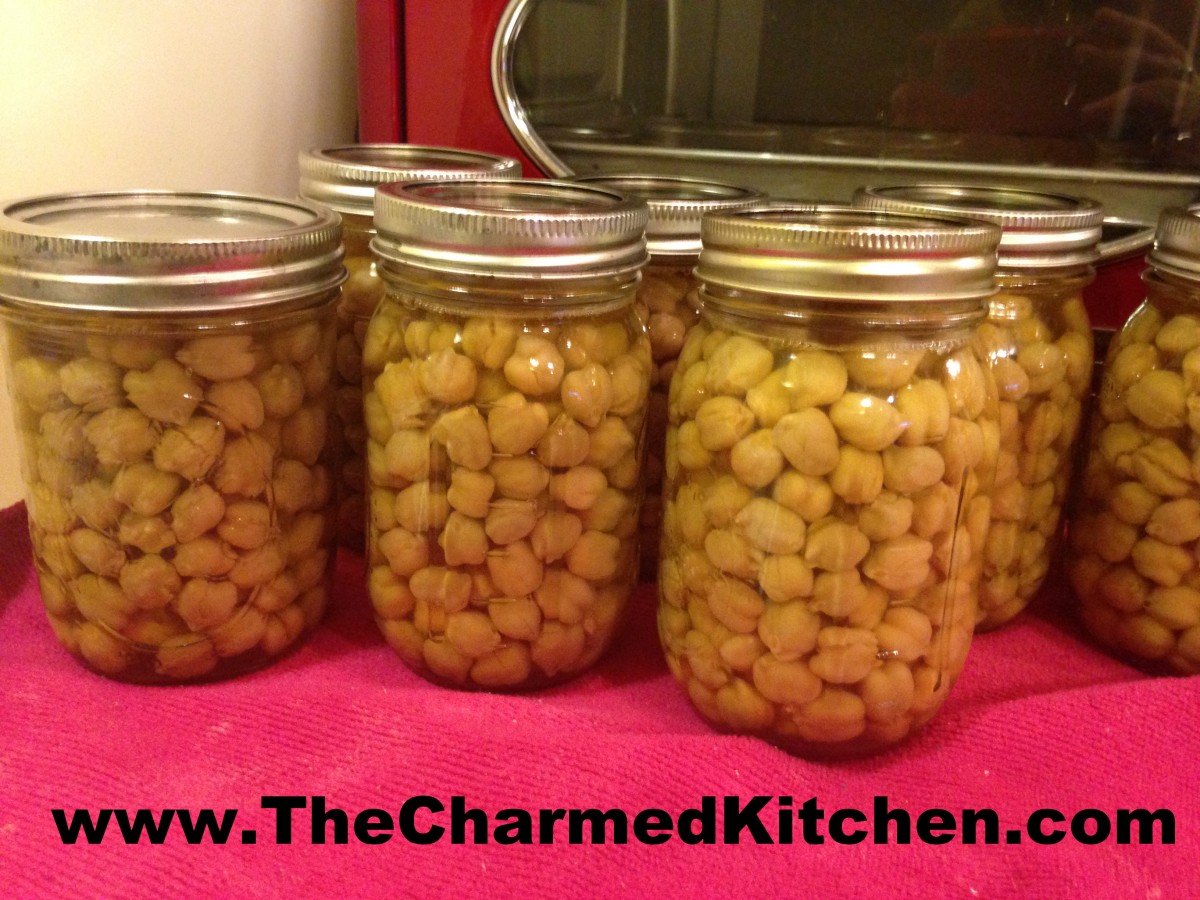
Chickpeas Cooling Down
I always get a lot of questions when I tell people I can dry beans. They ask if it is worth the effort. I find I like the flavor better than canned beans. Plus, I don’t have to cook from dry every time I want some. So for me, it is worth the effort.
It isn’t hard to do, but there are rules.
Because beans are a low acid food, they must be pressure canned. They also are precooked a little before they are canned. They don’t overcook when you do that. It just helps them to cook evenly and to get proper heat penetration.
Salt is optional, so you can leave it out, if you like.
Make sure you pick over the beans and toss any that are discolored.
They expand a lot when cooking. I started out with 2 quarts of dry garbanzo beans and ended up with 12 pints!!! Always use a bigger pot than you think you will need.
Canning Dry Beans- Chickpeas, kidney, black beans etc.
Rinse beans and place in a large pot. Cover with plenty of cold water and bring to a boil. Boil two minutes. Let stand 1 hour. Drain beans and return to pot. Cover with cold water- at least two inches over the beans. Bring to a simmer and simmer 30 minutes. Meanwhile, wash jars and get the pressure canner ready. Follow your manufacturer’s recommendations for how much water to place in your canner. Some say 2 or 3 inches of water. Mine says to add three quarts of water. I also add a little vinegar to my water to reduce mineral build up inside my canner. Not a safety issue, more cosmetic. A few tablespoons is plenty.
Ladle beans and water into canning jars, leaving 1 inch of headspace. Add non-iodized salt, if you like. 1/2 teaspoon per pint and 1 teaspoon per quart. Beans will still expand, so make sure the water covers them. Tighten lids to fingertip tight. Place jars in canner, on a rack, where water should just be simmering. Secure lid and turn up the heat. Once a steady stream of heat comes out of the vent, start timing it. Steam must vent for ten minutes. Place weighted or dial gauge over the vent and watch while canner comes up to pressure. Once canner reaches 10 pounds pressure, start timing. You will gradually be able to turn the heat down, but do it slowly, so you don’t go below 10 pounds pressure. Pints are processed for 75 minutes, quarts for 90 minutes.
Once the time is up- turn off the heat and allow the canner to go down to zero pounds pressure. Don’t rush this step by trying to cool the canner. The cooling down time is part of the process. Remove the gauge carefully at this point. Wait another 10 minutes before removing the lid of the canner. Remove lid, facing away from you- there is still plenty of hot steam in the canner. Remove jars to a counter covered with a towel or cooling rack. Allow jars to cool before checking seals.
Sources NCHFP, Ball
Homemade Pomegranate Jelly
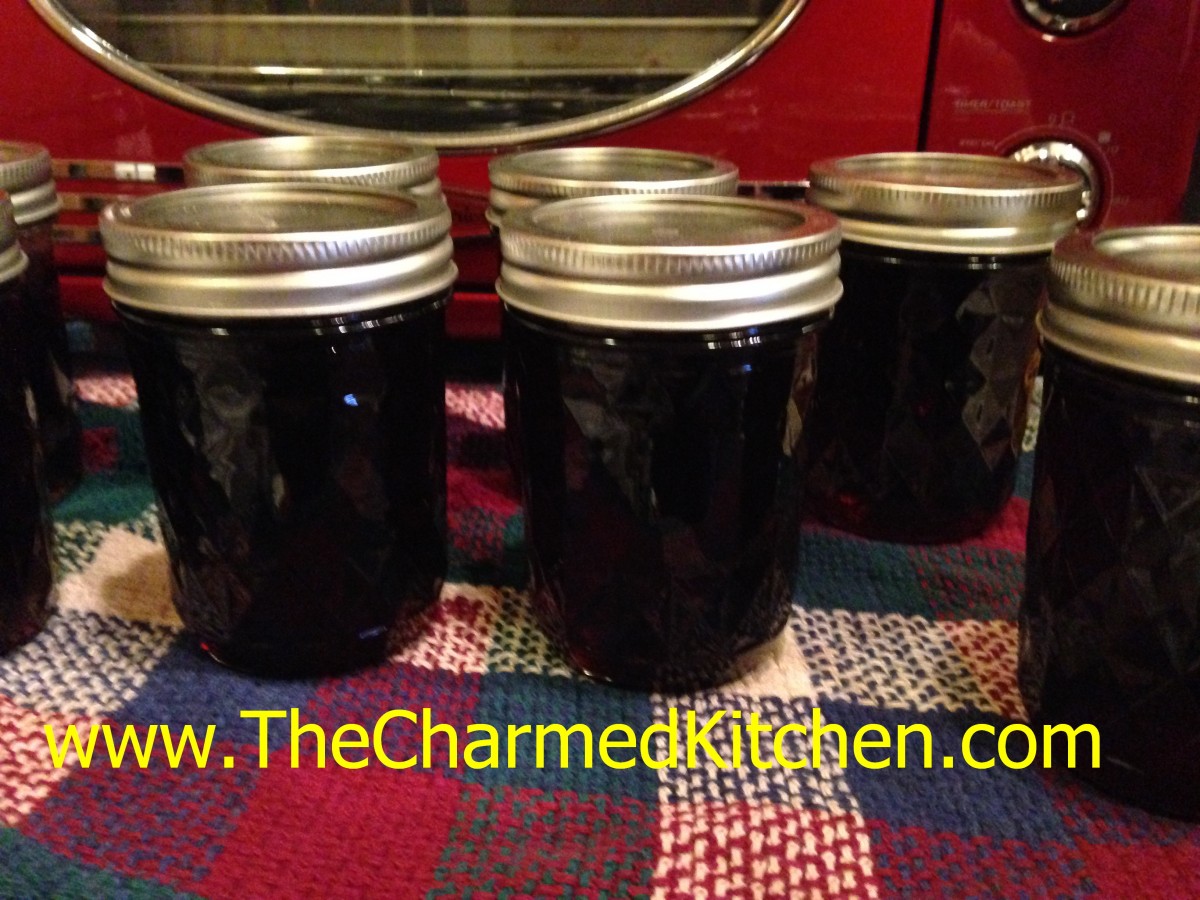
Pomegranate Jelly
I had a request from a friend for pomegranate jelly. I hadn’t made a batch in awhile and had forgotten just how much I liked it. It comes out a dark, rich, red color and has that great pomegranate flavor. What’s not to love?
I think this jelly makes a great gift, too.
I use bottled pomegranate juice, but you can start with fresh pomegranates and extract the juice yourself, if you prefer. If using a bottled juice, be sure to use pure pomegranate juice, not a juice drink or juice blend.
Pomegranate Jelly
5 c. pomegranate juice
1/4 c. lemon juice
1 box powdered pectin
5 c. granulated sugar
6-7 jelly jars with lids
Prepare canning jars. Wash jars in hot soapy water. Rinse well and keep warm until ready to use. Prepare lids according to package directions. Get a large pot of water boiling for processing the jelly. Measure pomegranate juice and lemon juice into a 6-quart pan. Add pectin, stir and place over high heat. Bring to a boil, stirring constantly to prevent scorching. Cook until mixture reaches a full rolling boil, that cannot be stirred down, and add sugar. Return to a boil and boil hard for exactly 2 minutes. Remove from heat. Let stand for a minute and skim off foam. Ladle hot jelly into jars to 1/2″ of the top. Wipe rims clean. Screw on 2-piece lids. Place the jelly jars, not touching, on a rack in pot of boiling water. If you don’t have a rack for the bottom of the pot place a towel in the pot just before putting in the jars. The jars cannot sit directly on the bottom of the pot. The water should cover the top of the jars by at least an inch. Cover pot and start timing when water returns to a boil. Boil for 10 minutes and then remove from the water. Let the jars cool. Check seals, the lids should be sucked down (you’ll hear a popping noise as the jelly cools and jars seal). Yield – 6-7 cups.
* source – Ball canning recipe but I added the lemon juice to hold the color better.
Home Canned Pineapple
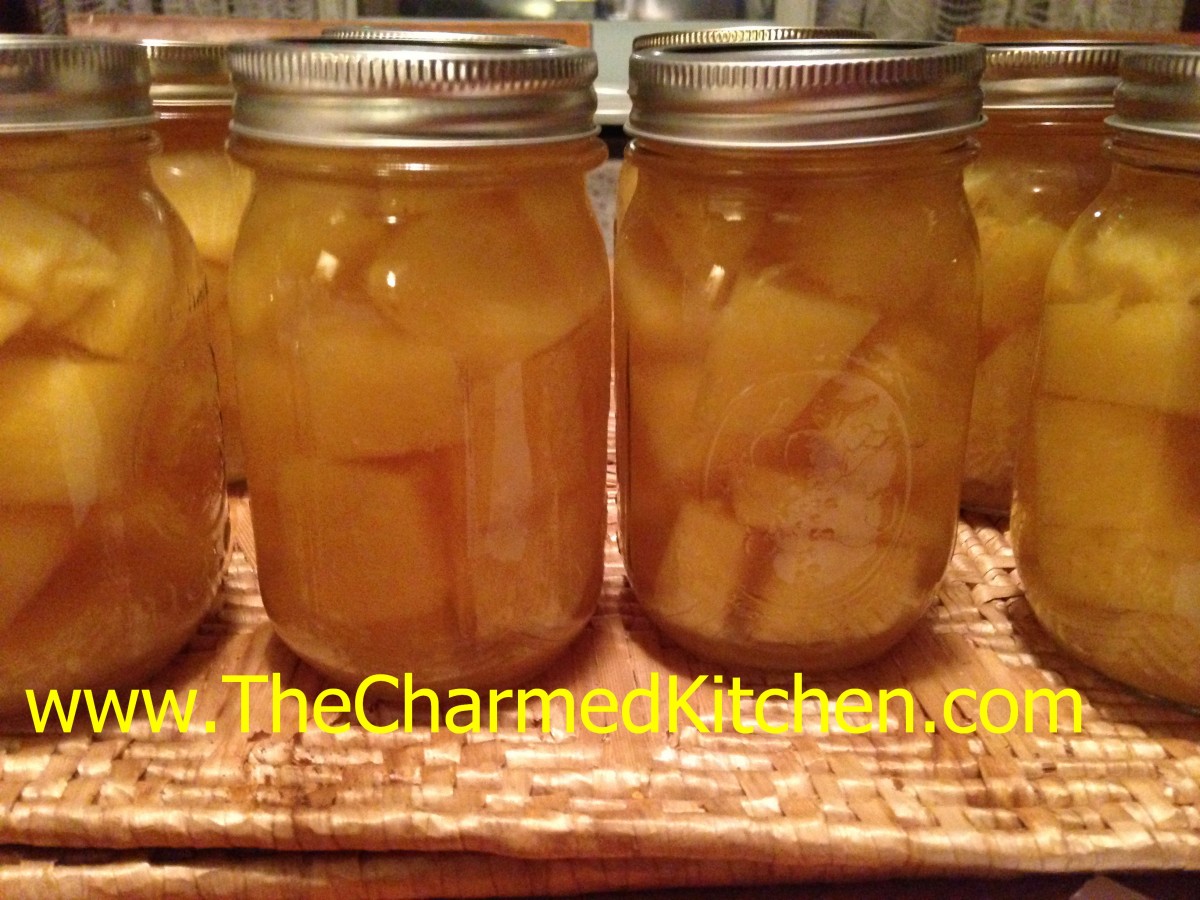
Canned Pineapple
When a local store had pineapples on sale, I decided to take advantage of the great price. I bought 4 of them. I knew I could never eat them all fresh. I bought them with the intention of canning them.
Why bother to can? I just love the way pineapple tastes when canned in jars, as opposed to being canned in cans. I suppose when you factor in my labor, it wasn’t much of a savings, but I still think canning them is worth my time. They ended up costing me about 5o cents per pint. Certainly a savings over the cost of canned.
But sometimes, it isn’t about just the cost savings. It is about the quality of the final product.
I can mostly seasonal, local fruits and veggies, so I can extend the season, so to speak. Pineapples aren’t exactly a local crop here in Ohio. But they were on sale, so I used the moment to stock up a little.
Pineapples are pretty easy to can. I am so glad I did it. Now, when I want pineapple for a recipe, I just have to get them out of the cupboard. So here is the recipe.
Canned Pineapple
4-5 pineapples
5-6 cups unsweetened pineapple juice
Wash, peel and core pineapples. You can cut the pineapples into one-inch cubes or into half-inch thick slices. Use just enough water to keep pineapple from scorching and simmer together until pineapple are heated through. Heat up pineapple juice to a boil. Ladle pineapple cubes into clean, hot jars. Ladle in hot juice. Leave half-inch headspace. Remove any air bubbles with a non-metal utensil. I use a small plastic knife. Wipe rims and screw on lids, fingertip tight. Place jars in canner of simmering water. Make sure water covers jars by at least an inch. Bring water to a boil and process jars 15 minutes for pints, 20 minutes for quarts. When processing time is up, turn off heat and leave jars in canner 5 minutes, before removing to a draft free area to cool. Yield 8 or 9 pints, 4 quarts.
Recipe adapted from the Ball Blue Book
Green Tomato Sweet Relish
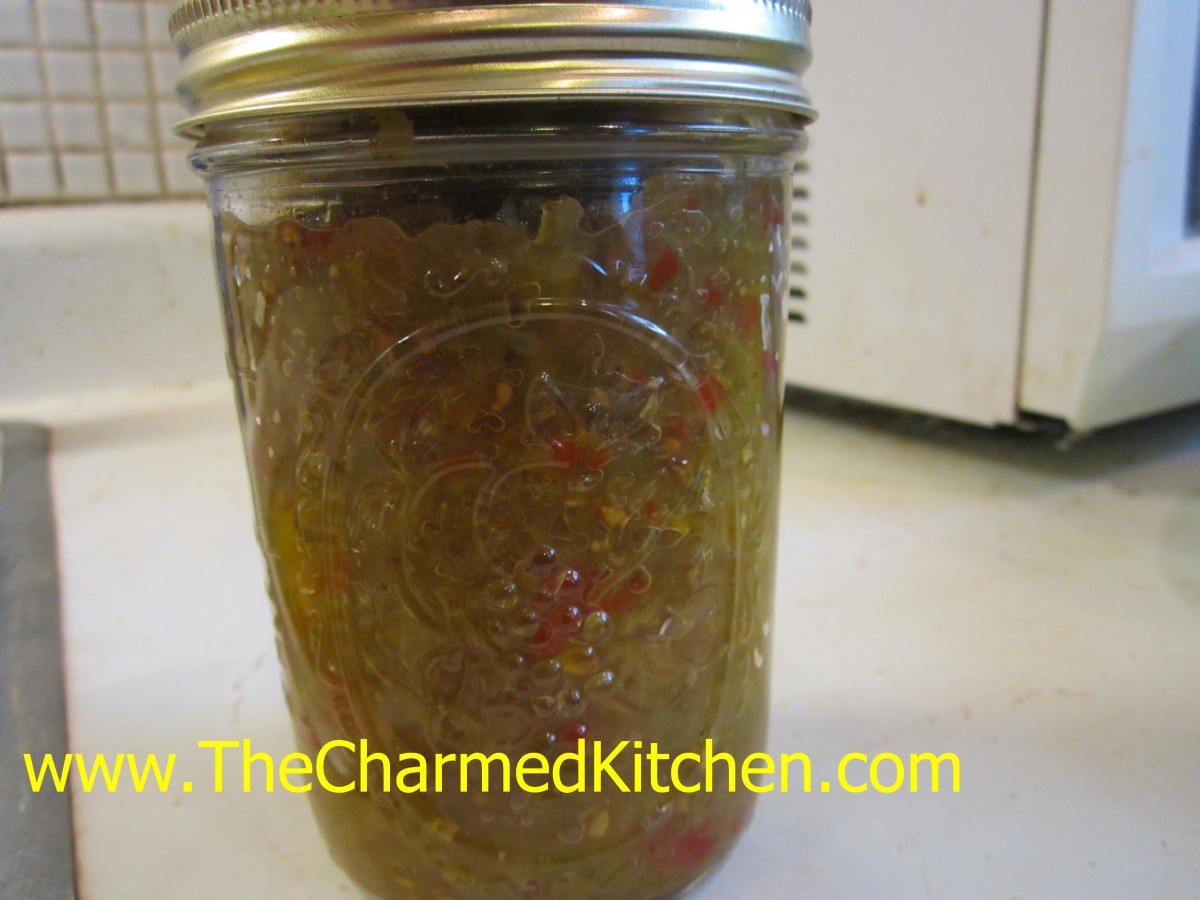
Green Tomato Sweet Relish
This sweet relish is a great way to preserve those last of the season tomatoes. It is every bit as good as relishes made from cucumbers.
I am always a little sad to see fresh tomato season come to an end. I have canned tomatoes and dehydrated some, too.
I know the green tomatoes I have left will not have time to ripen. I don’t want them to go to waste, so I have pickled some. I also like to make this relish with some of them.
Someone asked me for the recipe- so here it is.
Green Tomato Sweet Relish
6 pounds green tomatoes, about 22 medium
2-3 medium onions
2 medium sweet red peppers
1 sweet green pepper
1 large rib celery
1 3/4 c. white or cider vinegar ( 5% acidity)
1 2/3 c. sugar
3 T. canning salt
1 1/2 t. celery seeds
1/2 t. each cinnamon, cloves, allspice and turmeric
1/4 t. cayenne pepper
Wash trim and quarter vegetables. Put vegetables through food grinder using medium blade or pulse in food processor to chop finely. Drain, discarding liquid. Wash jars in hot, soapy water. Rinse and set aside. Combine vinegar with remaining ingredients in large saucepan and bring to a boil. Add vegetables and simmer 10 minutes, stirring occasionally. Continue simmering while packing hot jars, one at a time. Fill to within 1/2 -inch from top of jar. Wipe rims and place on lids. Process 10 minutes in a boiling water bath. Makes 5-6 pint jars.
Pickled Green Tomatoes

Green Tomato Pickles
The garden season is winding down around here. A number of friends have posted pictures of their last ripe tomatoes of the year. That is a sad time. But, don’t forget about those green tomatoes. You can make fried green tomatoes, which are great. You can also make these pickles. That way, you can enjoy those home grown tomatoes a little longer.
The recipe is pretty simple. I sometimes add a teaspoon of red pepper flakes to each jar for a spicy version. The hardest part is waiting. Once the tomatoes are canned, you have to give them 4-6 weeks fopr the pickling to finish. Trust me, it is worth the wait.
Just because your ripe tomatoes are done for the year, harvest those green ones and get a little something more from your garden.
Green Tomato Dill Pickles – Kosher Style
Green tomatoes
6 ribs celery, cut in 2-inch pieces
6 Sweet green peppers
6 cloves Garlic
2 quarts water
1 quart vinegar- 5% acidity- you can use white or cider vinegar
1 cup canning or pickling salt
Dill, optional
Use small firm green tomatoes. Pack into hot, clean canning jars. Add to each quart jar a bud of garlic, 1 piece of celery, and 1 green pepper cut into fourths. Make a brine of the water, vinegar, and the salt. Boil with the dill for 5 minutes. Pour the hot brine over the pickles to within 1/2 inch of the top of the jar. Put on cap, screw band firmly tight. Process in a boiling water bath for 15 minutes. These pickles will be ready for use in 4- 6 weeks. Yield: About 6 quarts. Source: NCHFP
Pink Applesauce
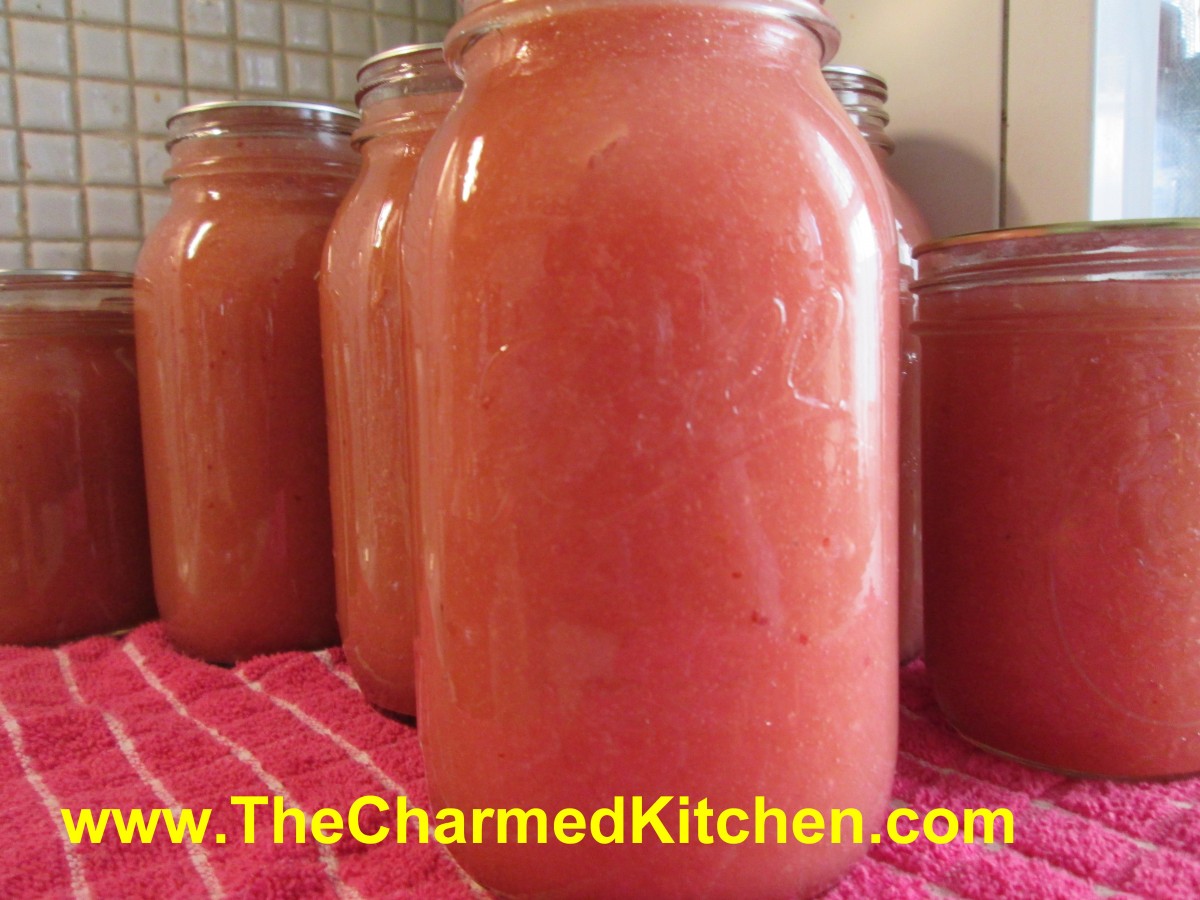
Pink Applesauce
I really enjoy the flavor of homemade applesauce. I try to can at least a few batches this time of year.
I decided to mix things up a little by making a batch of applesauce with cranberries. It came out a pretty shade of pink. The cranberries also added nice tartness to the mix.
You don’t have to add sugar, if you don’t want to. You add the amount of sugar you like, or leave it out completely. I like to mix different varieties of apples, for different flavor in your sauce.
You can also freeze the mixture if you don’t want to can it.
Pink Applesauce
60 medium apples, I used mostly Melrose and some Jonathans
12 oz. cranberries
water
1 c. lemon juice
sugar to taste
Peel and core apples. Put in water with some ascorbic acid, citric acid or lemon juice to prevent discoloration. Place apples in a pot with enough water* to prevent sticking and add the cranberries and lemon juice. Cook over medium high heat until soft. I wanted smooth applesauce, so I ran the cooked apple mixture through a food mill on the medium blade. Return apple mixture to pan and bring to a boil. Sweeten with sugar, if you like, or leave unsweetened. Have water bath full of boiling water and have hot, clean canning jars and lids and rings ready. Ladle hot applesauce into hot jars, leaving 1/2 inch of headspace. Wipe rims and apply lids. Process in a boiling water bath for 20 minutes for pints or quarts. Turn off heat and let jars stand in water bath 5 minutes before removing. Set in a draft free area to cool down. Yield: 8 quarts or 16 pints.
Homemade Apple Pie Filling
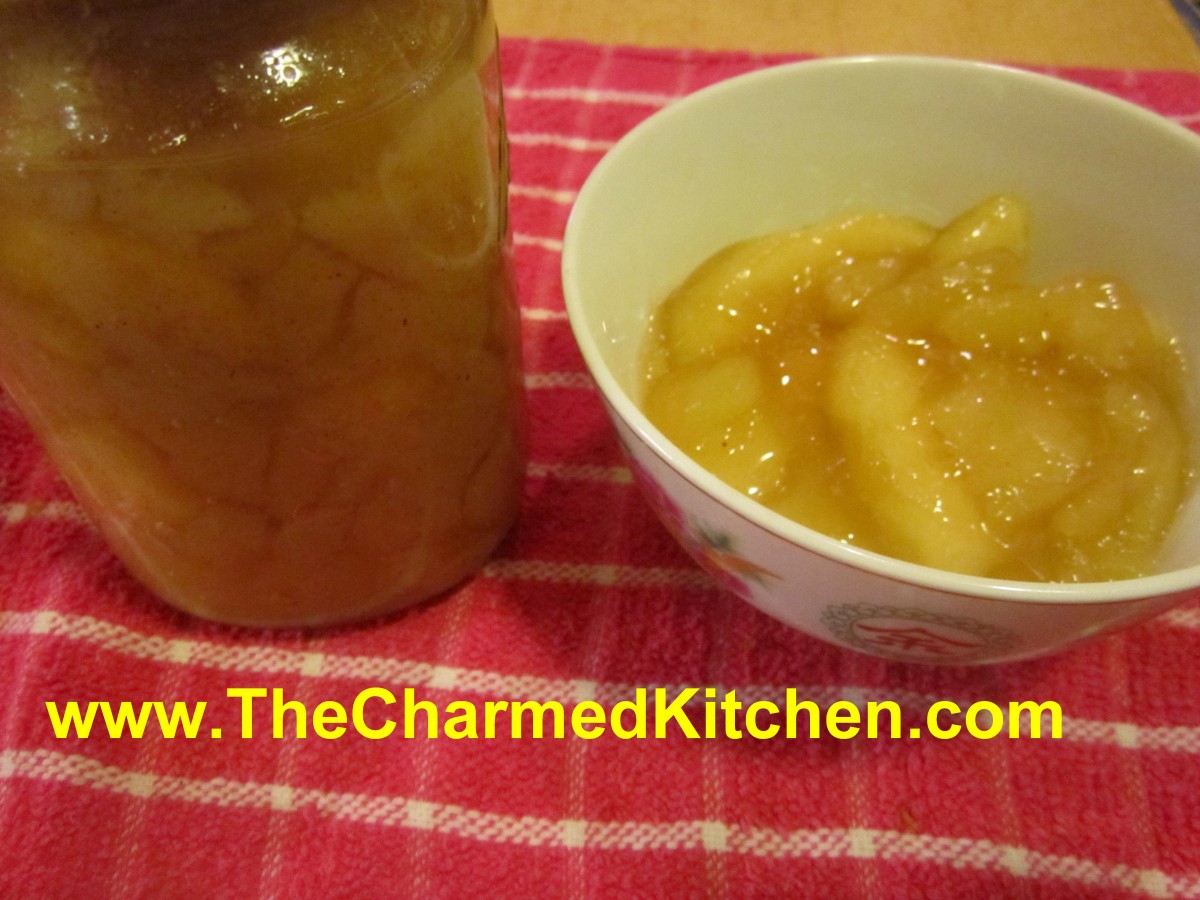
Apple Pie Filling
While I think the best pie is made with fresh apples, I also like making and canning my own apple pie filling. It is a handy way for me to enjoy local apples throughout the year. It is also a whole lot better than any commercial pie filling I have tried. Loaded with plenty of big chunks of apples and seasoned with cinnamon and nutmeg- I think it the next best thing to fresh apples for baking.
I use my canned filling to make pies, but I also use it for kolachy, blintzes, cakes and more.
The hard part, for some, is getting a hold of Clear Gel. It is a special type of cornstarch. I buy mine on line, but you can find it in stores where the Amish shop. Clear Gel stays thick, even if it is reheated. Regular cornstarch will not.
Here is the recipe I use. You can tweak the seasonings to suit your own taste, but keep in mind that spices sometimes get stronger when canned, so don’t go too crazy!!
Apple Pie Filling
6 qts. apples, sliced and blanched
5 1/2 c. sugar
1 1/2 c. Clear Gel- modified cornstarch available on line and in Amish stores
1 T. cinnamon
1 t. nutmeg
2 1/2 c. cold water
5 c. apple juice
3/4 c. lemon juice
If apples lack tartness use an additional 1/4 cup of lemon juice. Wash, peel and core apples and cut into 1/2 thick slices. Place in water treated with either lemon juice, citric acid or ascorbic acid to prevent darkening. Remove from solution and drain well. Blanch in boiling water- 2 quarts at a time- for 1 minute. As you finish each batch place in a bowl and cover to keep warm. In large pot combine sugar, Clear Gel, cinnamon, nutmeg, water and apple juice. Stir over medium heat until mixture begins to bubble and thicken. Add lemon juice and boil 1 minute. Add drained apples and stir gently to combine. Ladle into hot, clean jars leaving 1 1/2 inches of headspace. Remove air bubbles. Wipe rims and adjust lids. Process in a boiling water bath- pints or quarts for 25 minutes. After the time is up, turn off canner and let jars sit in water bath for 5 minutes before removing. This will reduce the chance of siphoning. Makes 7 quarts or 14 pints.
For only 1 quart
3 1/2 c.apples
3/4 plus 2 T. sugar
1/4 c. Clear Gel
1/2 t. cinnamon
1/8 t. nutmeg
1/2 c. cold water
3/4 c. apple juice
2 T. lemon juice
Beet Relish
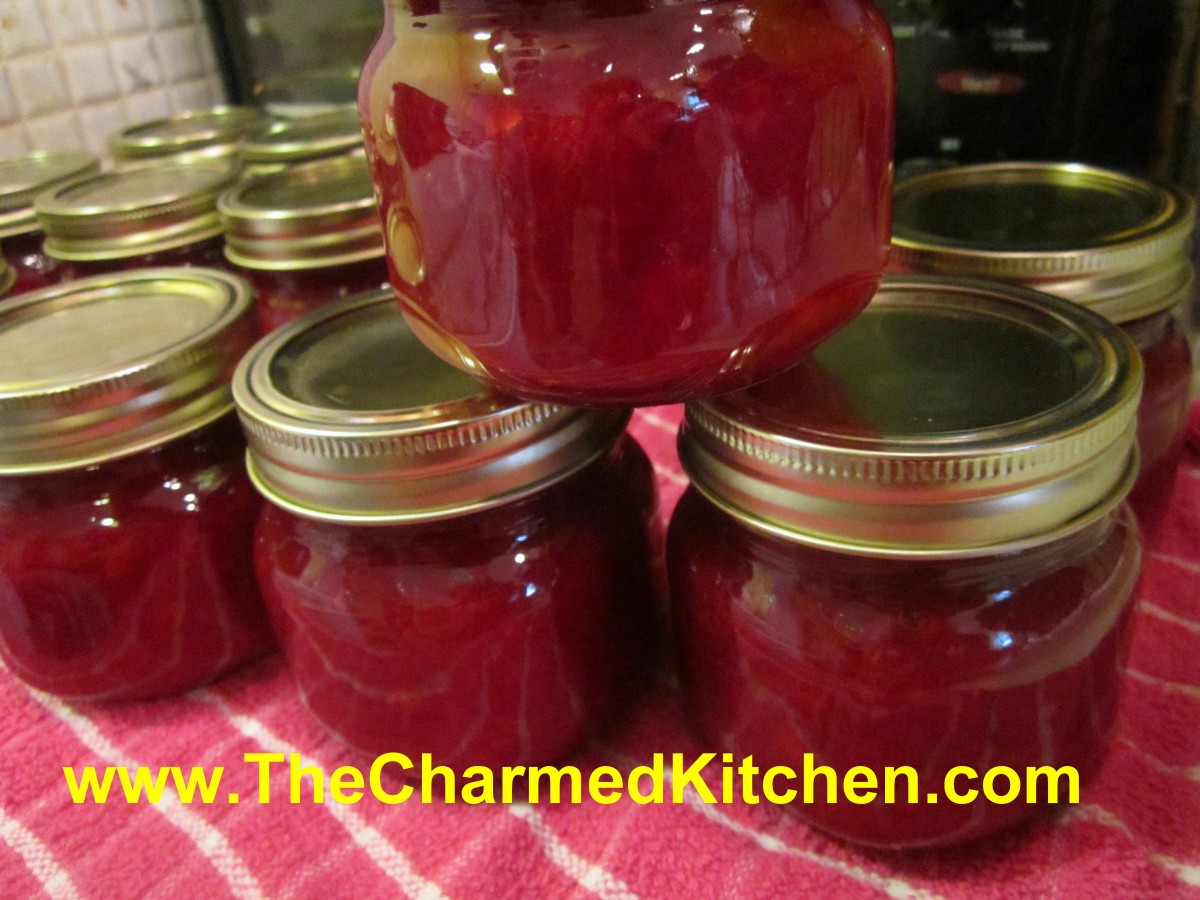
Beet Relish
Beets are one of those foods that people either love- or hate. I love beets, and enjoy them in all sorts of dishes. One of my favorite beet recipes is this relish.
It is a great way to preserve beets to enjoy all year long. Beets are in season, and I thought I would share this recipe. I love this relish, and make several batches every year.
Beet relish is like a sweet pickle relish, only made with beets. You can add it to sandwiches or salads, and if you put some in your chicken or pasta salads, it turns them the nicest shade of pink. Yummy on a hot dog or hamburger, too.
I like to serve beet relish with cheeses and crusty bread as an appetizer. If you love beets like I do, you might want to try it.
While I have always made this relish with traditional, red beets, you can also make it with golden beets, if you prefer.
Beet Relish
1 qt. chopped cooked beets, about 12 medium
1 quart chopped cabbage, about 1 small head
1 c. chopped onion
1 c. chopped red sweet pepper
1 1/2 c. sugar
1 T. prepared horseradish
1 T. canning salt ( non-iodized)
3 c. vinegar, white or cider- I prefer cider vinegar
Combine all ingredients in a pot and bring to a boil. Simmer 10 minutes. Bring mixture to a boil. Pack hot relish into hot jars leaving 1/4 -inch head space. Seal jars and process in a boiling water bath 15 minutes. Yield about 10 half-pint jars.
Source: Ball Blue Book


