I love a good raisin oatmeal cookie. Heck, I love cookies in general. It’s a classic and always popular. Like a lot of classics though, it can be fun to change things up a little. Sometimes you create a new classic. We were making oatmeal cookies in cooking camp, so I wanted to add something the kids would like. I love raisins, but decided the kids might prefer them with something other than raisins. I ended up using dried cherries and chocolate chips and the result was quite nice. The kids really loved them.
A new classic that I plan on making again.
Oatmeal Cookies
3/4 c. butter
1 c. brown sugar
1/2 c. sugar
1 egg
1/4 c. water
1 t. vanilla
3 c. rolled oats
1 c. flour
1 t. salt
1/2 t. soda
1 c. dried cherries
1 c. chocolate chips
Preheat oven to 350-degrees. Beat together butter, sugars, egg, water and vanilla until smooth. Combine remaining ingredients and stir into butter mixture. Drop by rounded teaspoonfuls onto lightly greased baking sheet. I like to use a cookie scoop- it makes for uniform cookies and is faster than using a spoon. Bake for about 12-15 minutes. Makes about 5 dozen.
Note: You can add raisins or other dried fruits. I like cranberries. You can also add nuts or other chips. Macadamia nuts and white chocolate chips are a classic combination.
If you are looking for a truly tender cookie, this may be it. These cookies are so delicate, they just melt in your mouth!!
The secret ingredient might surprise you. It is oil. Yes, I know I said butter cookies – they also contain butter. But the combination of oil and butter makes them soft and delicate, even days after baking.
They also contain both granulated and powdered sugar. Not your typical cookie recipe, for sure. This just may be my “go to” butter cookie recipe from now on.
You don’t have to chill the dough and they roll very easily, without sticking to your fingers. You could chill the dough, but let it warm up a little before rolling. The dough can also be made ahead and frozen- I tested it.
In camp the kidspressed the tops in colored sugars, nonpareils or sprinkles before baking. You can also bake them plain, then dip in melted chocolate and sprinkles or nuts after baking,
Soft Butter Cookies
1 c. butter
1 c. oil, I used avocado oil
1 c. sugar
1 c. powdered sugar
2 eggs
1 T. vanilla
1 t. baking soda
1 t. cream of tartar
½ t. salt
4 ½ c. flour id f dough is too soft, you might need to add a little more flour.
In mixing bowl, beat together butter, oil, sugars and vanilla. Once well blended, beat in eggs. Stir in the baking soda, cream of tartar and salt, then add the flour, mixing until well combined. Heat oven to 350 degrees. Roll dough into one inch balls and press tops of cookies in sprinkles or colored sugar, if desired. Place one inch apart on ungreased baking sheets. Bake for 12 minutes, or until light golden on bottom. Leave cookies on baking sheets 3 minutes before placing on cooling rack. Makes about 6 dozen cookies.
In cooking camp today, we will be baking cookies, including Snickerdoodles. This is a recipe that has been around a long time and is still a favorite. The kids will really enjoy rolling the dough in cinnamon sugar, before baking.
The original recipe I had called for shortening, but I use butter instead, and chill the dough. I prefer the taste of butter in cookies. Use what you prefer.
These are a great light dessert for summer and they travel well, too. A nice treat to bring to your next cookout, picnic or road trip.
Snickerdoodles can also be used to make awesome ice cream sandwiches.
Snickerdoodles
1 c. butter, softened 1 ½ c. sugar 2 eggs 2 ¾ c. flour 2 t. cream of tartar 1 t. baking soda ¼ t. salt 2 T. sugar 2 t. cinnamon
Mix butter, sugar and eggs. Combine next 4 ingredients and add to egg mixture. Chill dough at least a couple of hours. Combine sugar and cinnamon in shallow bowls. Roll dough in 1-inch balls and roll in cinnamon sugar. Place 2-inches apart on ungreased baking sheet and bake in a preheated 375 –degree oven for 9-11 minutes. Makes 6 dozen.
So what is the 4th of July about? Cookouts and noisy celebrations abound, but what is it we are celebrating? We are celebrating revolution, protestors and people who fought their government.
We were a colony, ruled by a monarchy. Had it not been for those who saw injustice, and tried to fix it, we would be bowing to the king today. They were brave and very forward thinking.
Had the Revolutionary War gone the other way, they certainly would have been hung as traitors. I’m not sure how many of us today would be that brave.
So in your daily life, remember and honor the rebel. If you see an injustice, speak up. Do something to make this country better.
There is always room for improvement, after all. Think about the people who risked death to fight for the freedom we enjoy today. Life, liberty and the pursuit of happiness. Don’t ever take that for granted.
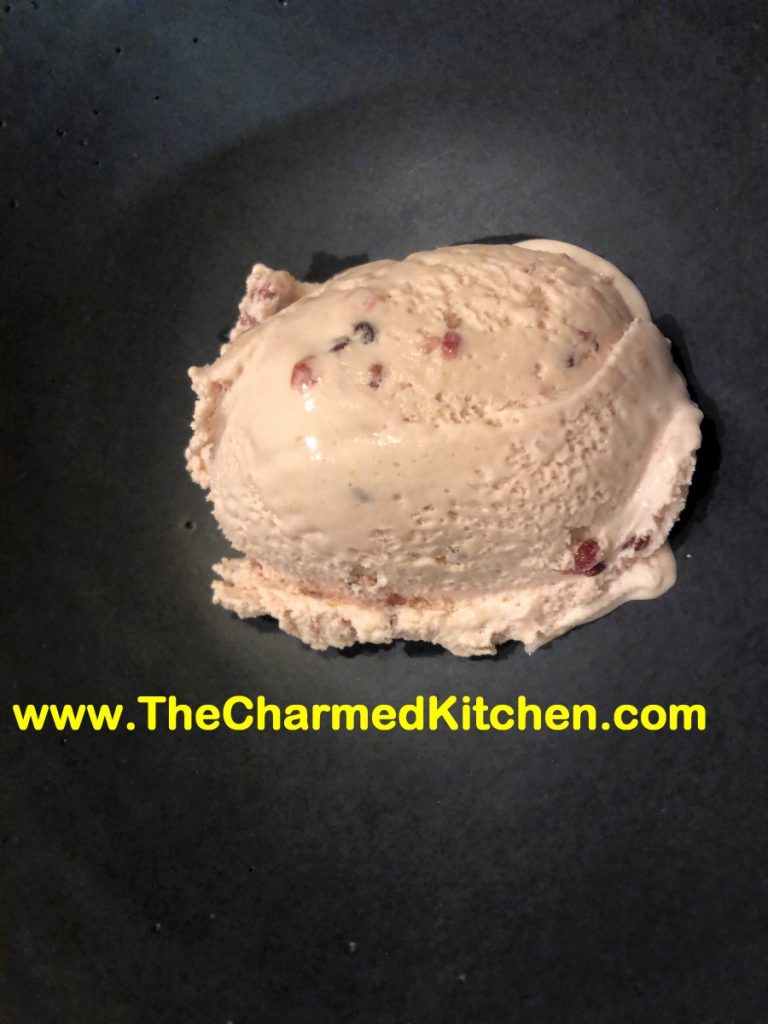
I am so happy with this ice cream. The flavor came out just right. The texture is super creamy and not too sweet. The chunks of blackberry add just the right amount of tartness. I love fruit based ice creams, but I never made blackberry ice cream before. I will be making it again, for sure.
I have had the inspiration to make a new recipe for all sorts of reasons. Sometimes creative reasons, or sometimes nostalgic feelings. This ice cream came about because of expiration dates. I had both heavy whipping cream and half and half that needed to be used up soon. I didn’t want to freeze them and I wasn’t going to waste them. Since I had a carton of blackberries in the fridge, it seemed only natural to make a blackberry ice cream. I don’t always add eggs to my ice cream, but I had a dozen eggs that needed to be used, too.
Whatever the motivation, this ice cream is one of my favorites. There is a little more work to making an egg-based custard ice cream. But the extra effort is worth it. The texture is so creamy.
With any fruit based ice cream, you don’t want to just put raw fruit in the mixture and freeze it. That will cause the fruit to get big ice crystals. Fruit can be cooked first, like I did with the berries in this recipe, or the fruit can be frozen, then thawed before being added to ice cream base.
So here is the recipe. I used an orange because I had an orange. I could see using a lemon instead, or perhaps lime. I left a little wiggle room on the amount of sugar you add to it. Before someone asks- yes- you can sweeten with honey, if you prefer. Just use a light hand. Honey is sweeter than sugar. Enjoy!!
Blackberry Ice Cream
6 oz. blackberries, washed
1 large orange
½ c. sugar
1½ c. half and half
1 c. heavy whipping cream
3 egg yolks
¾ c. sugar- or a little more or less to taste
1 t. vanilla
In medium saucepan, place the blackberries. Zest the orange and add the zest to the berries. Juice the orange and add the juice to the berries along with the ½ cup of sugar. Heat until mixture comes to a boil. Reduce heat and simmer until mixture starts to thicken, about 6-8 minutes. Stir occasionally. Don’t let it burn. Remove mixture to a bowl to cool down. You can use the same saucepan to heat the half and half and cream to a low boil. In a small bowl, beat together the egg yolks, sugar and vanilla. Add ½ cup of the hot cream mixture to the eggs, whisking in well. Add another ½ cup of the cream mixture, whisking again. Add one last ½ cup of the hot cream and again, whisk until smooth. Pour the egg mixture into the saucepan with the cream and while whisking, simmer until mixture starts to thicken and will coat the back of a spoon. This will take about 5 minutes. Don’t use too high a heat, or you will scramble your eggs. Mixture should reach 160 degrees to be sure eggs are cooked. Remove from heat, stir in reserved blackberry mixture. Pour mixture into a bowl. Allow ice cream base to cool down, then chill in fridge. Chilled mixture can be frozen in an ice cream maker once cold- in a few hours- or even the next day. Once mixture has been frozen in ice cream maker, place in a container and freeze until ready to serve. Makes about 5-6 cups of ice cream.
I look forward to cherry season every year. I love eating fresh cherries, but I also like to preserve them, to enjoy year round. One of my favorite things to make is cherry jam.
This must be a great year for cherries. They seem bigger than usual, and very sweet.
While I normally make jam from sour cherries, I knew the sweet ones would work. Besides the cherries, sugar and pectin, this jam also contains lemon juice and vanilla. Those extra ingredients give the jam a more complex flavor and a little bit of a tang.
This may be one of my favorite jams ever!!! I was worried it would be too sweet, but it isn’t. The flavor of the cherries comes through as well at the flavor of the vanilla and cinnamon. Thinking I made need to buy more cherries and make another batch….
Here is the recipe. Enjoy.
Sweet Cherry Vanilla Jam
4 c. chopped pitted sweet cherries, about 2 lbs.
6 T. powdered pectin
6 T. lemon juice
2 T. pure vanilla extract
4½ c. sugar
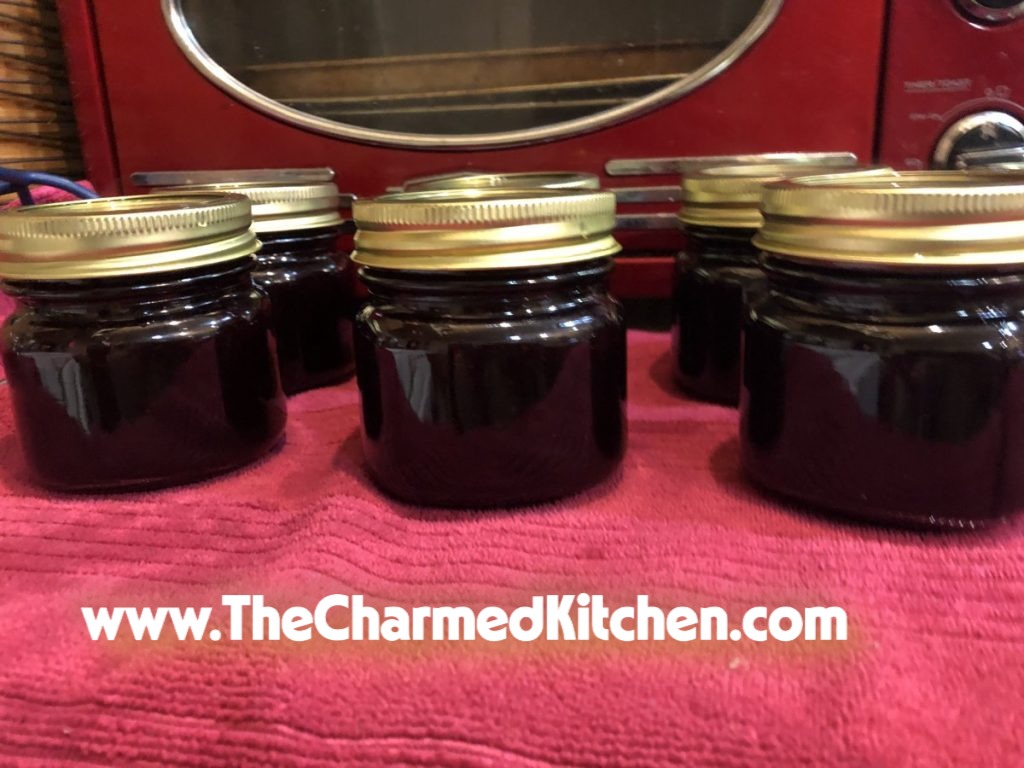
Wash jelly jars and lids and keep warm until ready to use. Place a large pot of water, with a rack, on to boil for the water bath. In large saucepan combine cherries with pectin, lemon juice and vanilla. Bring to a rolling boil, stirring often. Add the sugar and bring mixture back to a rolling boil, stirring often. Once the mixture gets to a full, rolling boil, cook for one minute longer, stirring constantly. Remove jam from heat and skim off any foam. Ladle hot jam into hot jars, filling to about 1/4 inch from the top. Wipe off rim and screw on the lids. Repeat with remaining jam. Process in a hot water bath for 10 minutes. Turn off heat and let jar sit in canner 5 minutes before removing. Remove from water bath and allow jars to cool. Yield: about 6 half pint jars of jam.
This recipe has been around a long time. It’s very tasty and deceptively simple to make. For starters there is no baking involved. Nice when it is hot and you just don’t feel like turning on the oven.
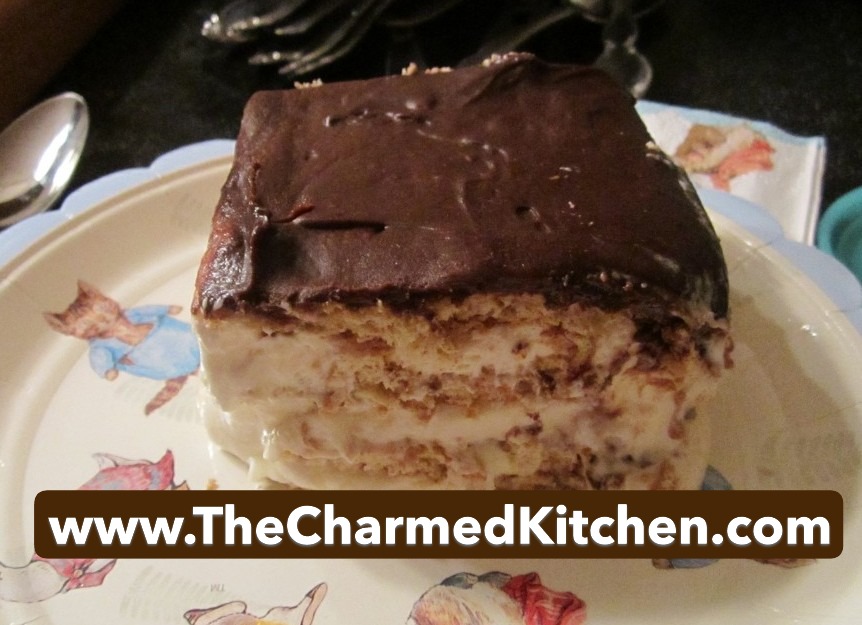
The dessert itself is layers of graham crackers and a pudding and cream mixture with chocolate frosting to finish it off. You do need to assemble it a day ahead, so there is some planning needed, but no cooking. As the mixture sits, the crackers soften. When you serve the cake it cuts beautifully. The cake is supposed to remind you of an eclair, thus it’s name.
The original recipe calls for frozen whipped topping – like Cool Whip. You can easily substitute real whipping cream. That is what I do.
No-Bake Chocolate Eclair Cake
4 c. vanilla pudding
1 small container non-dairy whipped topping, thawed or 1 cup whipping cream, whipped
1 box graham crackers
1 can chocolate frosting or 1- 2 c. homemade chocolate frosting
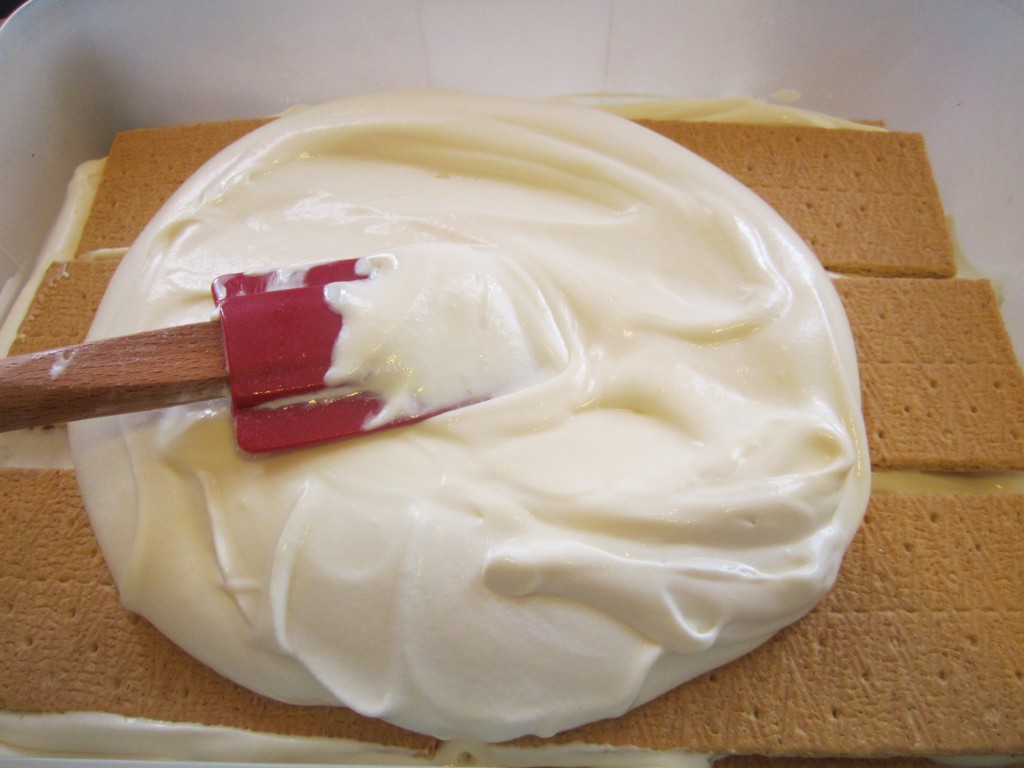
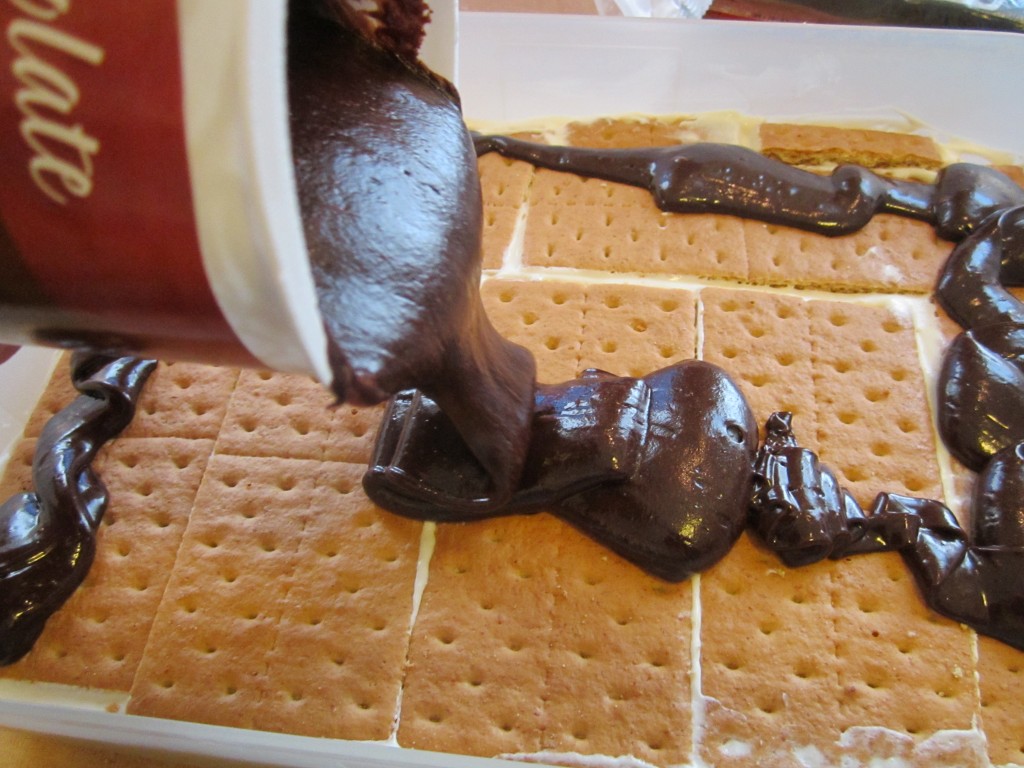
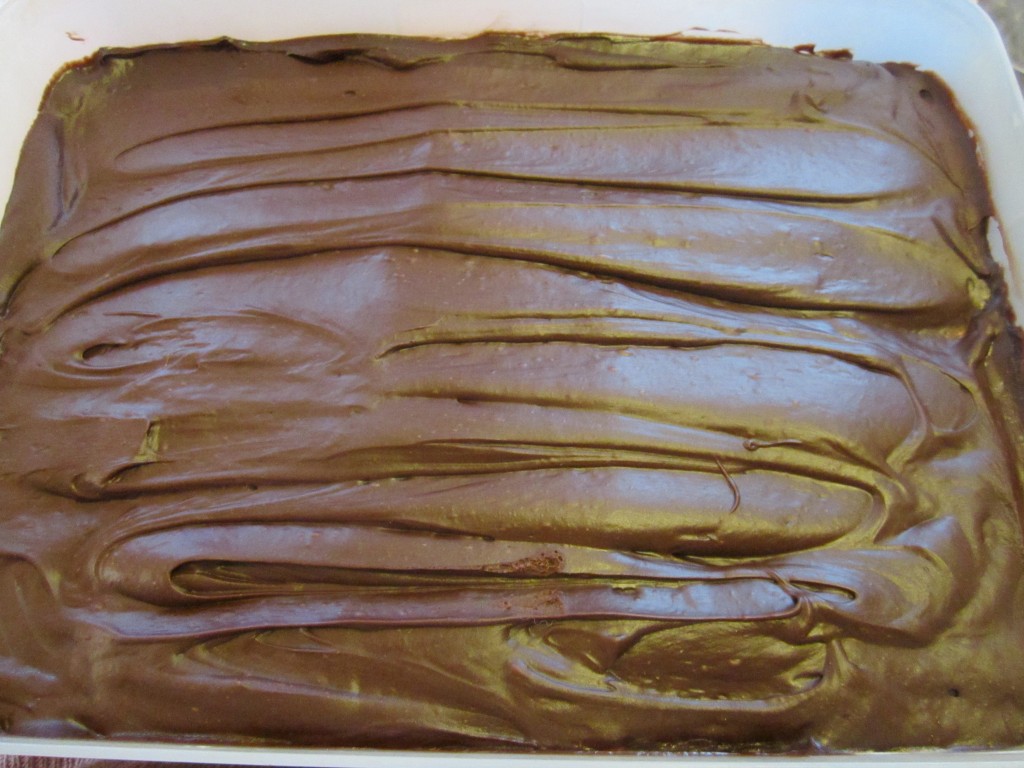
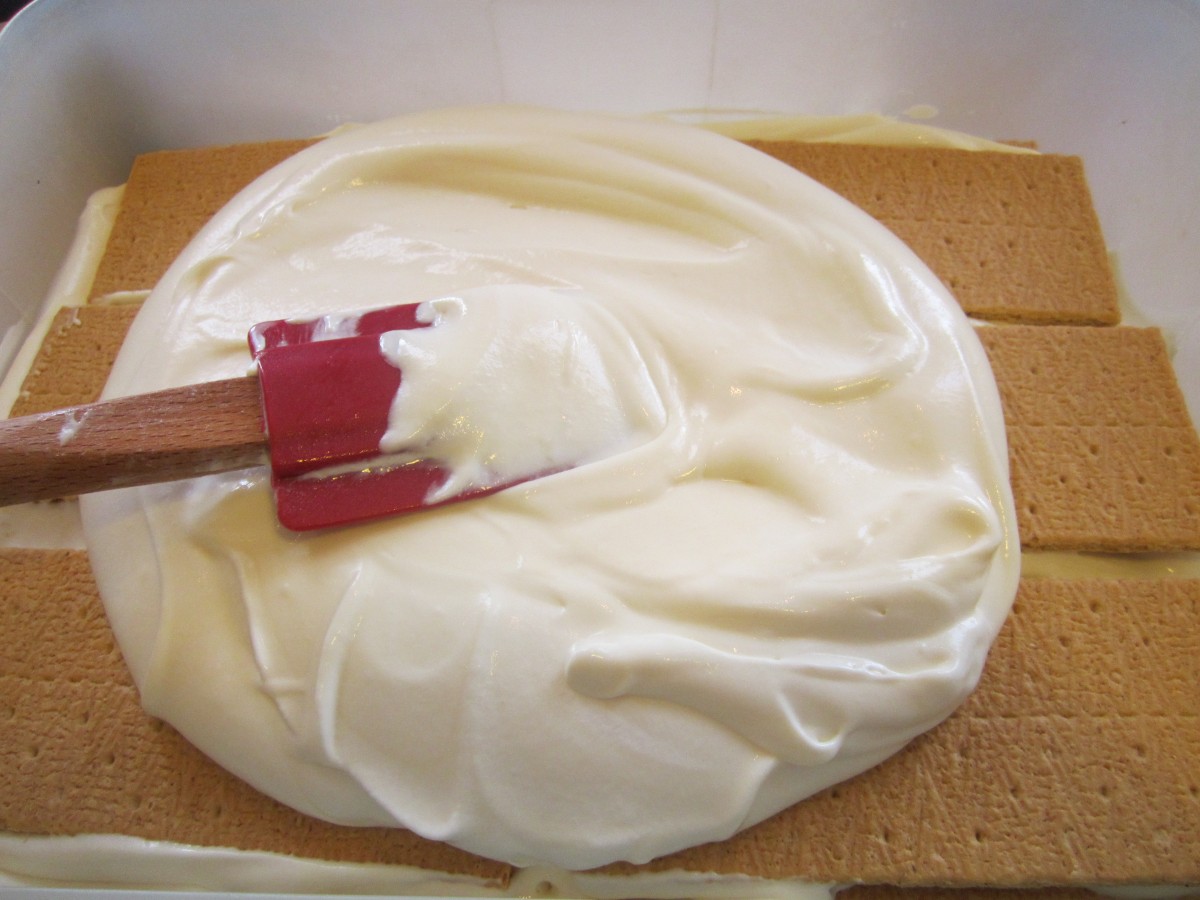
Combine pudding and whipped topping or whipped cream and set aside. In 9×13 inch cake pan place 1 layer of graham crackers. Try to cover the whole bottom of the pan with the crackers, breaking them to fill in gaps, ff needed. Spoon half of the pudding mixture over the crackers and spread out evenly. Place another layer of graham crackers over the pudding mixture and then spoon on the remaining pudding mixture, smoothing evenly. Place last layer of crackers on top. Warm frosting slightly and pour over the top. Spread out evenly. Cover and refrigerate overnight. Serves 10-12.
Spread filling over a layer of graham crackersPour frosting on top layer.Chill finished cake overnight.
I am not sure why I never combined ladyfingers with strawberries before. Using them together in this dish made a wonderful dessert- that was also very easy. It was somewhere between a trifle and a shortcake so I called it both!
I want to just say something about ladyfingers. There are two types I see in stores around here, soft or crisp. The soft ones are smaller and cake-like and found in bakeries in grocery stores. Like sponge cake. The other ladyfingers are crisp and larger. I find the crispy type at Italian stores and sometimes at specialty grocery stores. The ladyfingers you want for this recipe are the larger, crisp ladyfingers.
I was happy with how it came out. The ladyfingers were soft, not mushy. They actually were kind of fluffy. The flavors blended so nicely. Great summer dessert. Light and refreshing, but a little rich, too. I made vanilla pudding, but make life easier and just use store bought or instant from a box- if you prefer.
Here is the recipe. Enjoy!!
Strawberry Shortcake Trifle
1½ – 2 pounds strawberries, washed, stemmed and sliced
½ c. sugar
24 ladyfingers
1 recipe vanilla pudding- recipe follows
¾ c. Hazelnut chocolate spread
Whipped cream or whipped topping
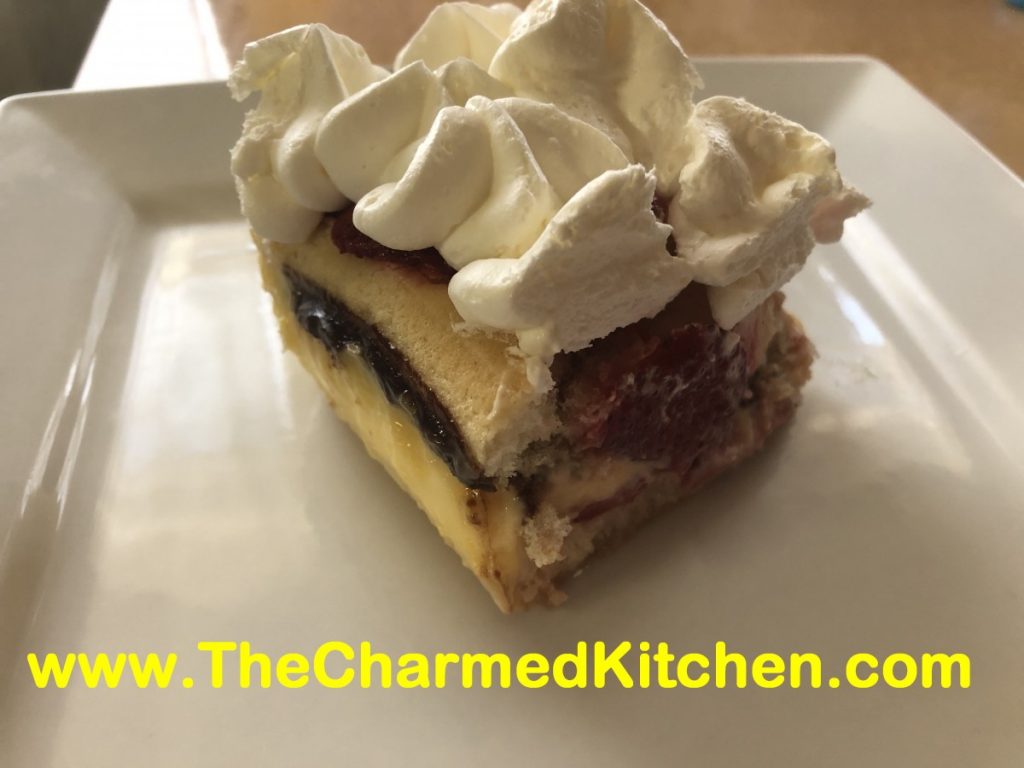
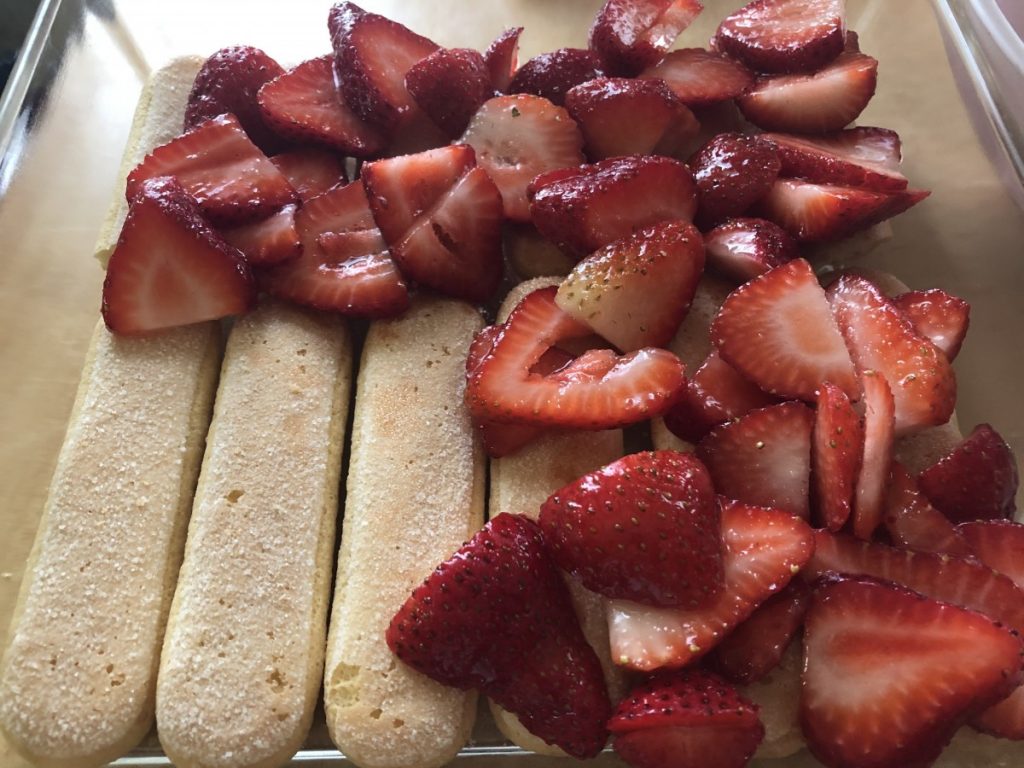
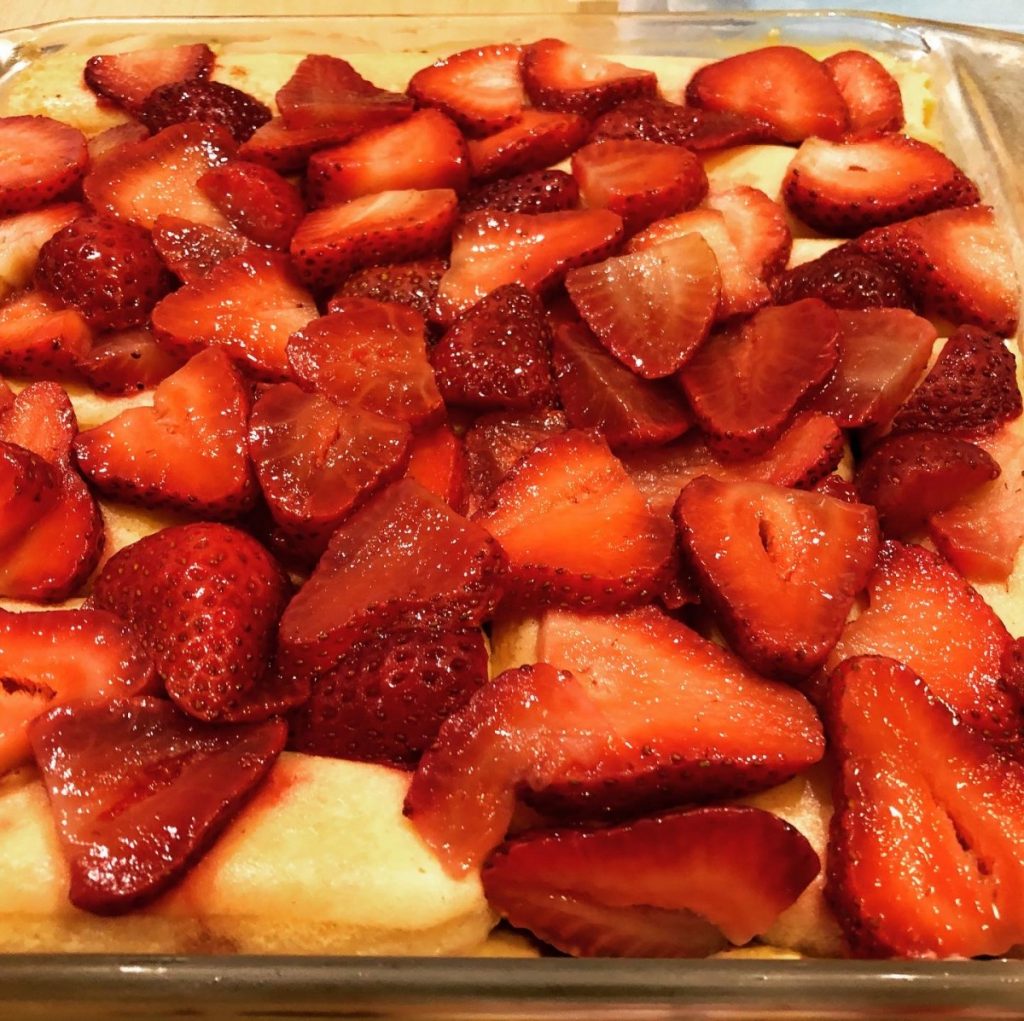
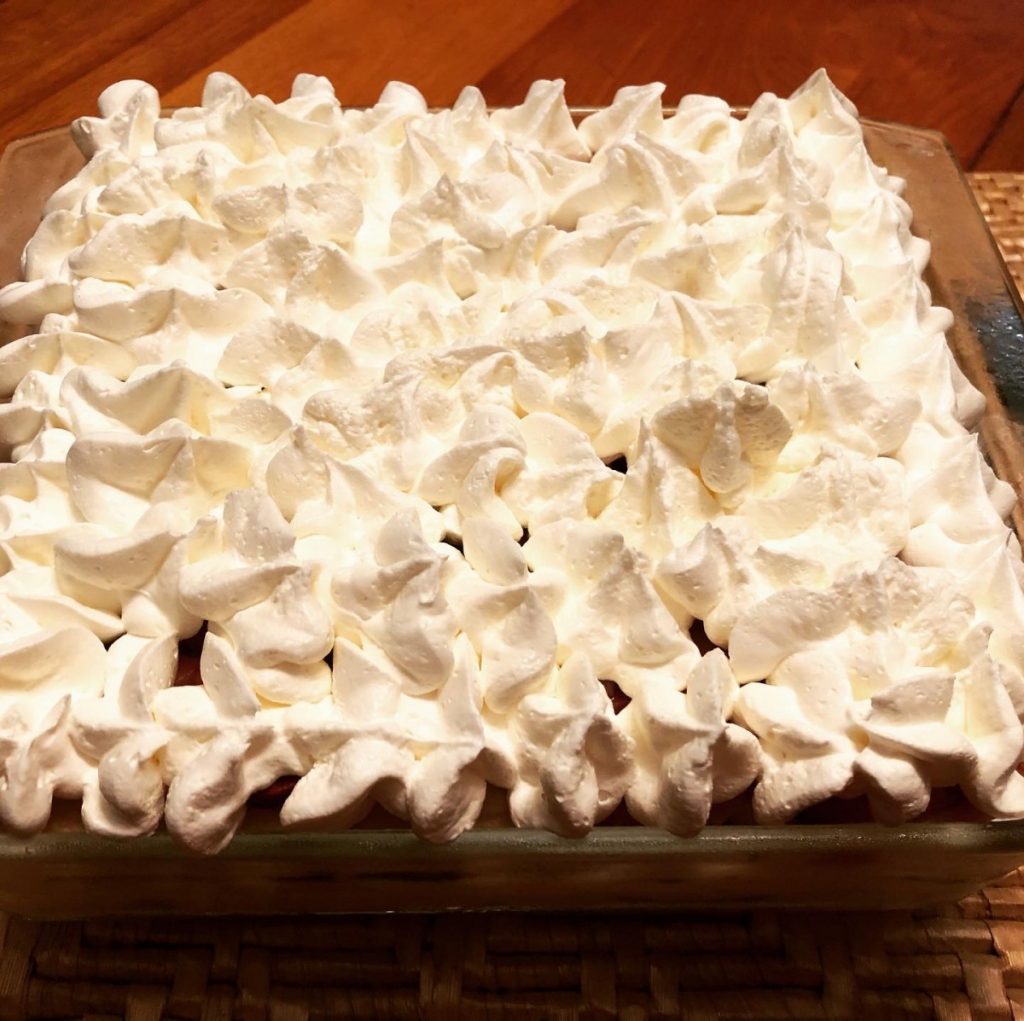
Combine strawberries with the sugar and set aside. Make the pudding, if you haven’t already. You can use pre-made pudding. You’ll need 2-3 cups of pudding. In a 9×9-inch baking dish, place one layer of the cookies. You might have to trim them a little to fit. I had 2 rows of 6 cookies, but I had to break off a little for the second row to fit. Spoon over half of the strawberries, with some of the liquid in the bowl. Spread a layer of pudding over the berries. For the next layer, spread some of the hazelnut spread over each lady finger before putting it in the pan. When you put them in the pan, place them with the spread on the under side. Add another layer of the pudding, then top with the rest of the strawberries. Cover and place in fridge until ready to serve. You can do all this up to 2 days ahead. Before serving, remove cover and top with whipped cream or any whipped topping you like. Serves 6-8.
Vanilla Pudding
1 c. sugar
½ c. cornstarch
½ t. salt
3 ¾ c. half and half
1 T. vanilla- or a little more
2 T. butter
Combine dry ingredients in a medium saucepan. Whisk in half and half and vanilla until well mixed. Heat over medium heat, stirring constantly, until mixture starts to bubble and get thickened. Mixture will get pretty thick. Turn down heat to keep it from scorching. As soon as pudding is thickened, remove from the heat and stir in the butter until melted. Place pudding in a bowl, cover with plastic wrap and chill until ready to use. Makes about 4 cups.
Start by layering strawberries over a base of ladyfingersOnce layers are done, chill until ready to top with whipped creamReady to serve
These little treats make a great addition to your 4th of July party. They are simple to make, with only three ingredients. You can make them in no time at all. It is a fun treat for kids to make, too.
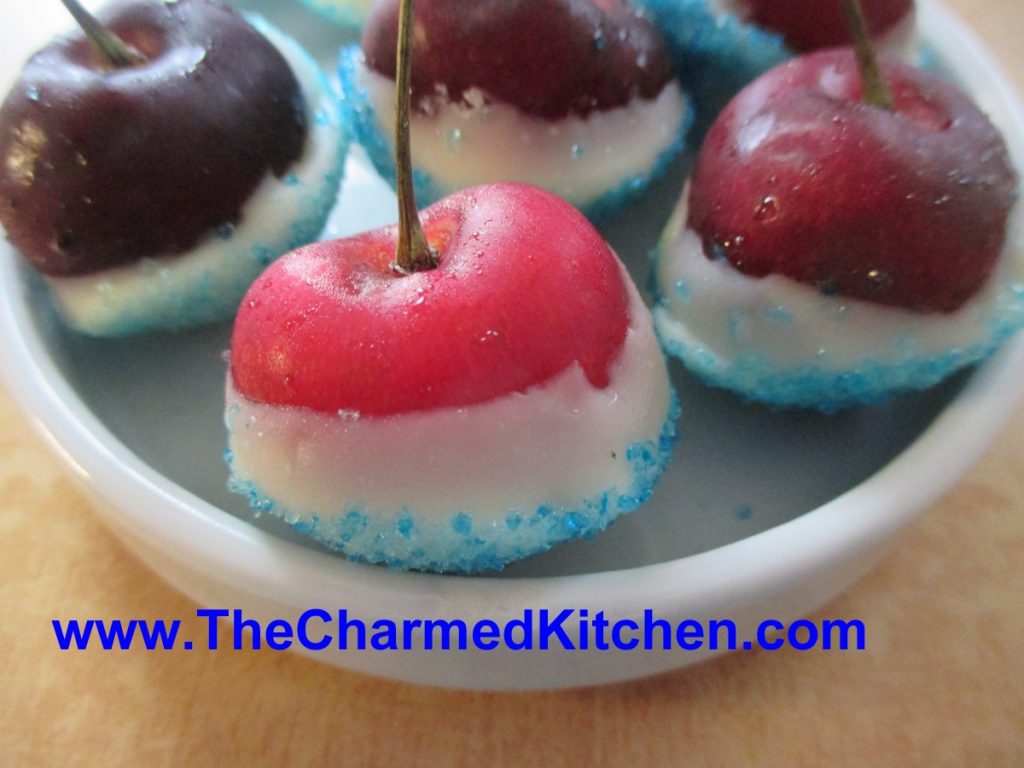
Think of the cherry bombs as a type of candy. A simple, sweet treat that can be served just as they are. They can also be used to top a cake or other dessert. You can even garnish a cocktail with them. I did the same thing with strawberries, but “strawberry bombs” did not have the same ring to it.
To make the cherry bombs, you will need cherries, white chocolate and blue sugar. If you don’t have blue sugar, you can put granulated sugar in a bag, add a few drops of blue food coloring, seal the bag and shake it up. The sugar will turn blue. You could also use blue sprinkles.
Wash and dry off some large, sweet cherries. Melt white chocolate, stirring until smooth. Dip the cherries in the white chocolate, then the blue sugar. Place on wax paper to firm up. Store in fridge.
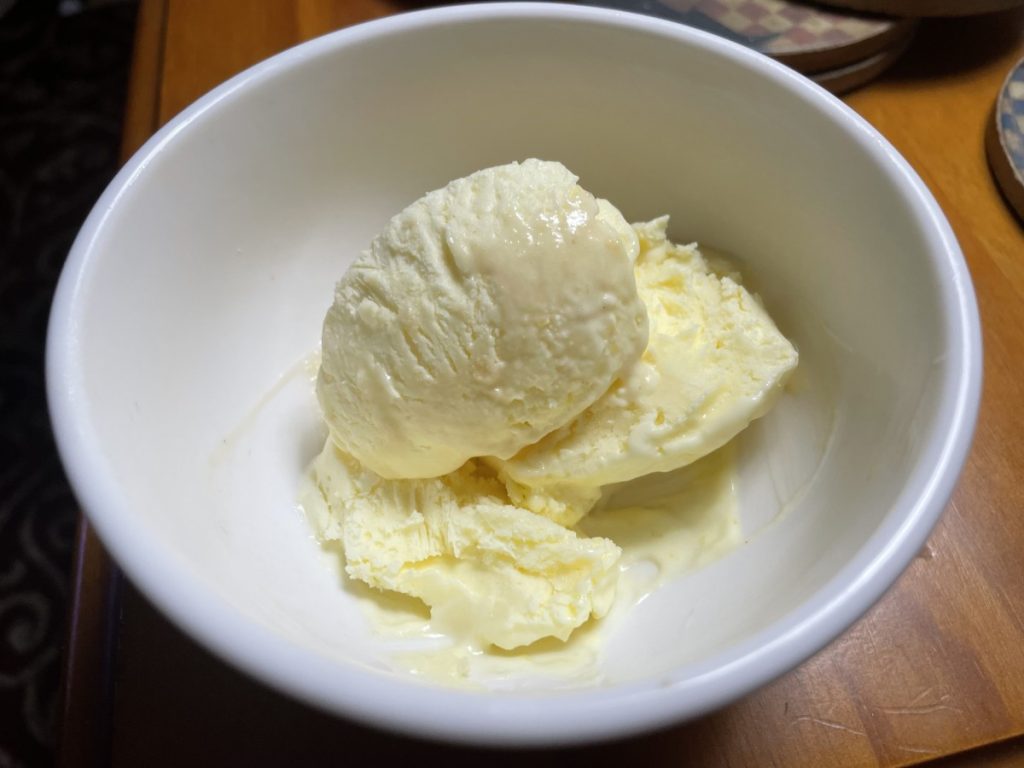
This is one of the easiest ice creams to make. You don’t need an ice cream machine to make it and there are only three ingredients, if you count the lemon curd as one ingredient. I did make my own lemon curd- recipe follows, but you can just use a jar of store bought. It has the nicest flavor and texture.
This ice cream came about because I had made lemon curd for a party and had some left over. I also had whipping cream that needed to be used up. I combined the two and it was even better than I thought. Two friends have tried it so far and both really liked it. Below you will find the recipes for two different lemon curds. The traditional recipe and one that is egg free.
Here is the recipe.
Lemon Curd Ice Cream
1-1 1/2 cups heavy whipping cream
2 cups lemon curd
1/2 c. powdered sugar
In a medium mixing bowl, whip the cream until soft peaks form. Beat in the lemon curd and sugar and place in a freezer container and freeze until ready to eat. Makes about a quart. I told you it was simple!!!
Classic Lemon Curd
1/2 c. lemon juice
zest from one good sized lemon- you should have 2-3 teaspoons
1/2 c. sugar
3 eggs
6 T. unsalted butter- cut into little cubes
In medium saucepan, combine all ingredients. Whisk the mixture until the eggs are well blended. Cook over medium low heat, whisking often, until the mixture thickens. This will take 5-7 minutes. Whisk more often as mixtures warms and starts to thicken. Better to heat over lower heat and take longer than cook over too high a heat. You don’t want the eggs to scramble. Once the mixture is thickened , transfer to a bowl or jar. Cover the surface with a piece of plastic wrap to keep the surface from developing a skin- like any pudding will do. Chill until ready to use. Makes about 2 cups. Will keep in fridge a week or two.
Egg Free Lemon Curd
For this recipe, depending on what ingredients you use, it can also be vegan. All variations have worked well. I have a vegan family member and friends who can’t eat dairy. Something for everyone.
½ c. sugar
1½ T. cornstarch
½ c. milk, or non dairy “milk”
1/3 – 1/2 c. lemon juice, or the juice from 2 lemons
Zest from 2 lemons, about 1½ tablespoons
1/4 c. butter or oil
¼ t. turmeric, for color, optional
Place sugar and cornstarch in a small saucepan and whisk together. Stir in remaining ingredients, then place over medium heat and cook, stirring continually, until mixture thickens and gets bubbly. Cook another minute or so, then remove from heat and cool down before serving. Makes about 1¼ cups. Serve with cakes, scones or cookies. Or just eat it with a spoon, no one will judge you. Store in fridge.