


This is a great dish when you want to go meat free, but still have a hearty meal. It combines the flavors of chili with a cornbread topper. A classic combination, for sure.
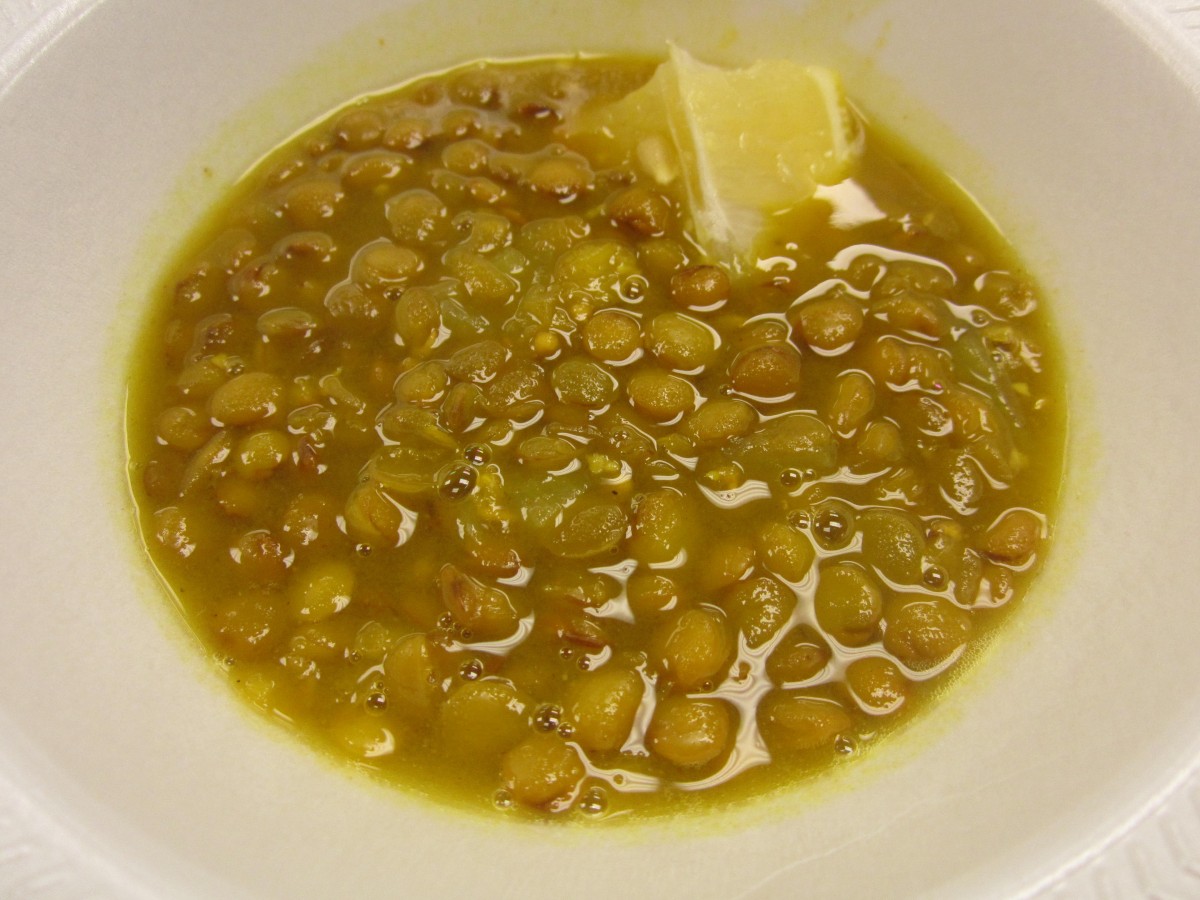
The base is a lentil chili that you place in a casserole dish, then top with a cornbread batter. The dish is finished off in the oven until the cornbread is baked.
To serve, spoon some of the cornbread onto your plate and top with the lentil chili. I have made it for friends and it is always a big hit, even for the meat eaters. Perfect to warm you up on a chilly day.
You can serve this as a vegetarian main dish, or as a side dish.
Chili Bean Spoon Bread
1/2 lb. lentils
pinch of ground cloves
2 c. milk
1/2 t. salt
2/3 c. cornmeal
4 T. butter
4 eggs
4 T. oil
2 large onions, chopped
1 clove minced garlic
1 T. chopped parsley or 1 t. parsley flakes
1 T. chili powder
1 t. ground cumin
1 (14 oz.) can diced tomatoes, undrained
salt and pepper to taste
In saucepan cover lentils with about 2 cups water and add cloves. Bring to a boil, turn down to a simmer and cook, covered, until lentils are tender, about 20 minutes. You may need to add a little more water. Meanwhile in another saucepan heat milk and salt almost to boiling. Stir in cornmeal and continue cooking, stirring constantly until thickened. Remove from heat. Stir in butter and eggs and set aside. In oil sauté onions and garlic until tender. Add seasonings, tomatoes and lentils and heat until bubbly. Adjust seasonings. Pour lentil mixture into greased 2-quart casserole dish. Spoon over the cornmeal mixture. Set casserole dish in larger pan and add 1 inch of hot water to larger pan. Bake in a 350-degree oven for 30-40 minutes, or until bread is firm and golden. Serves 4-6.


