Homemade Blueberry Liqueur

I always stock up on blueberries when they are in season. I end up with a lot of frozen berries to enjoy throughout the year. I was cleaning out the freezer awhile ago, and decided to use some of my frozen berries to make blueberry liqueur.
After steeping for several months, I strained out the blueberries last night. I ended up making two different liqueurs. One is unsweetened- just blueberries, vodka, lemon zest and a clove. It is sometimes called an eau de vie- French for water of life- or blueberry vodka. It is one of my favorites for making all sorts of cocktails.
The other was sweetened a little with a sugar syrup- but you could use honey. That is blueberry liqueur or blueberry cordial. It will be allowed to mature for a couple of weeks.
Both are wonderful.
The color is so pretty and they can be sipped, as is, or used in cocktails. You can use other berries, if you prefer.
I look forward to enjoying these with friends and family. Soon!!
Blueberry Liqueur
4-c. fresh or frozen blueberries
Sliced and scraped peel of one lemon, optional
1 clove, optional
3-c. vodka or 2 c. vodka and 1 c. brandy
1 c. sugar syrup, optional, recipe follows
Lightly crush berries with a fork. Combine with peels and clove and vodka and steep 3 months. Strain and filter and add sugar syrup. Mature 4-6 weeks.
Sugar Syrup
Simple syrup is made from 1 cup of sugar and ½ cup of water. Bring to a boil, then cool. You will have 1 cup of syrup. Some recipes call for plain sugar and others for honey. Watch when you substitute honey for sugar, as it is sweeter and stronger flavored. Better to use orange or clover honey.
Sweet Cherry Vanilla Jam
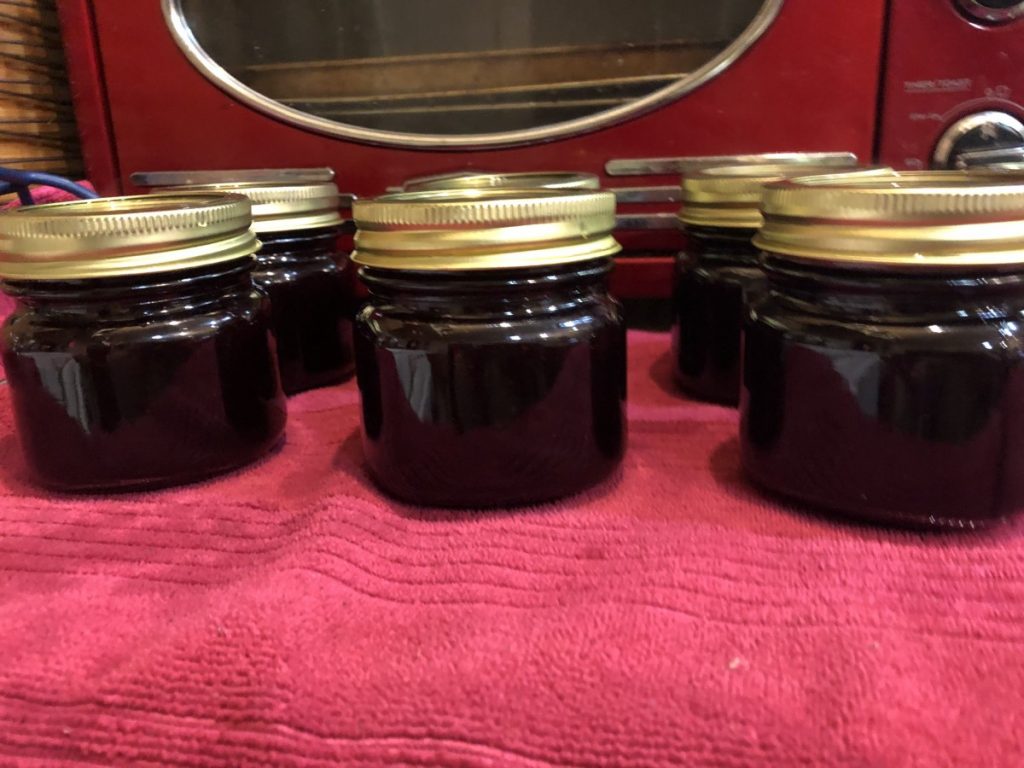
I look forward to cherry season every year. I love eating fresh cherries, but I also like to preserve them, to enjoy year round. One of my favorite things to make is cherry jam.
This must be a great year for cherries. They seem bigger than usual, and very sweet.
While I normally make jam from sour cherries, I knew the sweet ones would work. Besides the cherries, sugar and pectin, this jam also contains lemon juice, vanilla and cinnamon. Those extra ingredients give the jam a more complex flavor and a little bit of a tang.
This may be one of my favorite jams ever!!! I was worried it would be too sweet, but it isn’t. The flavor of the cherries comes through as well at the flavor of the vanilla and cinnamon. Thinking I made need to buy more cherries and make another batch….
Here is the recipe. Enjoy.
Sweet Cherry Vanilla Jam
4 c. chopped pitted sweet cherries, about 2 lbs.
6 T. powdered pectin
6 T. lemon juice
2 T. pure vanilla extract
1 t. cinnamon
4½ c. sugar
Wash jelly jars and lids and keep warm until ready to use. Place a large pot of water, with a rack, on to boil for the water bath. In large saucepan combine cherries with pectin, lemon juice, vanilla and cinnamon. Bring to a rolling boil, stirring often. Add the sugar and bring mixture back to a rolling boil, stirring often. Once the mixture gets to a full, rolling boil, cook for one minute longer, stirring constantly. Remove jam from heat and skim off any foam. Ladle hot jam into hot jars, filling to about 1/4 inch from the top. Wipe off rim and screw on the lids. Repeat with remaining jam. Process in a hot water bath for 10 minutes. Turn off heat and let jar sit in canner 5 minutes before removing. Remove from water bath and allow jars to cool. Yield: about 6 half pint jars of jam.
Adapted from The Ball Blue Book
Mint Chocolate Chip Ice Cream
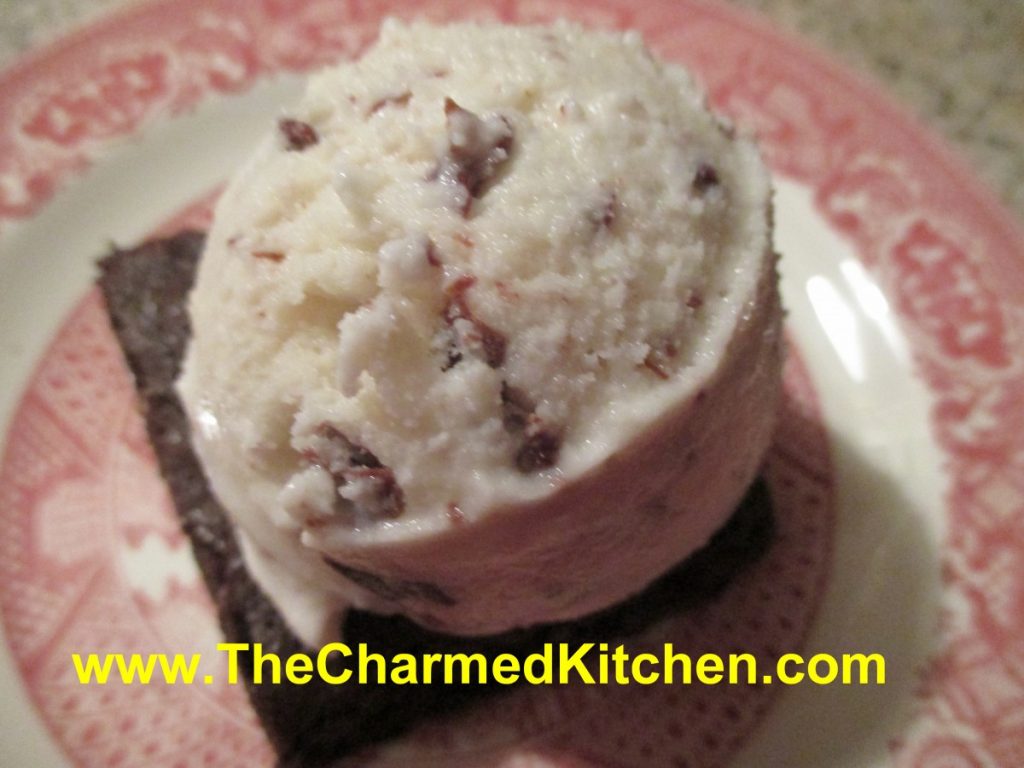
Mint chocolate chip ice cream is a favorite of mine. I have tried a lot of mint chocolate chip ice creams, but was not always happy. I wanted to make my own and see how that turned out.
The tricky part is getting chips that aren’t hard chunks, but rather, little flecks of chocolate, that melt on your tongue when you eat the ice cream. In the past, for chocolate chip ice cream, I have brushed melted chocolate in thin sheets, chilled it, and then broken it into tiny pieces. It worked, but kind of a pain to do.
I tried something different this time, and with a few adjustments, it worked out great. In the past, I posted a recipe for homemade chocolate magic shell. You remember magic shell, the chocolate syrup that hardens when you drizzle it on ice cream. The recipe is quite simple. Chocolate, coconut oil and powdered sugar, melted together. It remains a liquid at room temperature. So, to create the “chips”, I just added some of the magic shell to the ice cream as it froze in the ice cream maker.
After a little playing around, I got the knack of drizzling it slowly. The end result, little flecks of chocolate through the ice cream that were tender and melted as you ate the ice cream. We had the ice cream served on a homemade brownie, then topped with more magic shell and some whipped cream. You will note that my “mint” ice cream is not green. I opted to omit food coloring, but feel free to add some, if you prefer. And, if you just want chocolate chip ice cream, don’t add the mint extract.
Mint Chocolate Chip Ice Cream
2 c. half and half
1 c. whipping cream
½ c. sugar, or to taste*
2 t. mint extract
1 t. vanilla extract
About ½ c. magic shell- recipe follows
Combine half and half, cream, sugar and flavorings. Stir until sugar dissolves. Add more sugar, if needed, to suit your taste. Place mixture in an ice cream maker and start freezing it. Once it starts to thicken, drizzle the magic shell in slowly as the machine is running, to create little flecks of chocolate throughout the ice cream. I have to guess that I used about ½ a cup. Add until you have the amount of chips you like. Once ice cream forms, place in freezer until ready to serve. Makes about a quart.
*The mixture might taste a little sweet to you, but when you freeze it, it will taste less sweet. When making ice cream, the base should be a little”too” sweet to allow for the taste change after freezing.
Homemade Magic Shell
1 c. chocolate chips- I used dark chocolate chips
3/4 c. coconut oil- I used the unrefined
1/2 c. powdered sugar
Heat all together until melted. I melted mine in a microwave for 1 minute, but you could also melt over a double boiler. Stir until smooth. Store at room temp. To use, drizzle over ice cream, wait about 10-20 seconds- and it will harden.
Peach Cheesecake Squares
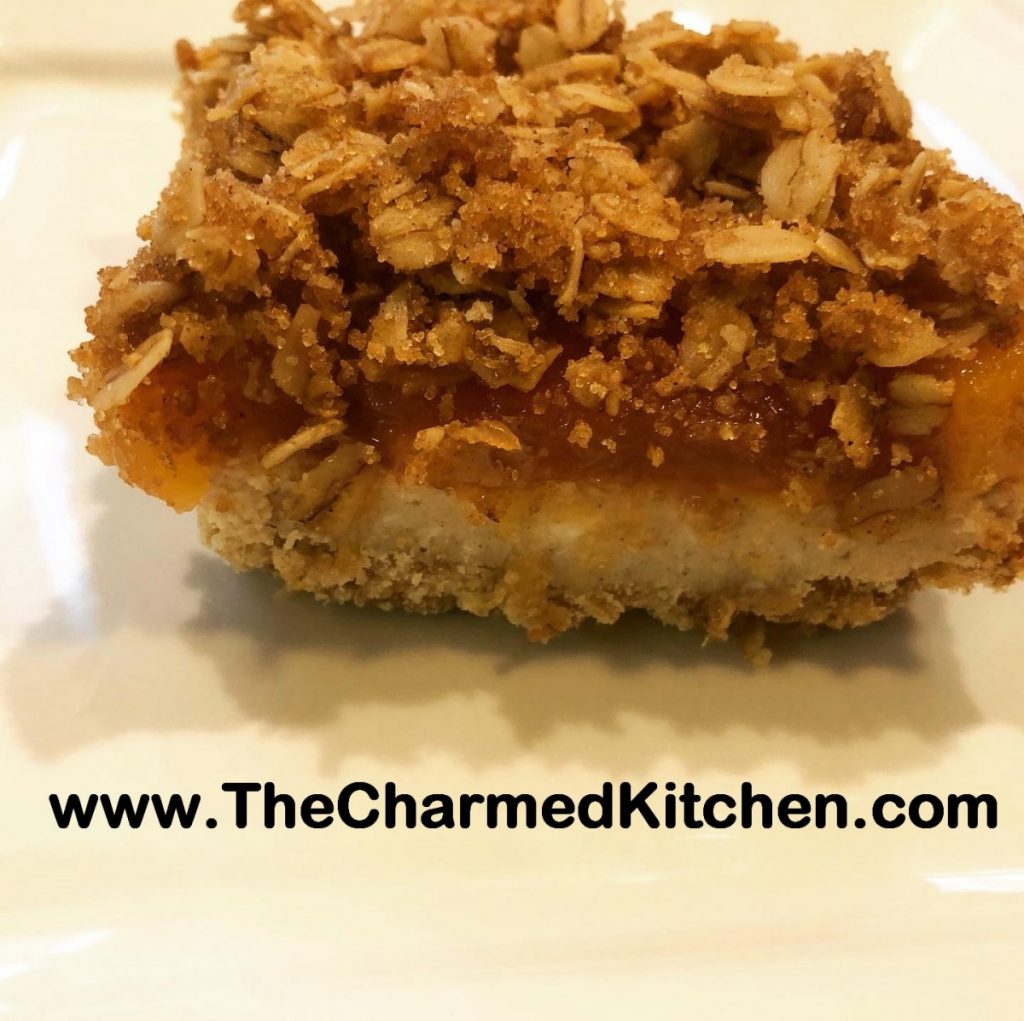
I love peaches and I love cheesecake. Never thought to combine them before. Wow, what a great dessert!! With peaches in season, it seemed like the perfect time to make it.
This recipe was inspired by a post I saw about a place that makes peach cheesecakes. I decided to make a less traditional cheesecake. I used a 9×13 baking dish instead of a springform pan. I also ended up making the cheesecake in layers. Let me explain.
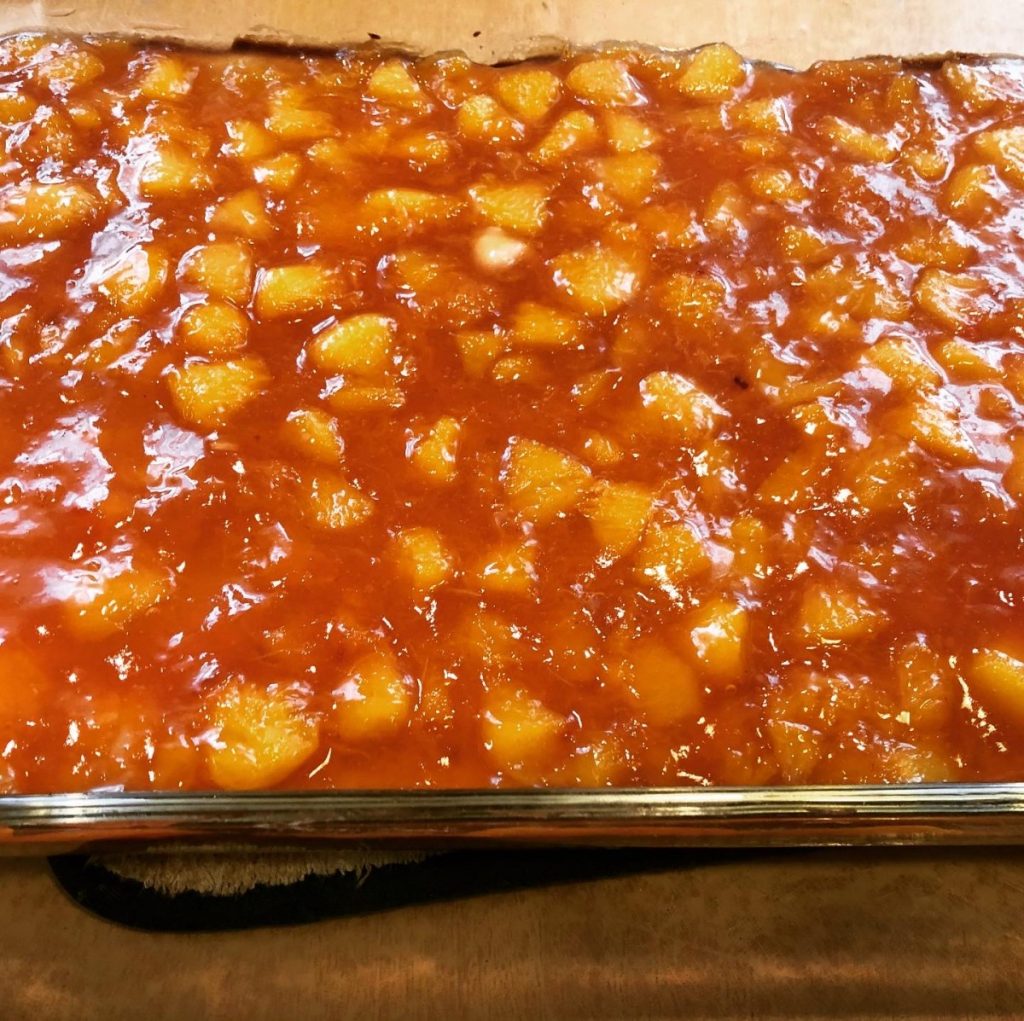
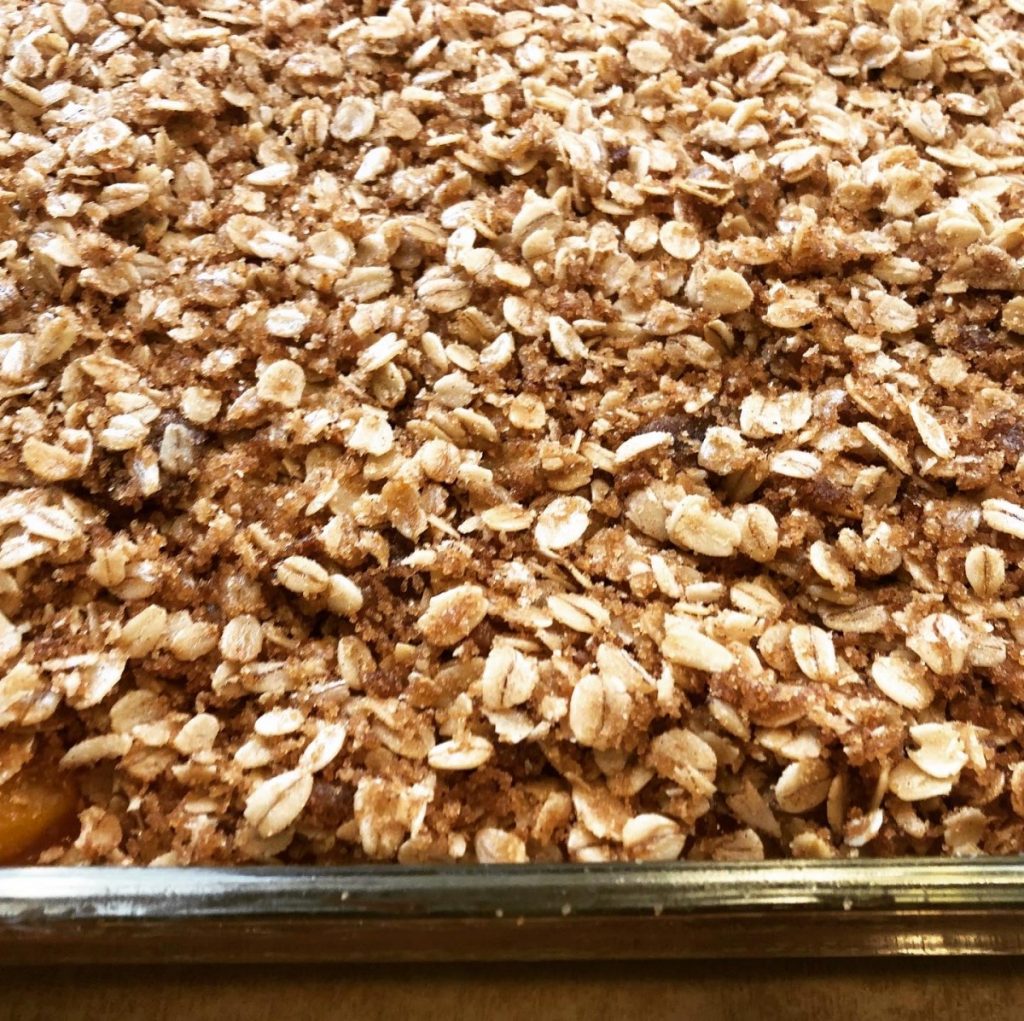
I baked the crust a little, then added the cheesecake layer to bake. I was trying to figure out the best way to add the peaches. I decided to put them on after the cheesecake was baked, so I cooked them while the crust and cheesecake layers were baking. The crumb topping was an afterthought. I wanted some texture and just put that together at the end.
The result was a really good dessert. Enough peaches. Light and rich at the same time. I will most definitely make it again.
So here is the recipe. Enjoy!!!
Peach Cheesecake Squares
Crust
¾ c. butter
1/3 c. brown sugar
1¼ c. flour
1 c. oatmeal, old-fashioned or quick cooking
2 t. cinnamon
¼ t. salt
Cheesecake Layer
2 (8oz.) packages cream cheese, softened
¾ c. sugar
2 T. flour
2 eggs
2 T. vanilla
2 t. cinnamon
Peach Layer
5-6 peaches, peeled, pitted and chopped, about 5 cups prepared fruit
2/3 c. sugar, or a little less
2 T. lemon juice
1 t. cinnamon
4 T. cold water
2 T. cornstarch
Crumble Topping
1½ c. rolled oats
½ c. butter
¼ c. brown sugar
3 T. flour
2 t. cinnamon
Heat oven to 350-degrees. Grease a 9×13-inch baking pan. Beat together butter and brown sugar, then stir in the rest of crust ingredients. Mixture will be crumbly. Press into bottom of prepared pan and bake 20 minutes. While crust is baking, prepare cheesecake layer. Beat cream cheese sugar and flour until fluffy. Beat in eggs one at a time. Stir in vanilla and cinnamon. Pour over crust and bake for 25 minutes, or until set. While filling is baking, prep peaches. Combine peaches with sugar, lemon juice and cinnamon in medium saucepan. Cook over medium heat until peaches are softened. Stir off and on to keep mixture from sticking. Combine cold water and cornstarch. Stir until smooth and pour into peach mixture. Mixture will thicken up. Stir until mixture returns to a simmer. Remove from heat and set aside. Prepare crumble topping. Mix all ingredients with your fingers until well blended. Place on a baking sheet and place in 350 degree oven for 15 minutes. You can do this while the cheesecake is baking, to save time. Let the cheesecake cool a few minutes. Then spoon over the peaches. Spread evenly and let it cool for 30 minutes. Spread the crumble mixture over the peaches. Cool then chill. Store covered in fridge. Serves 12. Can be frozen.
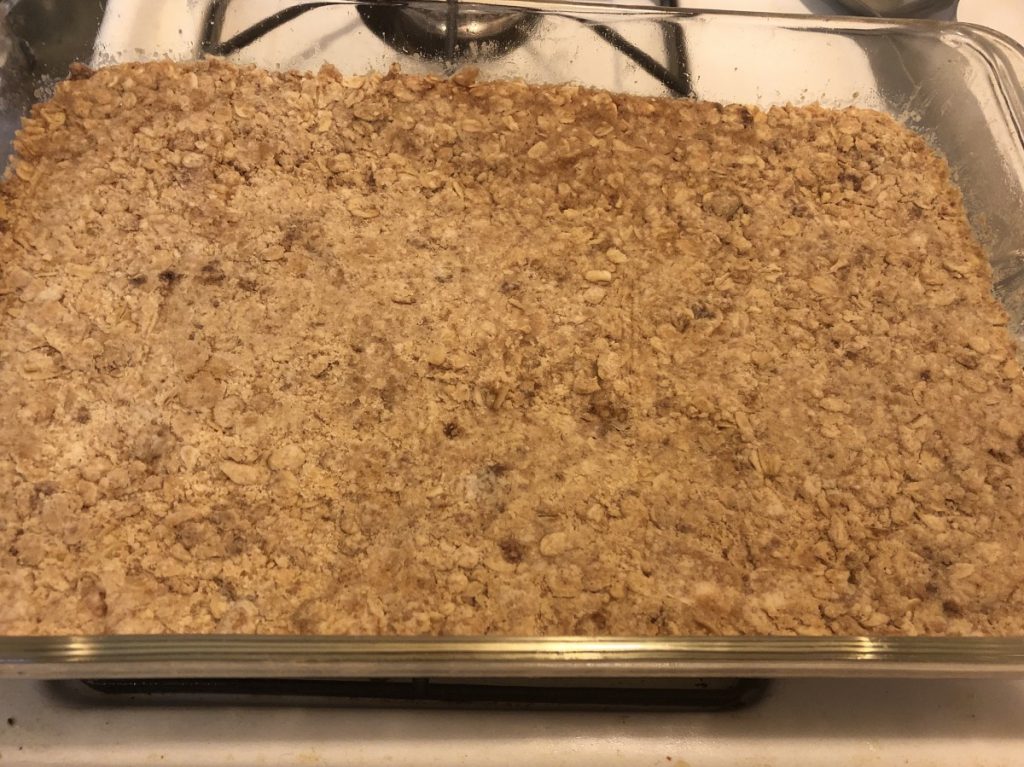
Homemade Cherry Liqueur
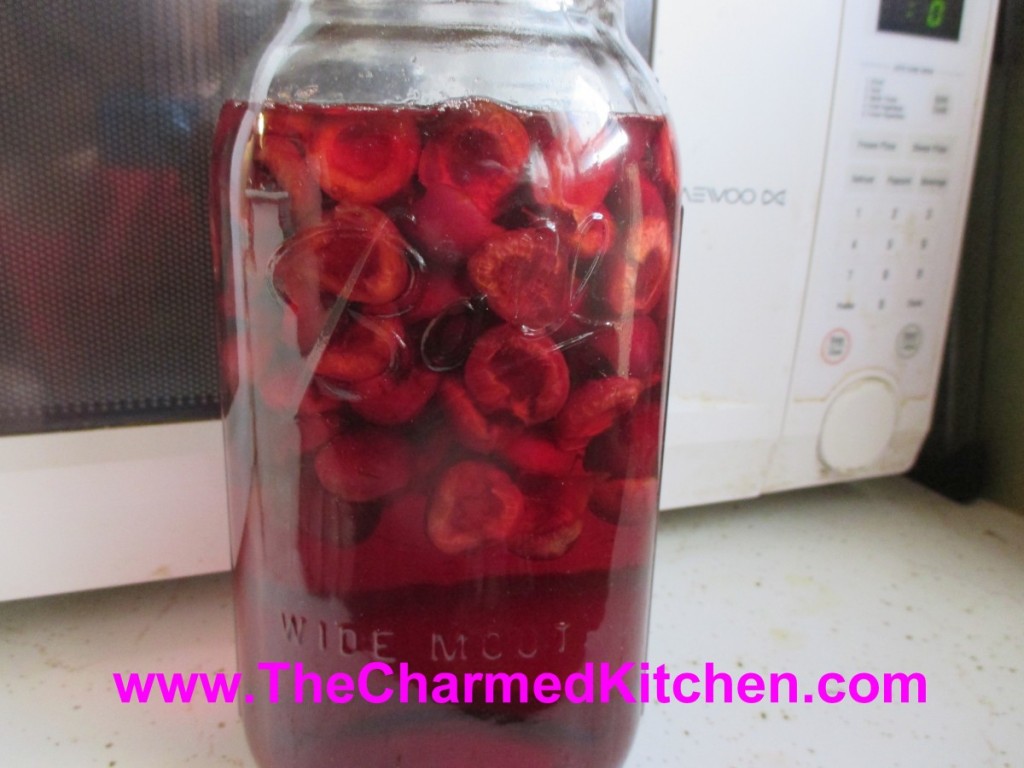
I make a lot of homemade liqueurs, but cherry is one of my favorites. I enjoy just sipping it, or adding it to other cocktails or mixing it with soda water.
It is easy, and the reward is having this lovely liqueur to enjoy even when cherries aren’t in season. I added a couple of vanilla beans to mine, but you can leave them out, if you prefer. You could also add 1-2 tablespoons of vanilla extract.
If you like a less sweet liqueur, you can add less sugar. You could use sour cherries instead.
Cherry Liqueur
2 c. granulated sugar
4 c. vodka or brandy
1 lb. large, washed, stemmed and pitted sweet cherries
2 (6-7 inch) vanilla beans, broken into several pieces, optional
Place sugar and vodka or brandy in a large jar- I used a half gallon canning jar. Stir until sugar is mostly dissolved. Add cherries and vanilla and cover jar. Do not stir. Place in a cool, dark place for 3 months, without stirring or shaking. Strain and filter. Divine! Makes 4-6 cups.
Cheesy Cherry-Blueberry Coffee Cake
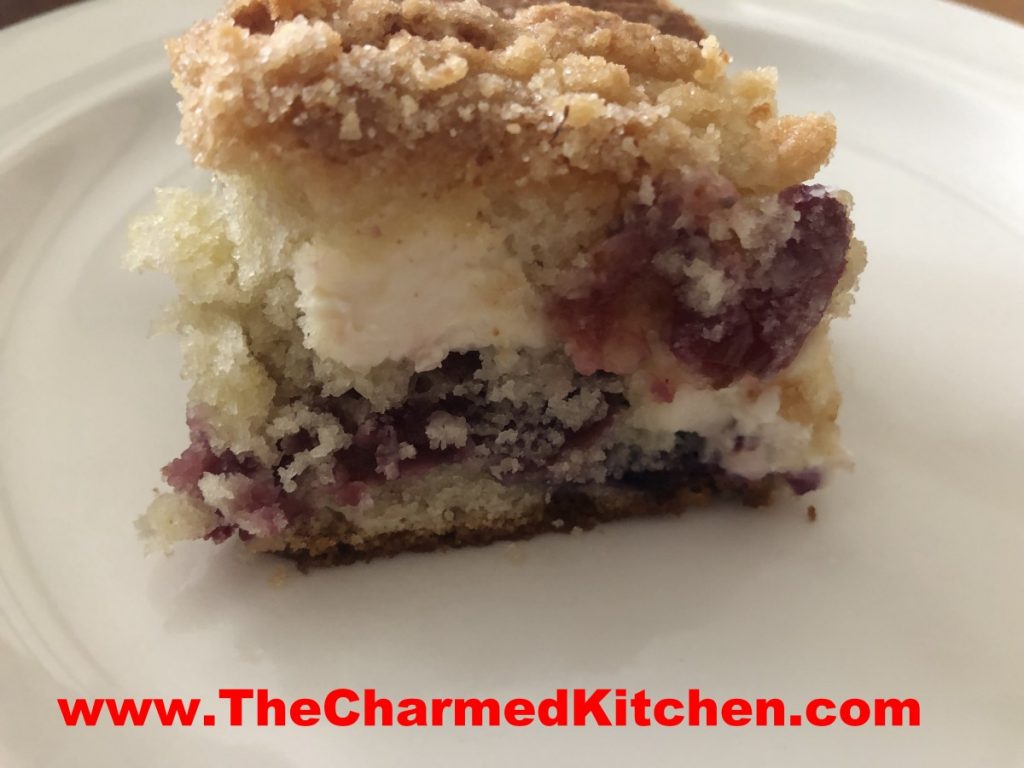
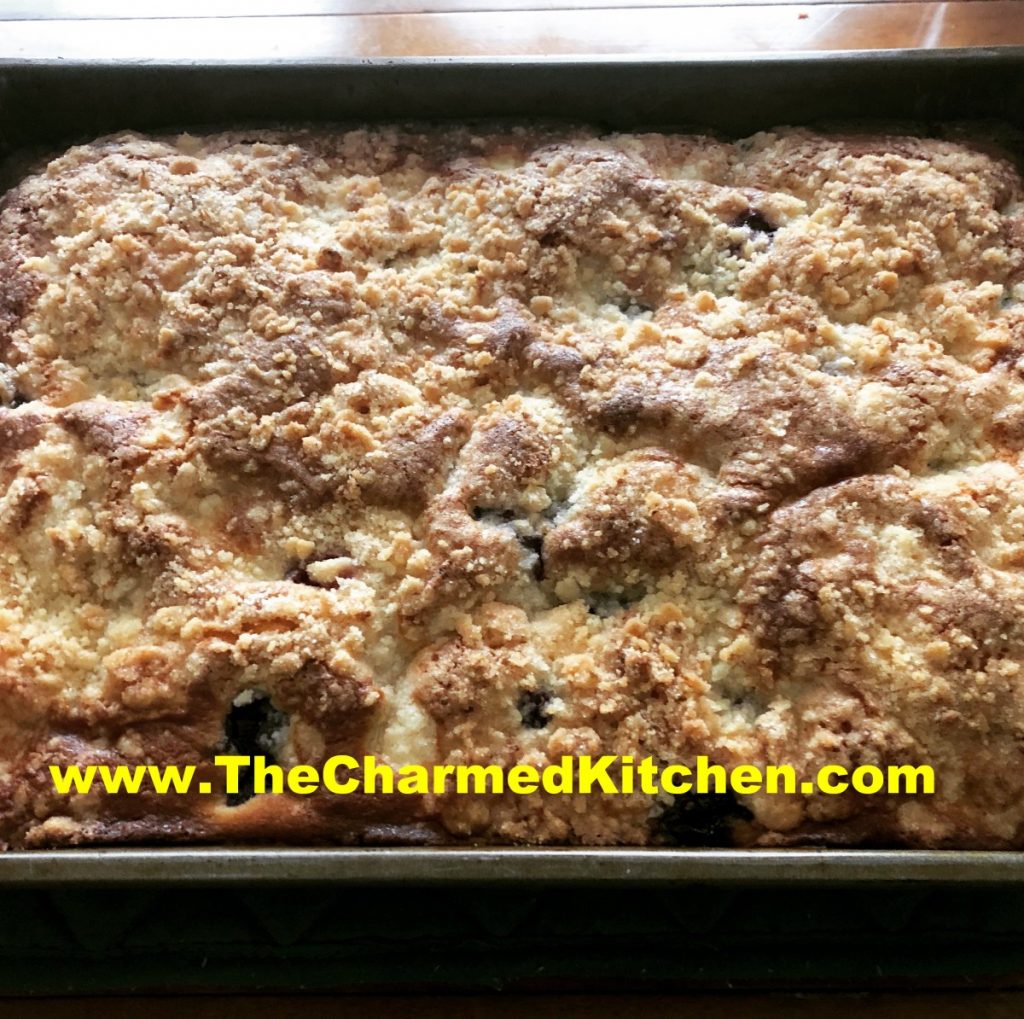
If you need a really special dessert for your next party or cookout, consider making this cheesy cherry-blueberry coffee cake. It is one of my favorite coffee cake recipes ever. The cake is not too sweet, and the combination of cream cheese, with the fruit reminds me of a cherry-blueberry blintz.
The streusal topping adds a nice little crunch.
It is fine served all on its own. You can also serve it with ice cream or whipped cream. You can also top with more blueberries and cherries.
While I think of this cake as a wonderful dessert, it can be served as a breakfast or brunch dish.
As if this weren’t enough- this cake freezes great. Who are we kidding? There won’t be any leftovers – but you could freeze them, if you had some.
So here is the recipe. Enjoy!!
Cheesy Cherry-Blueberry Coffee Cake
1 1/4 c. sugar
1/2 c. butter
2 eggs
2 1/4 c. flour
1 T. baking powder
1 t. salt
1 c. milk
1 c. fresh or frozen blueberries
1 c. pitted and coarsely chopped cherries
8 oz. cream cheese, cubed
1 t. grated lemon peel
Topping:
1/4 c. sugar
1/4 c. flour
1 t. grated lemon peel
2 T. butter
Preheat oven to 375. Grease and flour a 13×9 inch baking dish. Cream together sugar and butter until fluffy. Beat in eggs. Combine 2 cups of the flour with baking powder and salt and beat into batter alternately with the milk. Toss fruit with the remaining flour and fold into the batter along with the cheese and lemon rind. Pour batter into prepared pan. Combine sugar, flour and lemon peel for topping and cut in butter to resemble coarse crumbs. Sprinkle over batter and bake for about 45 minutes. Use toothpick to test for doneness. Serves 12.
Fresh Peach Salsa
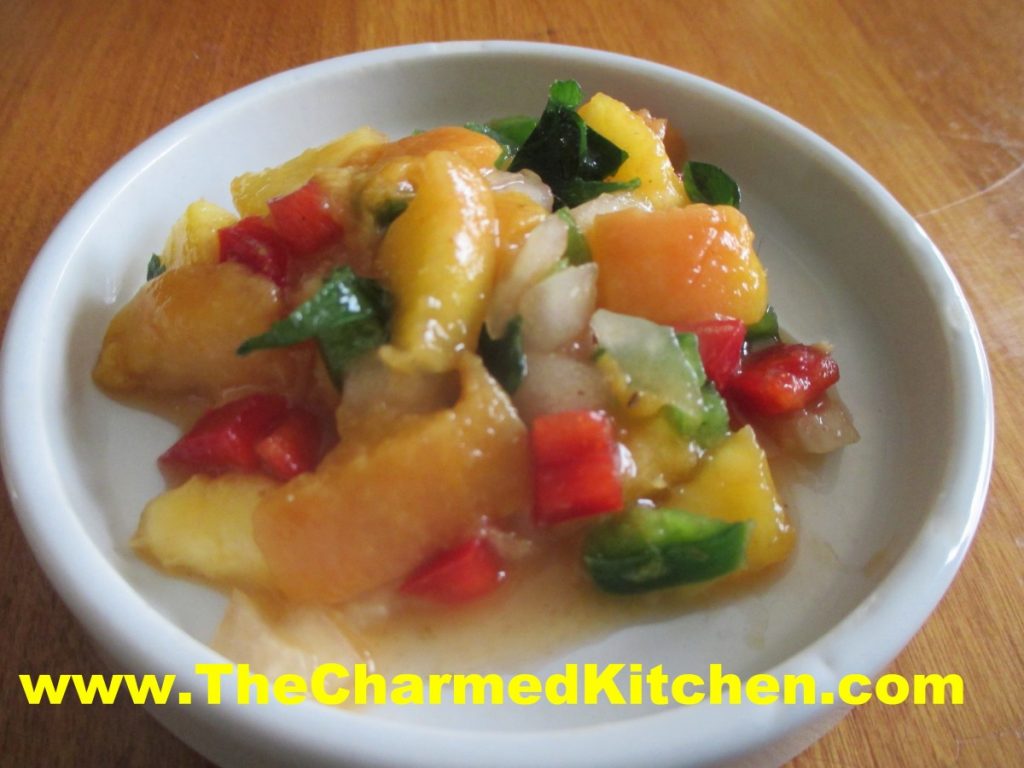
This salsa makes a great topper for grilled meats or fish. It is also fun to serve with chips. While salsa may traditionally be made with tomatoes, there are other options. The peaches give the salsa a great natural sweetness. It is so colorful.
I used really ripe peaches, which are tough to peel. To help peel them, I placed the peaches in boiling water for a minute. Then I put them in cold water. Once they were cool enough to handle, they peeled easily.
I used 5 peaches and ended up with almost 2 cups of prepared fruit. You might need more or less, depending on the size of the fruit.
You can make the salsa as spicy as you like. I added a jalapeno pepper and some hot sauce. I tasted the salsa 30 minutes after I made it and added a little more hot sauce.
Fresh Peach Salsa
4-5 ripe peaches, peeled, pitted and diced
½ c. minced sweet onion
½ c. minced sweet pepper
1 jalapeno, seeded and minced
2-3 T. chopped fresh cilantro
1t. hot sauce, or to taste
zest and juice from 1 lemon, you could use a lime instead
salt and pepper to taste, don’t be afraid to give this dish a good bit of salt
Combine all ingredients in a bowl and stir until mixed. Check seasonings. Chill for at least 30 minutes and taste again- you will likely add more seasoning. Serve over grilled meats or with chips.
Peach Ice Cream- Recipe #2
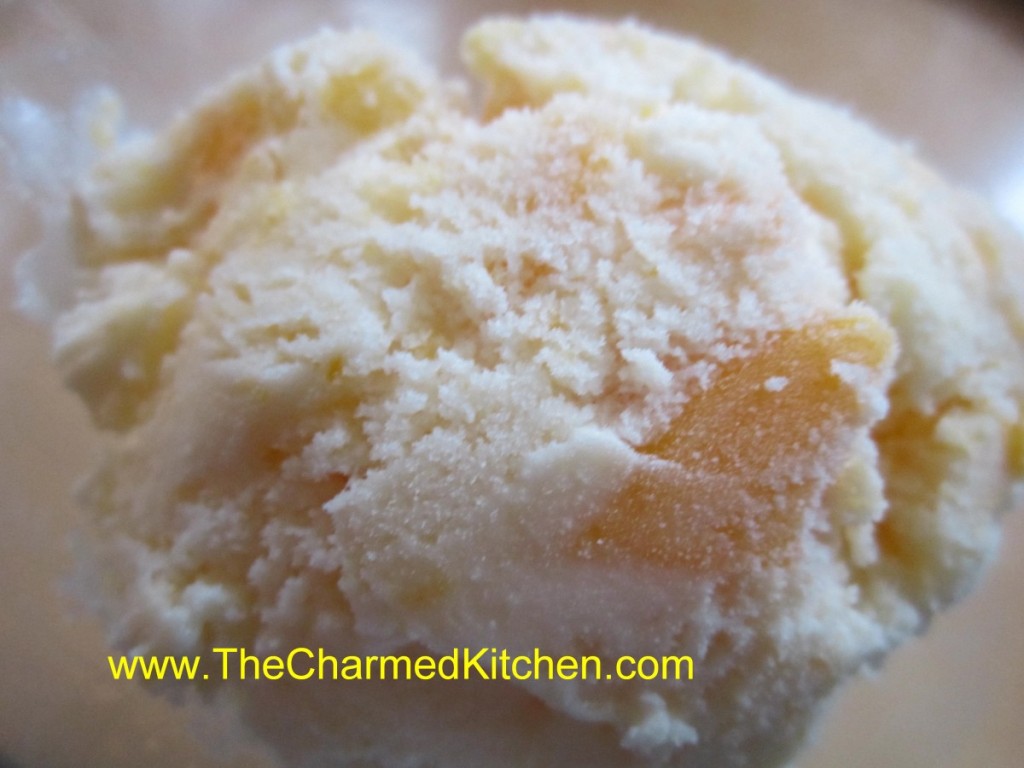
Yesterday I posted my peach ice cream recipe, using a custard ( egg ) base. Today, I thought I would post another recipe for peach ice cream, since I mentioned it in the post. In this recipe, only the peaches are cooked, to soften them up before freezing. The rest of the base is not. This recipe contains no eggs. The texture is lovely, but different from an egg-based ice cream. The color is different, too. I just thought it would be nice to give you a couple of options.
Peaches are one of those fruits that make me think summer. We had a couple of peach trees in the backyard when I was growing up. I remember one year, my dad had to prop up the branches so they wouldn’t break under the weight of all those peaches. Homemade ice cream is all about summer, too. Fruit-studded ice cream seems like the perfect dessert for a warm summer day.
When using peaches in ice cream, you don’t want to just cut up the fruit and drop it in. If you do that, the peaches will form ice crystals and become quite hard, sort of like peachy ice cubes. Nobody want that in their ice cream. Better to cook the peaches first, like I did for the peaches in this recipe. That way, when you put them in the ice cream, they get frozen, but in a softer way. True of other fruits you might add to any ice cream recipe.
Homemade Peach Ice Cream
3-4 ripe peaches
2 c. half and half
1 c. sugar, or to taste
1 T. vanilla
1 T. orange zest
Peel and dice peaches. Cook in a small amount of water and a little sugar until tender. If you don’t precook the peaches they will be icy and hard in the ice cream. Cool and drain. In bowl combine half and half and sugar and stir until sugar is dissolved. Add remaining ingredients and stir well. Place in ice cream machine and process according to manufacturer’s directions. If you don’t have an ice cream maker place mixture in a shallow pan and freeze solid. Remove from freezer and allow to soften a little at room temperature then break up into chunks and place in a mixing bowl. Beat with a mixer until smooth and return to freezer. You can also process in a food processor. Makes 1 quart.
Peach Ice Cream-Custard Style
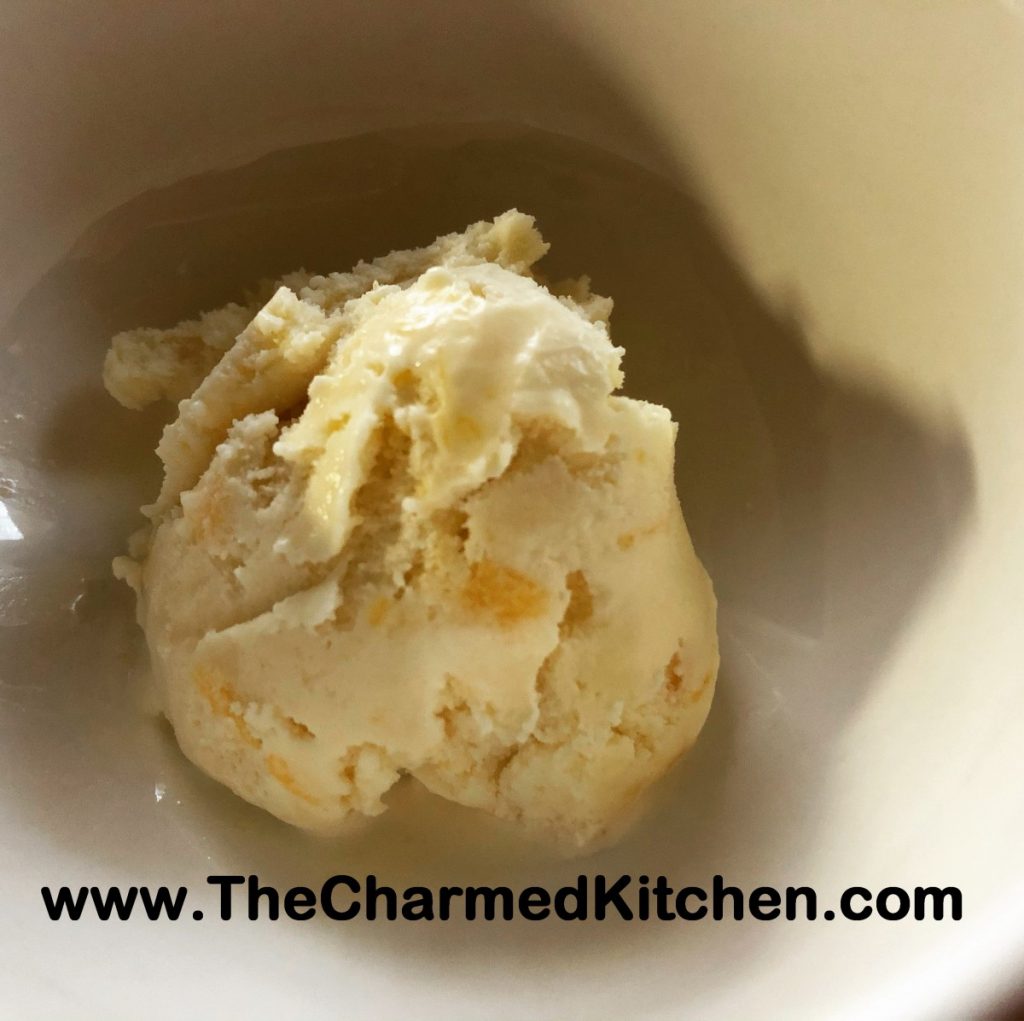
If there is a favorite summer treat for me- it is ice cream. I love to go to the local ice cream shop for a sundae or cone, and I love to make my own ice cream. When I found myself with a few extra peaches, I knew I wanted to use some of them to make ice cream. Peach ice cream is one of my absolute favorites.
I have made a peach ice cream before. This one is different because I made a custard base for my ice cream this time. A custard base just means that egg yolks, or eggs, are incorporated into the base of the ice cream. The base is heated up, so the eggs get cooked. In the other recipe, there are no eggs.
The custard base gives you a creamier end product. I wouldn’t say you have to make a custard-based ice cream for it to be good. They are just different. The custard base is a bit more work, but still not a difficult recipe at all.
This peach ice cream came out so good. Really creamy. I had perfectly ripe peaches. They were a little small, so I used 5 of them in this batch of ice cream. I used a vegetable peeler to remove the skins. I think that the skins get tough once cooked. Leave them on, if you prefer. I cut them off the pits, being sure to save all the juices, too. Then I just diced the peaches up pretty small.
If I just dumped the raw peaches into the ice cream base and froze it, they would end up as hard peachy cubes. By cooking the peaches first, they stay softer in the ice cream. This is true of any fruit ice cream. Using fruit that had been frozen, then thawed, will also work. I added a little vanilla, too. Not enough to overpower the peaches, but to add another layer of flavor.
So here is the recipe. Enjoy!!
Peach Ice Cream- Custard Style
4-5 peaches- mine were small- I used 5
1½ c. half and half
1 c. heavy whipping cream
3 egg yolks
1 c. sugar or to taste
1 t. vanilla
Peel the peaches. Cut the peaches to remove the pits. Discard pits. Dice up the peaches over a bowl to catch all the juices. In medium saucepan, place the peaches with the peach juice, half and half and cream. Over medium low heat, bring up to a simmer. Stir every few minutes, to prevent scorching. Let the mixture cook a few minutes, to soften the peaches. In a small bowl, beat together the egg yolks, sugar and vanilla. Add ½ cup of the hot cream mixture to the eggs, whisking in well. Add another ½ cup of the cream mixture, whisking again. Add one last ½ cup of the hot cream and again, whisk until smooth. Pour the egg mixture into the saucepan with the cream and while whisking, simmer until mixture starts to thicken and will coat the back of a spoon. This will take about 5 minutes. Don’t use too high a heat, or you will scramble your eggs. Mixture should reach 160 degrees to be sure eggs are cooked. Remove from heat. Pour mixture into a bowl. Allow ice cream base to cool down, then chill in fridge. Chilled mixture can be frozen in an ice cream maker once cold- in a few hours- or even the next day. Once mixture has been frozen in ice cream maker, place in a container and freeze until ready to serve. Makes about 5-6 cups of ice cream.
Cherry Pie “Blintzes”
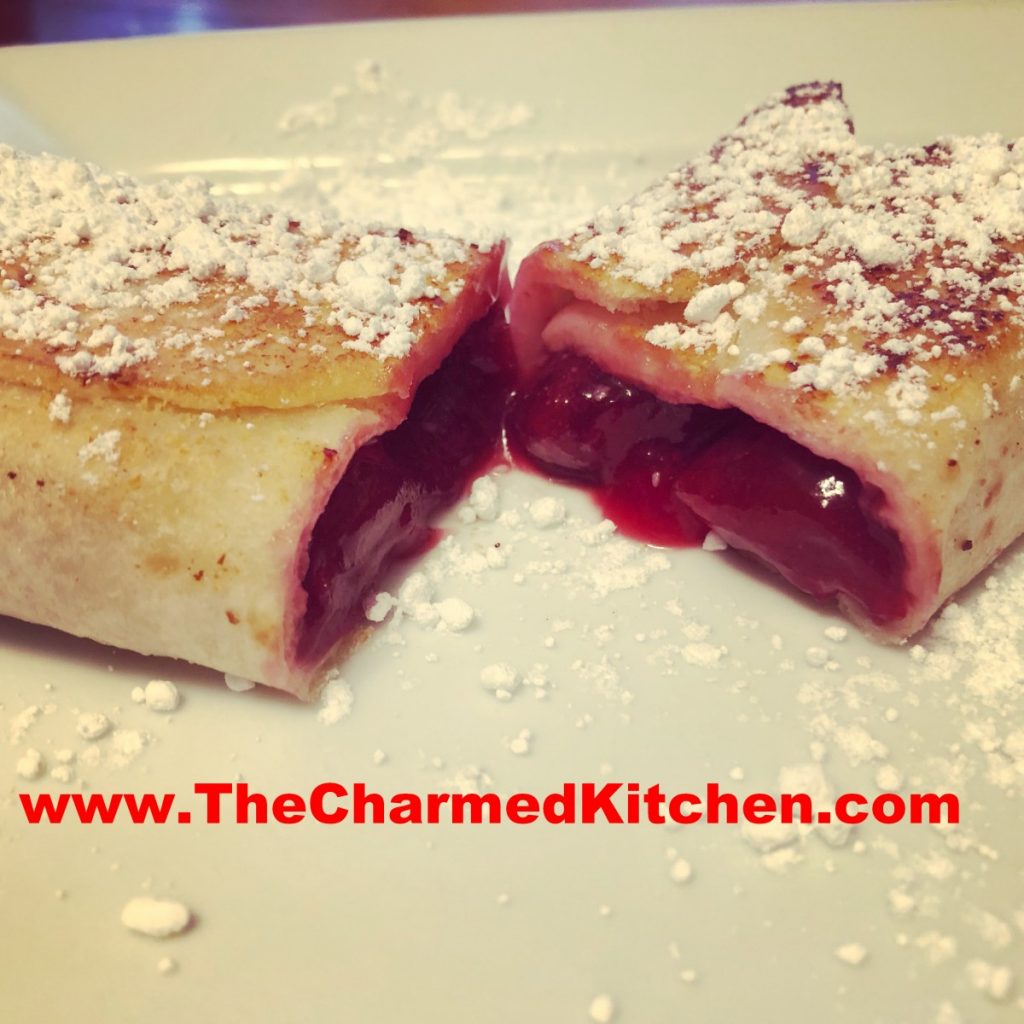
In cooking camp yesterday we made these as our last dish of the week. One of the girls said it was her favorite thing from the whole week. These are not traditional blintzes. The secret is that the blintzes are made with flour tortillas instead of traditional crepes. I love the texture flour tortillas take on when softened in milk. They really work well, and with a fraction of the work of making crepes. They make a great dessert. They dusted them with powdered sugar, but you can also top them with ice cream or whipped cream. They remind me a warm cherry pie.
In camp we made some with apple pie filling, too. Those were topped with a drizzle of caramel sauce or cinnamon sugar.
Blintzes also make a great breakfast or brunch dish.
I didn’t use a lot of sugar in my pie filling because I was using sweet cherries. I also think with the powdered sugar on top, they are sweet enough. Adjust the sugar in the recipe to suit your own taste. If using tart cherries, you might want to add a little more sugar.
So here is the recipe. I think you will love them as much as I do.
Cherry Pie Blintzes
Cherry Pie Filling
4 c. pitted sweet or sour cherries
1½ c. water
½ c. sugar- use a little more if using tart cherries
Pinch of salt
¼ c. cornstarch
Place cherries in a saucepan with 1 cup of the water, sugar and the salt. Bring to a simmer. Mix cornstarch with the ½ cup of water and add to the cherry mixture, cooking until just thickened. Cool. Makes about 4 cups.
Blintzes
8-10 Flour tortillas
½ c. Milk
4 T. Butter
Powdered sugar
Make the pie filling ahead of time, so it is cooled down. Place the tortillas in a shallow pan and pour milk over them. Turn them to make sure they all get covered in the milk. Let the tortillas soften for 5-10 minutes. Place a tortilla on a flat surface and spoon about ½ cup of the pie filling in the middle. Fold sides in until they almost touch in the middle. Roll up from the bottom to form a little bundle. Repeat with remaining tortillas and filling. Heat butter in saucepan over medium heat and brown the blintzes, turning over as needed to brown on both sides. Start them off seam side down, to keep them from popping open. Place on serving dish and dust with powdered sugar. Serve warm. Makes 8-10.

Browning in the skillet


