Lemon Meltaway Cookies

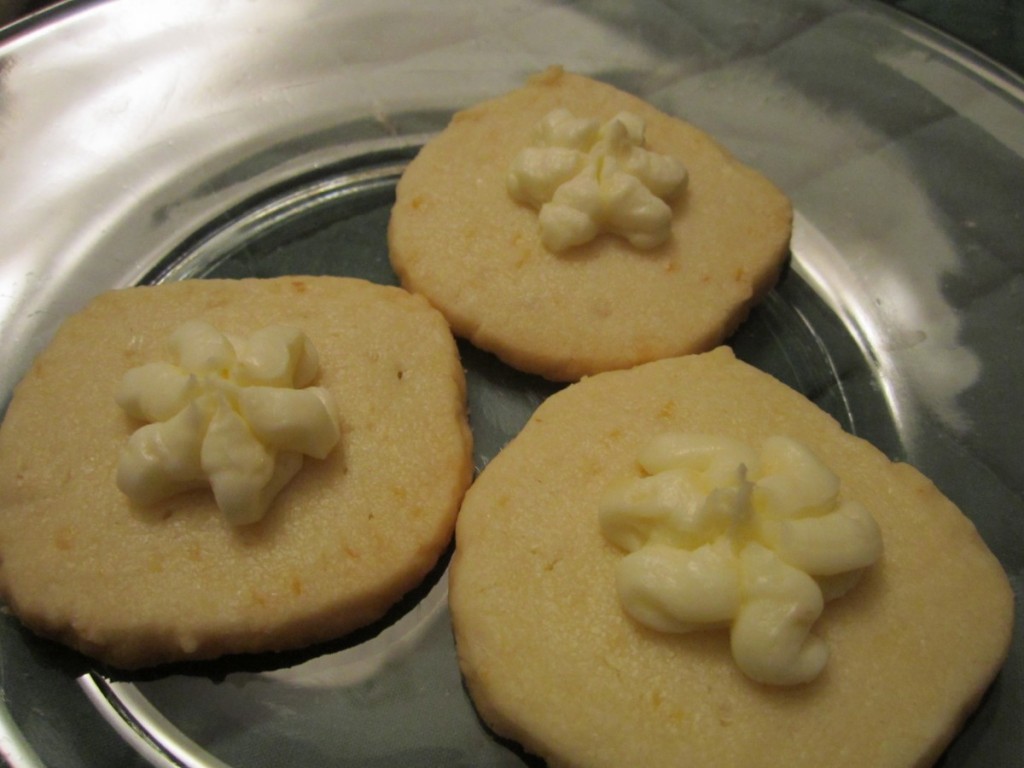
These cookies have a great lemon flavor and delicate texture. The cookies are tender, in part, because of one ingredient. That ingredient is cornstarch. The cornstarch in the dough makes them incredibly crumbly. More than other shortbread cookies. They truly melt in your mouth. I think you and your family and friends will love them as much as I do.
I will admit to adding a little more lemon zest to the dough and frosting, for even more intense lemon flavor.
They are also easy to make. These are a slice and bake cookie. That means you make the dough, form into a roll, and chill. Now you can just slice and bake when you have the time. I sometimes make a batch and freeze them- so I can make fresh cookies whenever I like.
These are a lovely Spring cookie. Delicate and light.
Lemon Meltaways
Dough:
1 ¼ c. flour
¾ c. butter, softened
½ c. cornstarch
1/3 c. powdered sugar
1 T. lemon juice
1 t. grated lemon peel
Frosting:
¾ c. powdered sugar
¼ c. butter, softened
1 t. lemon juice
1 t. grated lemon peel
In large bowl combine all dough ingredients and mix well. Divide dough in half and roll each half into an 8- inch roll. Wrap in plastic wrap and chill until firm, 1-2 hours. Slice chilled dough into ¼ inch slices and place 2 inches apart on a cookie sheet. Bake in a 350 degree oven for 8-12 minutes, or until cookies are set, but not brown. Cool completely on a rack. Combine frosting ingredients and beat until light and fluffy. Frost cooled cookies. Makes 4 dozen.
Irish Soda Bread Scones


If you are in the mood for Irish Soda Bread- you can get the same wonderful experience in a scone. We made a batch of these scones in a Spring Baking class last week. They came out great.
Scones don’t take a lot of time or effort to make. These would be a wonderful addition to your St. Patrick’s Day meal.
While traditionally served for breakfast or tea time, scones are really good any time of the day. They certainly can be served with dinner.
I used golden raisins, but you could use regular raisins, currants or cranberries.
Irish Soda Bread Scones
2 c. flour
3 T. sugar
2 t. baking powder
1 t. baking soda
½ t. salt
1/3 c. butter
½ c. golden raisins
1 t. caraway seeds
2/3 c. buttermilk
1 egg
Milk
Extra sugar for sprinkling
Preheat oven to 425 degrees and lightly grease a baking sheet. Combine dry ingredients in medium bowl and cut in butter to resemble coarse crumbs. Stir in raisins and caraway seeds. Beat together buttermilk and egg and add to flour mixture, stirring with fork until mixture just coming together. Turn onto floured surface and knead 5-6 strokes or until ball of dough holds together. Dust an 8-inch round cake with flour. Press dough into cake pan. Invert pan over onto prepared baking sheet. I find if I do this quickly the dough comes out more easily. Remove cake pan. This will give you a perfect 8-inch circle of dough. With a sharp, floured knife cut dough into 8 wedges. Brush top with milk and sprinkle with extra sugar. Bake 14-16 minutes. Makes 8.

Fried Breaded Catfish

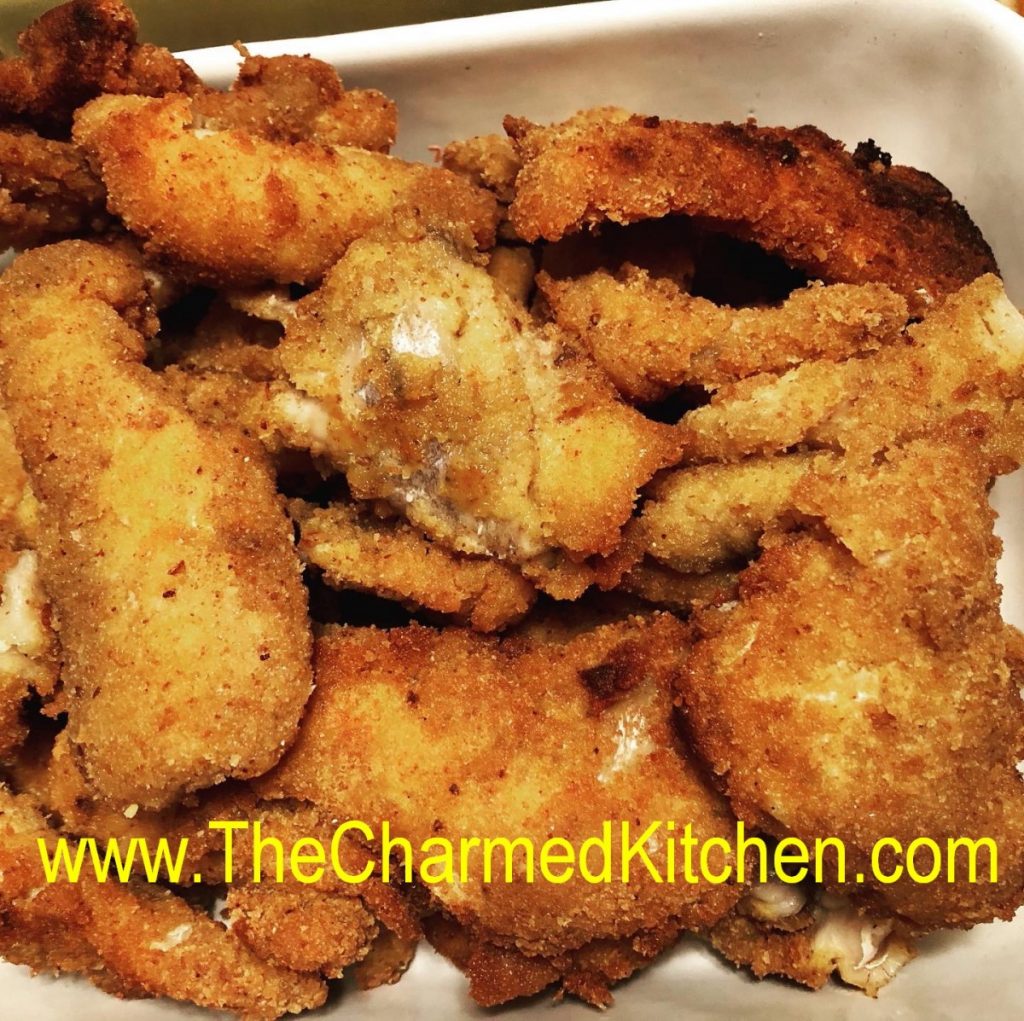
I love fried fish. I don’t make it at home that often. It is more of a treat around here than an every day meal. This time of year, Friday night fish fries are very popular. I love them. You don’t have to go out to have great fried fish.
I toyed with the idea of baking it, but frying won out. Nothing quite as good as fried catfish in my mind. Had a few friends over and I knew they would like it. too.
This is going to be one of those recipes that is more narrative that exact amounts. I really am good about writing stuff out. I just can’t seem to locate my notes for this one- so I’ll share what I did as best I can remember. It is also so easy to fry fish. Don’t be scared to try.
I started with catfish fillets that were cut down into smaller pieces. The smaller size made them fast and easy to cook. It also made them fun to eat. Like chicken nuggets, only made with catfish.
Since they had been frozen, I thawed them out, and dried them off a bit by patting them with paper towels. I started with a 2 pound bag of catfish. I seasoned a little over 1/2 a cup of flour with salt, pepper and paprika. Then I placed the flour in a bag and tossed in the fish pieces.
I made a mixture of 2 eggs, a little mayo, salt, pepper, garlic powder and a small amount of smoked paprika. I dipped the fish in this mixture and let it soak in there while I put the breadcrumbs in a bowl.
I took the fish out of the egg wash a few pieces at a time and dropped them in the bread crumbs. I had the crumbs in a good sized bowl- but only filled about a quarter of the way with crumbs. I started with a cup of bread crumbs, but needed more. I added the fish and sort of tossed it in the crumbs by shaking and tossing the bowl. Made sure the fish all got coated. Pressed the crumbs a few times to make sure the breading stuck. Placed fish in a square container and kept adding it as I finished breaded the fish. Covered the dish and placed it in the fridge. I fried the catfish the next day. I could have fried it right away, but I knew I would be getting home from work just before my guests would be arriving. I wanted to get this part of the job out of the way. Sometimes breading sticks better if you do it a little ahead of time.
Once it was time for dinner, I put the oil on to heat up.
I was using an electric pot with a thermometer so I knew when the oil reached 350. I wanted to fry the fish between 350 and 375 degrees. If you don’t have a pot with a thermometer, you can tell if your oil has reached 350 degrees with the use of popcorn. Yes, popcorn. Just put in a kernel of popcorn when you start heating up the oil. Popcorn pops at 350 degrees. When the popcorn pops, you know the oil is ready.
I had a pan, lined with paper towels ready as I started to drop the pieces of fish, several at a time, into the hot oil. They were cooked in just a few minutes. I pulled them when they were golden brown. Allowed them to drain on paper towels, in a warm oven, while I cooked the rest of the fish.
I served the fish with lemon wedges and homemade tartar sauce- which is just sweet pickle relish, mayo and capers.
The fish was a big hit.
As to the oil. You’ll have plenty left over. I let it cool and strained it out. Then I poured it in the bottle it came from. You can save it for your next frying project, but don’t use it again and again. Just a couple of times, then toss the rest. There were 4 of us for dinner and there was fish leftover. The 2 pounds of fish was easilyenough to serve 6-8.
Coconut Shrimp


Coconut shrimp is a favorite of mine, and pretty easy to make. Cleaned, raw shrimp are dredged in flour, egg wash and a Panko bread crumb-coconut mix, then fried. I add some homemade curry powder to the eggs, for a little extra flavor.
You can serve coconut shrimp as an appetizer or over rice as a main dish. I serve mine with a sweet chili sauce.
Eating shrimp always feels like a splurge or a special occasion. I think that started in my childhood. We didn’t eat shrimp often when I was a kid. Only a few times a year, always a special occasion.
As an adult I have learned to enjoy shrimp a lot of different ways. I eat it more often now, but it still feels special.
Here is my recipe for coconut shrimp. You don’t need a special occasion to make it.
Coconut Shrimp
2 cups oil – I like to use peanut oil or avocado oil
1 cup Panko bread crumbs
1 cup unsweetened shredded coconut
1 pound shrimp, peeled and deveined
Kosher salt and freshly ground black pepper, to taste
1/2 cup all-purpose flour
2 large eggs, beaten
1-2 t. curry powder, or to taste
Heat oil in a large skillet or Dutch oven over medium high heat. In a
large bowl, combine Panko bread crumbs and shredded coconut; set aside.
Combine eggs with curry powder, set aside. Season shrimp with salt and
pepper, to taste. Working one at a time, dredge shrimp in the flour, dip
into the egg mixture, then dredge in the coconut mixture, pressing to
coat. Working in batches, add shrimp to the Dutch oven and fry until
evenly golden brown and crispy, about 2-3 minutes. Transfer to a paper
towel-lined plate. Serve immediately with sweet chili sauce, if desired.
Serves 4.
Maple Lime Vinaigrette

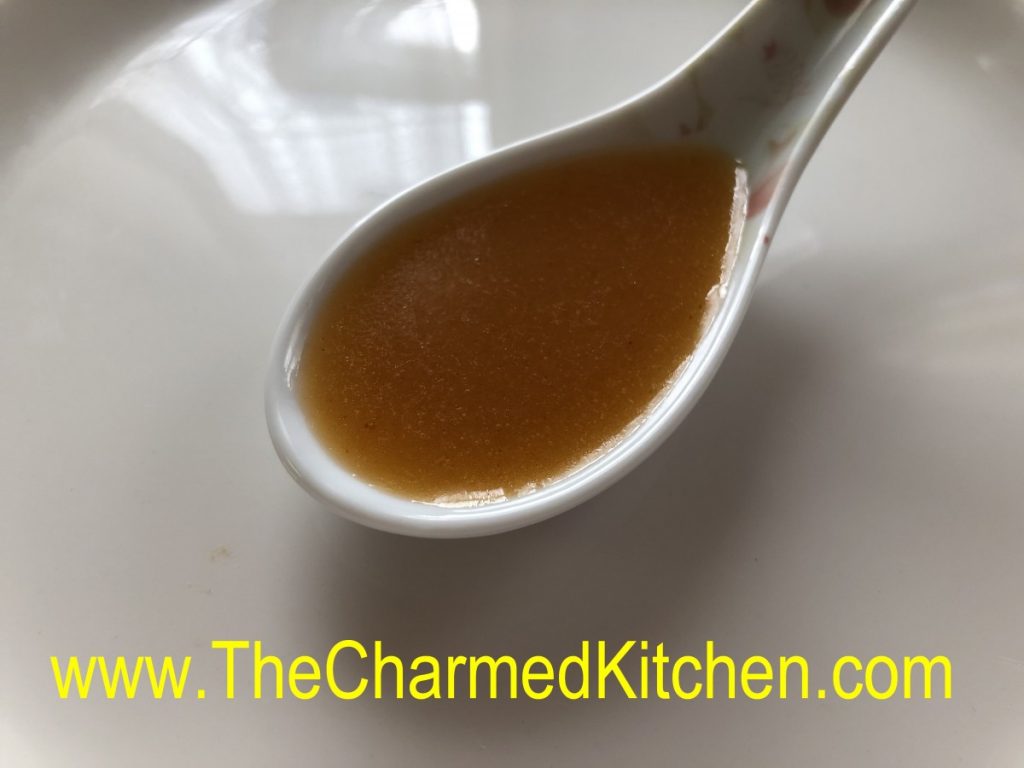
I am always playing around with new salad dressings. I had lovely salad greens, but needed a dressing. I looked in my fridge and was inspired by what I had on hand- limes. I knew I needed a sweet element and I decided to use maple syrup. That idea came from my cousin Laurie, who had a maple syrup based salad dressing somewhere and loved it. I played around adding a few more ingredients, until I got a dressing I really liked.
I served it that night on our salad. My friend loved it and said I should bottle it. I decided to just share the recipe, instead.
It really has turned out to be one of my favorite salad dressings. That is saying a lot, because I make a lot of salad dressings.
Here is the recipe. I hope you try it. I think you will love it as much as my friend and I do.
Maple Lime Vinaigrette
1/3 c. maple syrup
1/3 c. lime juice
1 T. Dijon mustard
1-2 t. Sriracha
½ t. salt, or to taste
2/3 c. oil
In jar with tight fitting lid, place all ingredients, except the oil. Shake well to blend. Add the oil and shake well again. Adjust seasonings. Use as a salad dressing or as a dipping sauce. Store leftovers in fridge. Keeps for a few weeks. Makes about 1½ cups.
Lemon Cheesecake with Lemon Curd

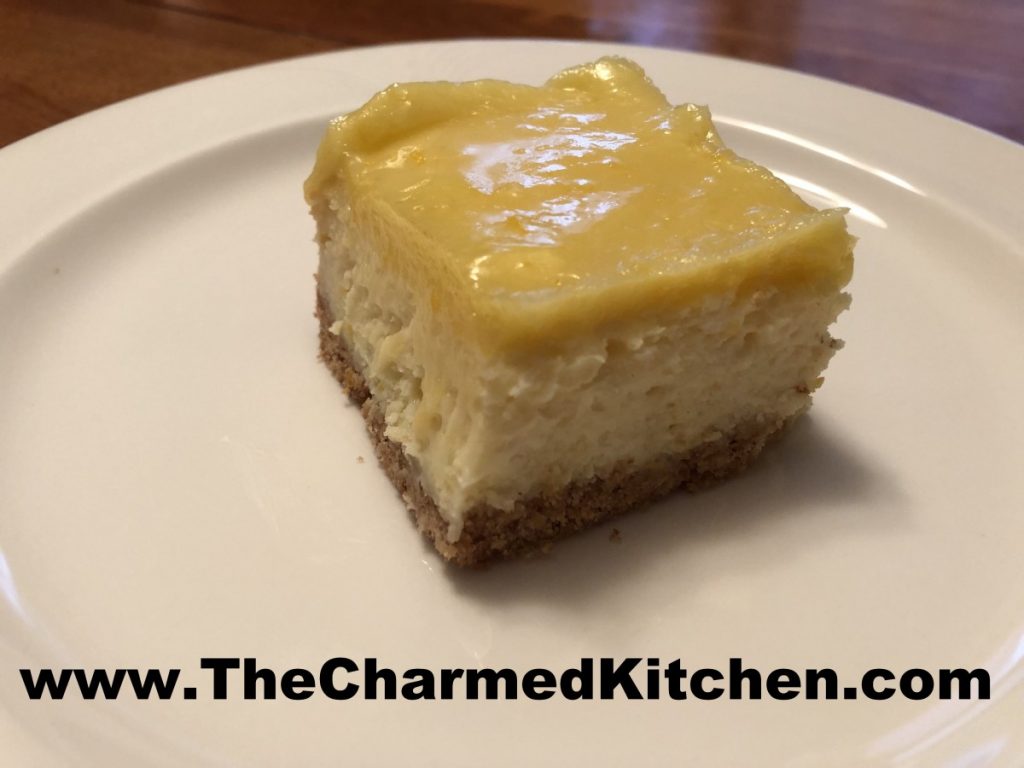
This dessert was inspired by a bag of lemons. I had picked them up with no real plan. I wanted a dessert for a dinner and decided to use them to make a cheesecake. I wanted to really amp up the lemon flavor, so besides the lemon juice and zest in the cheesecake, I added a layer of lemon curd on the top.
It worked out even better than I thought. Lots of lemon flavor in a creamy cheesecake. The lemon curd brought even more lemon to the party. Just wonderful.
We made this cheesecake in a Spring Baking class last night. Everyone loved it.
So here is the recipe. I used a 9×9 inch glass pan to bake the cheesecake- rather than the normal spring form pan. It worked out really nicely. Kind of made me think about lemon bars, too.
Lemon Cheesecake with Lemon Curd
Crust:
1½ c. graham cracker crumbs
3 T. sugar
4 T. melted butter
Filling:
2 (8oz.) packages cream cheese, softened
¾ c. sugar
2 T. flour
2 eggs
3 T. lemon juice
2 t. grated lemon peel
Lemon Curd: recipe below
Heat oven to 350-degrees. Grease a 9×9-inch baking pan- I used a glass pan. In medium bowl, combine crumbs and sugar, then add melted butter. Toss to distribute butter evenly. Press into bottom of prepared pan and bake 10 minutes. Beat cream cheese, sugar and flour until fluffy. Beat in eggs one at a time. Stir in juice and peel. Pour over crust and bake for 30 minutes, or until set. Cool then top with lemon curd. Chill well before cutting. Store covered in fridge. Serves 8-10.
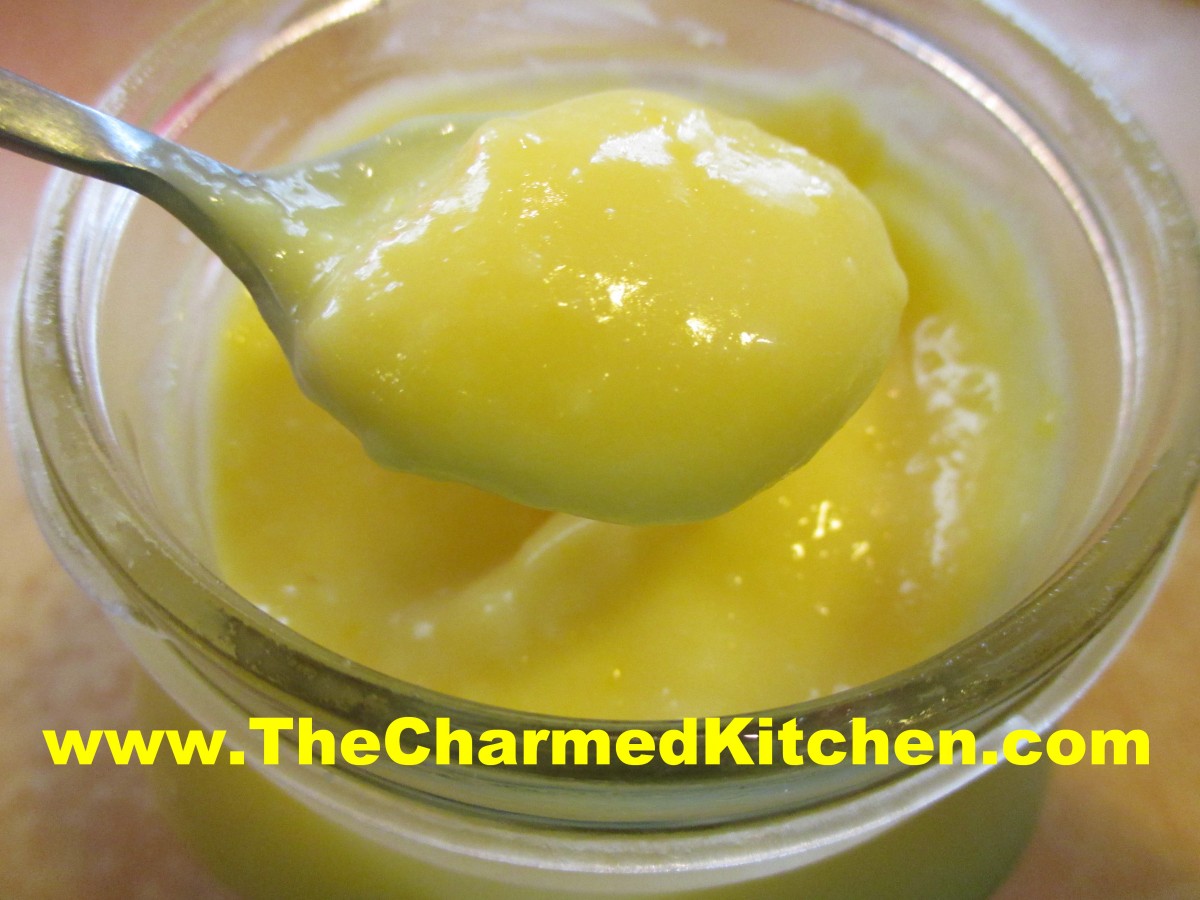
Lemon Curd
Lemon Curd
1/2 c. lemon juice
zest from one good sized lemon- you should have 2-3 teaspoons
1/2 c. sugar
3 eggs
6 T. unsalted butter- cut into little cubes
In medium saucepan, combine all ingredients. Whisk the mixture until the eggs are well blended. Cook over medium low heat, whisking often, until the mixture thickens. This will take 5-7 minutes. Whisk more often as mixtures warms and starts to thicken. Better to heat over lower heat and take longer than cook over too high a heat. You don’t want the eggs to scramble. Once the mixture is thickened , transfer to a bowl or jar. Cover the surface with a piece of plastic wrap to keep the surface from developing a skin- like any pudding will do. Chill until ready to use. Makes about 2 cups. Will keep in fridge a week or two.
Note: For using with this cheesecake, just make the lemon curd while the cheesecake is baking. Pour over the cheesecake while the curd is still a little warm, to make it easier to spread.
Salmon Quiche


I like canned salmon. There, I said it. I know it sometimes gets a bad rap, but I find canned salmon very convenient to have around. If you didn’t already know this- canned salmon is made from wild caught salmon and has all the nutritional benefits of fresh. If you are looking for something different to do with canned salmon, you might want to try this recipe.
If you prefer, you could use fresh salmon. About 12 oz. of cooked salmon, flaked, would be used in place of the canned salmon. We had it in a Seafood class last week and people were pleasantly surprised.
The crust is a breeze to make. It’s pressed into the pie pan, rather than being rolled out. The crust is made with whole wheat flour, almonds and cheddar cheese. Yum. Did I mention it also freezes well?
Salmon Quiche
1 c. whole wheat flour
2/3 c. shredded sharp cheddar cheese
1/4 c. chopped almonds
1/2 t. salt
1/2 t. paprika
6 T. oil
1 (15 oz.) can salmon, flaked, drained, liquid reserved, bones and skin removed
3 eggs, beaten
1 c. sour cream
1/4 c. mayo or salad dressing
1/2 c. shredded sharp cheddar cheese
1 T. grated onion
1/2 t. dillweed
3 drops Tabasco
For crust, combine first 5 ingredients in a bowl. Add oil and mix well. Press into a 9 inch pie plate. Bake in a 400 degree oven for 10 minutes. Remove pie crust from oven and reduce oven temperature to 325 degrees. Meanwhile, begin filling. If needed, add water to reserved salmon juice to measure 1/2 cup. Combine remaining ingredients in a bowl, including reserved liquid. Pour into prepared crust and bake for 45 minutes or until set in the center. Makes 6 servings.
Linguine with Clam Sauce


This classic is one of my favorite pasta recipes. I like to keep it pretty simple. Clams, half and half, garlic, parsley and linguine. Sometimes I add a little white wine or sherry to the sauce.
I have been craving it for a few days and decided to make it for dinner yesterday. As an added bonus, it is a dish that can be prepared in no time at all.
I like the pasta to absorb flavor from the clam sauce so I cook the pasta barely to al dente. Then I add it to the clam sauce and let them cook together a few minutes. The sauce almost disappears, but the flavor of the pasta is wonderful!!
I use frozen clam meat (thawed), instead of canned clams, when I have them. I get them at my local Asian grocery store. If I do use canned clams, I drain the liquid and save it to use later in clam chowder. I just pop the liquid in the freezer.
Linguine with Clam Sauce
1 T. oil or butter
2 cloves garlic, minced- you can add more garlic
2 cans, 10 oz. each, whole clams, drained*
½ c. white wine or dry sherry, optional
1 c. finely chopped parsley
1 c. half and half or milk
1 T. lemon juice
Salt and Pepper to taste
1 lb. linguine
Heat oil in skillet and sauté garlic until tender. Add clams, wine or sherry, if using, and parsley and cook over medium heat 5 minutes. Add half and half, lemon juice, salt and pepper and simmer 5 more minutes. Sauce should start to reduce a little. Meanwhile prepare linguine al dente. Drain pasta and transfer to the skillet. Toss with the sauce and simmer together a few minutes. Pasta will absorb some of the liquid. Adjust seasonings. Transfer to serving bowl. Makes 6 servings.
* Rather than using canned clams, I have been using frozen, cooked clams that I get at the Asian grocery store. A one-pound bag gives me a lot of clam meat for the sauce. Thaw and drain before using in this recipe.
For linguine with a red clam sauce just substitute 1-2 cups of your favorite spaghetti sauce for the milk and lemon juice. Serve with fresh grated Parmesan cheese.
Best Cauliflower Soup- Ever!


My friend Kim and I used to laugh at the covers of all the December issues of women’s magazine. They were lined up by the check-out at every grocery store. They always declared it was “The Best Christmas Issue Ever!!!” It was just something that struck us both funny.
When I made this soup, I knew it was extra good. A friend was over and I gave him a bowl to taste. He looked at me and said, wait for it…”This is the best cauliflower soup you ever made.”
I didn’t have a name for the soup yet, so I decided to call it My Best Ever Cauliflower Soup. I thought it was funny- I hope you do, too. It is also a nod to my sweet friend. Kim would have gotten the joke.
The soup lives up to its name. It has plenty of flavor, even without the toppings. With the toppings, it becomes something very special.
If you are looking for a really good and easy soup recipe- I suggest you give this one a try.
My Best Ever Cauliflower Soup
3 T. oil
1 large onion, chopped
1 small head cauliflower, chopped- about 6 cups
1 qt. chicken stock, but you could use beef or vegetable stock instead
1 qt. canned tomatoes, I had home canned, you could use a 28 oz. can of tomatoes
4 ribs celery, chopped
2 potatoes, peeled and diced
2 T. curry powder, I used my homemade curry powder
2 t. turmeric
1 t. cumin
Salt and pepper to taste
Mushroom topping:
2 T. oil
1 onion, diced
1 lb. baby Portobello mushrooms, sliced
3 T. chopped parsley
Salt and pepper to taste
Additional toppings:
Green onions, sliced
Cashews, you could also use peanuts
Sesame oil
Heat oil in soup pot and cook onion until tender. Add cauliflower and cook about 5 minutes longer. Add remaining ingredients and cook, uncovered, until vegetables are very tender, about 30 minutes. While soup is cooking, make mushroom topping. Heat oil in medium skillet and cook onion until golden. Add mushrooms and cook until mushrooms are almost caramelized, about 10 minutes. Add parsley and cook a few more minutes. Set aside until ready to use.
Once soup veggies are tender, puree until smooth. To serve soup, ladle some hot soup into a bowl. Top with some of the mushrooms and add a few green onions, cashews and a drizzle of sesame oil. Serves 6.
Old Fashioned Lemon Squares

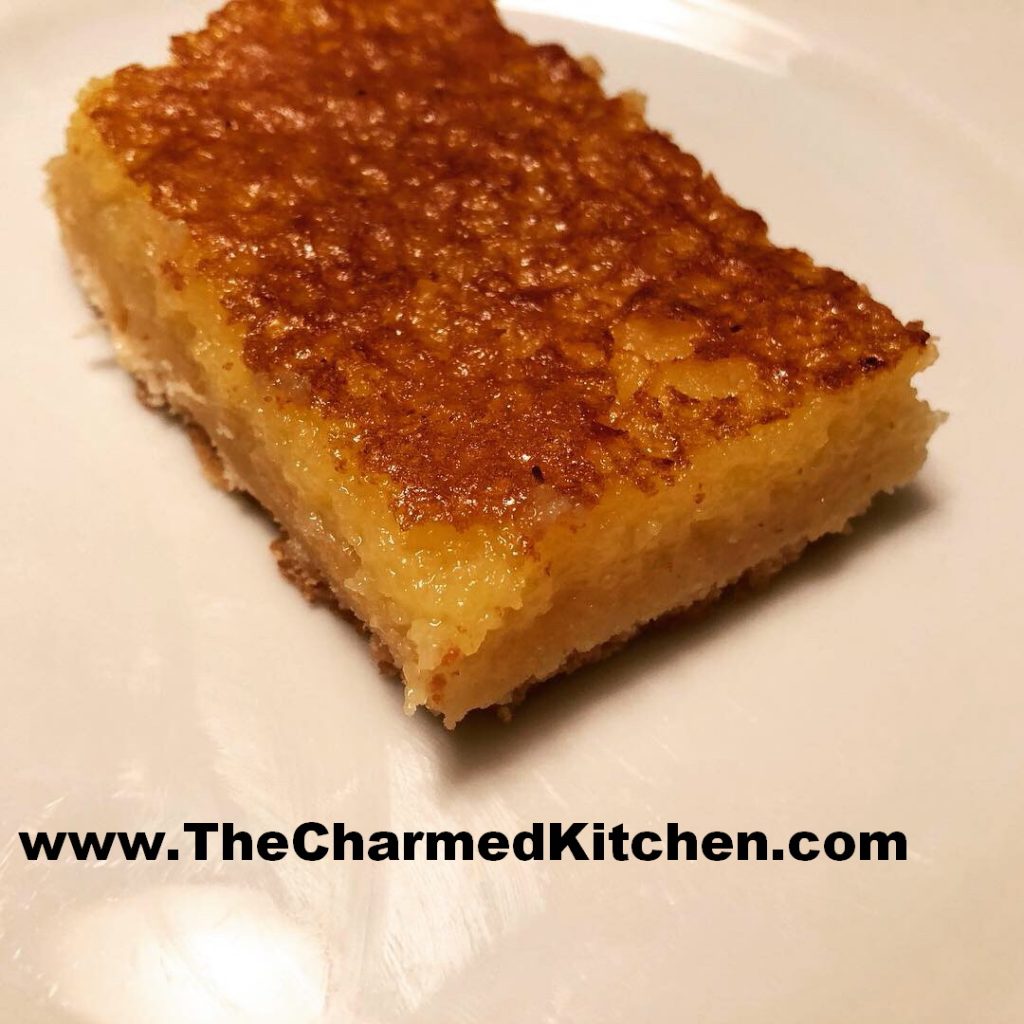
For me, Lemon Squares are a blast from the past. They were a treat I remember making with my mother when I was a kid. A crisp, tender crust, topped with a lemon custard. Just the right balance of sweet and tart.
I forgot just how much I loved them, too. I also forgot how easy they are to make. Lemon squares are baked in two steps. The crust is pressed into the pan and baked. Then the crust is topped with the egg/lemon mixture and returned to the oven for the second bake. So simple- and so good.
I did make a couple of changes from the original recipe. I was very happy with how they came out.
Here is the recipe. Enjoy!!
Lemon Squares
1 c. flour
½ c. butter
¼ c. powdered sugar
3 eggs
1 c. sugar
2 T. lemon juice
2 t. lemon zest
½ t. baking powder
¼ t. salt
Mix together flour, butter and powdered sugar and press into the bottom of an 8×8-inch pan. Bake in a 350-degree oven for 20 minutes. Beat together remaining ingredients and pour over baked crust. Return to oven for 20-25 minutes or until golden and puffed. Cool. Cut. Makes 16 squares.


